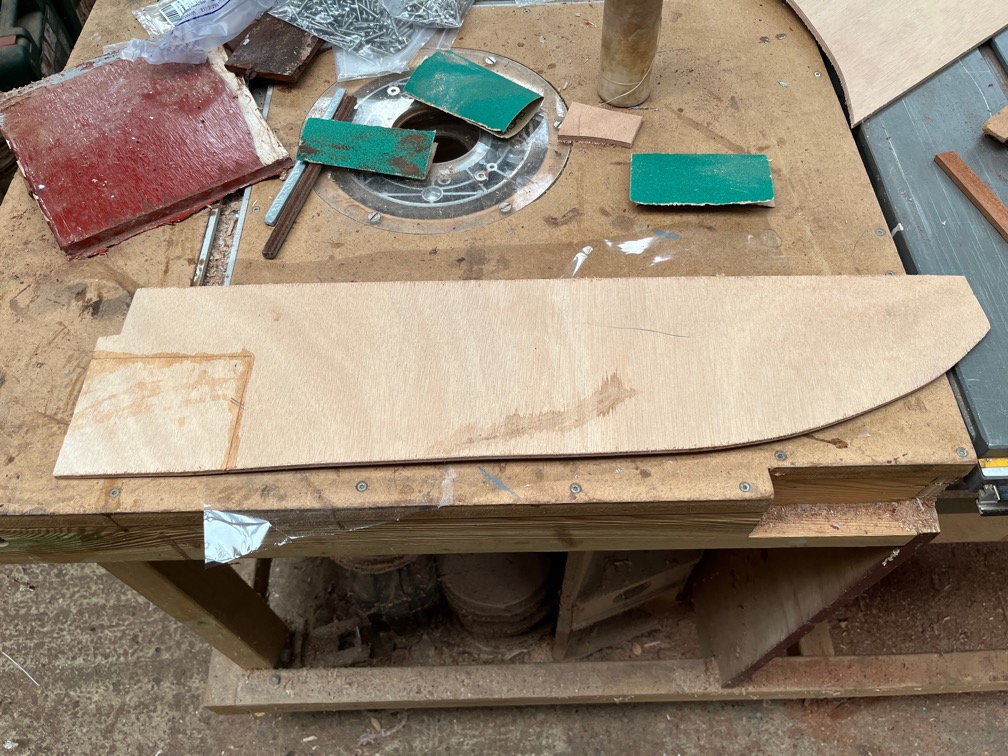
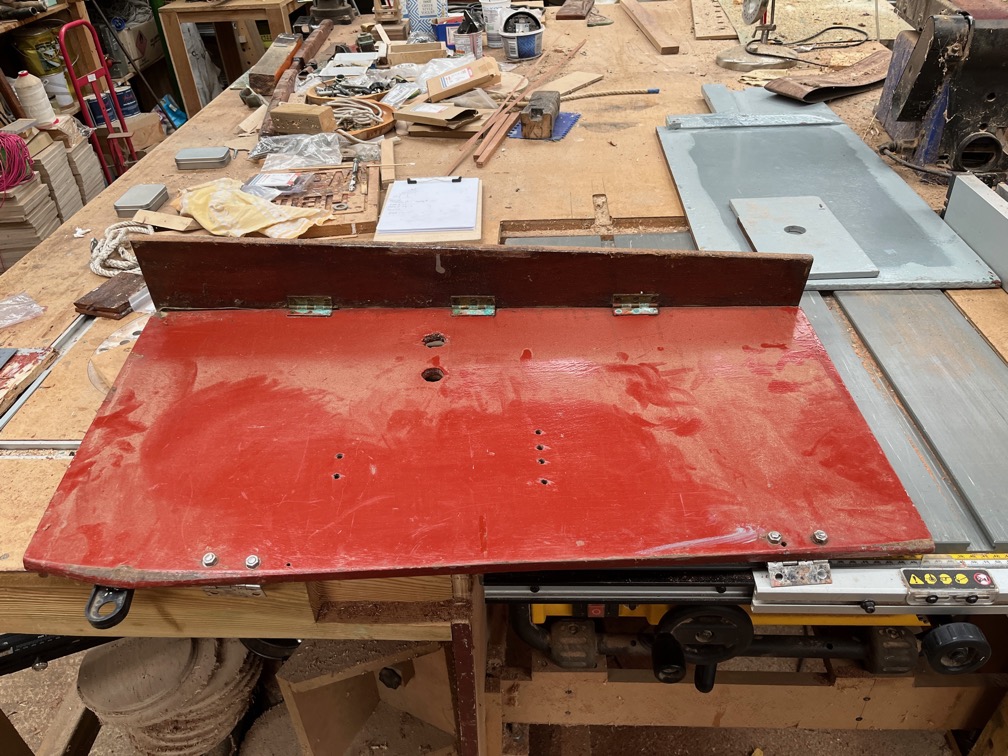
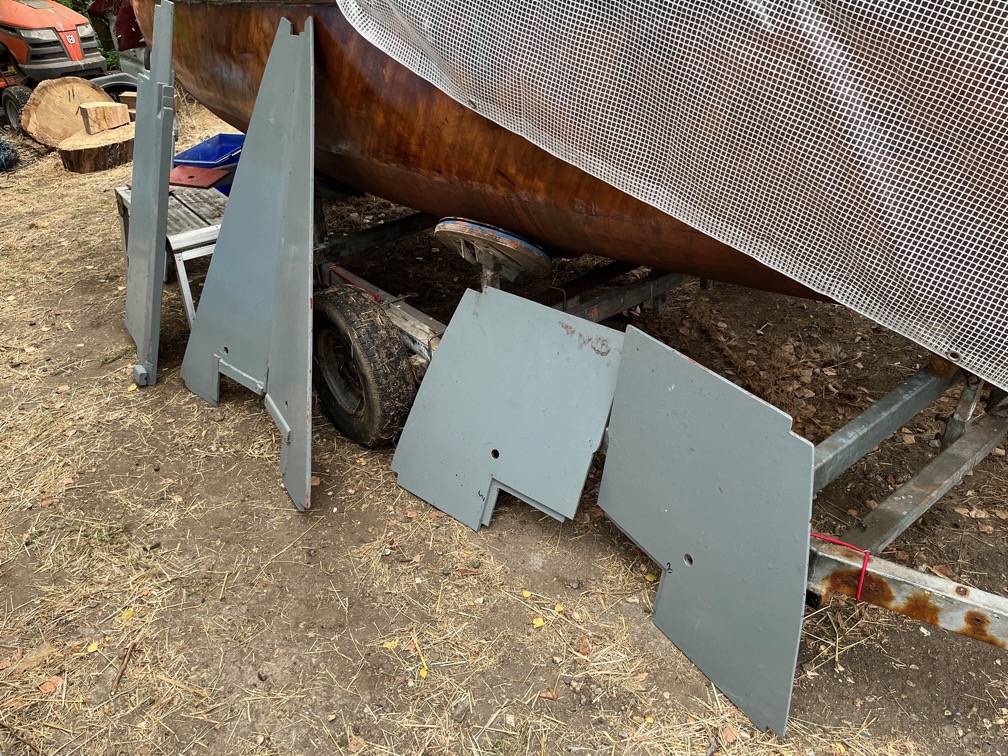
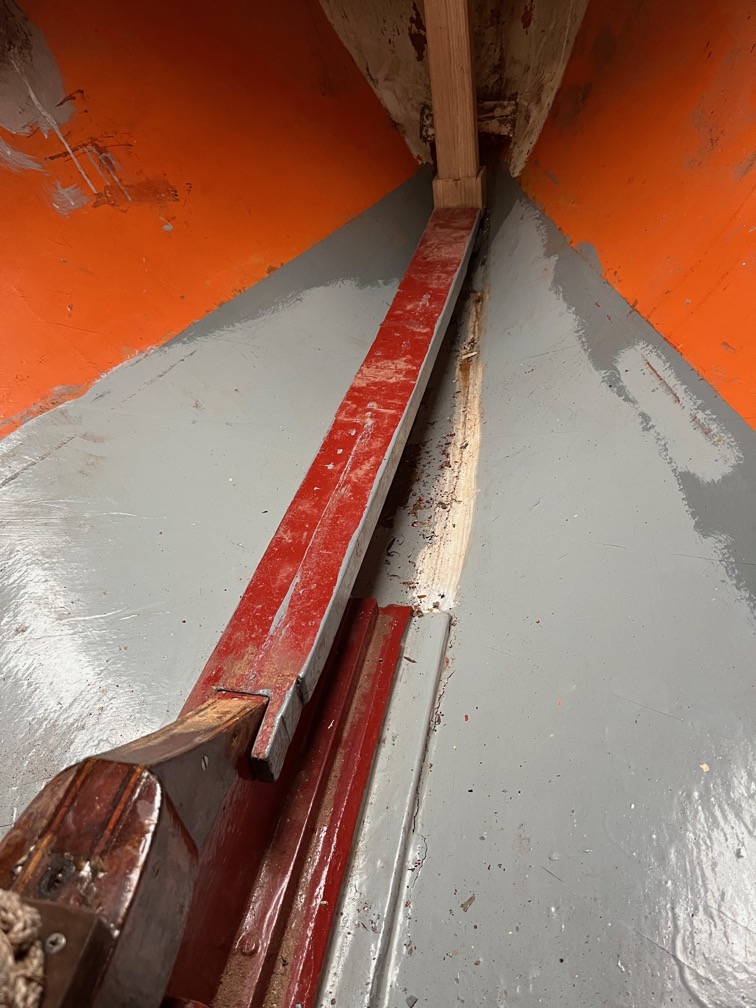
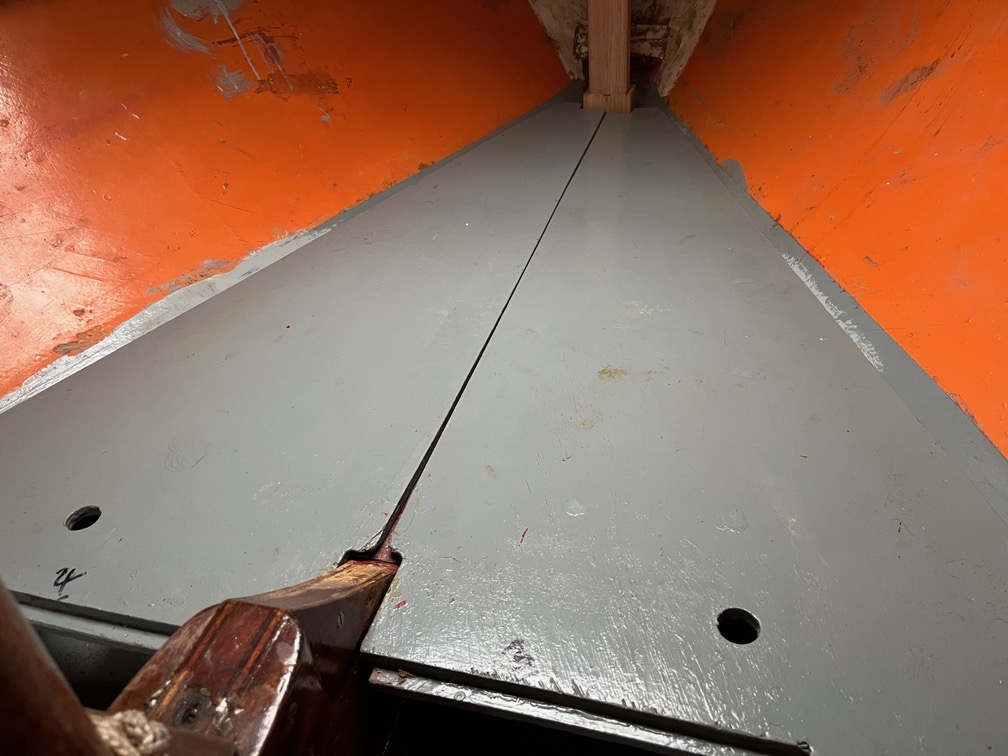
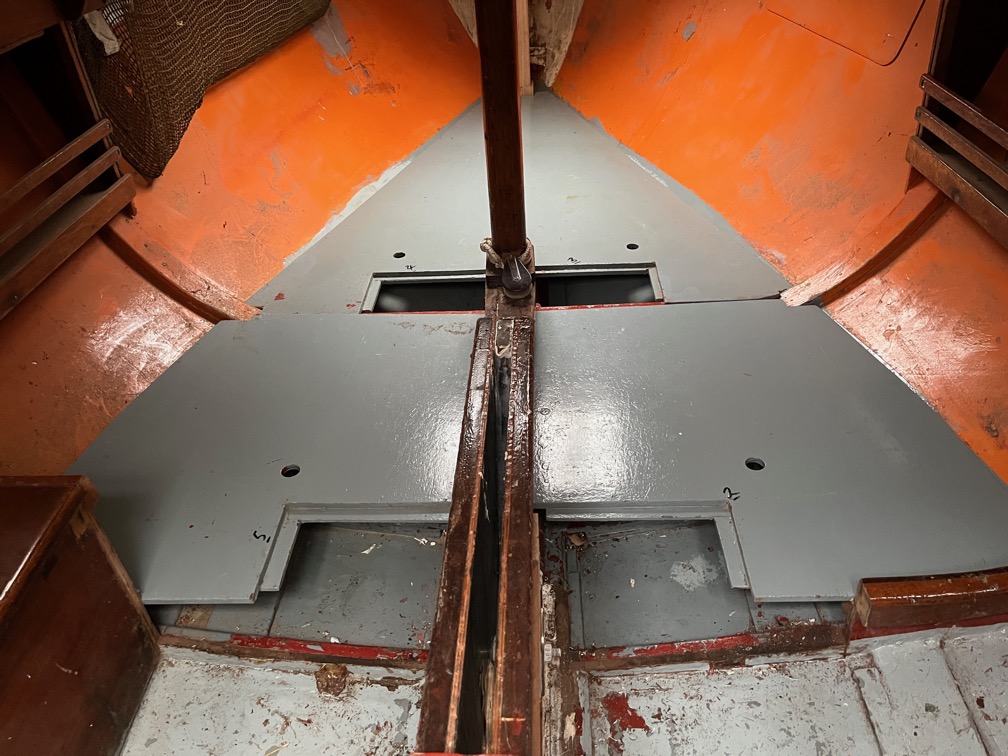
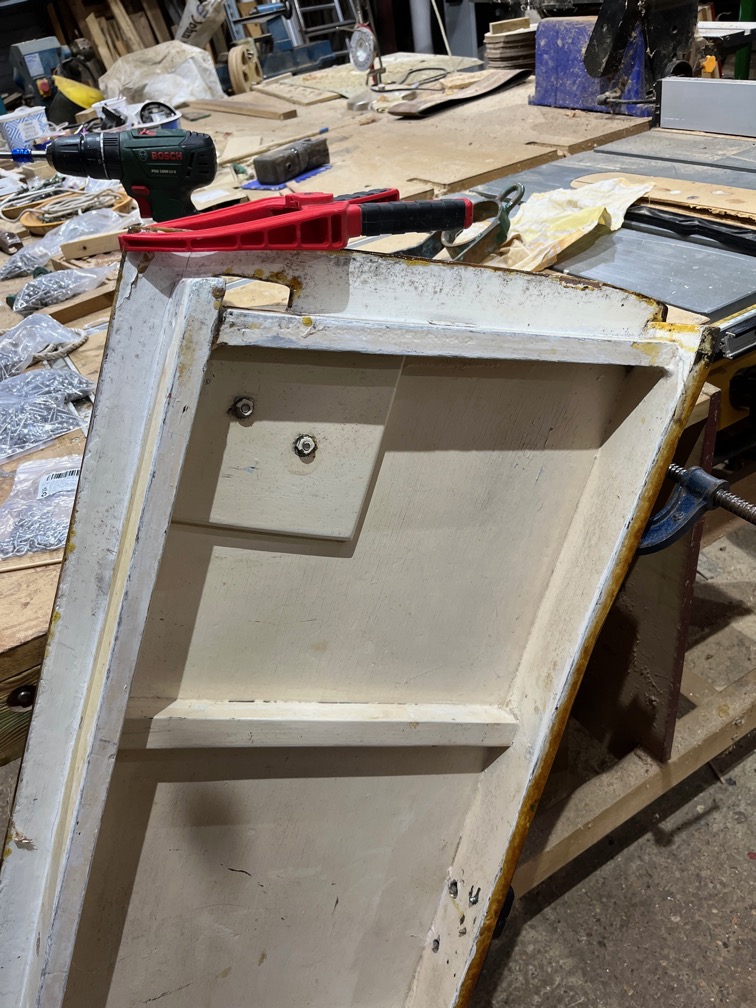
Having cut out a template for the top half of the half bulkhead last night from a piece of corrugated cardboard, I now needed to make the real thing from marine plywood. Unfortunately, none of the remaining pieces of plywood were large enough to get the piece out in one go, so I had to glue two pieces together.
Not difficult, just a delay I had not thought of.
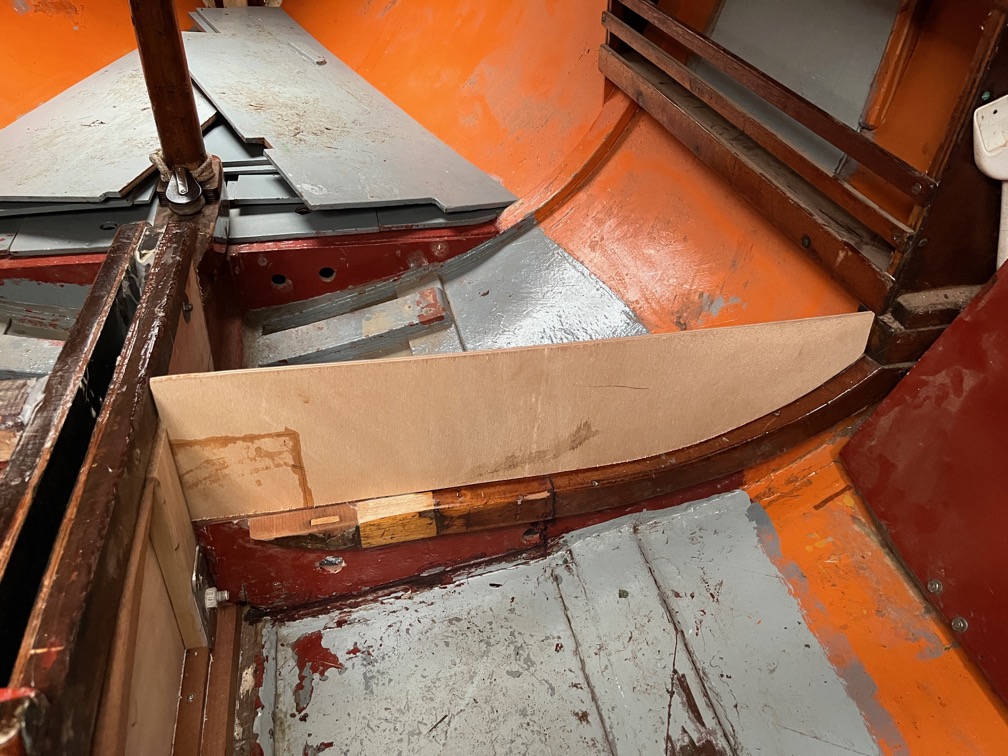
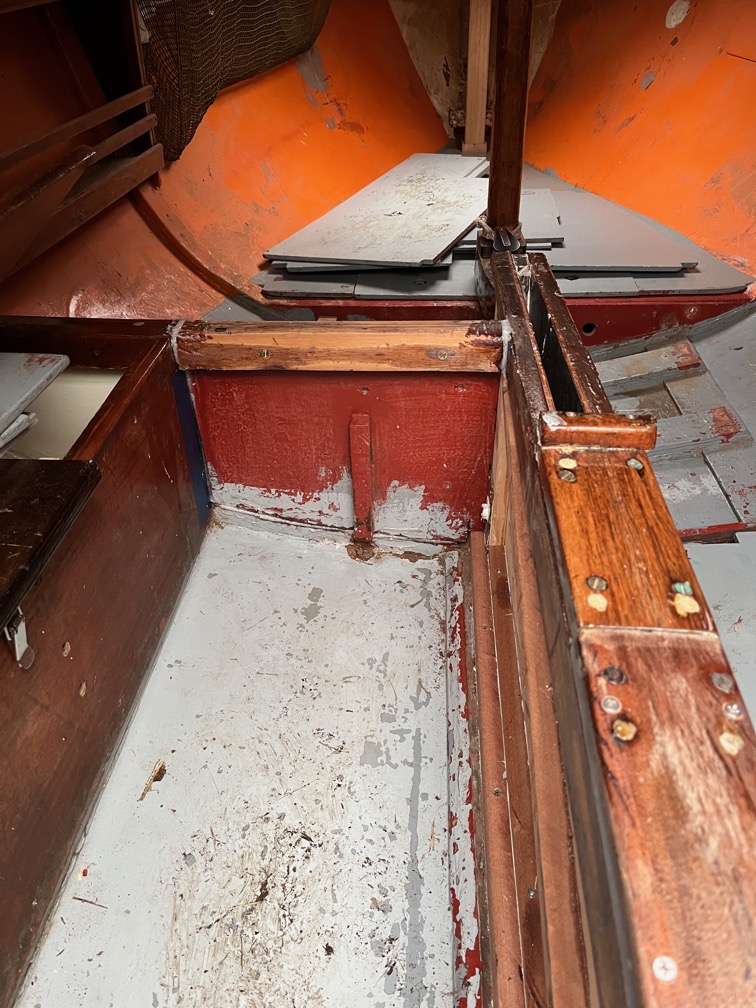
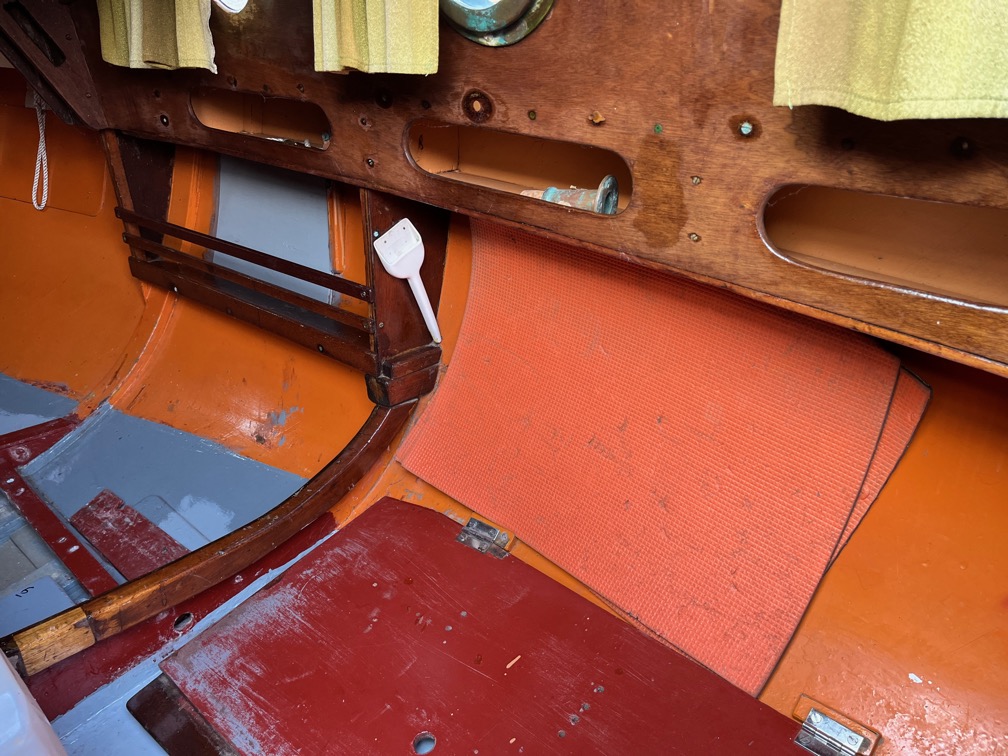
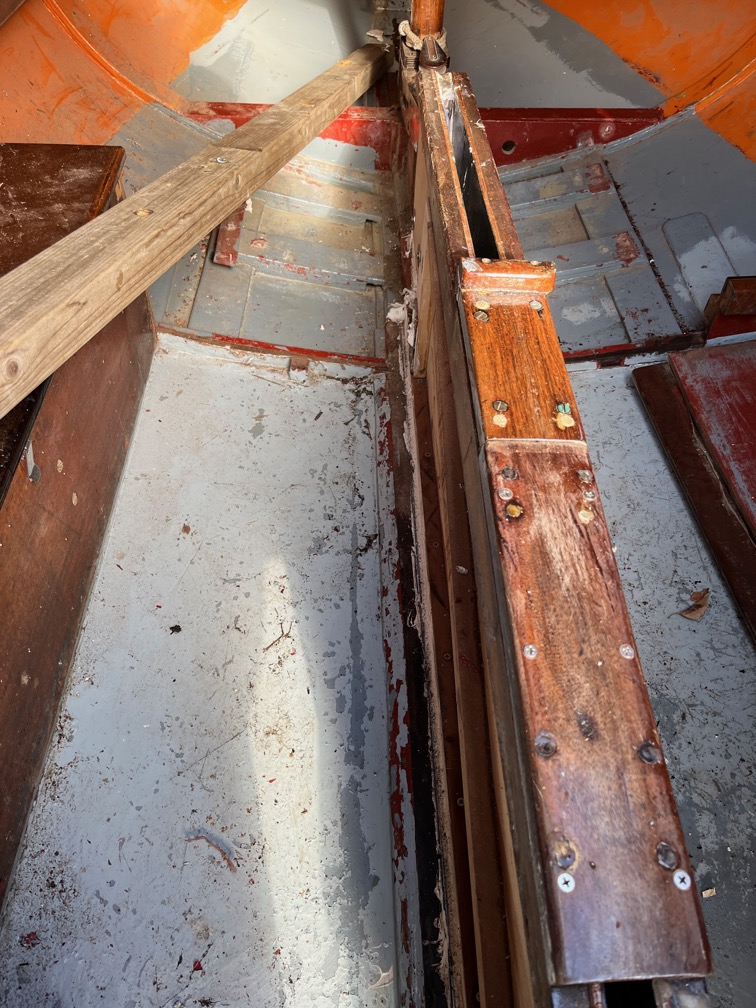
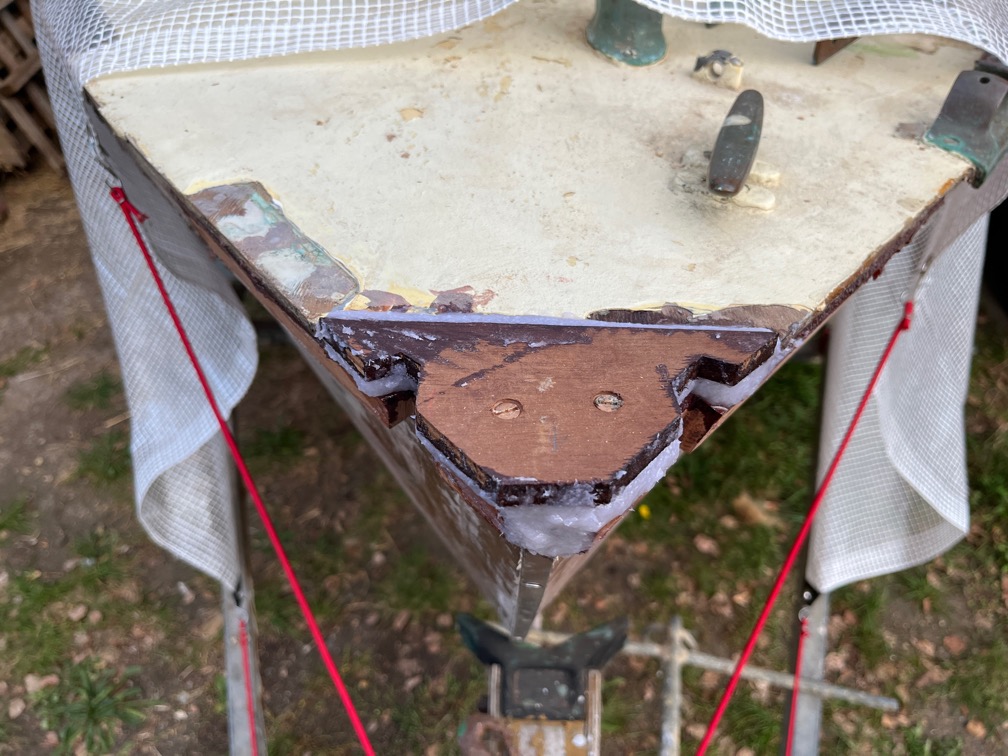
This is the workpiece in position for a dry fit.
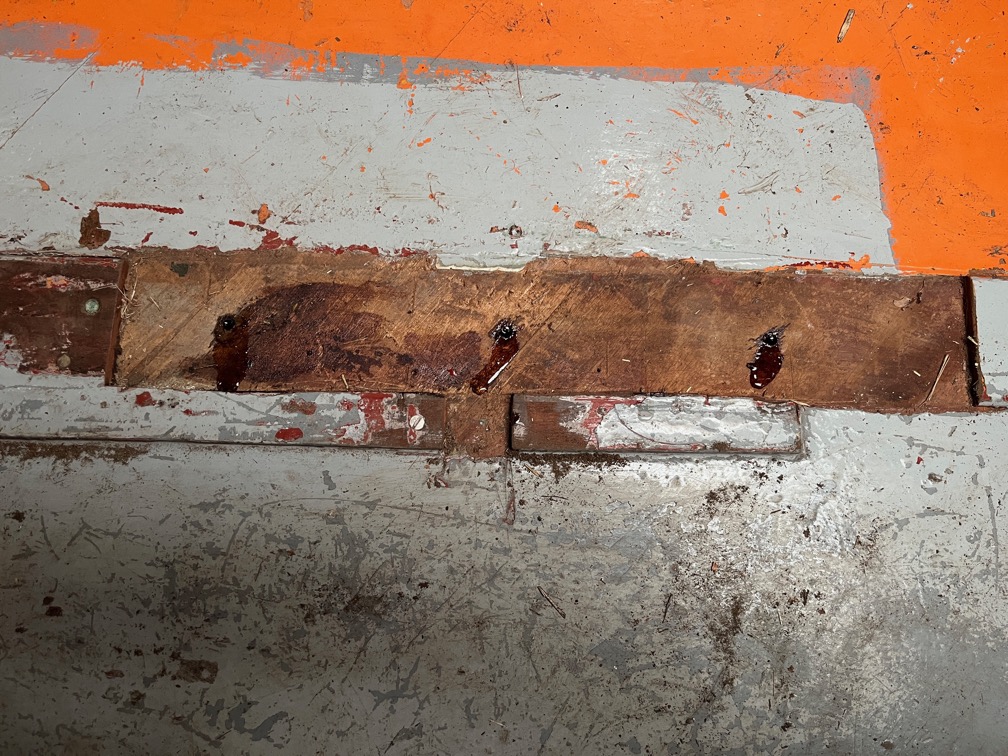
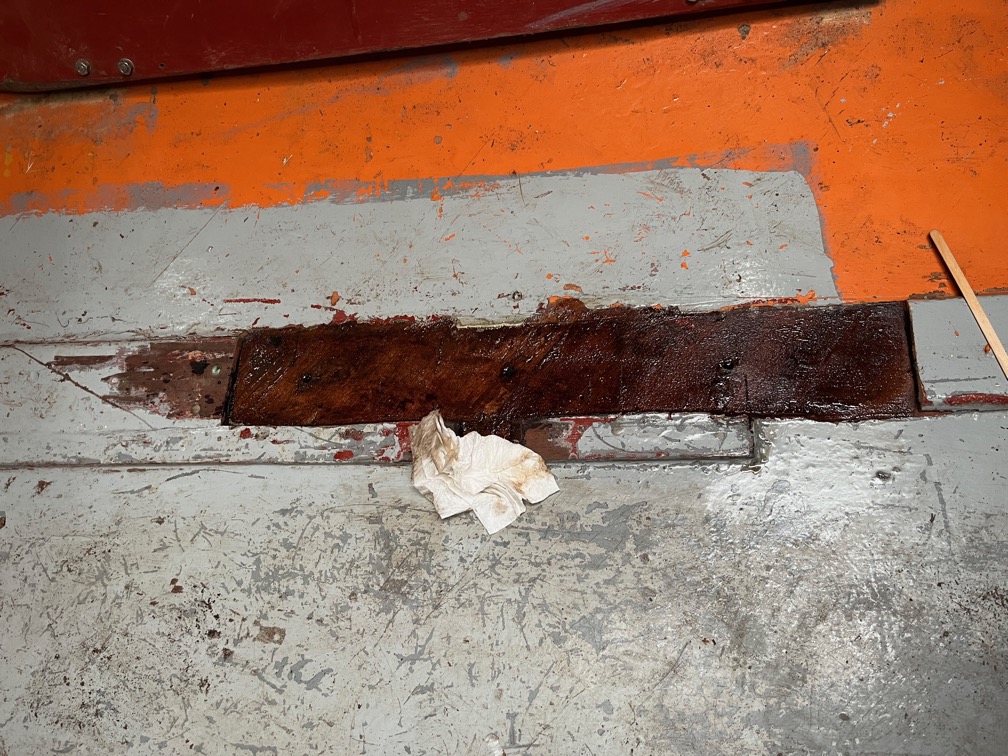
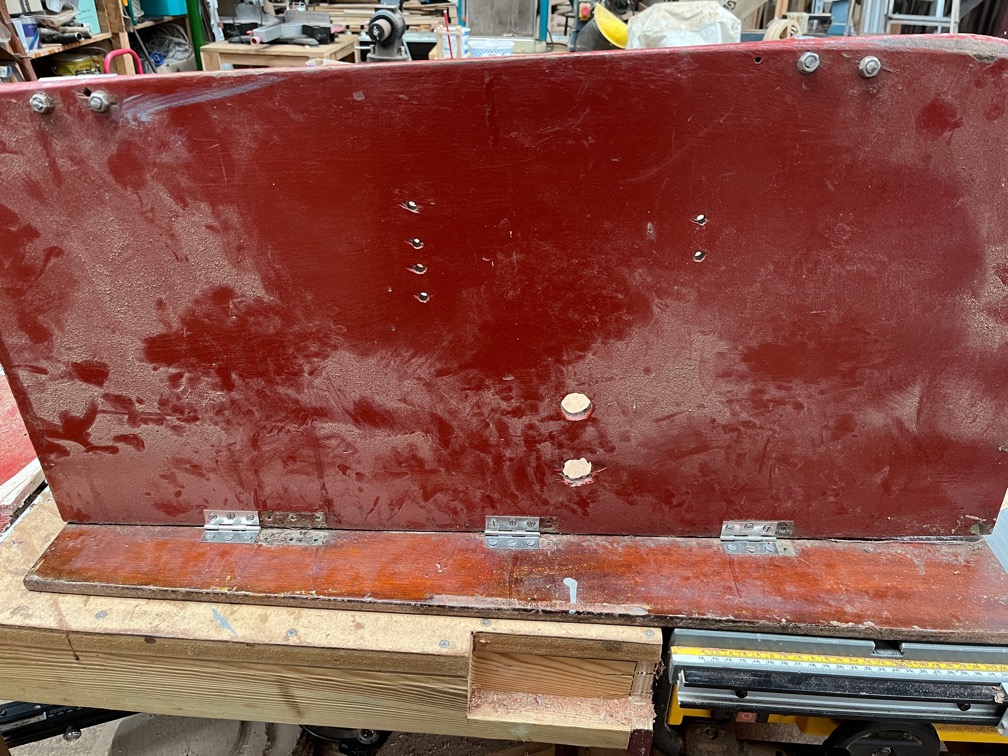
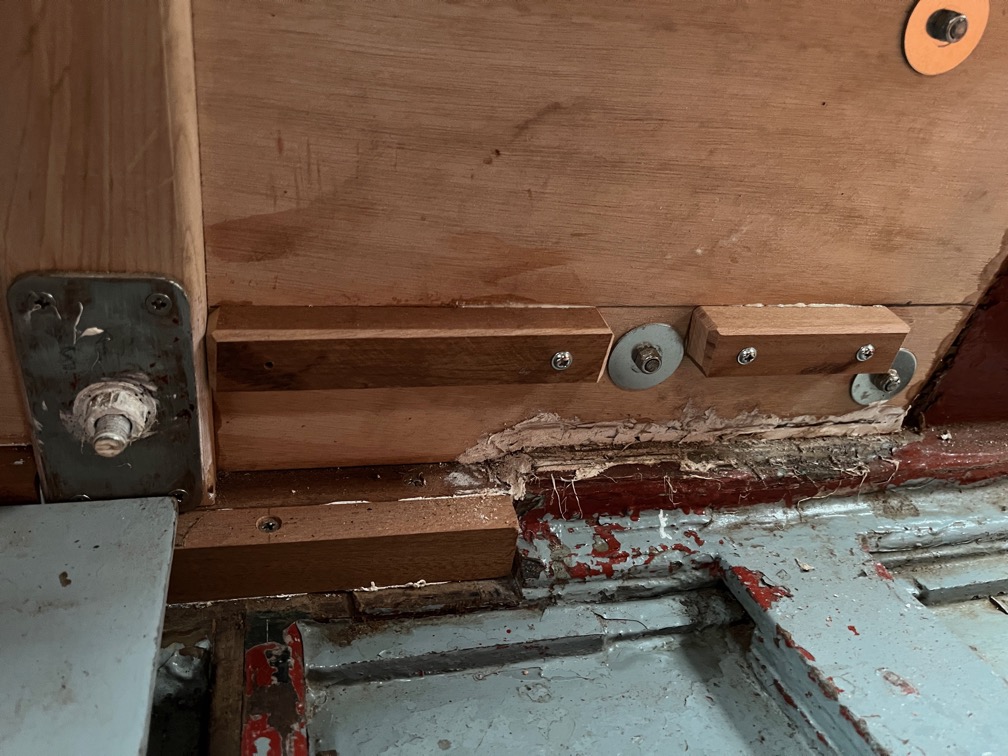
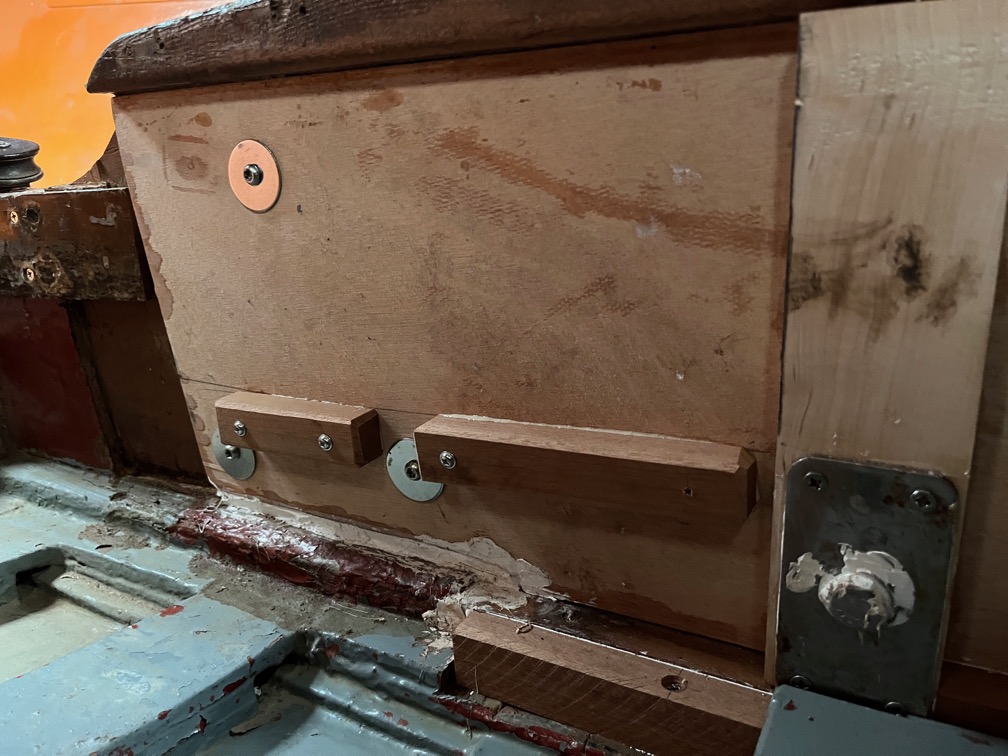
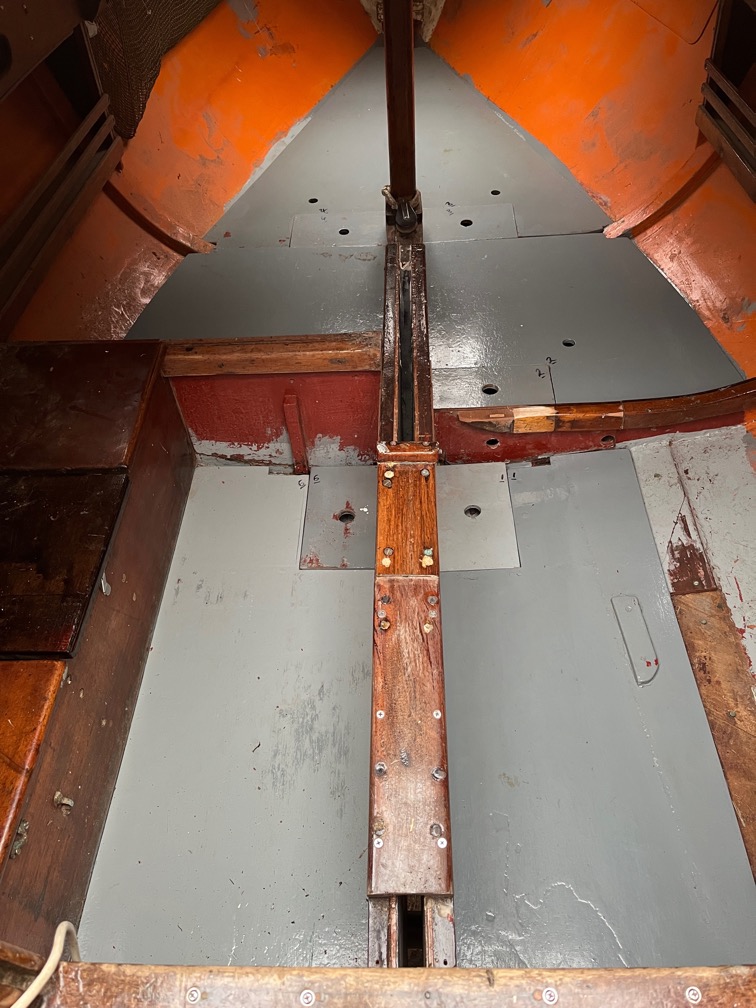
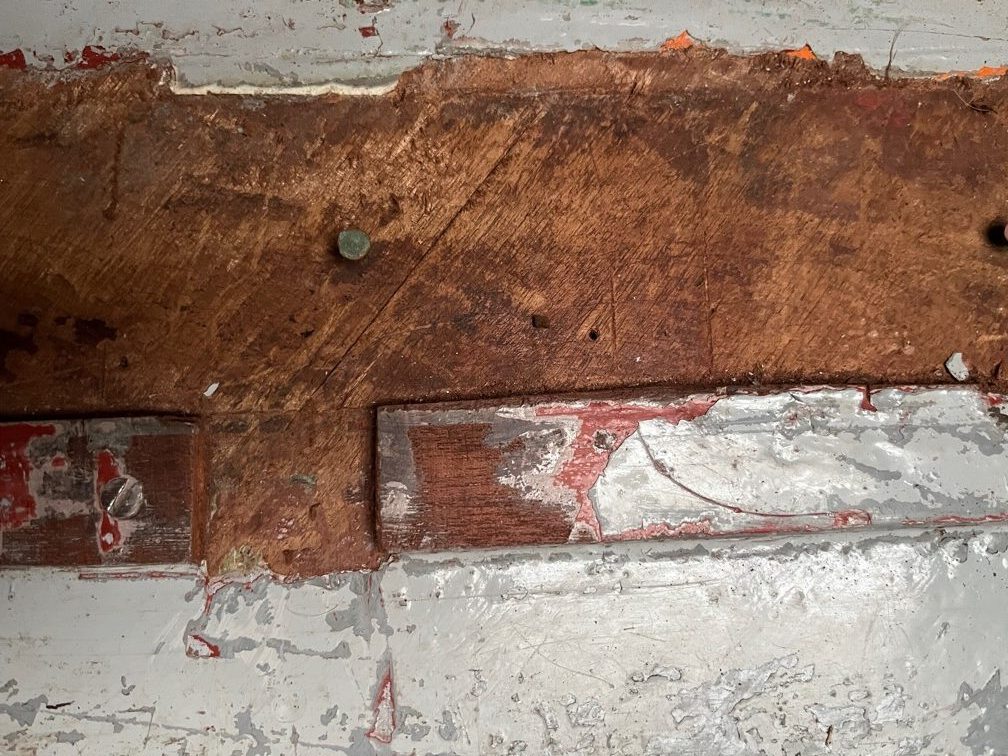
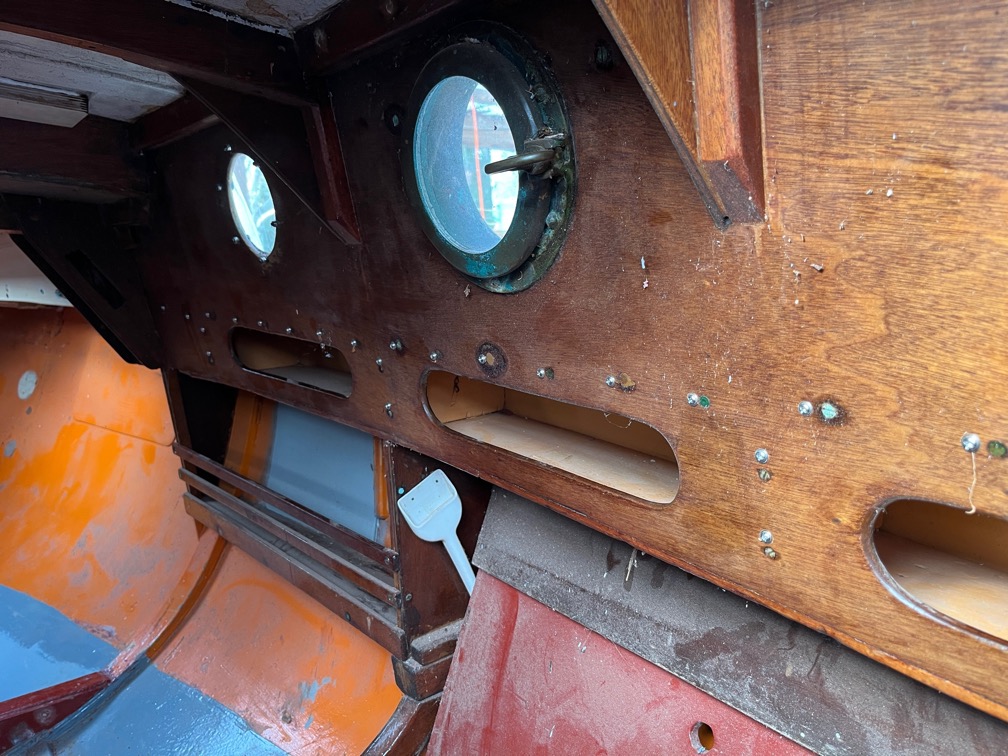
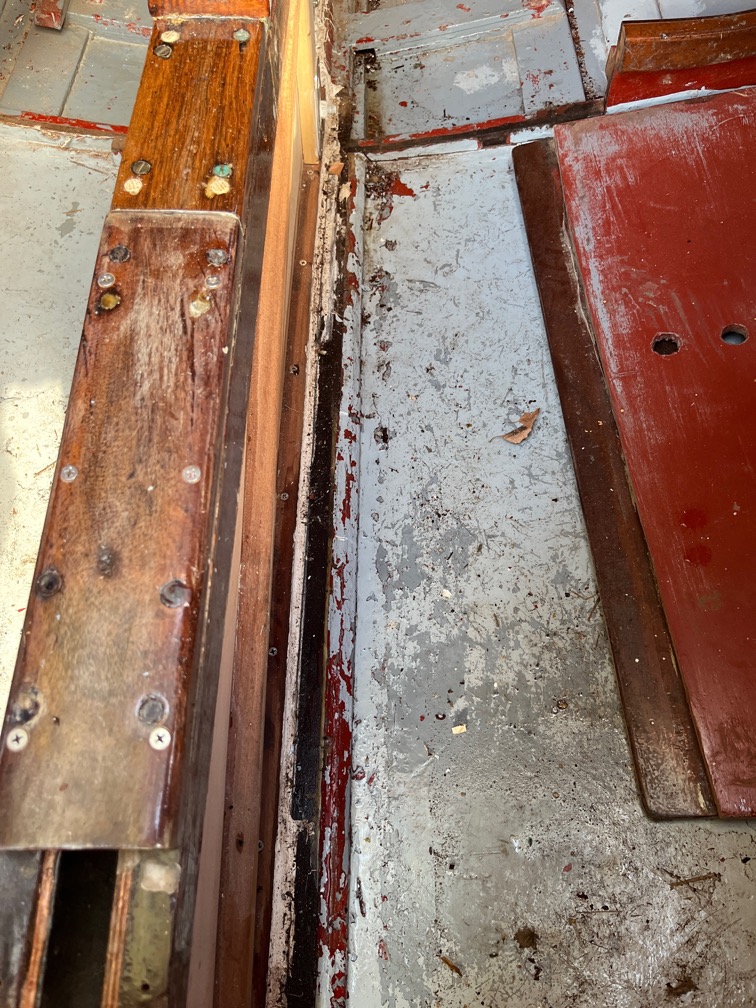
These are the three holes that I filled with epoxy last night.
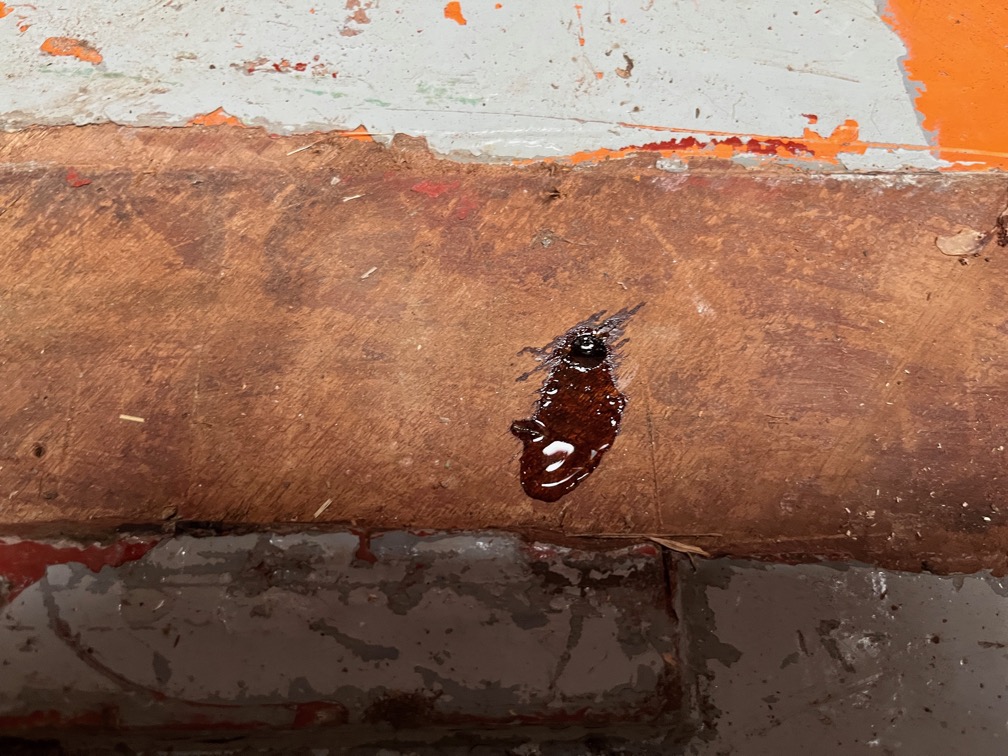
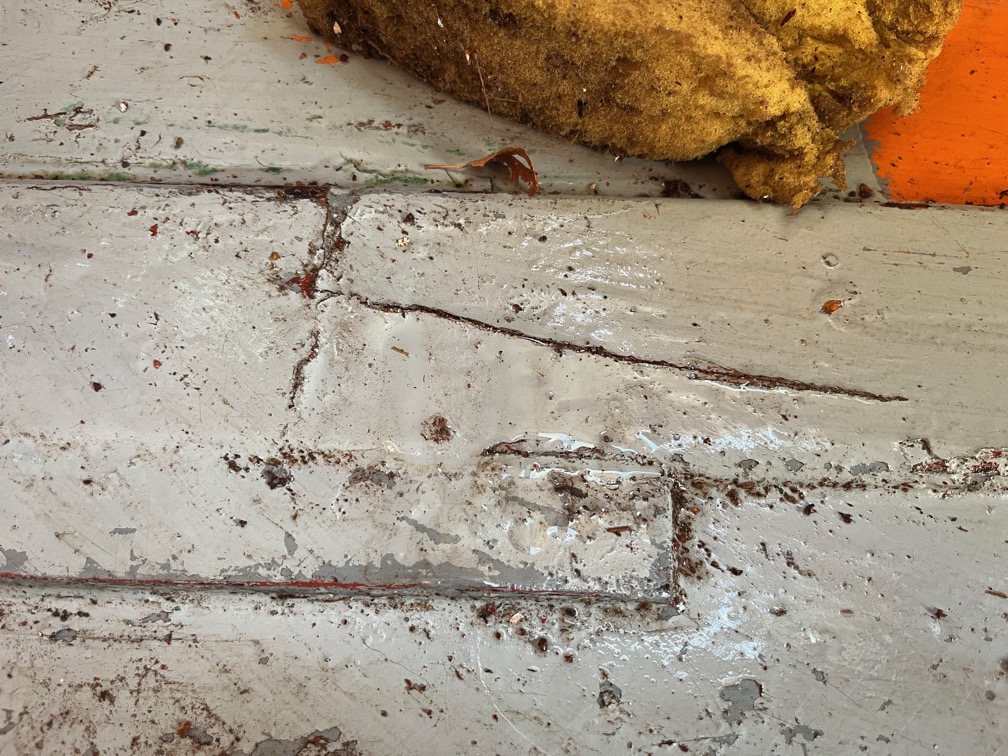
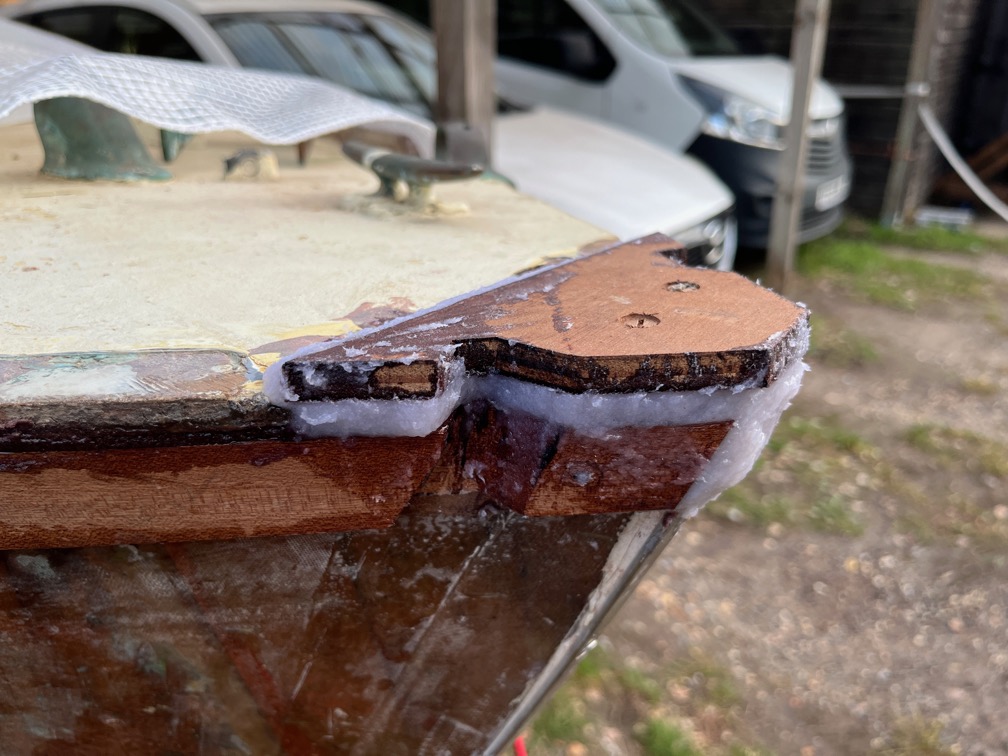
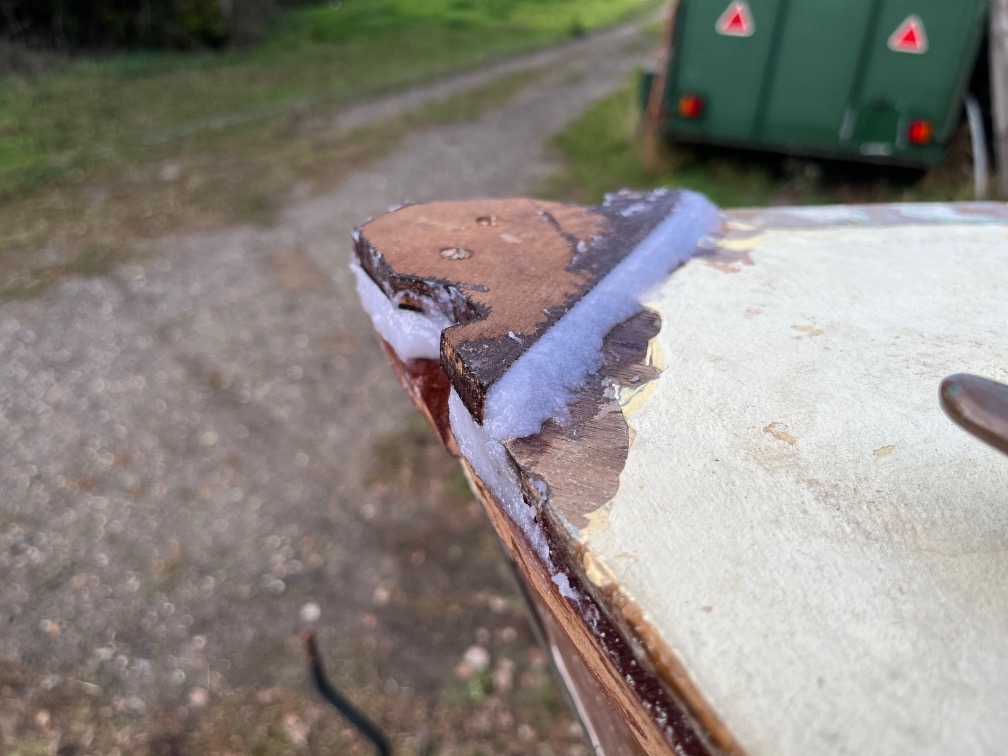
A closer look at one of them shows that some of the epoxy had seeped into the hole. The concave surface of the epoxy will be filled in when the patch is applied.
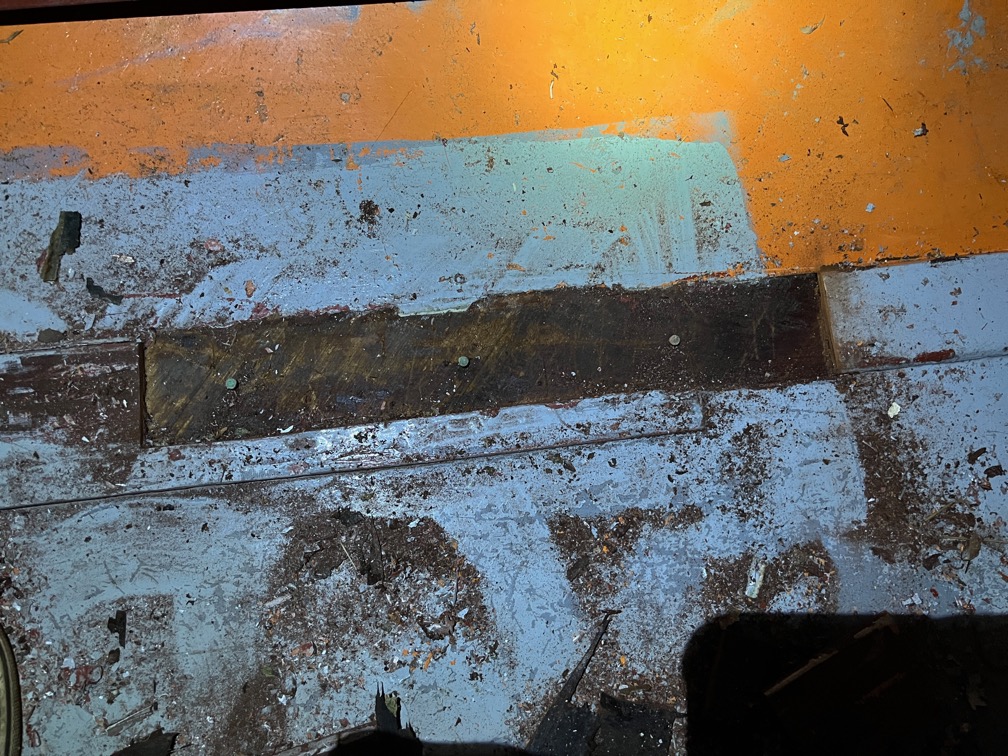
I removed the excess epoxy, gave the area a good sane and liberally applied some penetrating epoxy to soak in an seal any remaining gaps.
I hope.
Time for a cup of tea.
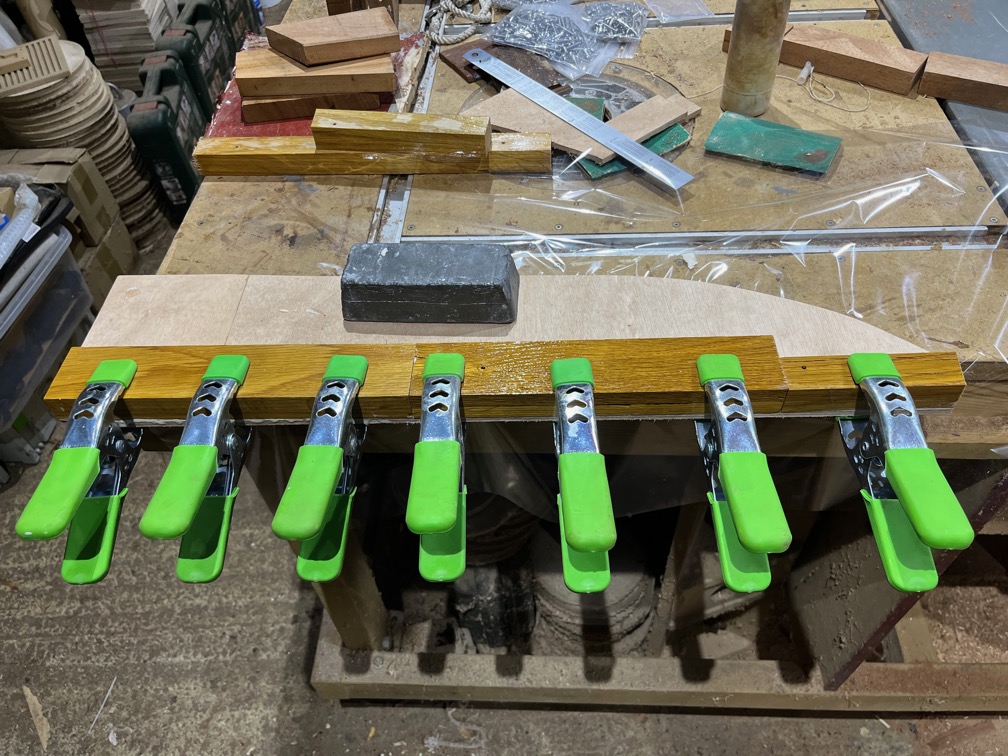
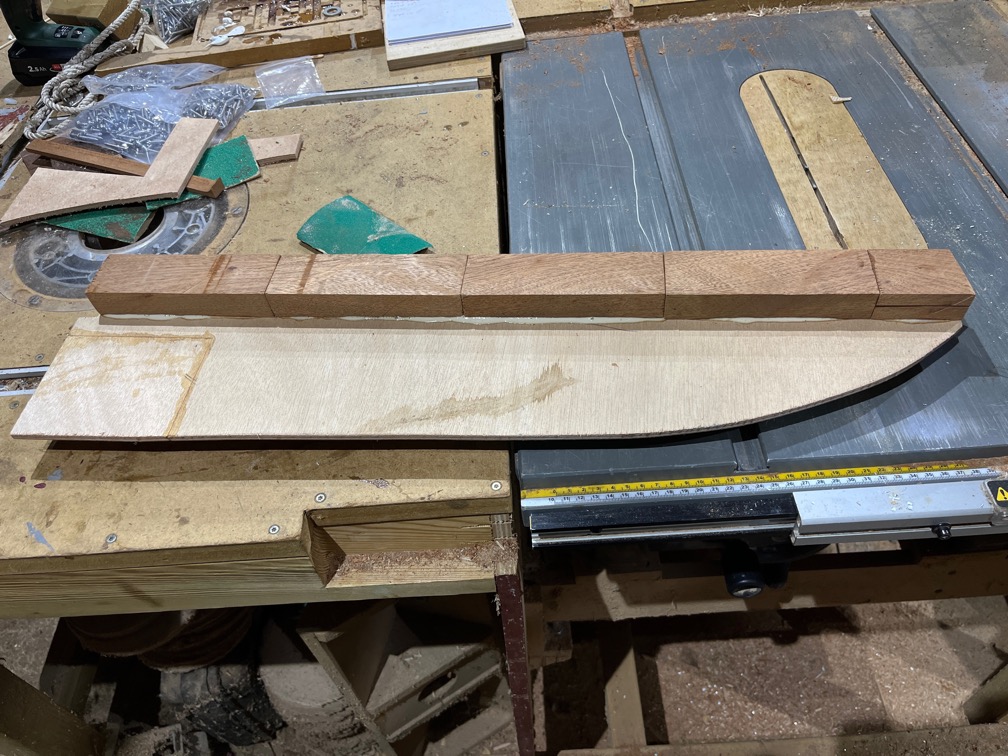
The next task was the top of the half bulkhead. I rummaged through the wood pile and found some Oak for one side and some Sapale for the other. I didn’t have enough of either to do both sides. Well not without a whole heap of gluing !
This is the oak being glued on one side.
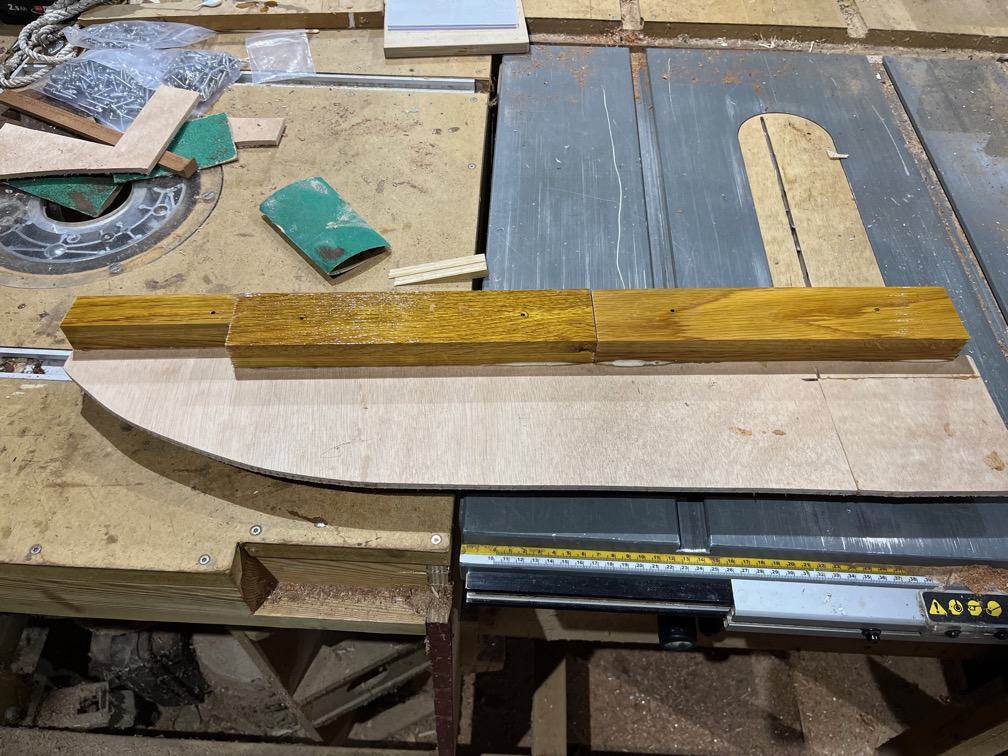
And once the glue had set up for about 20 minutes, I glued the Sapale on the other side. Once that has set up I’ll bring the whole thing into the house and put it on the Rayburn to get warm so that the glue properly dries.
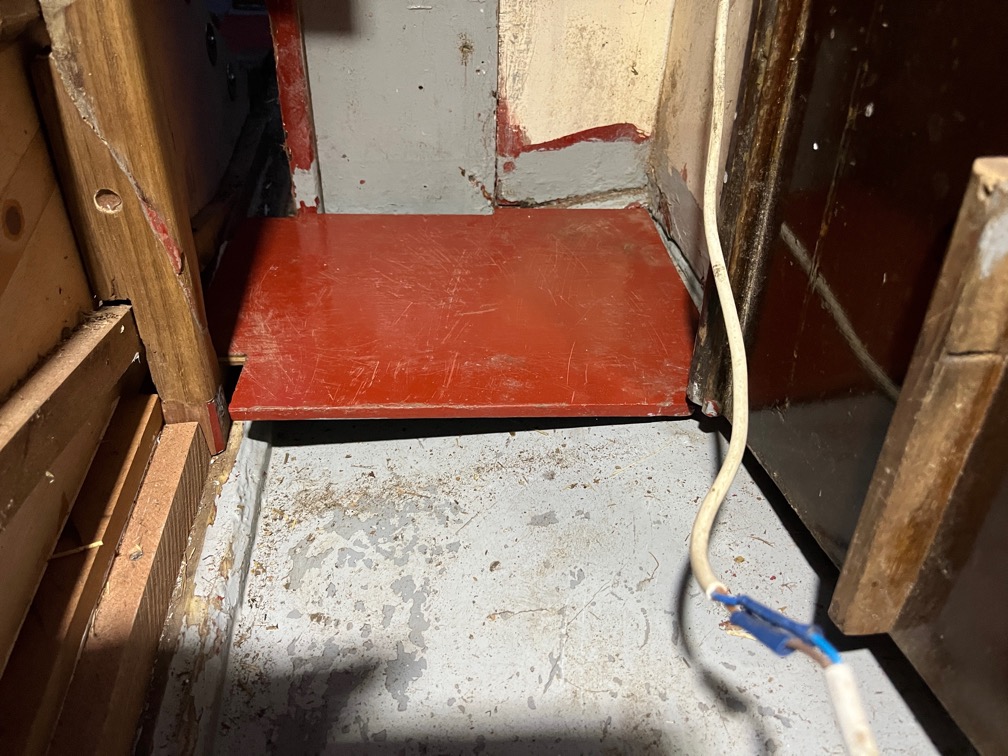
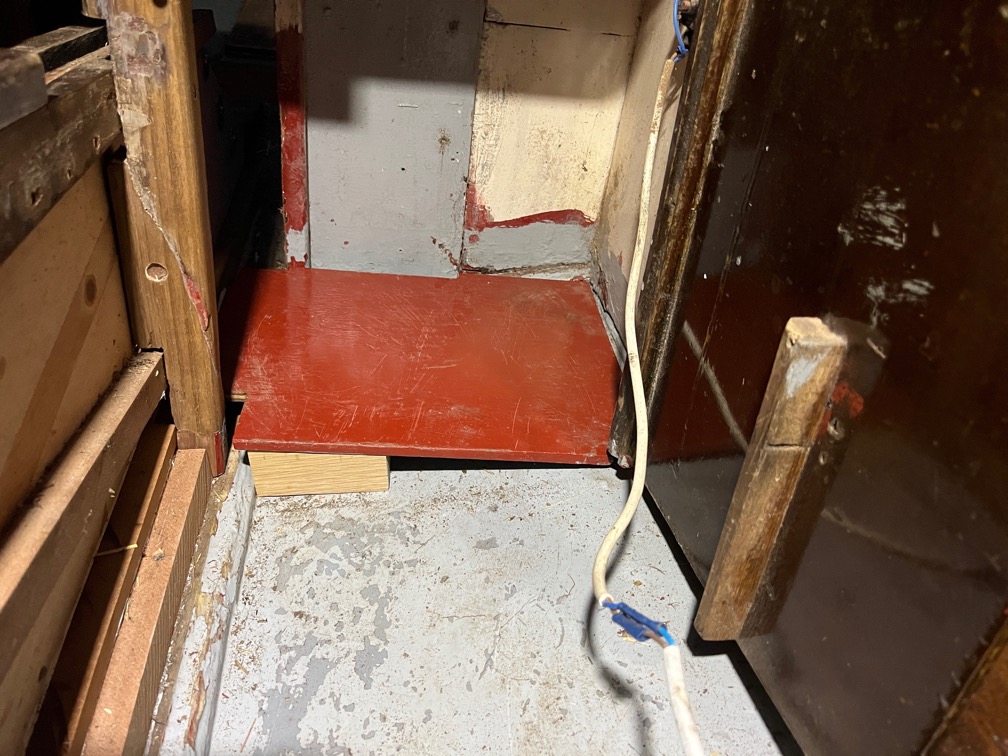
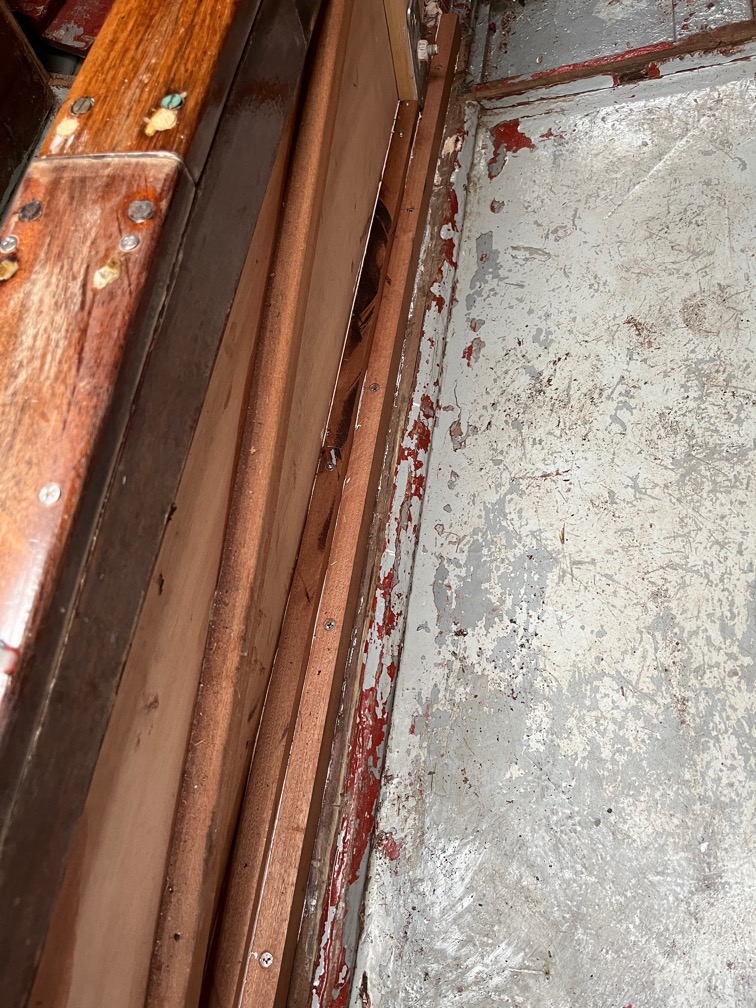
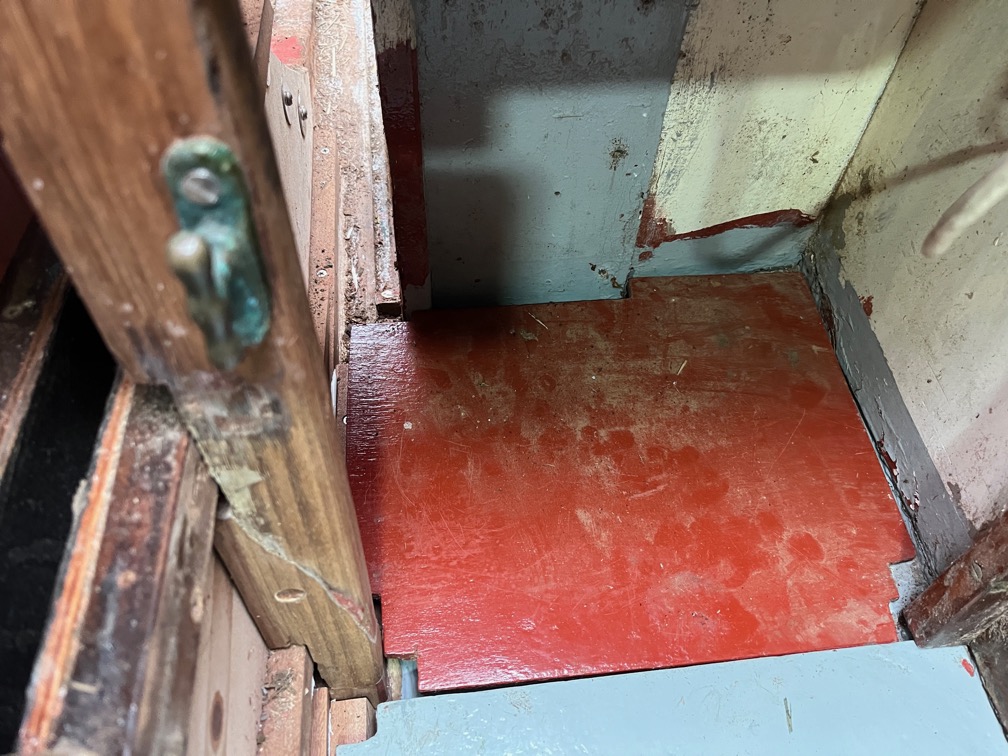
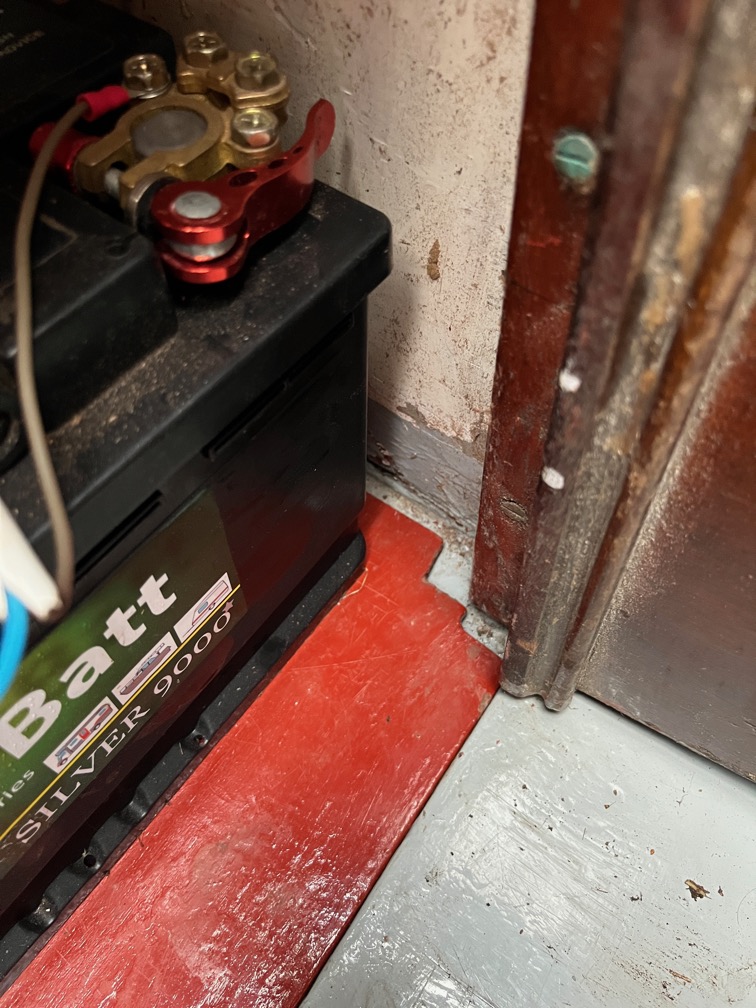
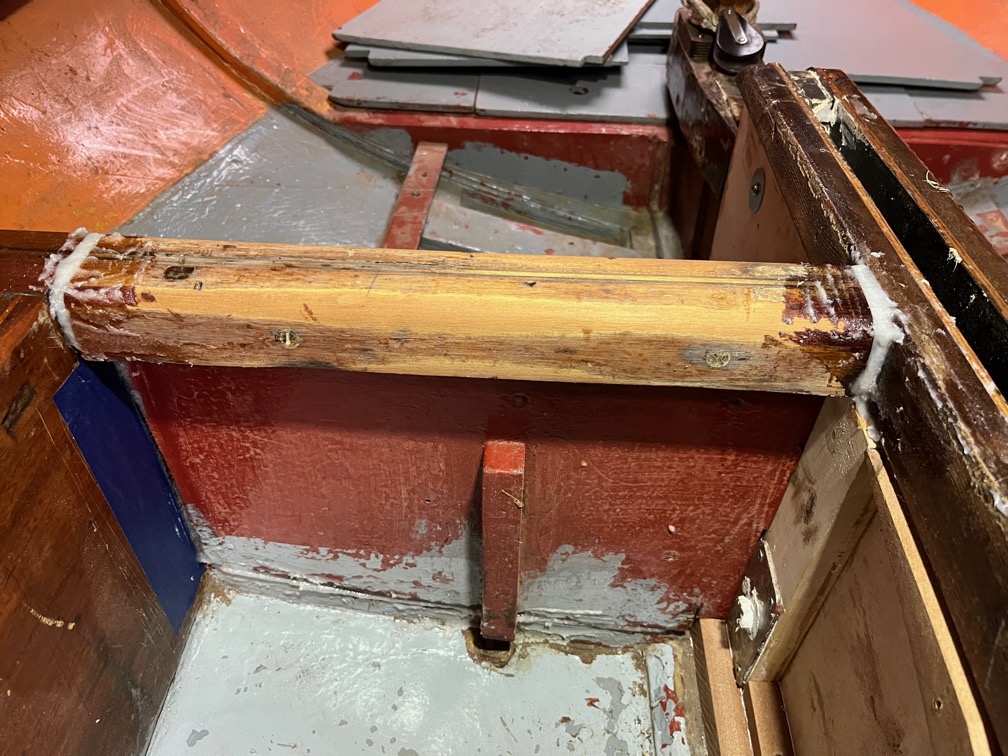
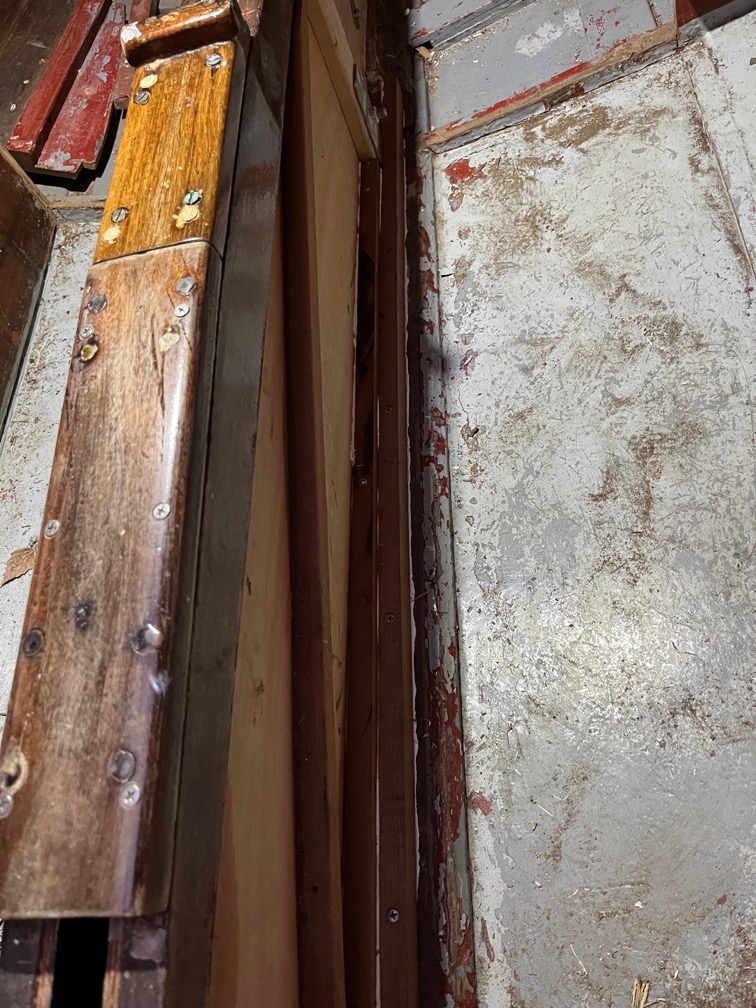
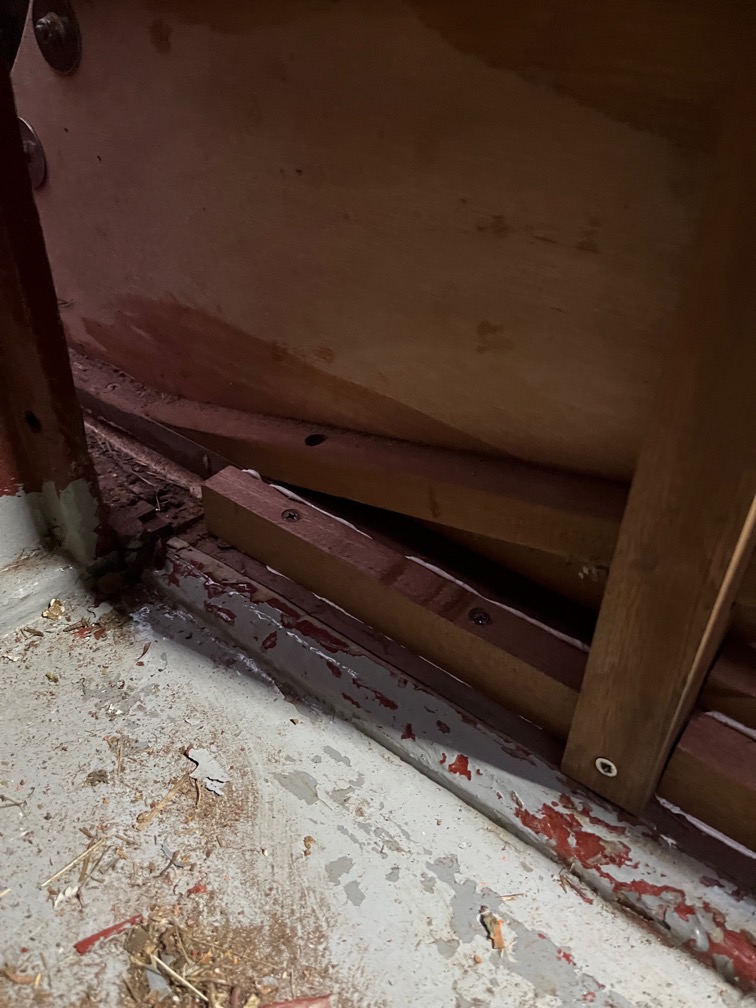
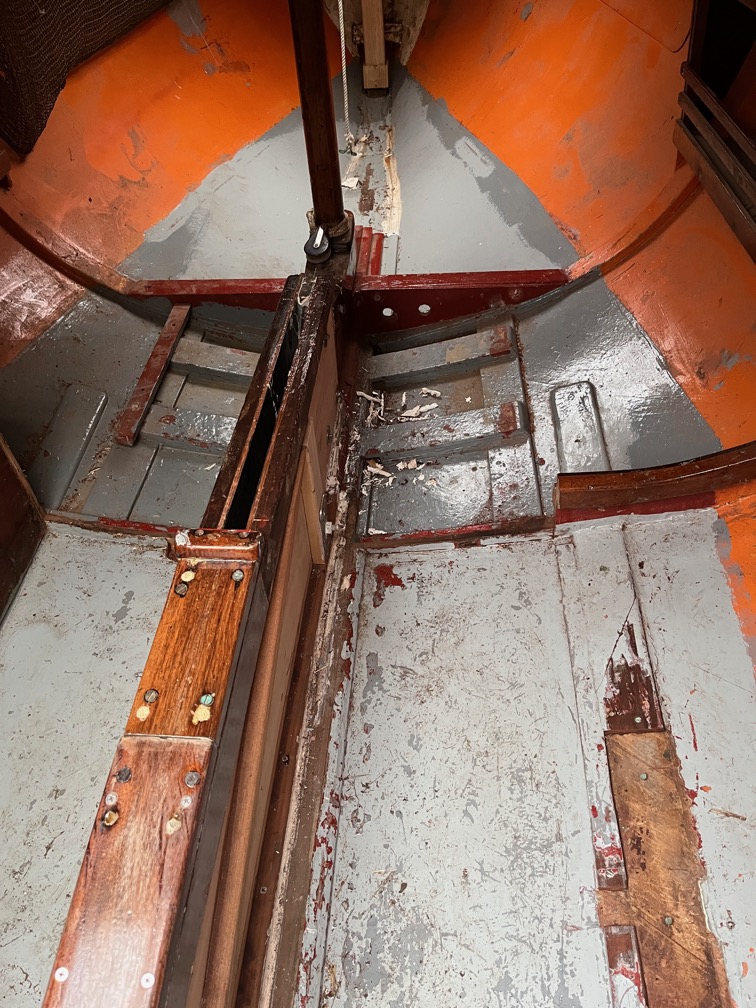
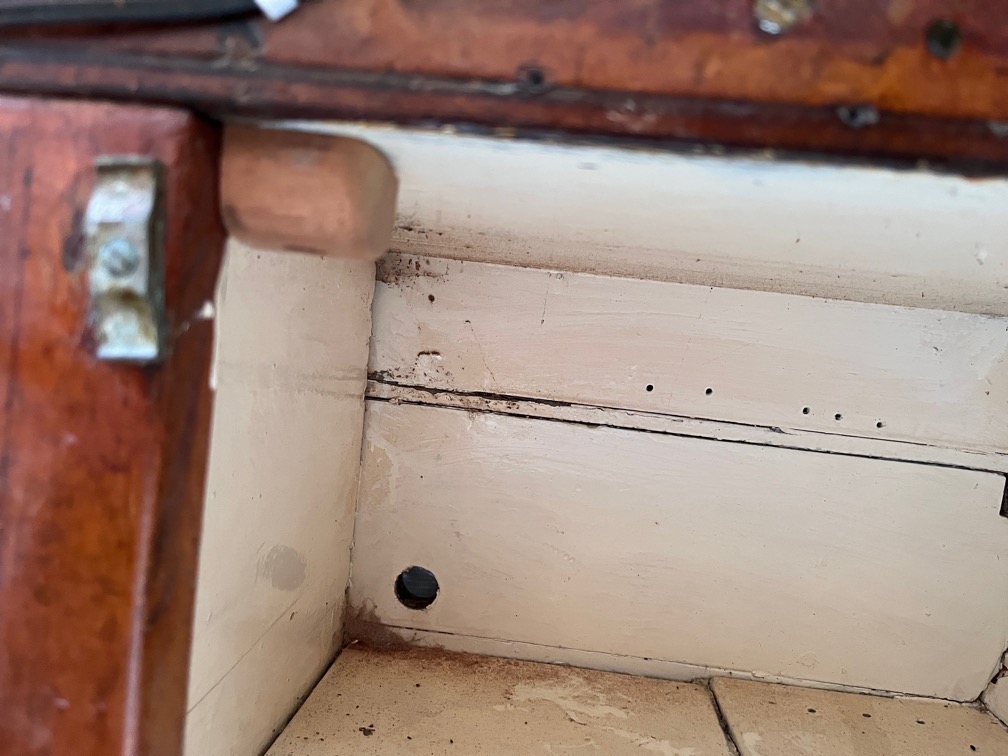
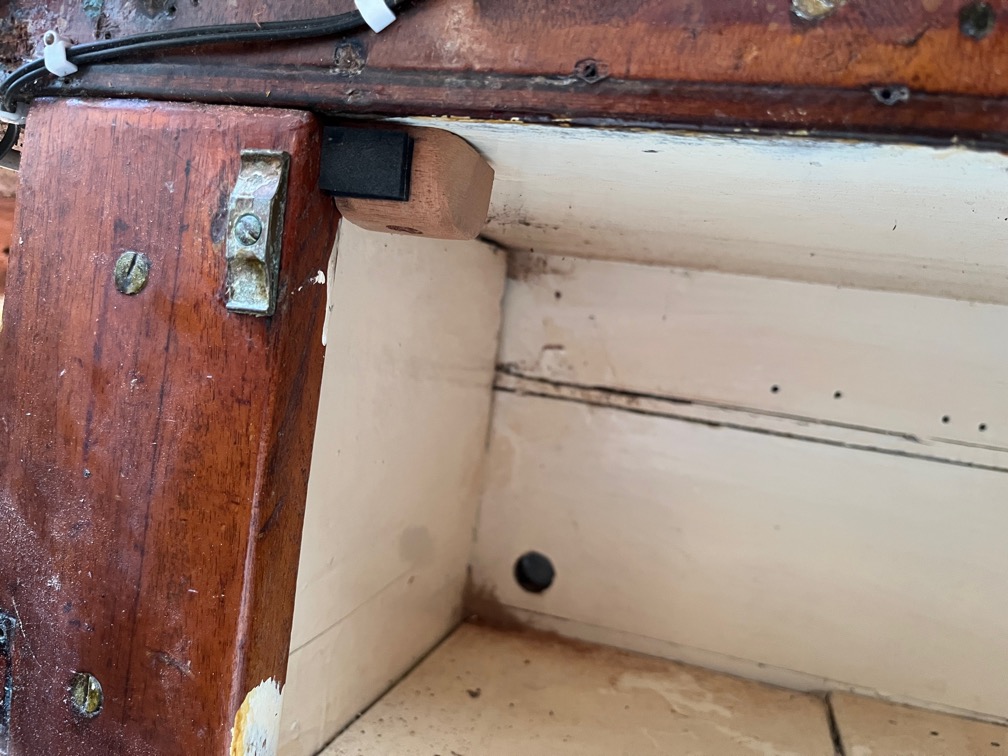
The floor of the battery box was looked at next. Here you can see that the front inboard edge is unsupported.
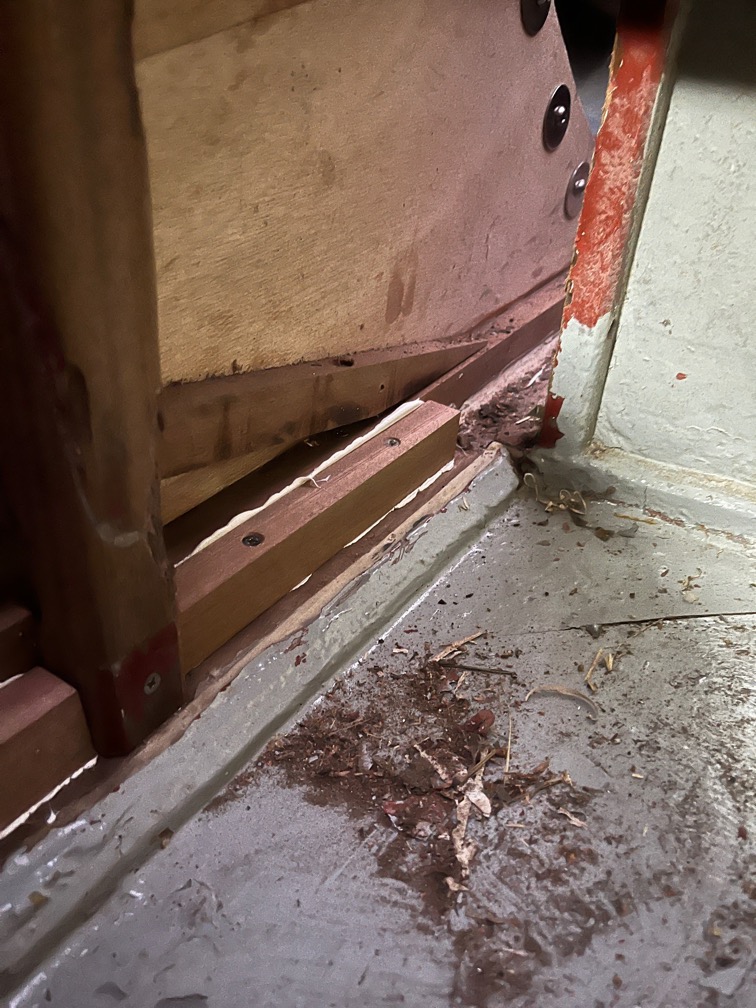
I shaped a piece of Oak to make a support and used sealant to glue it in place. I’ll put screws in tomorrow when the sealant has cured.
Time for a cup of tea.
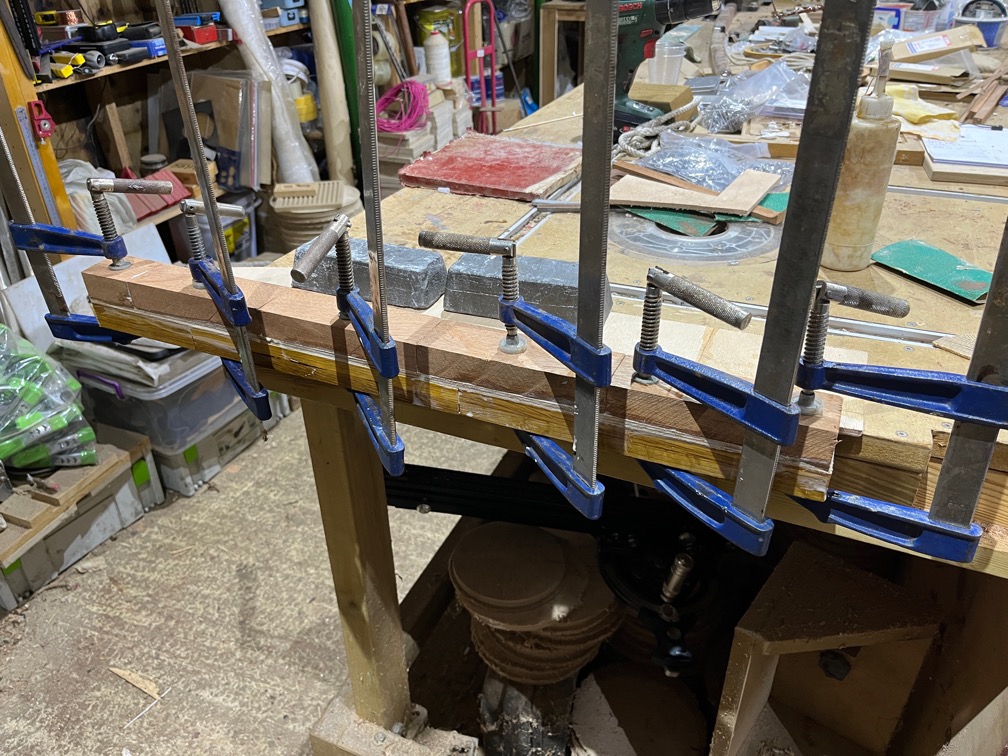
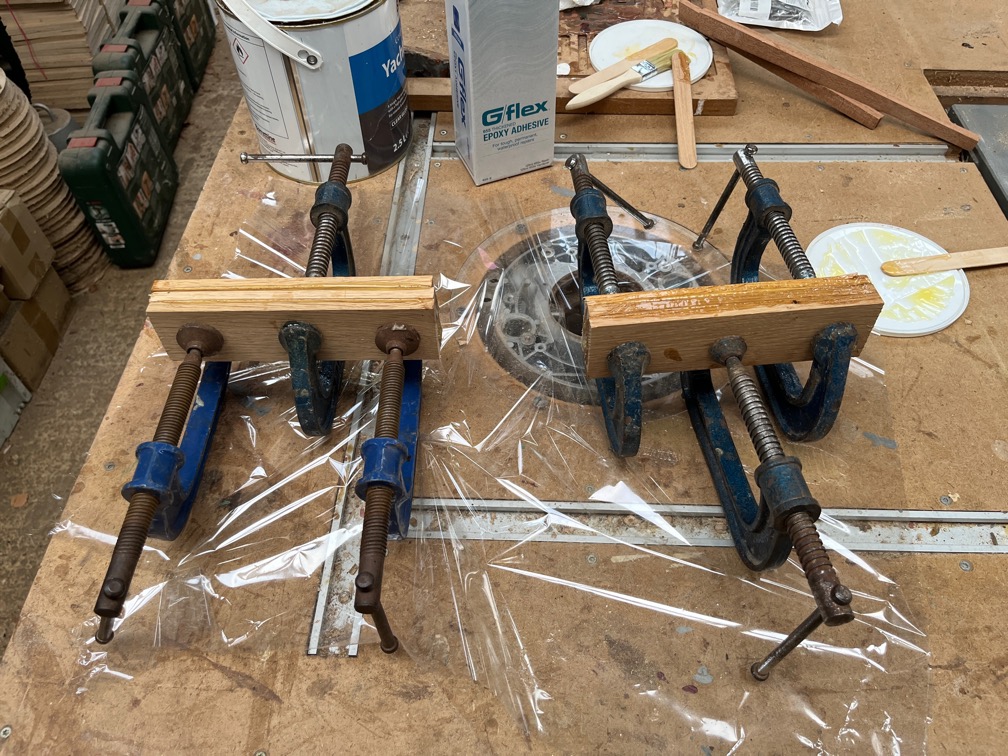
The last task for the day was to remove all the cramps from the workpiece before taking it into the house.
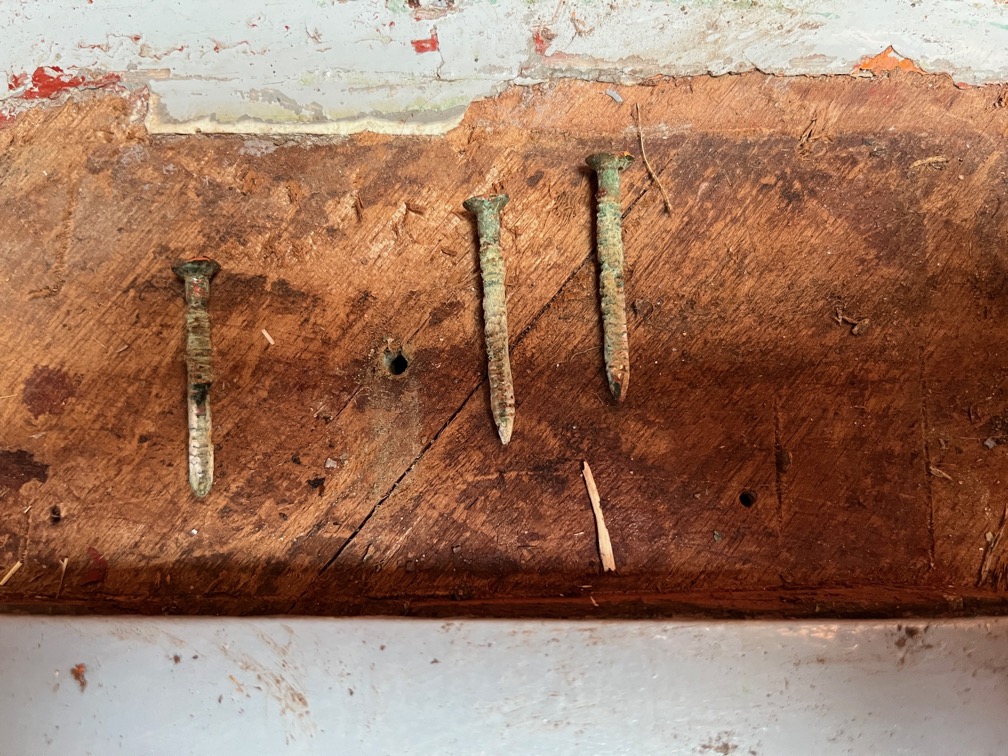
I took a slightly longer lunch break than usual to get the starboard side of the half bulkhead started but found that I kept on kneeling on the gripfast nails.
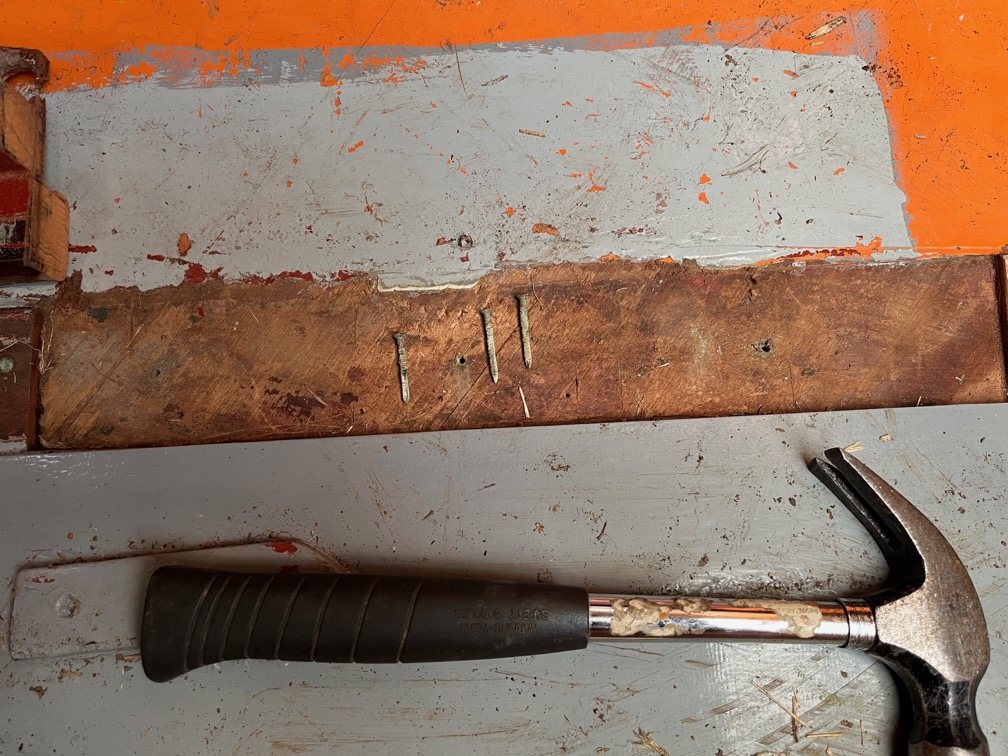
So I pulled them out. The middle one came out much more easily than expected and this it the one that I think is leaking.
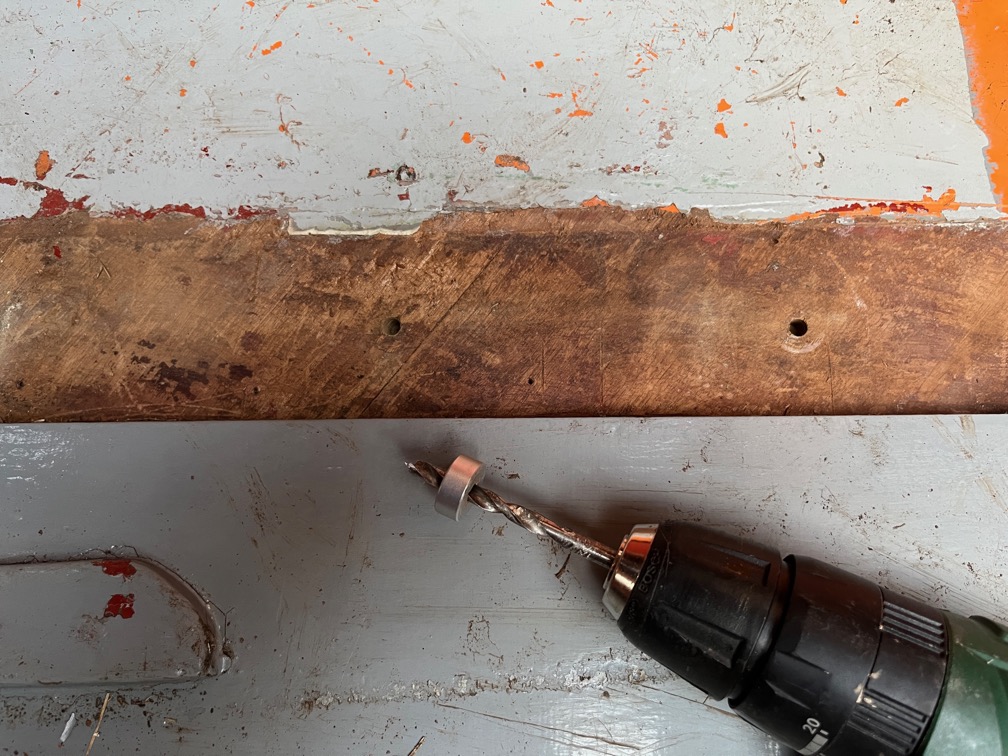
The holes are quite narrow and plugging it is going to be tricky if tried as-is.
So I drilled out the holes to 6mm and a depth of 11mm which should just protrude through the hull and into the blige runner.
Later on this afternoon I shall fill the holes with neat epoxy using the slow hardener so that the epoxy has time to run down the holes and spread out at the bottom to fill in all the nooks and crannies. It may take more than one fill to do the job, we shall see.
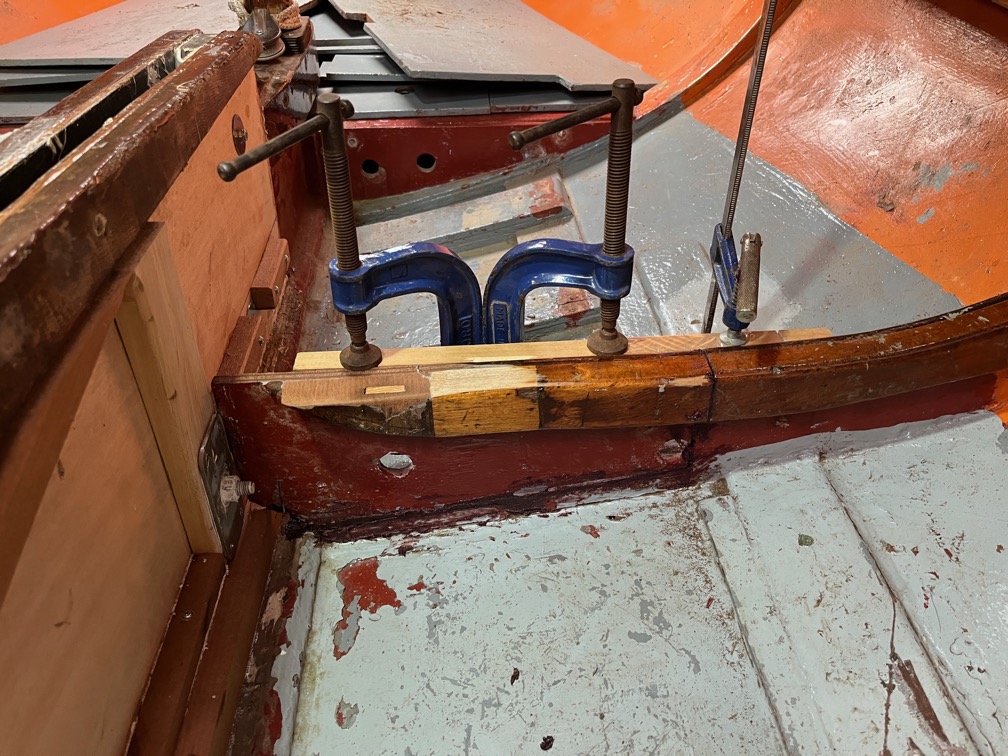
The half bulkhead was done next. Like the port side the edges to be glued were coated with neat epoxy before thickened epoxy was spread on one piece and the two mated together. The bearer, which was cut in half during the removal, was used to hold the workpiece in place by clamping it tightly the the piece still attached to the section of the bulkhead that remained attached to the hull. A straight batten was used to line the two pieces up.
I used the fast hardener for this job as I want to make a template for the remainder of the bulkhead later on this afternoon and the epoxy should be fairly stiff by then.
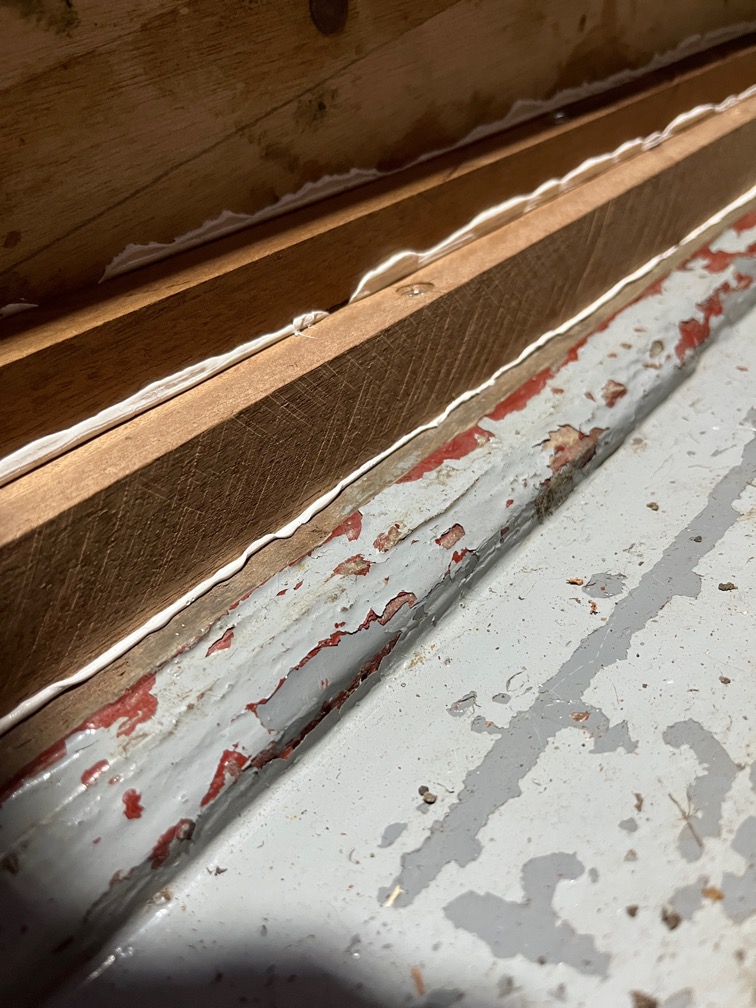
With the sealant having been left overnight to cure, it was time to trim off the squeeze out.
This is an easy job when the sealant is still recently cured and just requires a sharp chisel and a little care.
The white sealant that you can see in the photos is the sealant between the two pieces of wood and is not squeeze out.
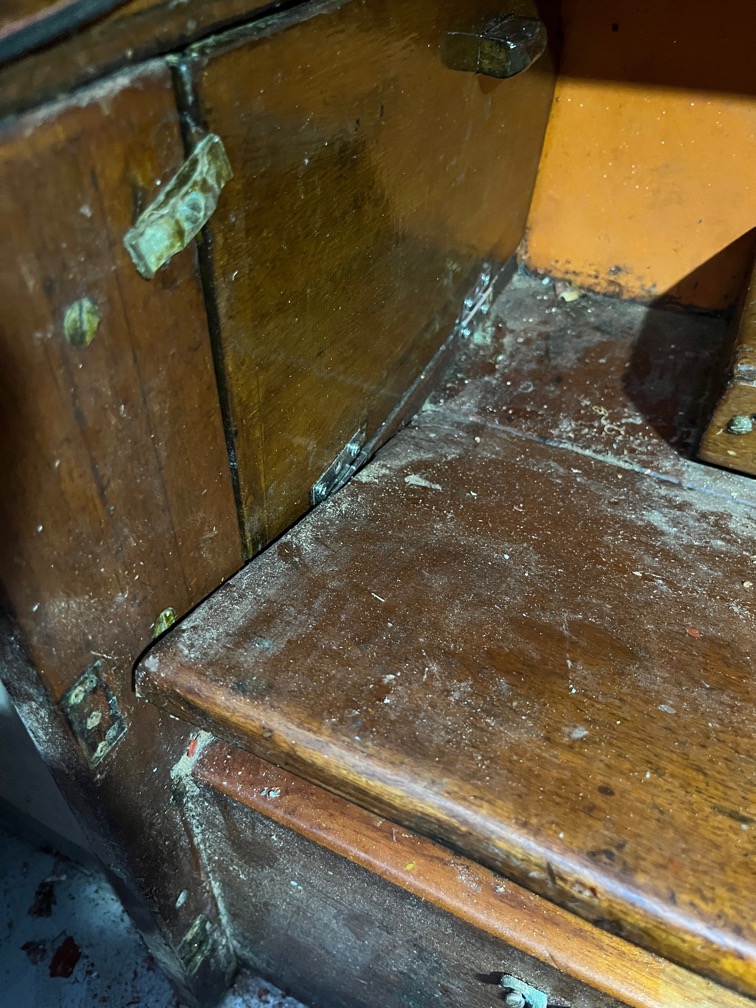
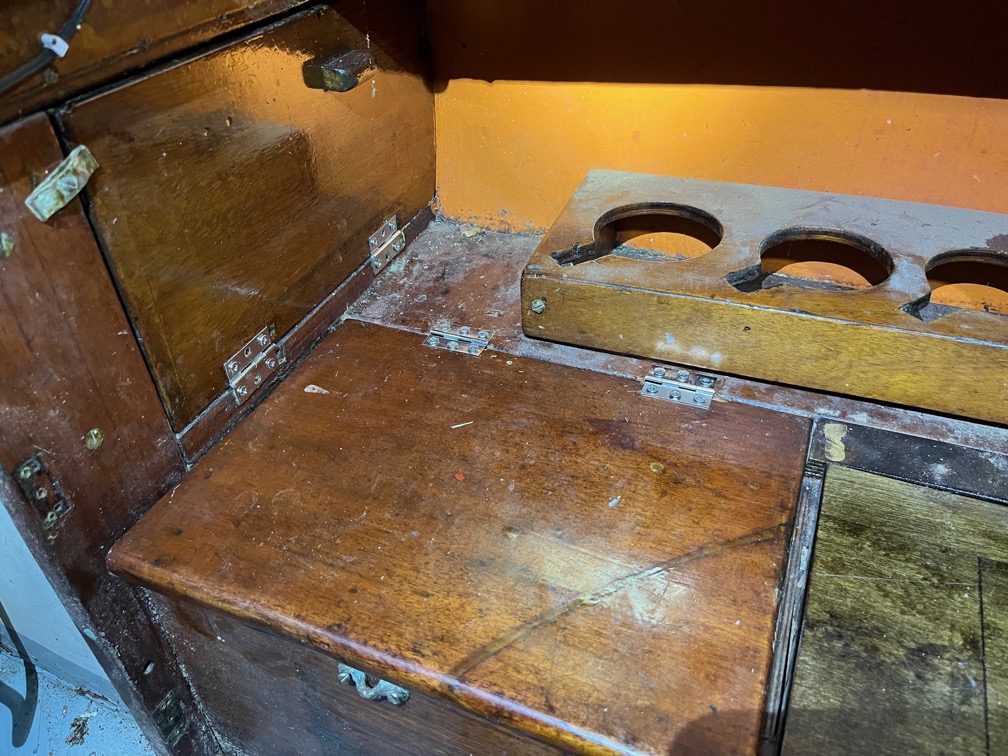
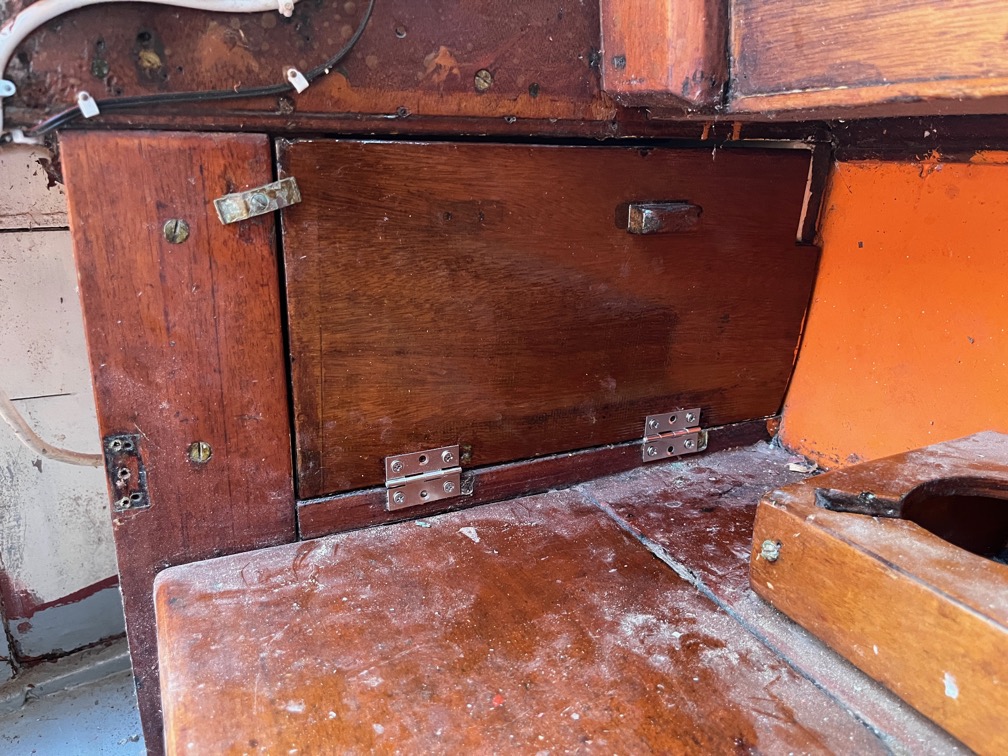
I removed the main cabin seat out at this point in order to replace the brass hinges underneath that have become exceedingly stiff due to old, dried varnish.
It did not take long to replace them with stainless steel hinges and screws.
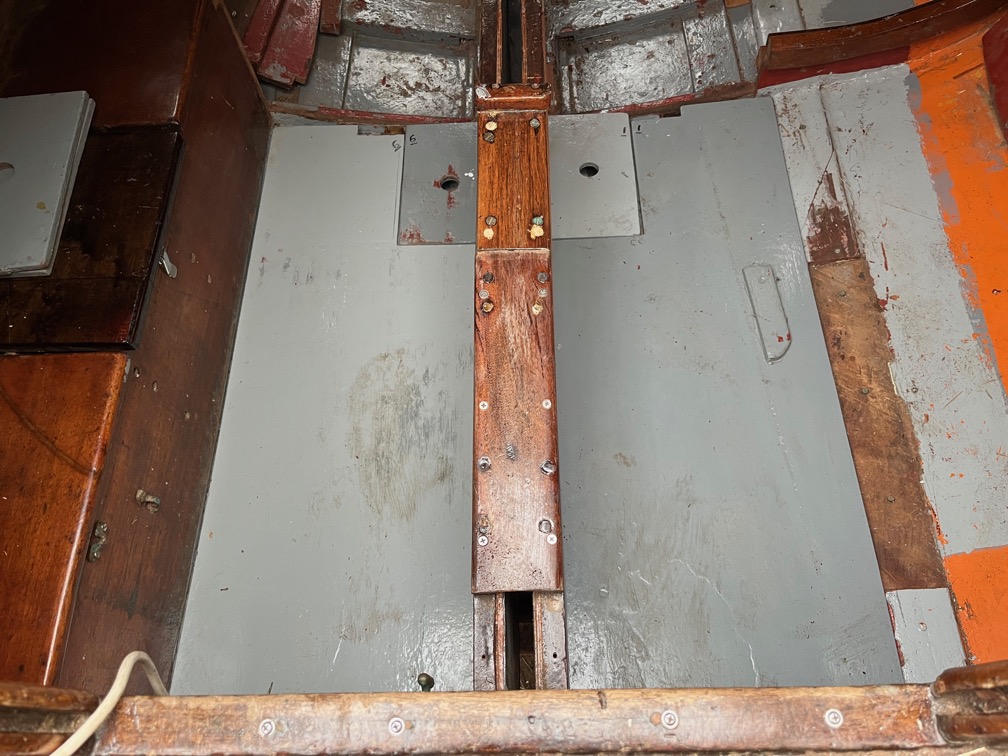
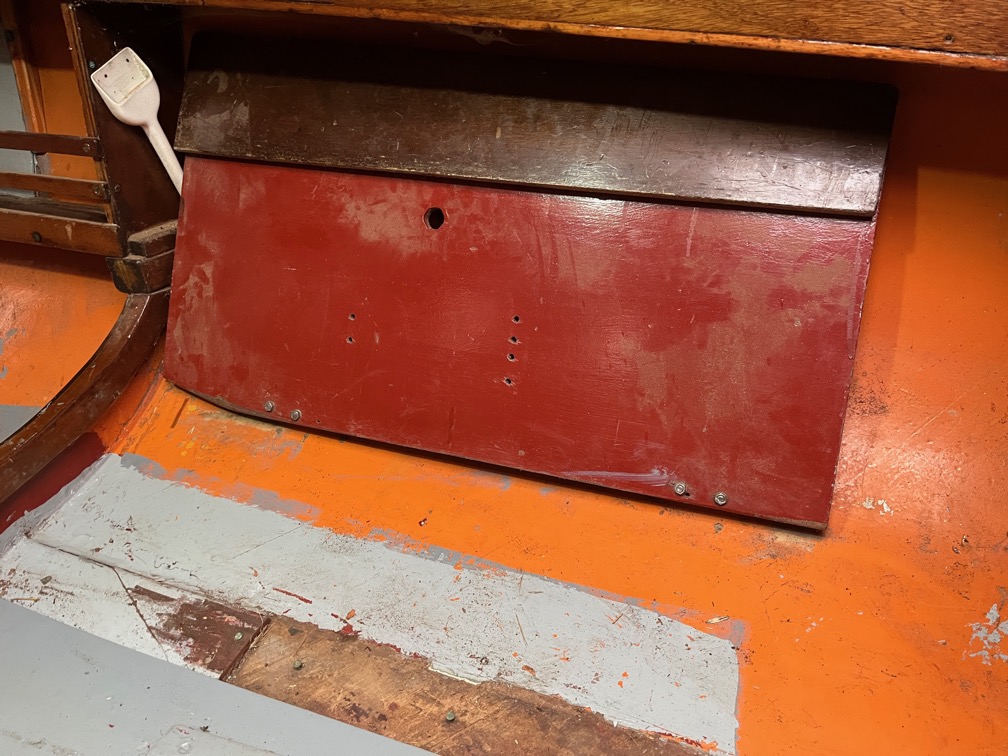
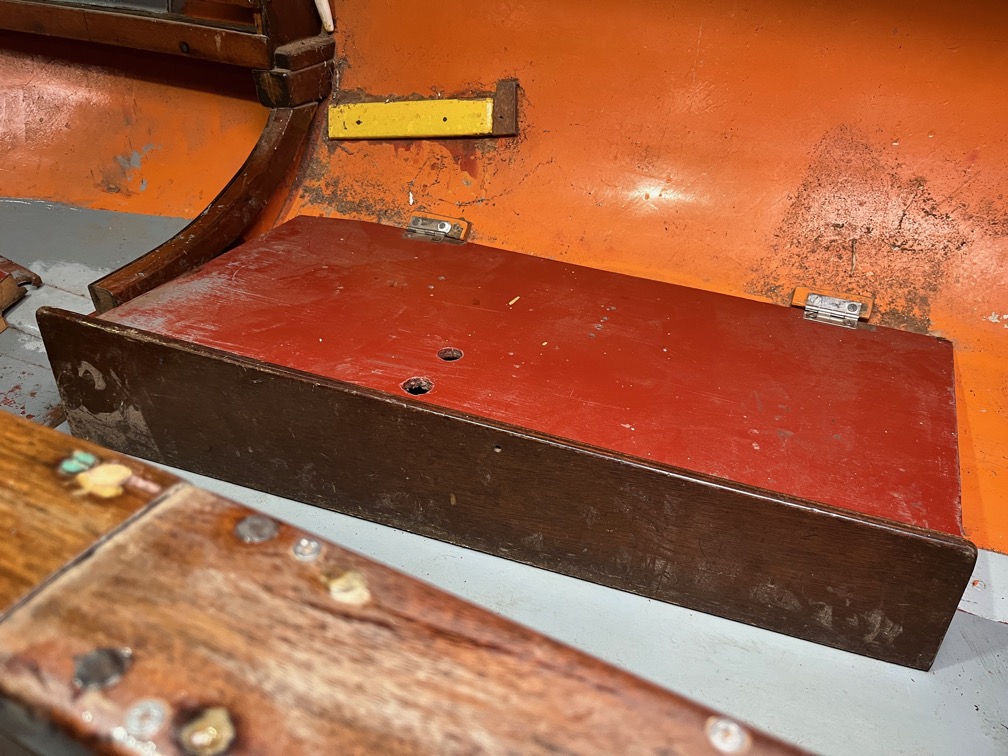
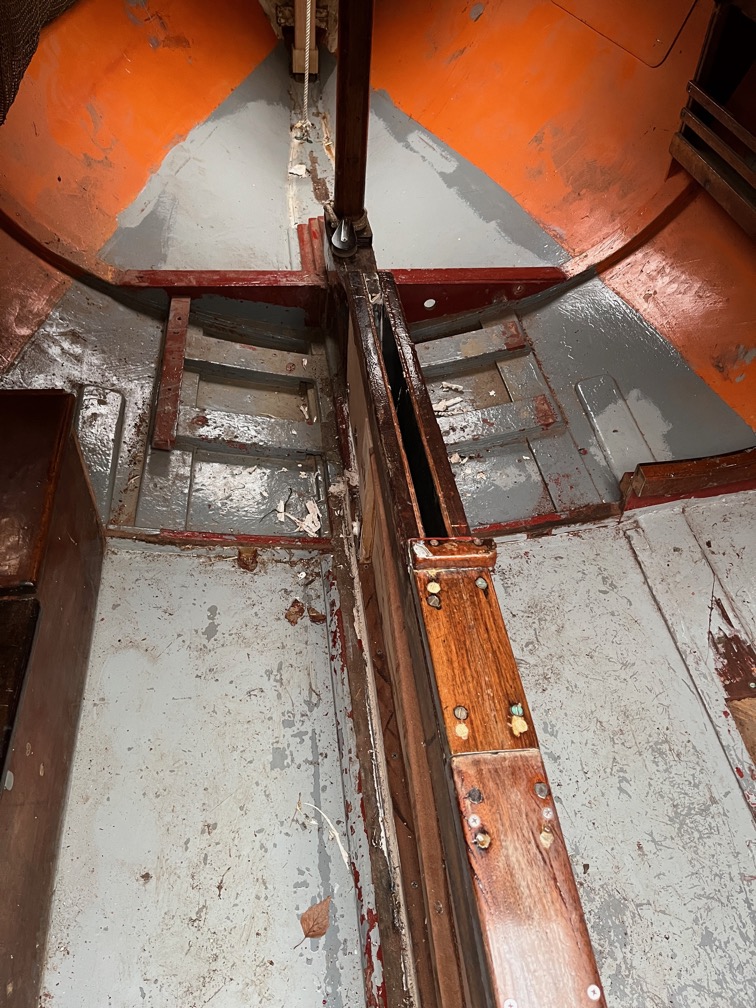
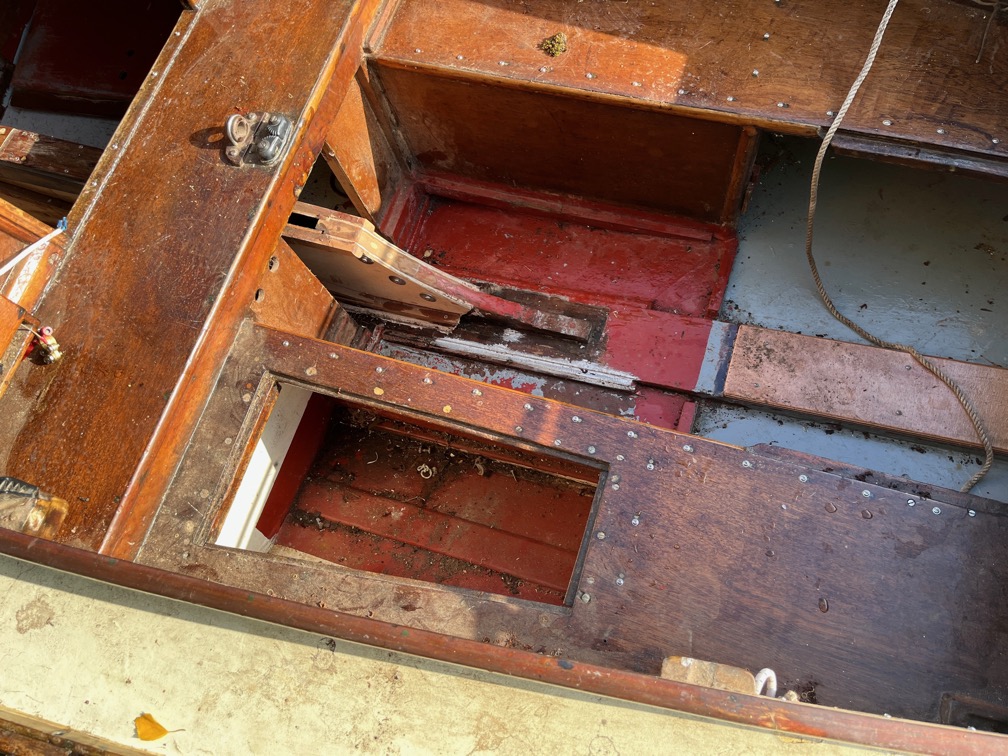
Here, then, are the two main cabin bottom boards trimmed and in position. The two inspection hatch covers have also been trimmed to fit the new arrangement.
The bottom of the battery locker did not need to be trimmed at all, but may need a taller spacer underneath as it rocks a little. I’ll see if this is a problem once the battery is put in place, assuming that I can get it to fit in the space.
On the starboard side the cabin bottom board extends right under the bridge deck.
This is the cabin seat in the upright position. Originally this was also a quarter berth extending under the bridge deck and into the starboard thwart in the cockpit. But this was removed when it was needed no longer and is now storage.
The lifting seat remains however.
Time for a cup of tea.
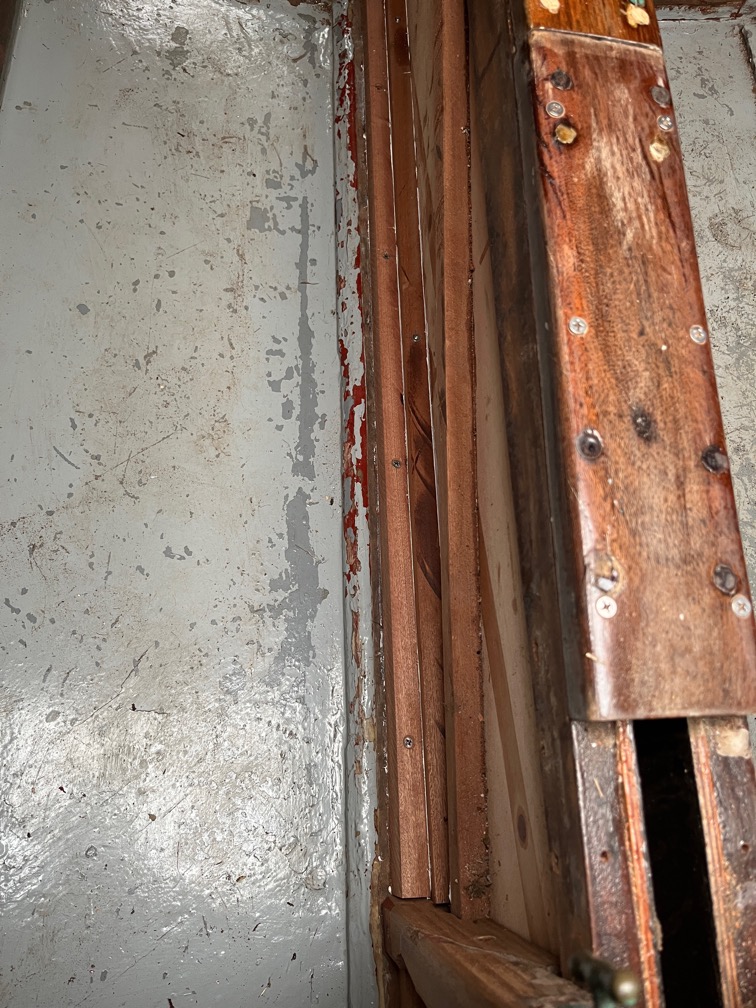
The next task after the break was to fix the supports for the aft bunk boards. I decided that there was no practical way to put these in place with using screws, so glue and screw it was.
I was able to use three screws, bt the fourth, for which I drilled the hole in the bearer, was not used as it would go right through the case and into the slot for the plate.
But this part of the bearer just supports the inspection hatch, so glue and one screw will be sufficient.
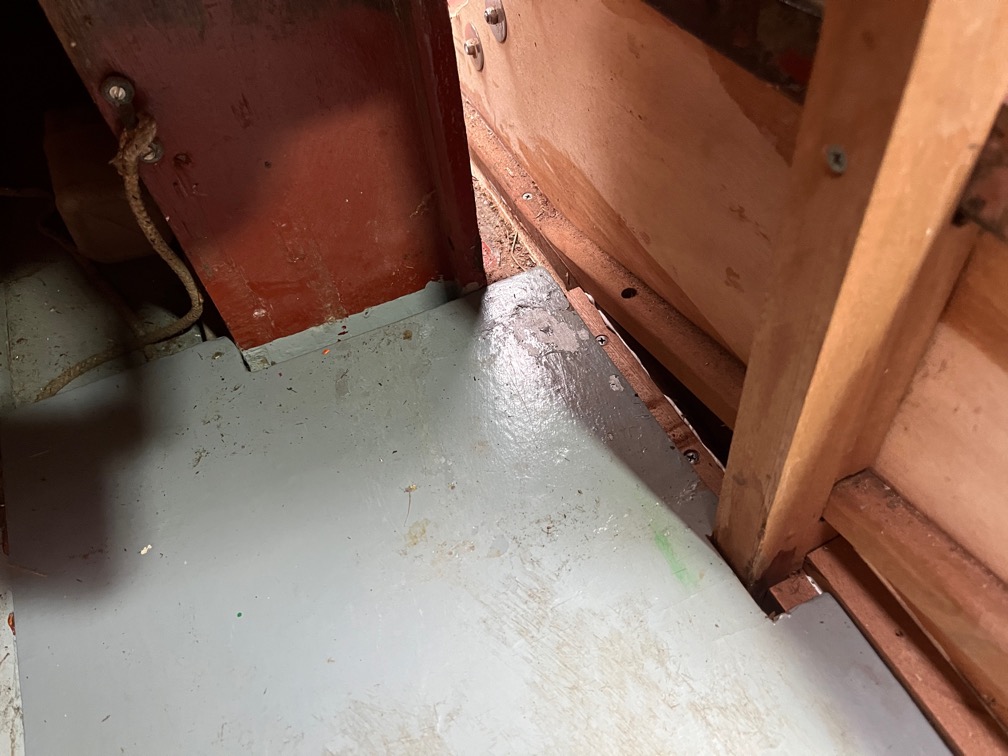
I took the time at this point to adjust the floor of the battery locaker.
Now the floor rests on the hull as expected. Mind you, I will have to find a way to stop the battery from moving about in a rough sea.
Time for a cup of tea.
The final task of the day was to fix the port side of the half bulkhead back in place.
It was a very tight fit and that meant that it would scrape off any epoxy as it put into position, so I sanded it such that epoxy could be squeezed into the gaps with a spatula.
The result is a little rough, but that will be cleaned up with some sandpaper once the epoxy has cured. The primary requirement here is is preventing the centerplate case from moving, not to look pretty.
The original bottom board bearers were cut away during the removal of the centerplate case sides and now need to be replaced so that the bottom boards are correctly located.
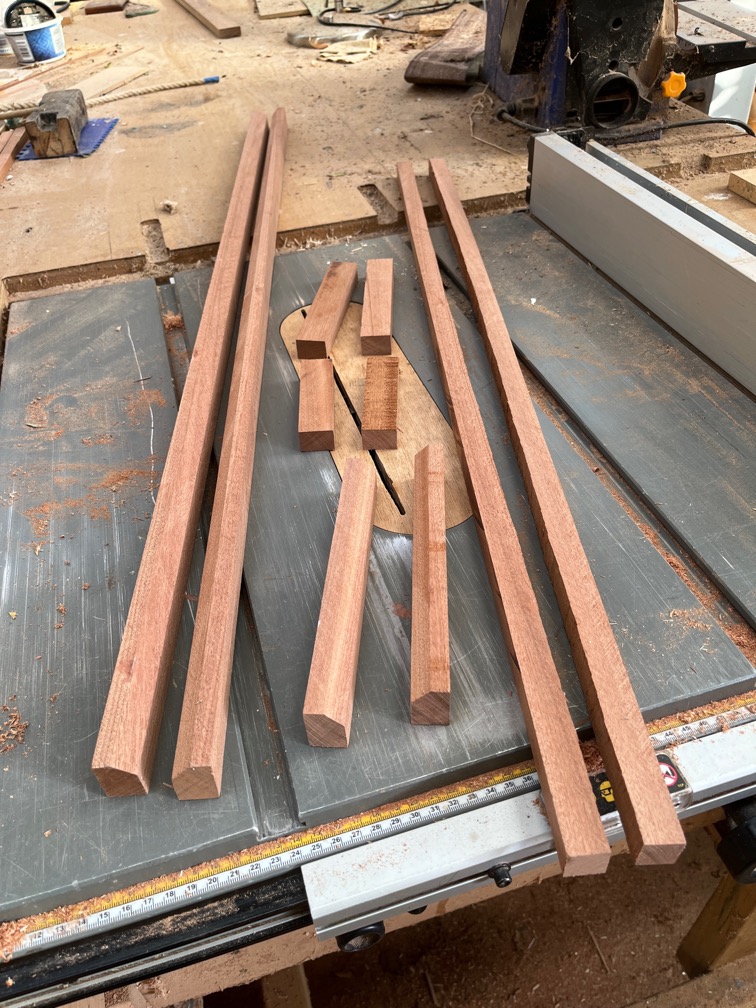
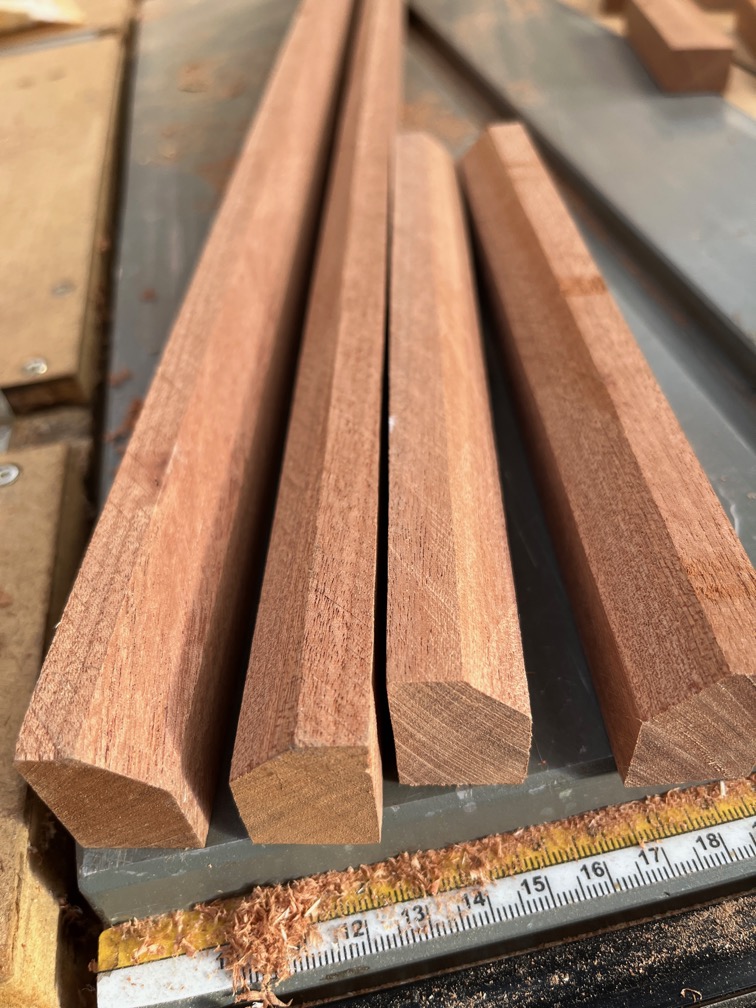
After measuring carefully several times the required bearers were cut from Sapele.
Four of the bearers had chamfers cut into one corner such that the bearers sat over the Sikaflex sealant used on the case assembly.
Time for a cup of tea.
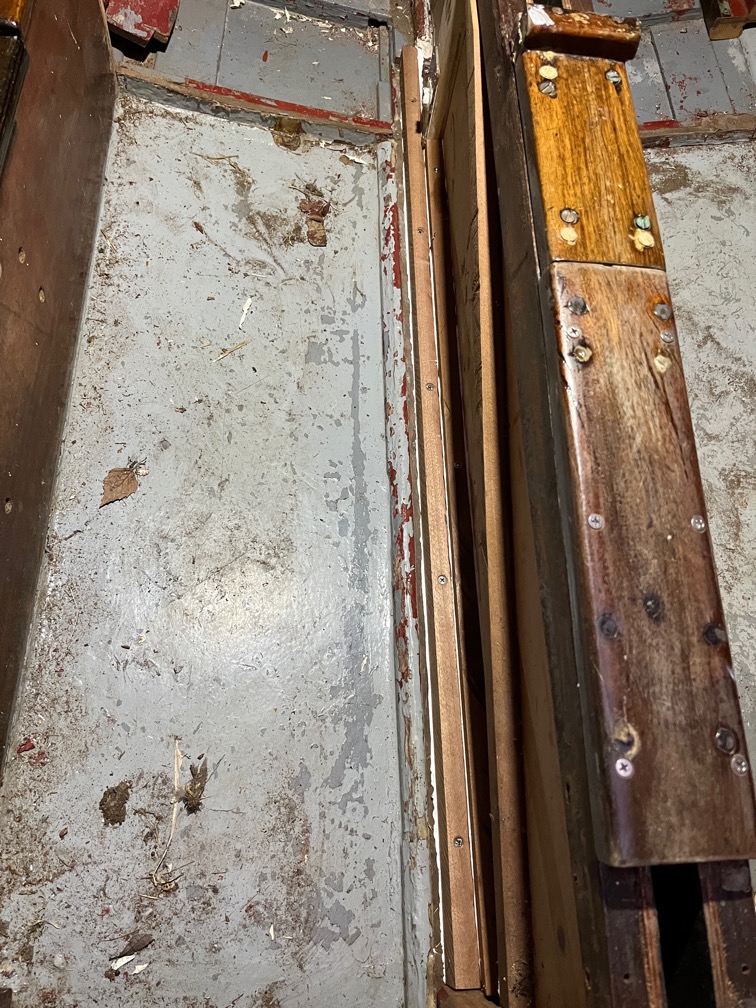
Pilot and clearance holes were drilled in the correct places, countersunk where required and the bearers fixed in place using screws and sealant.
The sealant was used in this context as an adhesive rather than a sealant.
Two shorter bearers were fitted under the bridge deck. On the starboard side this is to support the aft end of the main cabin bottom board.
On the port side this is to support the bottom of the battery locker.
In the main cabin, the bearer consists of two pieces. The lower one, the same size as the runner at the bottom of the centerplate case and fitted alongside it, is the bearer itself upon which the bottom board rests.
The second piece is fitted on top of the runner and prevents the bottom board from moving sideways.
All this, despite the dearth of photos, took a surprisingly long time, most of the day in fact. The measurement and the cutting had to be done carefully since these are the last pieces of Sapele that I have in the wood store and if I messed these up, it would require buying more.
The screw holes were drilled with pilot holes, clearance holes and countersinks where required so that none of the wood split as the screws were tightened up, including the hog to which the bearers were fixed.
Finally, the assembly was carried our carefully as the sealant gets everywhere and causes a right mess if rushed. It is also expensive and I didn’t want to waste any !
Still, this completes the bearers for the main cabin area. I still have to fit the bearers for the aft end of the bunks and that will be tricky since none of my cramps will fit and I don’t want to use screws if I can avoid it as these would be directly into the sides of the case.
That is tomorrow’s task, that and the sole bearers in the cockpit. There’s no working in the cabin right now as that would be asking for trouble. One moment’s inattention and stepping on the uncured sealant and it gets all over everywhere.
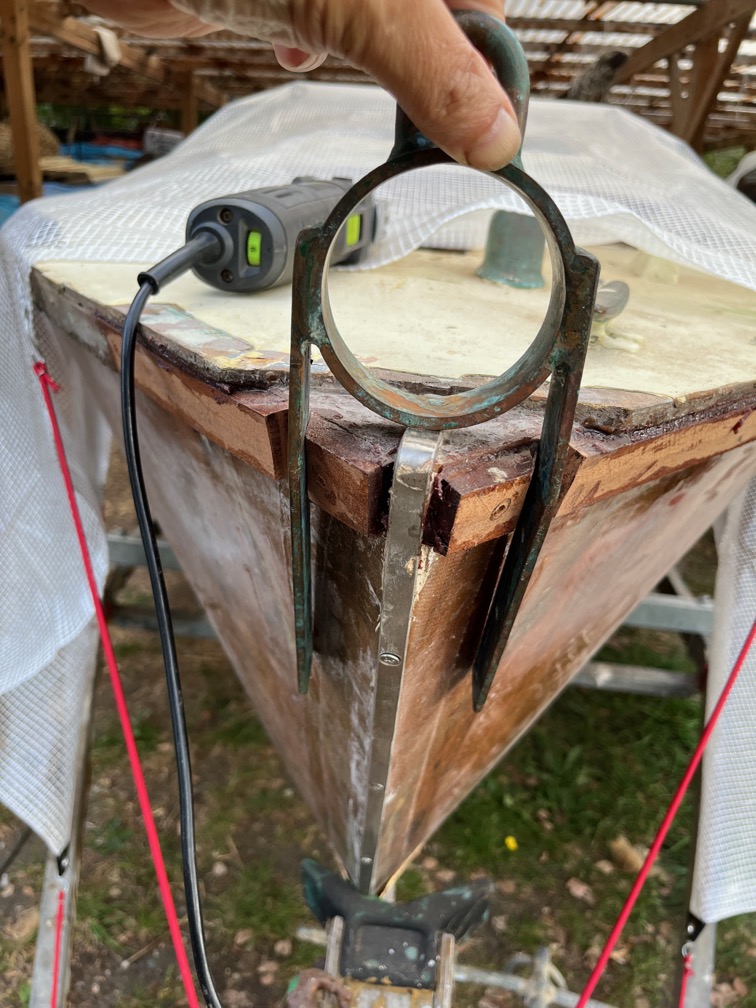
Now that the leak test has been completed, it is time to start putting Shoal Waters back together again, starting with the gammon iron.
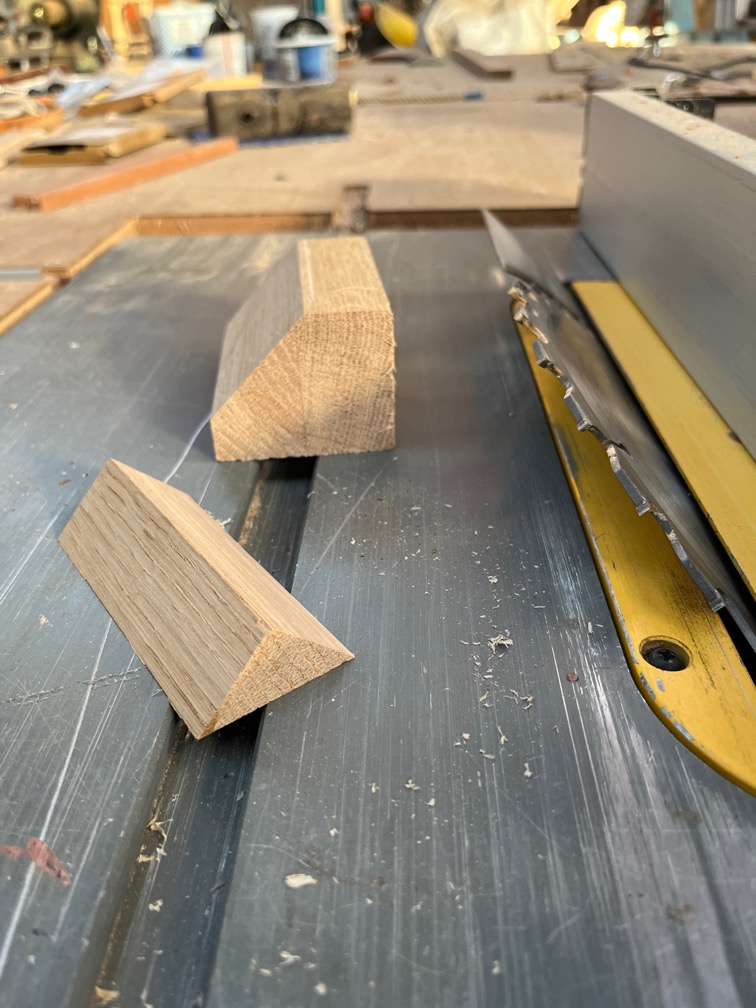
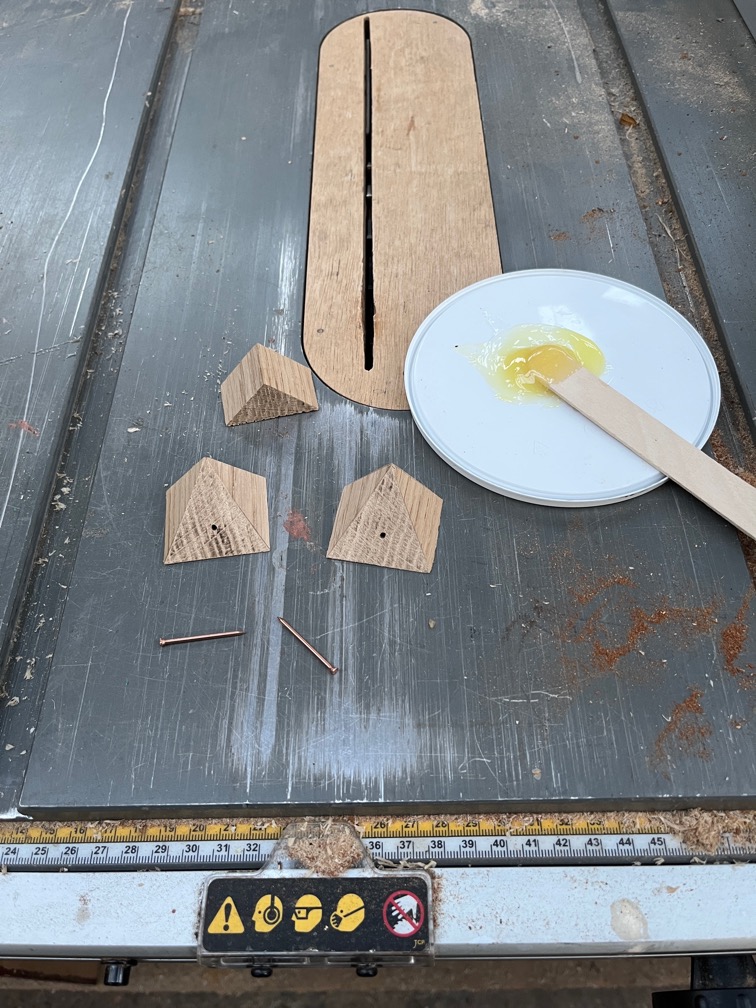
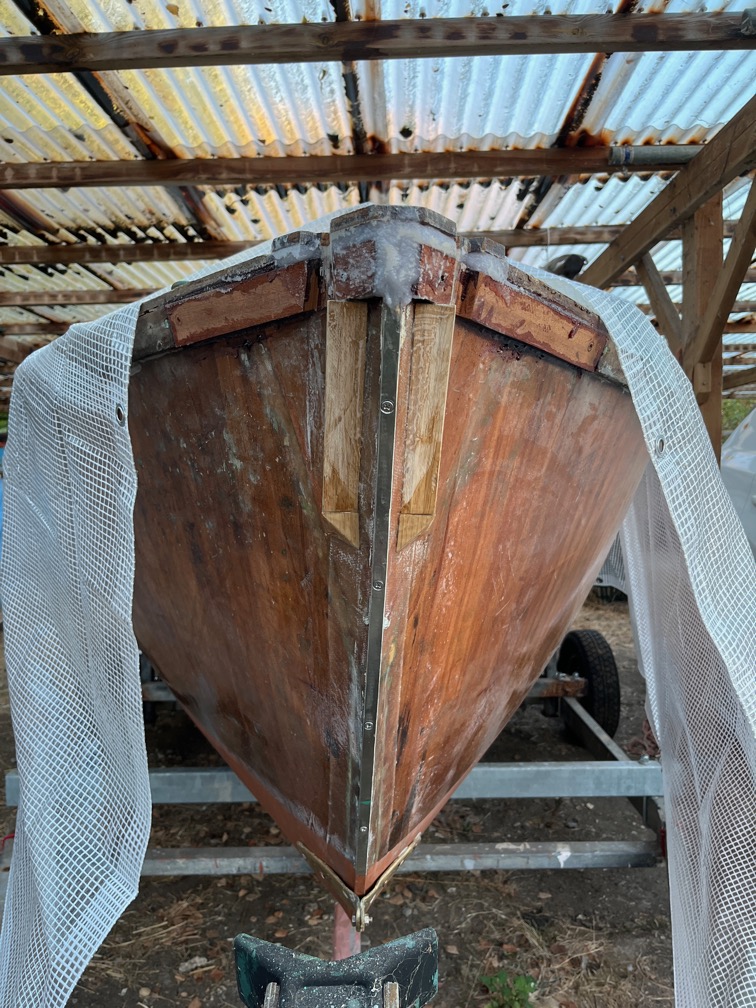
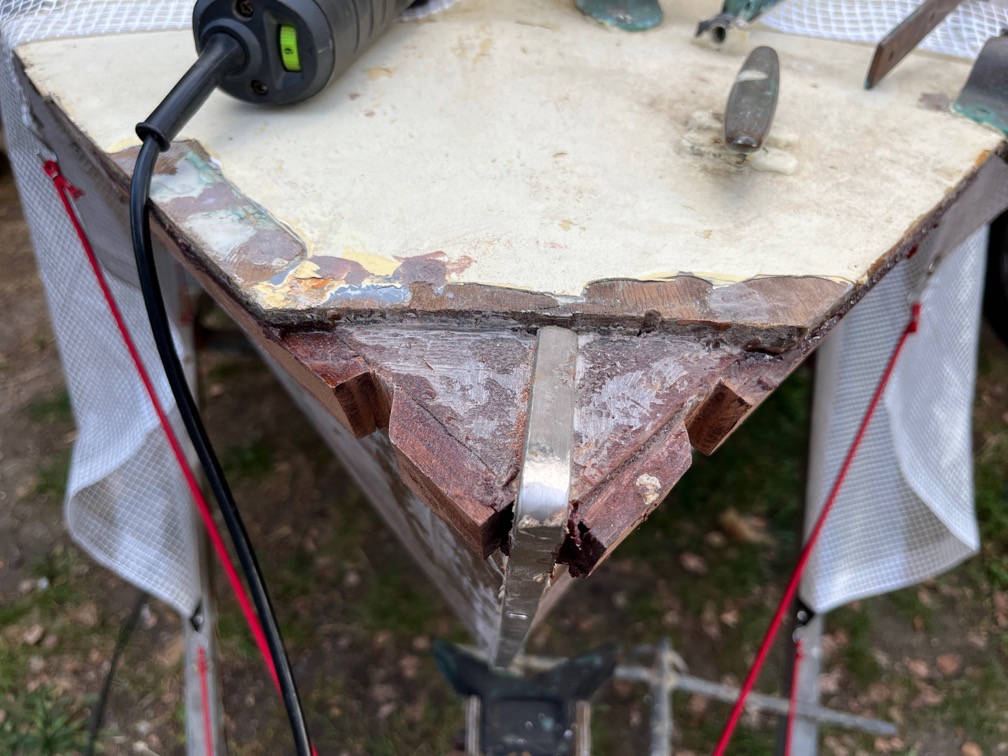
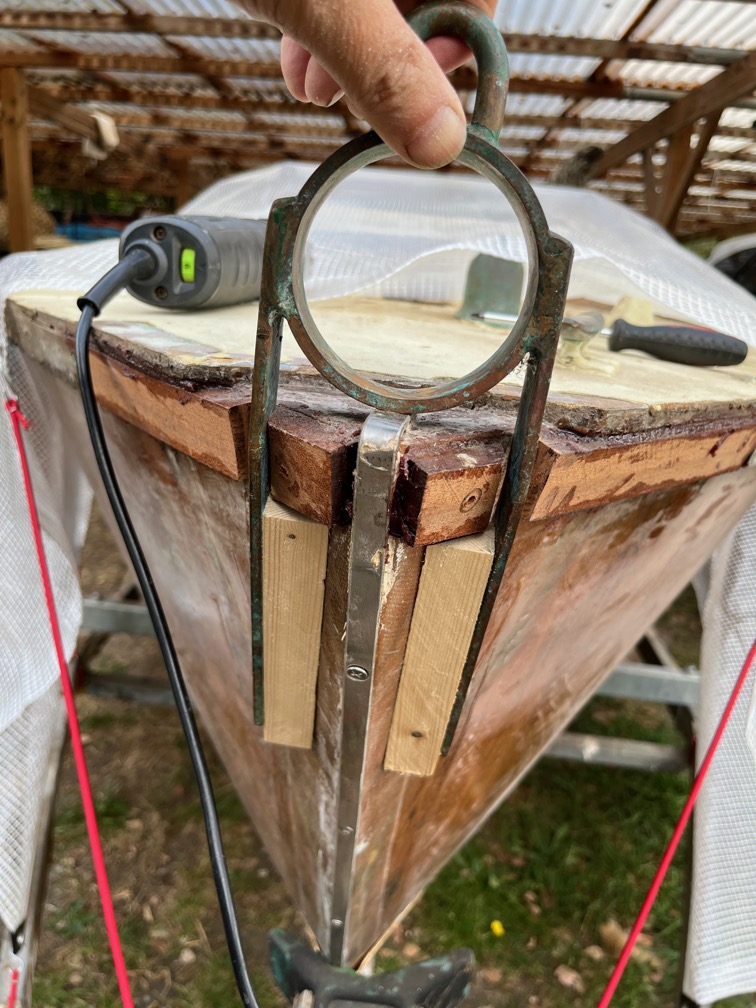
I cut a triangular section of Oak and shaped both ends and cut it in pieces.
The tend parts that were the shaped ends were drilled for retaining nails and some G-flex epoxy mixed up.
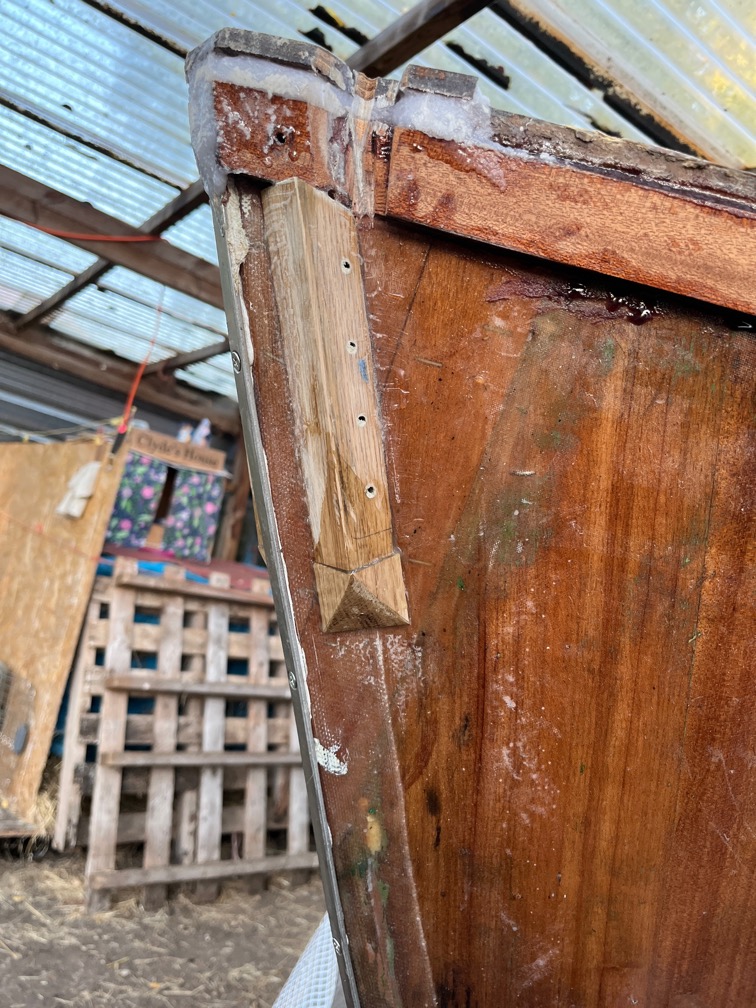
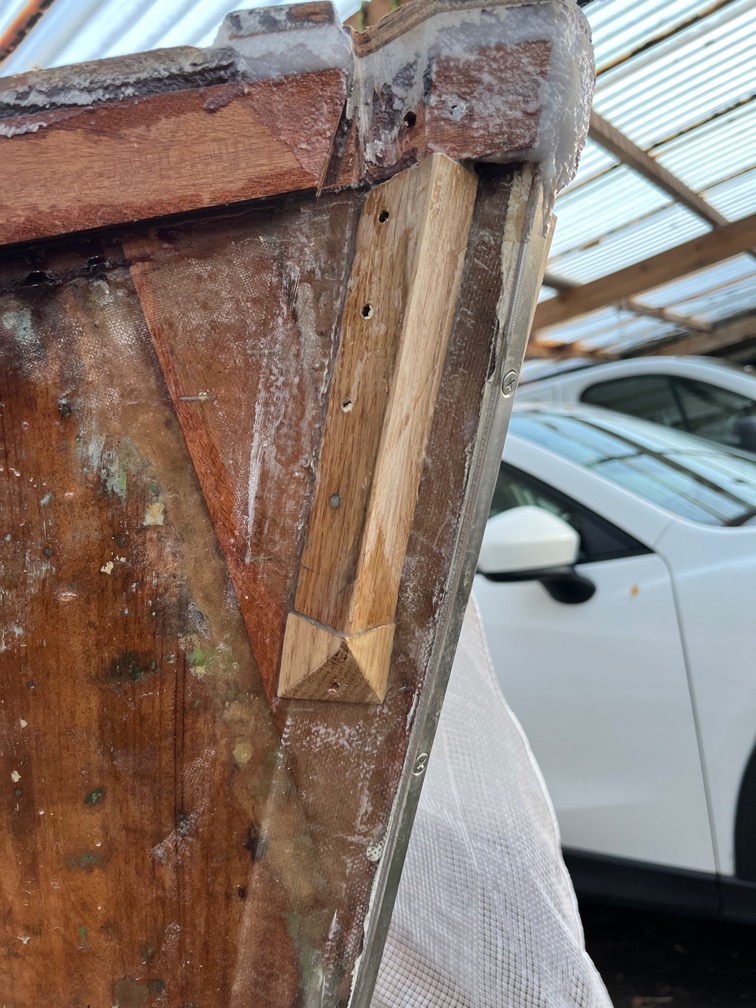
These pieces were glued onto the hull below the pieces of Oak that were put on before as part of the gammon iron seating.
The nails were required as there is no way to clamp these into position whilst the epoxy cures.
Once the epoxy has fully cured the Oak will be shaped and some thickened epoxy used to fill in any odd corners and form a smooth shape at the prow.
Time for a cup of tea.
The next task was to trim the Sikaflex sealant from around the centerplate case. This was a fairly easy task using a utility knife and a sharp chisel.
Before any more wood is added to the case sides, it will be sanded smooth.
Time for a cup of tea, it’s cold today!
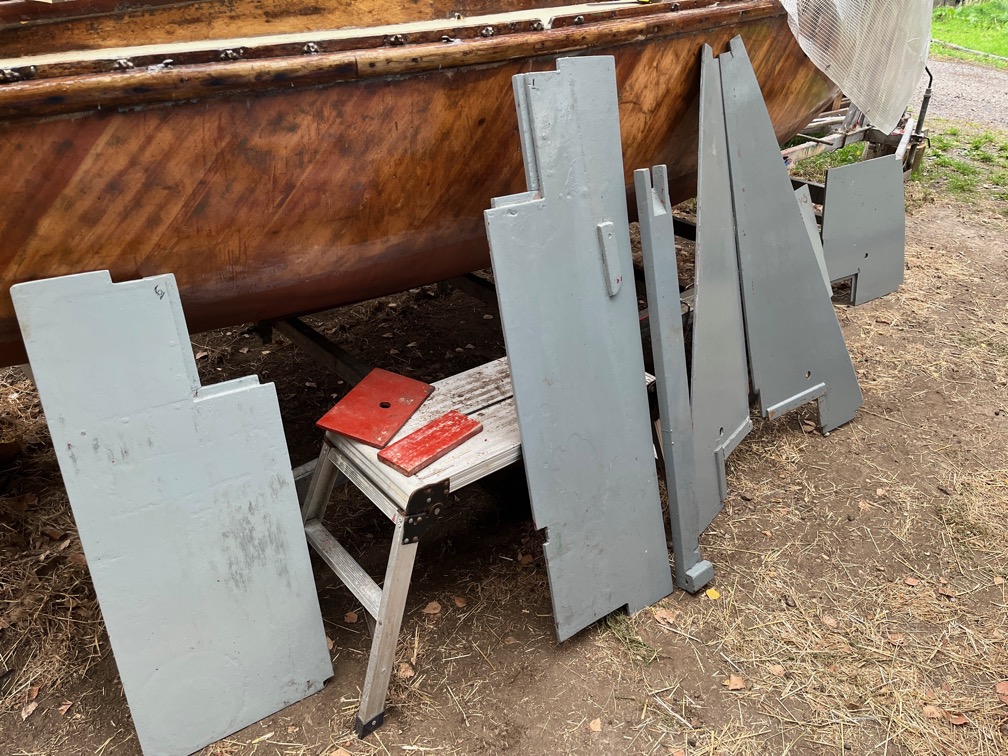
The bottom boards were then retrieved from storage and brought to the boat. It was fairly easy to figure out which part went where.
But I did notice that all the boards were numbered.
The centre piece for the fore cabin was put in place and checked for fit. The front end rests agains the sampson post which has been altered but the fit still seems to be good.
The two pieces that hold the bunk cushions were added and, again, checked for fit.
Next were the two mid-sections and here it starts to get tricky. These rested on supports that were glued to the centerplate case sides and these have not been replaced yet. That’s the reason for doing this bottom board fitting. I need to put in the supports and for that I need to see where they need to go.
The two half-bulkheads needed to be adjusted as the new case is a little wider than the original and thus the parts that were cut out not longer fitted. Also, I cut the curved part off the starboard side as I want to rebuild this part to the same height as the port side. This was done originally, from what I can see, and then cut down to the curved shape. I presume that this was to make getting into and out of the bunk much easier.
This is how the bulkhead looked before I cut it out and you can see the top of the original version just under the bookshelf.
The numbers on the bottom boards identified the small hatches, each of which is made to fit the gap in the board and none of which is the same size.
With Shoal Waters back under cover I could start investigating the last leak before repairing it.
The first task is to remove the gripfast nails but there is a problem here. Extracting those from wet wood that has expanded due to soaking up water is well nigh impossible without damaging or destroying the wood. So, the wood needed to be dried before attempting this.
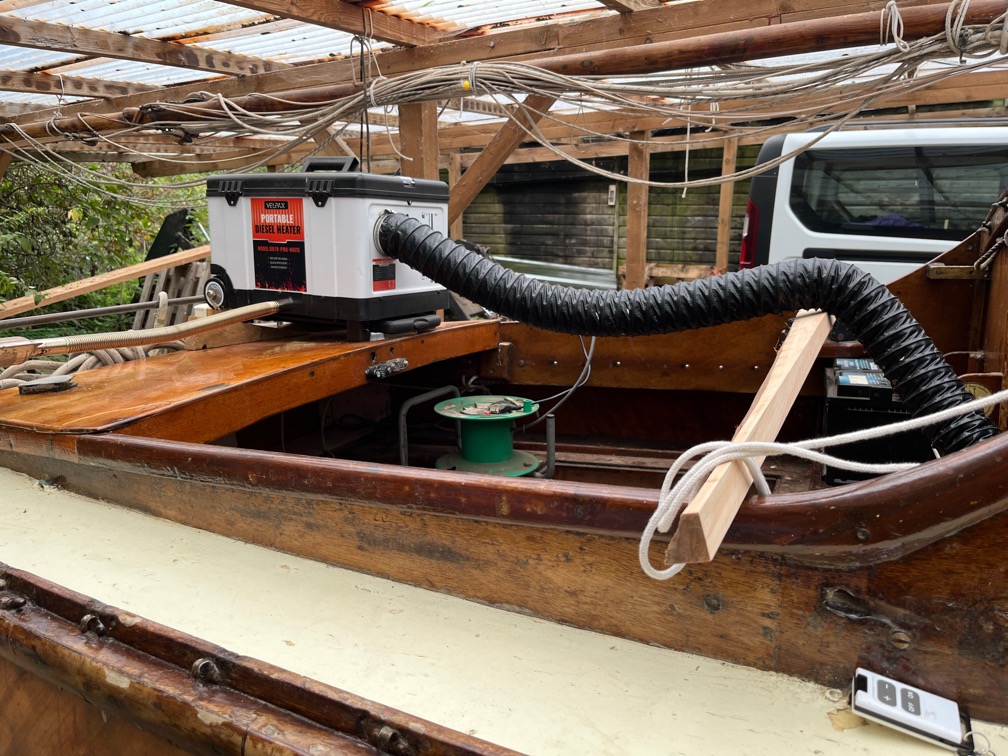
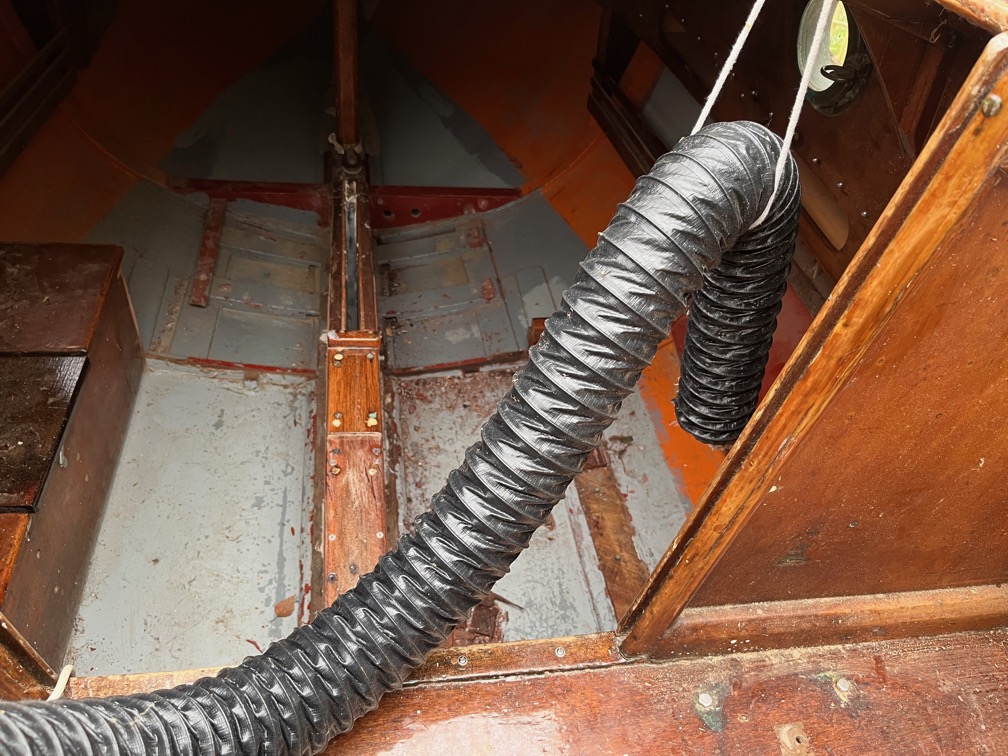
The heater was set up and hot air allowed to blow into the cabin.
The end of the tube was pointed at the hull to be dried and left there for an hour or two.
The result was quickly apparent but it will be some time before the wood is entirely dried out.
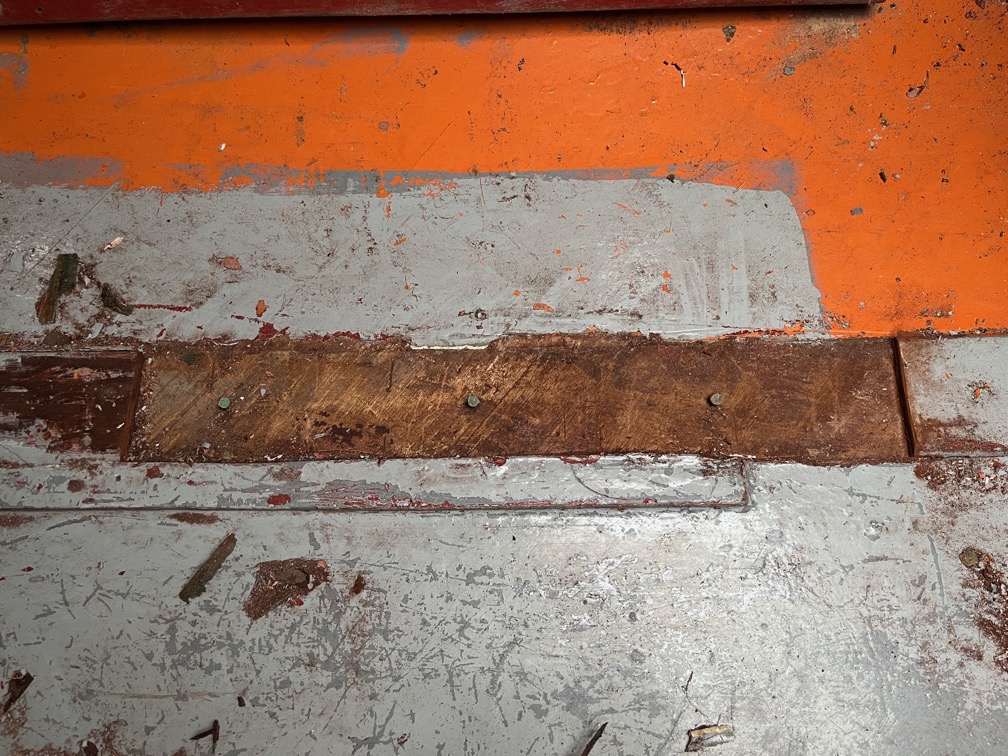
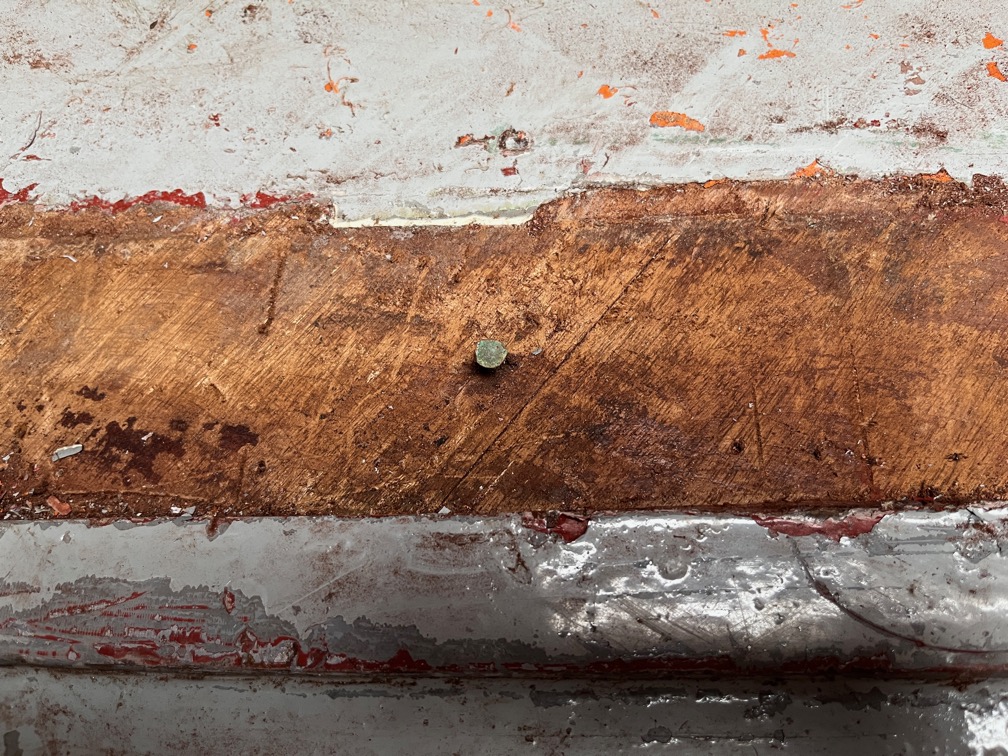
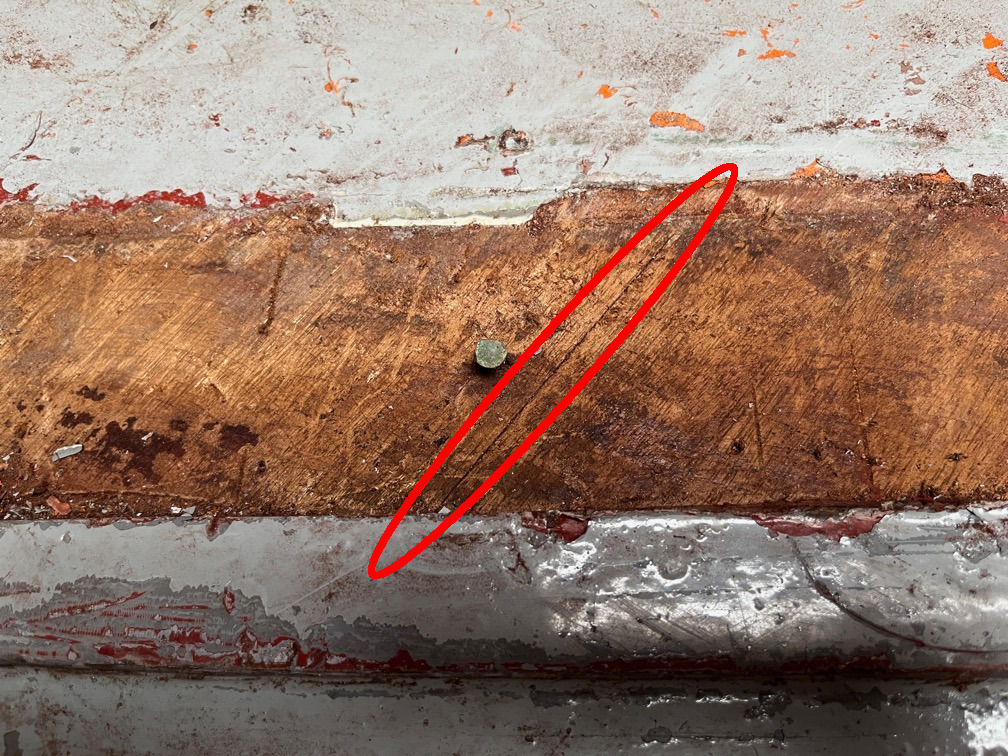
Nevertheless, there is a crack in the hull.
It is quite hard to see in a photo, so here is the photo again with the crack highlighted. It is also not evident in the photo that the hull at this point bulges in slightly. However, it does look as though the crack extends under the thin strip of wood that remains, so this will need to be cut away and the hull underneath checked.
Time for a cup of tea.
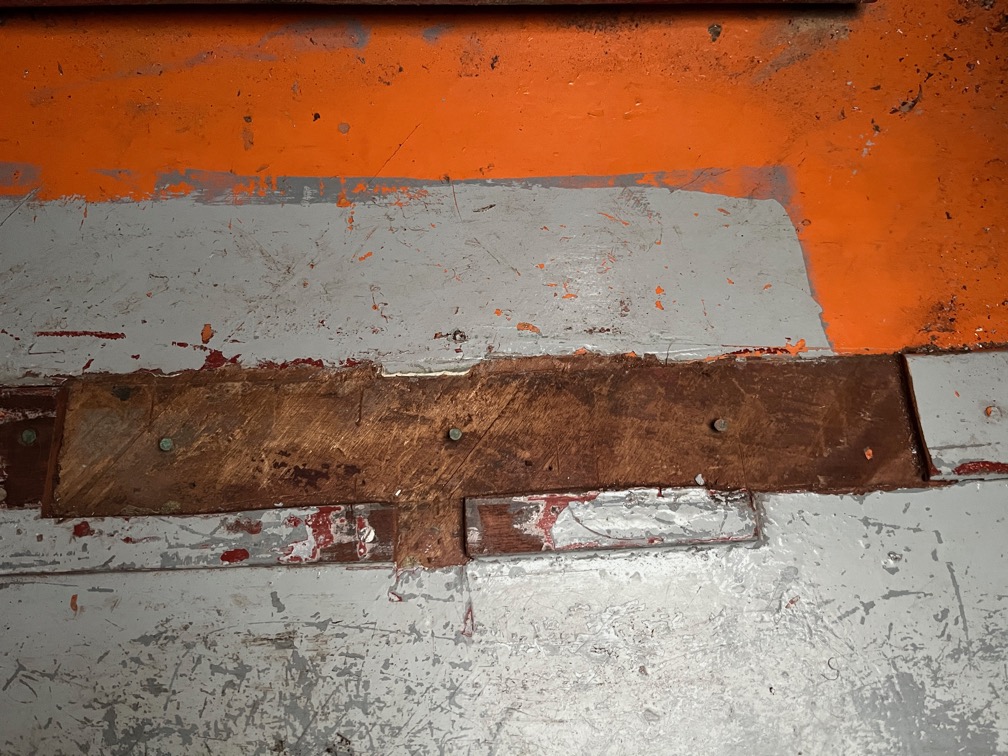
The next task was to cut away the lower batten.
This was glued and screwed into place, which was good, but the glue was brittle, which was not so good.
The crack extends just a little under the batten, so it was worth cutting away.
Now I have to wait for the wood to dry fully before continuing with this task.
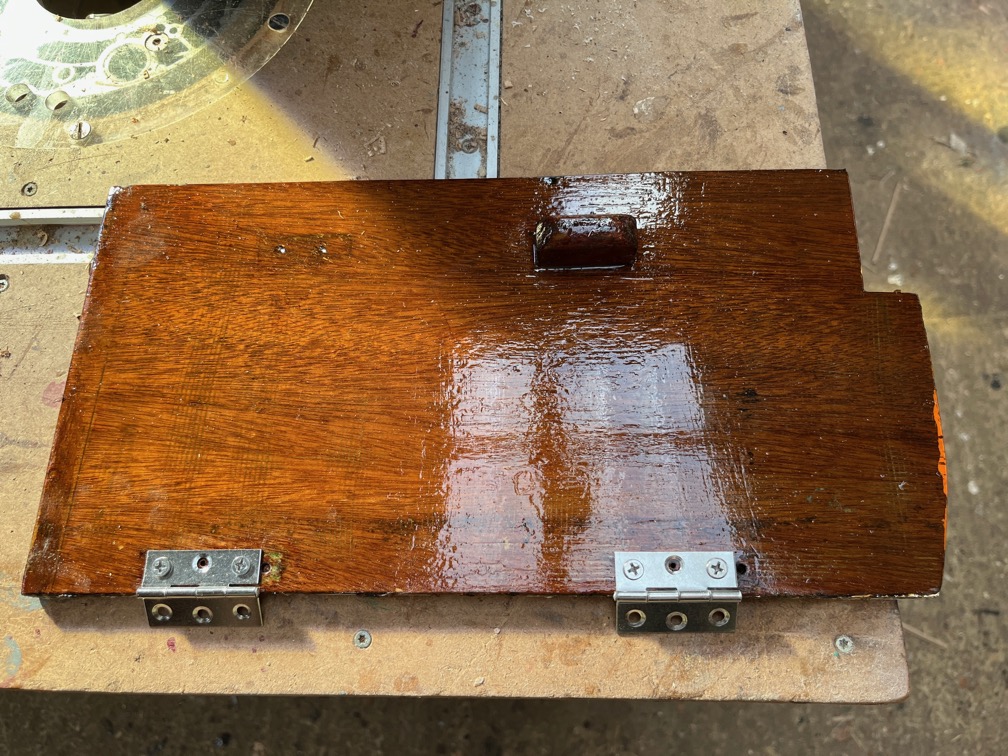
Another small task to do is to cut a little away from a locker lid as the new hinges on the vertical locker door fouls the lower lid.
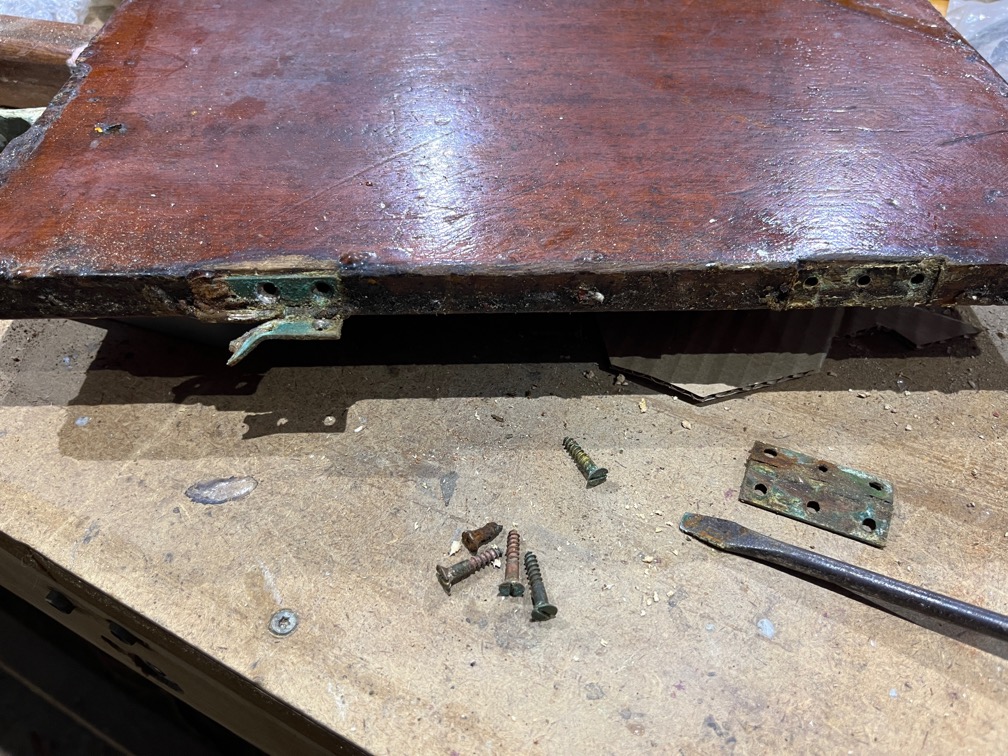
However, there were two problems with removing the lid. Firstly, the hinges were gummed up with old varnish and secondly, two of the six screws were steel and rusted. So, new stainless hinges and screws.
I didn’t bother with hidden hinges, but put them on the top of the lid. Here they are easy to remove and do not split the grain into which they are screwed as the previous screws had done. The ease of removal is the most important point. Getting the lid off for varnishing means that the screws and hinges will not gunge up in future. Well, not unless someone is being lazy!
I noticed that the poop deck had a split corner when I used it this morning, so that was repaired. Squeeze in some glue and clamp it closed.
That’s it for today, it gets dark early these days and I am restricted in what I can achieve as a result.
Work on Shoal Waters has progressed slowly over the past two weeks and for two reasons. Firstly, I have been preparing her for the next leak test and secondly because we went down to the sailing club and hauled Naiad out of the water and brought her back home for the Winter over one weekend,
I also carried out a few non-leak test tasks while I awaited the arrival of various small parts, such as no.12 silicon bronze screws and M4 stainless screws.
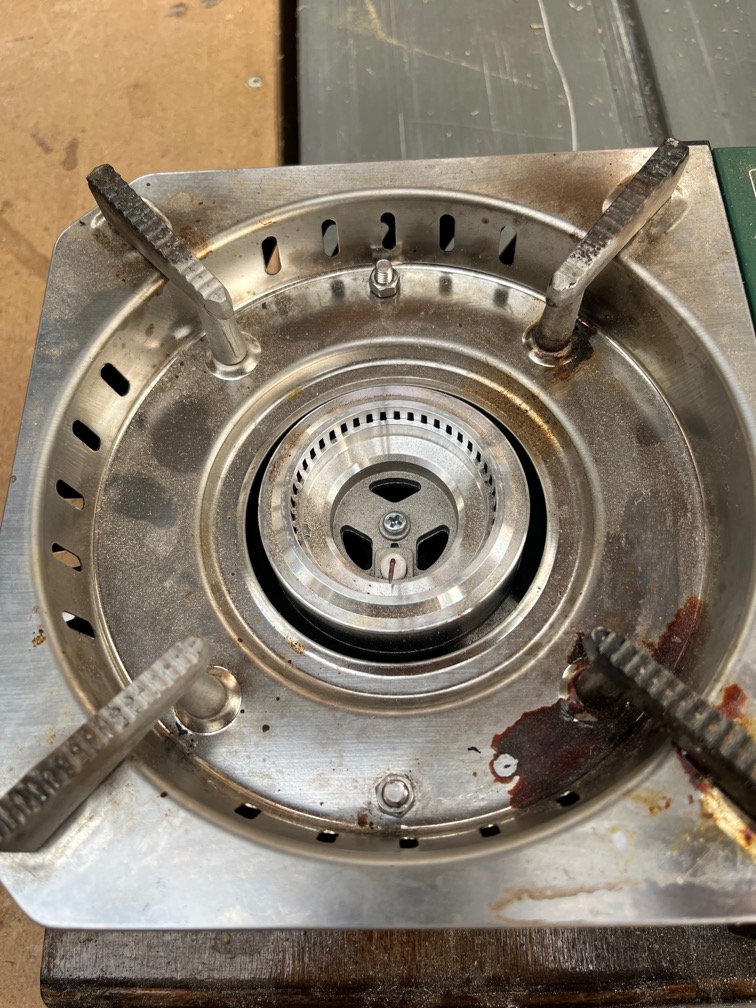
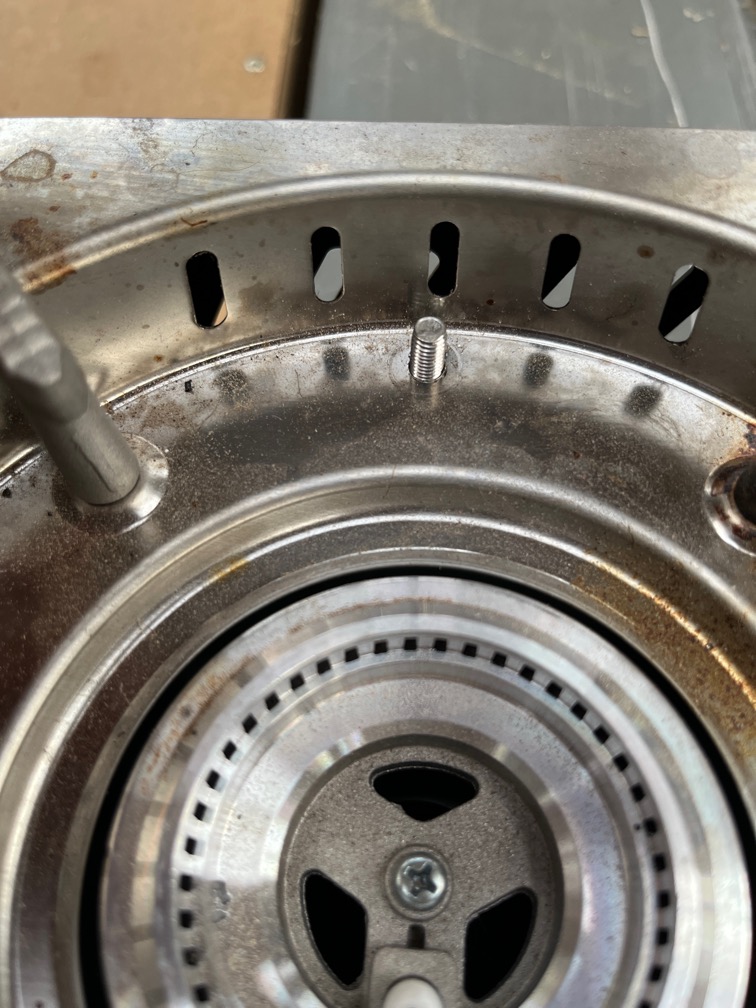
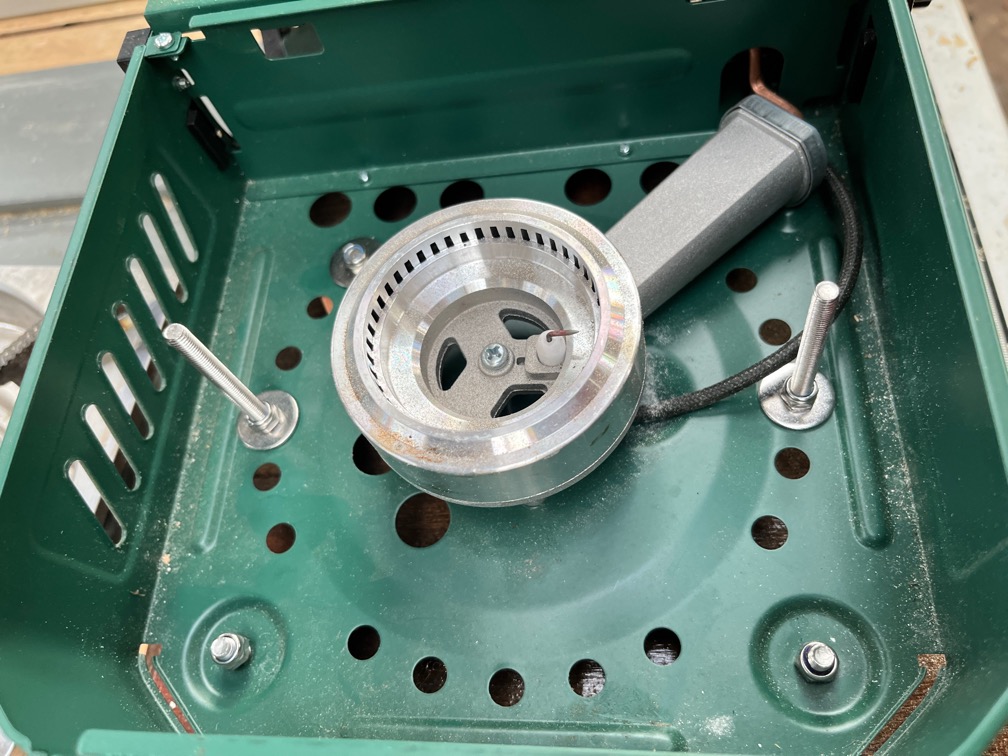
The gas stove was one of the tasks. The upper part, normally unsecured, was very difficult to clean when bolted to the stove as I had done. This meant rearranging the bolts such that the nuts were at the top.
I had wanted to use wing nuts here, but there isn’t enough room.
Underneath the bolts are fixed to the bottom of the stove as shown and it is a more satisfactory arrangement. I will try to find a way to use the wing nuts as they do not require me to use a spanner to get the top of the stove off.
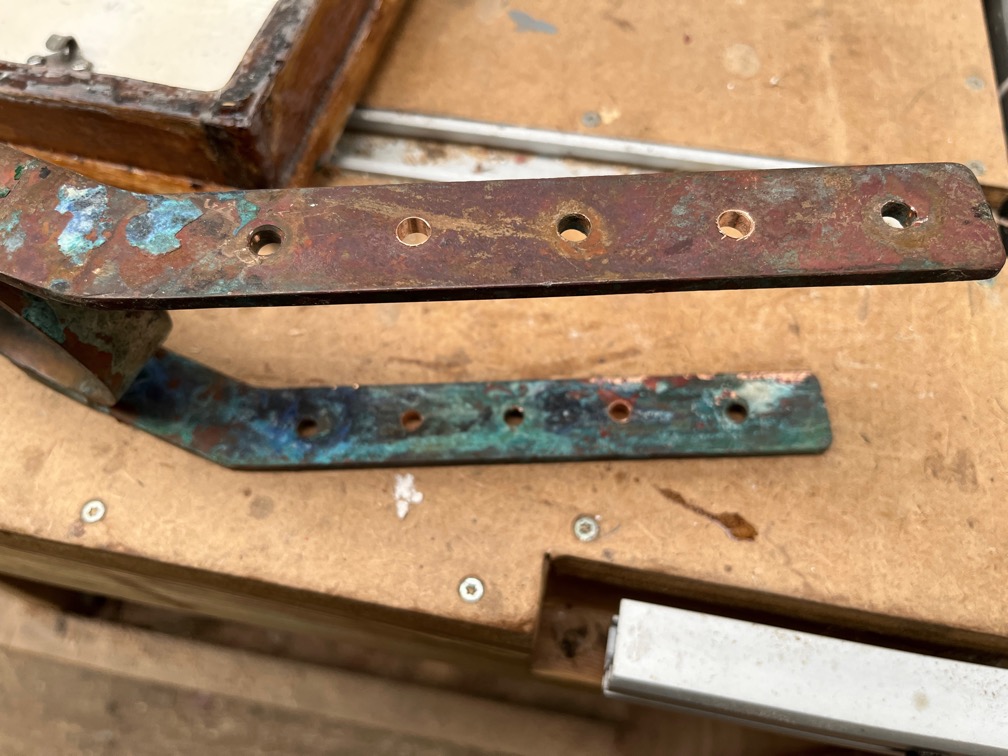
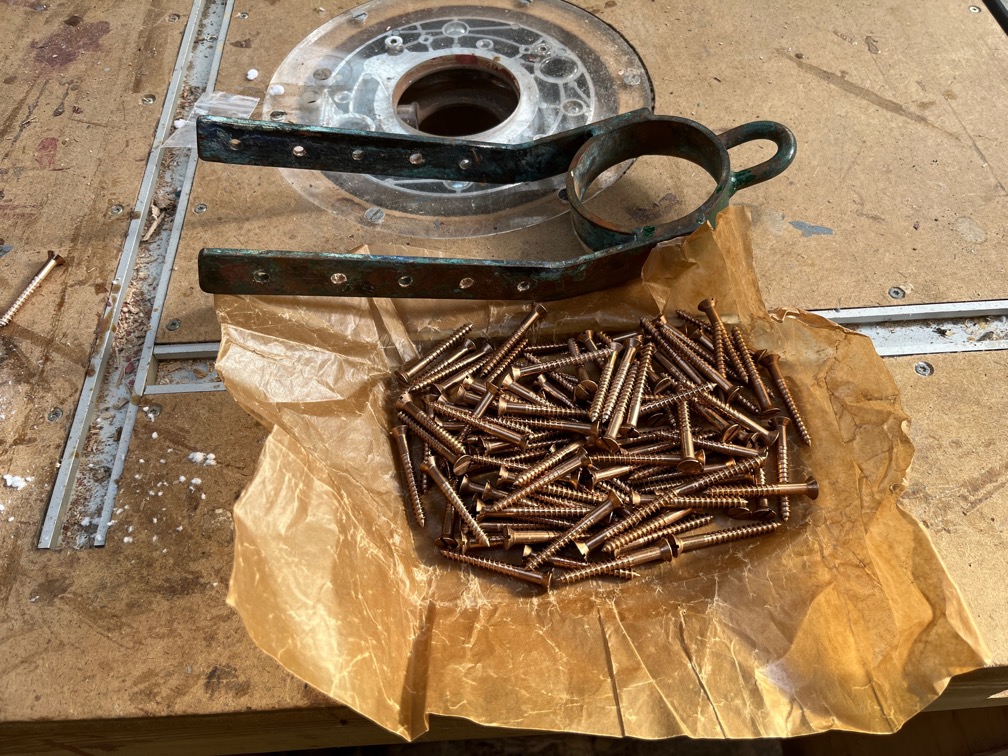
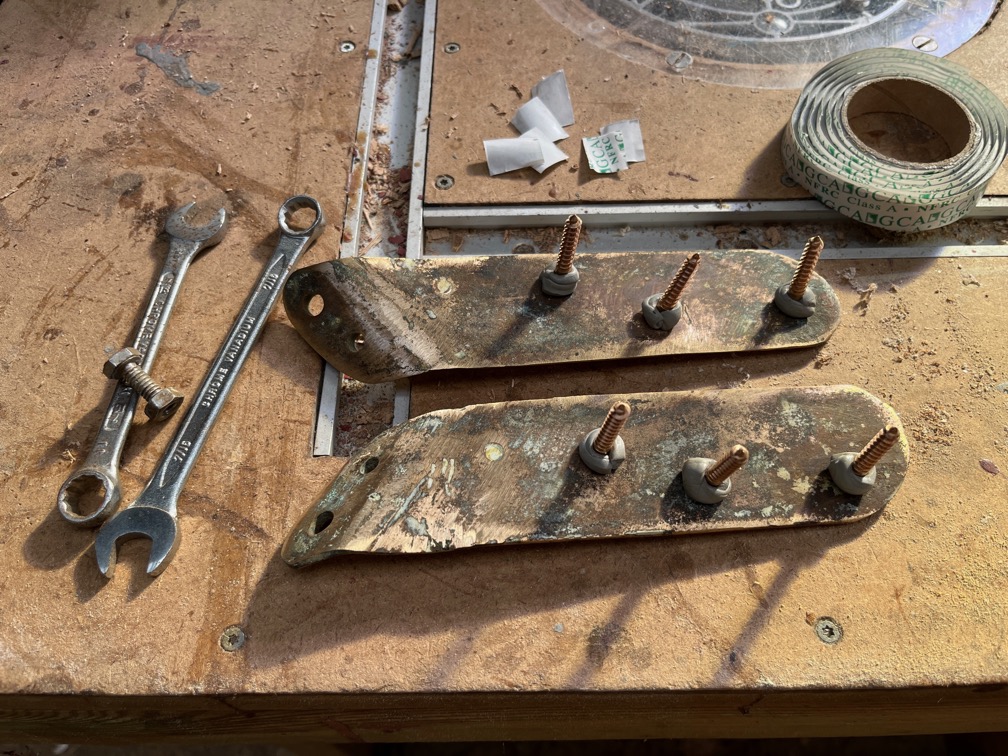
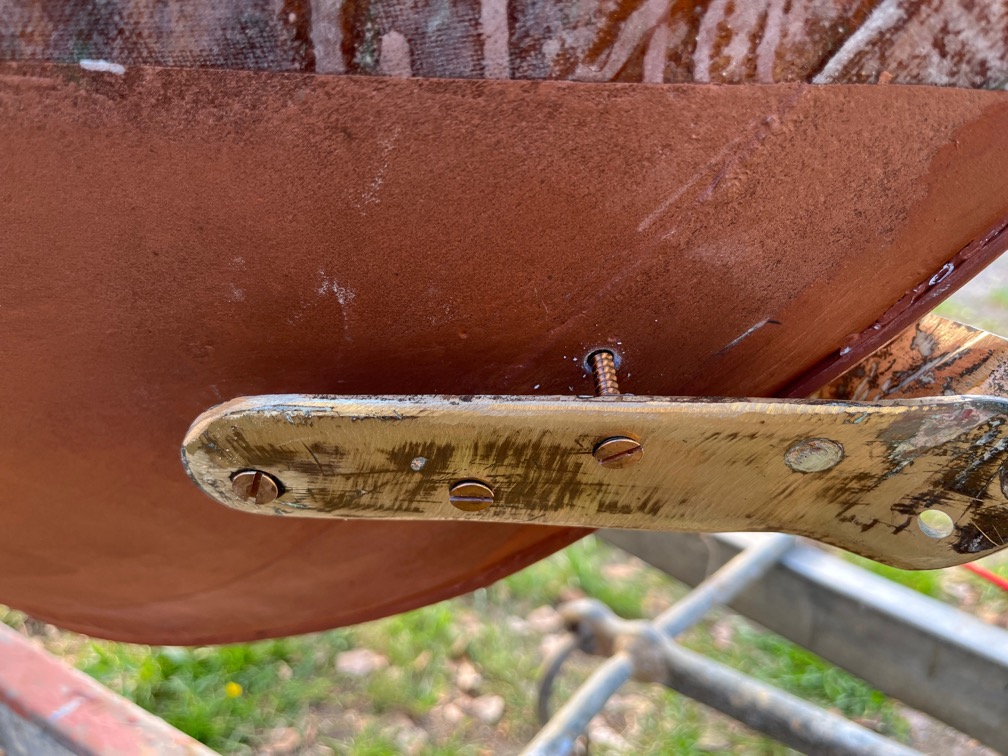
I decided that I would add two extra screws to the gammon iron on either leg, midway between the lower three holes. I also decided that 2″ no.12 silicon bronze wood screws were the correct size and ordered those.
These arrived a few days later.
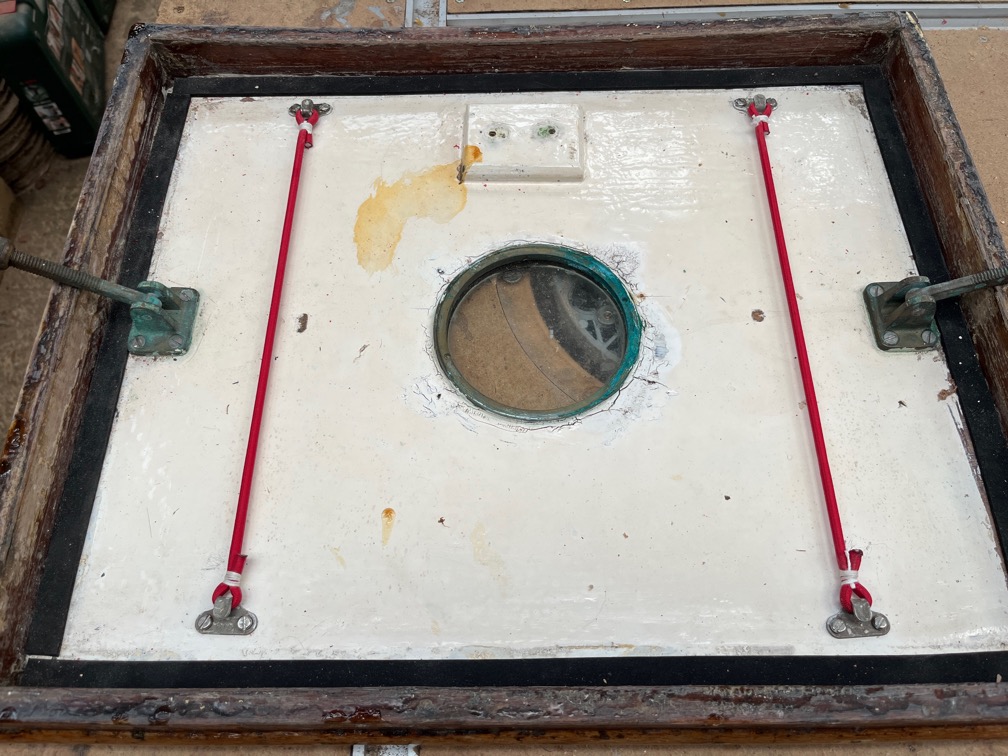
The curtain bungees were put onto the underside of the forehatch. Much easier to do it with the hatch off.
The two major problems that Shoal Waters has is that most, if not all, of the original screws were brass and the glue used as part of the glued and screwed construction was one that was not flexible. The brass has degraded in the marine environment and the glue has become brittle over the years and cracks easily.
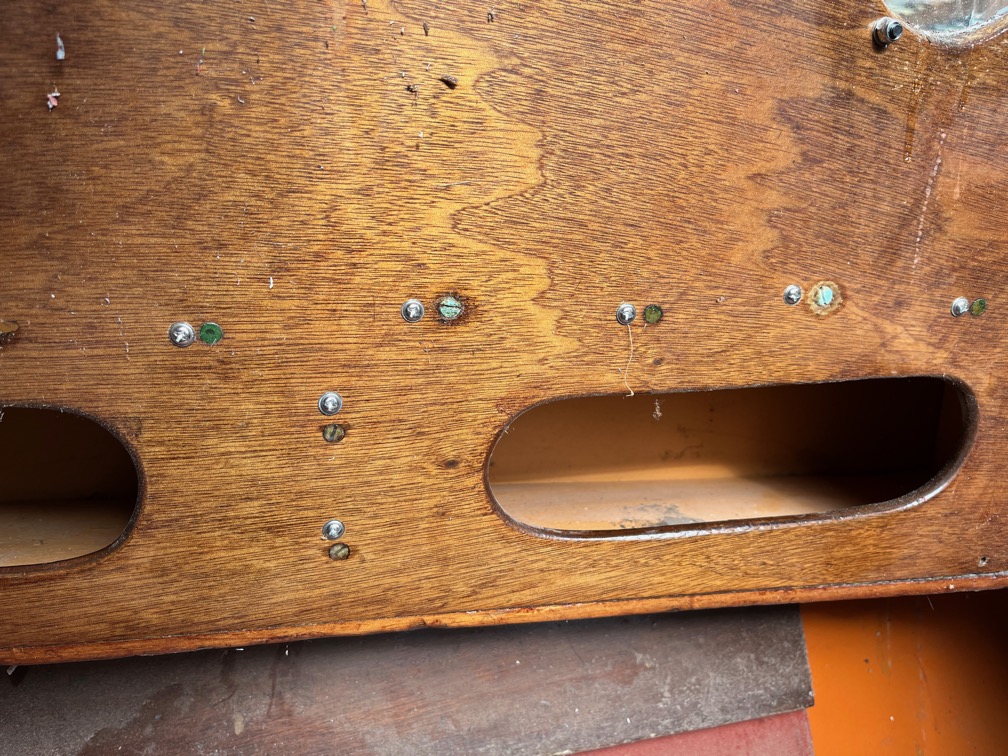
For this reason I decided to double up each of the brass screws and the gripfast nails with M4 x 25mm 304 stainless steel screws with a modified Truss head, which looks a little like an integrated washer. These are a few. The reason for using these screws and not countersunk ones is that with the extra wide, flat head there is more gripping power when the screw is fully home and will not wedge the wood fibres apart as happens with the countersunk screws.
I bought 100 of these screws and found that this was not nearly enough. The main cabin took 50 for both sides and the ones in the cockpit used 80 more. I had to buy a lot more of the screws. I’ve used 130 so far and I still have the forecabin to do, probably another 50 and as many again to complete the cockpit.
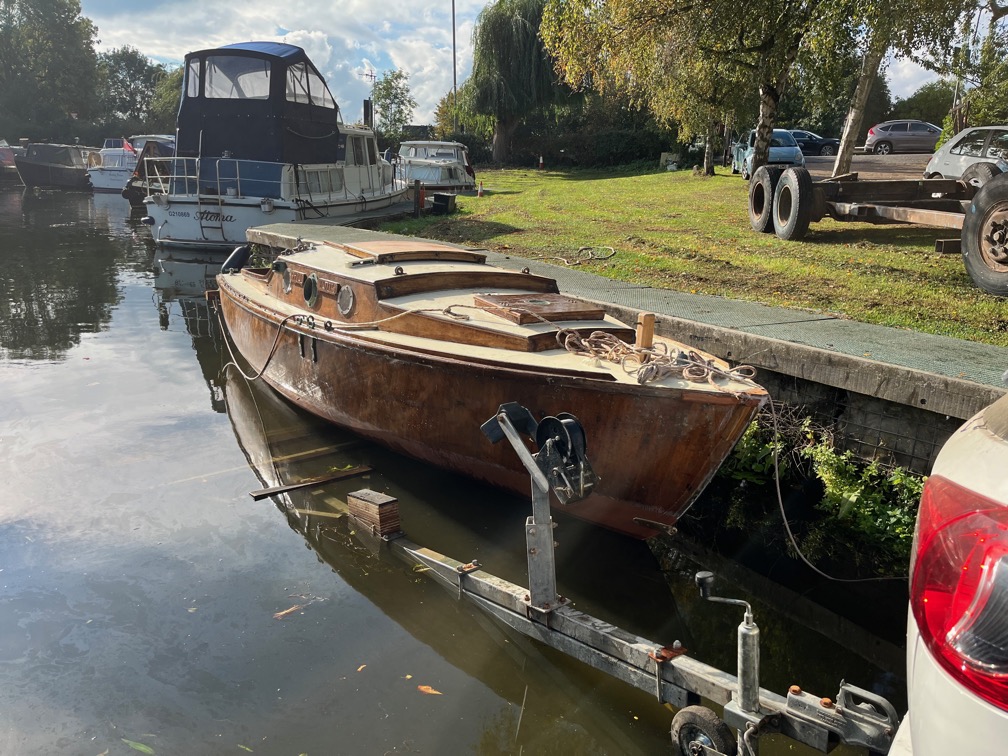
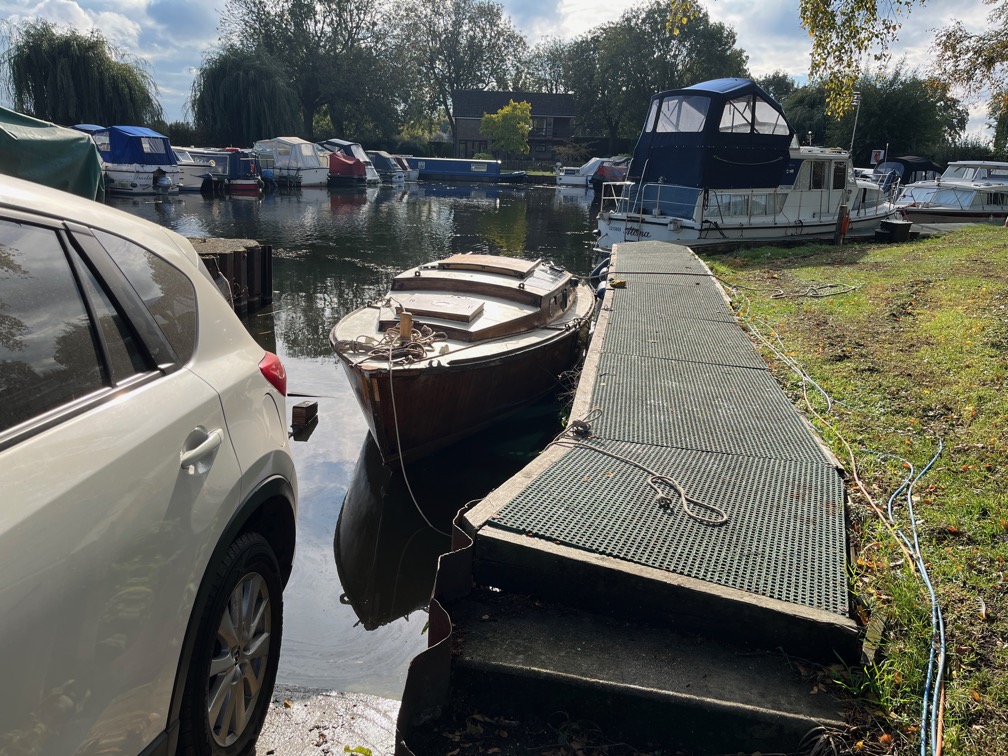
Today it was time for Leak Test 2. I took Shoal Waters to one of the local boatyards and used their ramp to put her in the water. For a charge, of course.
The ramp is very steep which means that launching is very quick and the rear tires of the car do not even touch the water. Getting the boat out solo is another matter entirely. Took me the better part of two hours.
Cockpit dry. Well, no leaks. It was a little wet from the rain last night.
Main cabin, starboard side, no leaks. This was the side that leaked the most last time.
Main cabin, port side. No leaks. There were no leaks in the forepeak nor in the aft locker.
But there was one small leak here. This is a reinforcing pad for the starboard bilge runner and as you can see, the wood is cracked.
Now, the bilge runner on the outside of the boat at this position is the place where there was significant damage to the runner, enough to split the wood on the inside.
I needed the hull to dry out, so cut away the broken part of the reinforcing batten and was relieved to see that the hull appears undamaged. The batten was fixed to the runner through the hull using gripfast nails and it looks like these are now no longer gripping fast and possibly leaking. Once the hull has dried out I shall repair this and stop the leak.
For some reason I did not check the weather forecast first thing as I usually do and this turned out to be a mistake. I was in my office working when I heard the sound of rain tapping on the skylight. I hurriedly checked the forecast only to find that it was saying that it would rain for most of the day. I had left Shoal Waters partially out from under the cover and she was going to get wet.
Not that this is a problem per se, but I can’t work on a wet hull standing in the rain. So I went down to the hay barn, took the trailer off the blocks and pushed it back into the barn such that Shoal Waters’ prow was again under cover.
I climbed into the boat, pulled the pin in the sampson post, checked that the bearers had stuck, they had, then went back out and tried pulling the post out of the fordeck. I was able to get it out entirely due to having shortened it by about 4″ when cutting it down to size.
This is good news as I could work on that in the workshop.
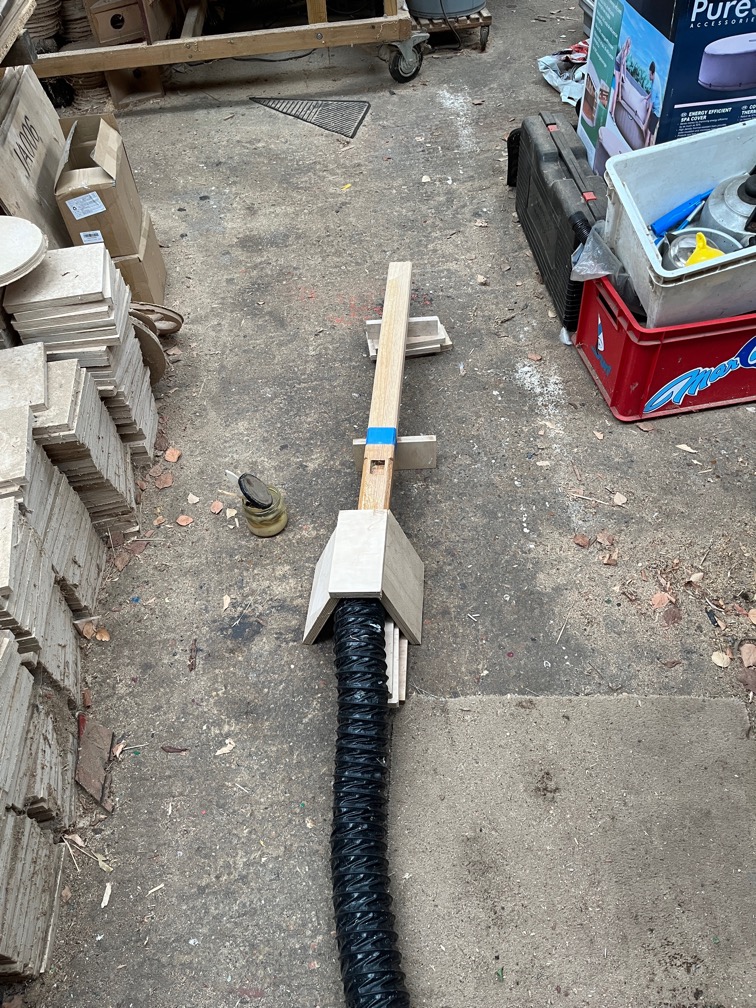
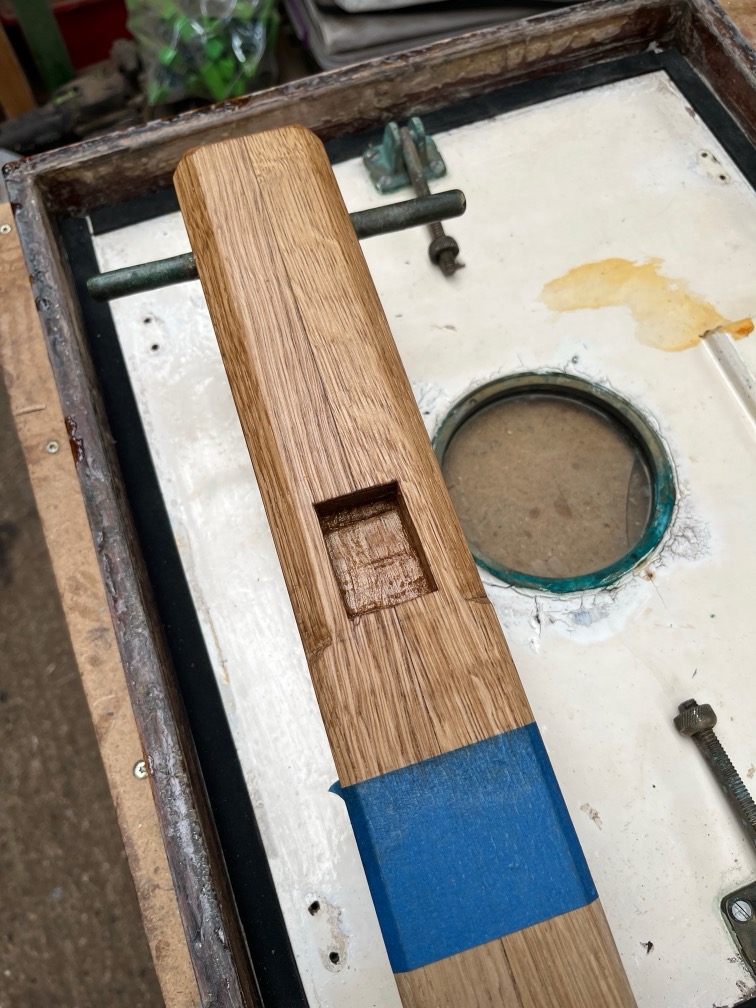
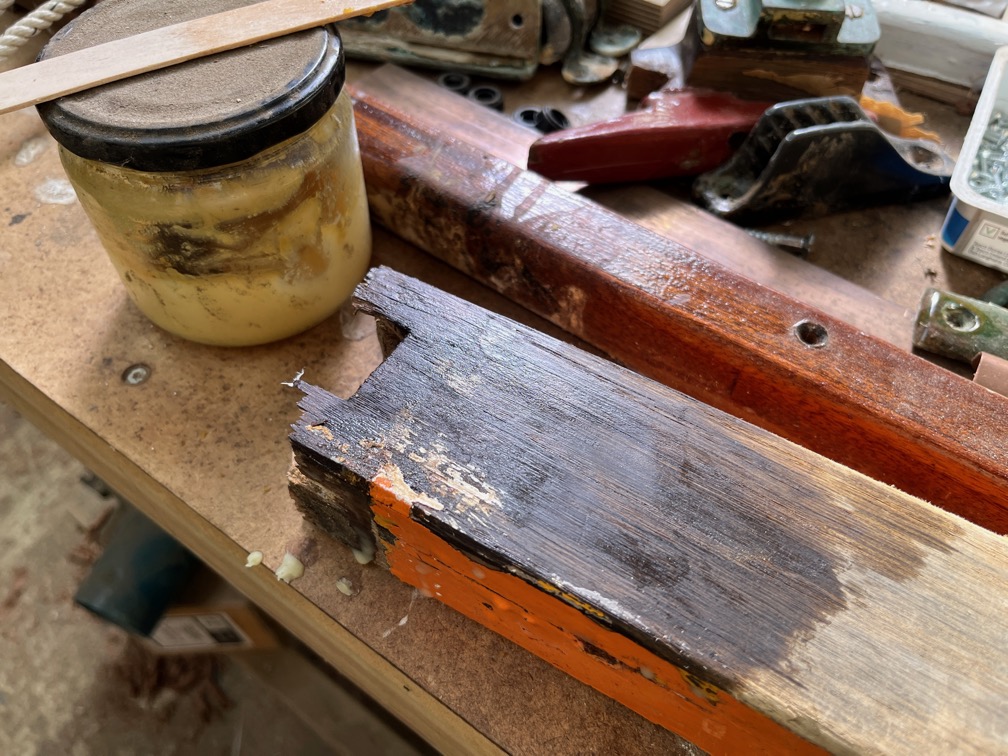
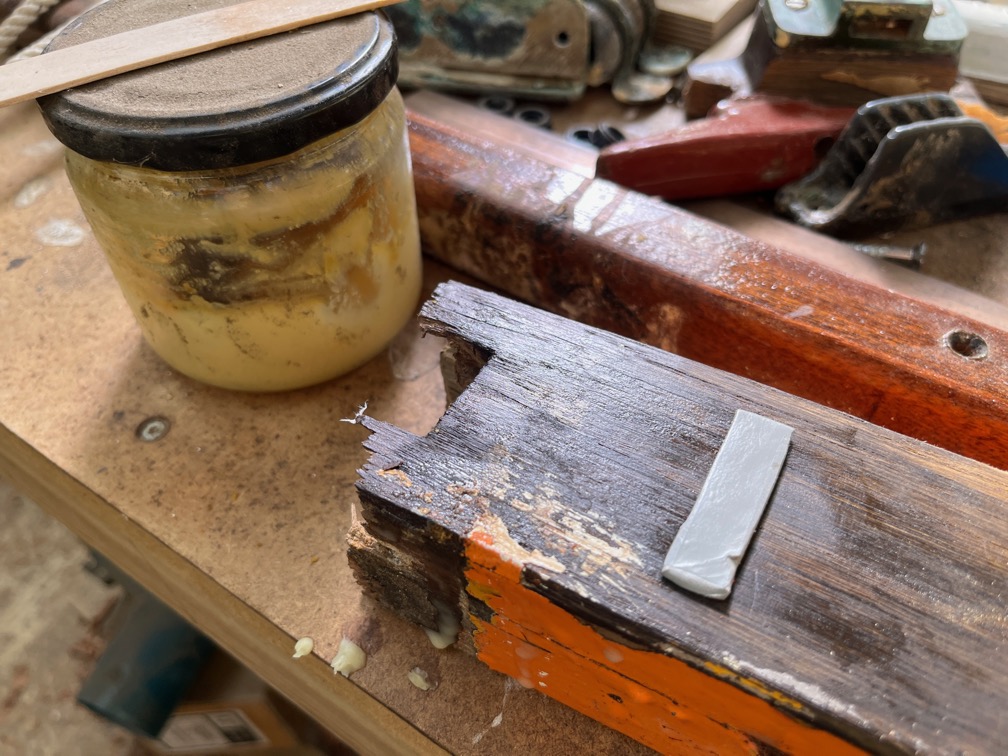
Here is the sampson post being worked on. I used the portable heater to blow hot air on the post for a while and then slathered the top of the post, that part that is not below the deck, with the medieval wood treatment/polish stuff.
It has soaked in quite well, but I left it in the heat for another hour or so before checking to see how well it was doing.
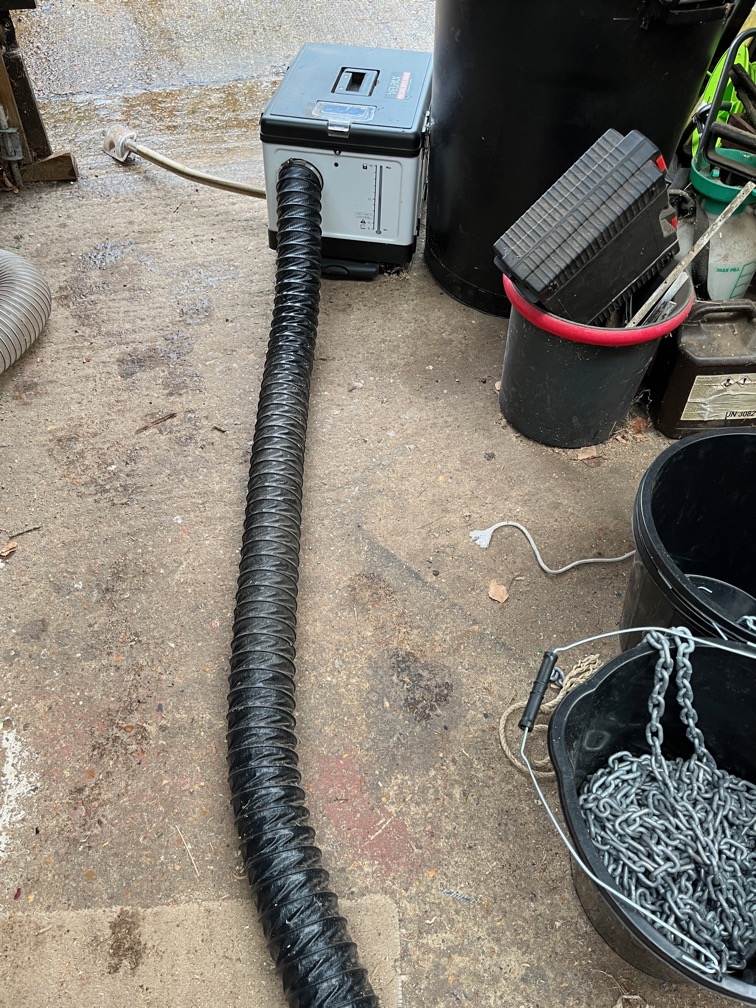
The working part of the heater was close to the door, still out of the rain, but close enough that the exhaust could be placed outside.
Time for a cup of tea.
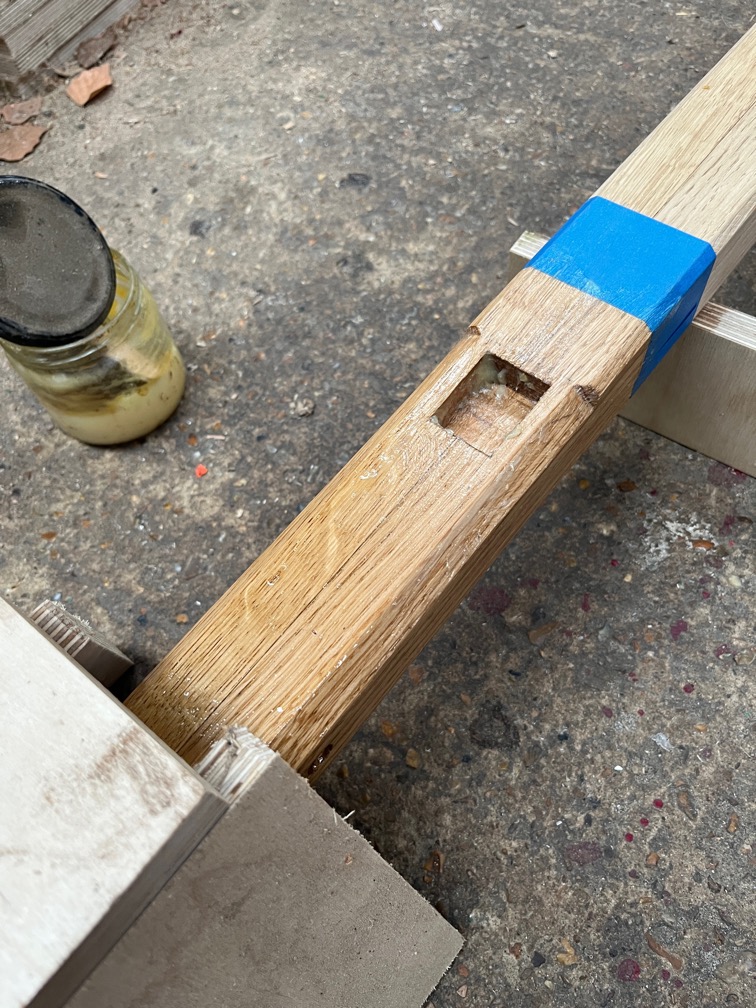
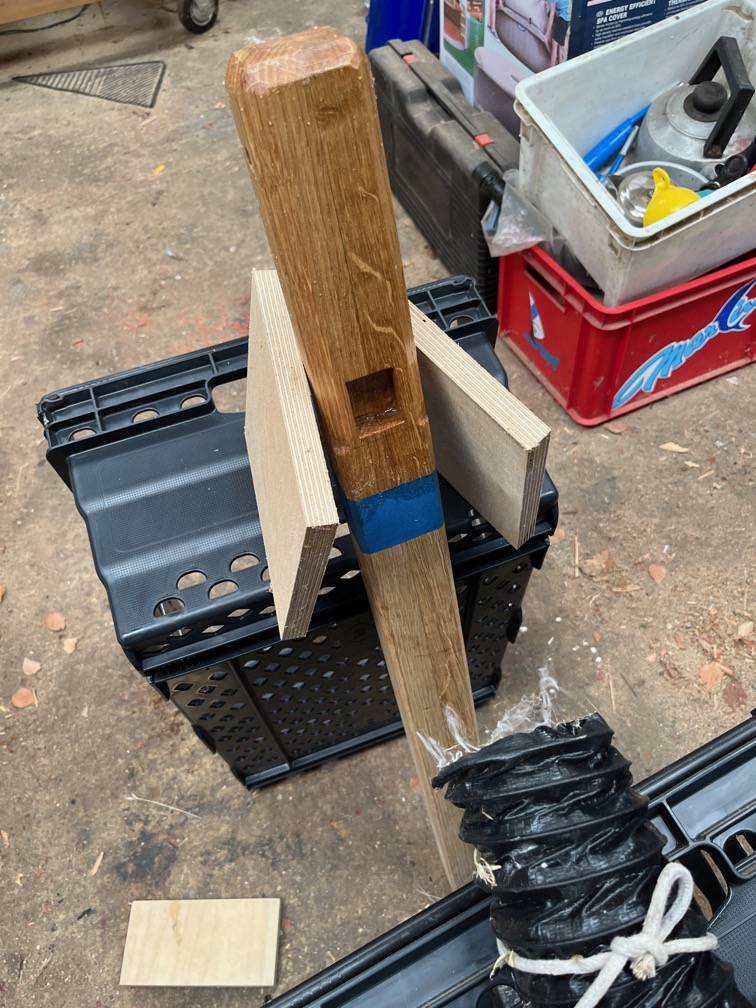
After the hour had elapsed I checked the post and found that it was going well. I rearranged the post and heater such that the post was upright, more or less, and the hot air directed at the mortice. I need as much of the finish to soak into the end grain f the Oak at the bottom of the mortice and the only way to do that is to have the post upright. It also help the end grain at the top of the post.
I further directed the hot air with two “wings” of plywood. Again, I left like that for a while before checking it again.
Time for a cup of tea.
After some time I used the hot air gun to really heat things up for a minute or two, wiped off the excess and this is the result. Not at all bad.
The day started very foggy and just a little chilly, so outside epoxy work will have to be delayed until the fog lifts and the very least.
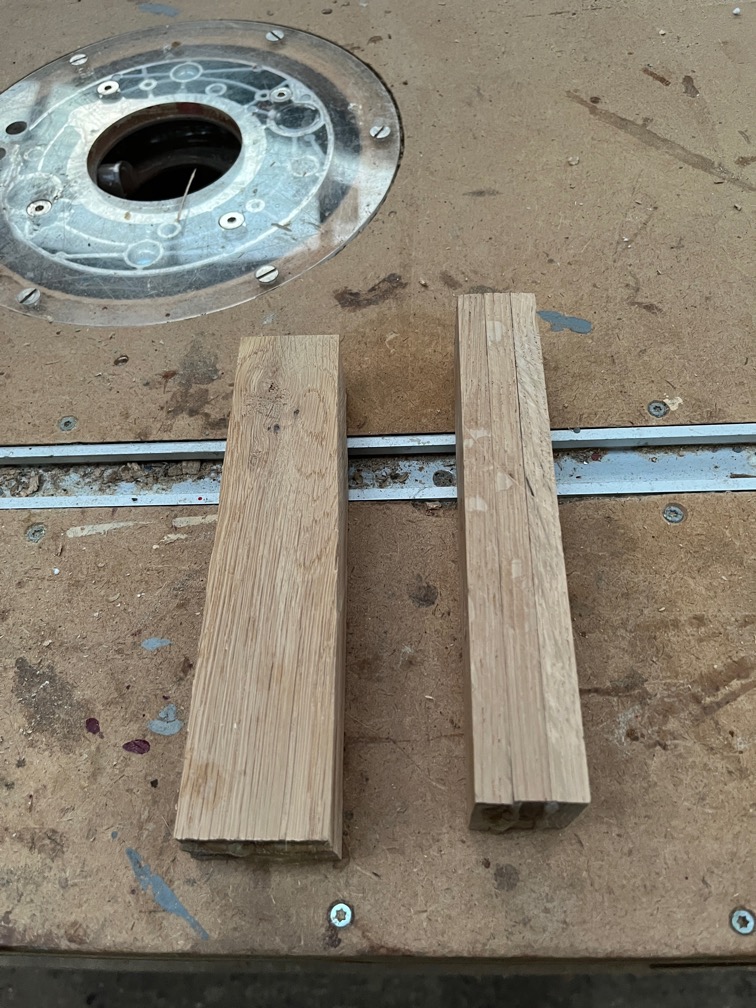
The first thing I did this morning, before breakfast even, was to remove the Oak from the cramps and then to trim off the excess epoxy.
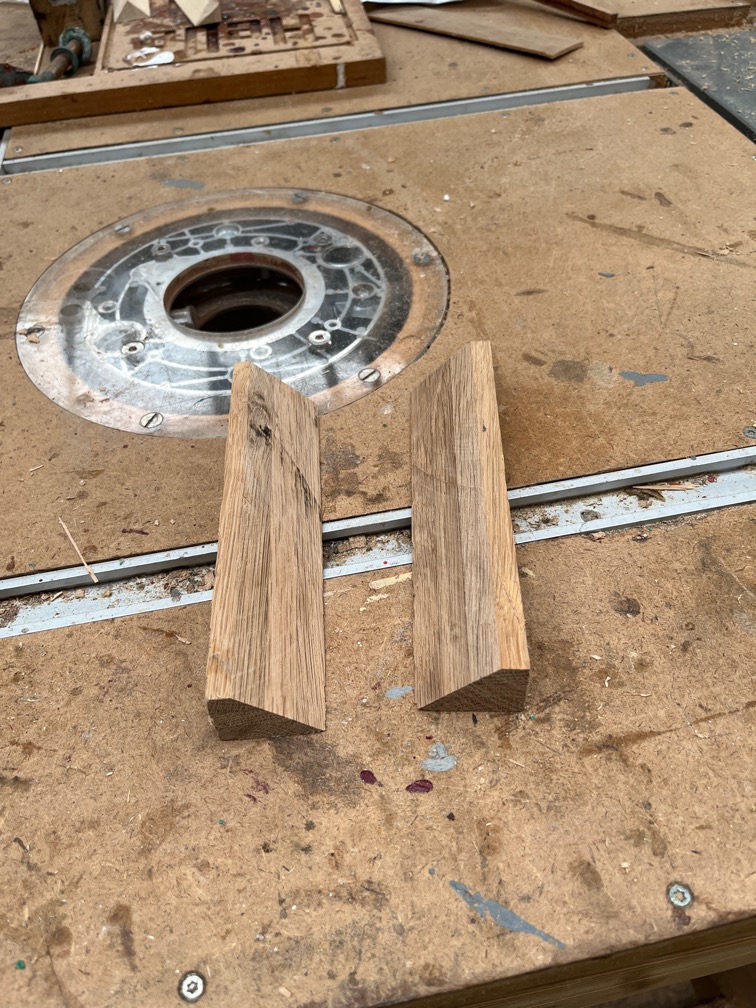
These two were cut to the required angle ready for various adjustments and dry fitting.
Time for a cup of tea.
The drop nose pin arrived in the post just after lunch which was a very fast delivery.
This one is 8mm in diameter and has a working length of 80mm.
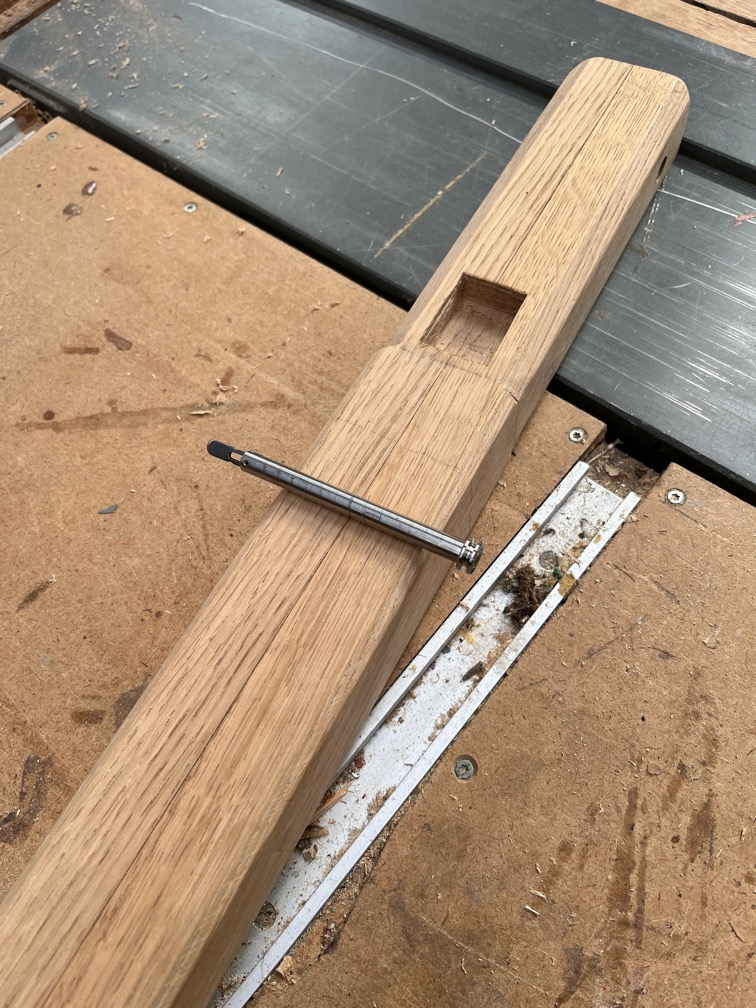
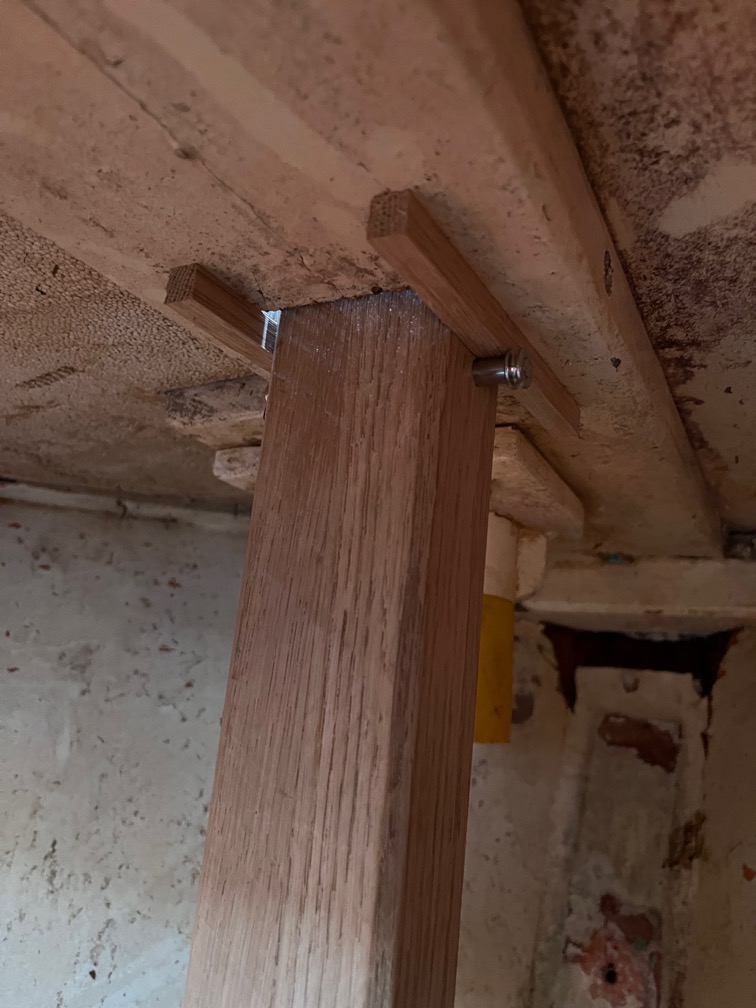
I carefully drilled an 8.5mm hole in the sampson post and made two bearers out of Oak. These were glued to the king plank using the Sikaflex adhesive and the pin fits through the hole and rests tightly against these bearers, preventing the post from being lifted out. However I don’t know if the bearers will have stuck to the king plank as it was only when seeing the photo that I realised just how dirty the plank is. I’ll find out tomorrow.
The post has some clear tape around the point where the adhesive is to prevent it sticking to the post.
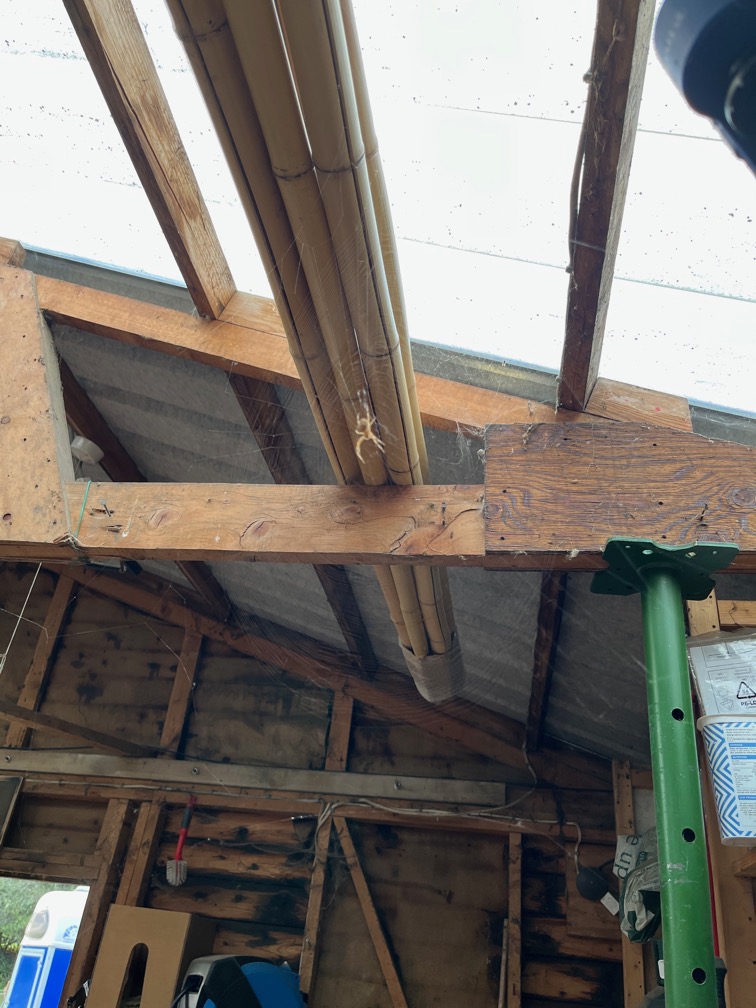
Just before I stopped for a tea break I spotted a new inhabitant of the workshop. This large spider has spun a web under one of the skylights. The web was not there first thing this morning. I’ll navigate around the web as best I can for the moment, but sooner or later I’ll have to move something that will break the web.
Time for a cup of tea.
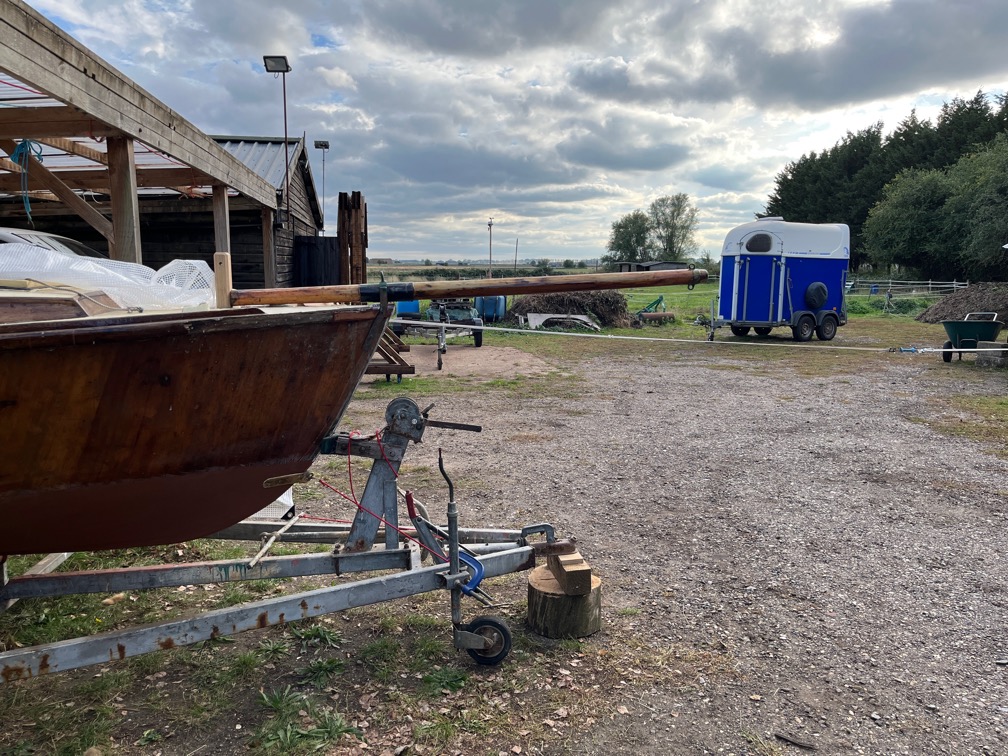
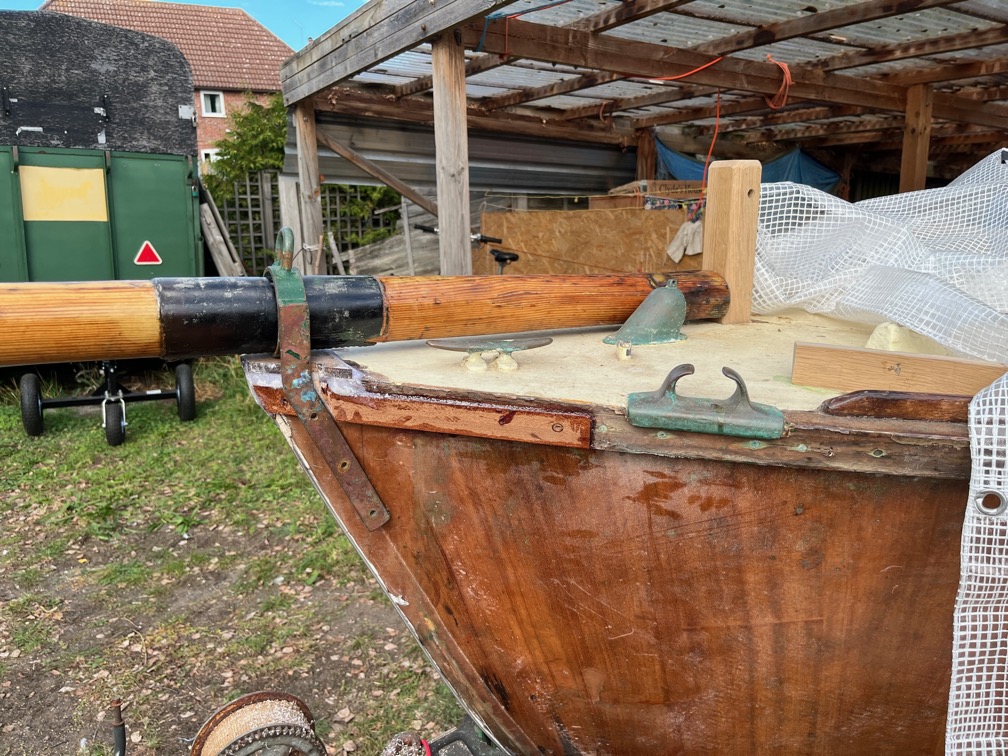
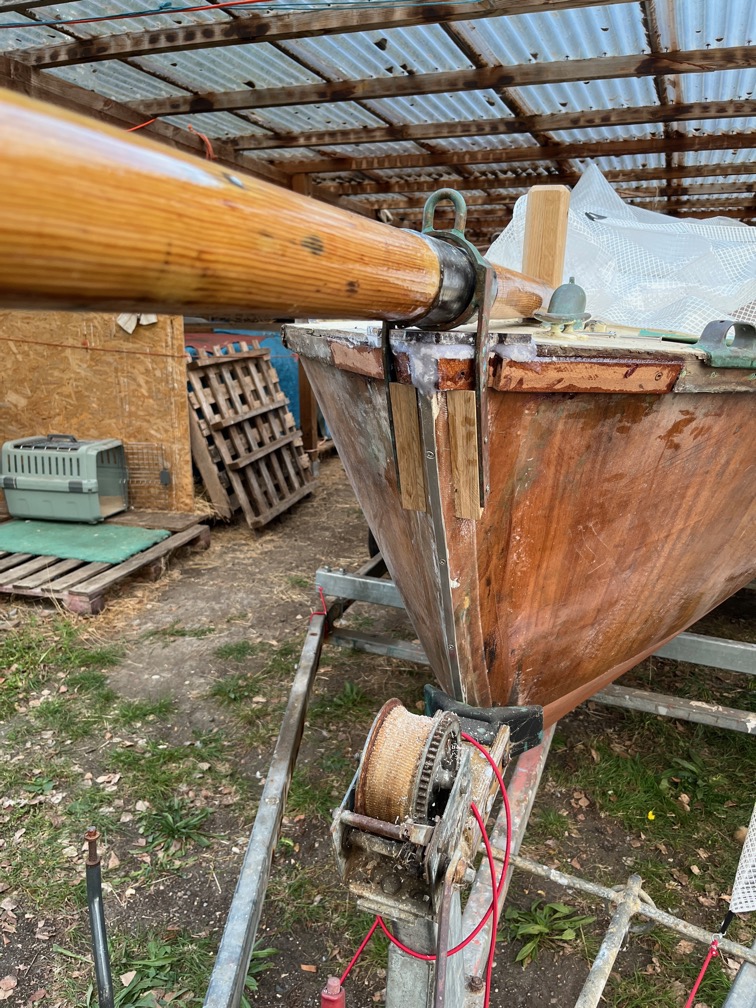
Once the sampson post had the retaining pin inserted, even though the bearers are still being glued, I could put the bowsprit in place and position the gammon iron. This is what it looks like with the gammon iron at its lowest and the angle looks just fine.
There is a good clear gap under the bowsprit which will allow a rope to be put under it when rigging the staysail.
With the position sorted out I trimmed the Oak I laminated yesterday and cut this morning and then epoxied it to the hull. I dry fitted the spacers with 2″ stainless steel screws but only used 1″ screws to hold the spacers and the gammon iron in place whilst the epoxy cured.
I’m, thinking of adding two more screws to give five per side to add extra strength to the gammon iron. I’m also debating whether or not to replace the stainless screws with bronze. The are larger in diameter, no.12 instead of no.8 but the same length. I think I’ll see how the stainless screws hold up and replace them with the larger screws if required.
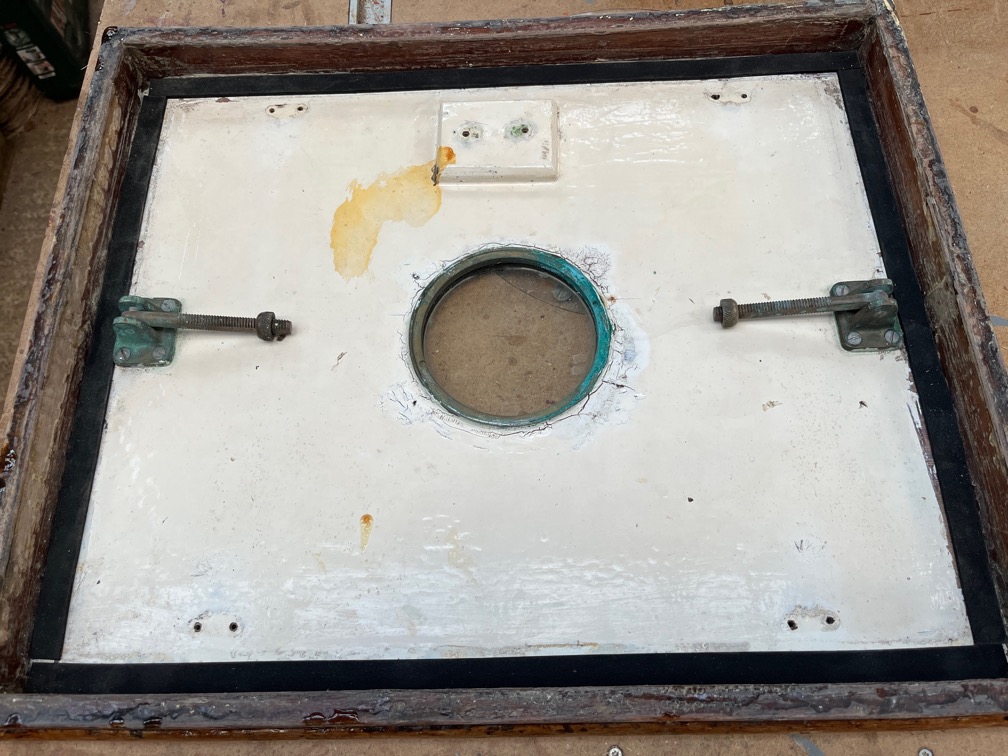
I decided that the last task of the day would be to put the waterproofing strip onto the underside of the forehatch.
Oh, and I washed the curtains. There are only four remaining of the seven original, so I’ll see if I can find some matching material and make new ones. I doubt it, though. As far as I can tell from old photos, these are the original curtains of sixty years ago. Finding a match is probably impossible !
Although the aim in the next few weeks is to get Shoal Waters ready for her next leak test, when there are delays I turn my attention to other tasks that are not on the critical path. Currently I’m waiting for a drop-nose pin to arrive so that I can finish fitting the sampson post.
The first order of the day was to fit the bobstay fitting. I decided that, rather than use sealant on the back of the fitting, I would use butyl tape instead. The six 1 1/2″ no.12 bronze screws are more than sufficient for the job so the adhesive properties of the sealant would not materially add to the strength of the fitting but would made it much more difficult to remove in the future.
Butyl tape was wound around each of the screws as shown.
Each part of the fitting was put into place and the screws tightened up a little at a time.
This allowed the butyl tape to stay in place until all six screws were nearly tightened all the way down.
This is a few turns into the process.
And here the butyl tape has started to be compressed by the fitting as the screws are tightened up further. The screw holes had been chamfered slightly and this is where the butyl tape is pushed down into the chamfer and then down last the screw thread a little. The rest of the tape is squashed tight around the screw forming a watertight seal.
As the two parts of the fitting got closer together I put the bolt through the larger of the two holes at the front. The correct holes were not aligned enough to use that untl the sides were almost fully seated.
Once they were seated correctly, the bolt was moved to the correct hole and tightened up.
Time for a cup of tea.
After my tea break I put the hinges back on the galley locker door that received a coat of varnish yesterday.
The door was then screwed back into place in the galley. However, now that the hinges are free from varnish and other grime and opens and closes easily, the door rattles as it does not have a back stop.
Well, it didn’t. I put one in. There’s nothing I hate more than things in a boat going clink. clink, clink as the boat rocks whilst I am trying to sleep.
Due to the restricted access I couldn’t quick get the stop block close enough to the door to prevent the rattle.
But some neoprene tape stuck to the block did the trick.
And here it is, the refurbished galley locker door. I’ll clean up the mess later.
Moving back to the sampson post, I need to treat the upper portion with something other than paint but still be able to put a bead of butyl tape around the deck joint to stop the water getting in. I decided to try the medieval beeswax finish to see if that would work. I heated up the end of the old post with a hot air gun, then applied some of the finish and applied heat again until no more of the finish soaked into the wood.
The finish is equal parts of beeswax, turpentine and linseed oil and should polymerise leaving a non-waxy finish. This is the result after leaving it overnight.
I put a new piece of butyl tape the the surface and I’ll see if it has stuck sufficiently later.
Time for a cup of tea.
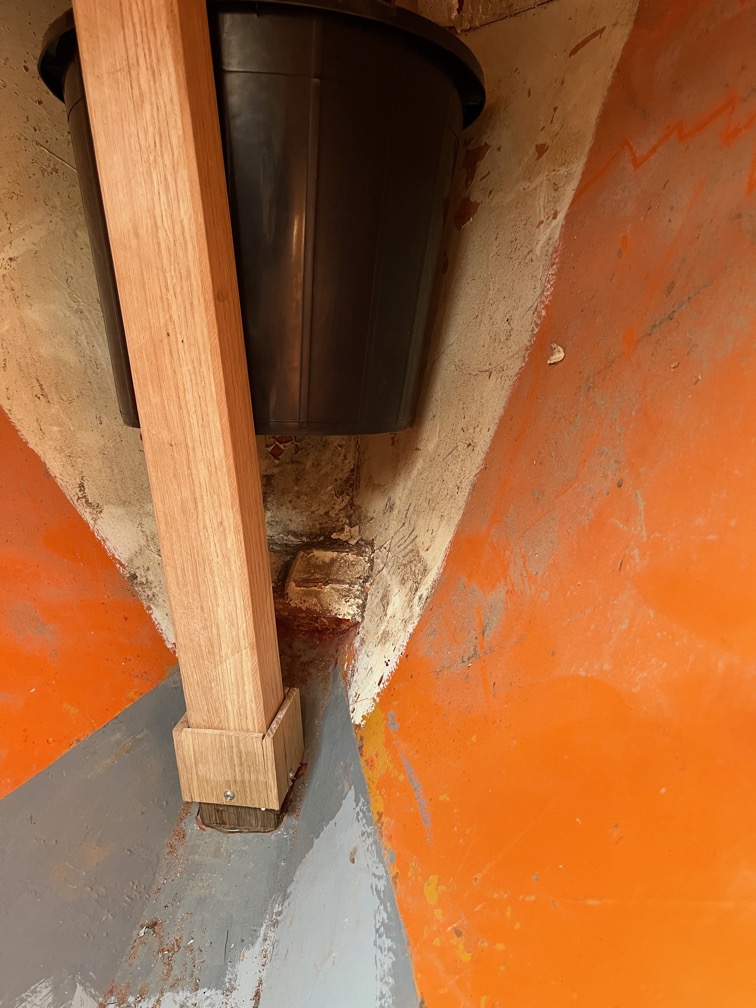
Now I need to think about how to stop the chain bucket from forcing the sampson post out of it’s fixings. As it stands the bucket sits as shown in the photo above. Whatever I come up with has to be very robust as the chain is quite heavy. I’ve parked this one for now and I’ll think about it over the next few days.
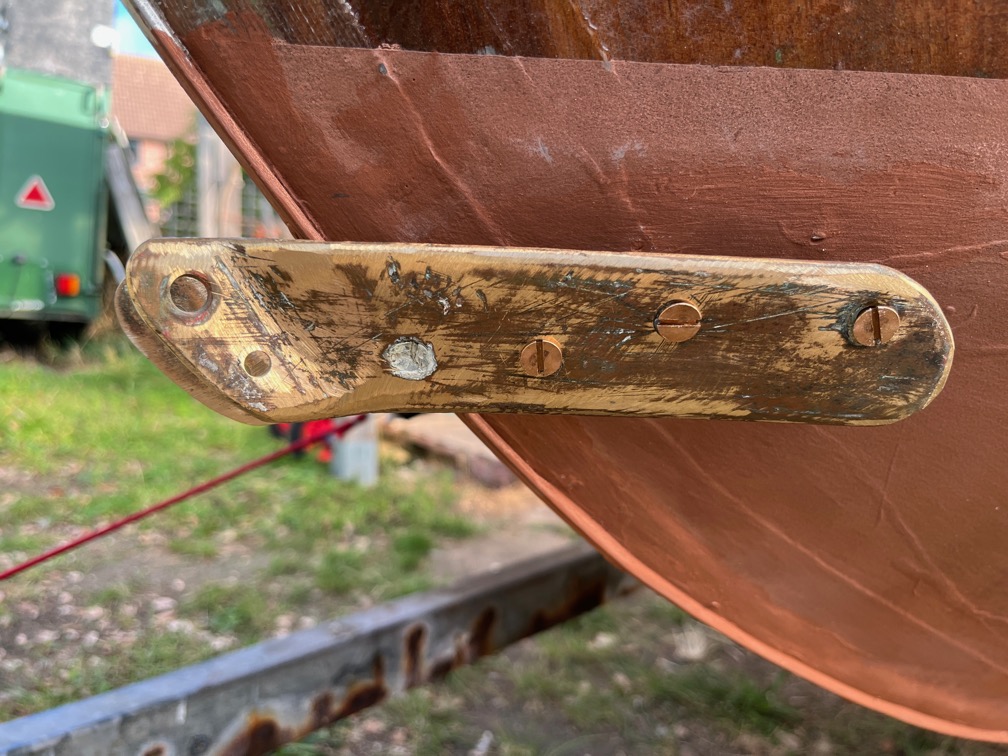
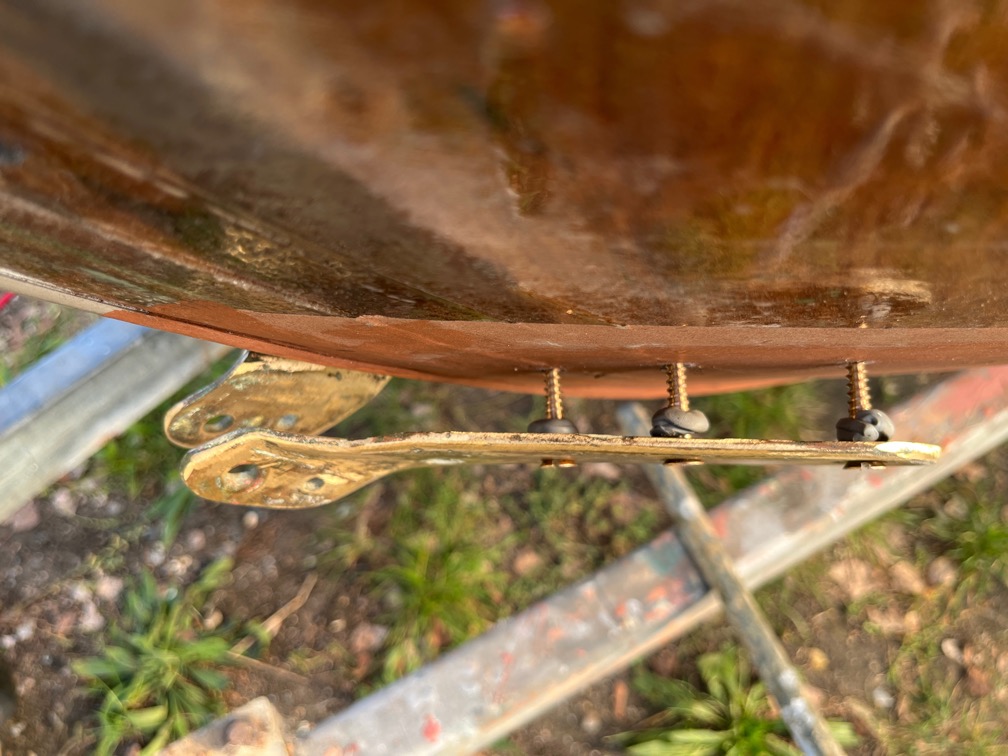
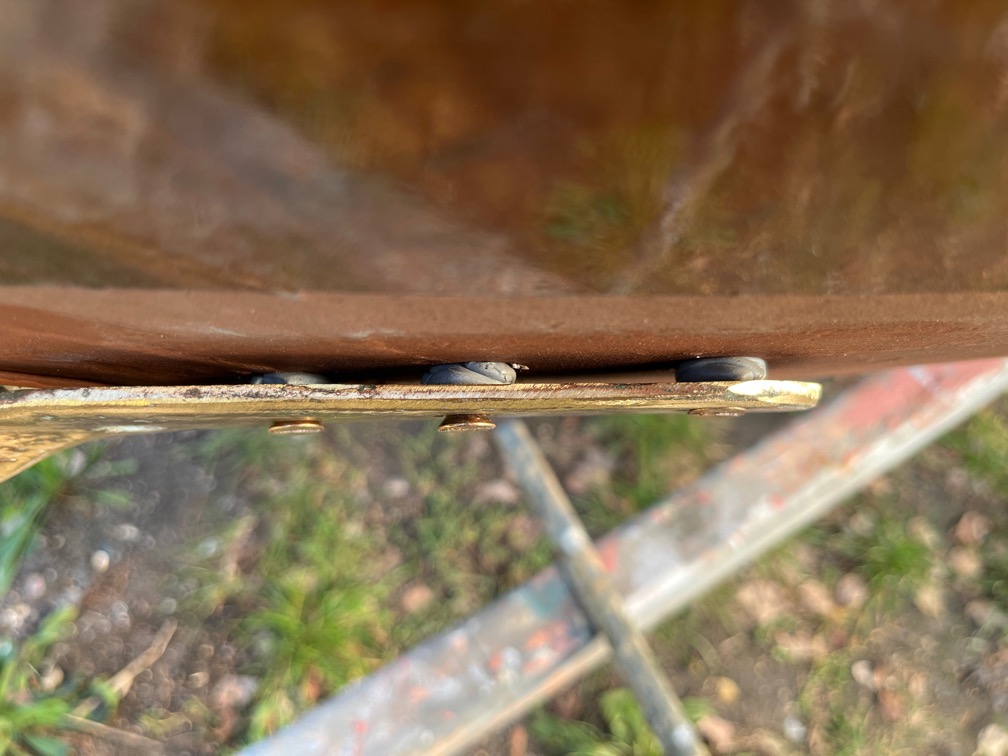
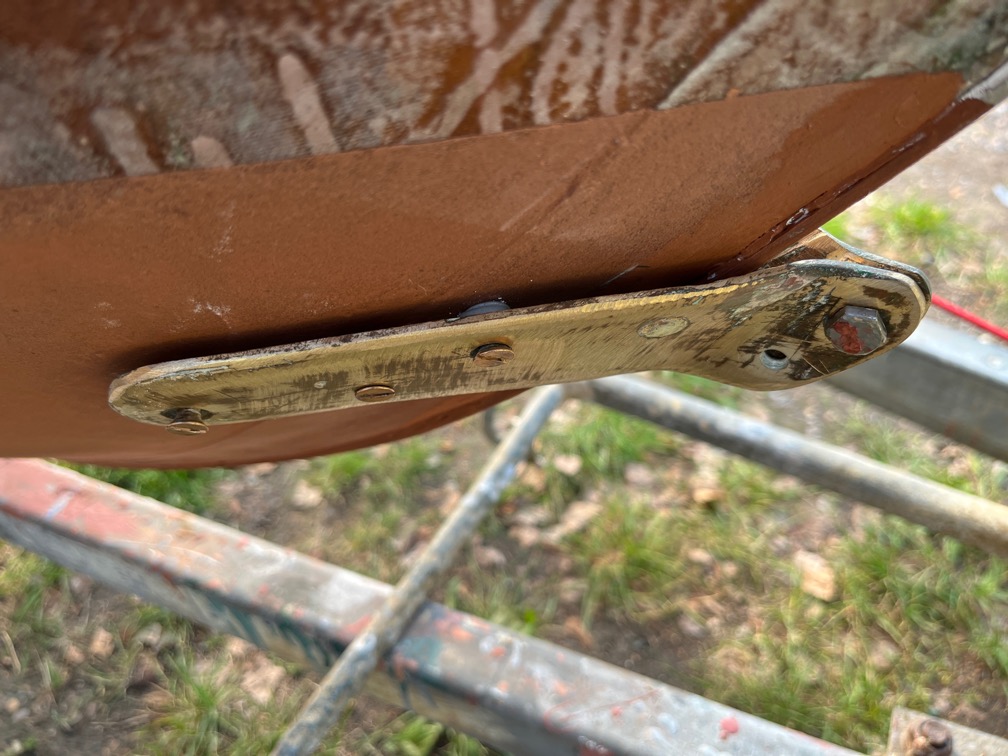
Now that the sampson post has a mortice and the bowsprit can be located on the foredeck, I turned my attention to the gammon iron. The first thing to do was to cut two notches in the side of the rubbing strake.
This allows the legs of the gammon iron to rest against the hull.
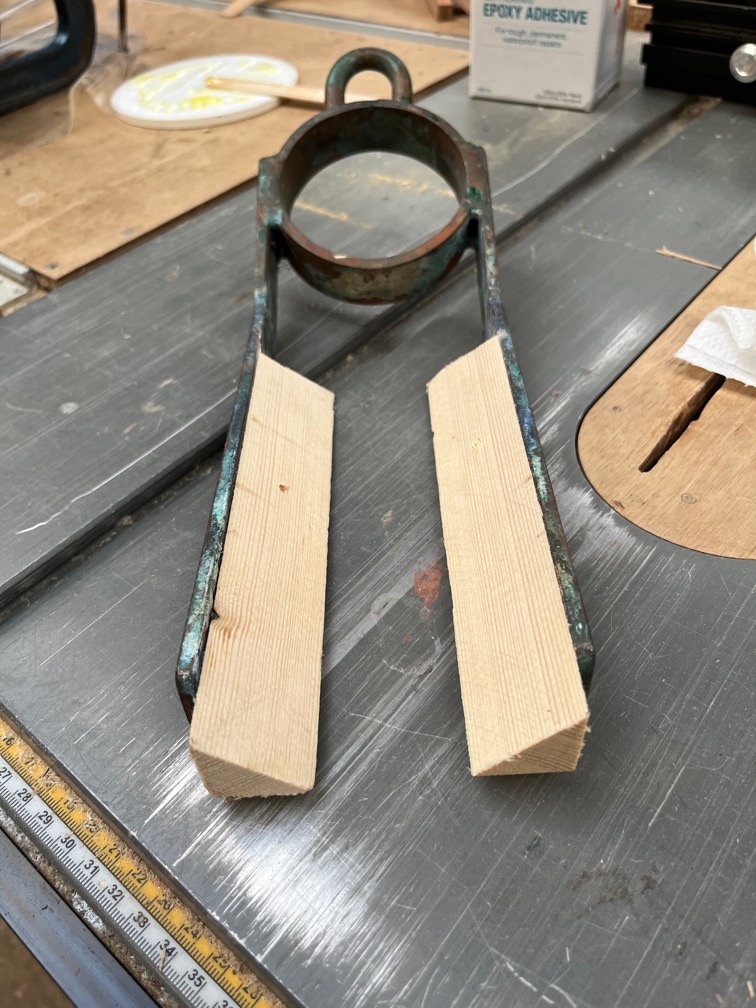
Two pieces of softwood were cut at an angle and screwed to the legs to make two shims that fill the gap between the gammon iren legs and the hull. These are templates just to check that the angle is correct.
The fit was as good as I’m going to get, so on to the real shims.
The real shims are made of Oak and I laminated some pieces together to give two pieces of timber from which the shims will be cut. Once cut and shaped, these will be epoxied to the stem. The gammon iron will be screwed to the hull though these shims which should provide a strong fitting for the bowsprit, forestay and staysail.
Time for a cup of tea.
The next part of refitting the gammon iron is to rebuild the deck at the prow. This came off when the old steel gammon iron was cut off and I’m fairly sure that the join between the main part of the deck and the small piece at the very tip of the prow cracked at some point and from then on let water in, both salt and fresh from any rain. Over time this would have caused the rot that was found in the top of the stem and the planking.
I cut a new piece of deck from a piece of 9mm marine plywood and after checking that it fit correctly I slathered the top of the stem with thickened epoxy having first coated the underside of the new deck piece and the edge of the existing deck with neat epoxy. When the new deck piece was screwed into position, the excess squeezed out, and there was quite a lot of it, and was removed before it fell on the ground.
The finish is quite rough as it is difficult to get a good finish like this, but this will be sanded smooth once it is cured. There is more epoxy filler work to be done when the shims are put in place.
The 9mm plywood was chosen because is it thicker than the existing deck and I made sure that I didn’t screw it down too far. This new deck is about 5mm higher than the existing deck and this matches the mortice in the sampson post being 5mm higher than before.
The final rise of the bowsprit will be determined by the height that the gammon iron is fitted when I get to that stage.
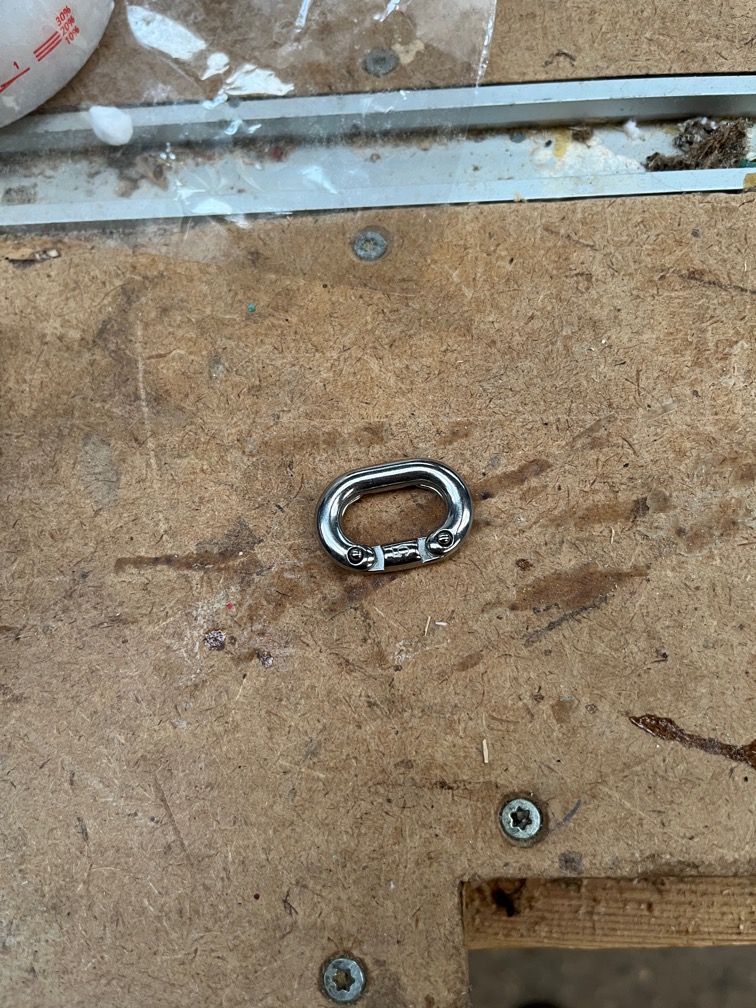
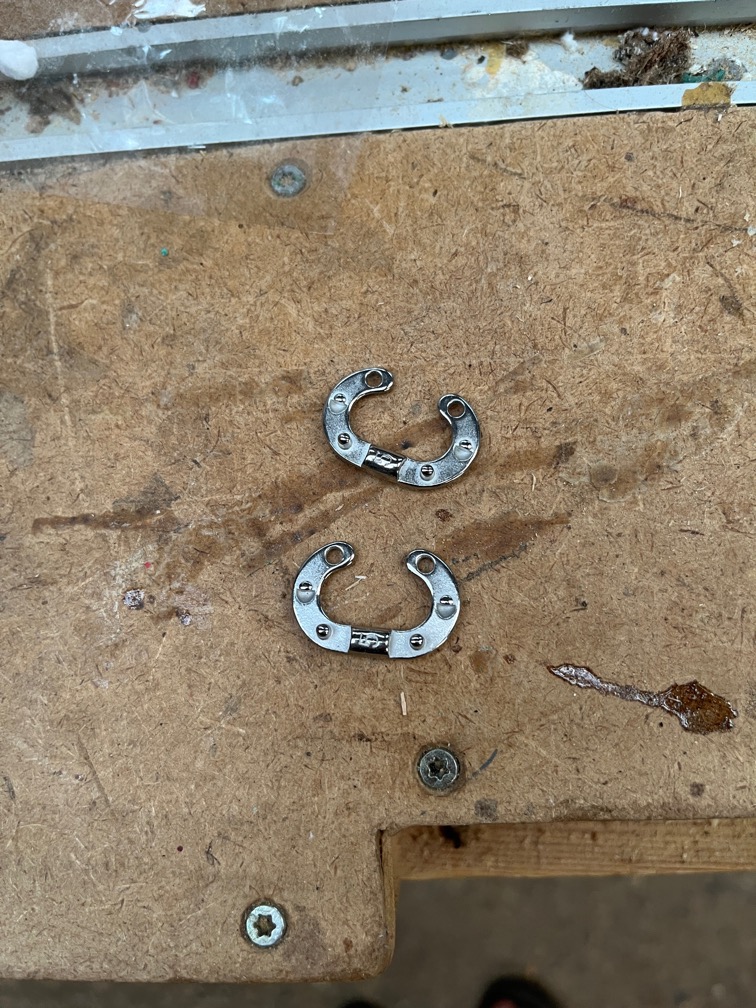
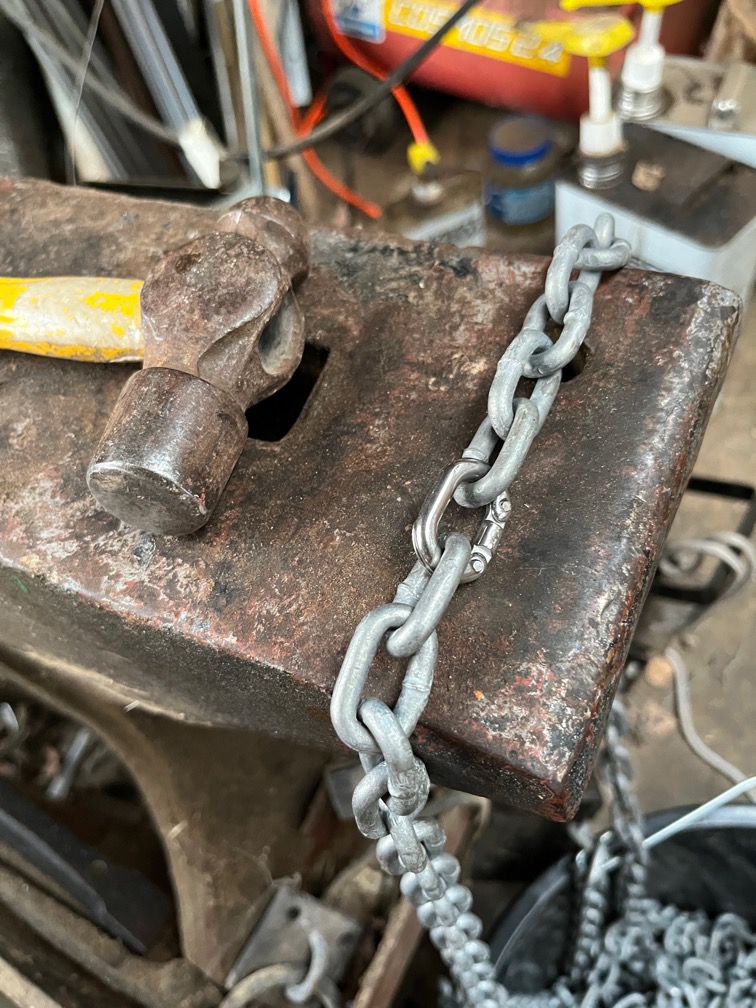
This is a 5mm 316 Stainless Steel Split Connecting Chain Link and is used for connecting two lengths of chain. In this case the anchor chain.
The old anchor chain was past its useful life, being very rusted at the bitter end and the working end was showing signs of rust, so it was retired and I found the two 15m lengths of anchor chain that bought a number of years ago. This had been sitting in storage waiting for something to require it.
The two halves of the link are joined together such that the ends of the chains are joined and then the small pins hammered flat like rivets to hold the link together.
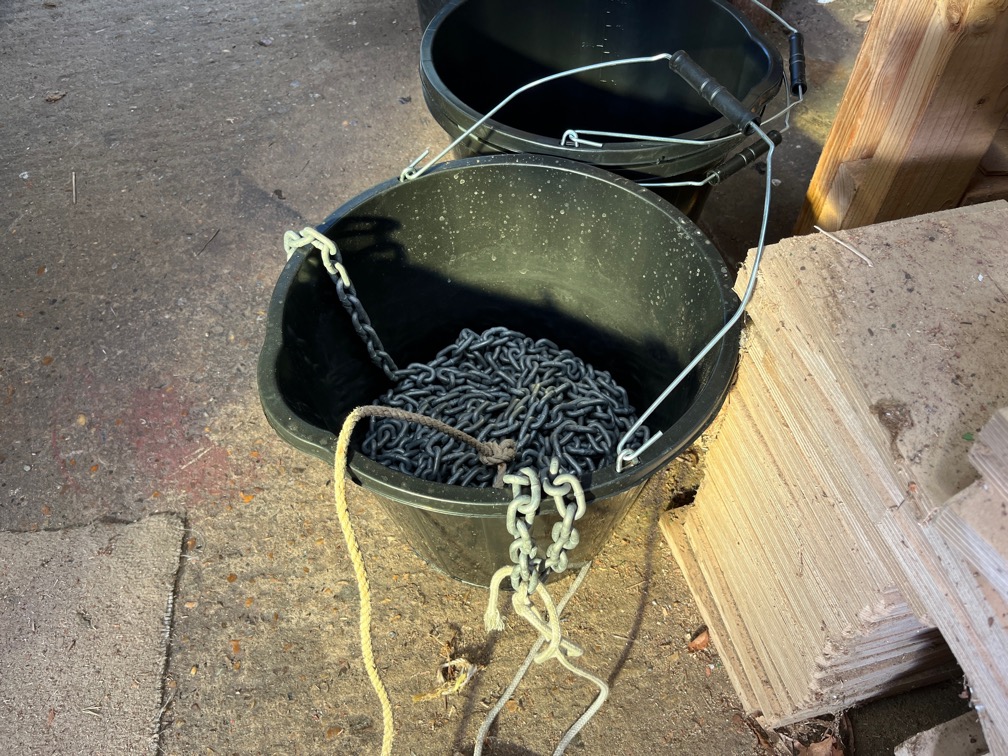
So, Shoal Waters now has a new anchor chain and I need to stretch it out on the drive at some point and mark it.
For the moment it is sitting in one of the buckets I bought recently for that purpose.
Time for a cup of tea.
The last task of the day was to put another coat of varnish on the forehatch. As I walked down to the workshop I could feel fine rain on my face. I quickly took Shoal Waters off the blocks and pushed her back under the roof. Then I did the varnish !