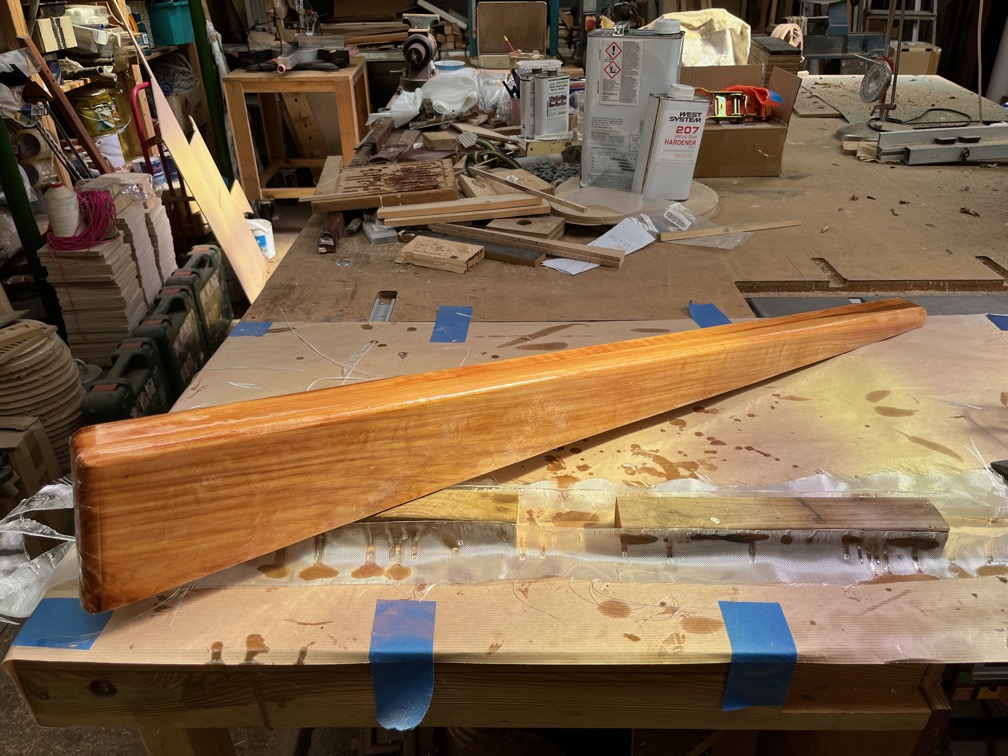
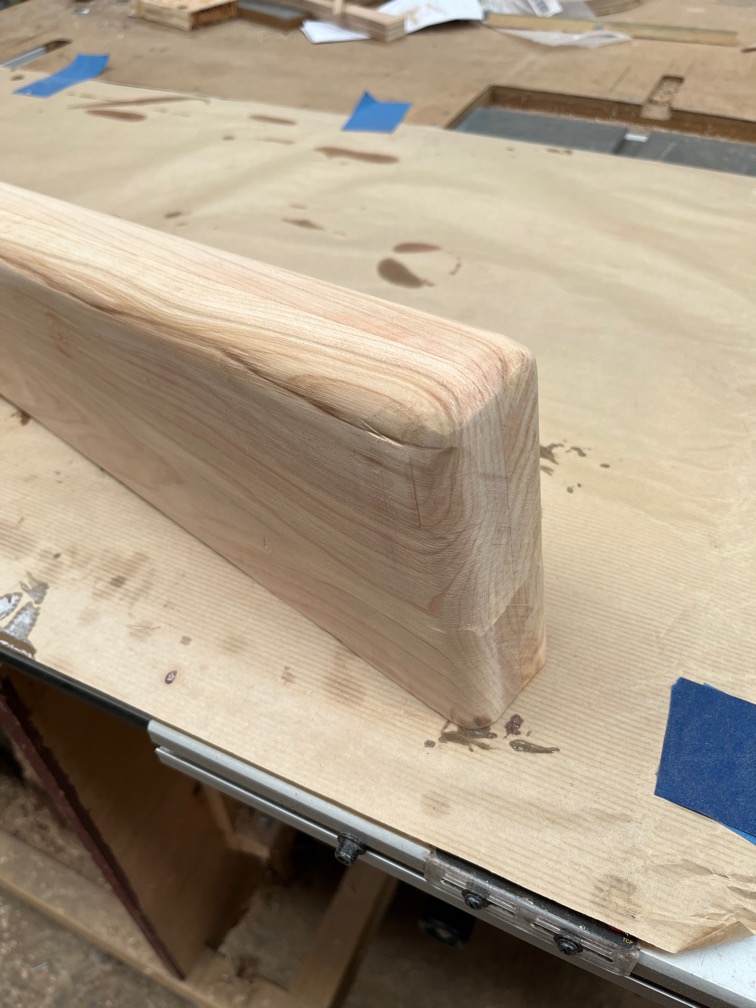
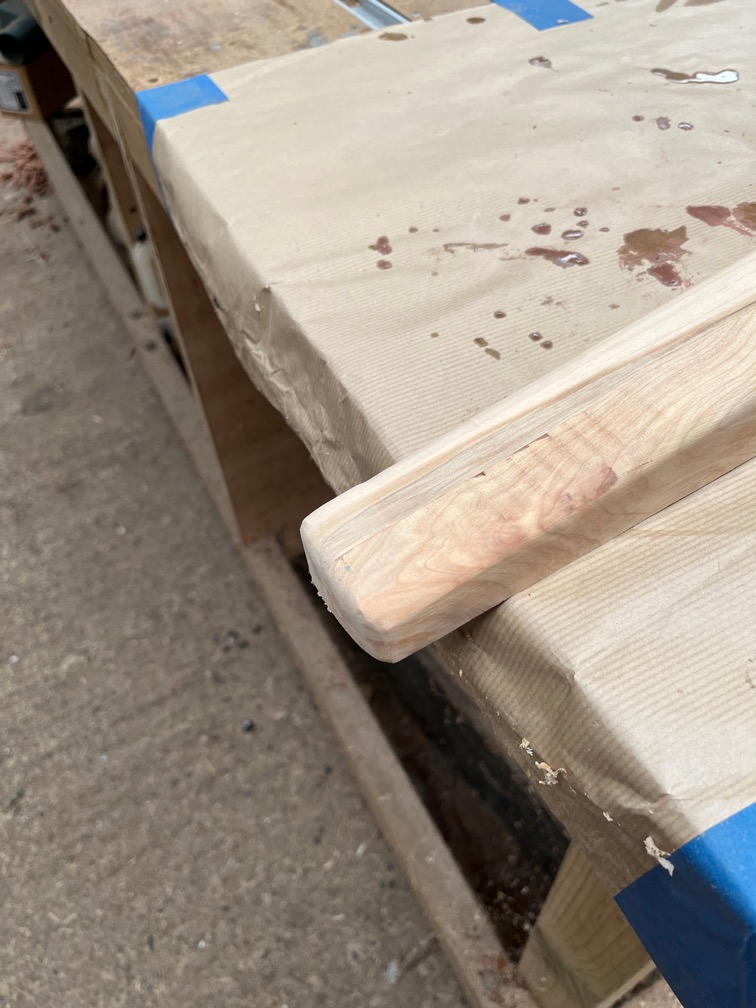
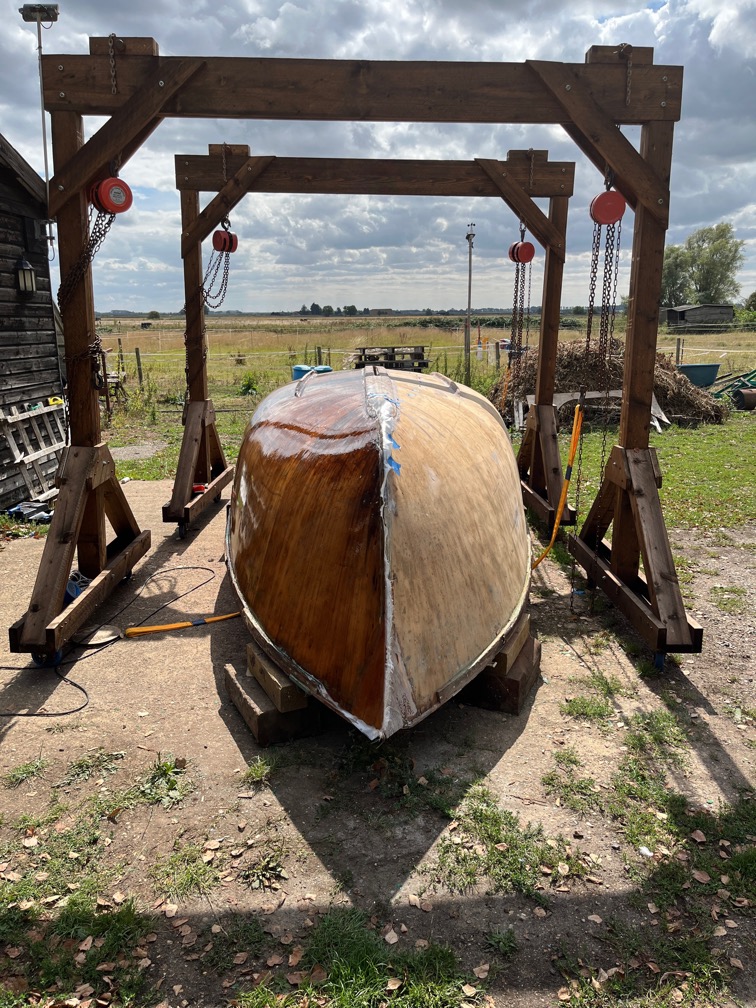
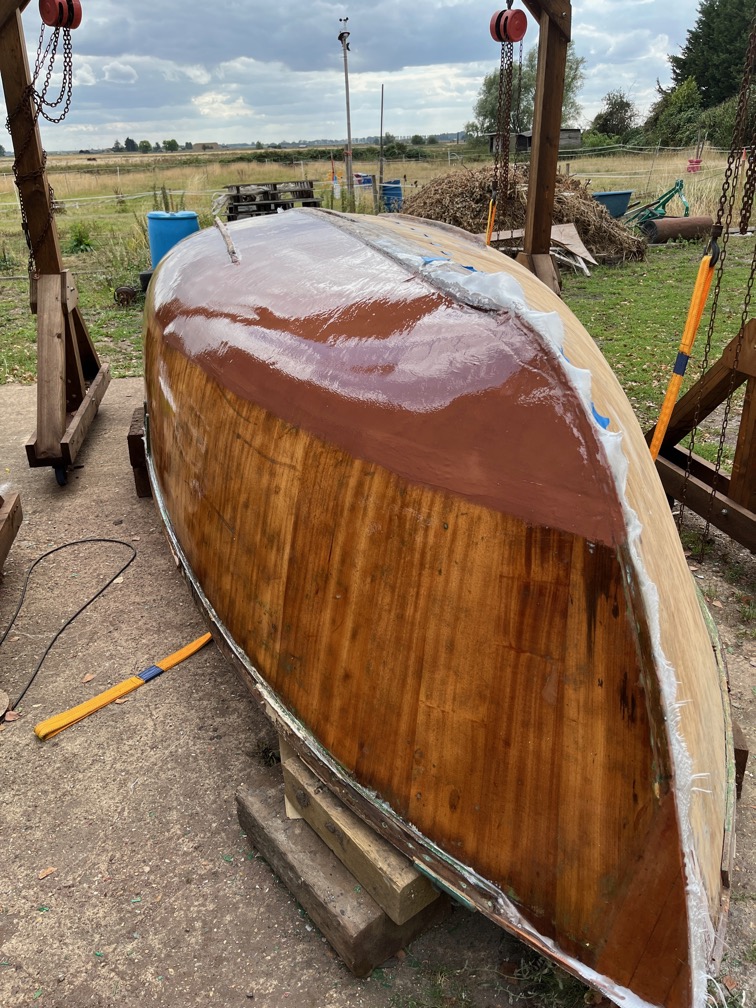
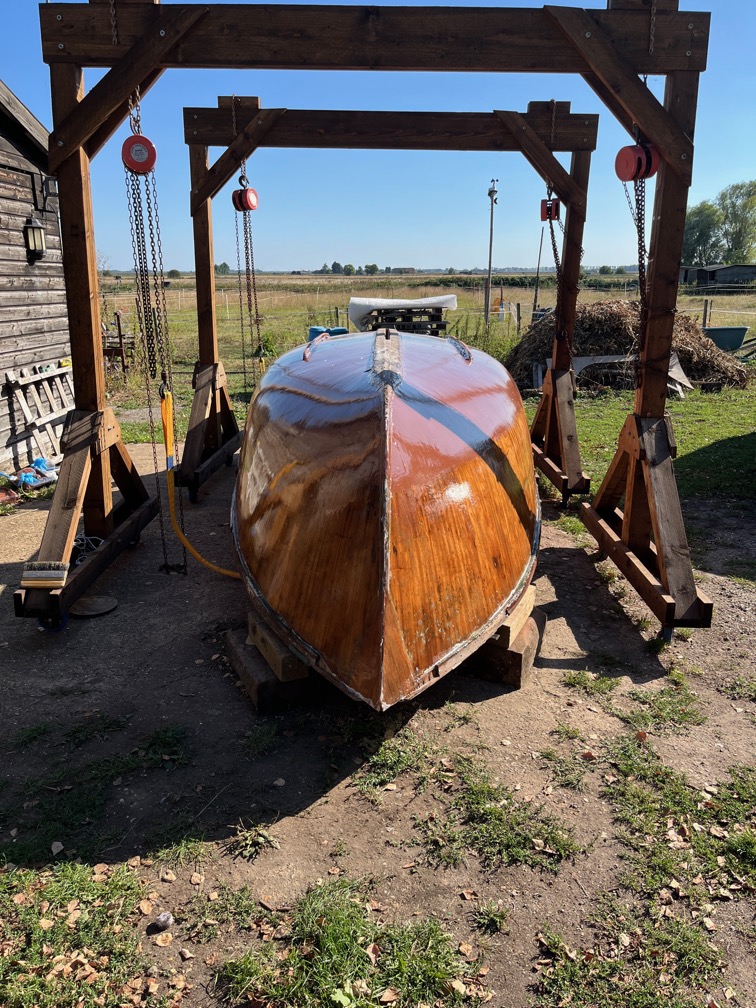
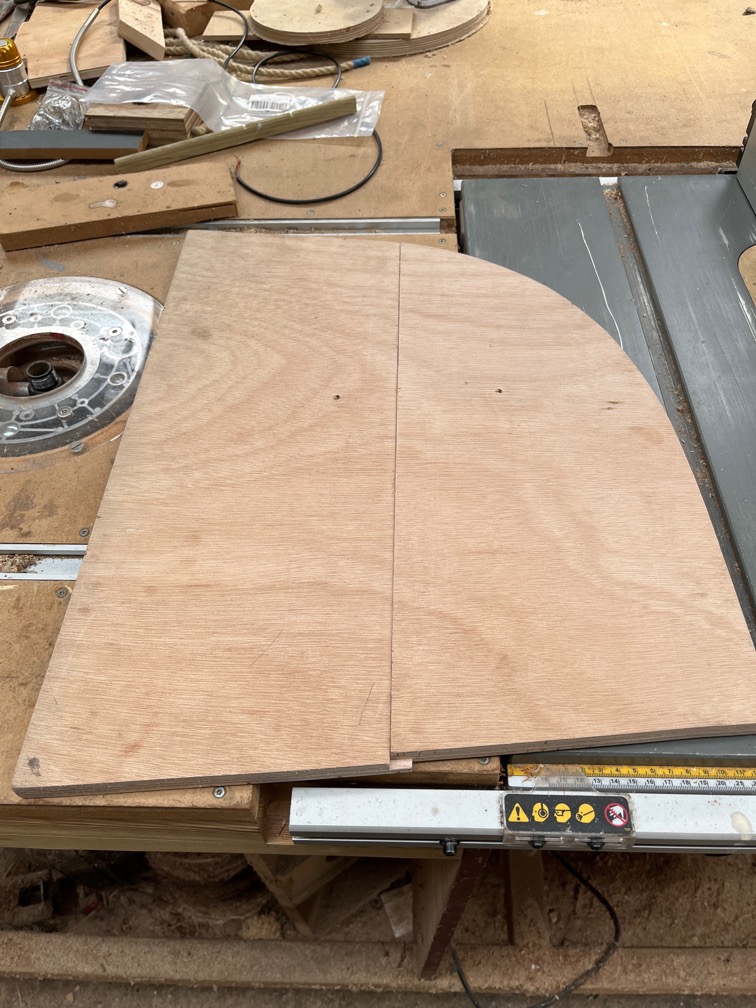
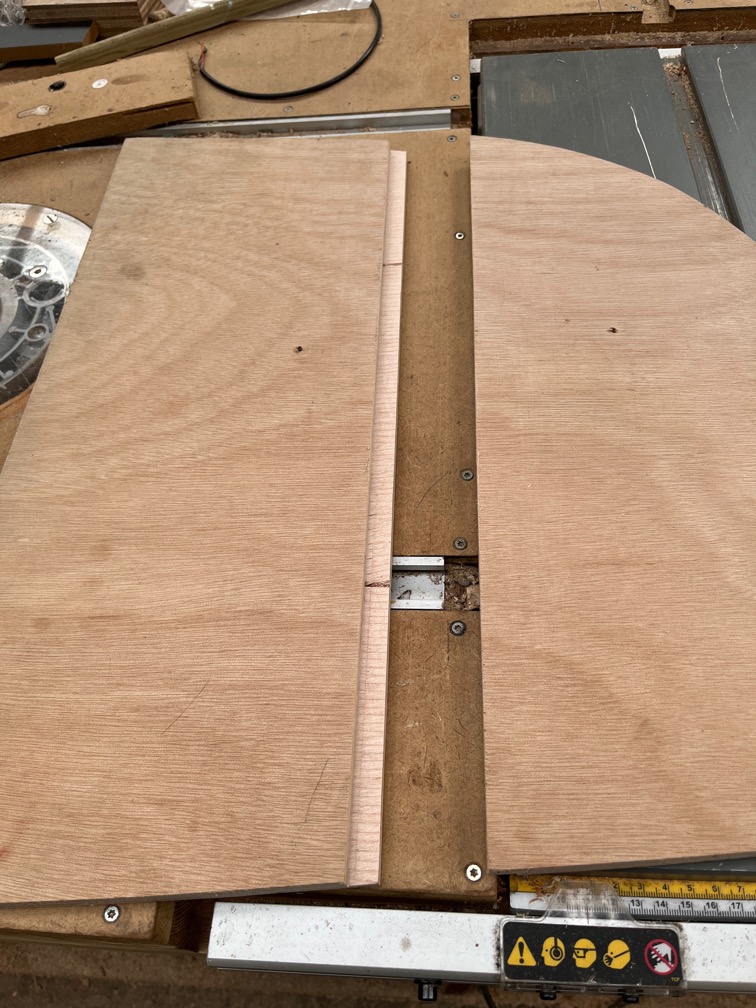
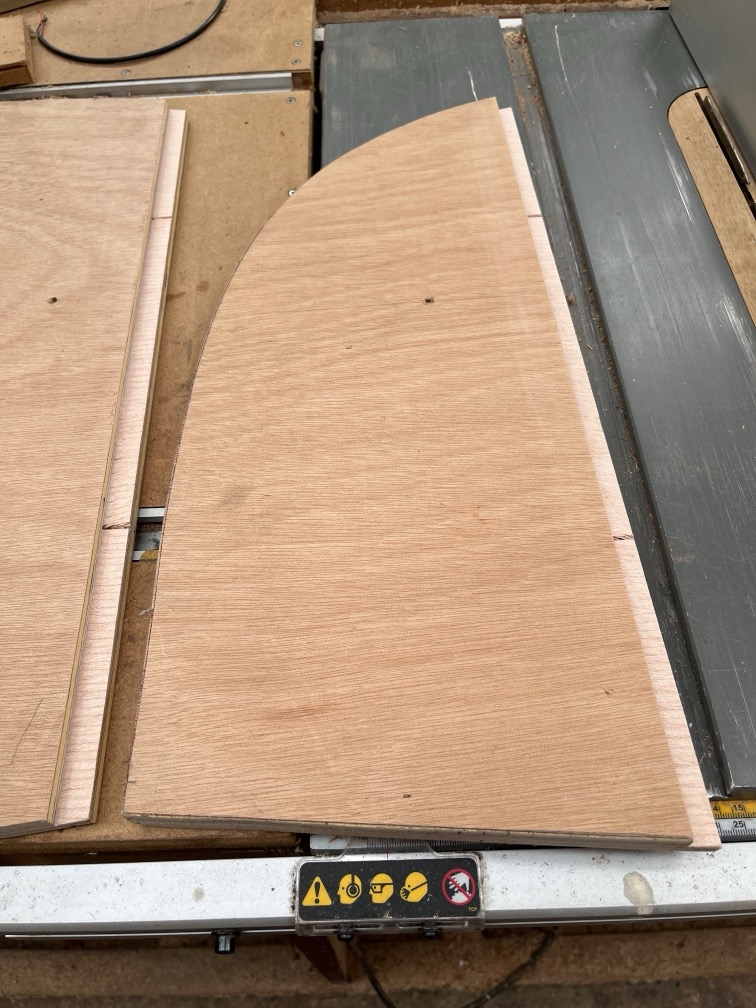
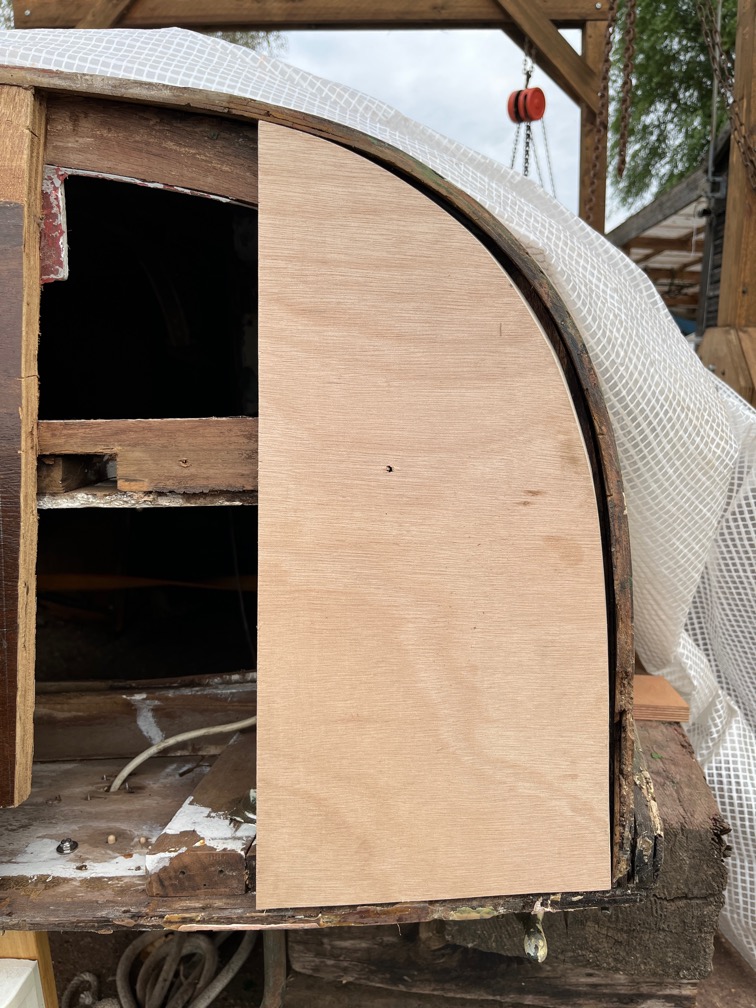
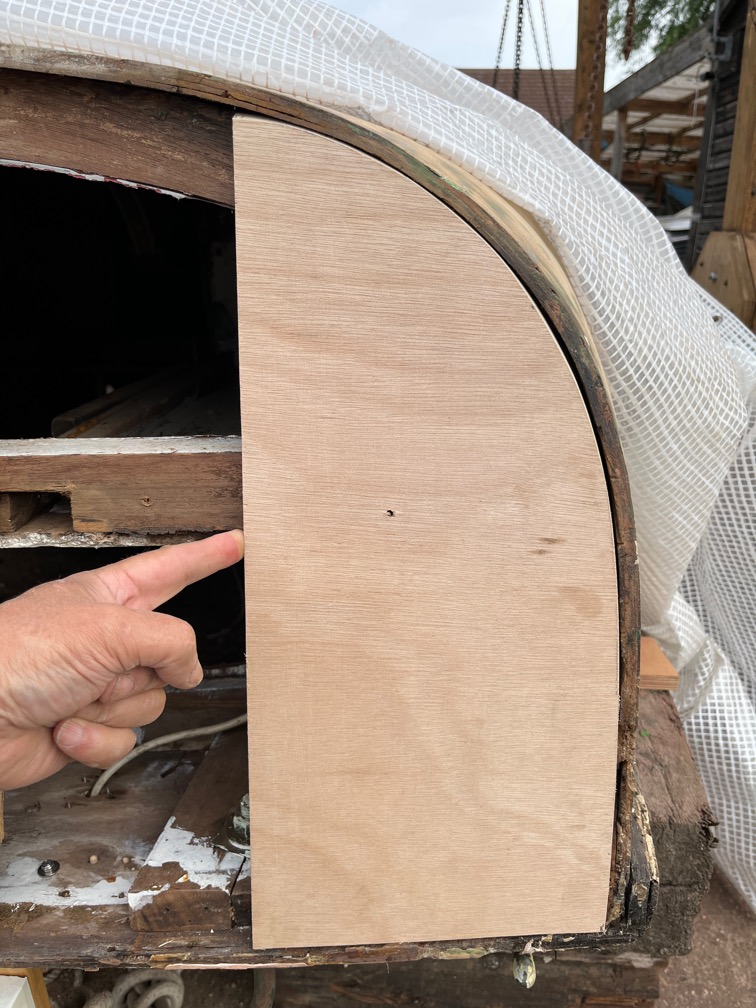
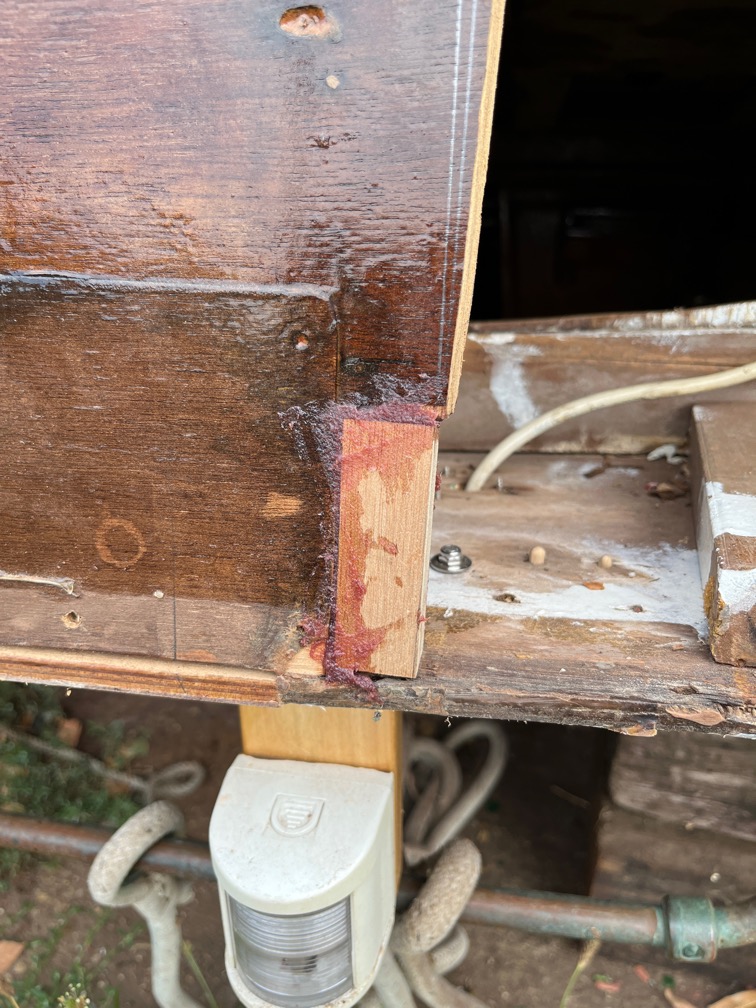
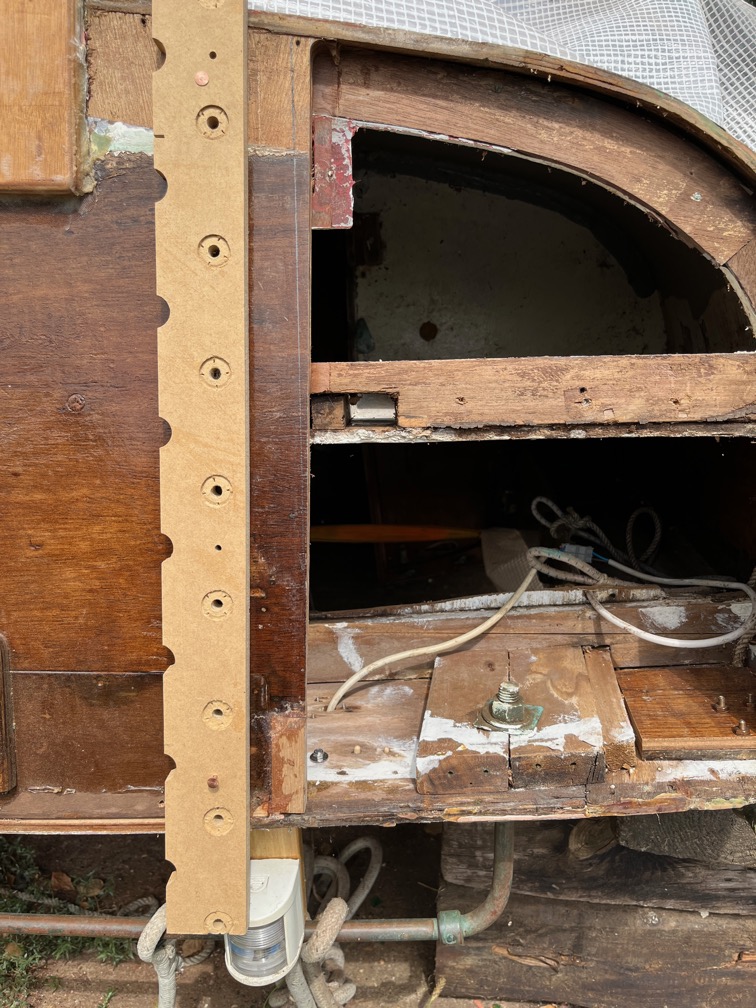
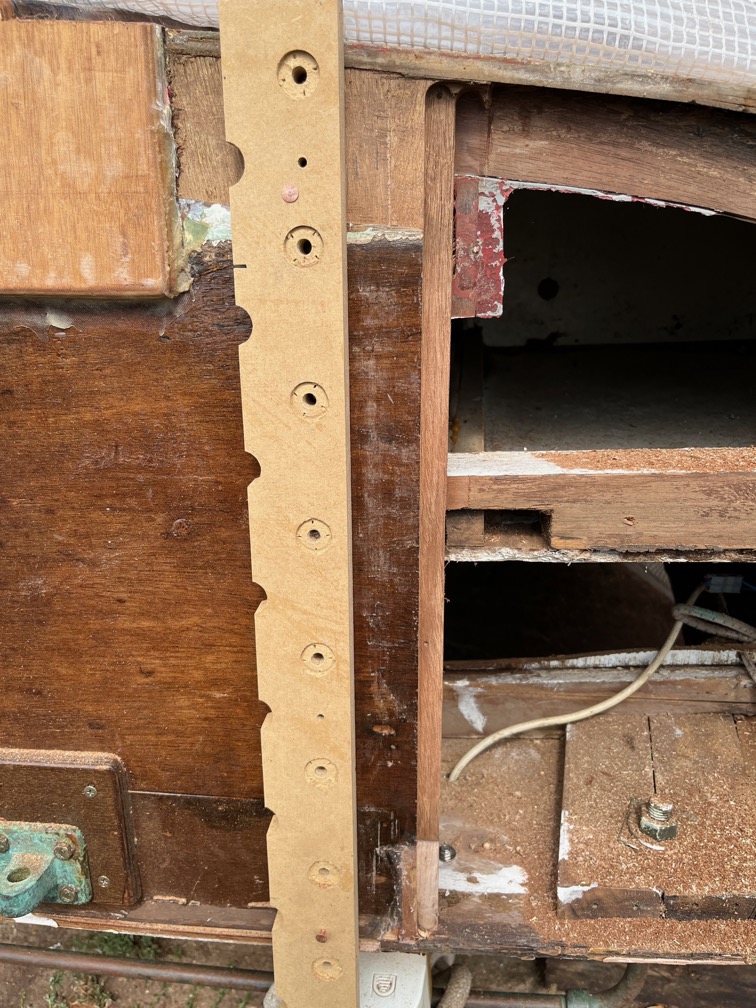
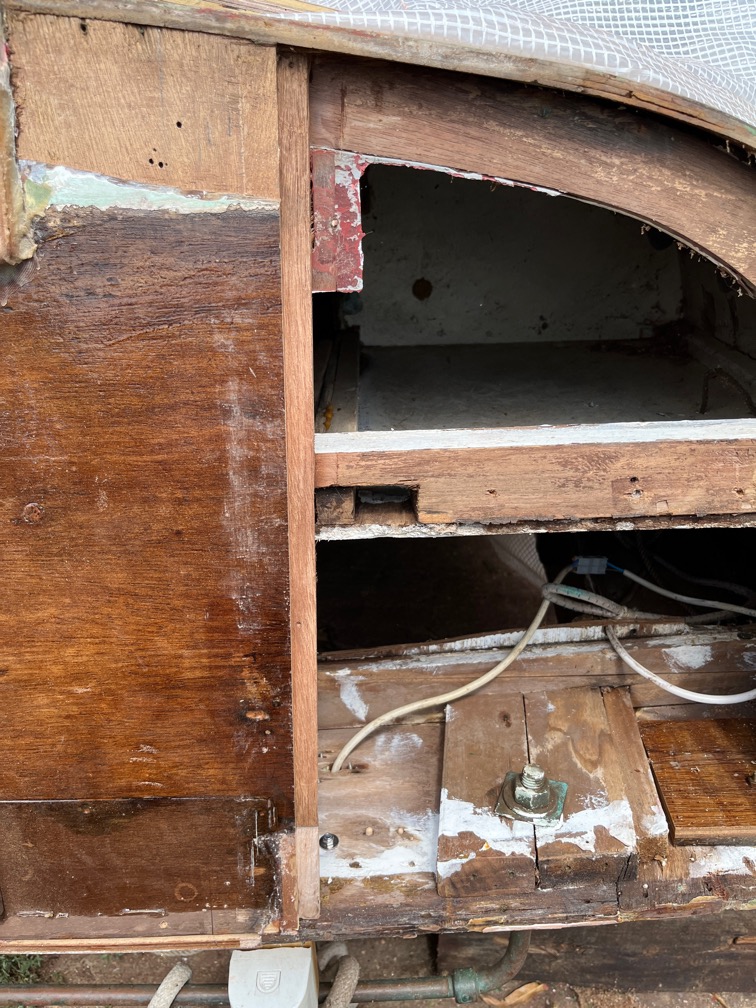
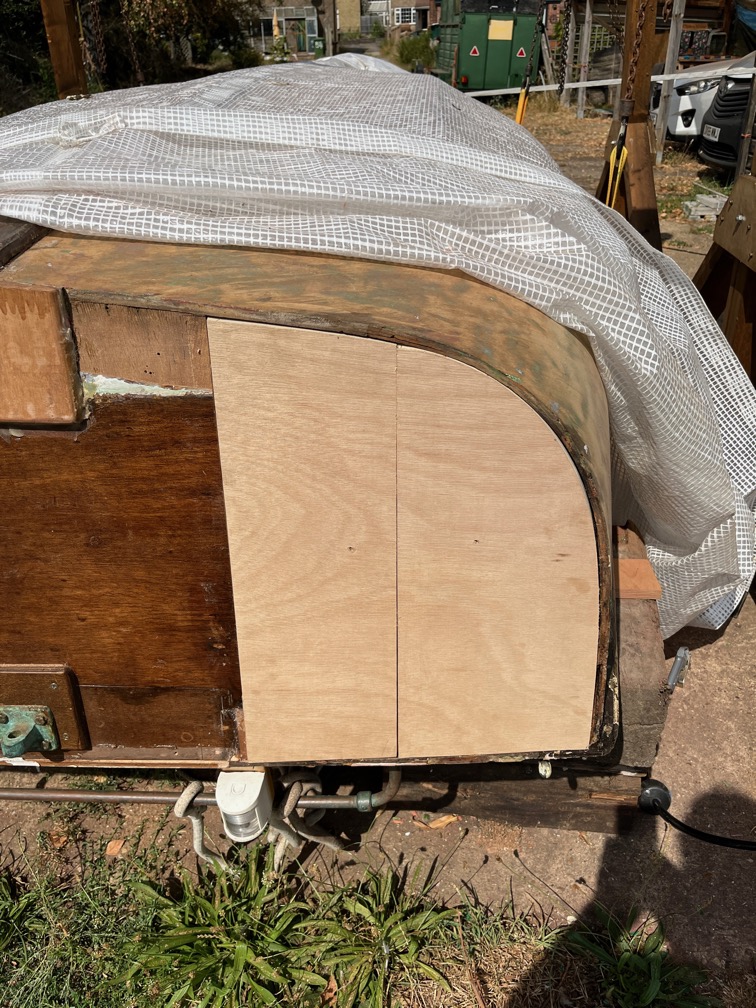
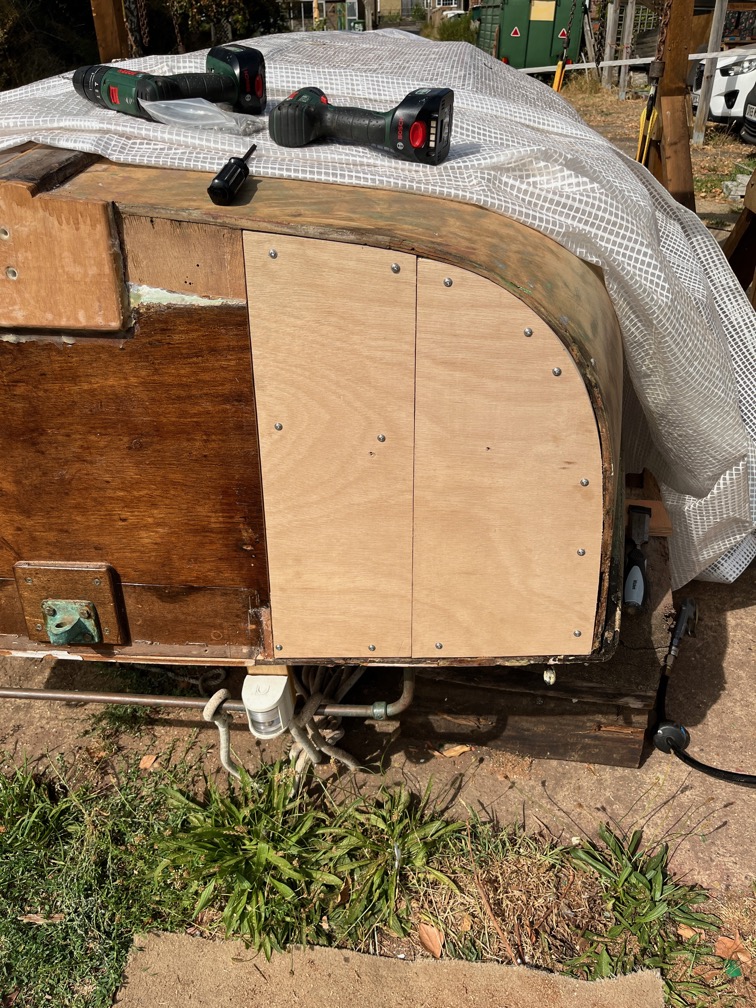
I had a lazy start to the day, to be honest, so it was was after lunch before I started any work on the boat. The first thing I needed to do was trim the skeg.
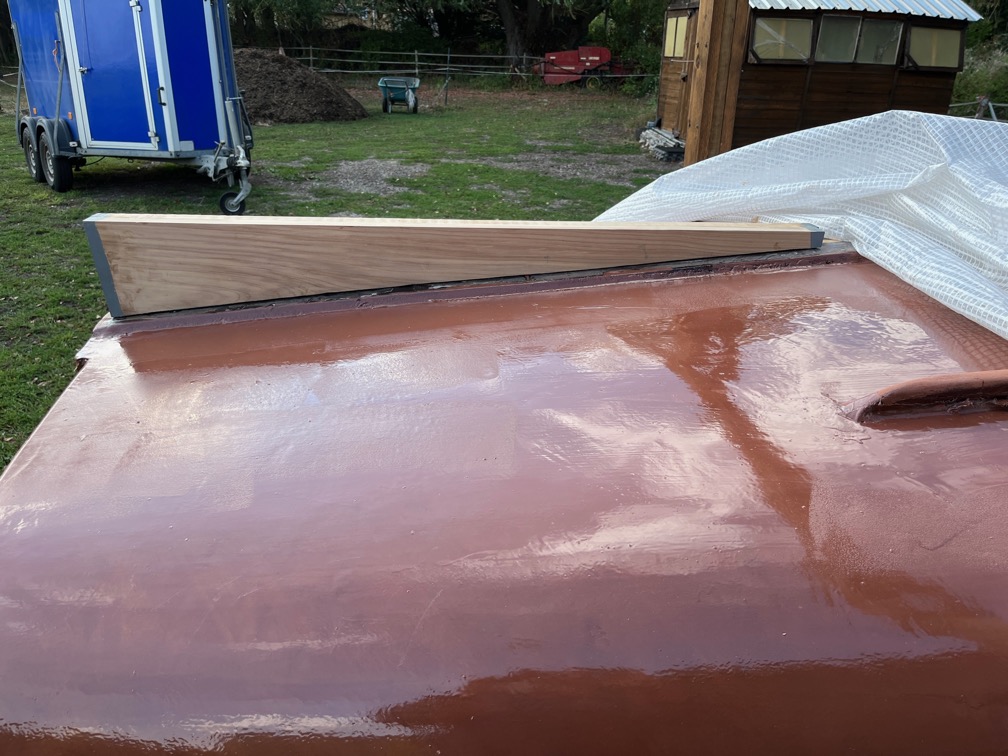
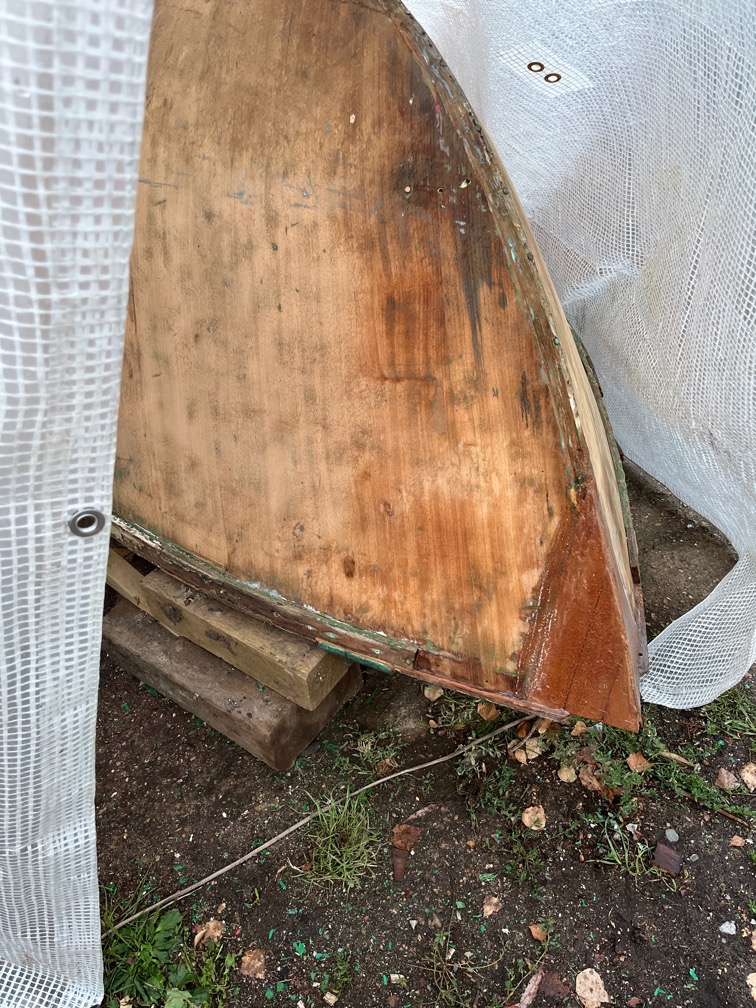
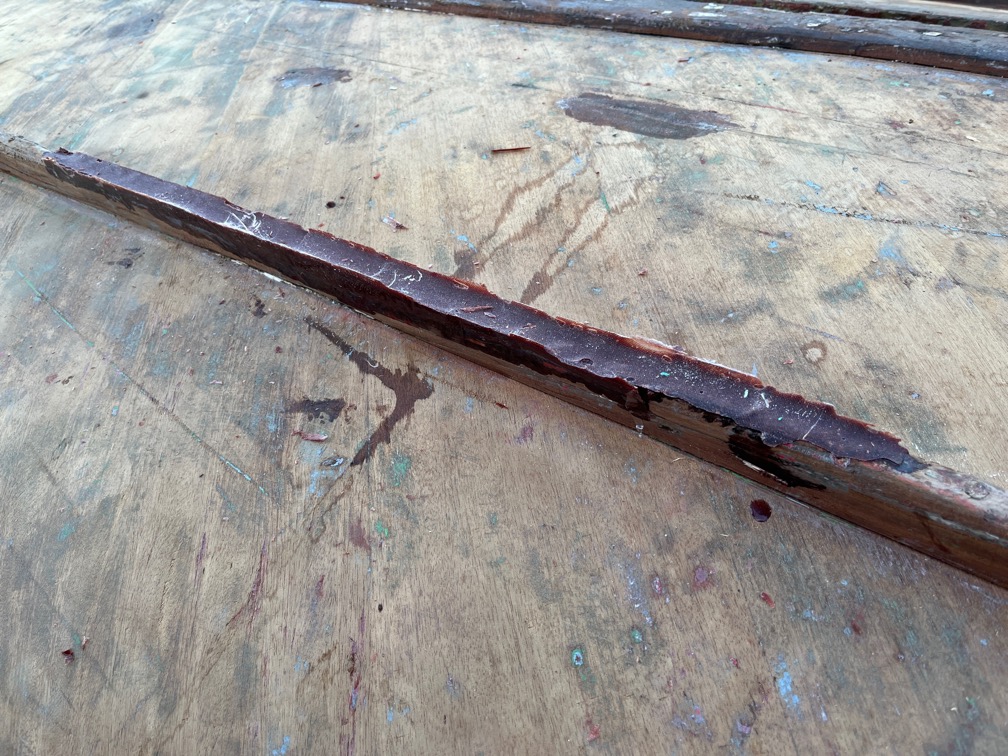
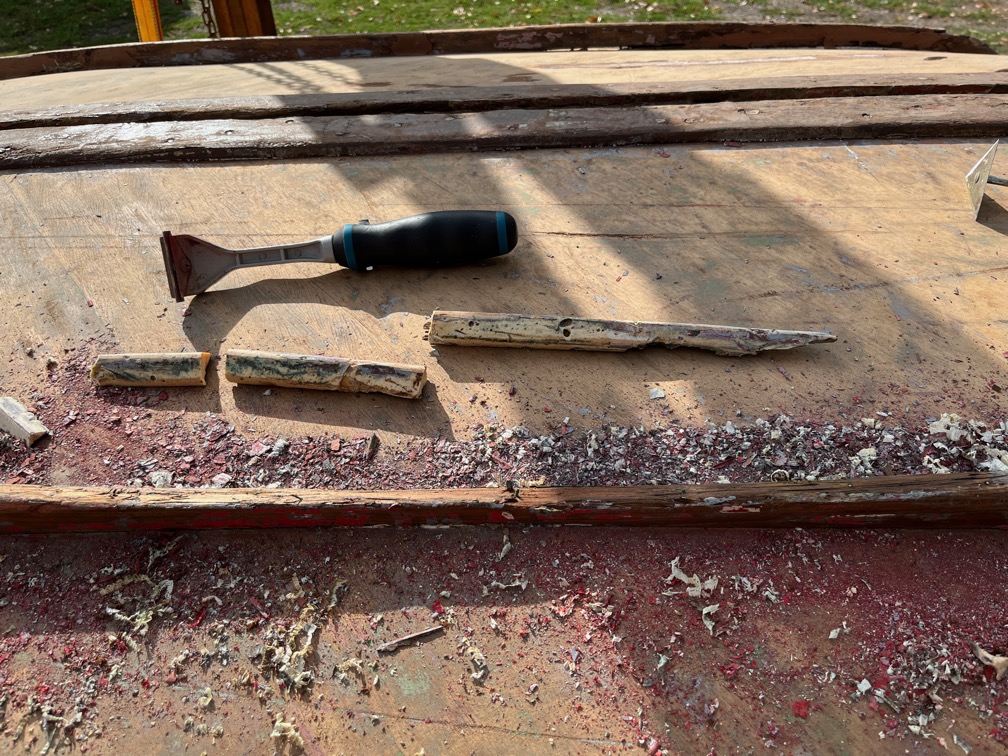
This involves running a utility knife carefully along the bottom of the skeg, cutting off the excess fibreglass and epoxy. The result is a clean edge to the timber and it is now ready to be glued to the boat.
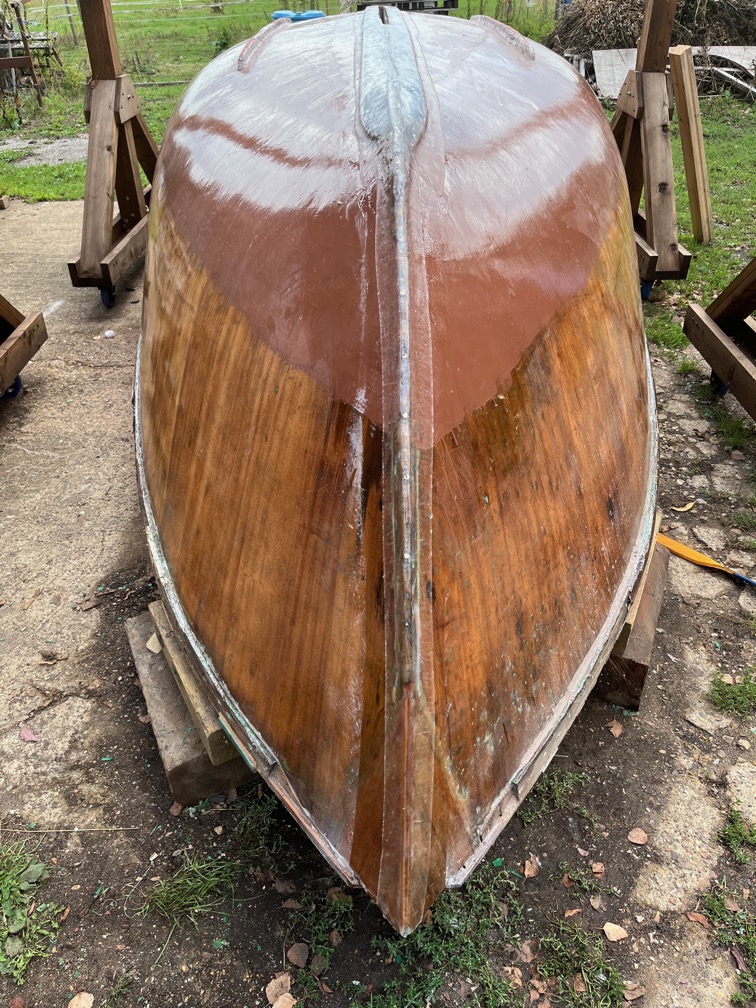
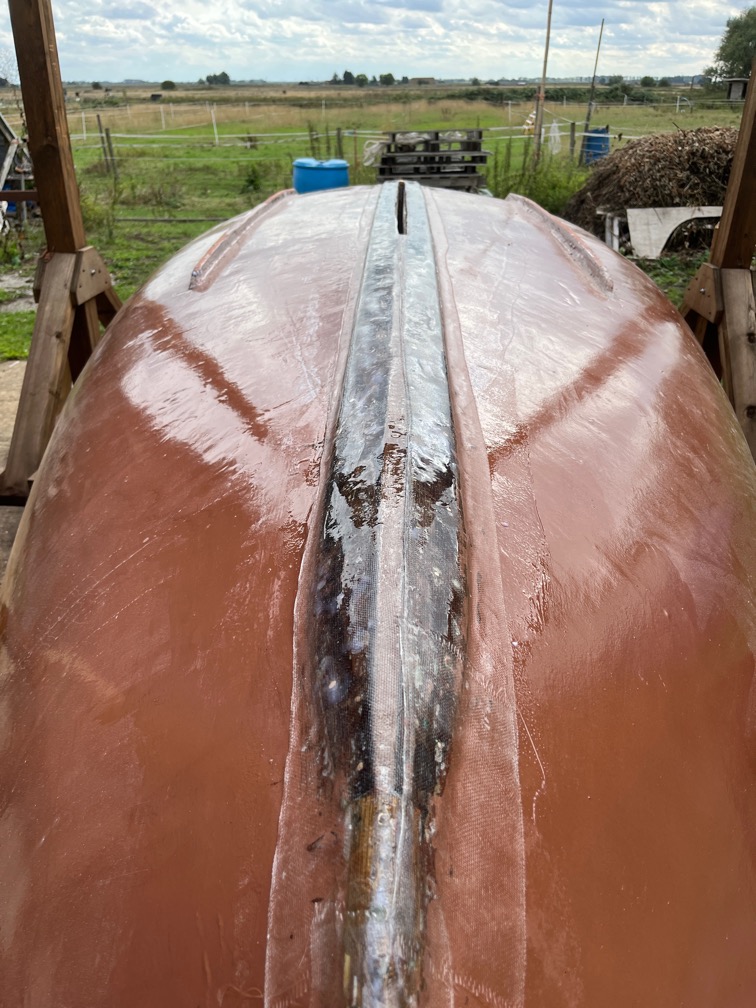
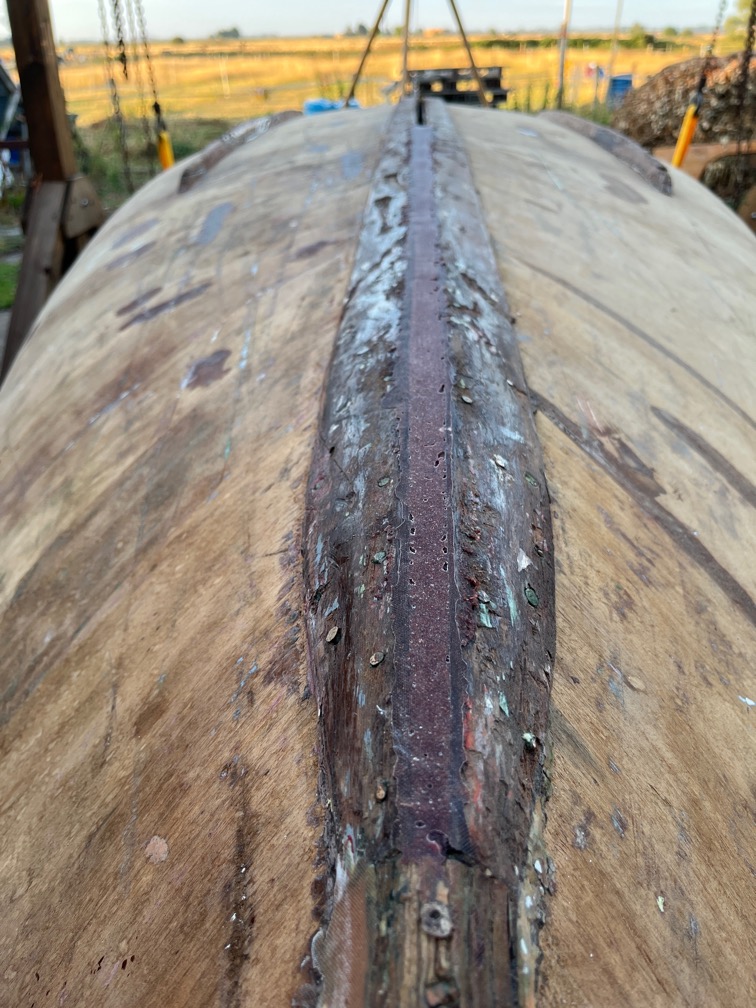
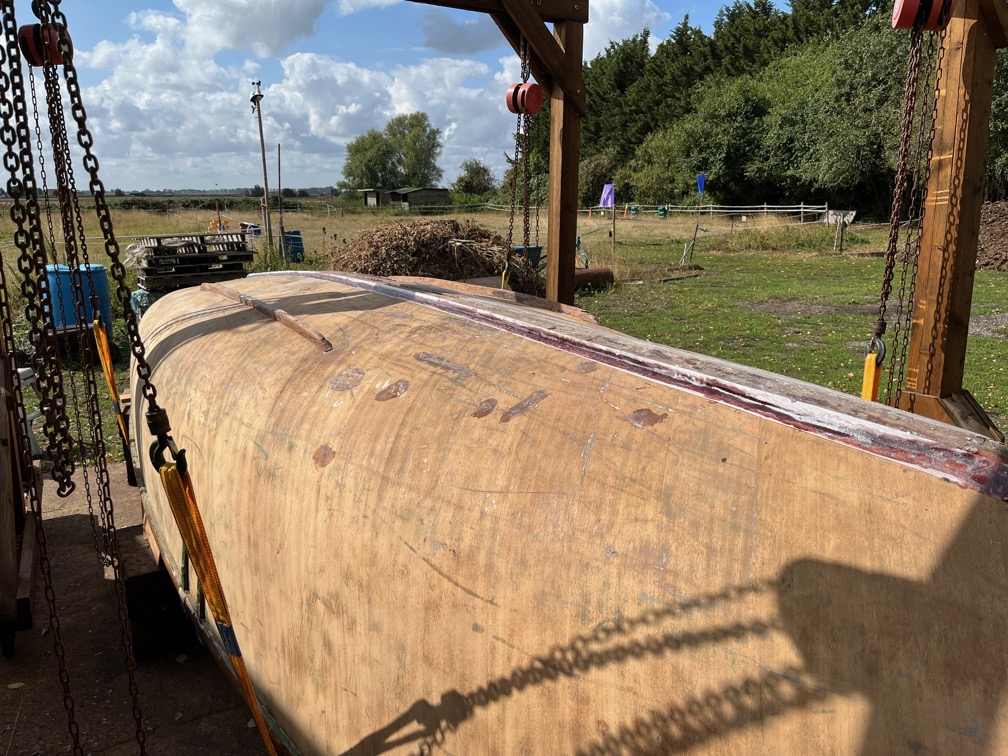
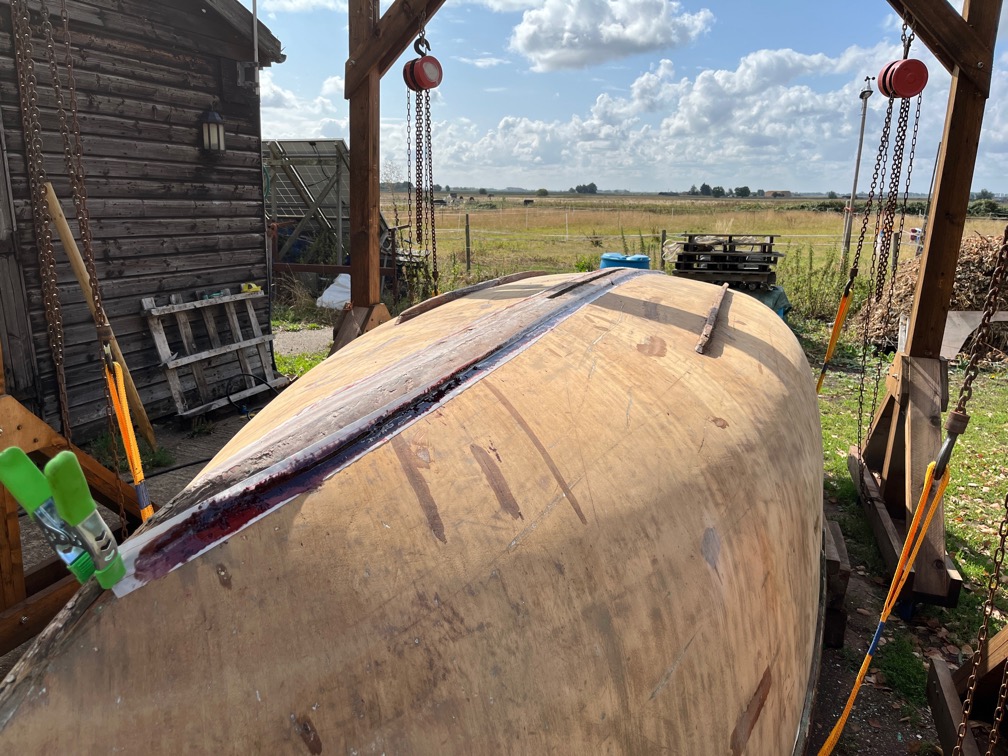
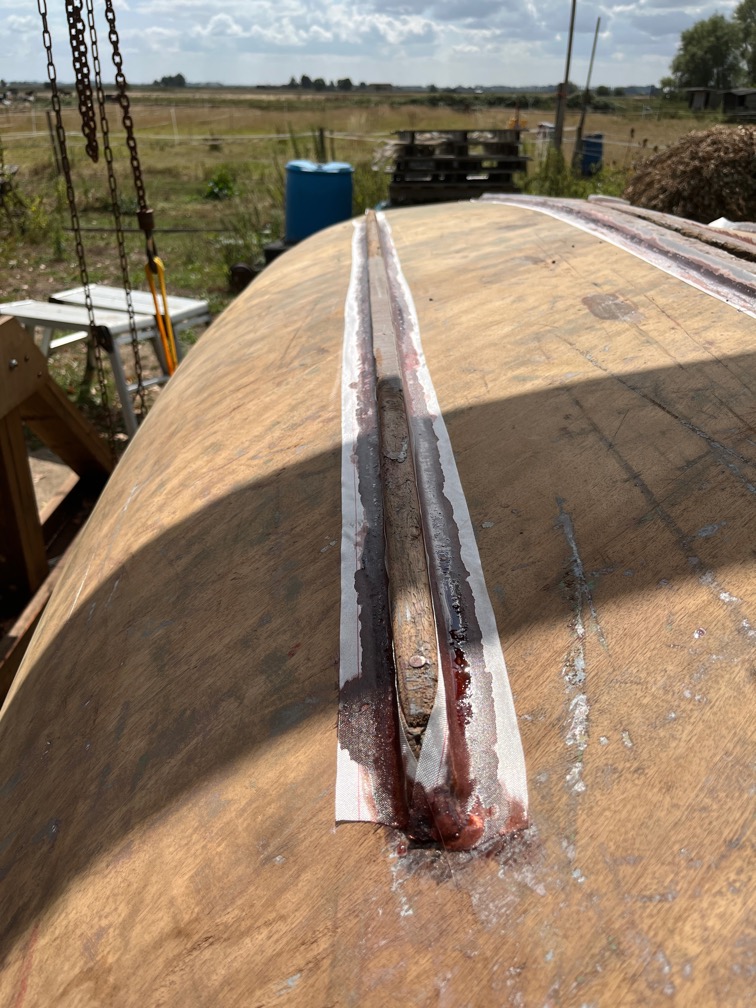
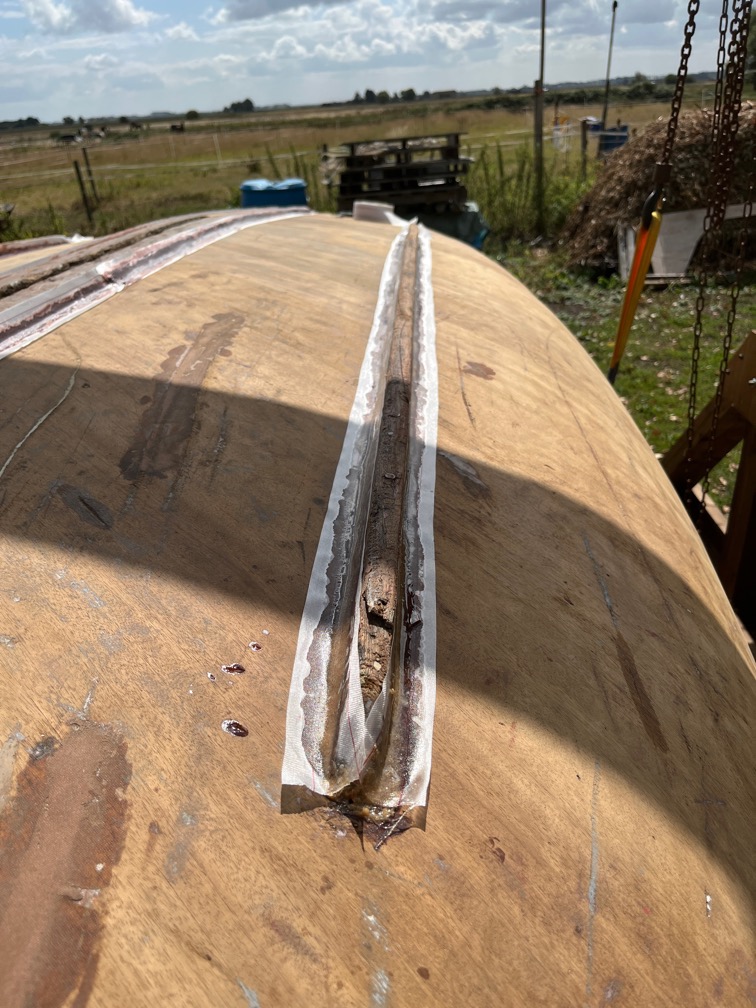
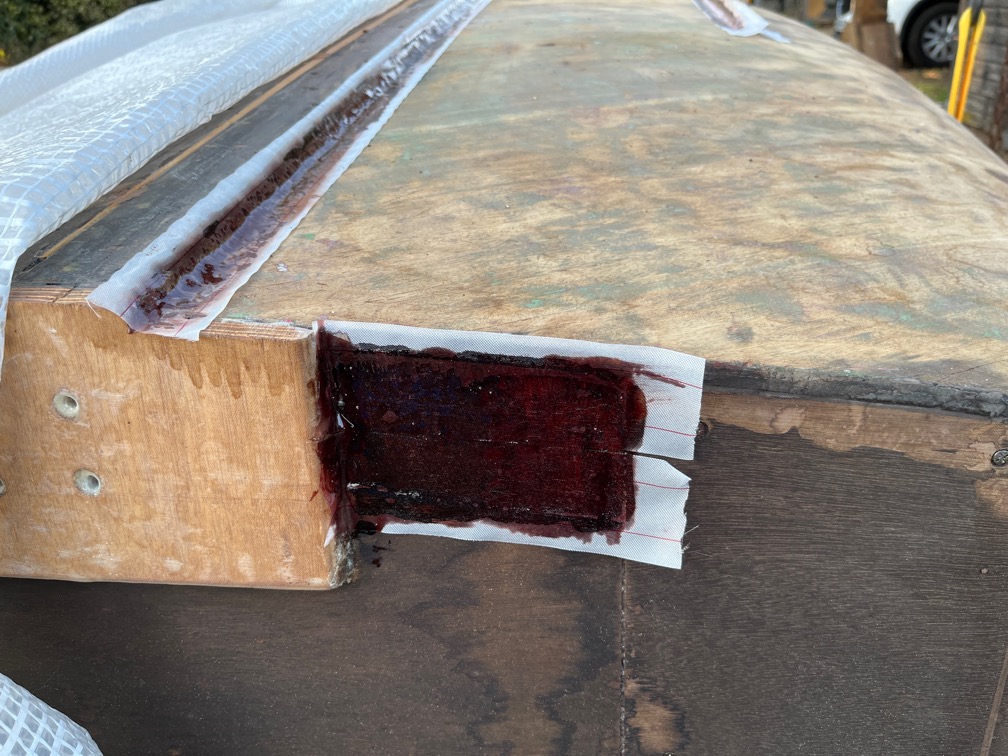
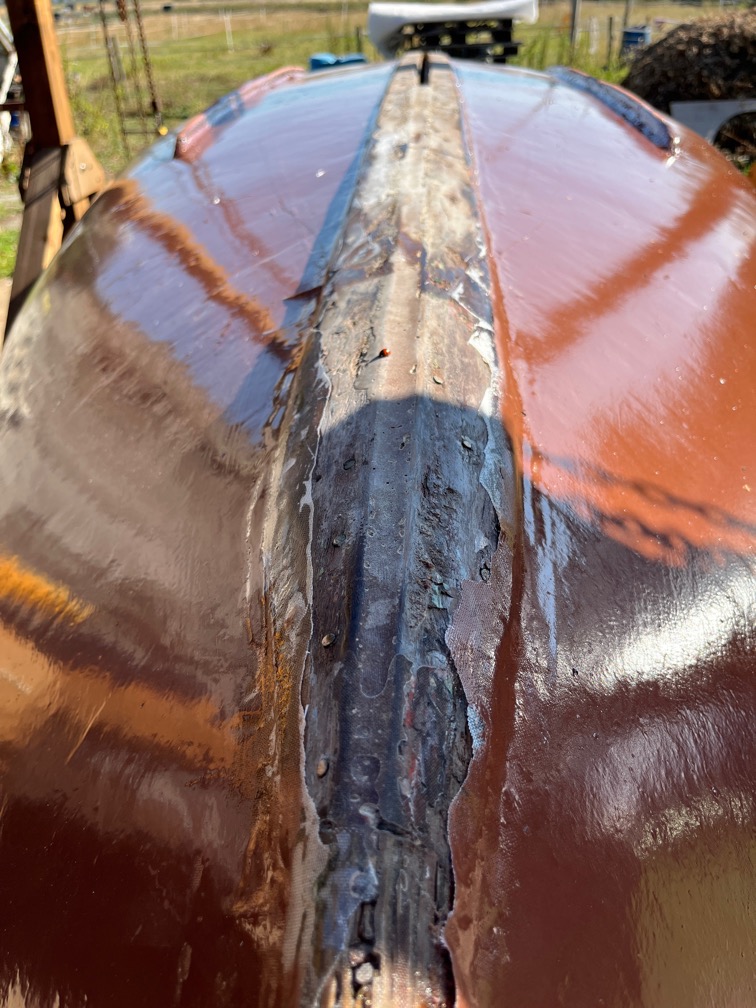
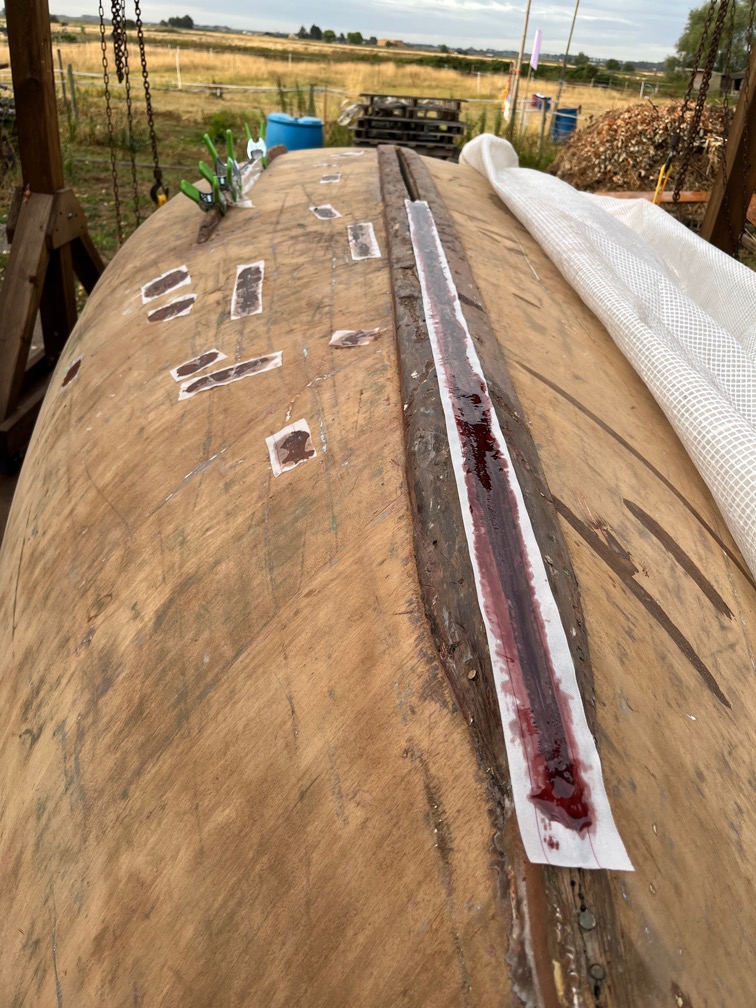
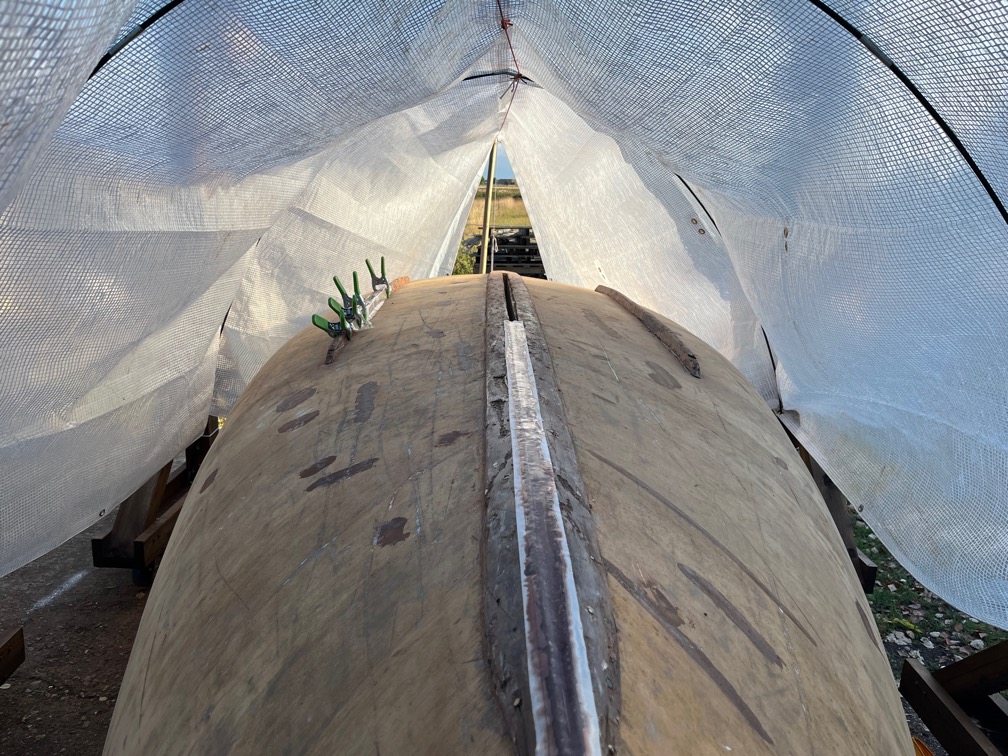
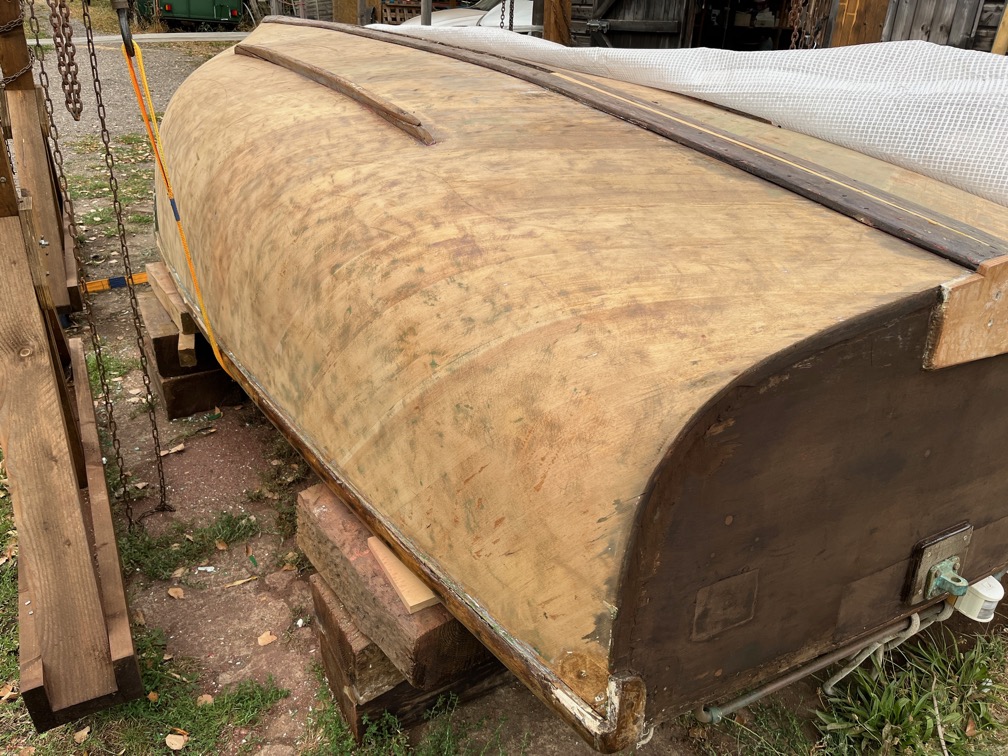
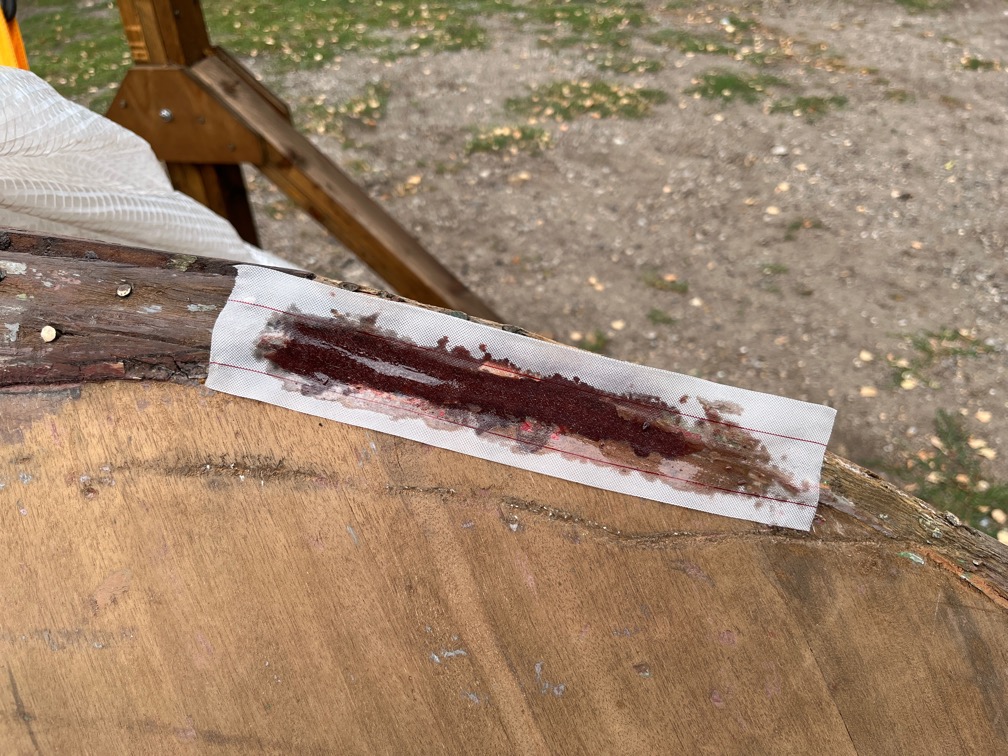
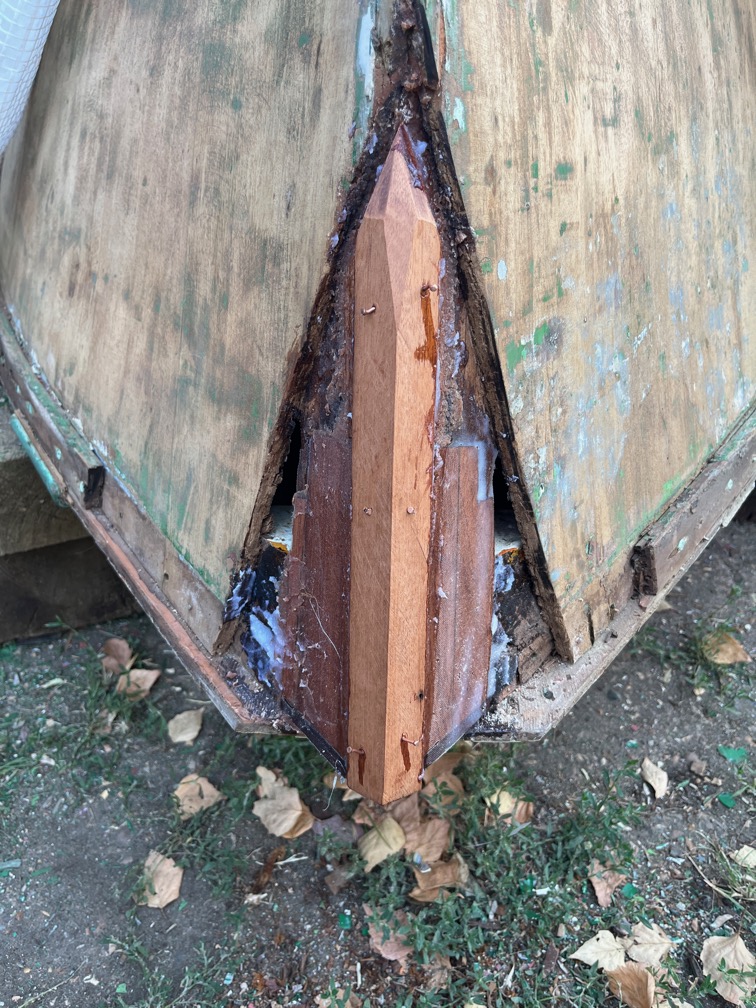
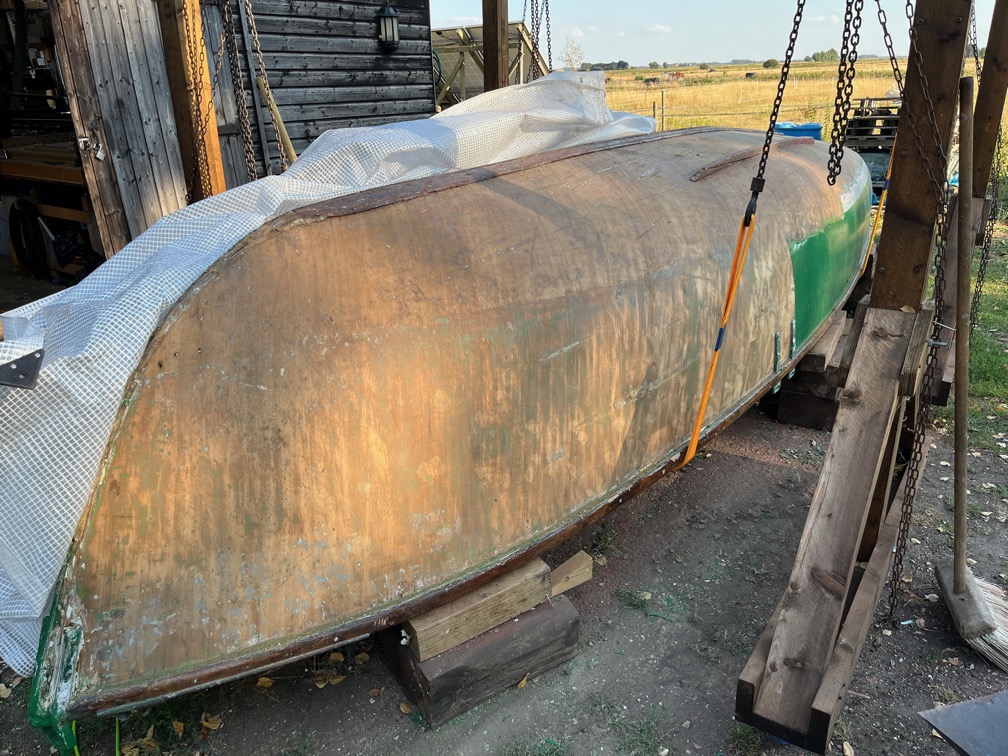
The next task was to fibreglass the centerline. I used two pieces of 100mm wide fibreglass tape from the stern forward until the point where the keel reinforcement timbers narrow, something that is easy to see in the above photo. Then I used a single width of the tape.
Before I could get started on the epoxy work, however, had to sand the timber and the copper epoxy either side of the keel or the new epoxy would not adhere to the surface. I also precoated the area to be glassed as there was quite a gusty wind blowing and I had no other way to hold the tape down. Precoating the keel and hull gave me something sticky on which to place the tape and that held it down until I was able to roll on more epoxy to coat the cloth.
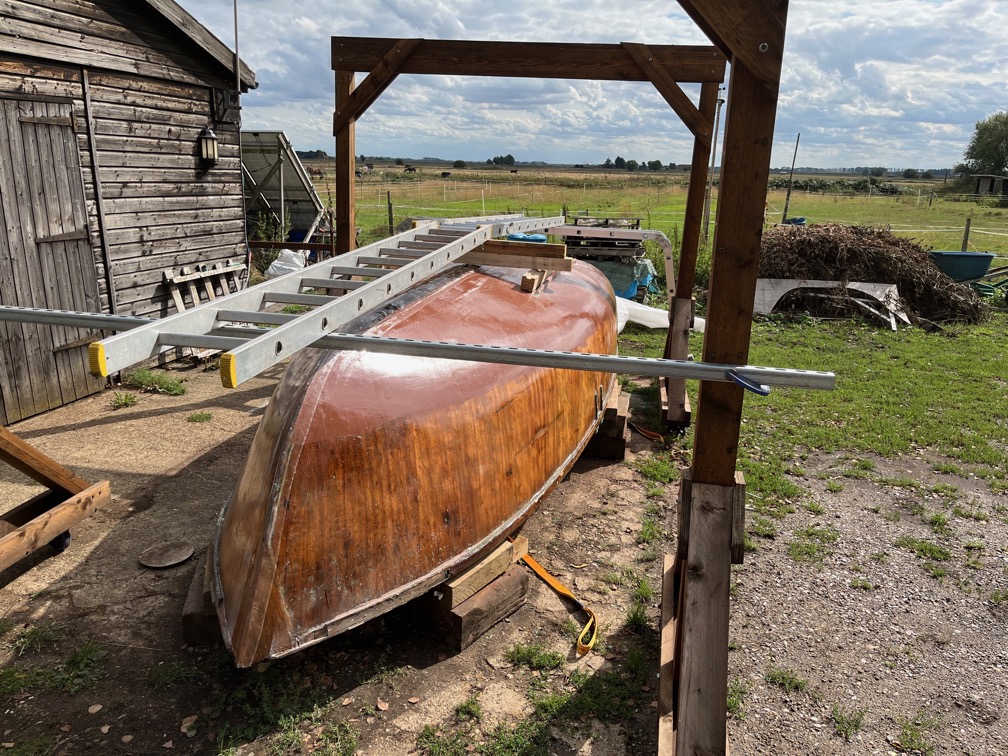
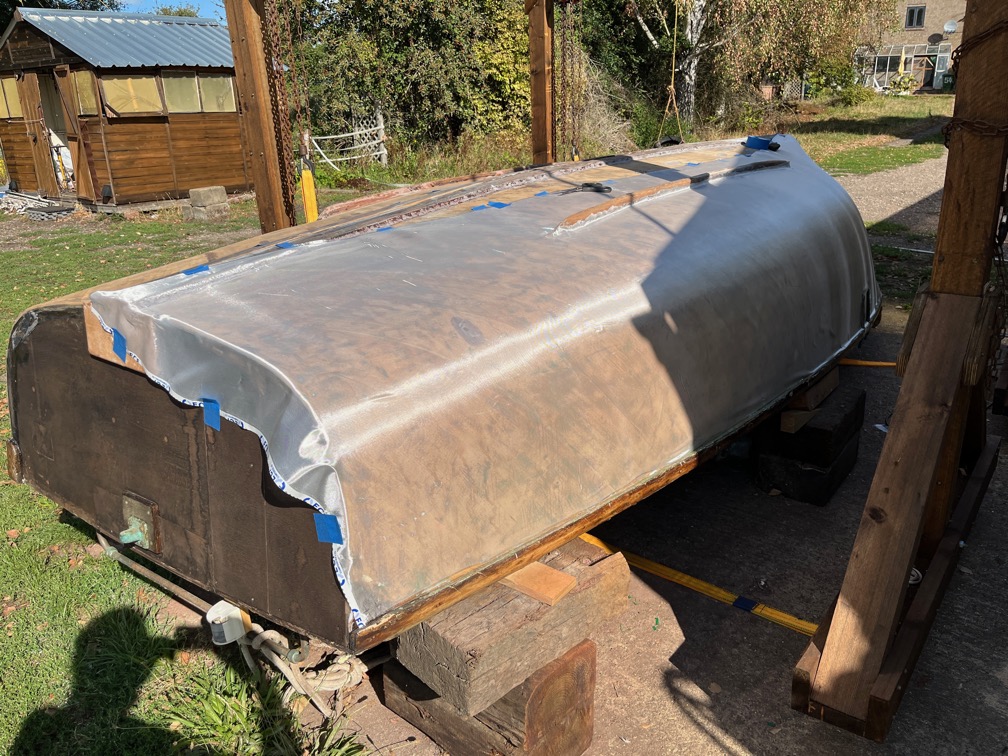
After an hour or so the epoxy was slightly tacky and I was able to put on the second coat. I did have to set up a way of sheltering the centerline of the boat from the rain which started just before I wanted to apply the second coat. I could see the forecast rain shower approaching, so put together something to keep the rain off.
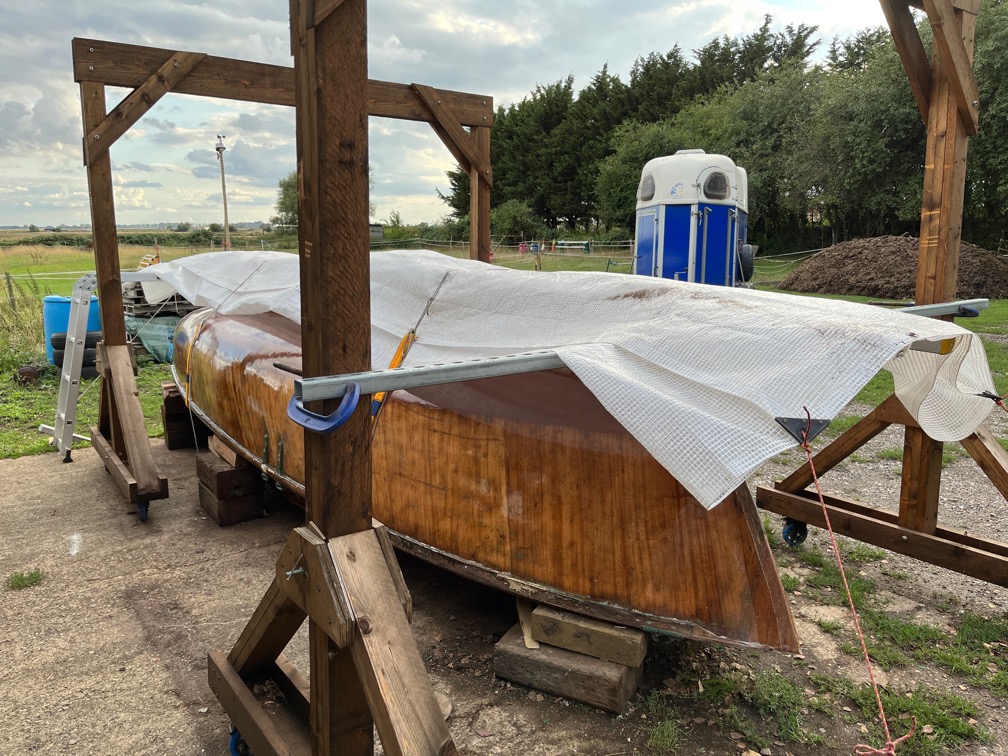
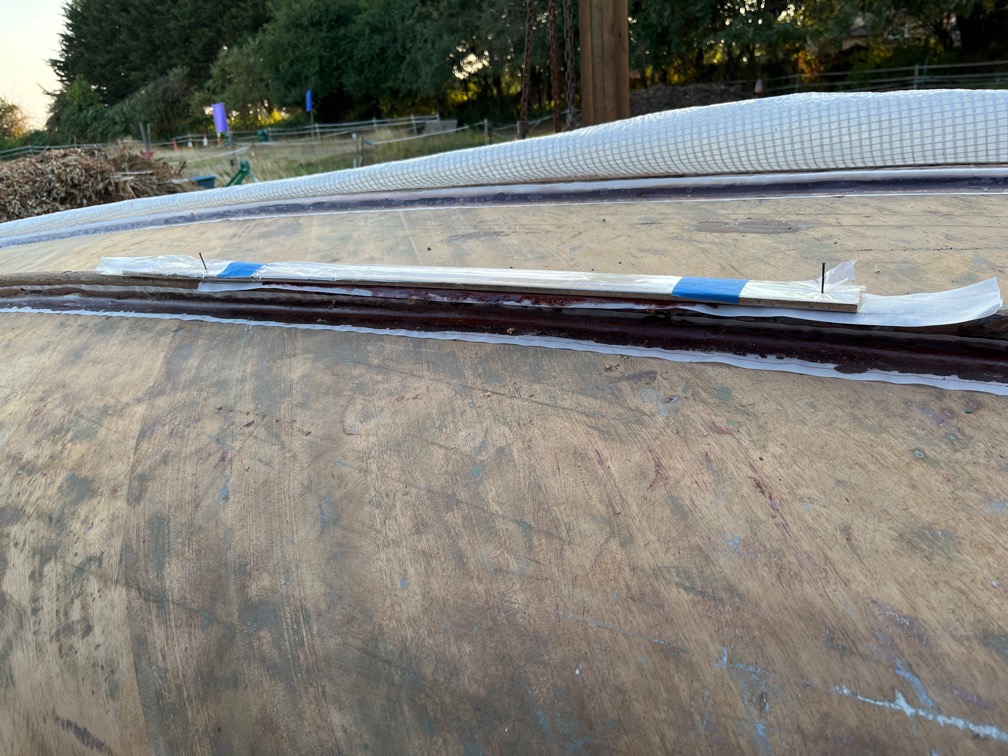
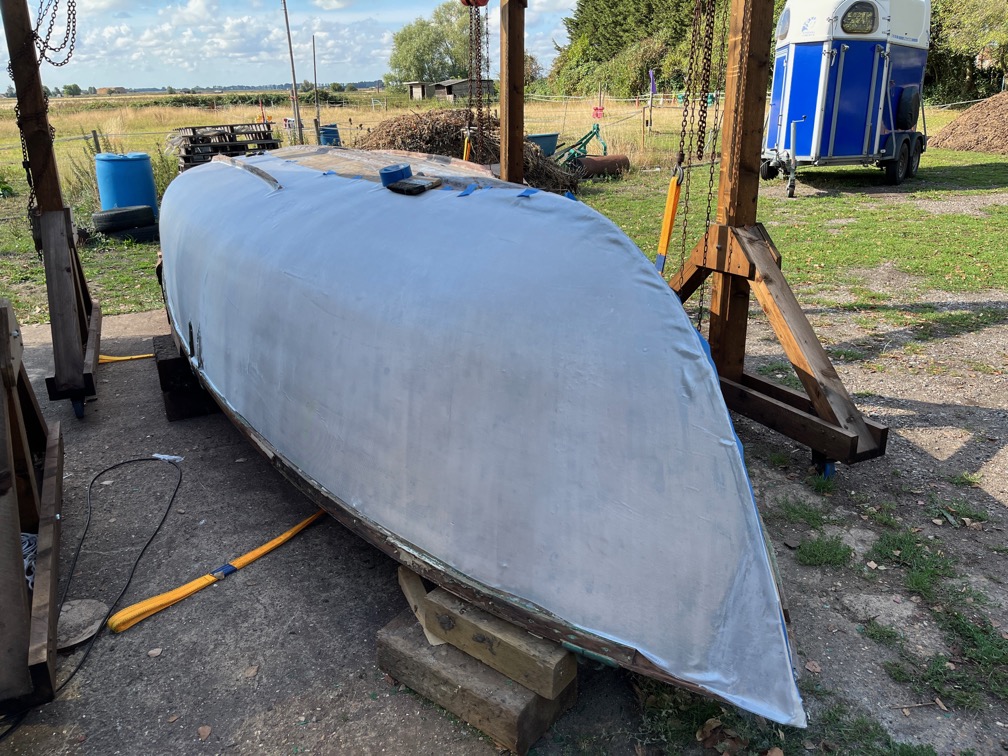
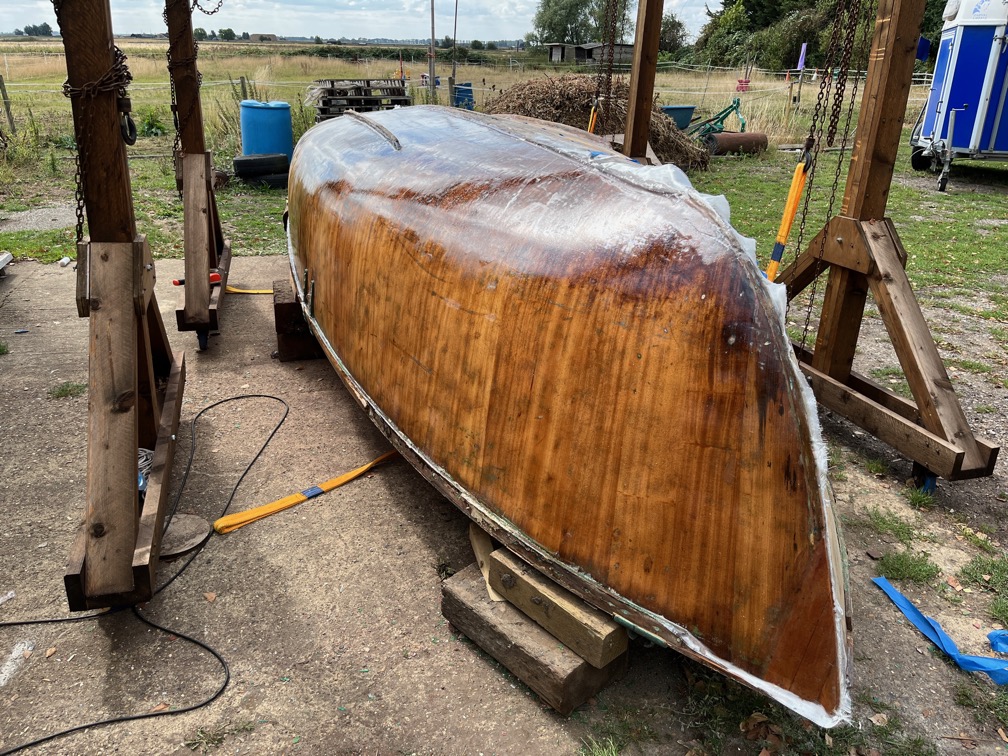
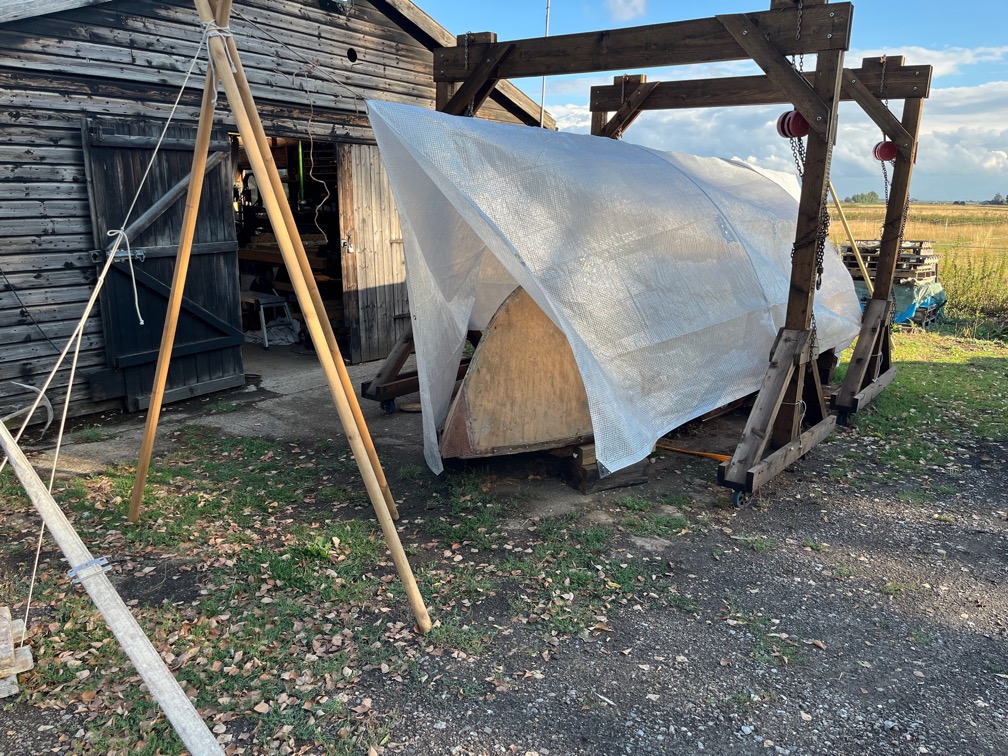
With the majority of the hull now coated in epoxy I only needed to cover the centerline and thus I put together a few things from the workshop that would hold the tarp off the epoxy where I needed it covered.
It is not elegant but it does the trick. The shower came and went and I was then able to move the tarp to one side and apply the second coat of epoxy. The tarp came back into position before the next lot of rain descended. Not having to cover the entire boat is a bonus.
That was it for the day, hopefully, the skeg will be epoxied in place tomorrow and I’ll make a start on the transom preparation. There are several runs of epoxy that need to be removed which will also mean restaining several areas before fibreglass and epoxy is applied.
I have to say that, although it was satisfying getting the sheathing done, by the time I finished I was pretty sick of mixing up and applying epoxy. Yet there is still more to do. Just not so much.
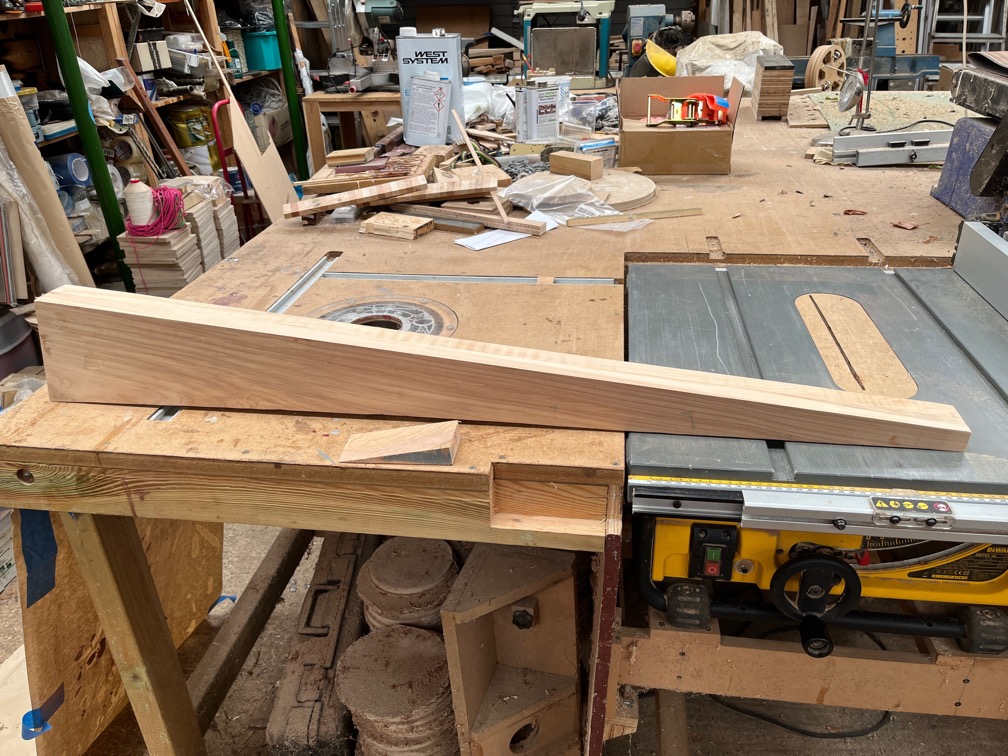
After a few days of rest from the fairly exhaustive effort of the last five and a half weeks, and since work could not continue on Shoal Waters herself due to the rain, I decided that the next task was the skeg. This is small enough to be done in the workshop and it is still warm enough to use the special epoxy. The first part of this task was to cut the concave curve into the bottom of the skeg to match that of the keel. It doesn’t have to be an exact fit since it will be secured in place with thickened epoxy which will fill any gaps. It just needs to be stable on the keel and upright.
Both ends were cut to an angle of about 4º, that being the angle between the keel and the transom.
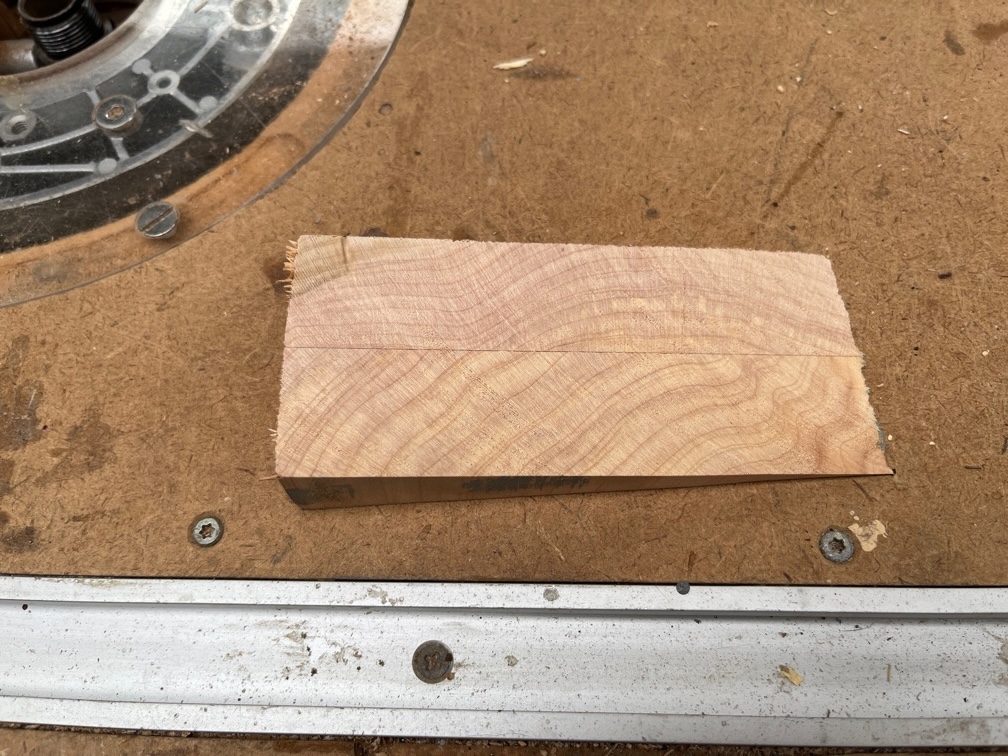
The offcut from the aft end of the skeg shows how well the two pieces were laminated together showing no signs of voids along the glue line.
All the edges bar those touching the keel were rounded over, on the bench router, using the largest roundover router bit I have and then sanded.
The result is good enough to allow the fibreglass cloth to sit flat on the wood and not lift as it goes over the edges.
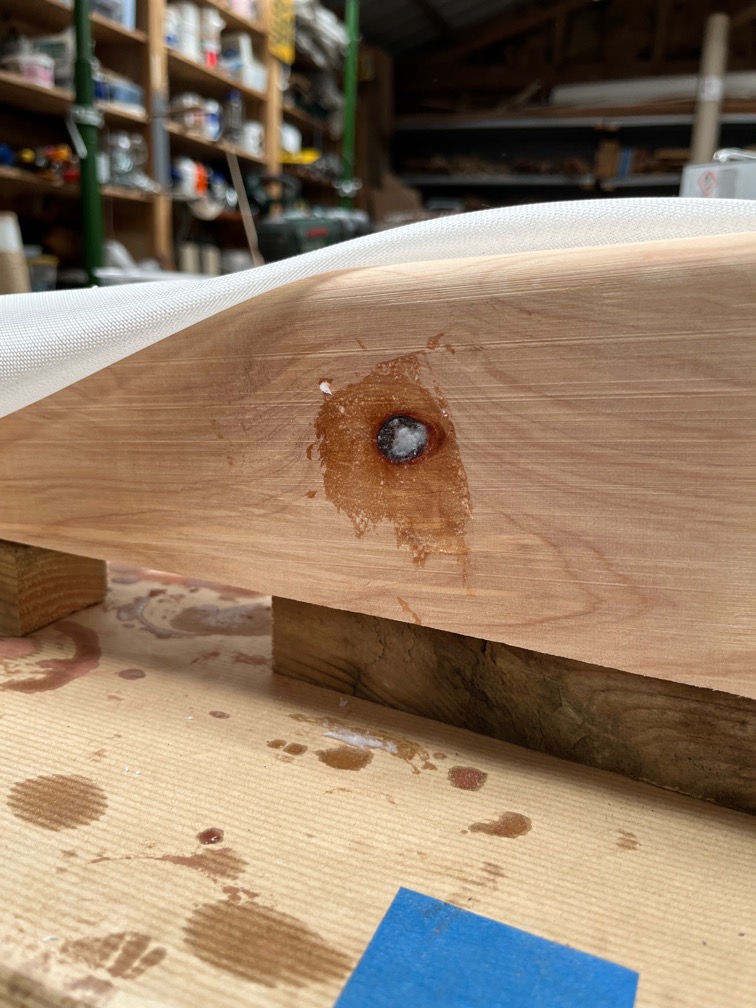
I mixed up the 105/207 epoxy mix but before applying it I took a small amount, added some thickener and used that to fill in the small knot on one side of the skeg.
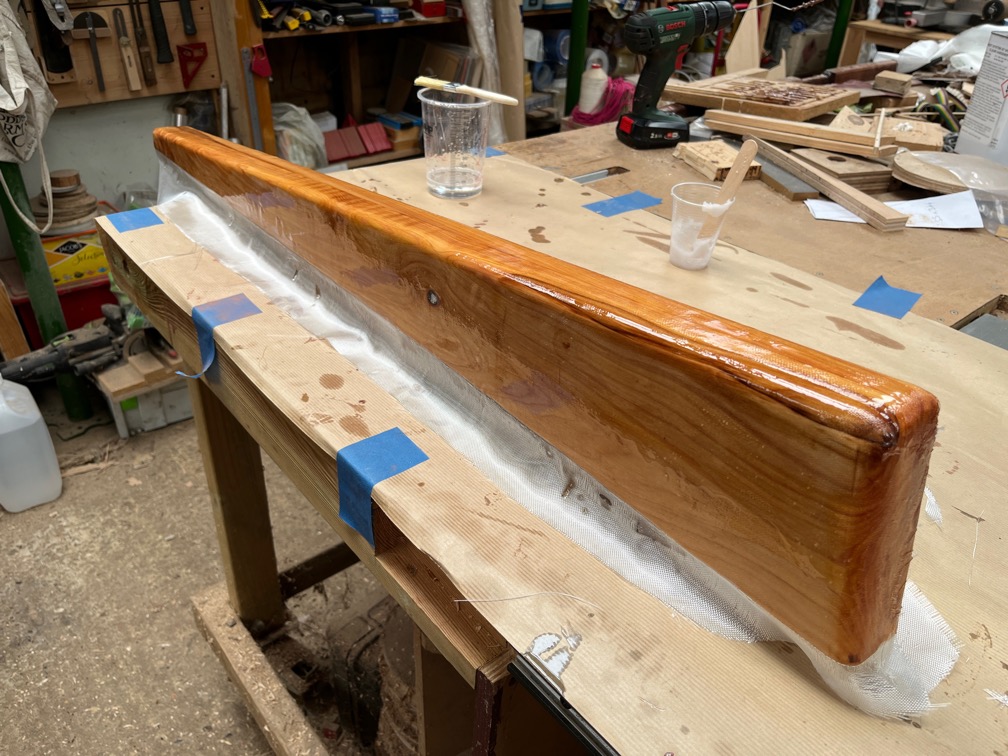
Then it was back to applying epoxy, this time with a brush, not a roller. Once this has become tacky I shall apply a second coat which will complete this stage of the skeg work.
The next task will be fiberglassing the surface of the keel using a heavier weight cloth. I have a small roll of 200gsm weight that is100mm wide for this purpose.
By the weekend of 22 & 23 August, the forecast is getting more certain that several days of rain could be expected from Wednesday 26th onwards which really meant that I had to try to get the sheathing done before then. The trouble being that the temperature is still a little high for epoxy work in large amounts, so work had to be confined to small batches.
The tent idea turned out to be a flop. The hull, as you can see here, was damp due to the heavy dew the previous night not being kept away. So I took it down and once the hull had dried carried on as before.
The next task in the list was to do some filling and continue the work on the runner, followed by sanding.
This is the runner with the wooden battens removed. It needs to be sanded down and then the top covered with the thickened epoxy and then filed down once it has cured.
The epoxy in the slot between the two keel reinforcements came out quite well.
Next up was a rounded fillet along each side of the keel pieces. This is not structural, it is there to aid the fibreglass sheathing, which doesn’t like sharp corners, and to fill a few gaps.
Both sides were filleted, covered with peel ply and then given a good coat of neat epoxy.
The same was done for both the bilge runners.
I was pleased to be able to get the keel and both runners done in one day. Having curing epoxy on the hull can stop other work from being done, at least until the epoxy is not longer green.
A bit later in the day I put some epoxy on the top of the badly damaged runner, and leveled it off with a thin piece of plywood.
I had some neat epoxy left over so I put it on the transom where I had pulled off the outer veneer in one section.
By yesterday morning I had everything pretty much ready to go. The fillet, repairs and various other parts sanded and I made a start on the sheathing as soon as the hull was dry. The fibreglass cloth was carefully laid in place and smoothed down. Cuts were made for the runner and chainplates.
Then work began.
I used West System Epoxy 1-5 resin with the 207 special clear hardener. It’s a lot more expensive that the other hardeners but it does not produce the amine blush and is designed for tasks like this. This is the first coat over the fibreglass and took about an hour. The epoxy was applied with a small roller and touched up where required with a brush.
An hour or so later the epoxy had cured sufficiently for the next coat, again applied with a roller, but only took about 20 minutes. The first coat soaked into the wood of the hull so a lot more epoxy needed to be used to ensure that the fibreglass was covered. That meant going back over the hull a few times and re-covering the fibreglass where the wood had soaked up all of the epoxy. This coat was over a hard, non-porous surface, so not only was much less epoxy required, but it took far less time.
Then an hour or so later the last epoxy coat under the waterline, this time with added copper powder as antifouling.
Today was a repeat of yesterday and this is the result. Both sides of the hull are sheathed.
The keel has not be done yet as I want to put a heavier fibreglass cloth along this. But the hull sheathing has been done before the rain arrives.
Of course, that means that the rain won’t arrive, or not until I decide to do the keel.
The hull, now shiny, will be sanded all over. The copper needs to be exposed and the topsides need to be sanded down so that the paint has something to attach so that it doesn’t fall off the shiny surface.
As with all the operations involving epoxy, no photos get taken unless there is someone else not involved to take them. The combination of nitrile gloves and epoxy getting everywhere make the taking of photos slightly problematic. Problematic meaning that getting epoxy of mobile phones is not easy. So, it wasn’t until yesterday morning that I took photos of the work of the previous evening.
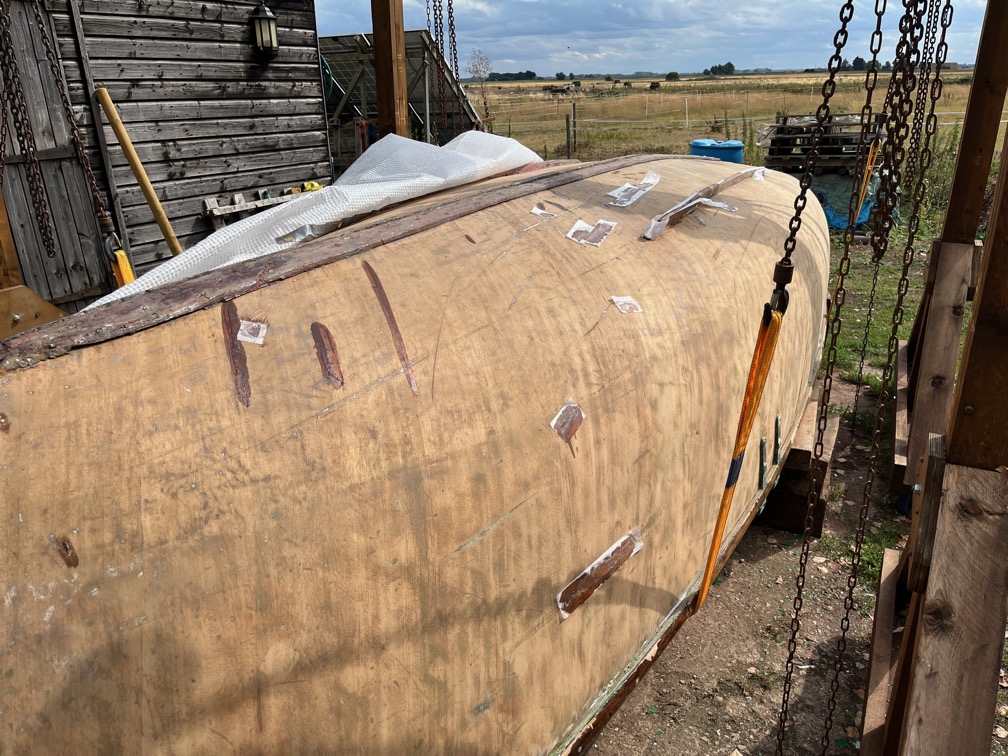
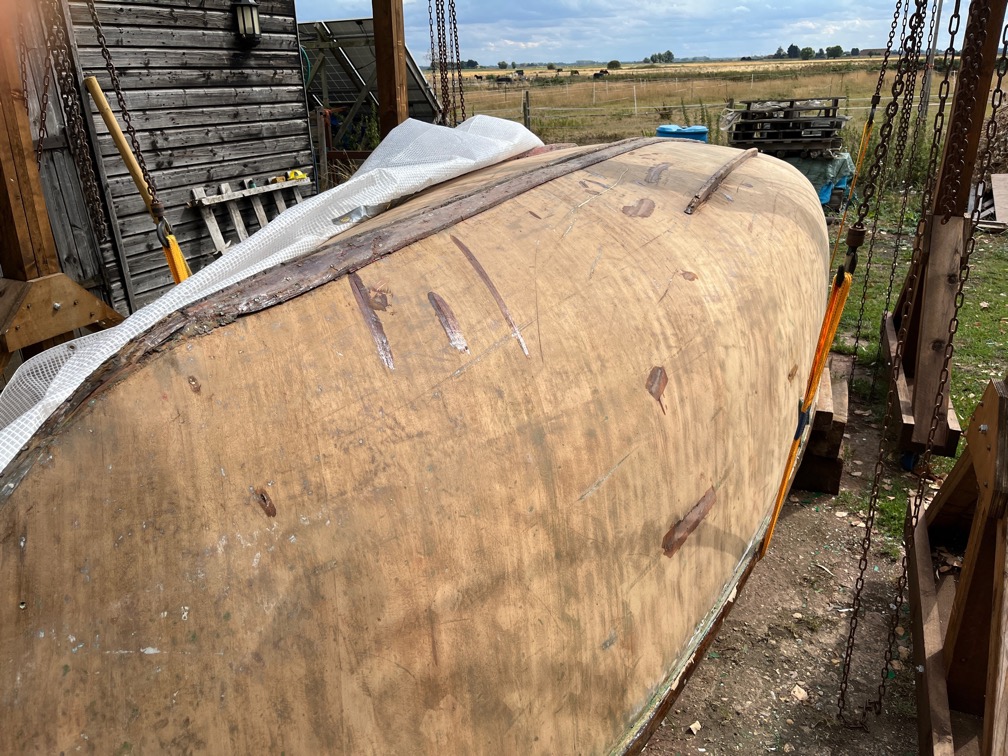
This is a combination of West System epoxy, those bits with the peel ply and penetrating epoxy, those without.
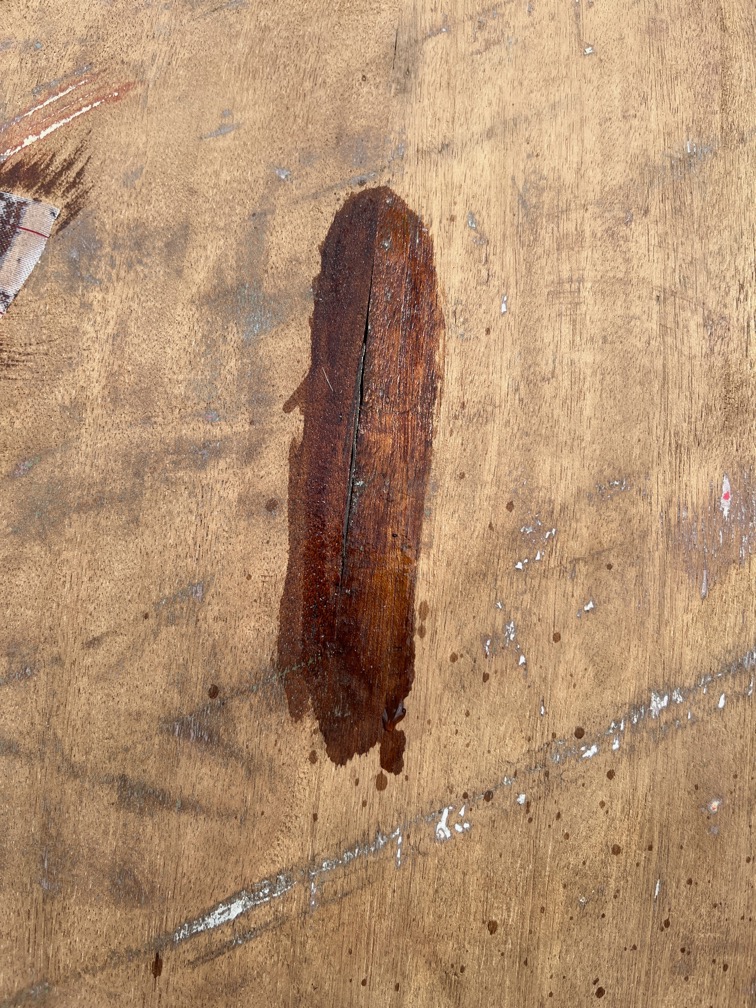
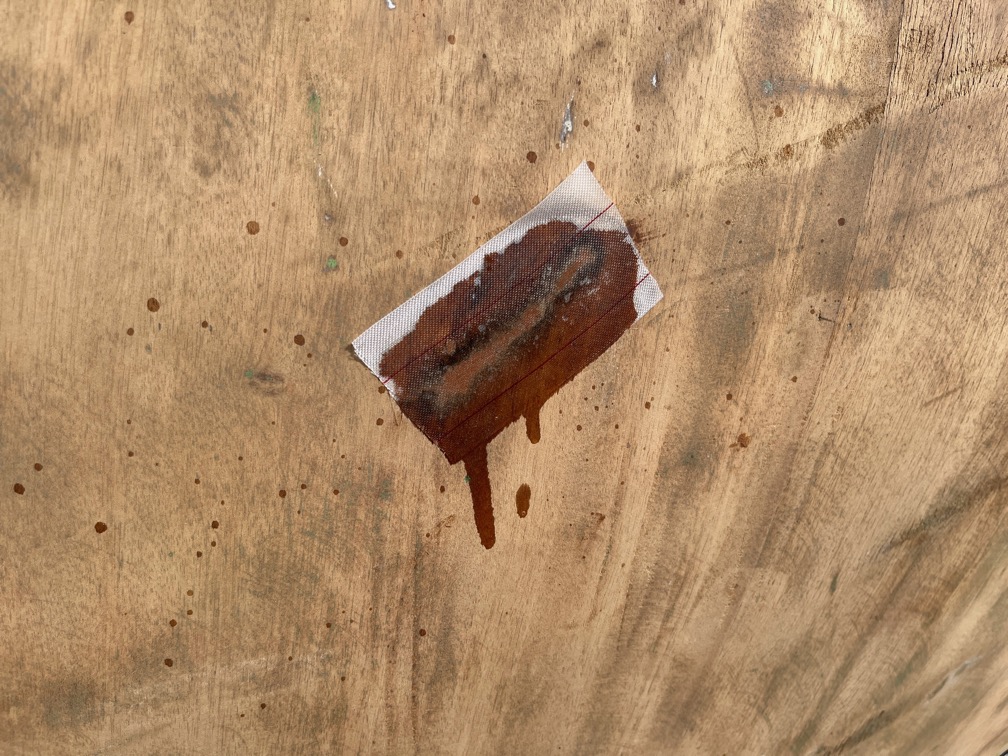
The penetrating epoxy was used in areas where there were significant cracks or areas that needed the epoxy to soak in. This crack already had some filler in, but it had pulled away from the sides of the crack it was trying to fill.
Whilst the dents and major damaged sections were filled with thickened epoxy and peel ply put on over the top.
The spots on the hull in this photo and the prior one are not splashed about epoxy, but rain drops which inconveniently started just as I started taking the photos. So I had to stop and put the cover back on.
Later in the day I was able to remove the cover and then the peel ply.
This meant getting on with the remaining scraping and sanding. No photos of the sanded hull, it’s just more of the same.
The bilge runner on this side was considerably damaged and the repaired with something white and brittle. Unfortunately, it didn’t stick very well to the wood and came off with only a little effort.
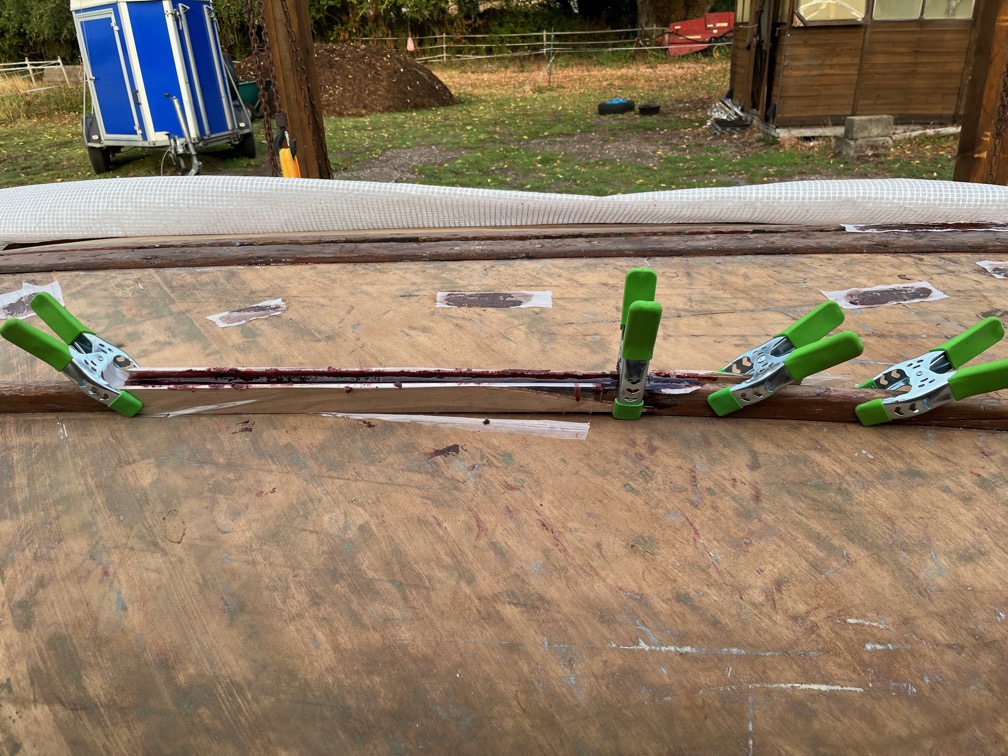
This morning, before the rain started, I clamped two piece of thin plywood covered in plastic file either side of the runner and filled the gap with thickened epoxy.
I also filled the forward gape between the two keep reinforcements. I had previously thought that I would fill this gap with a spline of wood glued into place as I did for the aft section, but the bottom of the slot was very irregular which would make the construction of the spline difficult and after some thought, which is why it has taken so long to get around to doing the task, I decided that filling the slot with thickened epoxy was easier and would give a better result.
I noticed in places, whilst I was filling the slot, that you could see a gap between the hull planks right through down to the underside of the hog on the inside. I made sure that in these areas the epoxy was squished down well so that the gap was sealed.
No sooner had I taken these photos than it began to rain again and this time, quite hard. So, the cover went on again quite hurriedly. It was only later whilst watching the rain from the kitchen that I realised that the cover was resting on the uncured epoxy. I rather hurriedly went back to the workshop, retrieved two baulks of timber and slid these under the tarpaulin either side of the epoxy. this lifted the tarp off the epoxy.
Time for a cup of tea.
Shortly after taking the last photo, it started raining. Not hard but enough to stop work.
It was a stark reminder that things really have to get moving or I’ll be stuck trying to get the work done between rain showers. The long range forecast, although not that accurate, seems to show that cooler and wetter weather is heading our way and whilst we desperately need a few days tof steady soaking rain in a general sense, I need it to stay dry as long as possible.
I thought about trying a tent over the boat so that work could be carried out during the light rain showers, so I decided to give it a ry.
Not very elegant and wouldn’t stand up to even moderate winds, but worth a try.
I had to be a bit careful of the epoxy currently curing on the bilge runner, but there is enough space to work under the tarp.
Finally, after about 6 weeks of dry and hot weather, we finally had some rain. A few spots yesterday afternoon that prevented me from continuing with sanding the hull and last night we had a little over 3 mm of rain. That means that I will have to start thinking seriously about making a cover for the boat under which I can work if it rains. Once the epoxy & fibreglass sheathing starts, rain must not stop play.
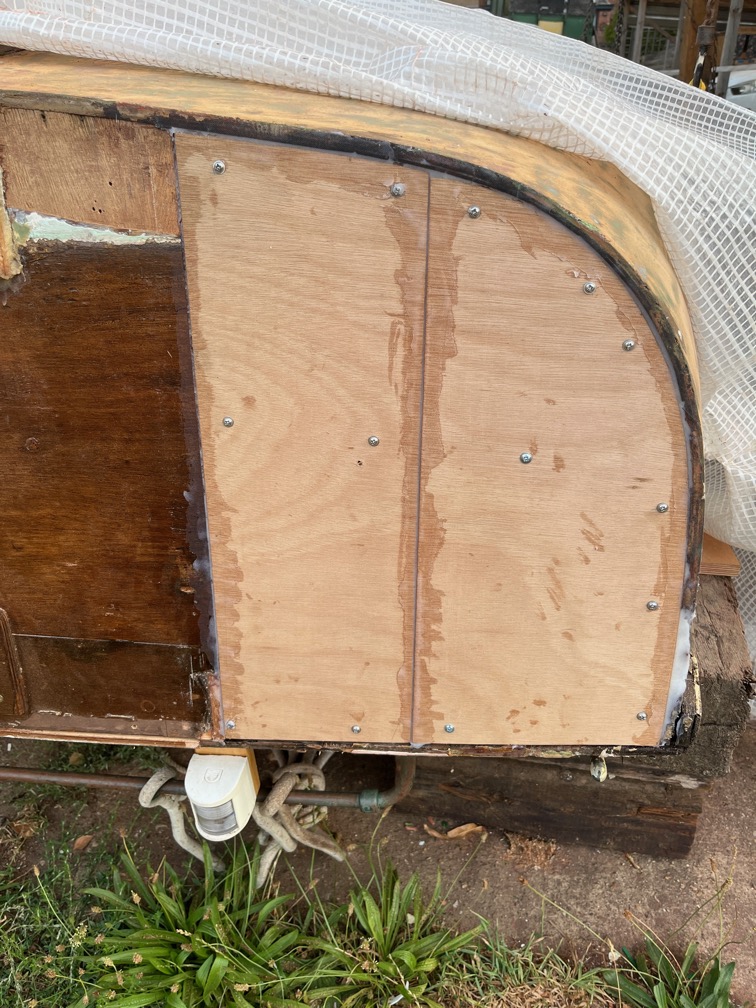
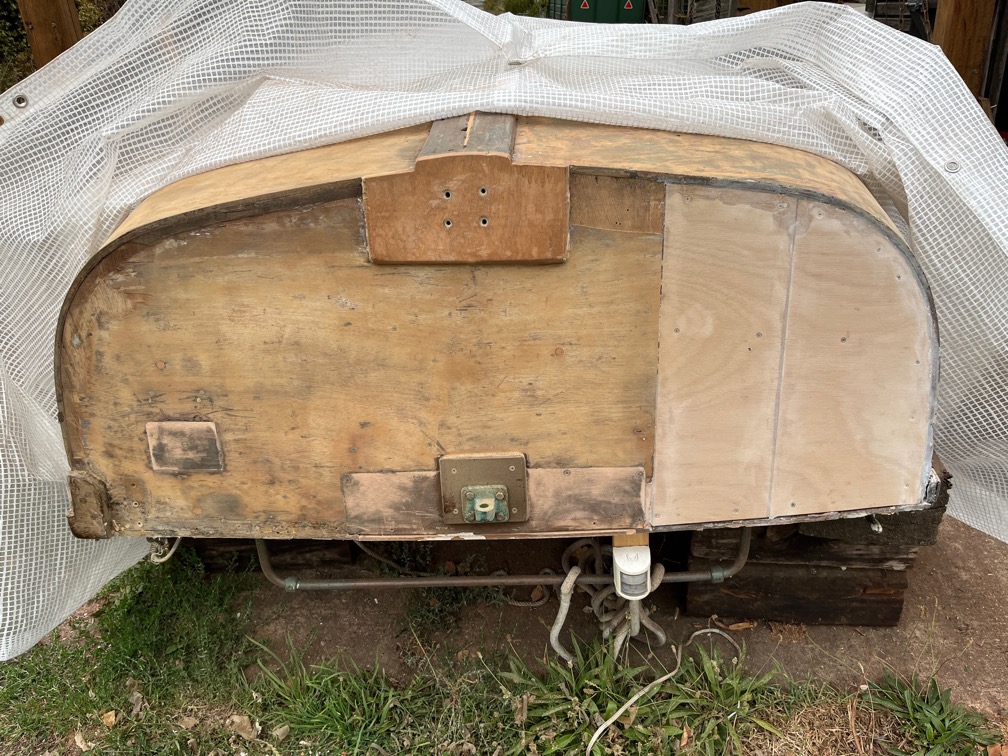
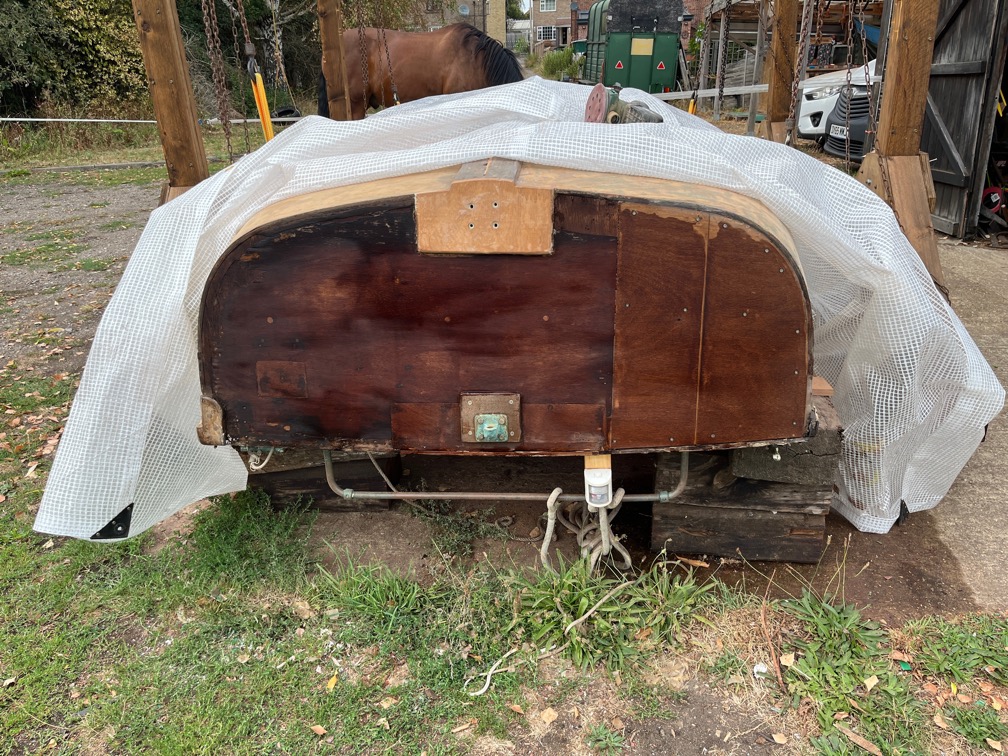
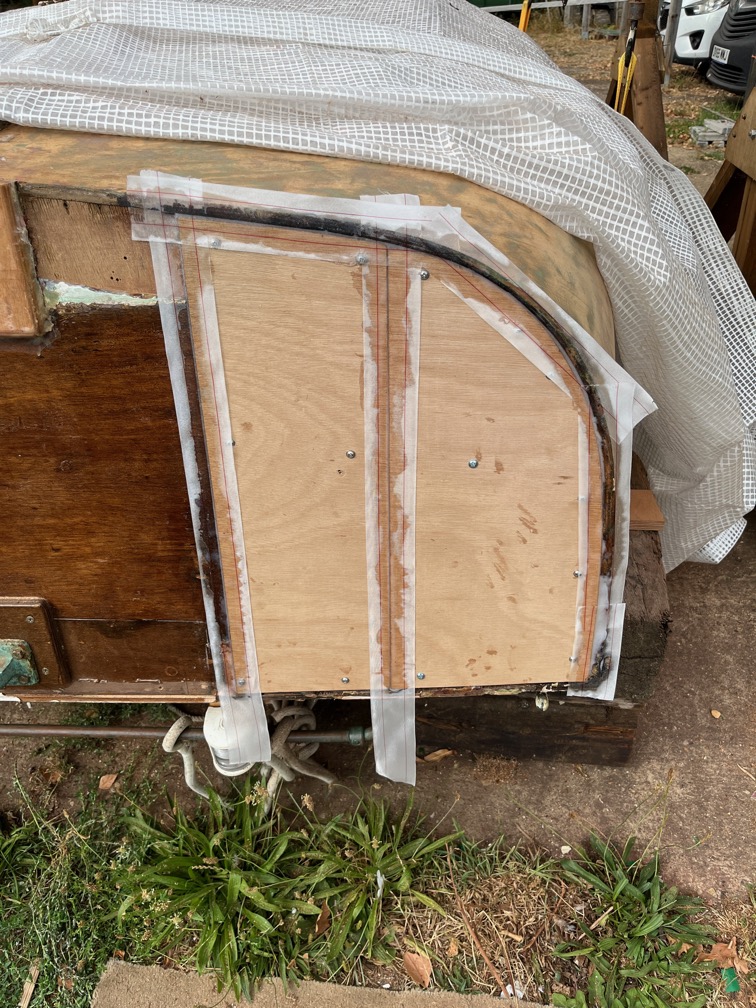
Moving on, this is the transom repair after the epoxy had cured and the peel ply removed. The Truss head screws were removed and countersunk ones put in their place.
Then I removed all the varnish I put on the transom a couple of months or more past. The reason for this is that the transom will also be sheathed in fibreglass and epoxy and for that to work, I need to have the varnish gone.
Then I gave it a couple of coats of the stain which will not affect the sheathing.
I took that time at this point to seal up the holes in the tarpaulin. I do not remember why I made them, there must have been a good reason, but right now, they let in the rain.
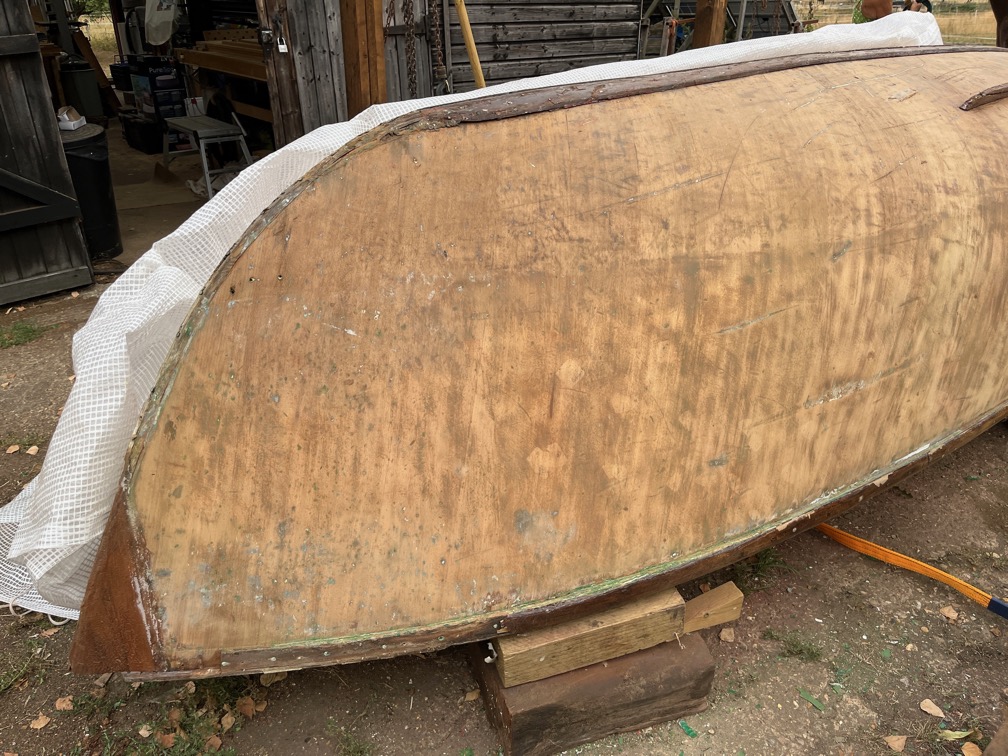
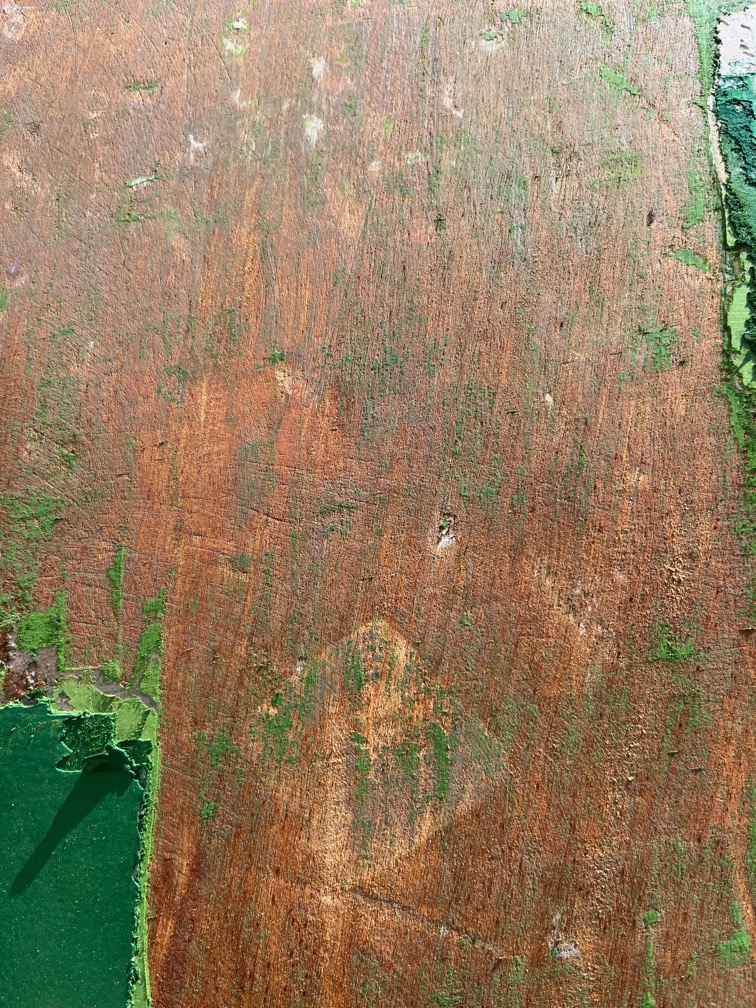
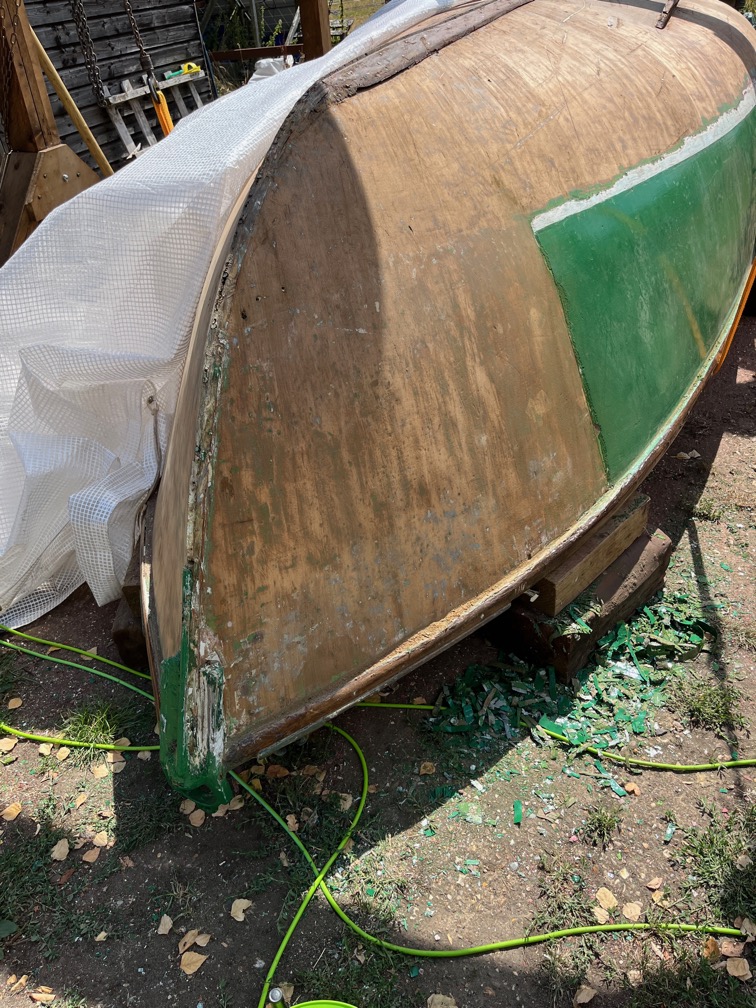
And then it was on with the sanding. Now, I’ve decided to be practical about this and not sand too heavily. That means the some of the old paint will remain where it has seeped into the grain. Sanding that out will remove too much of the hull. The result is fairly good, even so.
The bow is the same. A fair but not perfect finish.
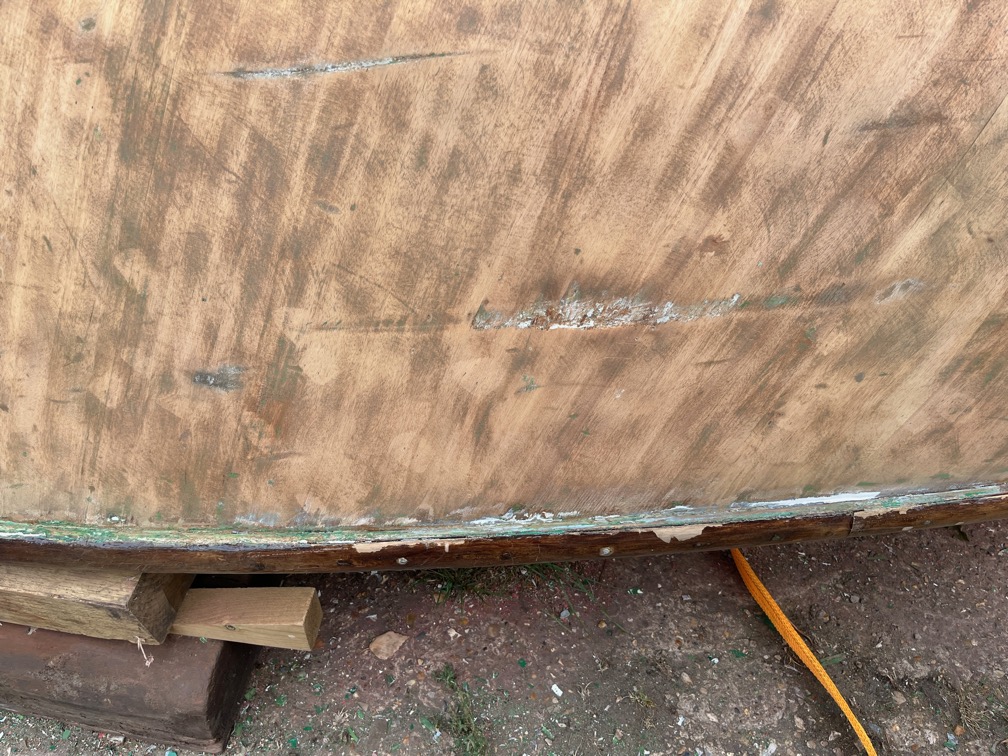
This is one of the more major scratches, some really damage done here. One of the tasks that I need to do before the sheathing process starts is to fill in these scratches with thickened epoxy. There are a fair few areas that need to be done and if I do it correctly, I will not need to sand the hull again to get the epoxy in these areas smooth. The forecast for tomorrow is rain during the early morning, so I think I need to do this tonight whilst it is still light.
Another cool day and time to continue with the transom repairs. But, having said that, the first task of the day is some washing.
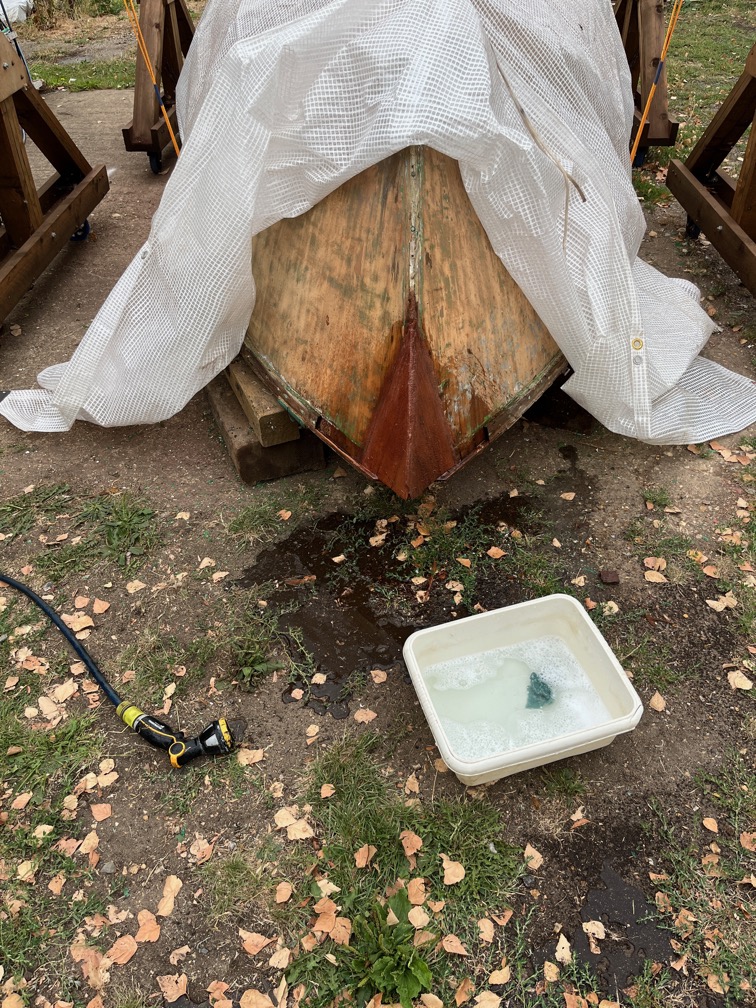
Specifically washing the amine blush off the epoxy on the new stem. Now most of the epoxy you see here will end up being sanded off, but it is still pretty essential to remove the amine blush before sanding starts and for two main reasons.
The first is that the blush, being a waxy substance, clogs up the sandpaper very quickly rendering the sanding pretty ineffective.
The second and more concerning reason is that having clogged up the sandpaper the sanding then does nothing except generate heat from friction, which melts the waxy blush and the epoxy and can mix the two together leaving an epoxy surface to which nothing will stick. The remedy when this happens is to use a heat gun and a scraper to remove the epoxy and start again.
Fortunately, the amine blush is water soluble and the recommended treatment is to use warm soapy water and a soft brush or abrasive pad to dissolve and remove the blush followed by rinsing the surface with clean cold water.
Which is what I have done here.
So, on to the transom.
Having given it some thought and tried various ways to get the new transom piece into the correct position in one piece, I gave up and cut the thing in half.
I also cut a lip on each piece, mainly to make locating the two pieces easier and also to increase the glue area.
I have to confess that I had intended to cut these laps on the other side of the wood and made the mistake of getting them on the wrong side. Only, after some consideration I realised that this way round was better than the way I had intended. So, although it was wrong, it was right.
The more difficult piece was cut to the correct length and put into place. As you can see it doesn’t fit, and nor did I expect it to, but with a new belt on the bench belt sander I sanded away until I had a pretty good fit.
The remaining gaps will be sealed with thickened epoxy when it comes time to glue it all together.
Before I continue with the other half of the repair, I needed to fit a small piece into the notch in the transom where the rotten part extended beyond that of the rest of the removed transom.
Once this has cured sufficiently I shall cut a lap on the transom. including through this new piece and then carefully cut a lap on the second half of the repair piece, probably making several closer and closer cuts until the piece fits into place.
That will be the point that the transom repair is glued into position with thickened epoxy .
Any remaining epoxy from the work will now be used to fill in some of the dings and scratches. Peel ply will be used, as you can see here, to ensure that the amine blush is removed without having to wash the epoxy.
Time for a cup of tea.
The next step in the transom task was to cut the edge of the transom to give a straight edge. This was done using a router being careful not to put the router through anything but the transom.
Following that the router was used to cut the lap in the transom, again being careful not to let the router go anywhere it should not.
Finally I used a newly sharpened chisel to clean up the rounded ends.
At this point of the processes everything had gone well and each time a step was completed successfully, I fell into the trap of saying “I’ll just do a little more” and then “a little more”. You know what happens, you get tired and something goes wrong. Then you start saying “I should have taken a break earlier”.
Well, I didn’t fall too far into that trap, at least not this time. I took a break.
Time for a cup of tea.
The next task was to cut the lap on the second repair piece and dry fit.
It took a bit of back and forth cutting the lap little by little until a fit was obtained.
After that I drilled clearance holes for the retaining screws and pilot holes in the boat and screwed the two pieces in place for a dry fit.
Next up is epoxy work, but I need a break before I tackle that job.
Time for a cup of tea.
The final task for the day was to mix up a load of epoxy and glue the new pieces of the transom in place. The first batch of epoxy was neat and brushed onto all the exposed end grain and those surfaces that were to be glued. The second batch was thickened with microfibres until it was the consistency of thick Greek Yogurt. Just thick enough to cling to the mixing stick. I put this on the inside of the hull and on the mating surfaces and assembled the repair. ots of epoxy squeezed out of the joins, which was the aim and I used a putty knife to scrape off the squeeze-out and to make sure that all the joints were filled.
Finally, I mixed up a third batch of neat epoxy and used that to stick the peel ply over the joints. This last step wasn’t strictly necessary but it does stop the amine blush and smooths down the epoxy surface.
In an hour or two I’ll go out and loosen the screws and then tighten them again just to break any epoxy bond to the screws since these will be replaced with countersunk screws, probably tomorrow. Just loosening them means that it is easier to get the out once the epoxy has cured.
With the temperature forecast to be around 10º C cooler today than yesterday at a reasonable 24º, it is a good day for doing some rapid epoxy work.
The first task was to shape the stem a little better, it is still not exactly the right size and again, this is deliberate. The next task was to trim the edges of the hull so that the cut is straight and clean. To do this I pencilled in a line where I want the cut to be and then a second line 38mm away from the line. A straight edge was nailed in place temporarily to guide the cut. The hull edge was trimmed using a trim router adjusted to the correct depth.
It didn’t take long to cut the hull to a nice straight line.
I repeated the procedure on the other side.
On both sides the cut stopped short of the end due to the router bumping into the underside of the deck and I used the multi-tool to cut away most of this followed by the rest using a sharp chisel.
The router also cut into the new stem a little clearly showing the correct size of the stem.
This allowed me to take away a little bit more of the stem leaving it the correct size.
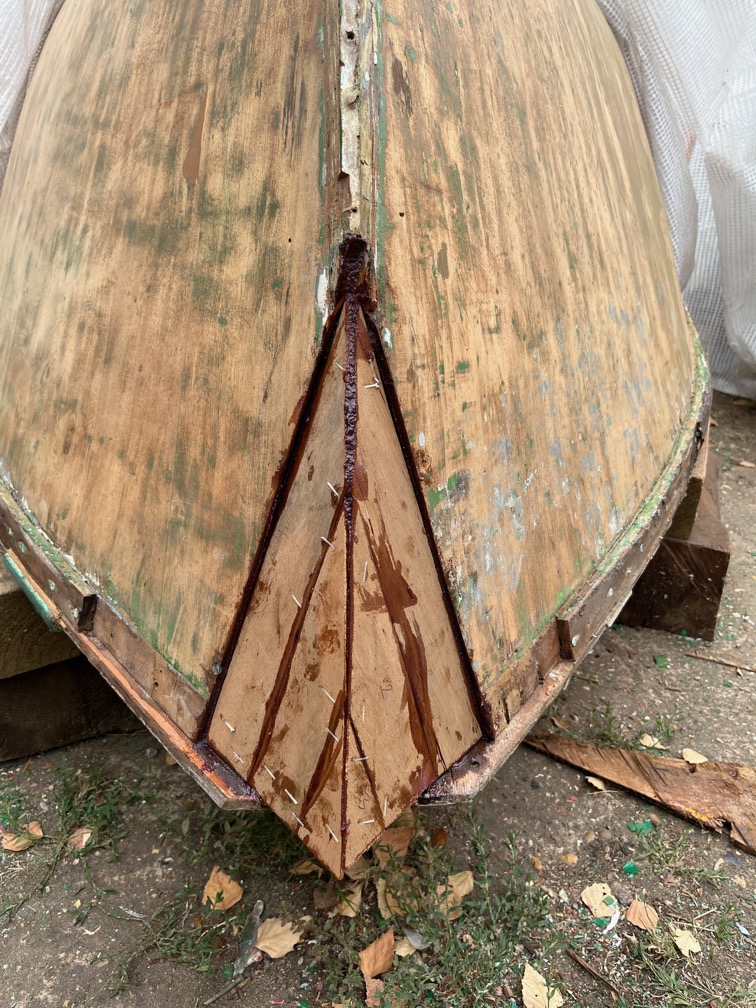
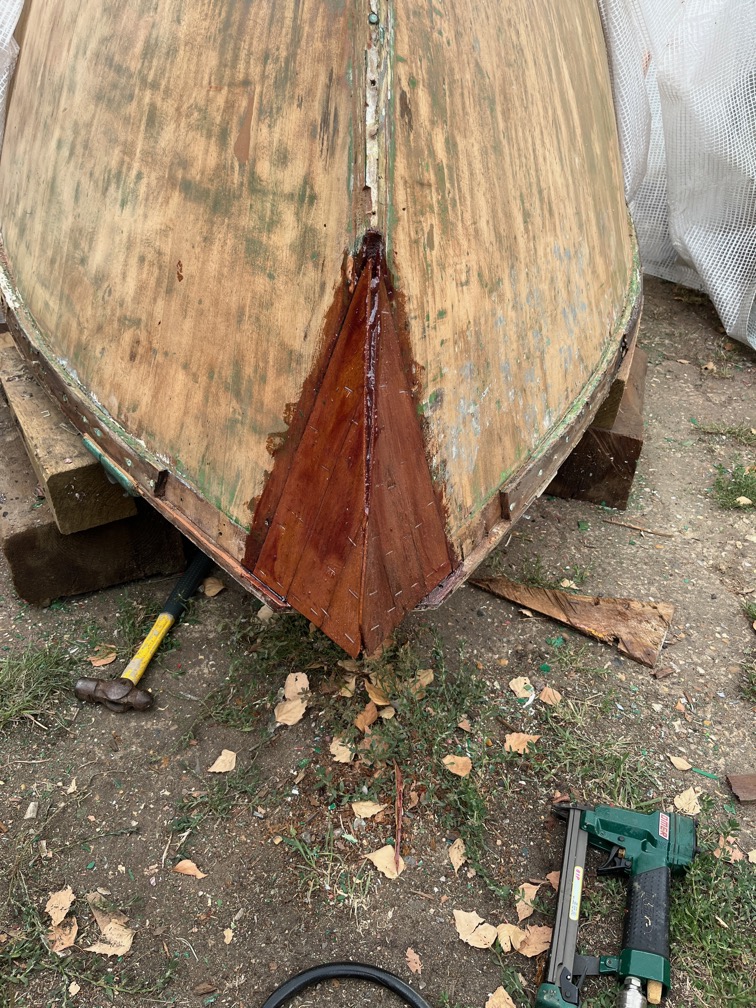
I cut four pieces of Agba to fit each side of the gap, gave the stem, breast hook and some other timbers inside a coat of neat epoxy as well as the undersides of the Agba strips, then applied a liberal coat of thickened epoxy to the stem etc, seated the pieces in the correct place and stapled them in place. The staples are plastic so I do not need to pull them out before putting on the next layer. This is very good since getting them out invariably damages the wood.
The second layer went on at right angles to the first, more or less, and the third in the same direction as the first.
At this point I realised that the Agba I had was 3mm thick, not 2.5mm and the three layers plus the thickened epoxy made the new hull the same thickness as the old.
This is the last layer. It still looks wonky and that is because it is. I’ll be shaping the new stem a little bit once the epoxy cures, probably tomorrow, to get the final shape.
So a good day’s work albeit a little rushed as i used the fast hardener and that barely gave me enough time to get the next layer cut and in place before the epoxy was unusable.
The nice sharp point of the new stem will be flattened to match the rest of the hull and to be wide enough to extend the keel band all the way up the stem and to hook over the top. This will reinforce the stem since it is subject to quite strong forces upwards due to the staysail and the forestay pulling on the stem via the gammon iron.
Despite the contining heat, work has been progressing on the stem and planking repairs, just slowly.
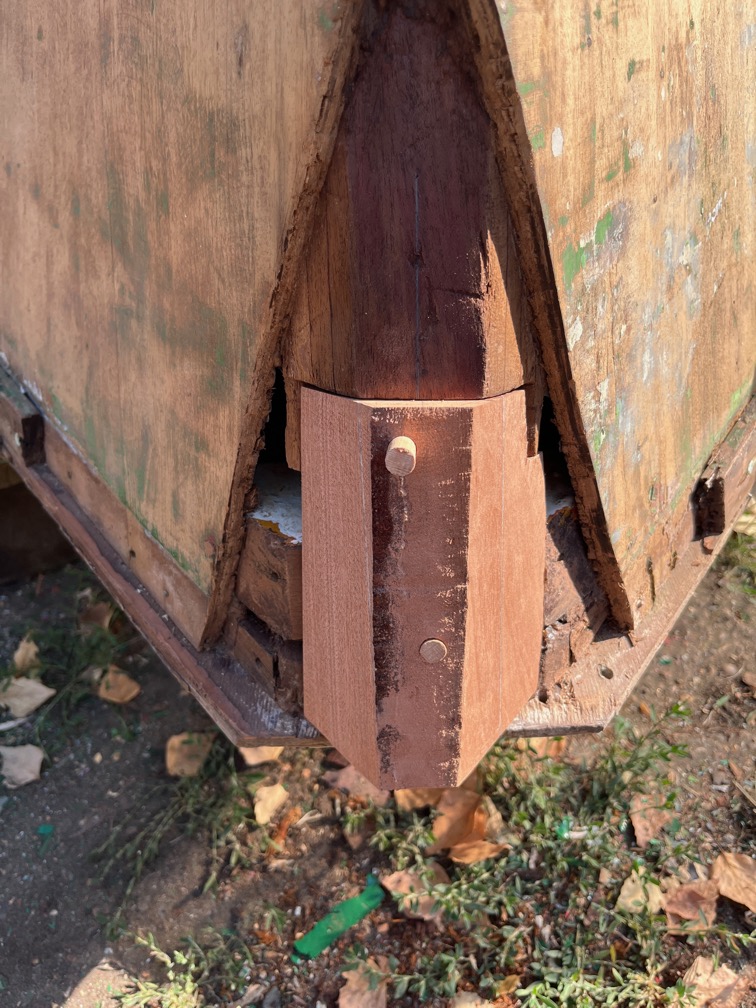
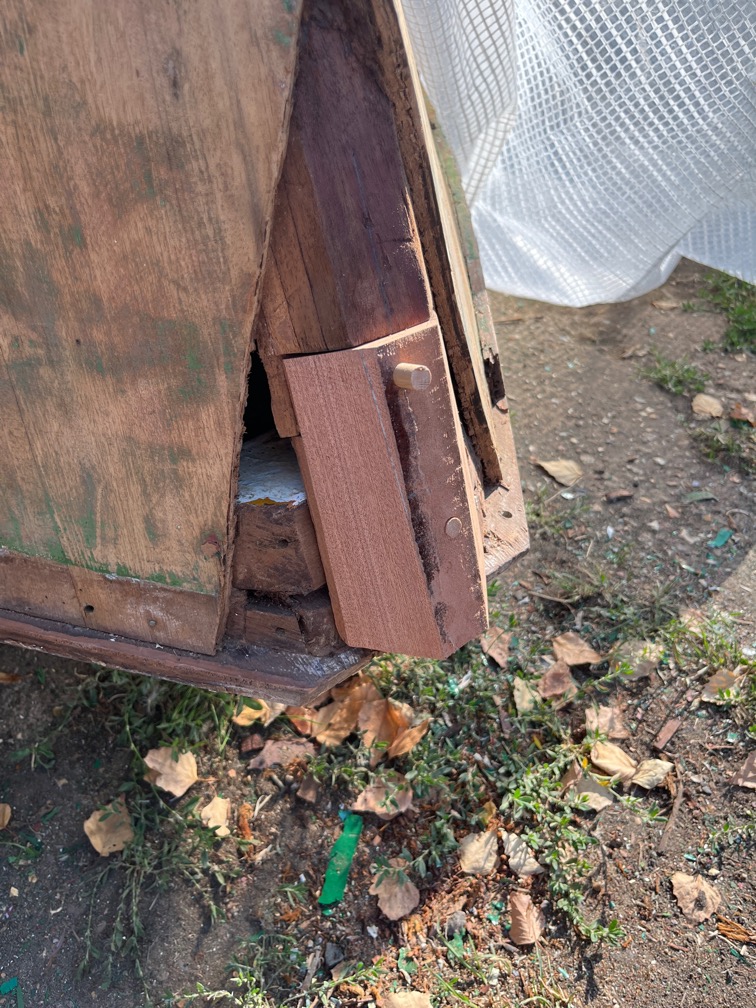
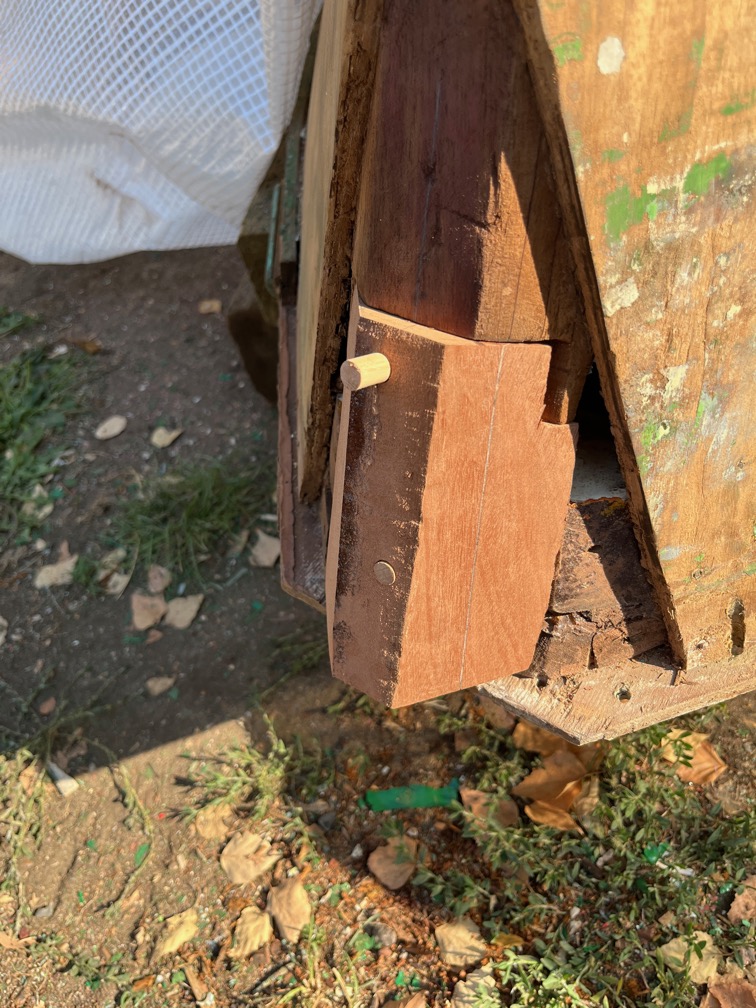
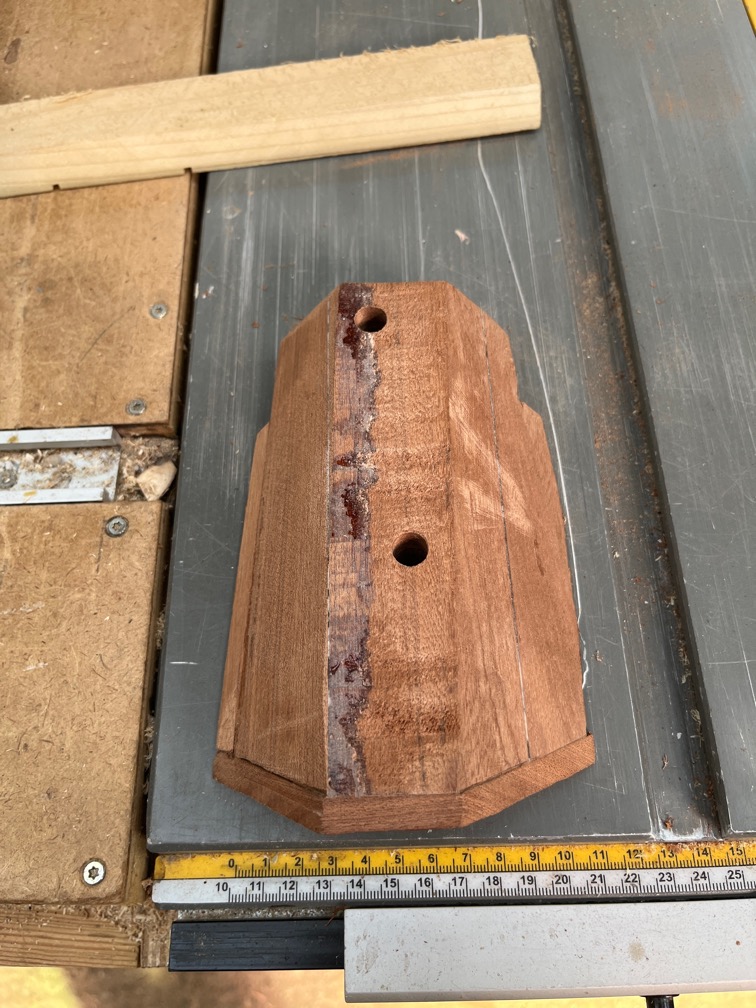
The Sapele block I laminated together was carefully shaped into something that is approximately the correct shape.I say approximately since I have deliberately made is just a little too big. The intention is to sand it down to the correct shape once the stem has been rebuilt.
The dowels are there to ensure that the block is positioned correctly each time it is removed for shaping and then replaced.
So far, so good.
I did make a mistake in the construction and had to add a 10mm piece at one end and a smaller shim on the side.
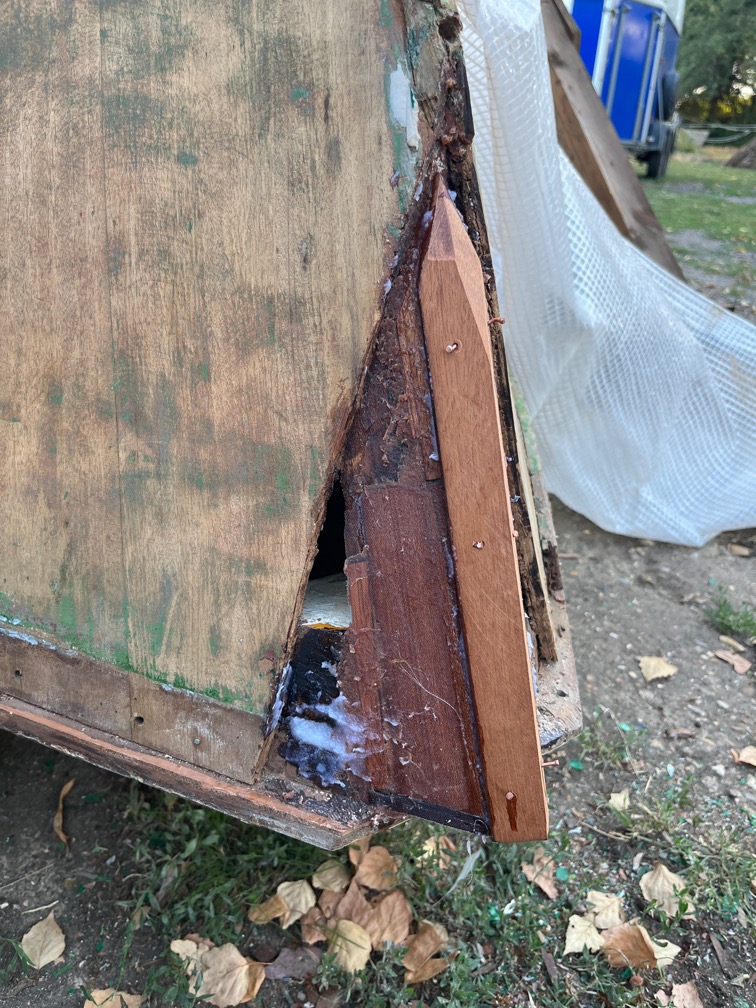
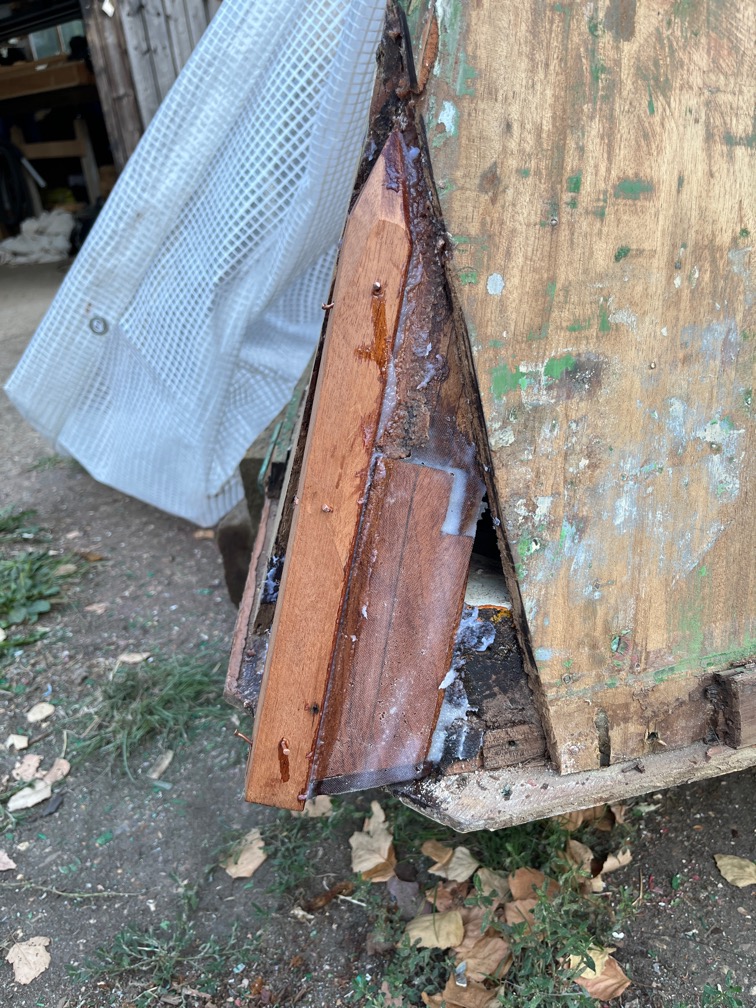
This is the state of the stem as of this evening. All the required pieces have now been epoxied in place,
Copper nails have been used both as locating pins and clamps to hold the pieces in position whilst the epoxy cures.
The next task will be to shape the new stem so that the new hull can be constructed.
The task for today was to investigate the patch of soft planking that the surveyor reported in the port bow. This needs to be attended to before the hull is sheathed and to that end I tried to remove the gammon iron, the fitting at the bow through which the bowsprit extends and to which the forestay is attached. It is also known as the stem head fitting.
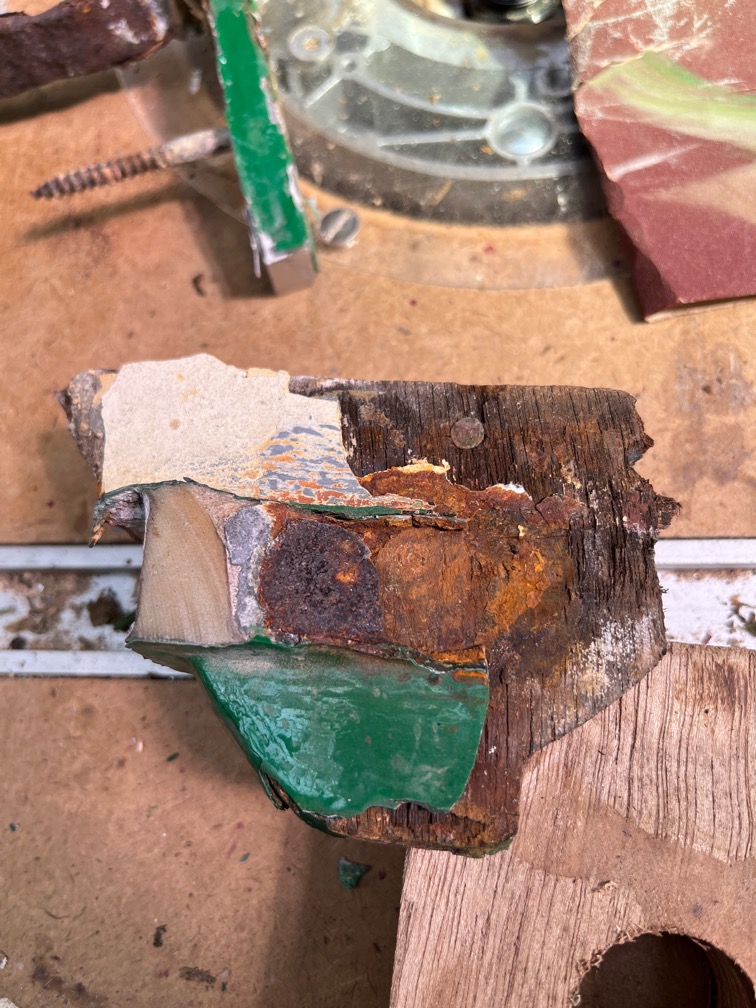
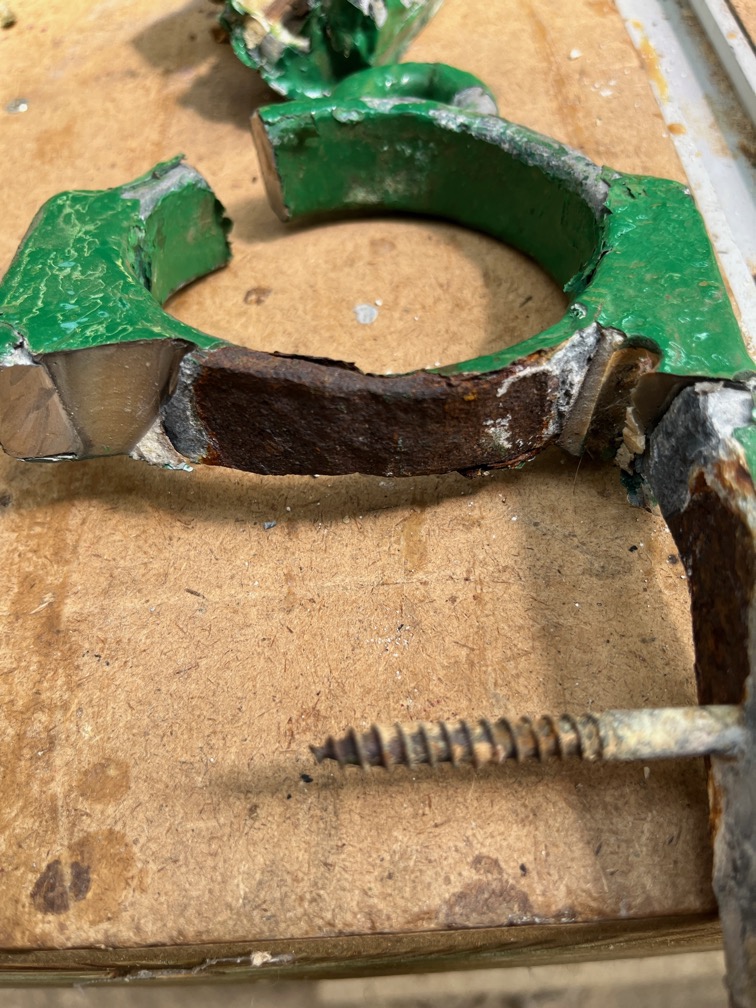
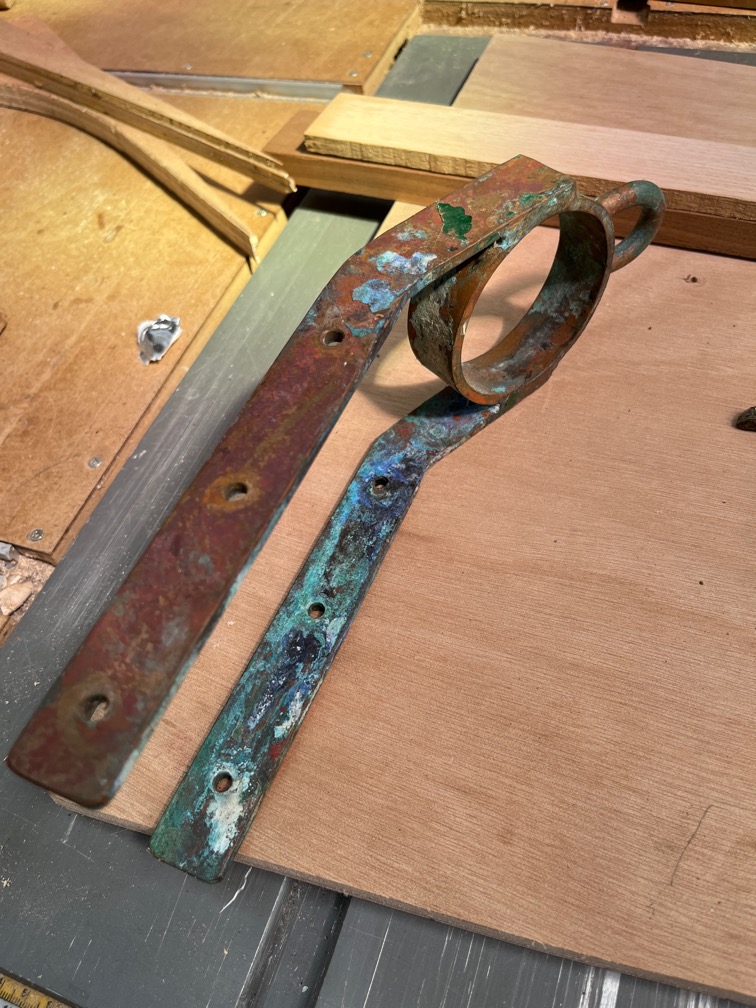
Sometime in the recent past the bronze/gunmetal fitting had been replaced with one made from steel. Not sure why but it had rusted and refused to come off gracefully so I resorted to angle grinder, hammer and cold chisel to “persuade” it to release.
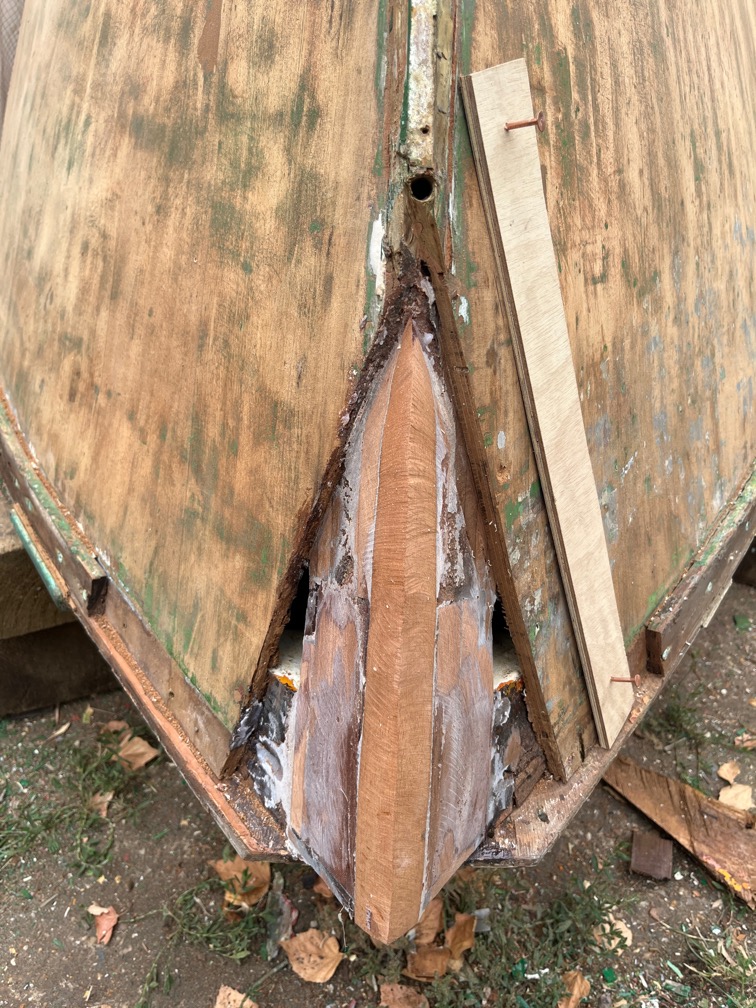
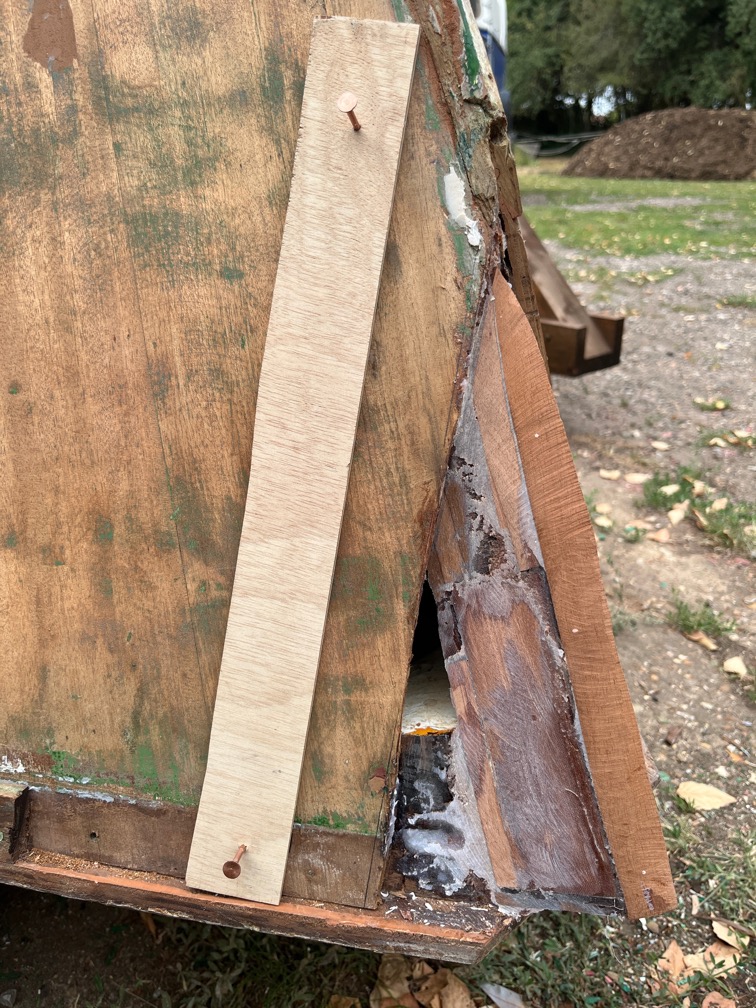
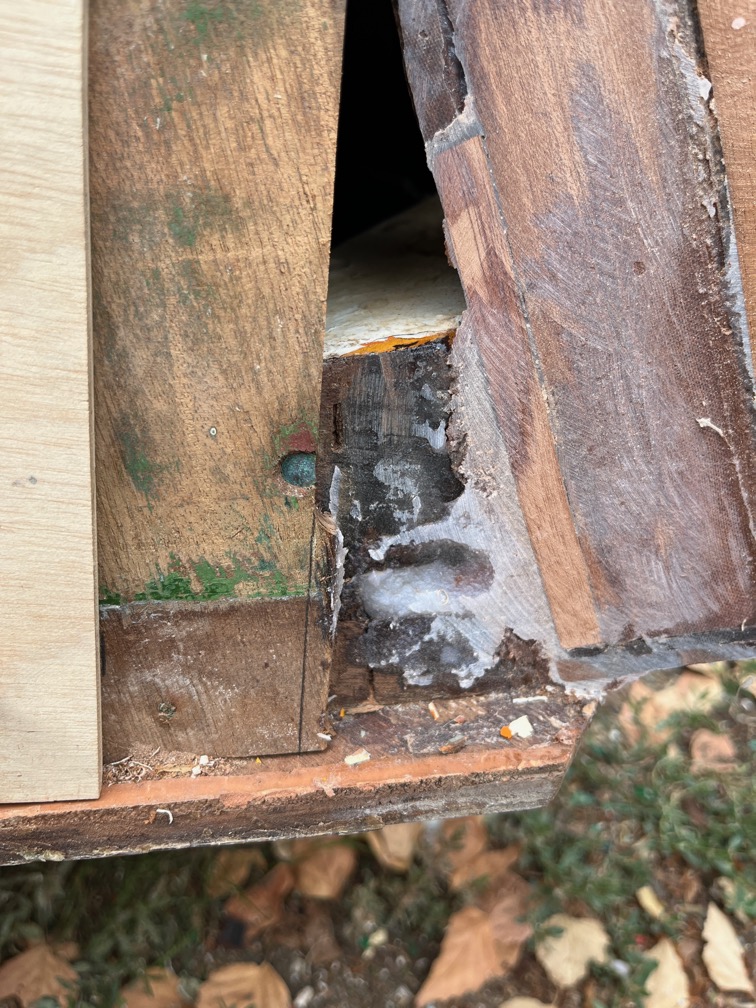
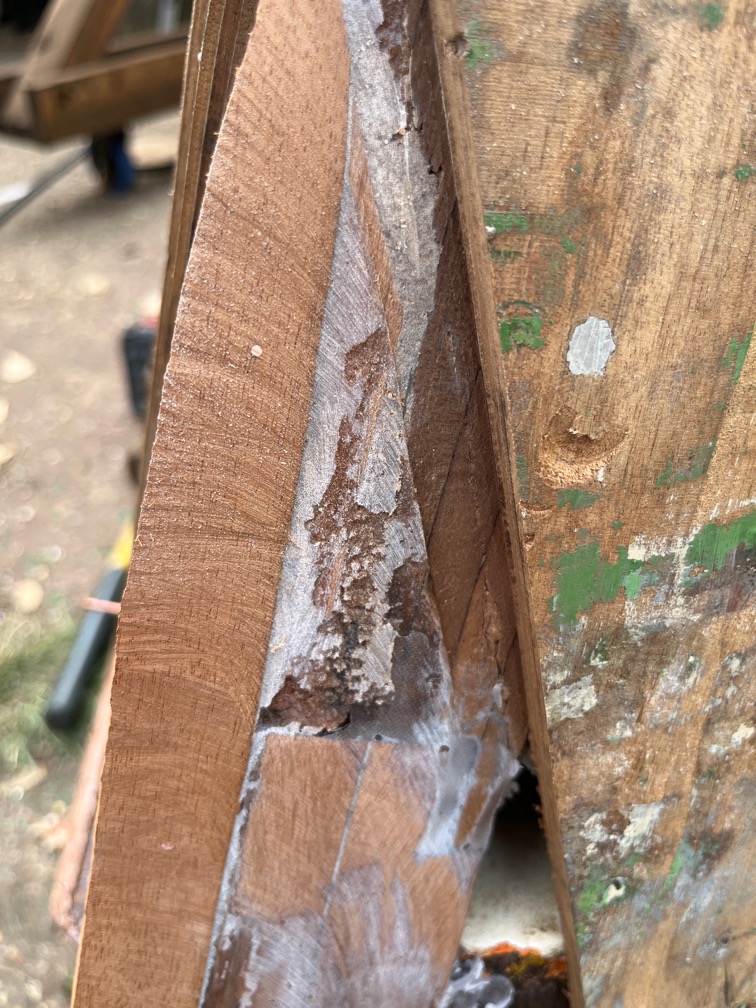
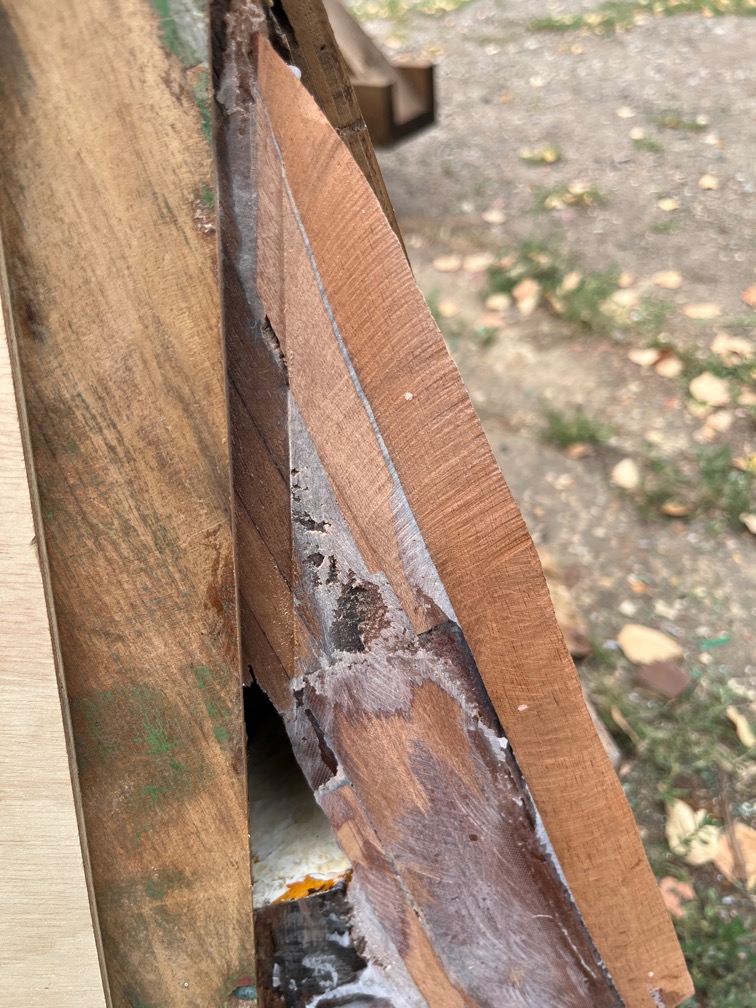
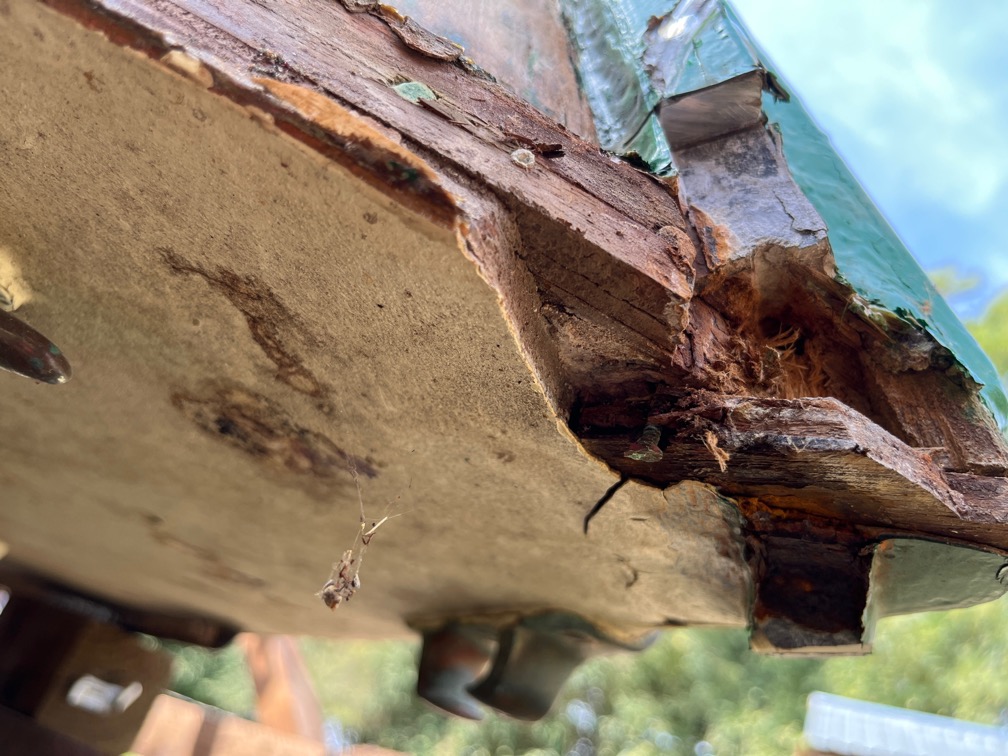
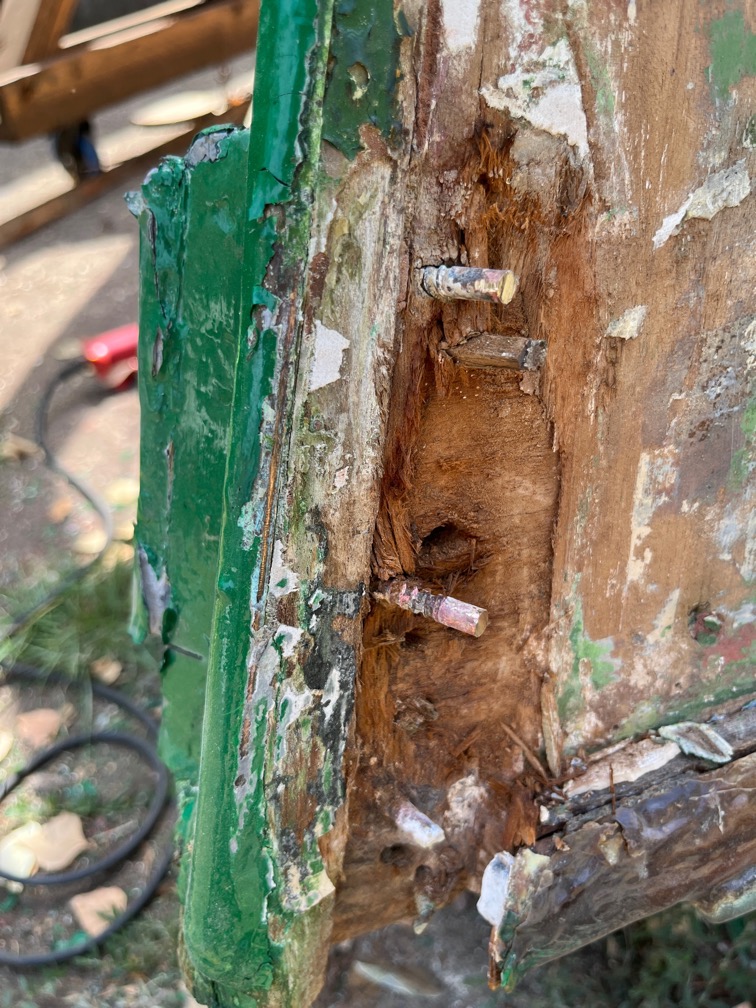
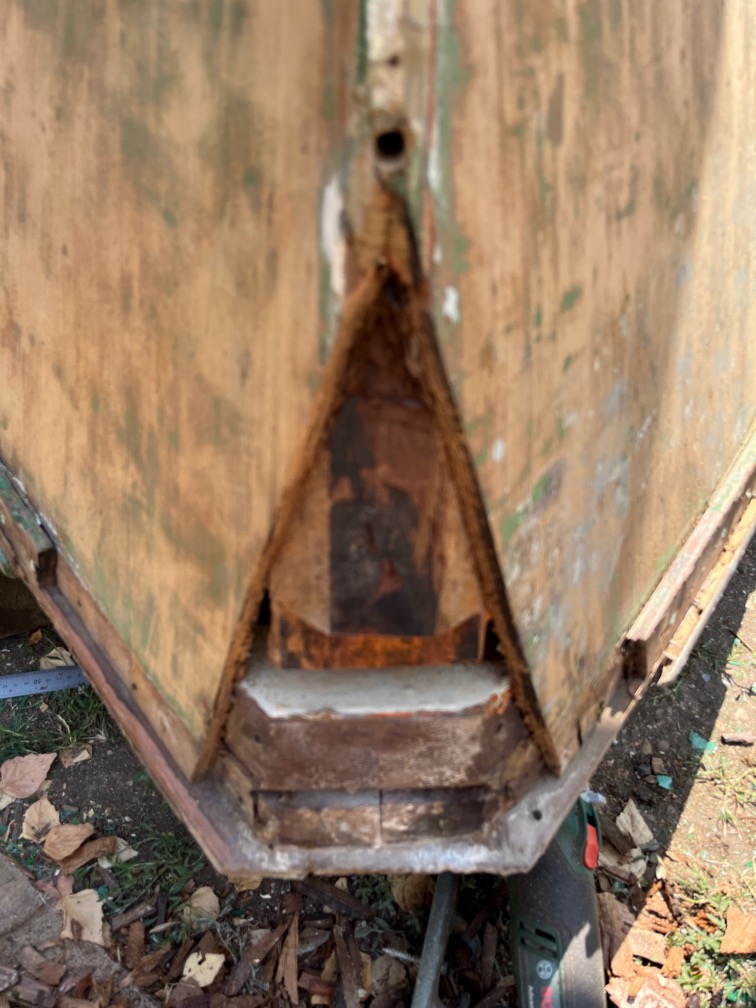
And this is what I found in the area the surveyor found the soft returns. Rot.
This is the view from under the boat looking at the deck. The cause, almost certainly, is the front part of the deck. This was a small piece of plywood that had been added to the rest of the deck, presumably because the sheet of plywood was just a little too short to reach right to the bow and so a piece was added. Not unusual, I did that myself on my boat Naiad. But, the joint on Naiad was glued together with epoxy. On Shoal Waters this was something else and the joint had eventually failed allowing water to get in.
The other side was as bad and it got worse.
With the gammon iron, deckpiece and the rubbing strakes either side removed, the extent of the damage became clear. And it got worse still.
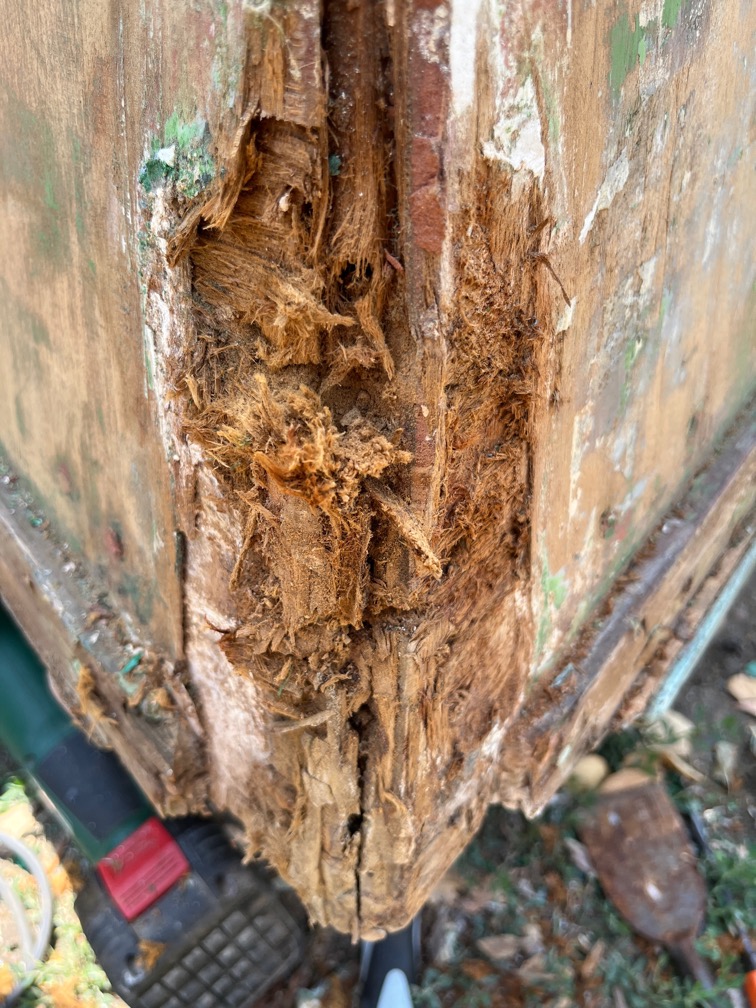
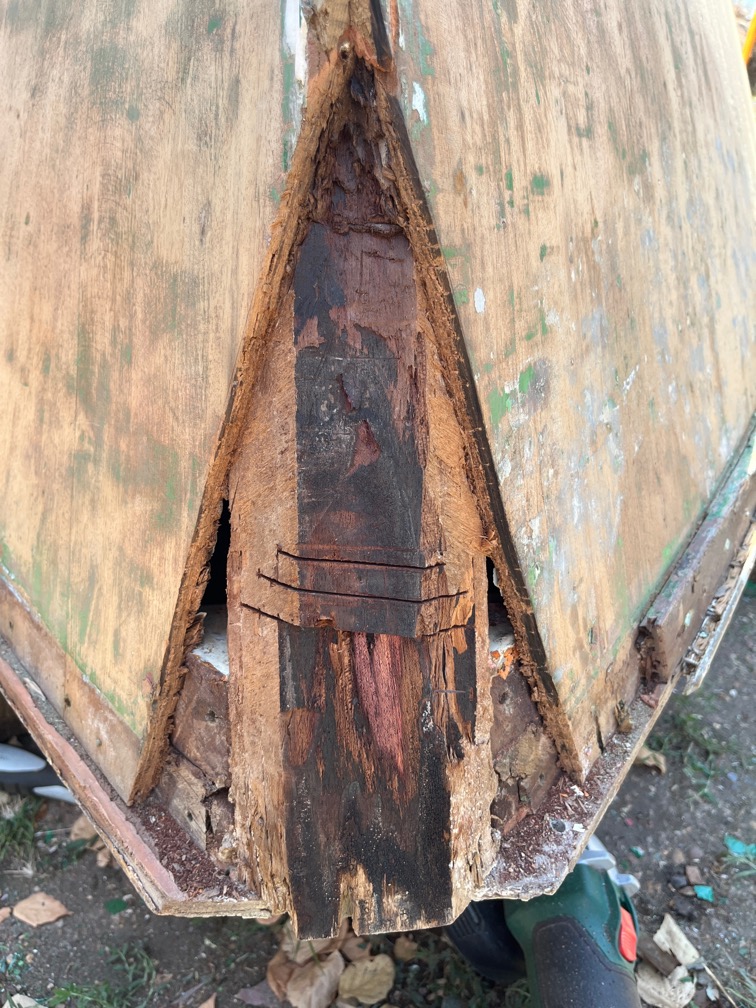
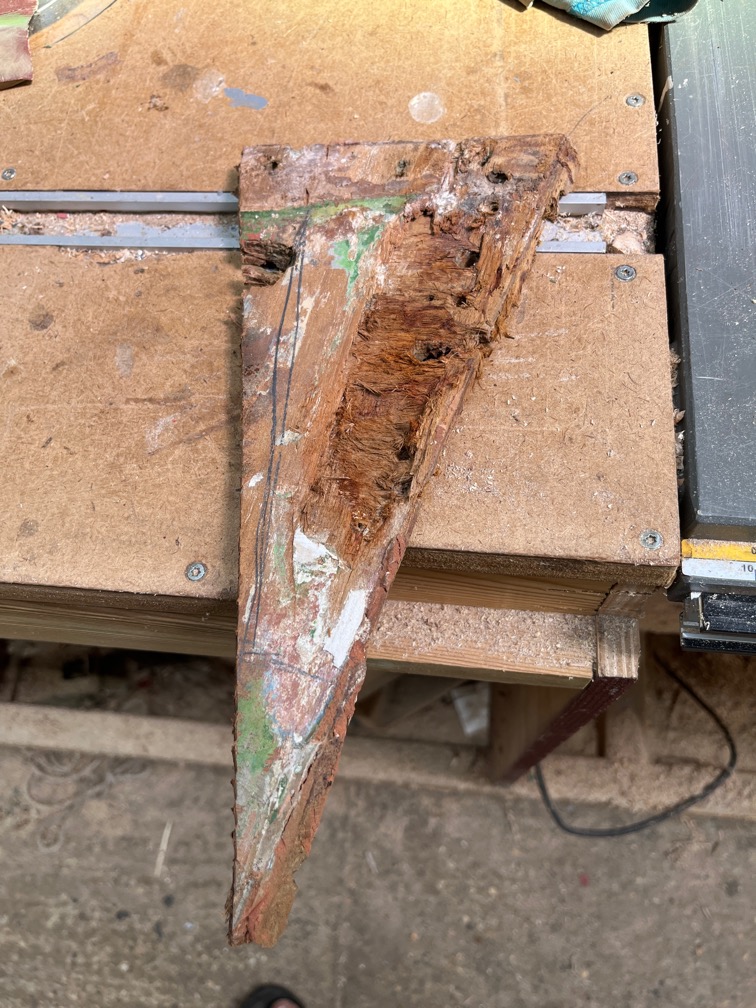
The stem was also soft. Here I have cut away the hull planking until I reached good wood and had cut parts of the stem away. That top cut is finally in good wood across the width and thickness of the stem.
I cut the stem away leaving a step in the end so that the replacement has a larger gluing surface, but more importantly, the joint is more easily located and held in place. I’ll certainly use epoxy for this joint.
This is the plywood deck piece. The joint, at the back as you look at it, was completely cracked. The replacement will be epoxied in place so that this does not occur again. Each part of the repair will be coated in epoxy before the repair is made and the end grain and sides of the existing stem and planking will also be liberally coated with neat epoxy. This is to ensure that should water get in again, it will not be able to get into the new joints.
This is why you don’t use steel on a boat. No matter how well you protect it, the steel eventually rusts.
I was able to get the part of the hull that the surveyor identified as soft off in one piece.
This is the gammon iron that was replaced with the steel one. It is still in good order and I’ll be putting this back on the boat once the repair and sheathing has been completed.
I still have a half sheet of 2.5mm thick Agba and some pieces about 50mm wide left over from the repair that I carried out on Naiad’s hull. I think that there is enough cut pieces to make the repair without using the sheet event though using the sheet would be a lot easier. I’ll make the new stem piece first and then evaluate the planking repair. Cutting eight triangular pieces, four for each side, to fit the space might be easier than laminating up the triangular pieces from the cut stock. I’ll have to think about that one.
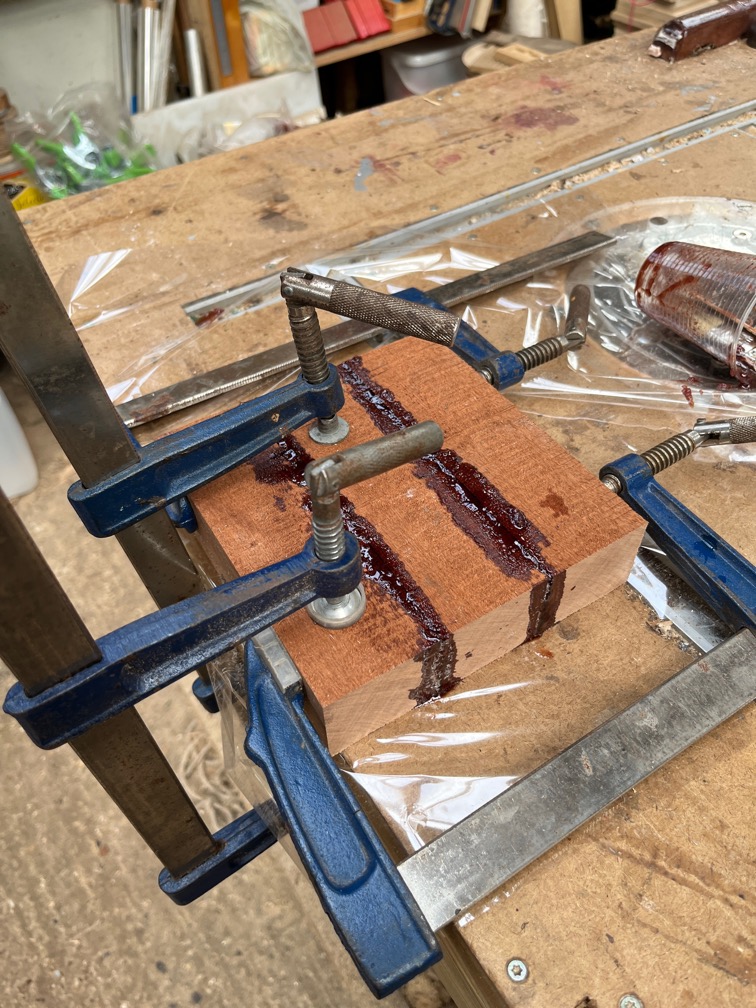
I cut some lengths of Sapele from the stock I have and glued them together using epoxy. I’ll fashion a new stem piece from this once the epoxy has cured. In this temperature, currently 31º C that will not take very long.
A long day but ultimately quite satisfying despite the unwelcome surprise.
The scraping continues along the starboard hull and, as I mentioned before, I started at the bows since this is the “tallest” section of the topsides, so progress would seem to be slower here and then get faster as the “height” of the green paint reduces.
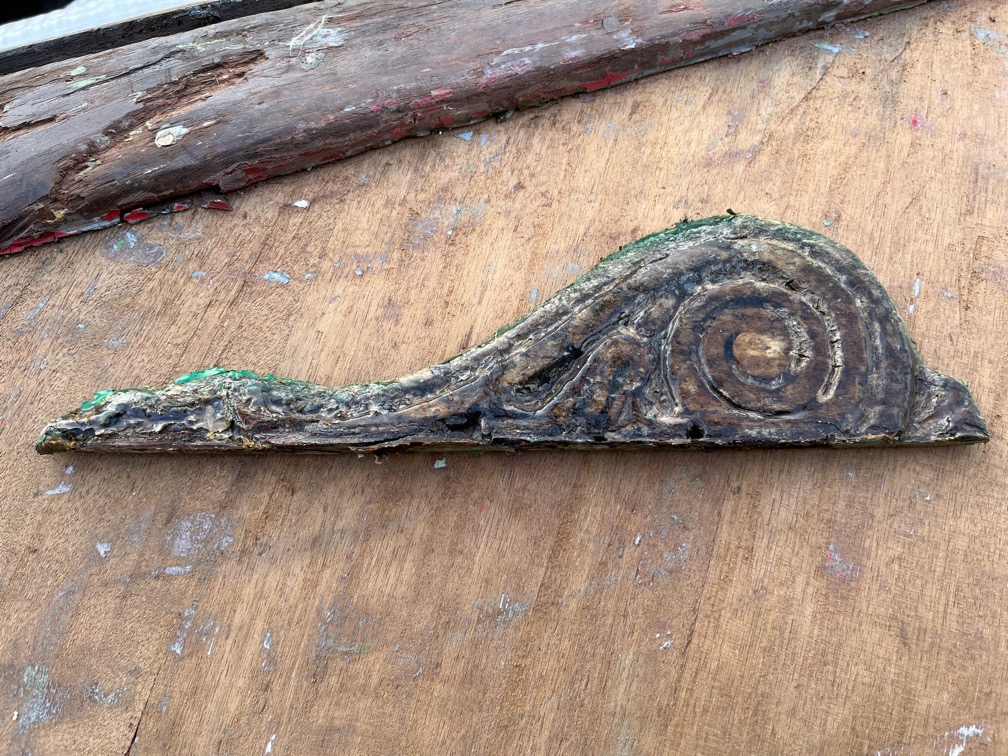
This is the first section and this part had he decoration at the bows. Fortunately this cam off easily as it seemed to have been glued on over a coat of paint.
It is completely gunged up with layers of varnish so I’ll put this aside for the moment and carefully remove the years of varnish in the workshop. As a later task I’ll try to replicate the design on the CNC Router and carve a second one for the portside. I think the wood is Mahogany and I have some that I can use for this task. It is the piece I cut off the locker lid in the galley. An interesting task that I’ll probably start later on today between my scraping sessions.
This is a section of the bow and I can see the marks of some rough sanding. This looks like a circular sanding disk was used that had a slightly too coarse grit and rather than sand it out, whoever did the sanding just painted it over.
This suggest that at the bows at least, the paint has been removed to the wood before. I’ve not noticed this anywhere else yet, so it looks like it is just a local job.
Anyway, this was Friday’s progress after lunch break.
And this the progress by the end of the evening. Or, more precisely, after I’d worked for three hours and decided that this was a good place to stop. I’ve not sanded the hull, but I have cleaned up the scrapings.
This morning I made a start on the remaining topside paint. As I mentioned in the title, this should be a bit of a slog, but it’s not. It is quite interesting. Thing things you find such as this:
These two holes were made during the construction of the hull way back in 1963. The thin veneers of Agba, covered in glue, were stapled to a mould before being put into an autoclave.
This clip from Pathé News shows how the hull was made. This particular dinghy was not a Falcon, but a Firefly, but the technique remains the same.
These pairs of staple holes can be found all over the hull.
There is also the refining of the scraping technique, trying to find the best way to get a strip of paint off the hull in one go, right down to the wood.
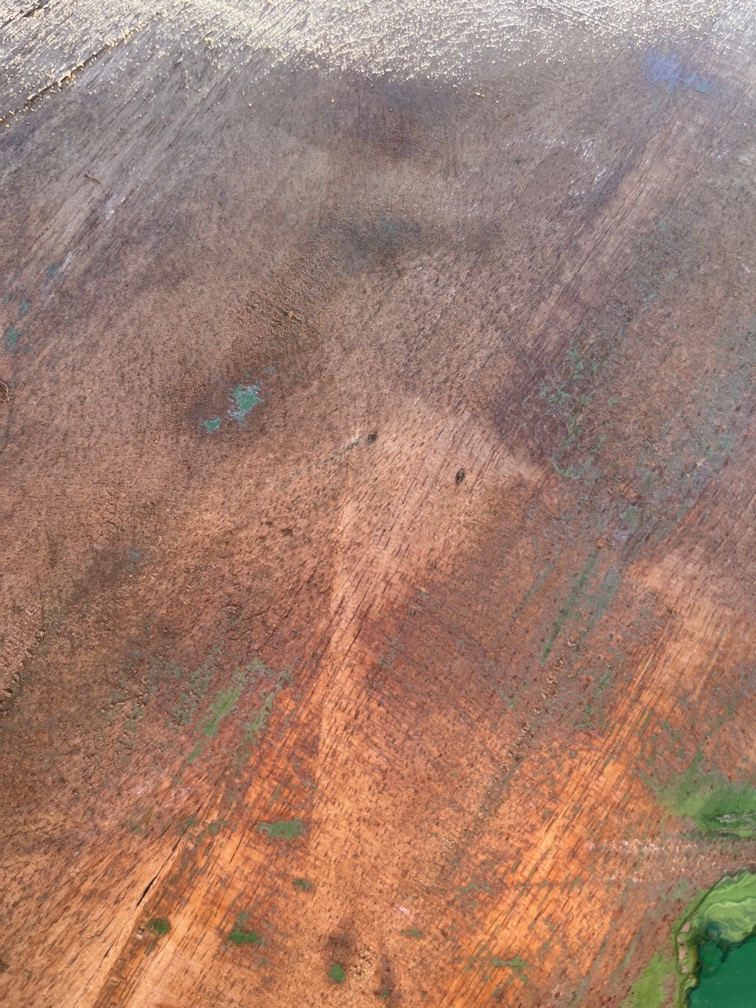
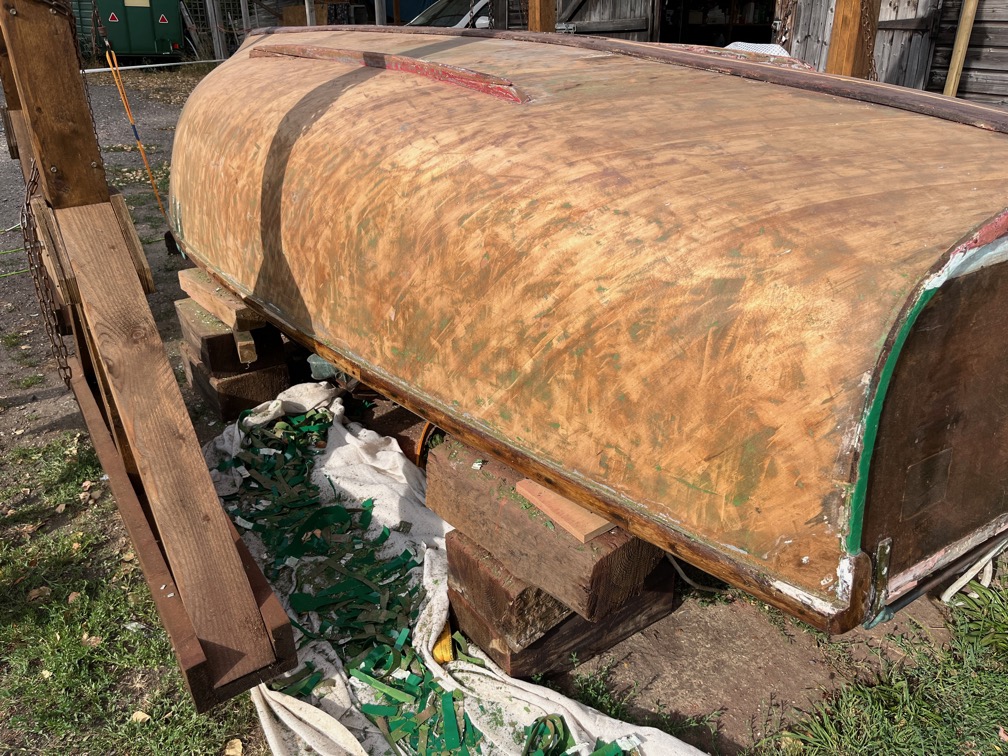
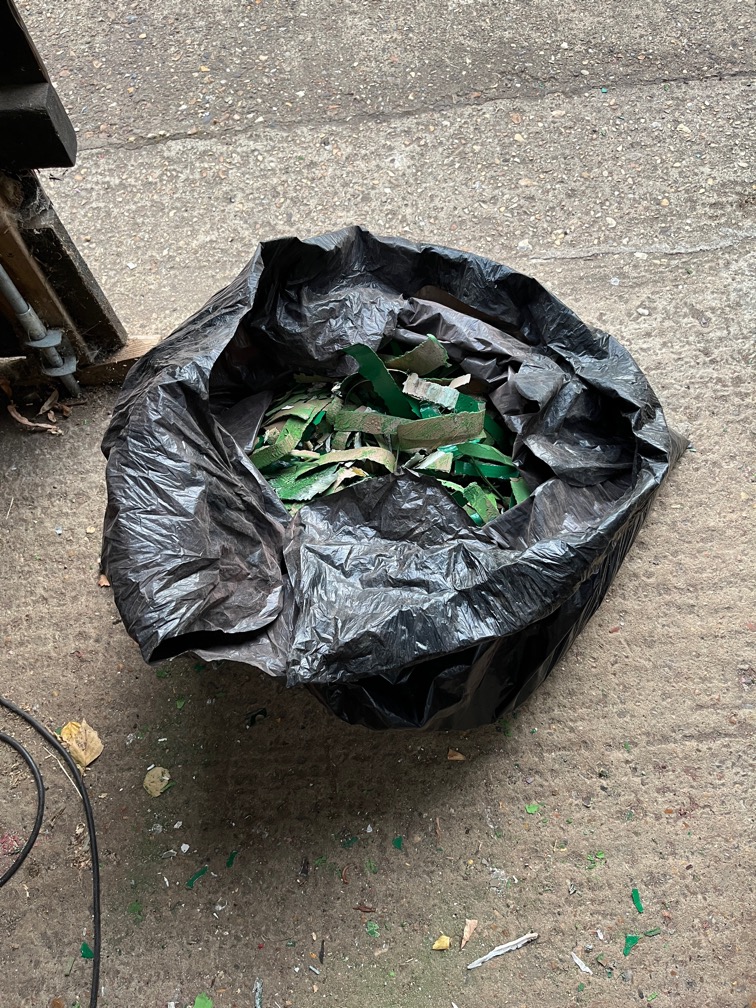
Here is the hull finished. You can see the long peels of the green topside paint on the drop cloth I used this time to catch the rubbish as it was quite windy today and this was the best way to stop the peeling from being blown away.
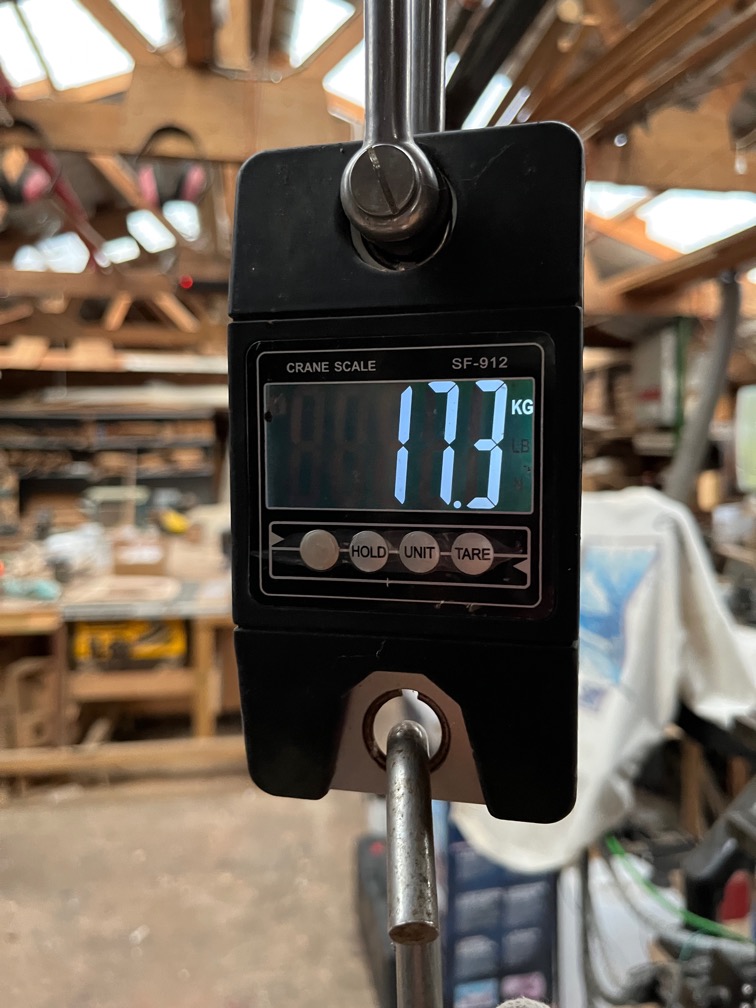
The bag was quite heavy, so just for fun I weighed it.
That is quite a weight of paint and antifouling that has accumulated over the years.
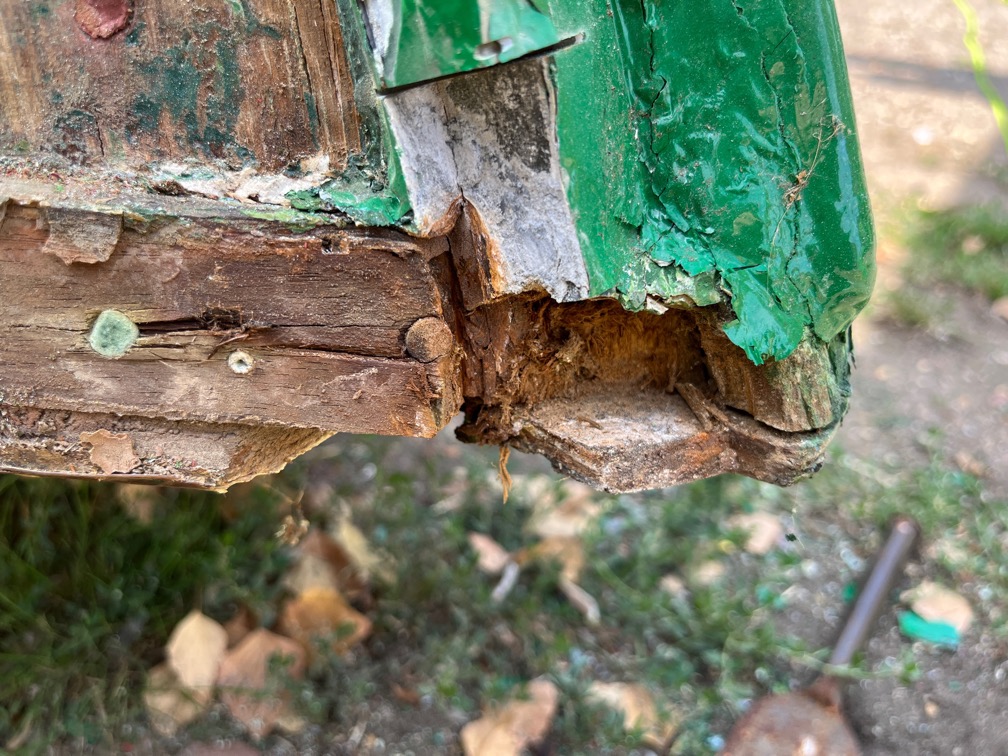
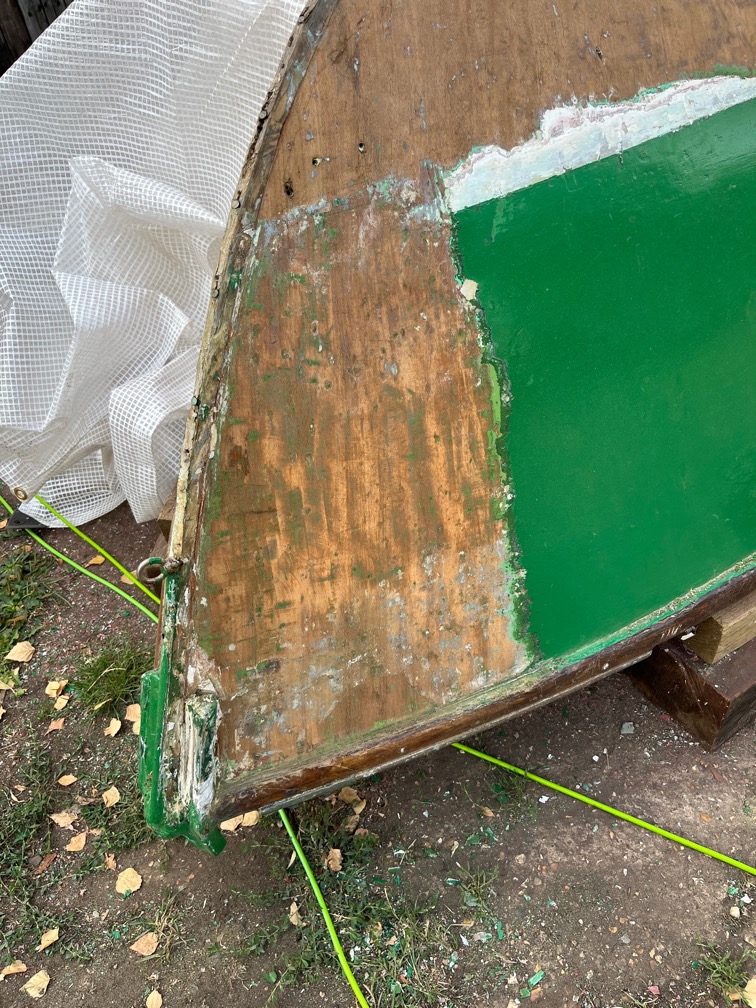
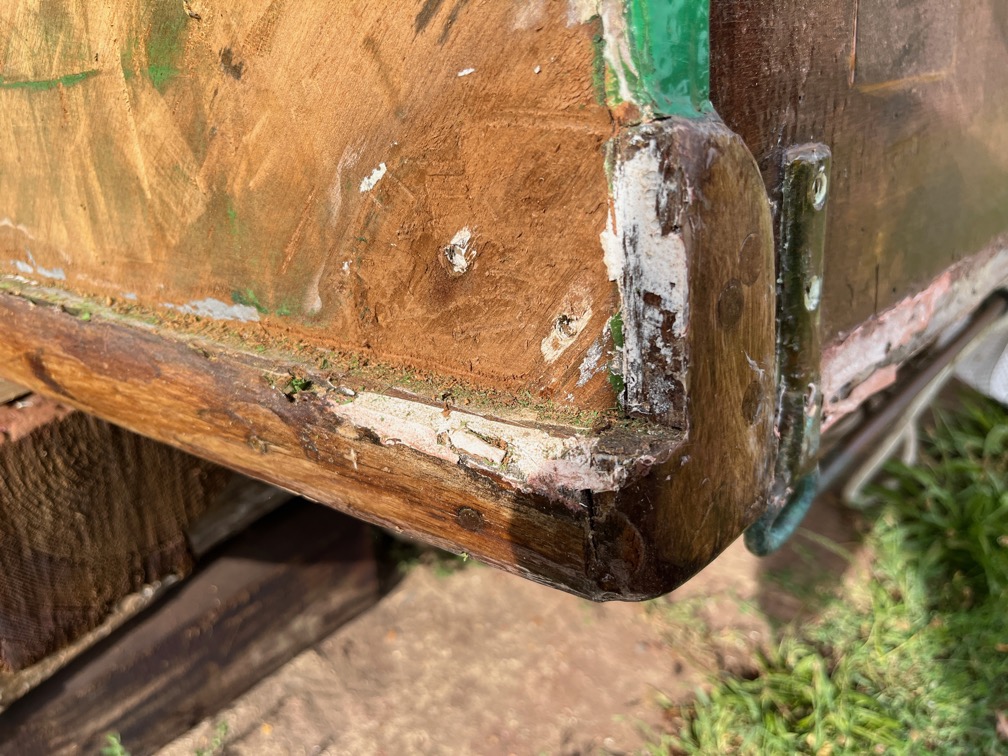
There was one issue that needs to be looked at. This corner of the hull was soft under the wooden protection that had been put around the corners.
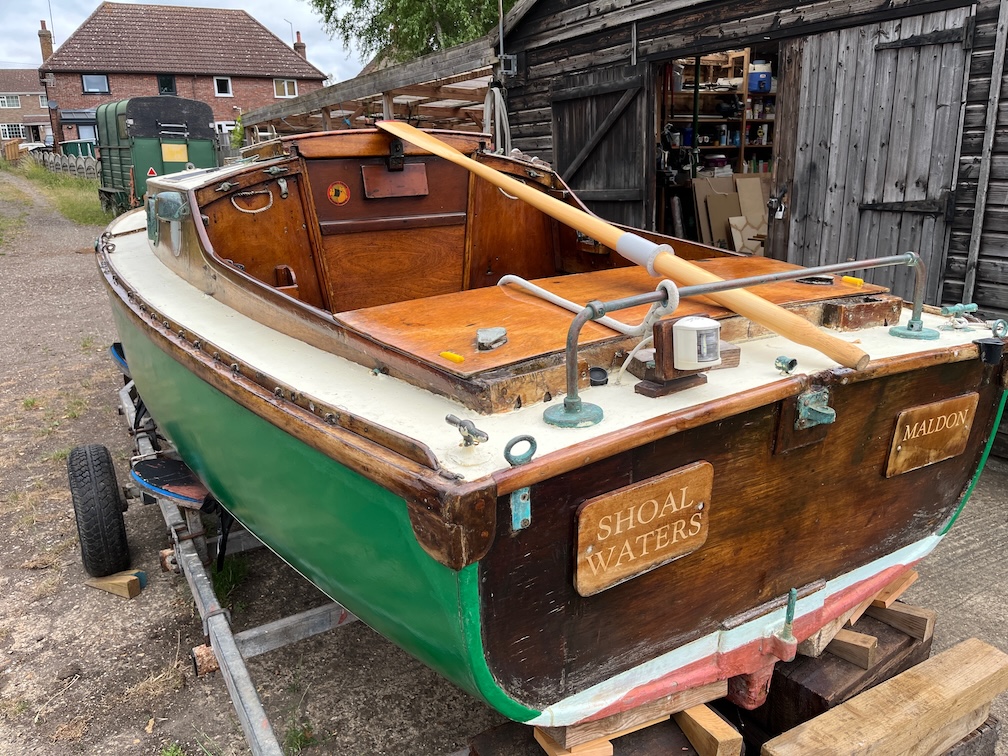
You can see the protective wood on the port quarter, the starboard side is the same.
Still, the wood is only slightly damaged, so I will coat it with penetrating epoxy and then the sheathing process will strengthen the wood.
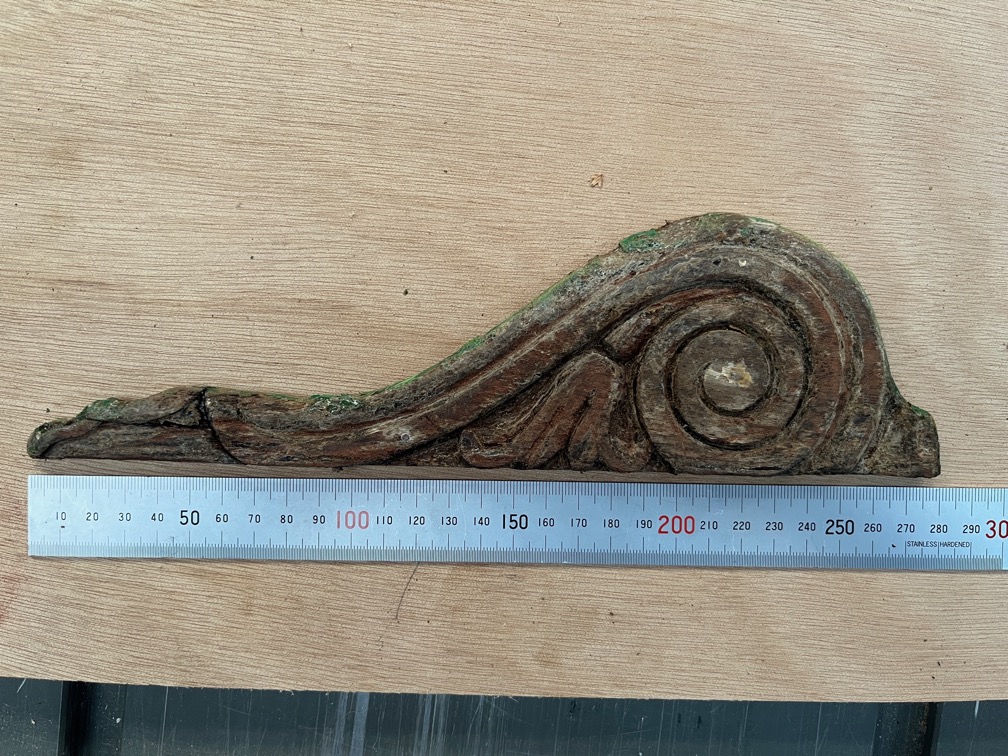
This is the bow decoration cleaned up. It was a bit fragile and the thin tip did break off along an old crack, but I glued it back together again and I think I’ll glue a thin backing piece to strengthen the decoration before it is put back on the boat. The ruler is there so that I have a measure of the scale for creating the drawing I will need to make a second on on the CNC Router.