
Now that the leak test has been completed, it is time to start putting Shoal Waters back together again, starting with the gammon iron.
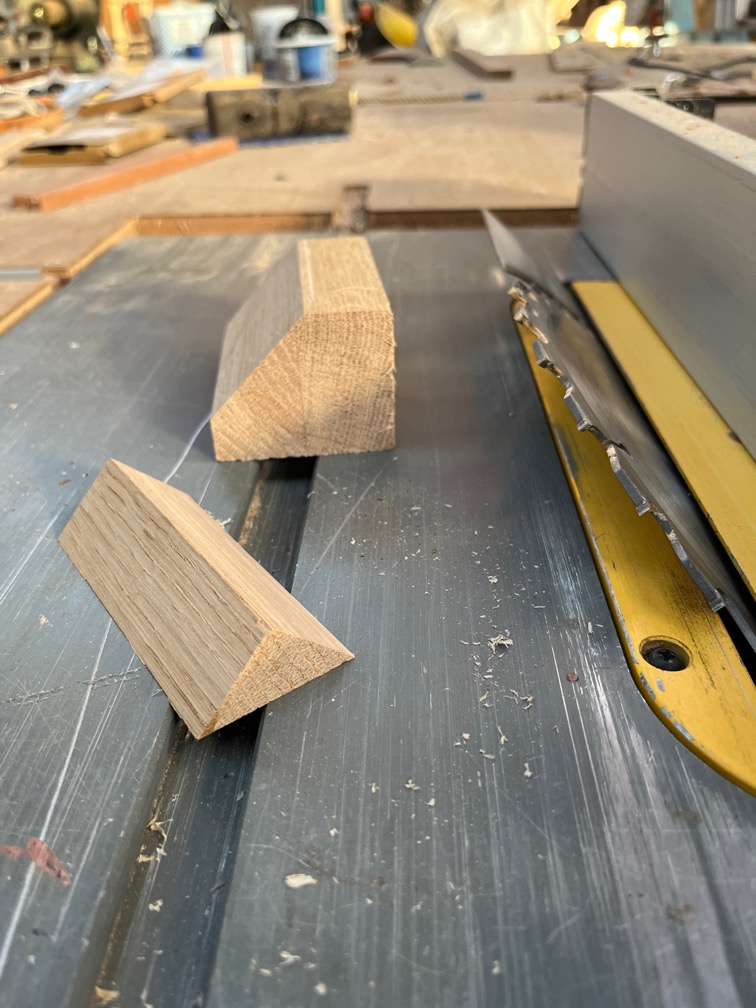
I cut a triangular section of Oak and shaped both ends and cut it in pieces.
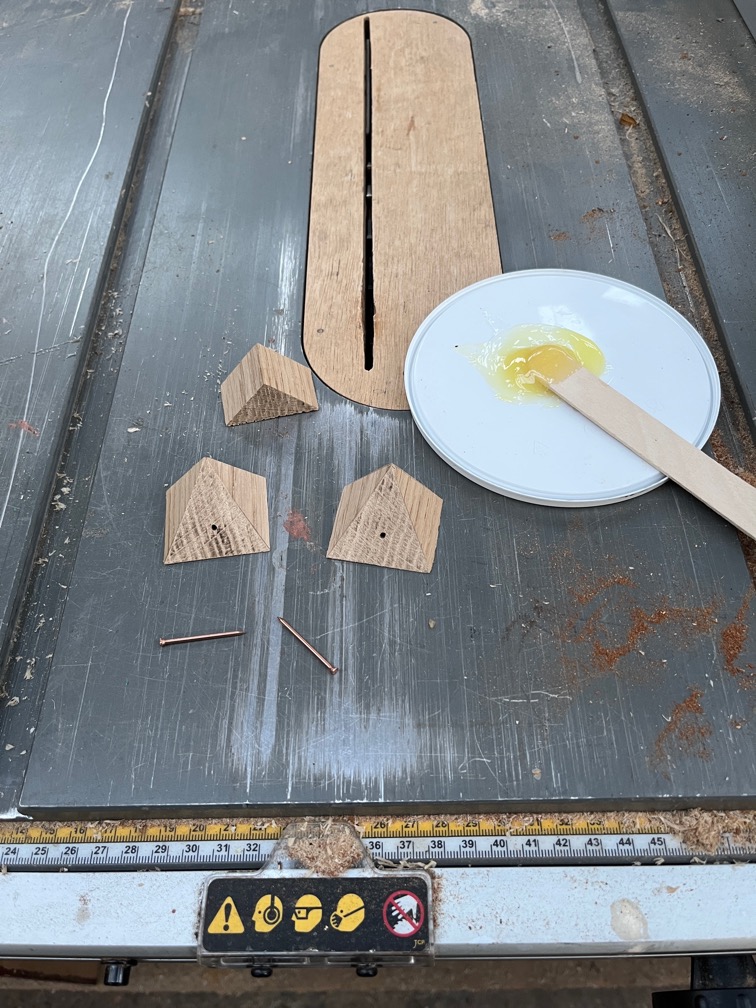
The tend parts that were the shaped ends were drilled for retaining nails and some G-flex epoxy mixed up.
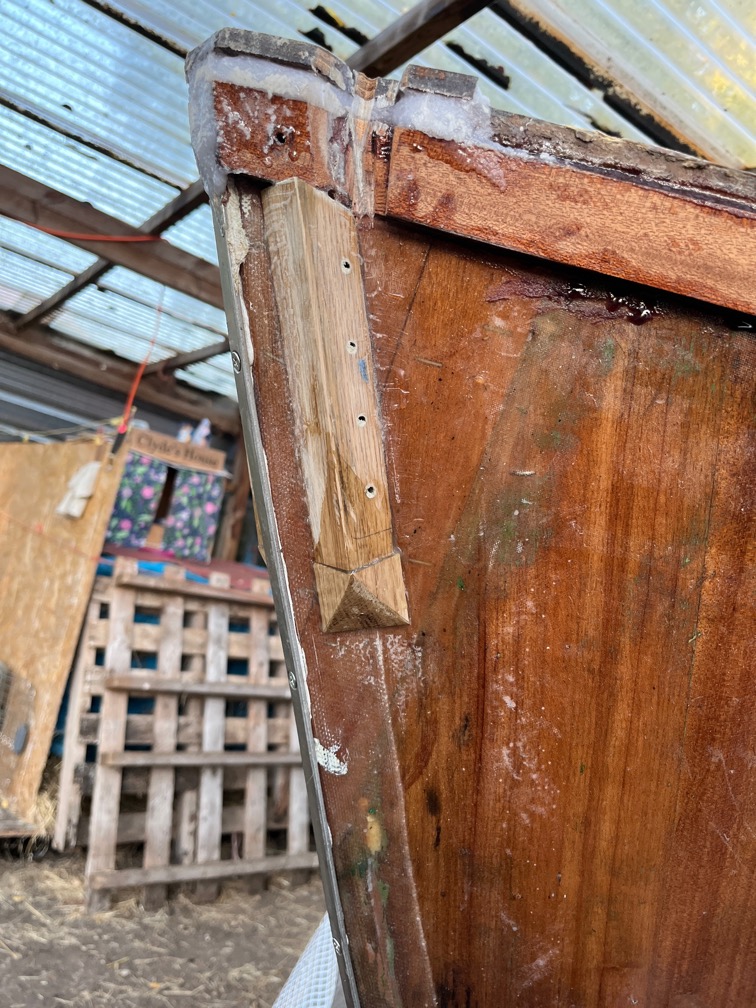
These pieces were glued onto the hull below the pieces of Oak that were put on before as part of the gammon iron seating.
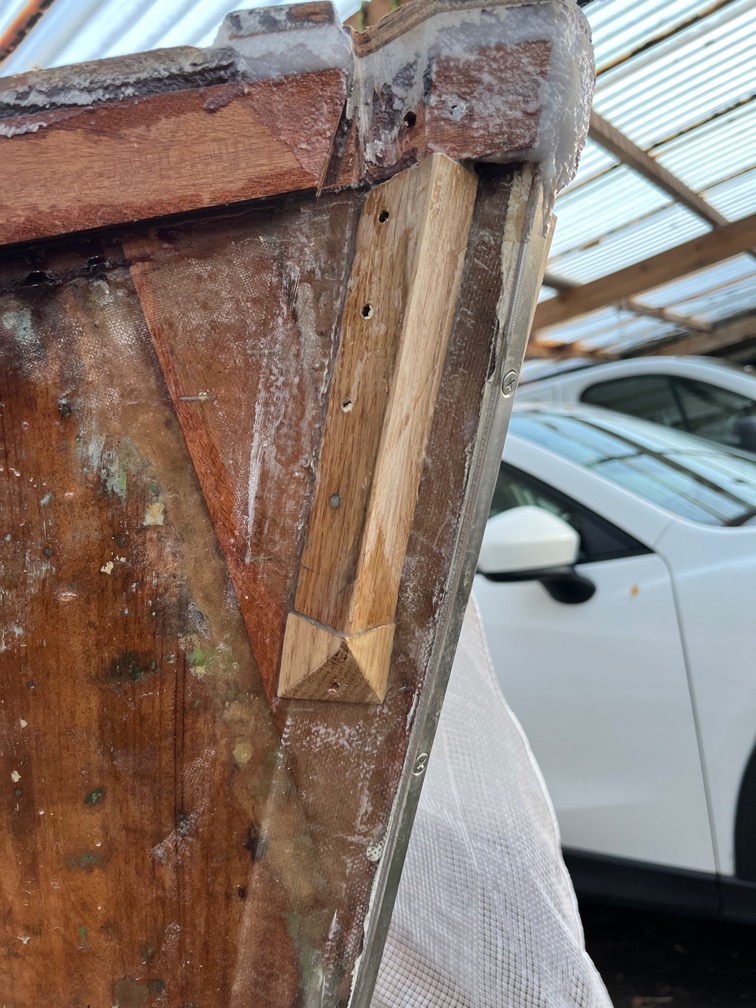
The nails were required as there is no way to clamp these into position whilst the epoxy cures.
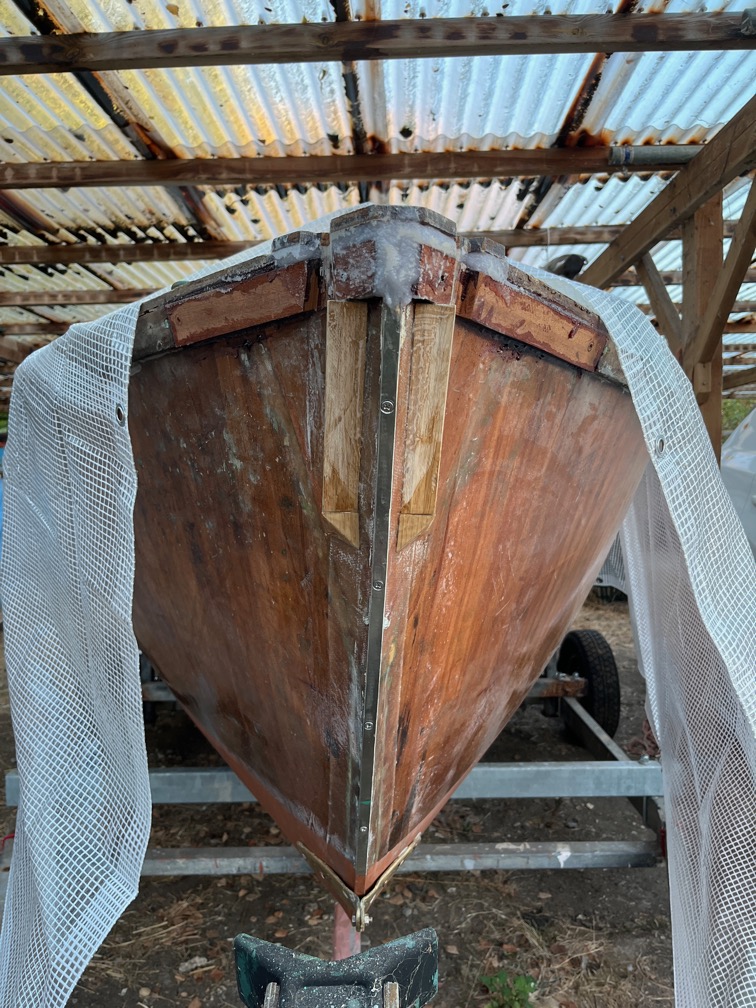
Once the epoxy has fully cured the Oak will be shaped and some thickened epoxy used to fill in any odd corners and form a smooth shape at the prow.
Time for a cup of tea.
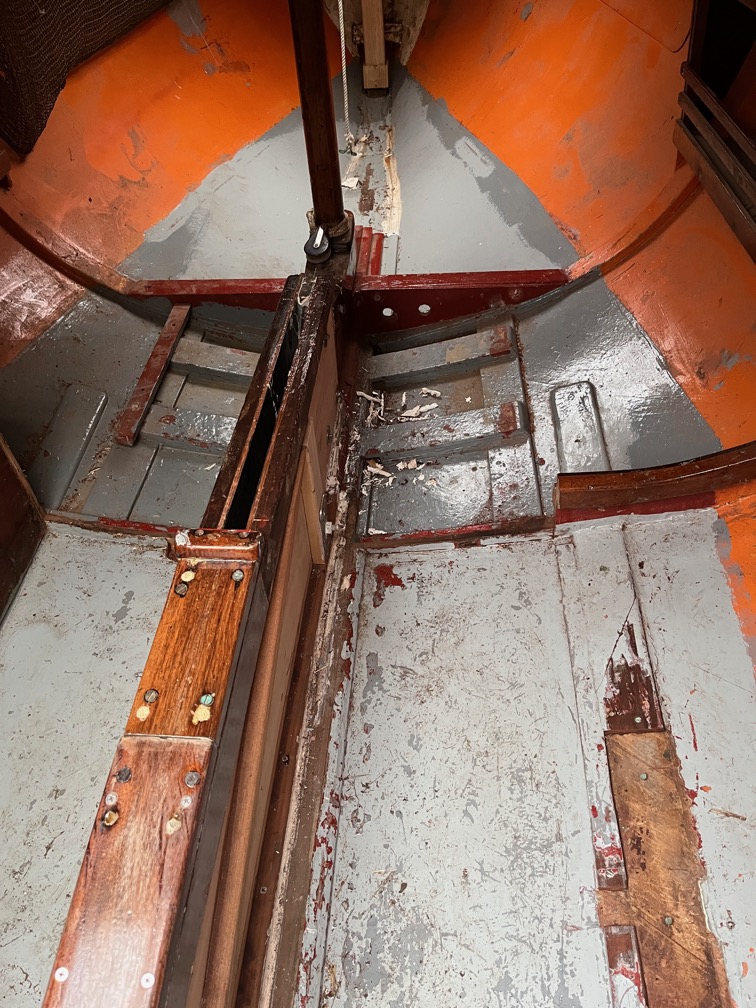
The next task was to trim the Sikaflex sealant from around the centerplate case. This was a fairly easy task using a utility knife and a sharp chisel.
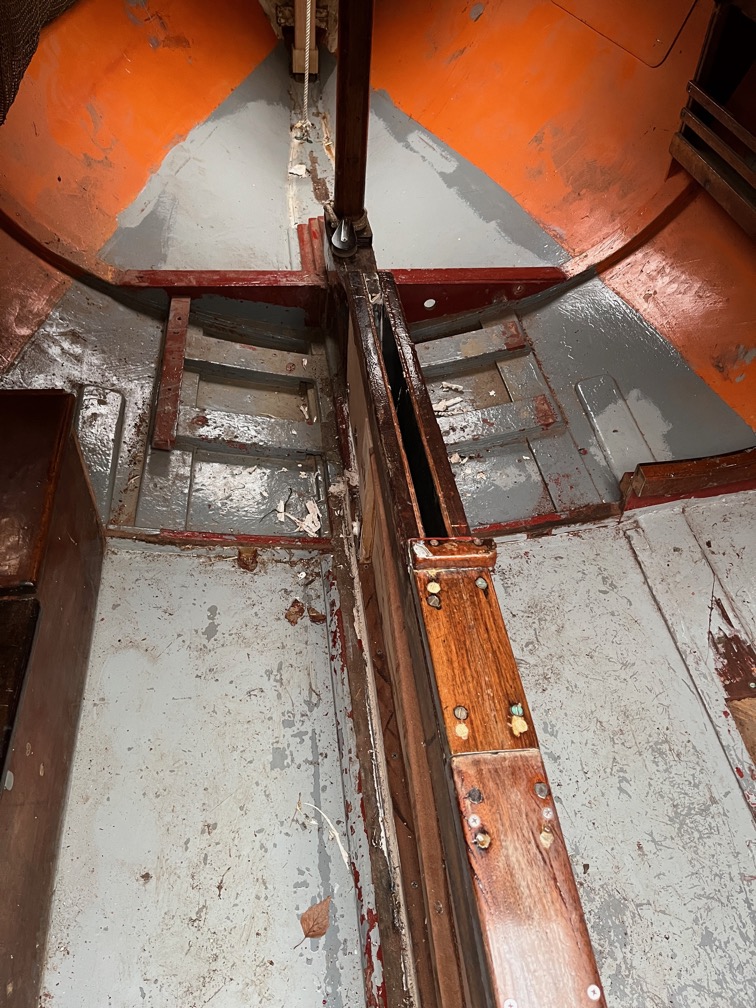
Before any more wood is added to the case sides, it will be sanded smooth.
Time for a cup of tea, it’s cold today!
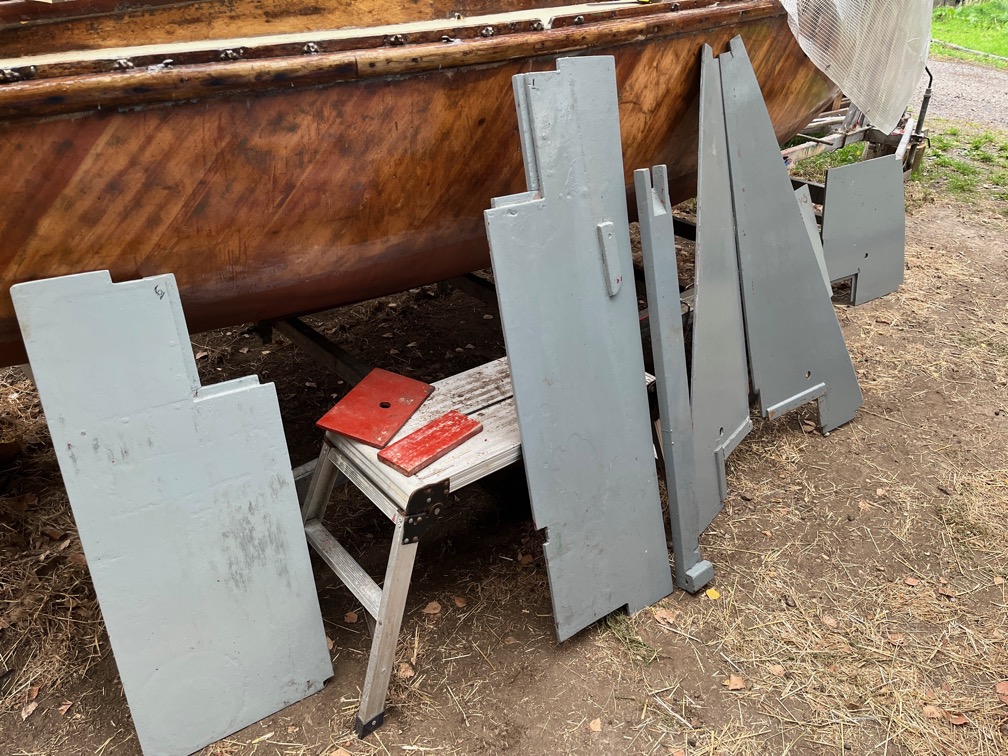
The bottom boards were then retrieved from storage and brought to the boat. It was fairly easy to figure out which part went where.
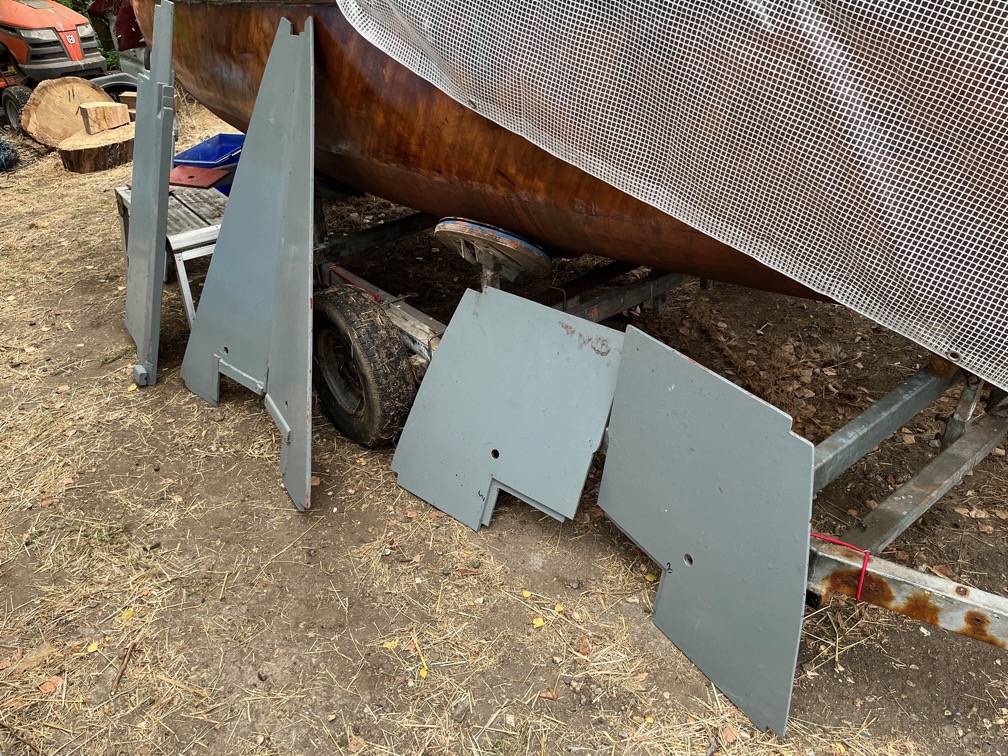
But I did notice that all the boards were numbered.
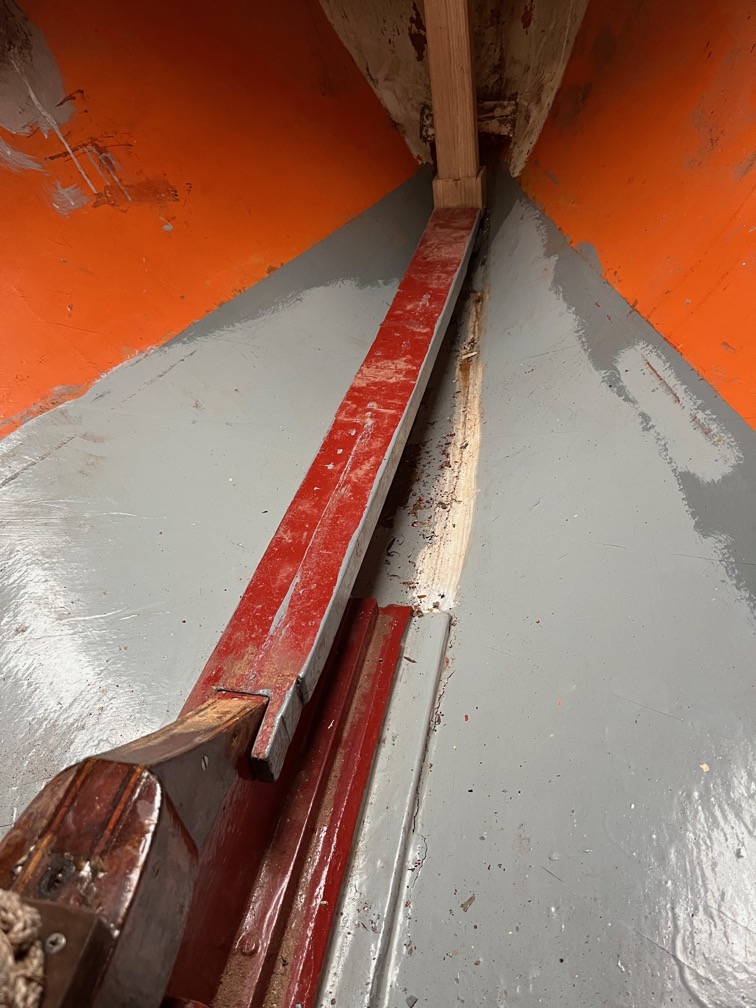
The centre piece for the fore cabin was put in place and checked for fit. The front end rests agains the sampson post which has been altered but the fit still seems to be good.
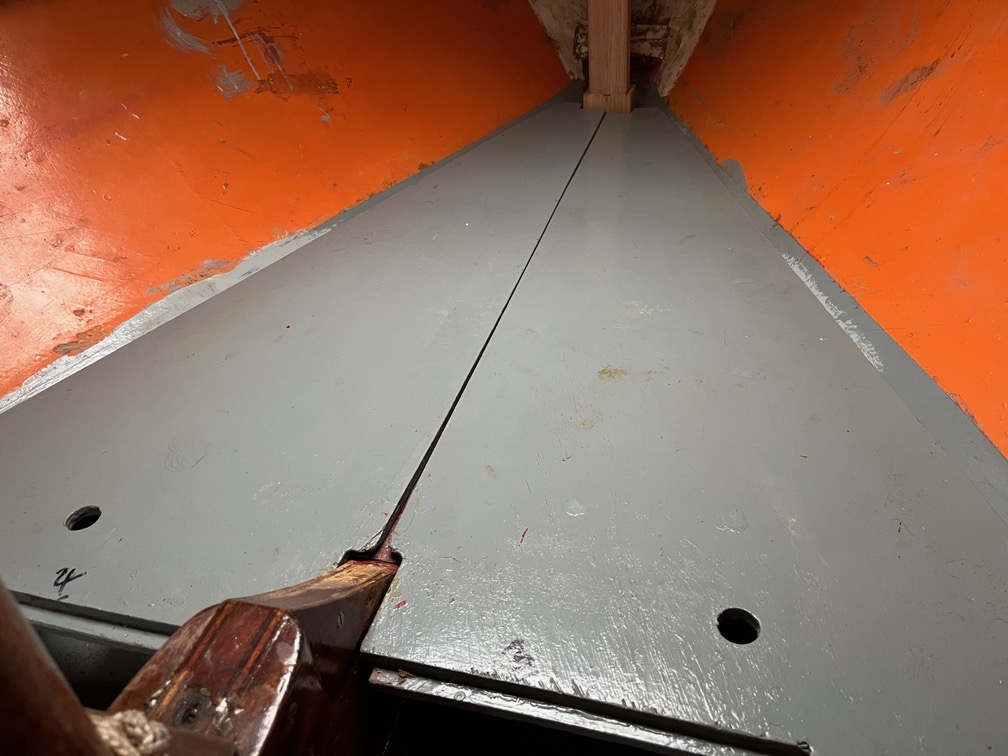
The two pieces that hold the bunk cushions were added and, again, checked for fit.
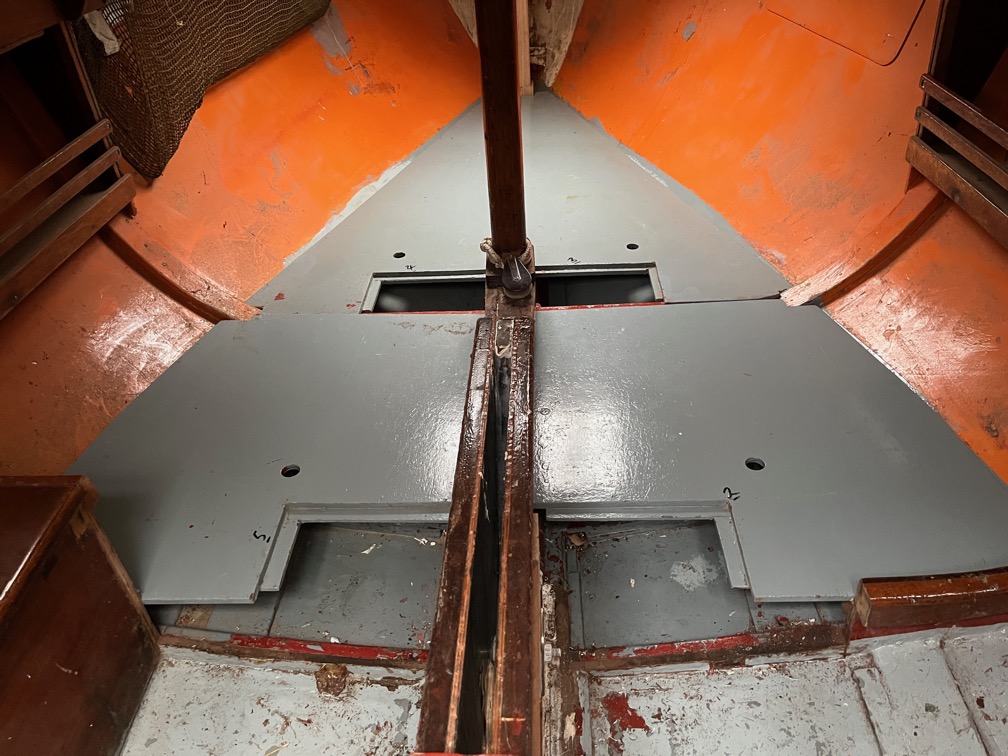
Next were the two mid-sections and here it starts to get tricky. These rested on supports that were glued to the centerplate case sides and these have not been replaced yet. That’s the reason for doing this bottom board fitting. I need to put in the supports and for that I need to see where they need to go.
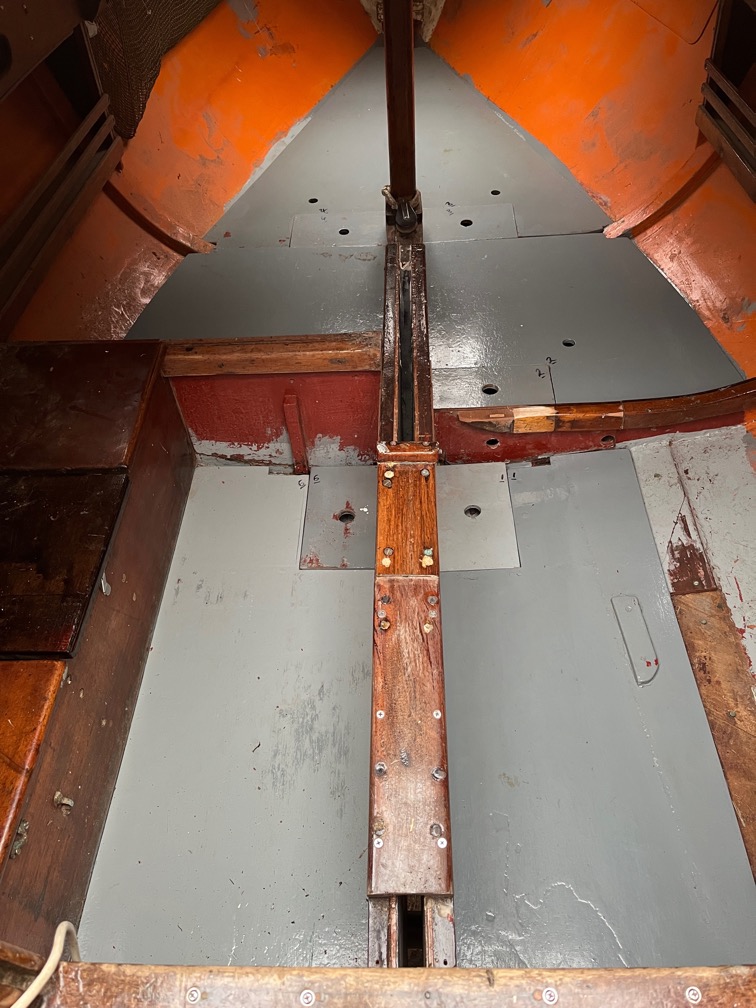
The two half-bulkheads needed to be adjusted as the new case is a little wider than the original and thus the parts that were cut out not longer fitted. Also, I cut the curved part off the starboard side as I want to rebuild this part to the same height as the port side. This was done originally, from what I can see, and then cut down to the curved shape. I presume that this was to make getting into and out of the bunk much easier.
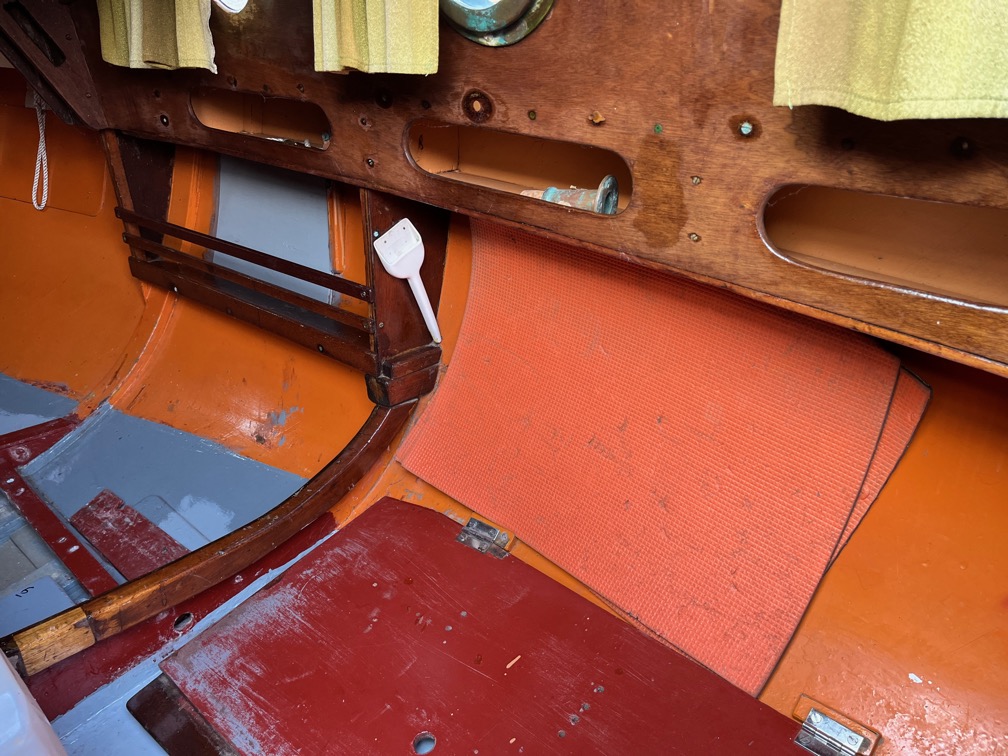
This is how the bulkhead looked before I cut it out and you can see the top of the original version just under the bookshelf.
The numbers on the bottom boards identified the small hatches, each of which is made to fit the gap in the board and none of which is the same size.
Time for a cup of tea.