
Although the aim in the next few weeks is to get Shoal Waters ready for her next leak test, when there are delays I turn my attention to other tasks that are not on the critical path. Currently I’m waiting for a drop-nose pin to arrive so that I can finish fitting the sampson post.
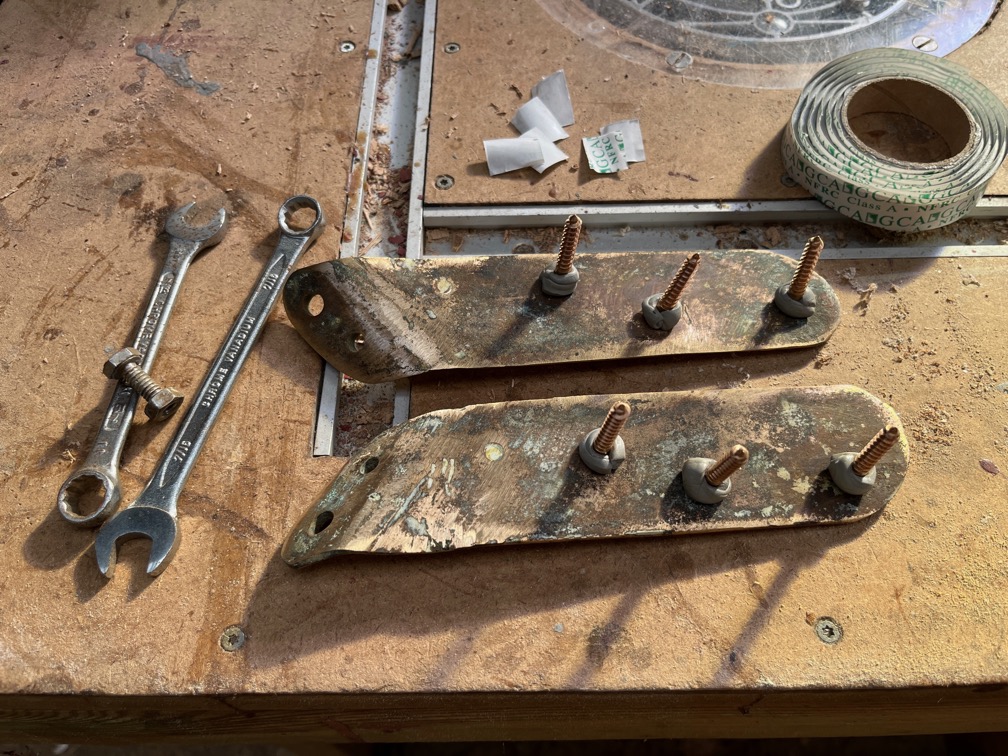
The first order of the day was to fit the bobstay fitting. I decided that, rather than use sealant on the back of the fitting, I would use butyl tape instead. The six 1 1/2″ no.12 bronze screws are more than sufficient for the job so the adhesive properties of the sealant would not materially add to the strength of the fitting but would made it much more difficult to remove in the future.
Butyl tape was wound around each of the screws as shown.
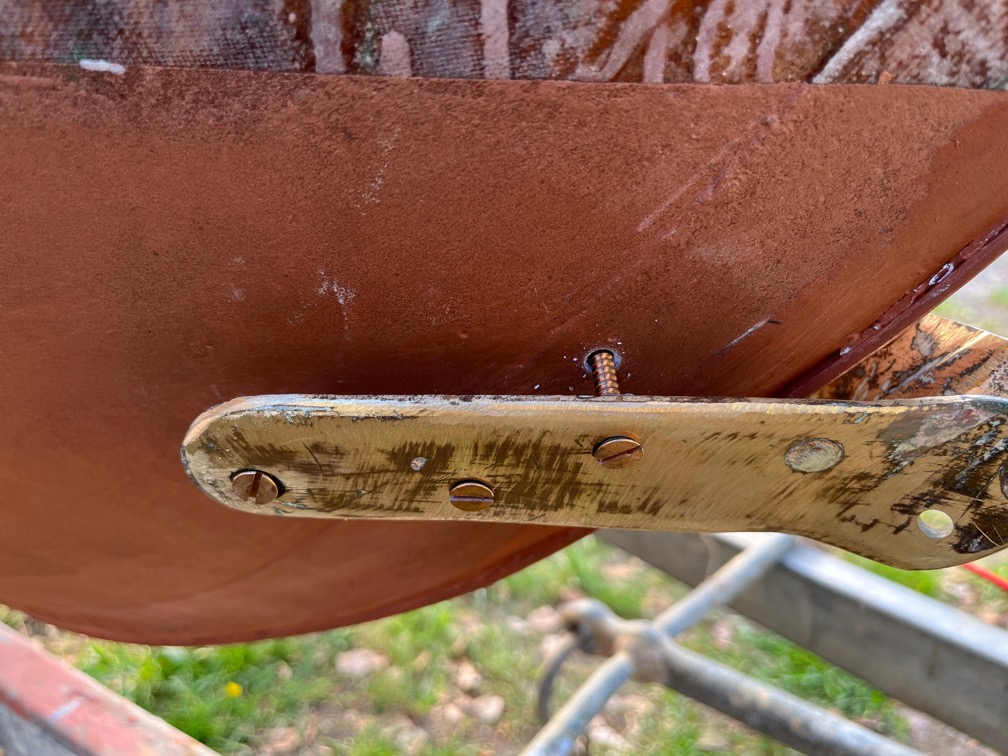
Each part of the fitting was put into place and the screws tightened up a little at a time.
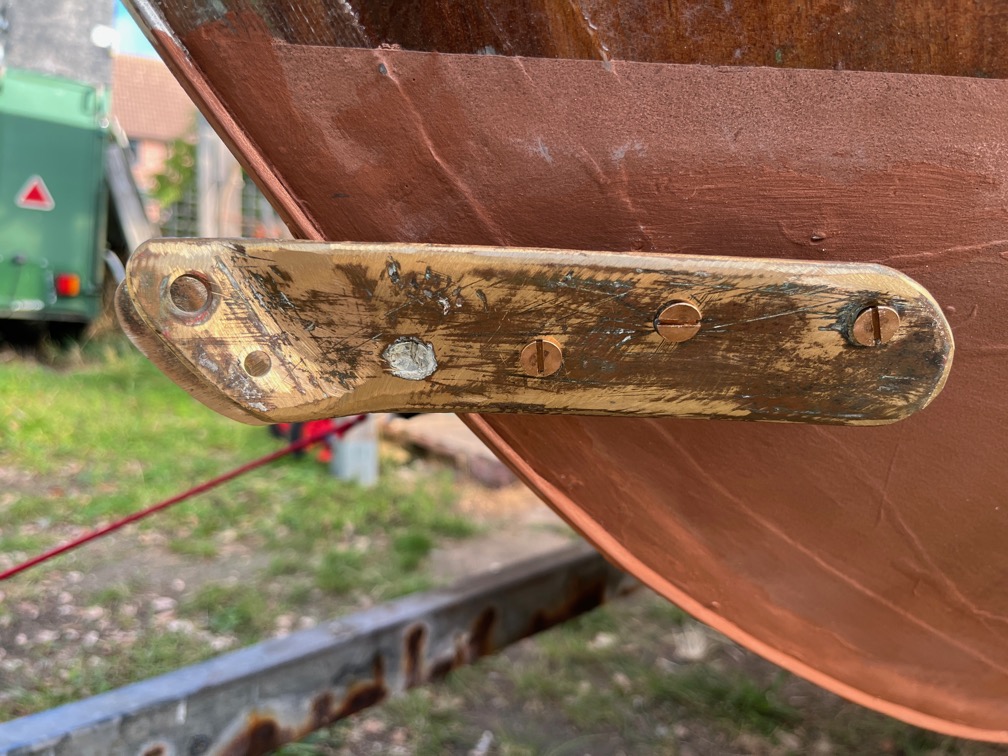
This allowed the butyl tape to stay in place until all six screws were nearly tightened all the way down.
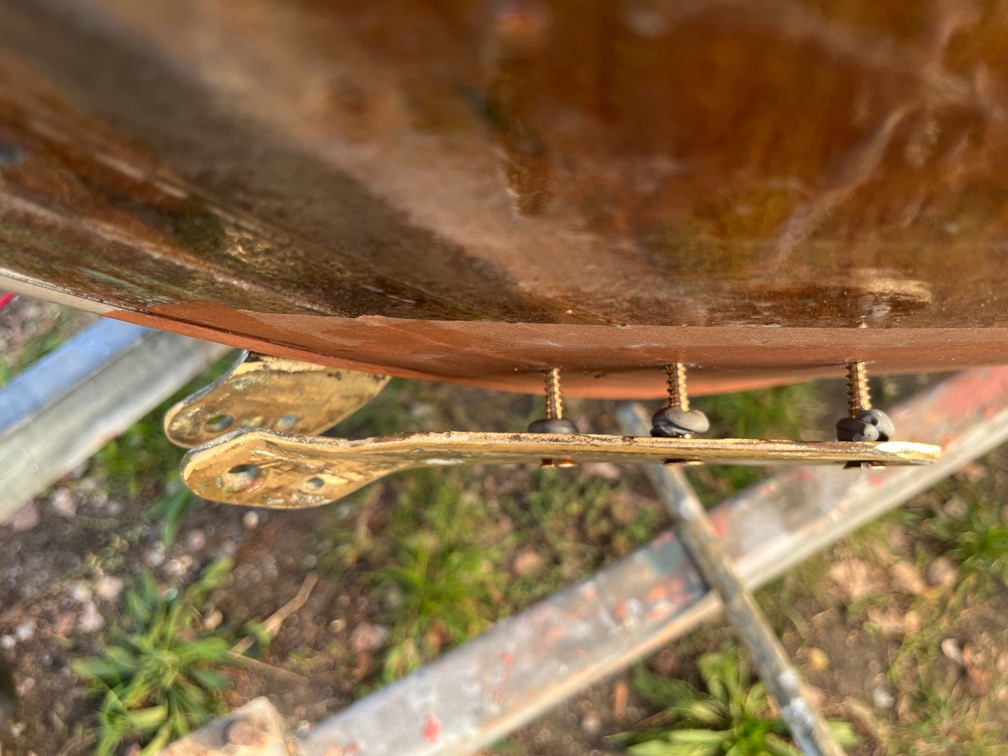
This is a few turns into the process.
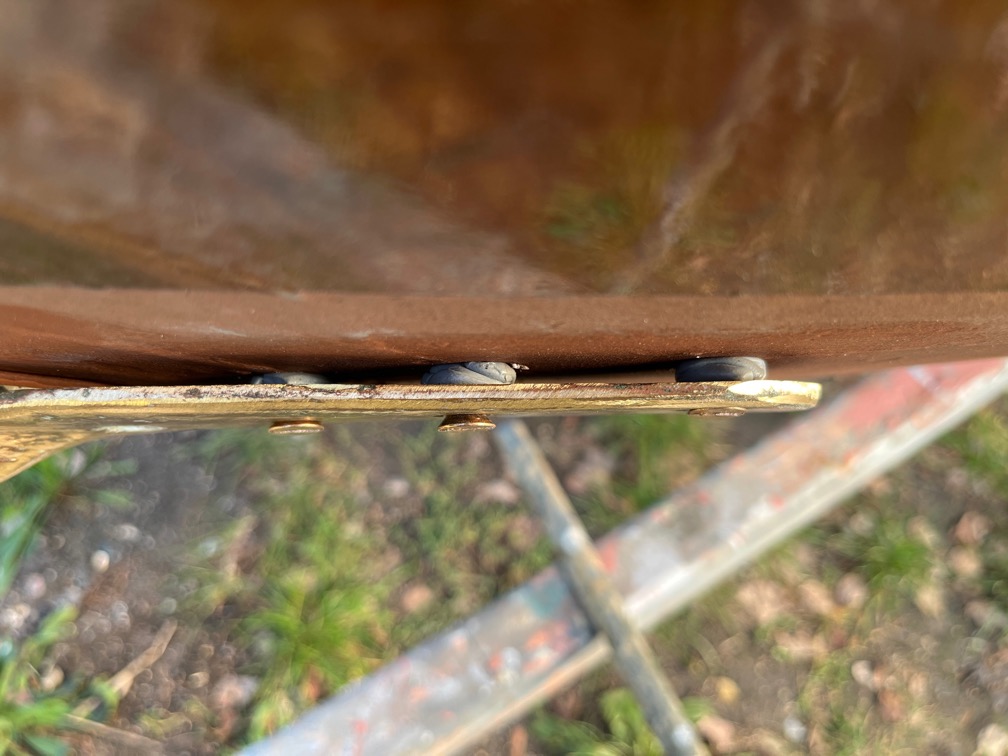
And here the butyl tape has started to be compressed by the fitting as the screws are tightened up further. The screw holes had been chamfered slightly and this is where the butyl tape is pushed down into the chamfer and then down last the screw thread a little. The rest of the tape is squashed tight around the screw forming a watertight seal.
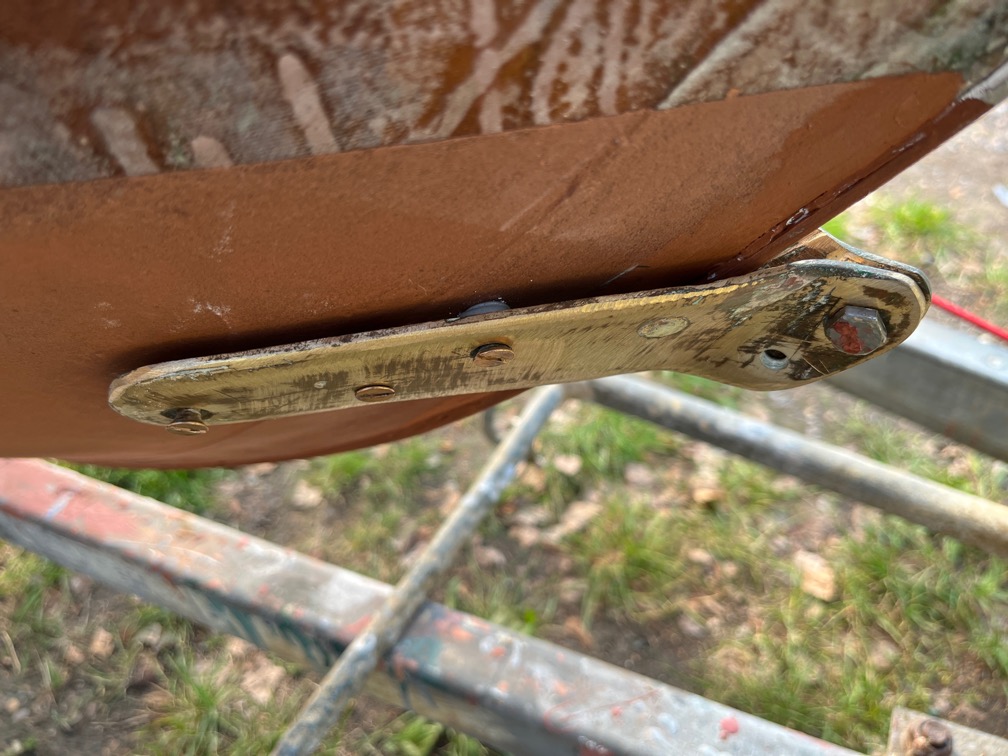
As the two parts of the fitting got closer together I put the bolt through the larger of the two holes at the front. The correct holes were not aligned enough to use that untl the sides were almost fully seated.
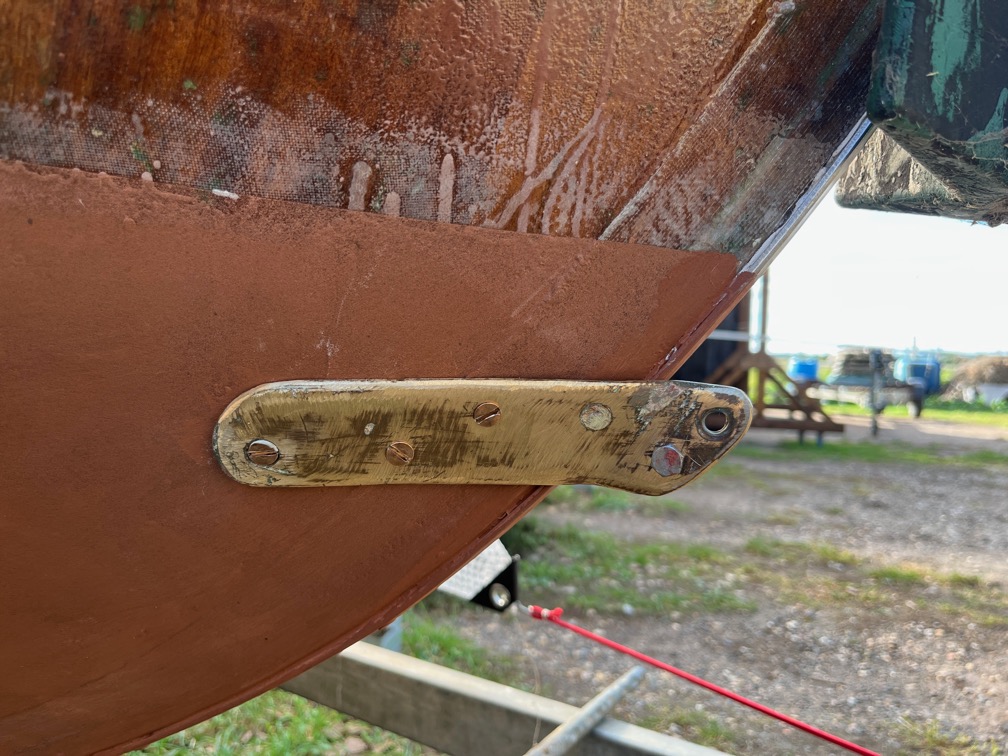
Once they were seated correctly, the bolt was moved to the correct hole and tightened up.
Time for a cup of tea.
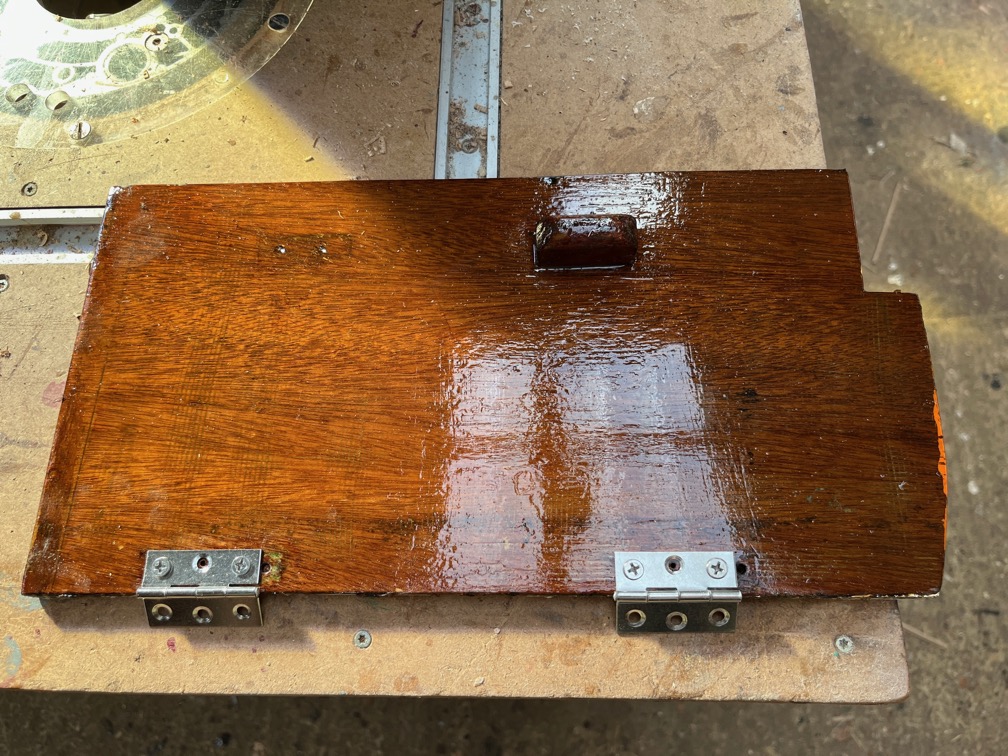
After my tea break I put the hinges back on the galley locker door that received a coat of varnish yesterday.
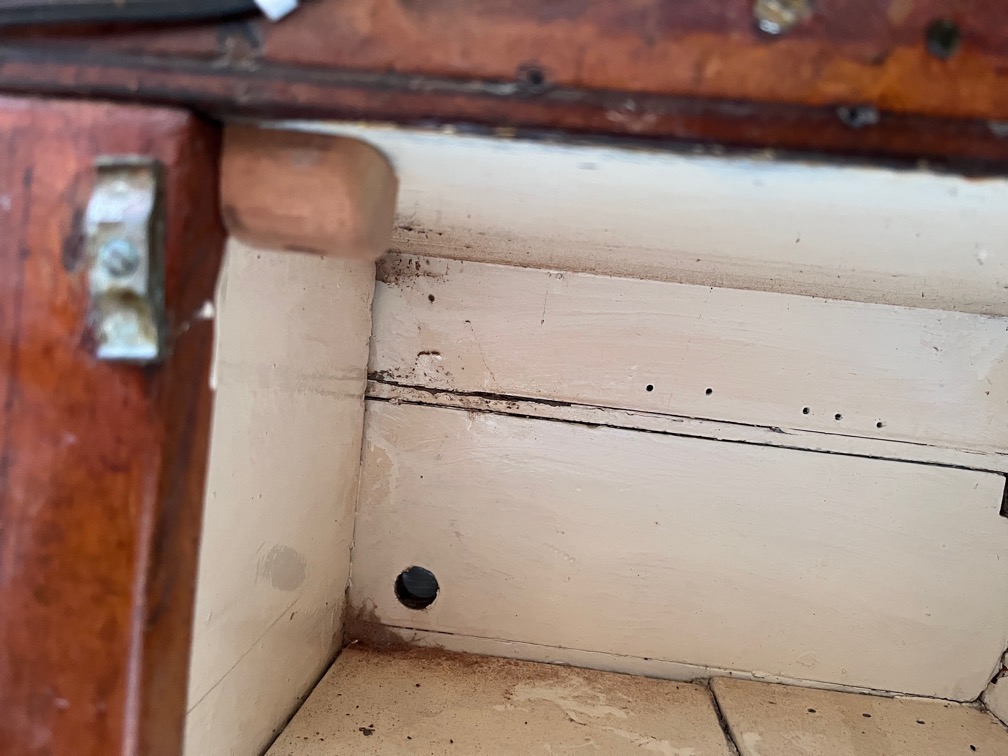
The door was then screwed back into place in the galley. However, now that the hinges are free from varnish and other grime and opens and closes easily, the door rattles as it does not have a back stop.
Well, it didn’t. I put one in. There’s nothing I hate more than things in a boat going clink. clink, clink as the boat rocks whilst I am trying to sleep.
Due to the restricted access I couldn’t quick get the stop block close enough to the door to prevent the rattle.
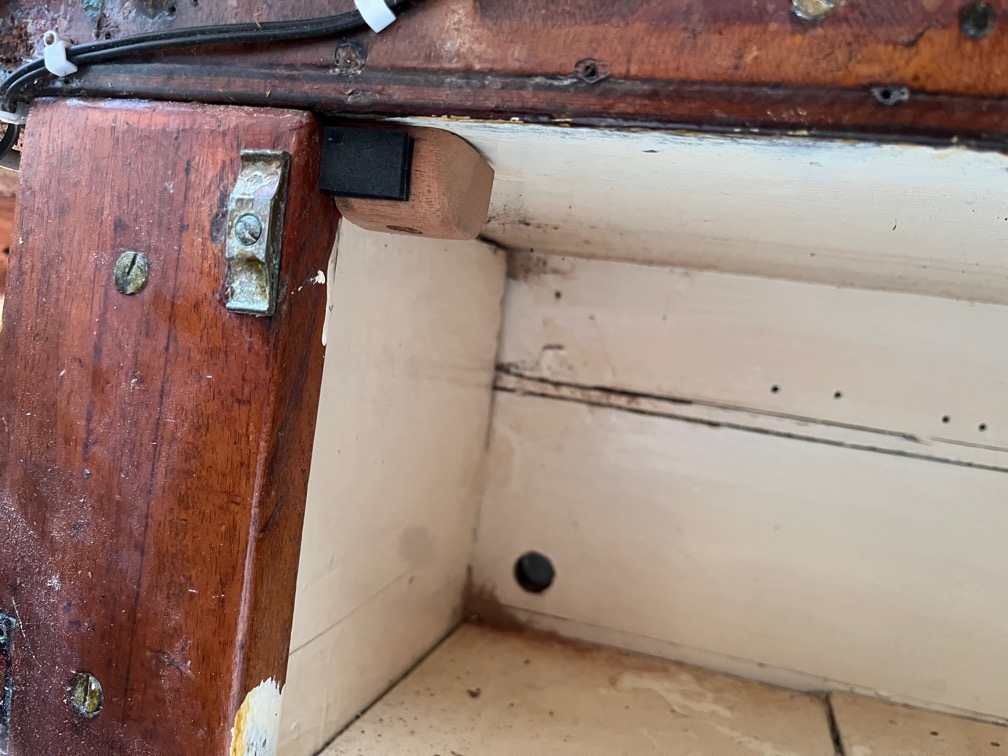
But some neoprene tape stuck to the block did the trick.
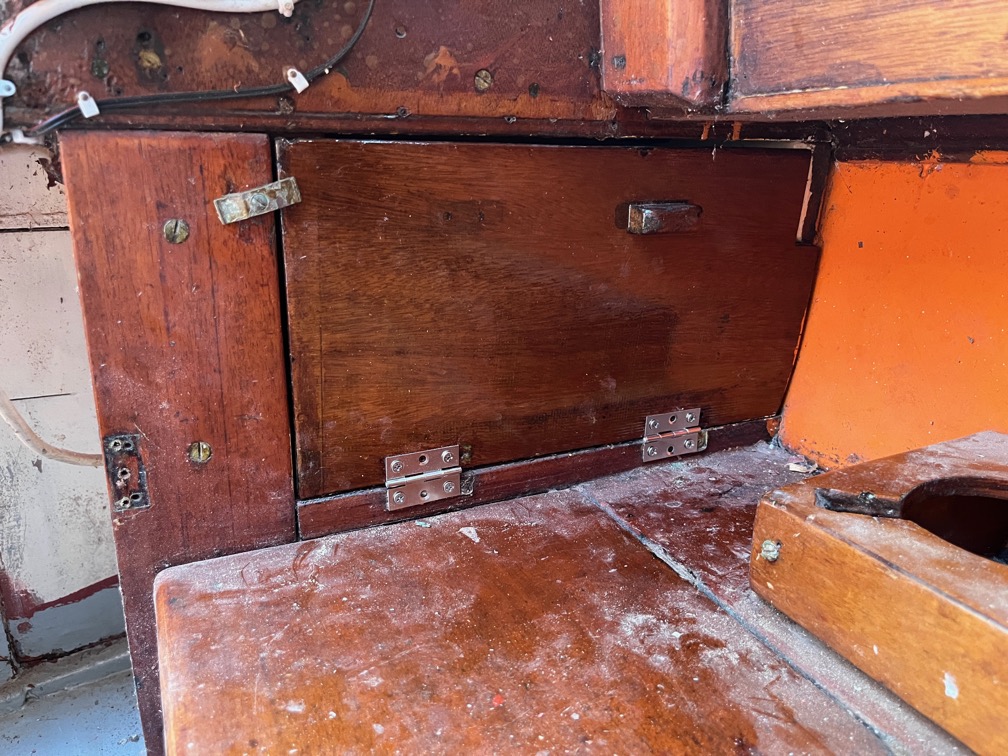
And here it is, the refurbished galley locker door. I’ll clean up the mess later.
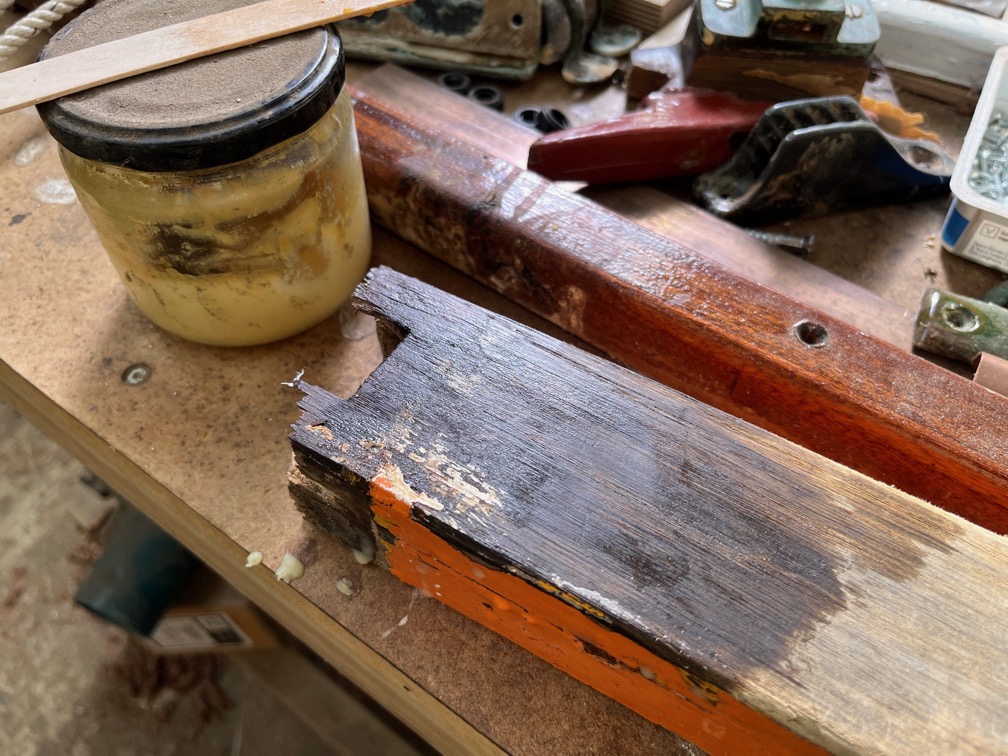
Moving back to the sampson post, I need to treat the upper portion with something other than paint but still be able to put a bead of butyl tape around the deck joint to stop the water getting in. I decided to try the medieval beeswax finish to see if that would work. I heated up the end of the old post with a hot air gun, then applied some of the finish and applied heat again until no more of the finish soaked into the wood.
The finish is equal parts of beeswax, turpentine and linseed oil and should polymerise leaving a non-waxy finish. This is the result after leaving it overnight.
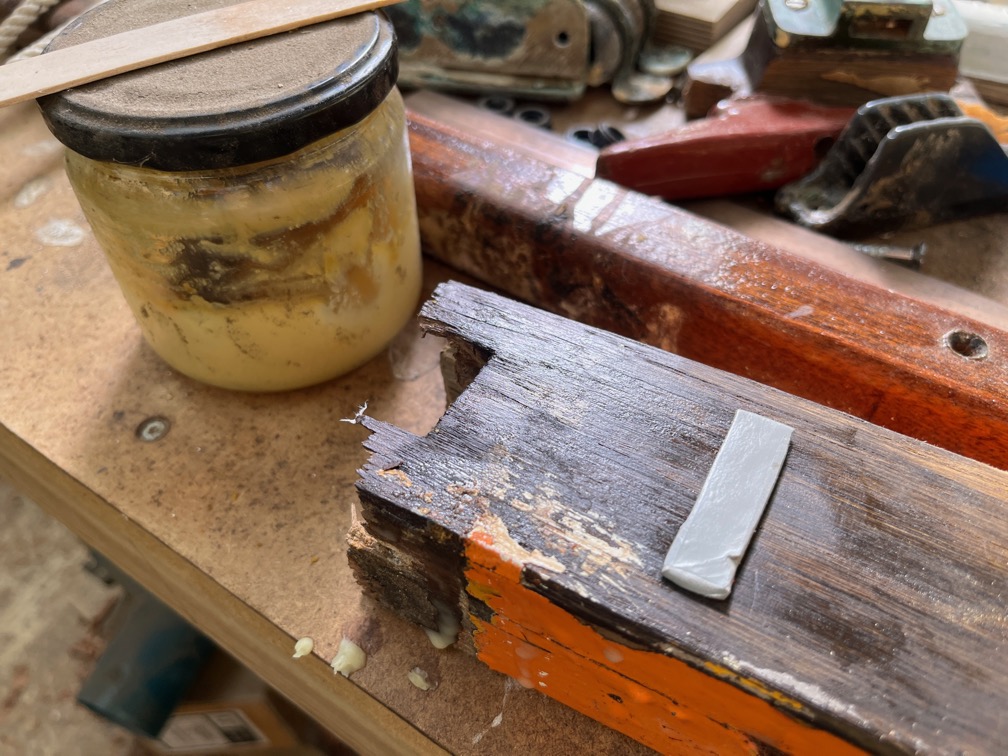
I put a new piece of butyl tape the the surface and I’ll see if it has stuck sufficiently later.
Time for a cup of tea.
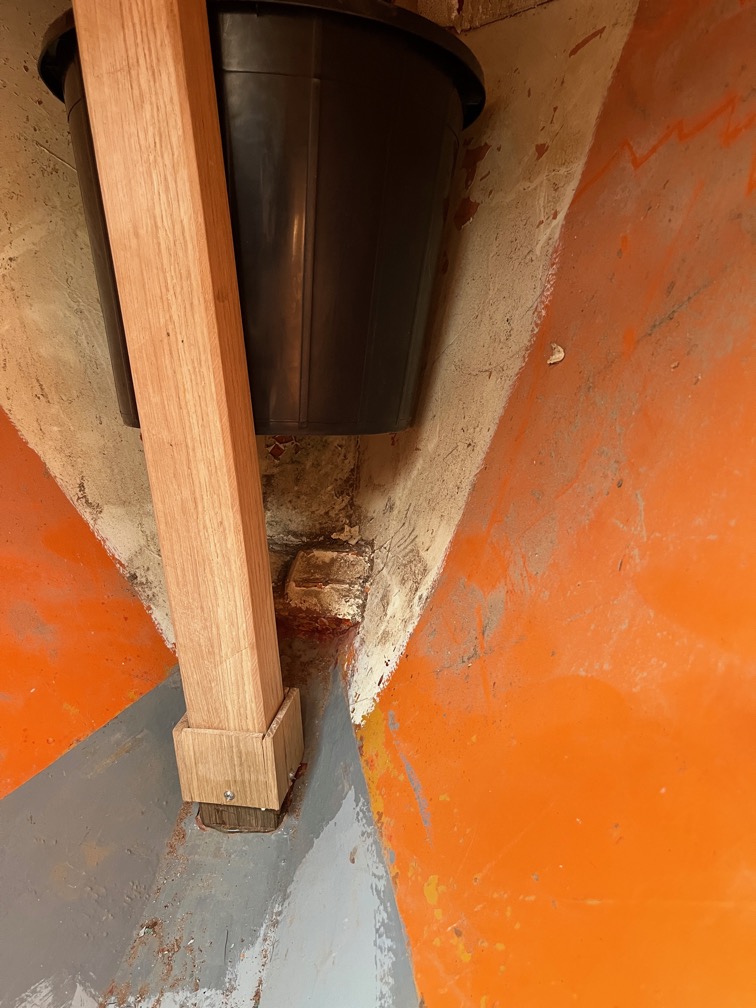
Now I need to think about how to stop the chain bucket from forcing the sampson post out of it’s fixings. As it stands the bucket sits as shown in the photo above. Whatever I come up with has to be very robust as the chain is quite heavy. I’ve parked this one for now and I’ll think about it over the next few days.
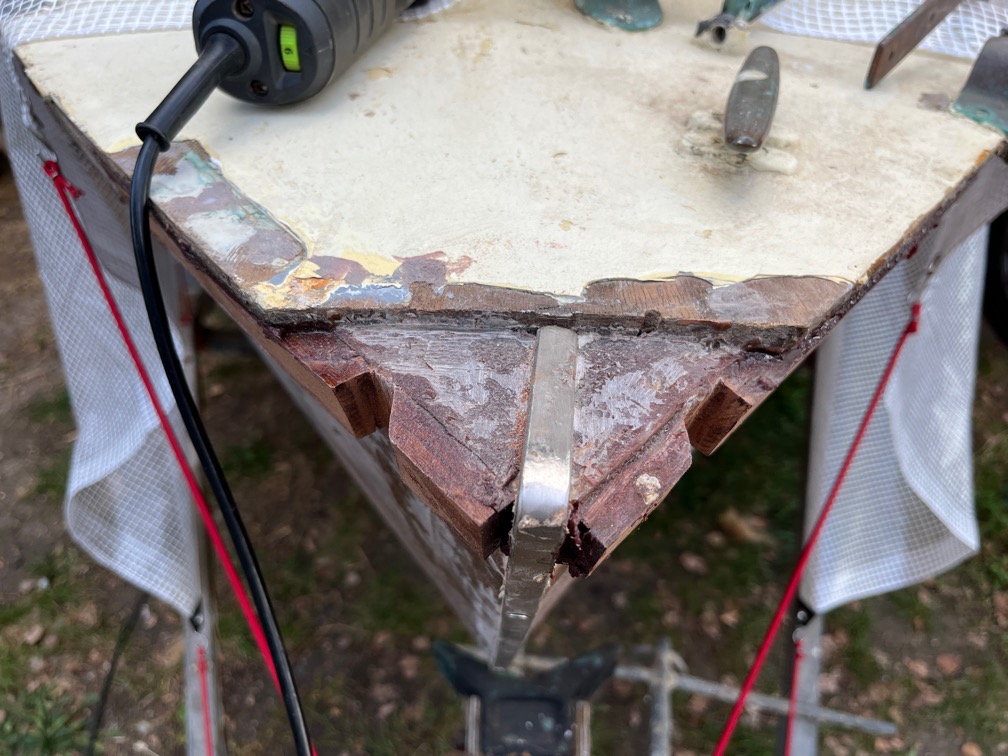
Now that the sampson post has a mortice and the bowsprit can be located on the foredeck, I turned my attention to the gammon iron. The first thing to do was to cut two notches in the side of the rubbing strake.
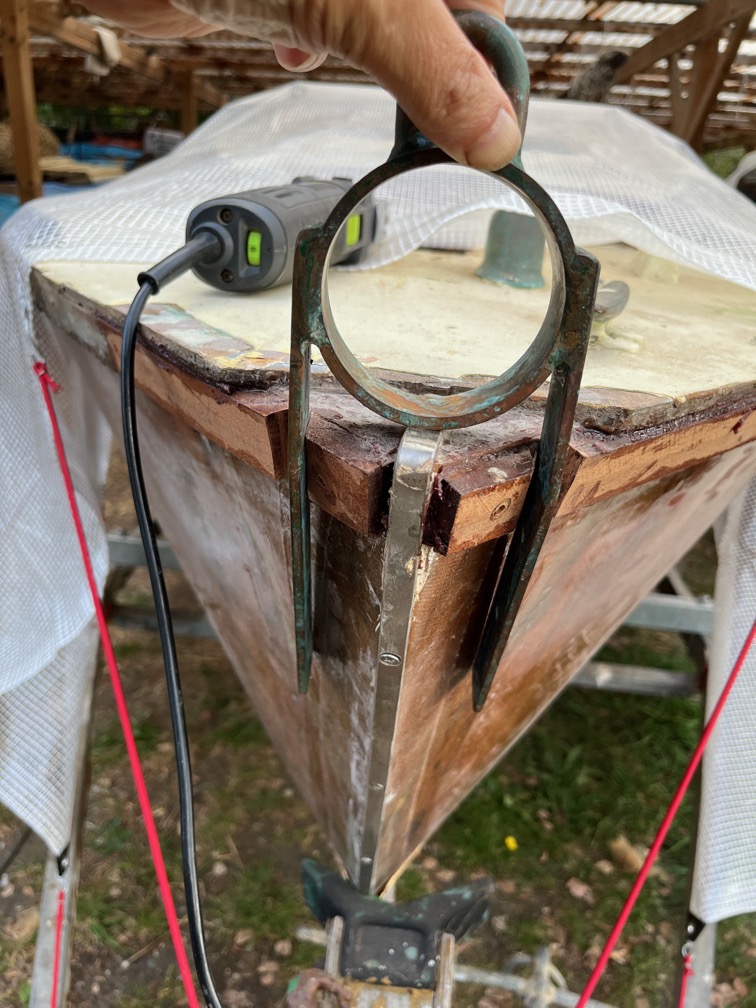
This allows the legs of the gammon iron to rest against the hull.
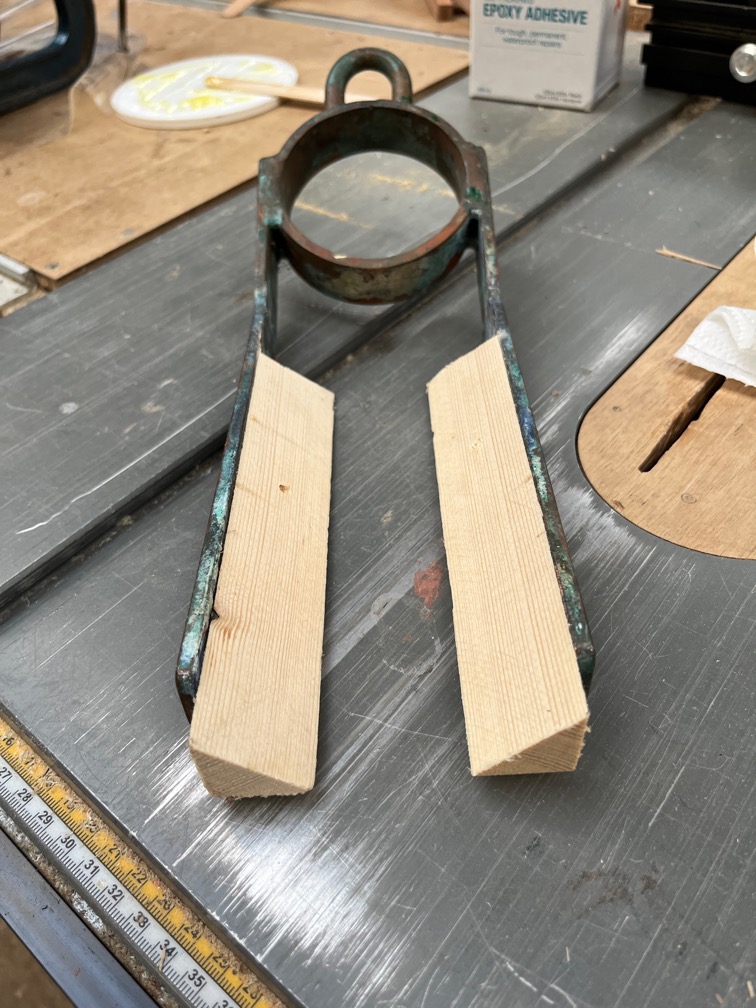
Two pieces of softwood were cut at an angle and screwed to the legs to make two shims that fill the gap between the gammon iren legs and the hull. These are templates just to check that the angle is correct.
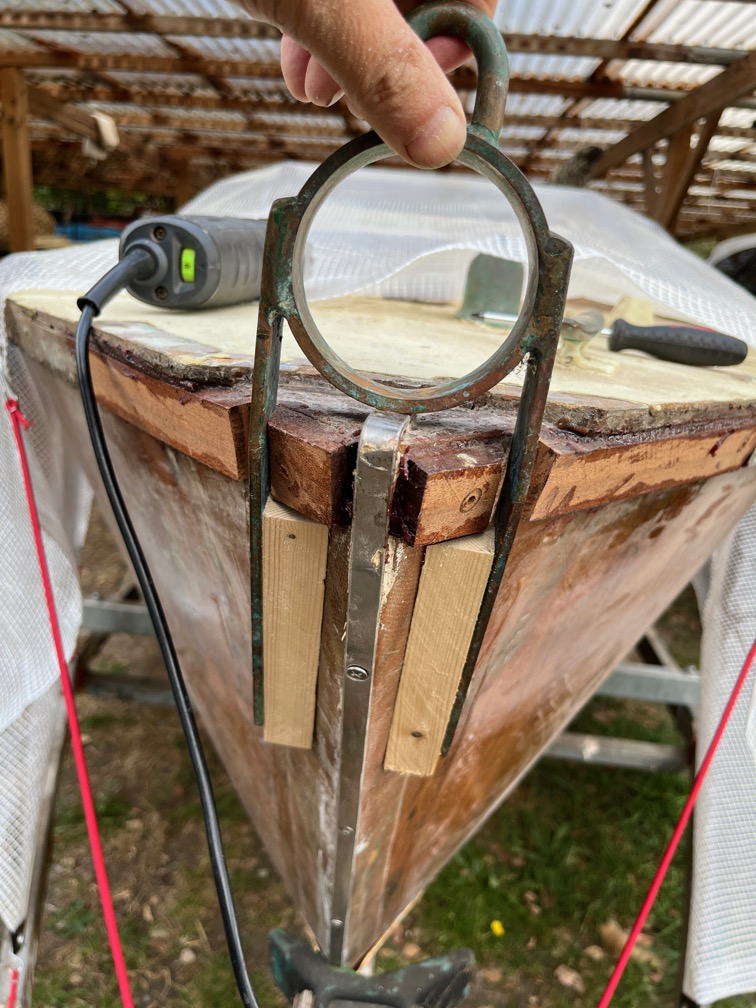
The fit was as good as I’m going to get, so on to the real shims.
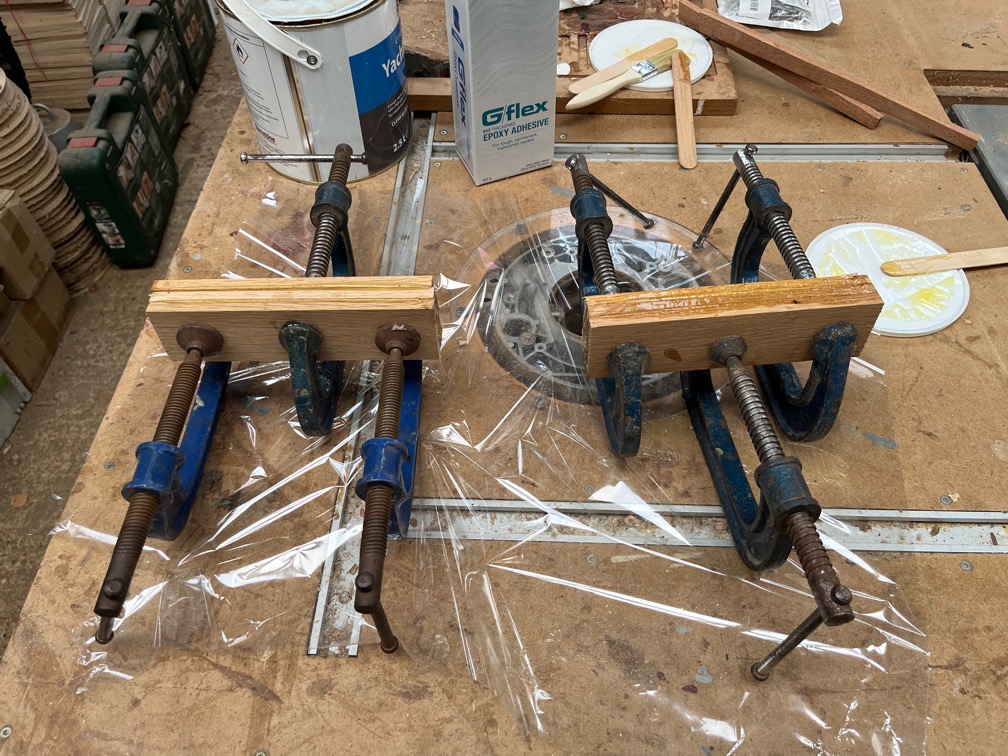
The real shims are made of Oak and I laminated some pieces together to give two pieces of timber from which the shims will be cut. Once cut and shaped, these will be epoxied to the stem. The gammon iron will be screwed to the hull though these shims which should provide a strong fitting for the bowsprit, forestay and staysail.
Time for a cup of tea.
The next part of refitting the gammon iron is to rebuild the deck at the prow. This came off when the old steel gammon iron was cut off and I’m fairly sure that the join between the main part of the deck and the small piece at the very tip of the prow cracked at some point and from then on let water in, both salt and fresh from any rain. Over time this would have caused the rot that was found in the top of the stem and the planking.
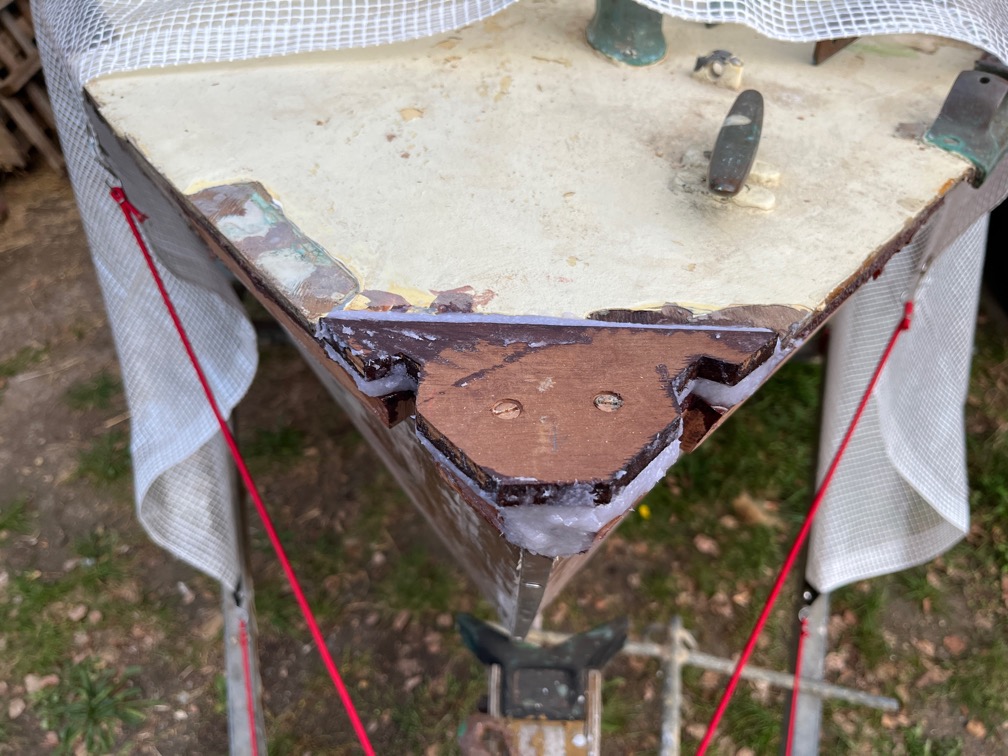
I cut a new piece of deck from a piece of 9mm marine plywood and after checking that it fit correctly I slathered the top of the stem with thickened epoxy having first coated the underside of the new deck piece and the edge of the existing deck with neat epoxy. When the new deck piece was screwed into position, the excess squeezed out, and there was quite a lot of it, and was removed before it fell on the ground.
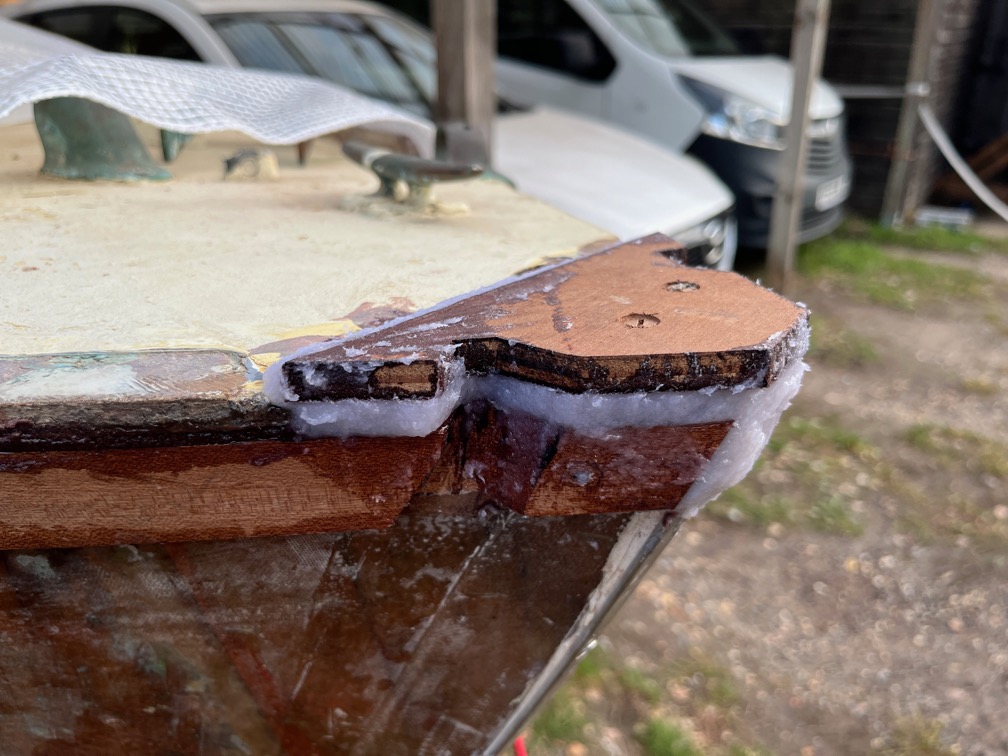
The finish is quite rough as it is difficult to get a good finish like this, but this will be sanded smooth once it is cured. There is more epoxy filler work to be done when the shims are put in place.
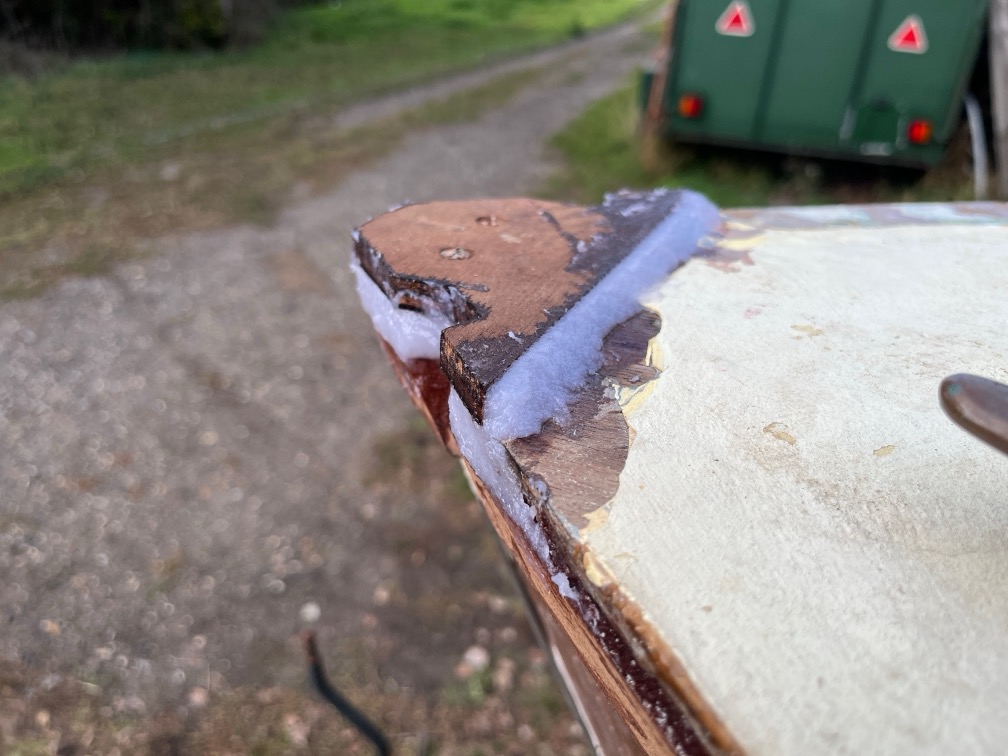
The 9mm plywood was chosen because is it thicker than the existing deck and I made sure that I didn’t screw it down too far. This new deck is about 5mm higher than the existing deck and this matches the mortice in the sampson post being 5mm higher than before.
The final rise of the bowsprit will be determined by the height that the gammon iron is fitted when I get to that stage.
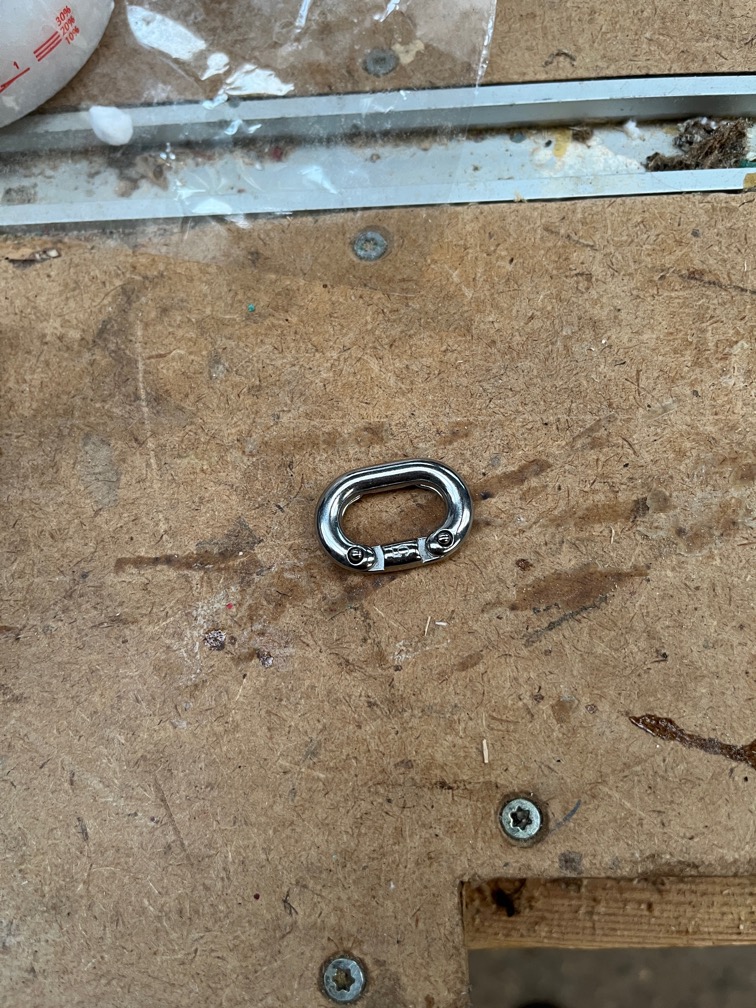
This is a 5mm 316 Stainless Steel Split Connecting Chain Link and is used for connecting two lengths of chain. In this case the anchor chain.
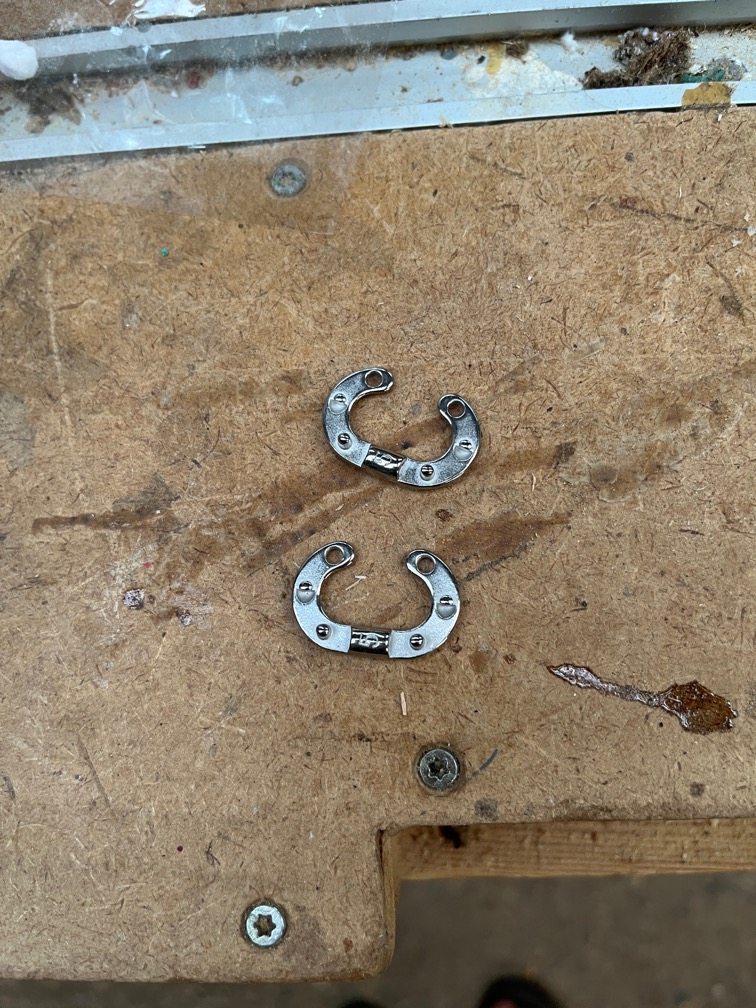
The old anchor chain was past its useful life, being very rusted at the bitter end and the working end was showing signs of rust, so it was retired and I found the two 15m lengths of anchor chain that bought a number of years ago. This had been sitting in storage waiting for something to require it.
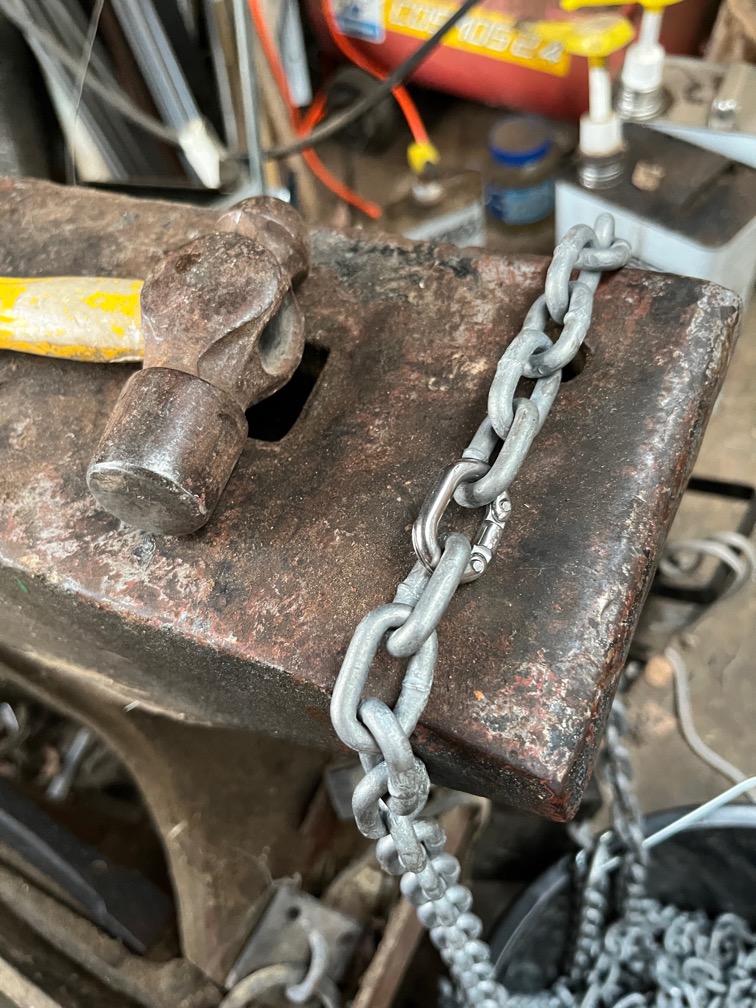
The two halves of the link are joined together such that the ends of the chains are joined and then the small pins hammered flat like rivets to hold the link together.
So, Shoal Waters now has a new anchor chain and I need to stretch it out on the drive at some point and mark it.
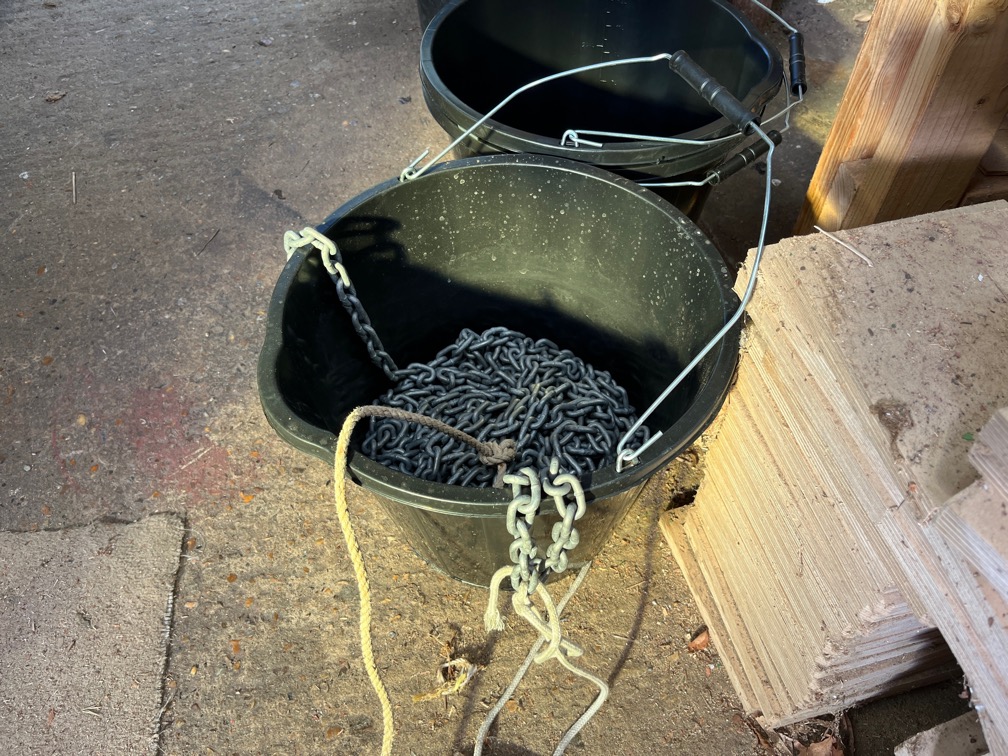
For the moment it is sitting in one of the buckets I bought recently for that purpose.
Time for a cup of tea.
The last task of the day was to put another coat of varnish on the forehatch. As I walked down to the workshop I could feel fine rain on my face. I quickly took Shoal Waters off the blocks and pushed her back under the roof. Then I did the varnish !
Time for a cup of tea.