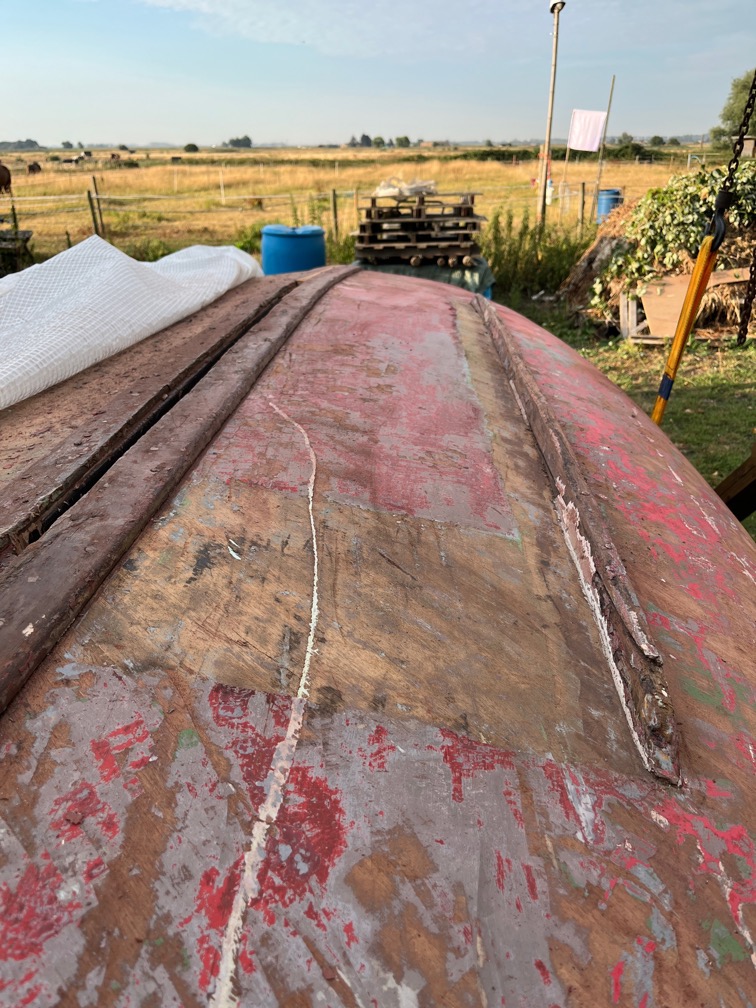
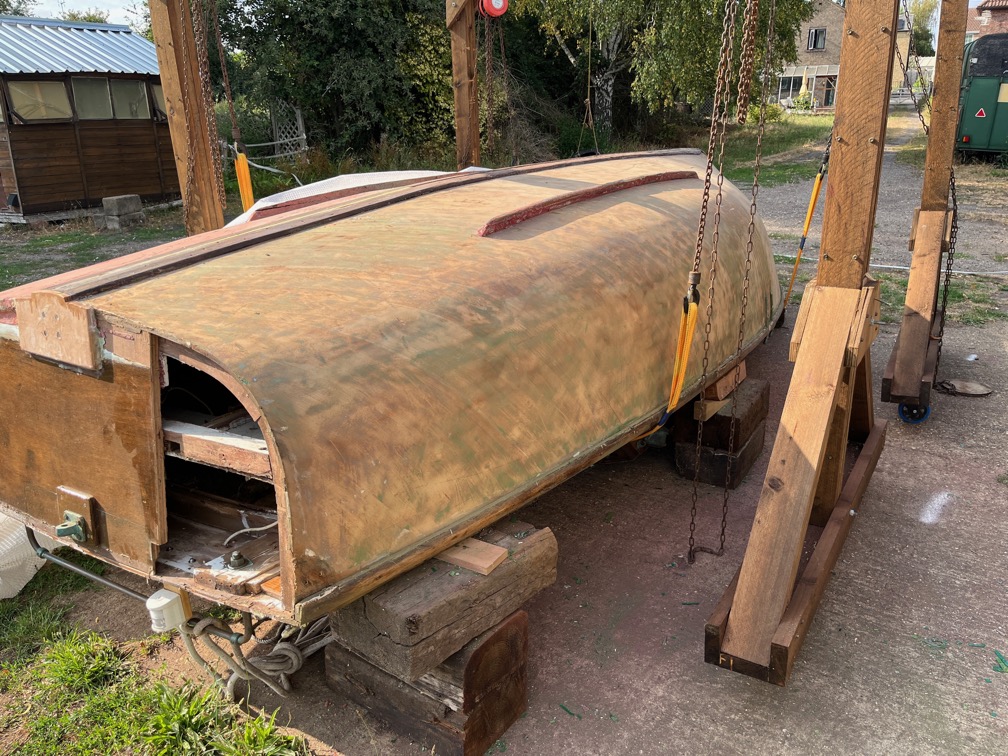
On his website Charles Stock wrote a number of articles and I was reminded of one of these as I removed the last of the antifouling from Shoal Waters’ hull. In the article entitled ‘The penalty-for-careless‘ Charles describes how in the September of 1989, having passed under the bridge at Havengore Creek, Charles and his wife Joy anchored for the night. Sometime during that night Shoal Waters sat back on her anchor. This is what he had to say in an article published February 1990 issue of Practical Boat Owner:
Hours later in warm morning sunshine I put on my water boots and dropped over the side for a walk. Where was the anchor? A few steps to port showed the end of the stock peeping out from under the bilge. My heart sank as I plodded round to starboard and peered under the hull behind the mast to see one fluke pressed hard against the skin of the boat. With a home made paddle serving as a spade, I quickly dug down to the crown of the anchor and then the lower fluke. A firm push drove it down into the mud drawing the top fluke clear of the hull. I reached under the bilge to find a `little finger’, sized dimple. Back on board, we removed my bunk cushions and boards to reach the bilge. Any damage should be under the inside lead ballast but once that was lifted, none was visible. I have glued two narrow strips of wood to the inside of the hull to carry the ballast rather than let it sit directly on the half inch hot moulded skin of the hull. Could the fluke have met the hull directly under one of them?
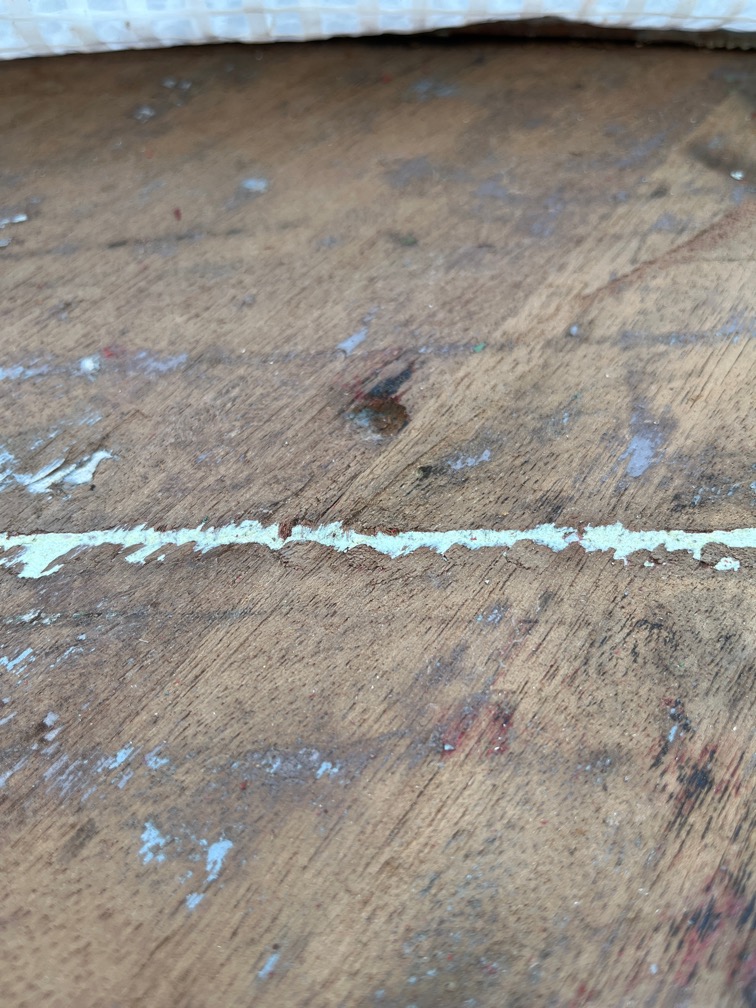
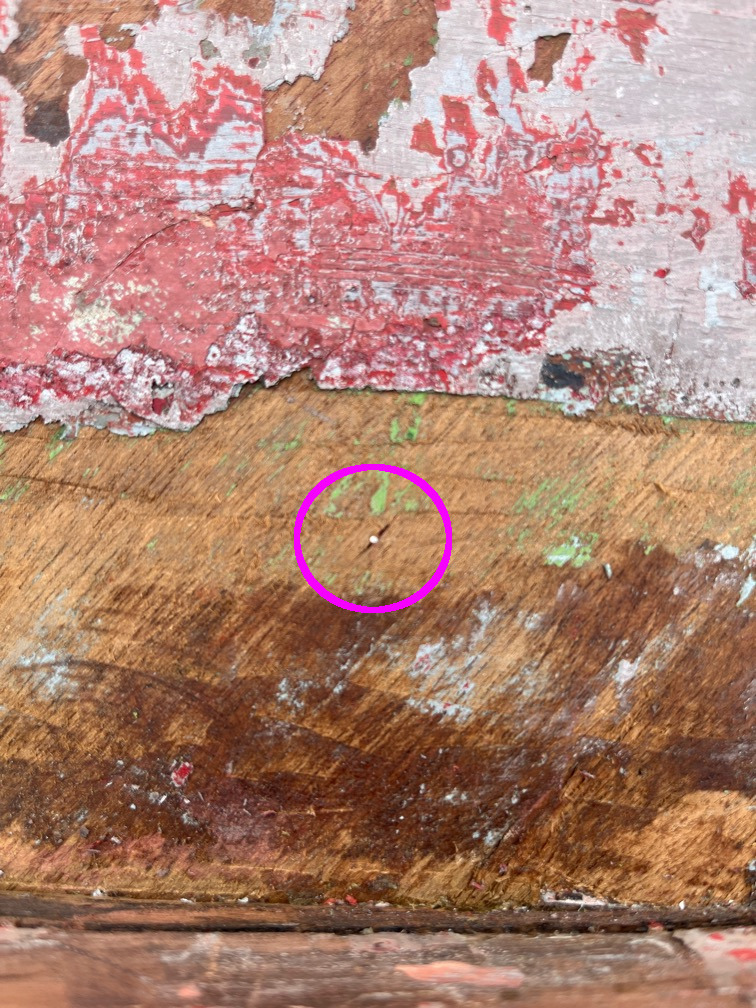
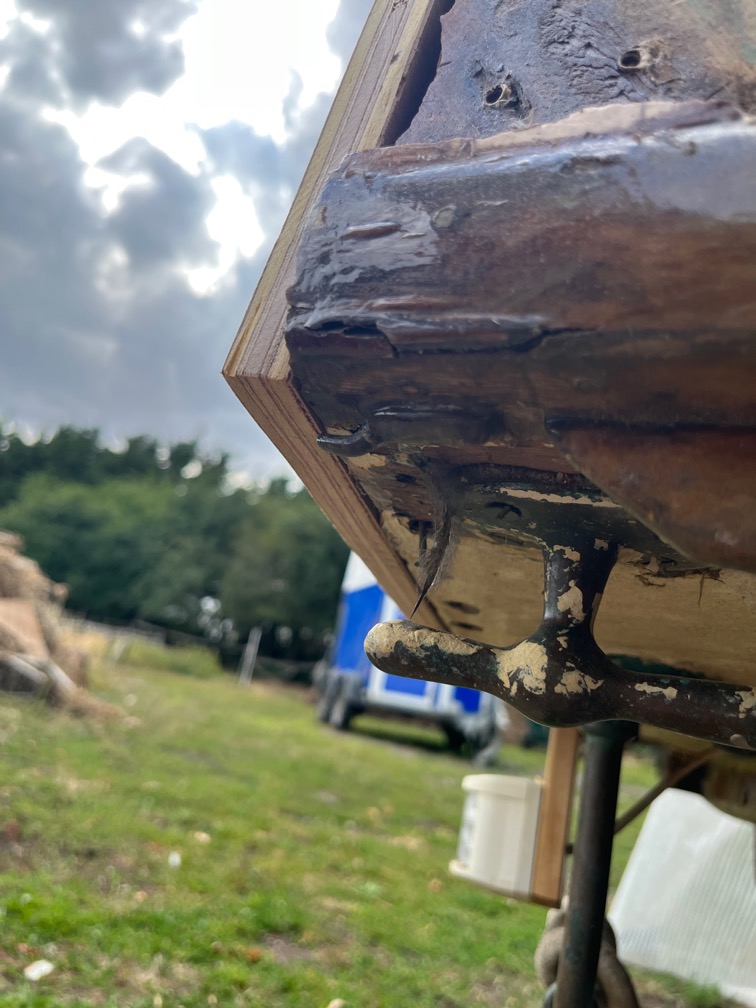
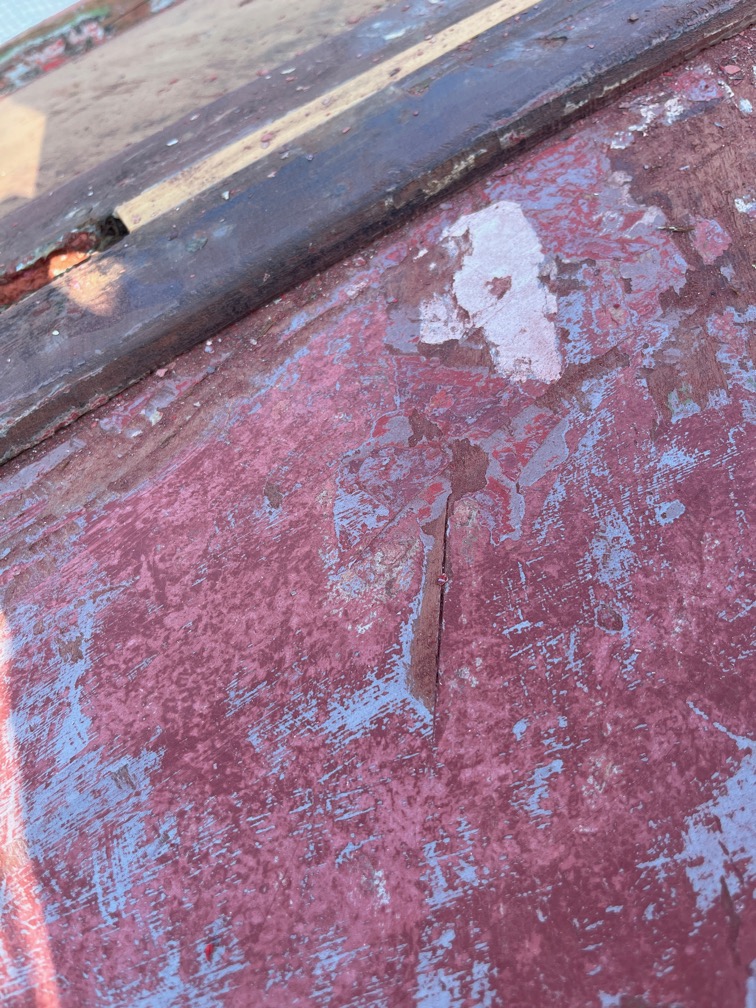
Well, I found that ‘little finger’ sized dimple in the hull. Still there after 37 years.
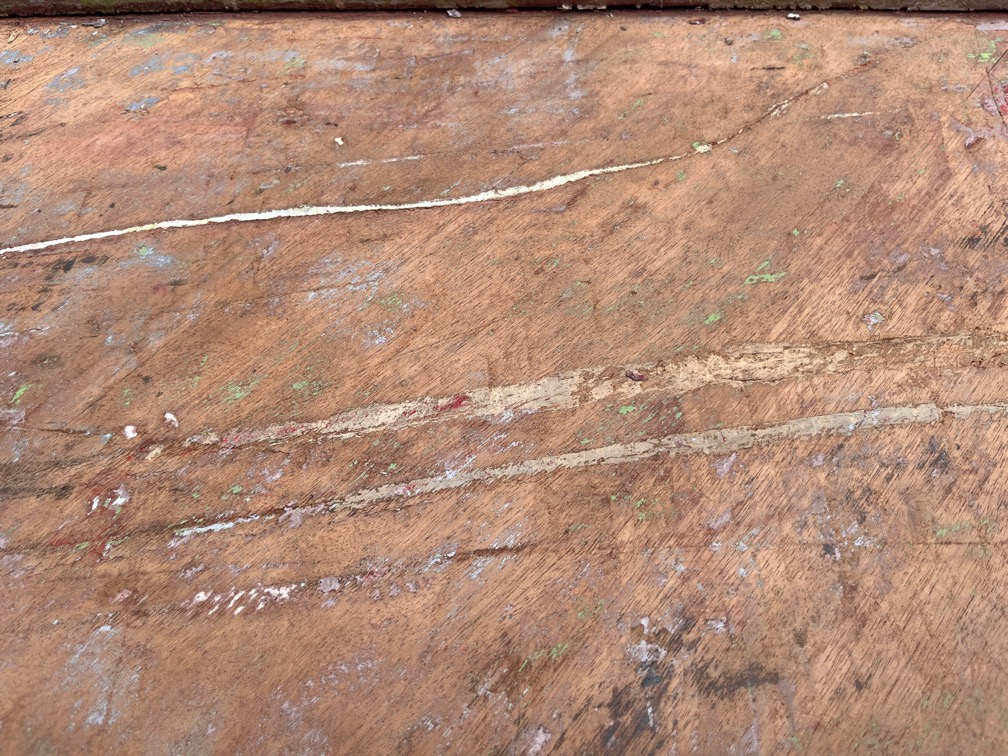
The Plastic Padding used to fill the dimple has long since fallen out, but here is the evidence of that mishap.
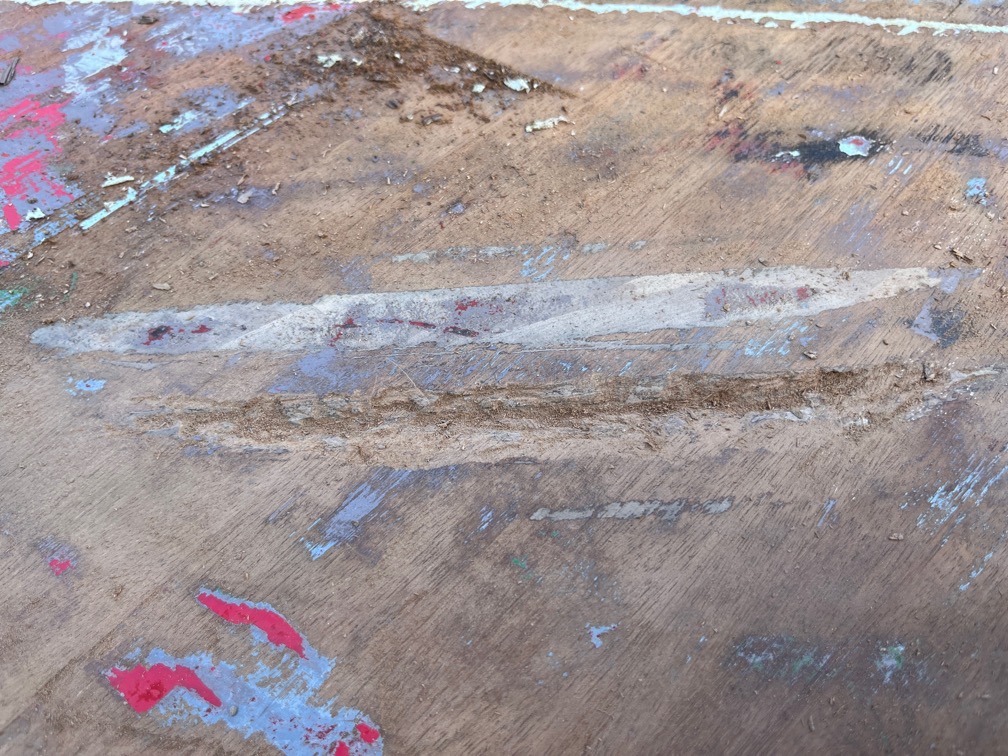
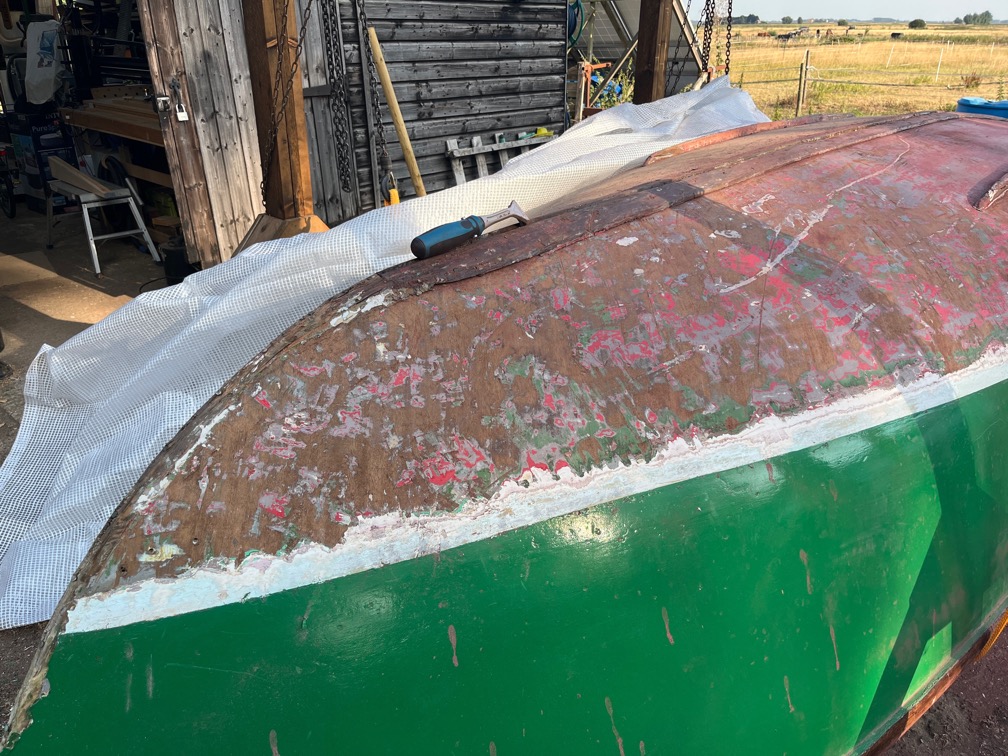
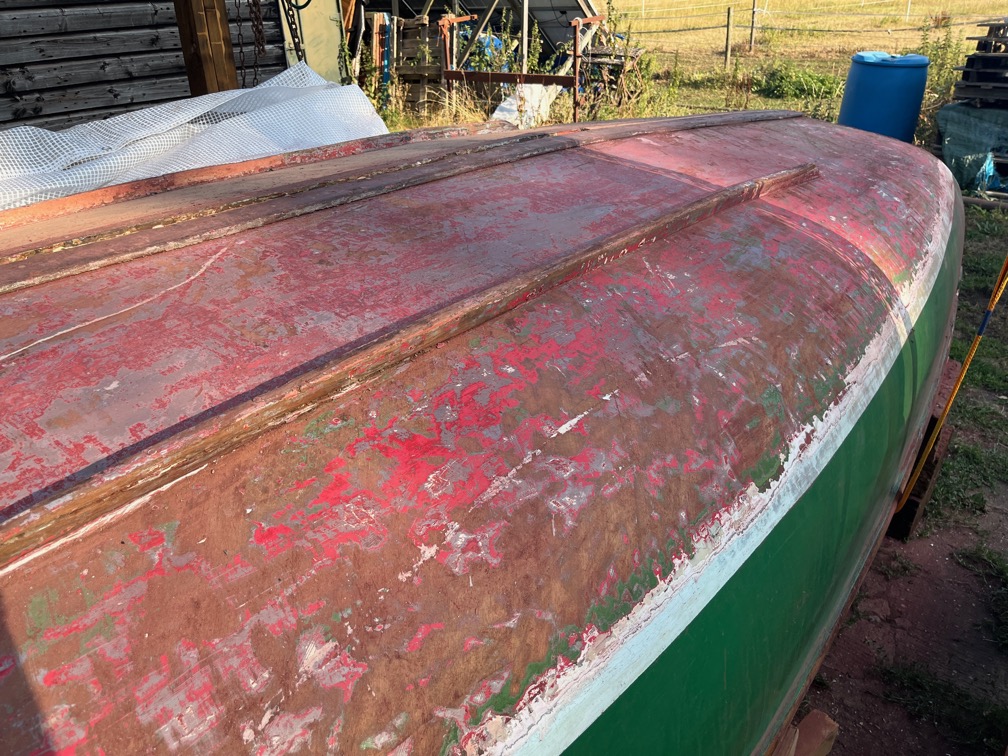
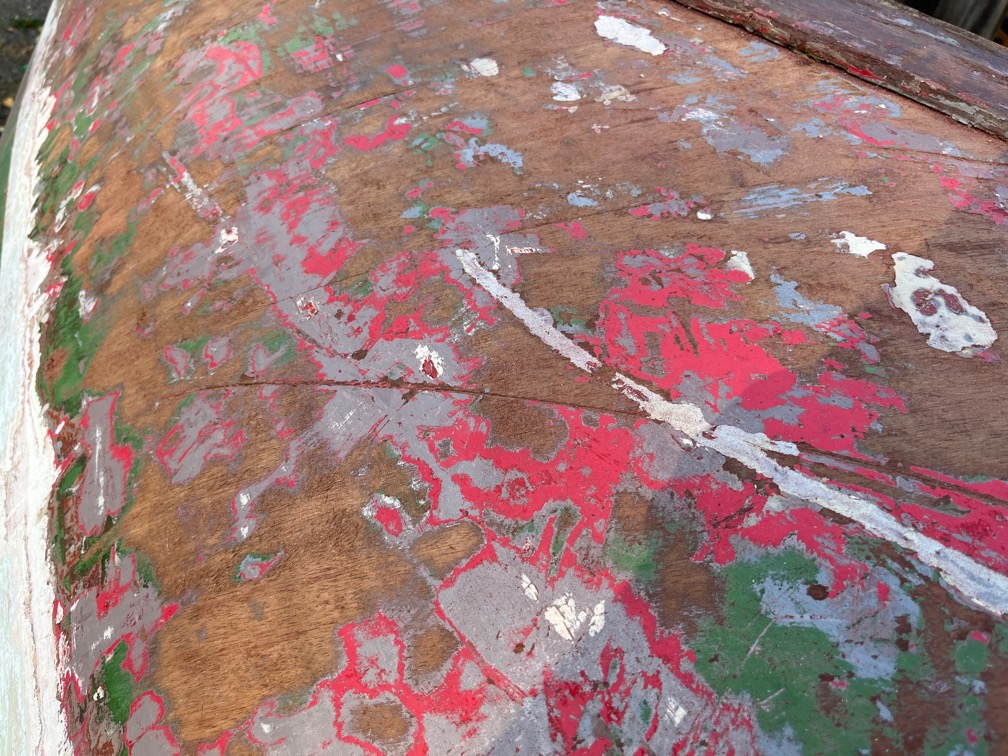
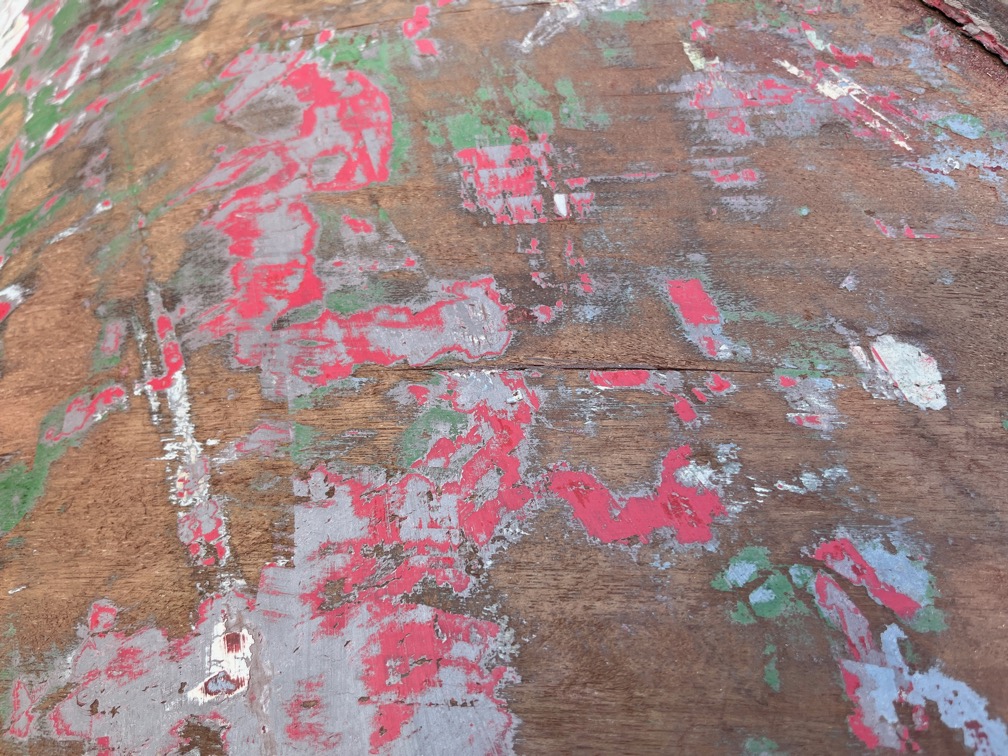
It is not much when compared to these two scratches. The two scratches are quite major. I spent some time cleaning out the lower one but passed on the upper one for the moment and will do that when I go around the hull getting the filler out of all the other scratches.
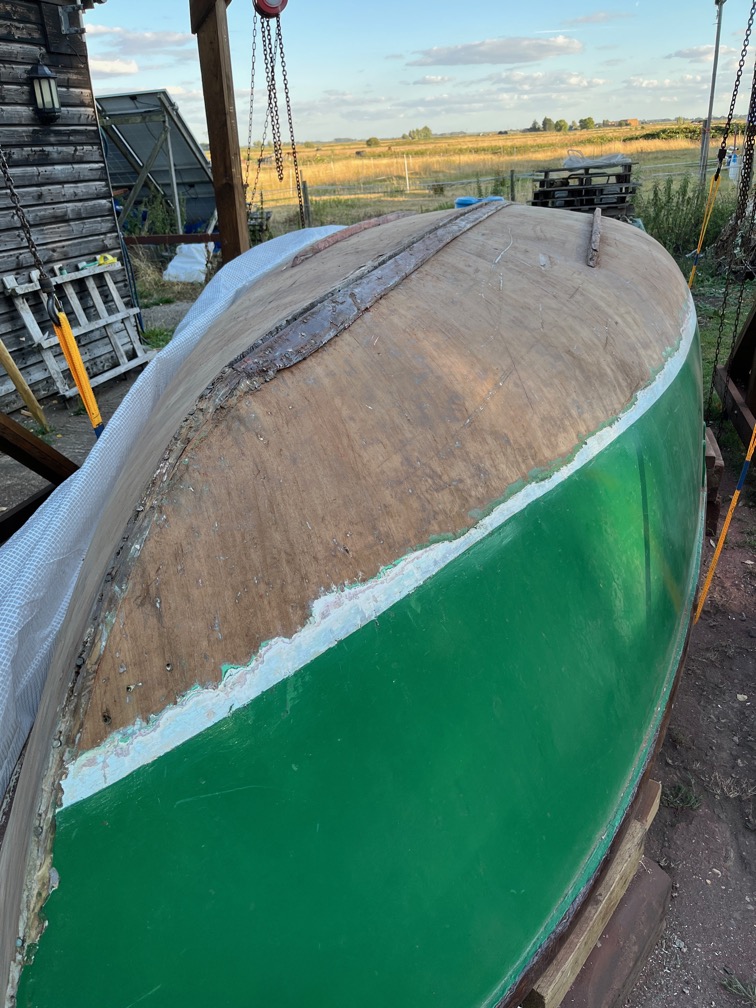
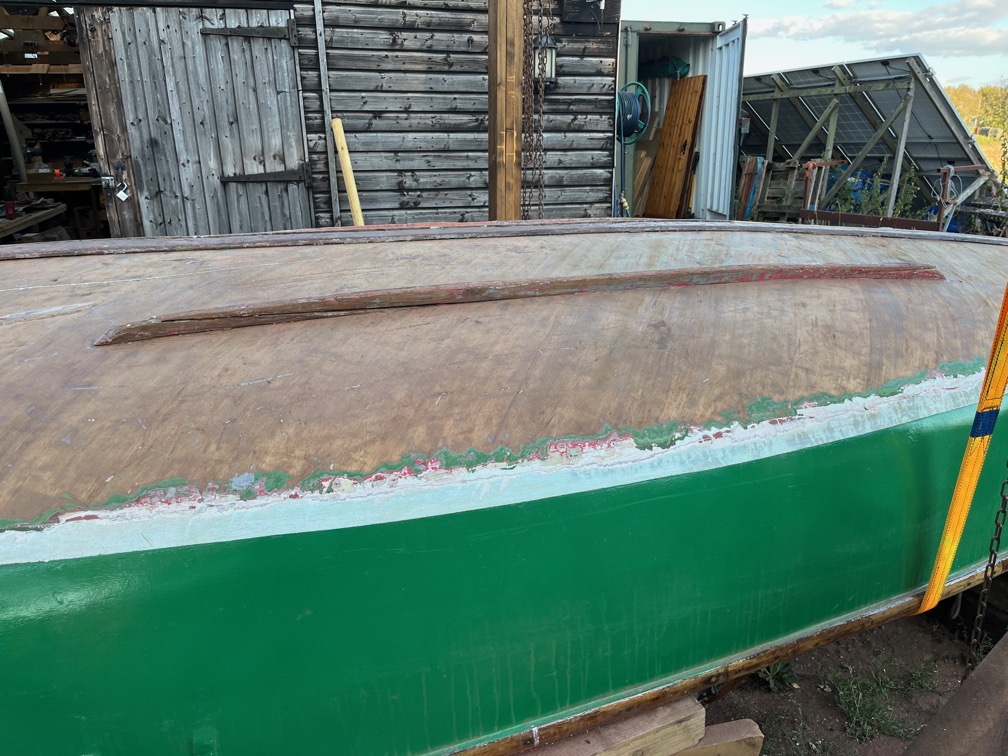
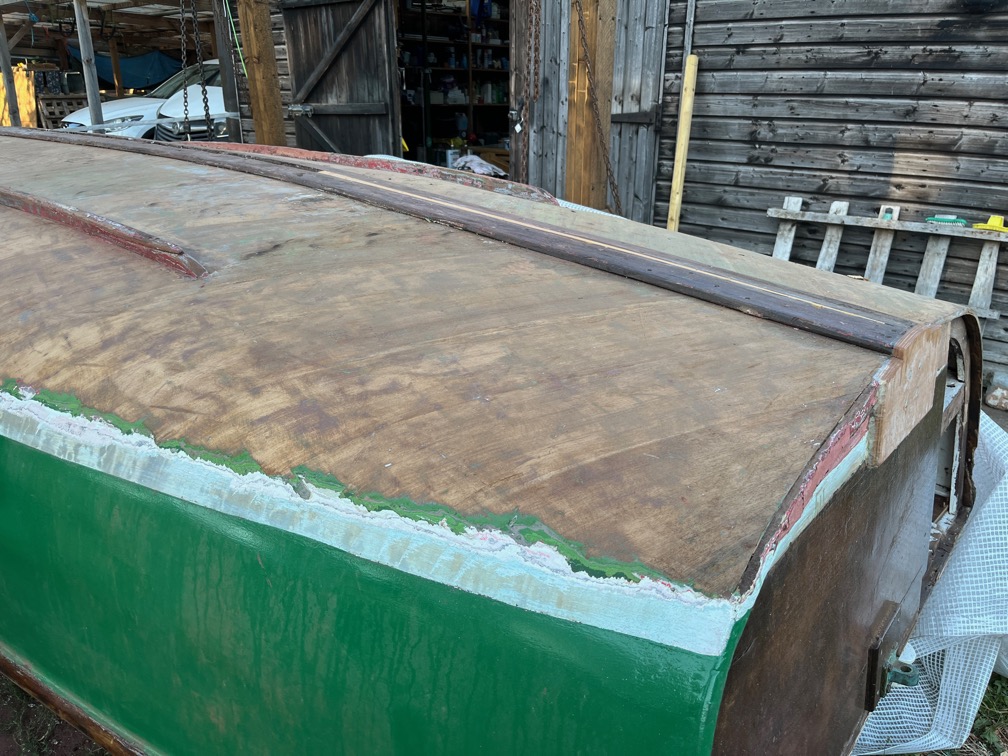
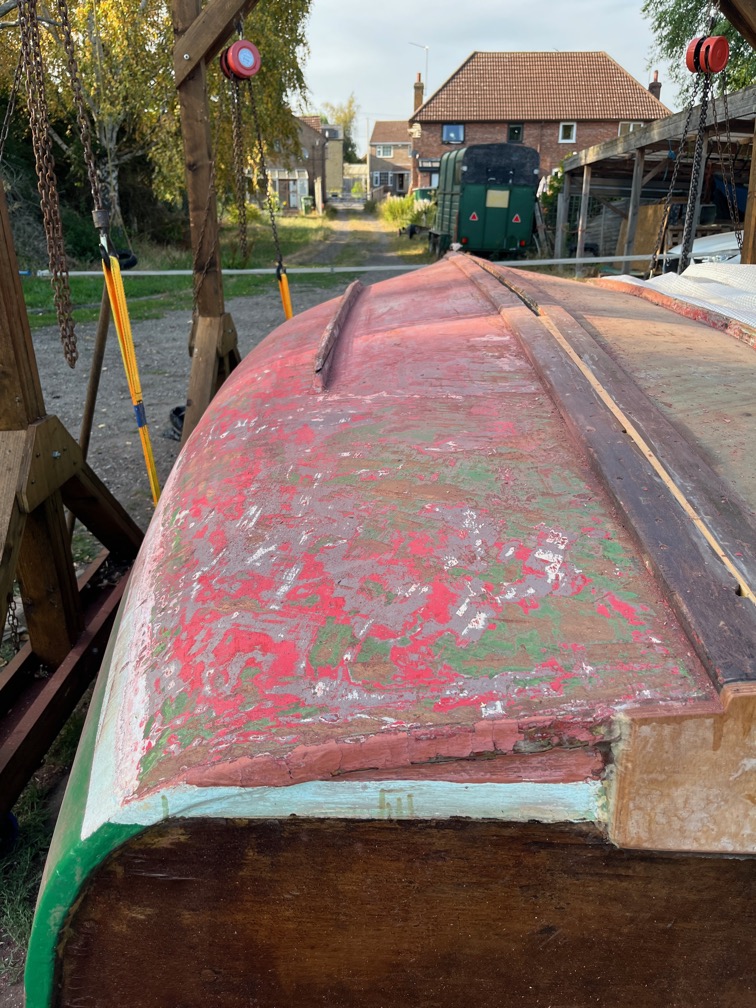
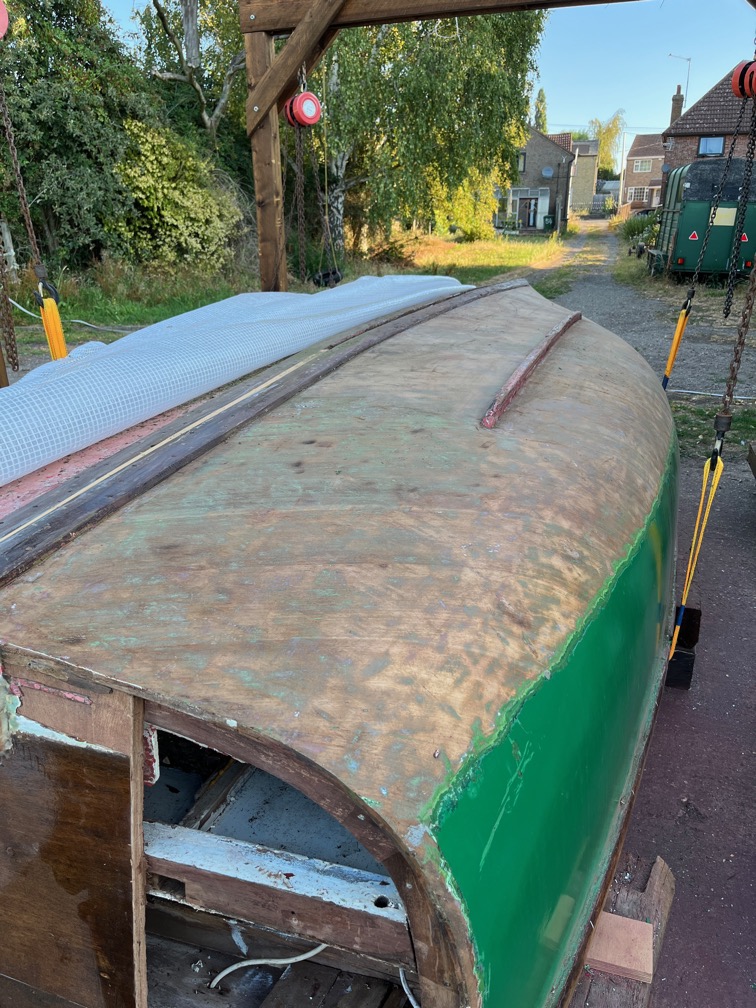
But I did finish the removal of the antifouling paint which all-in-all has taken just two days.
I had to adopt a two-handed technique for this side of the hull since my arms and right wrist were still aching from scraping the other side. This involves heating the area to be scraped with the hot air gun for a few seconds, then scraping along the hull holding the handle of the scraper in my left hand and pressing down on the blade with my right. I found that I needed far less heating this way, hardly any at all in fact, and the finish was a lot cleaner than the first side.
Now that this is done, I can make a start on the topside paint which should be fairly easy of the first side is anything to go by, and I’ll start at the bows and work my way aft. Starting with the larger area and working towards the smaller.
I made an early start on the hull this morning, after feeding the animals and before breakfast, although that could also be classed as feeding the animals, but I digress.
I decided to start on the middle section between the bilge runner and the keel since this was the area on the other side that I found most difficult to work on due to the stretch.
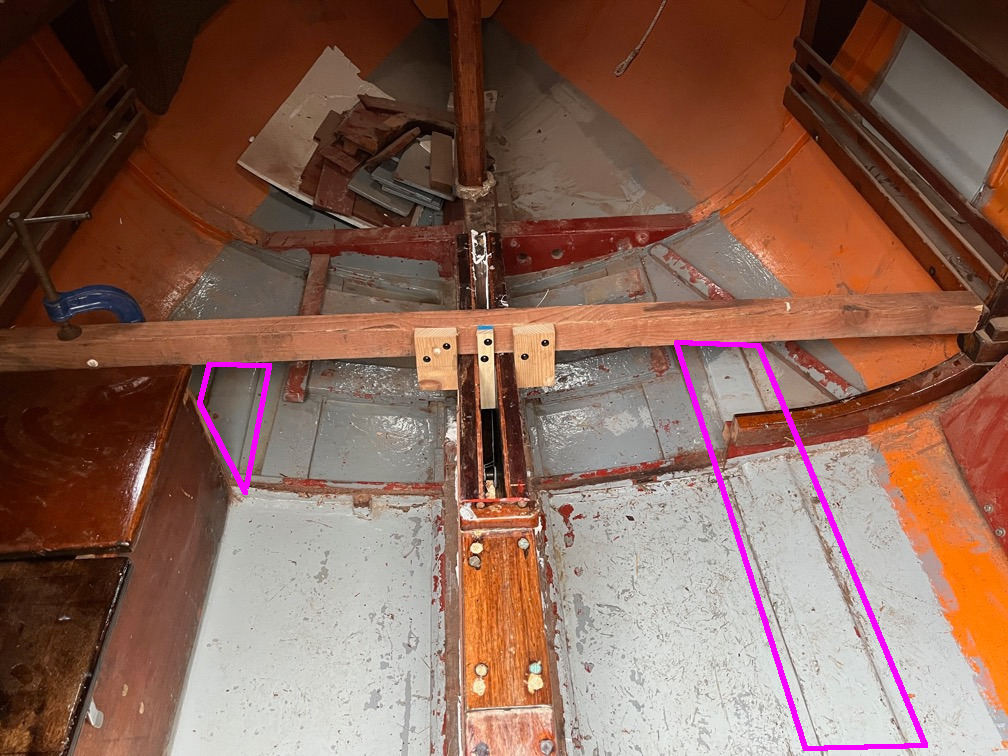
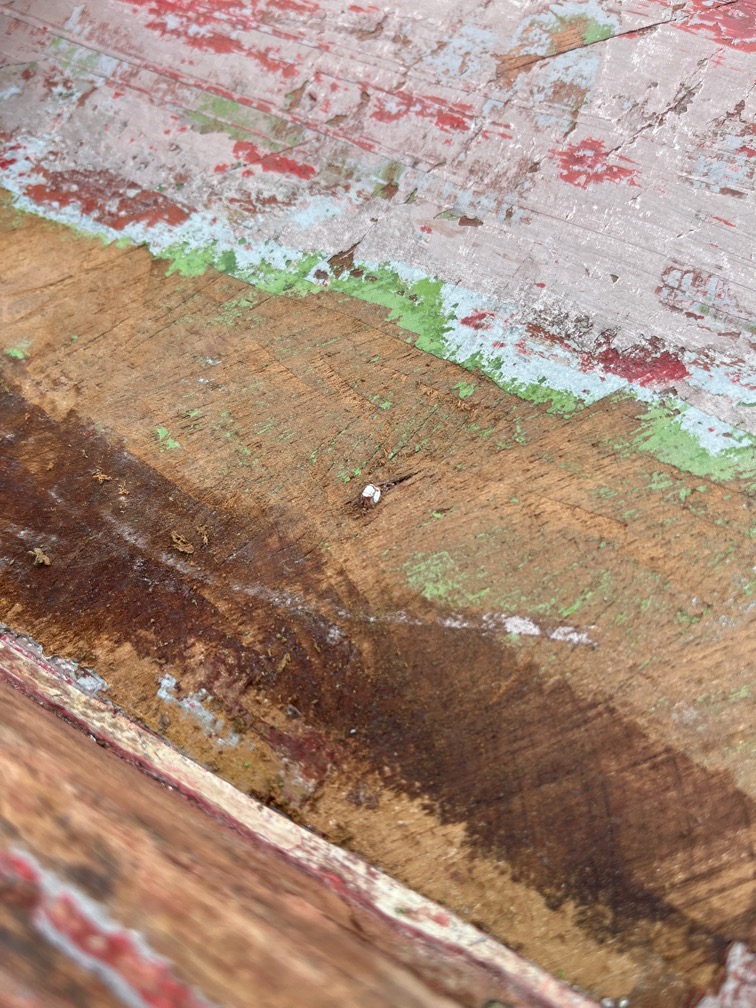
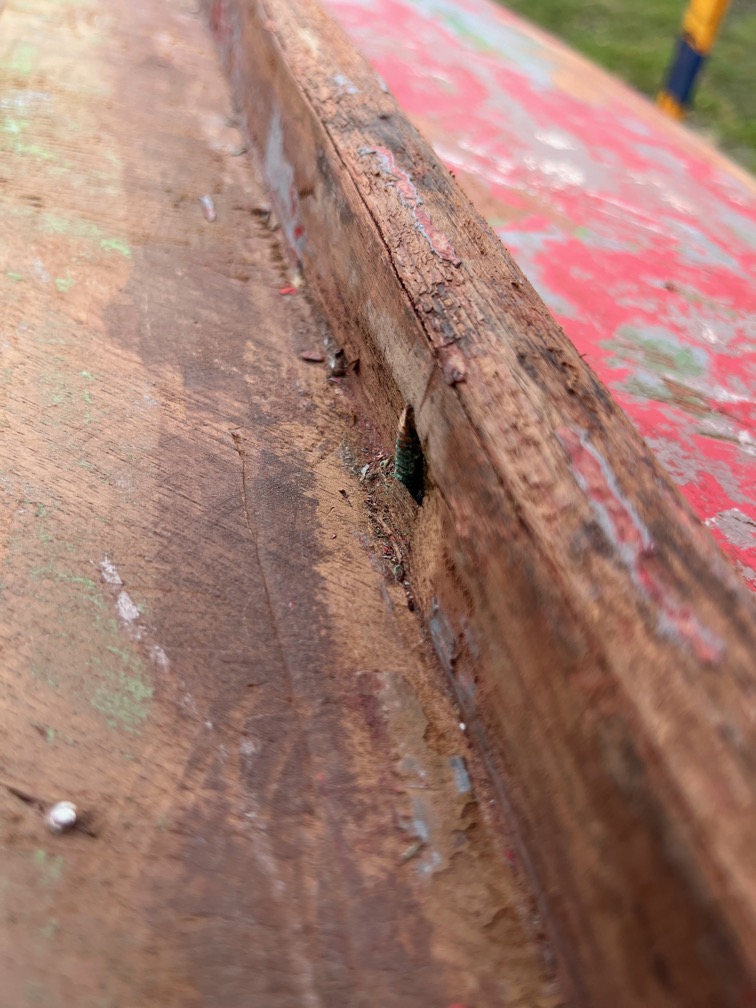
Imagine my surprise when I found this. It is the pointed tip of a screw. On the inside there are two reinforcing battens about half an inch thick and two and a half inches wide and as long as the bilge runner. These were screwed, and presumably glued, into place from the inside. Either the batten in this area was a little thinner than the rest of the screw a little longer or the countersink bored to recess the screw head was a little too deep and the point has just protruded from the hull.
I’ve hightlighted the visible parts of these reinforcing battens in the photo above.
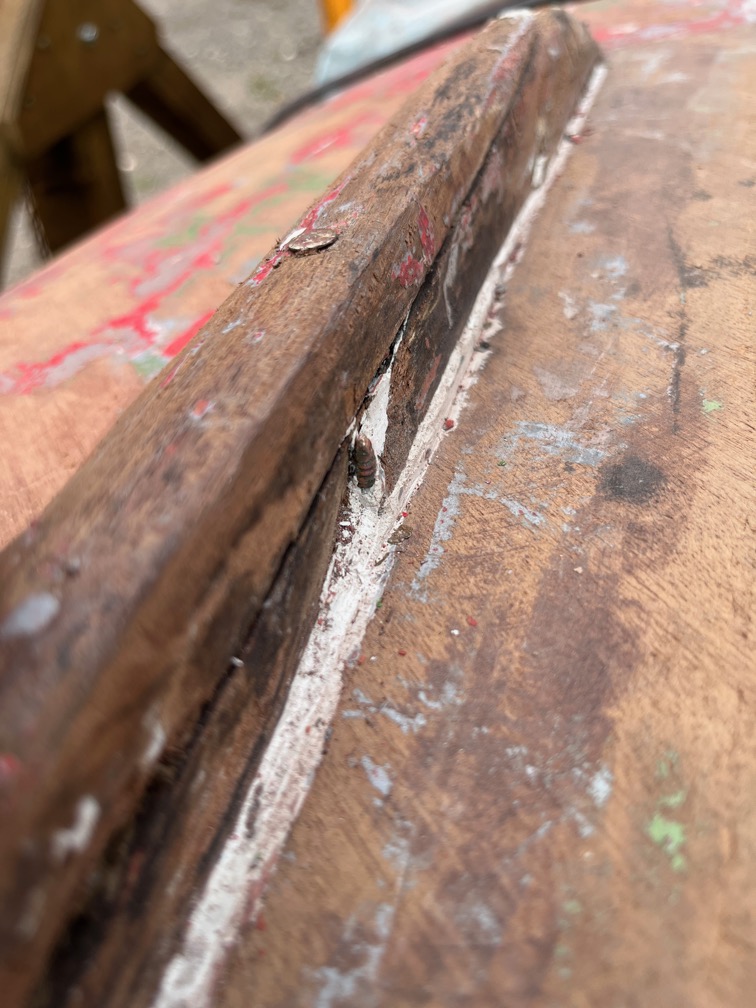
A little bit further on I found another one, only this one protrudes a lot further. The first one I found can be left alone, it only just sticks out and the sanding will probably make it flush with the hull, but this one requires some attention to make it level with the hull.
I managed to get the strip next to the bilge runner done, the hardest part as the runner gets in the way of the scraper, and a section about a foot wide at the front.
Time for a cup of tea.
And breakfast.
I scraped more at lunchtime and then again ager work and found a few more surprises.
Firstly a gripfast nail that I think was supposed to go into the bilge runner and missed.
The another doing the same thing. In both cases the nails were covered in filler. I’ll cut these two short rather than leave them proud.
One of the scratches on this side of the hull appears to have been filler with putty It certainly fill the scratches well and required some effort to get it out.
I didn’t do any scraping over the weekend, instead I continued the transom work and gave myself a chance to stop aching.
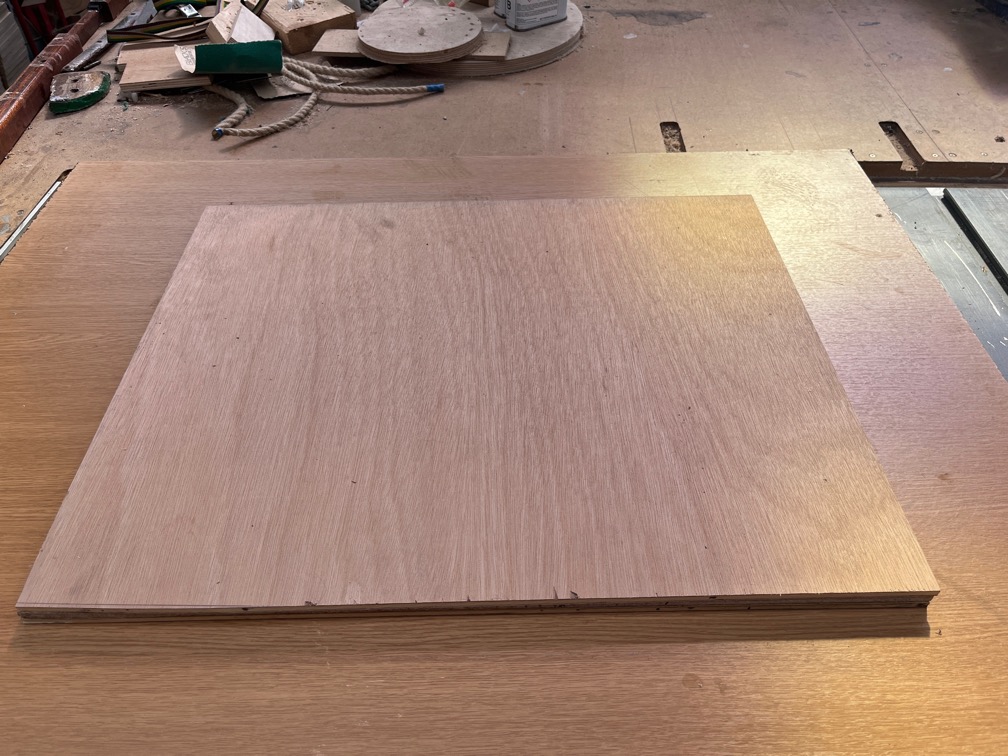
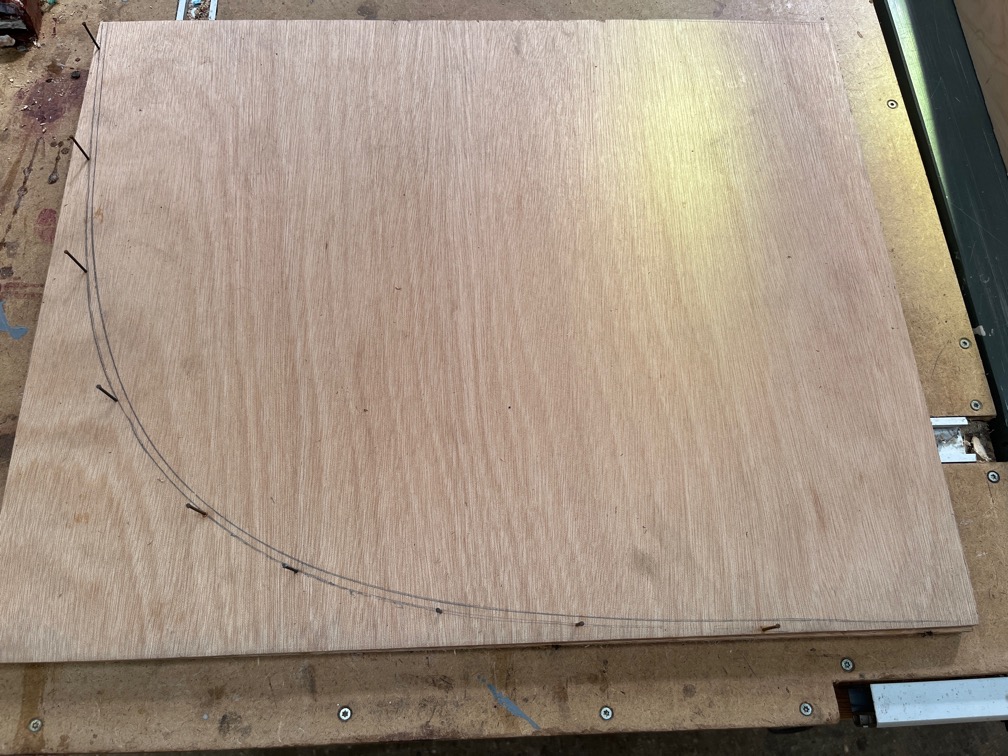
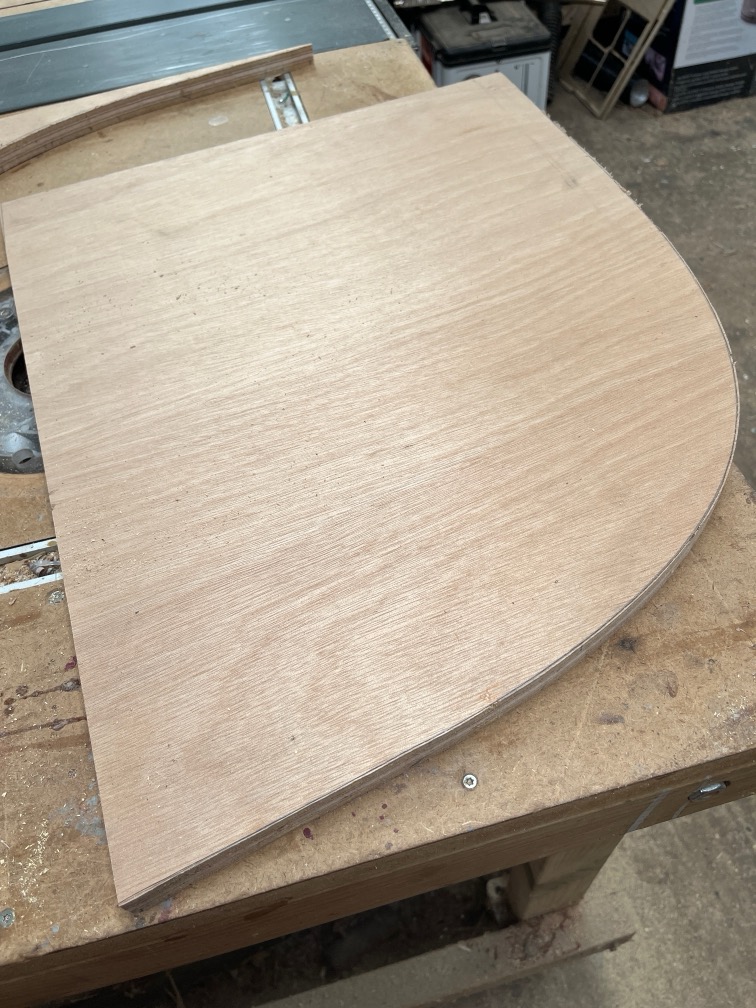
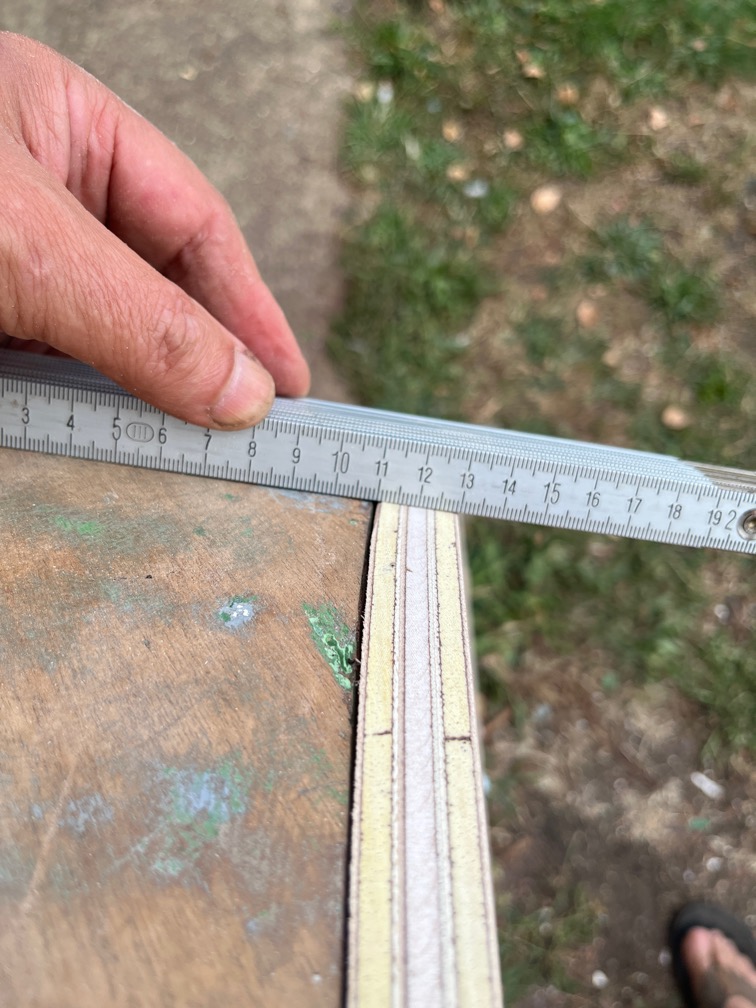
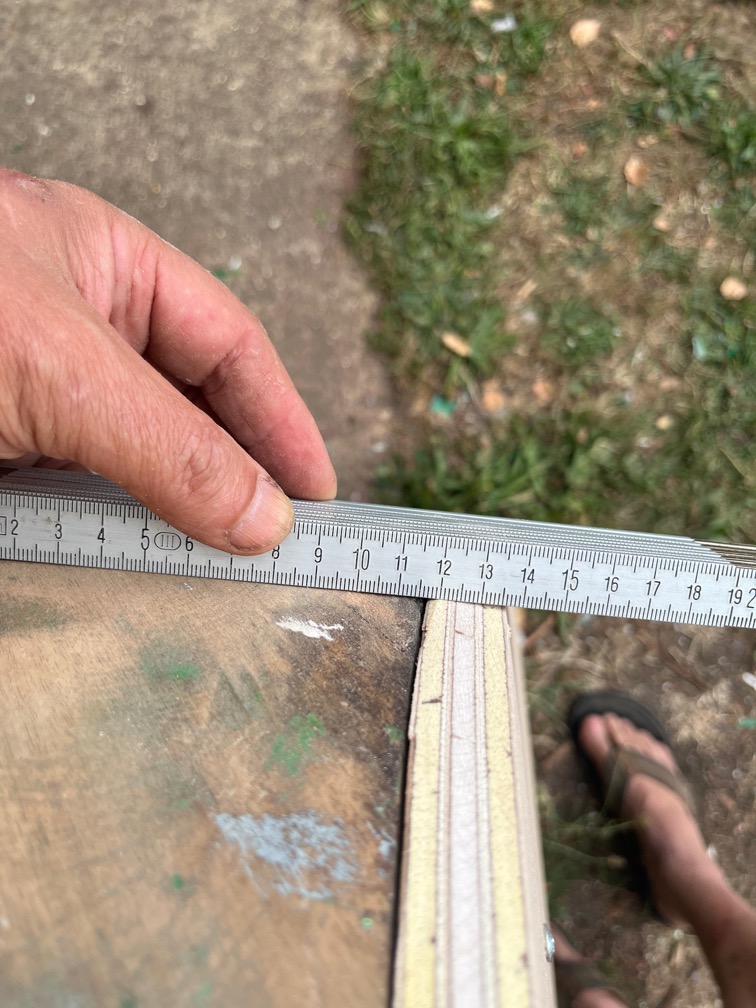
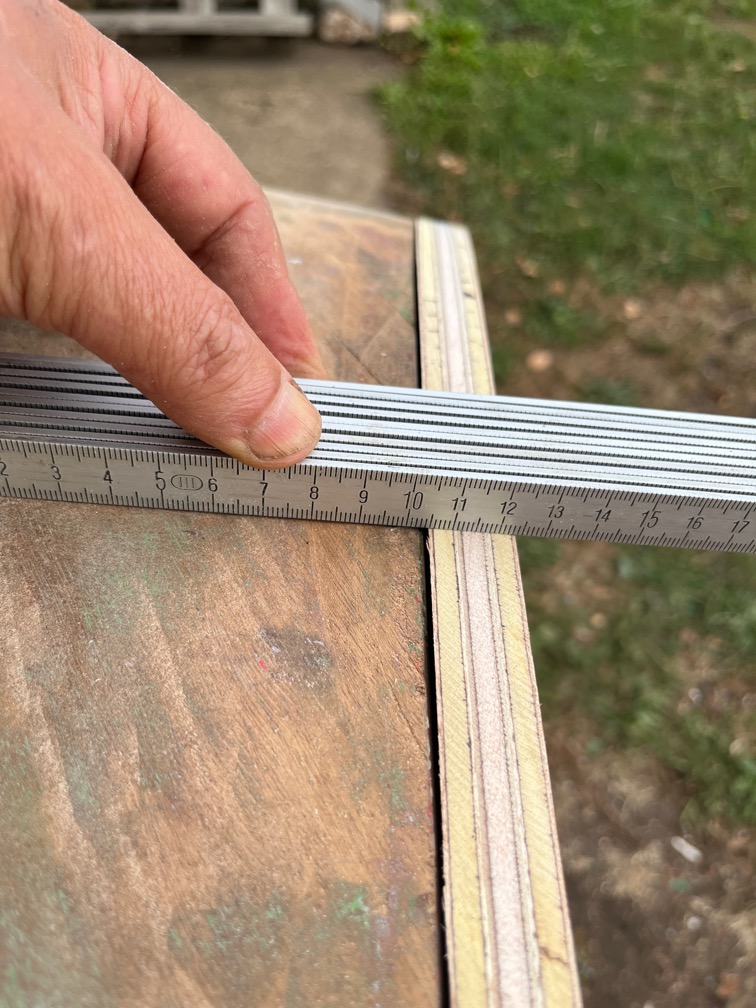
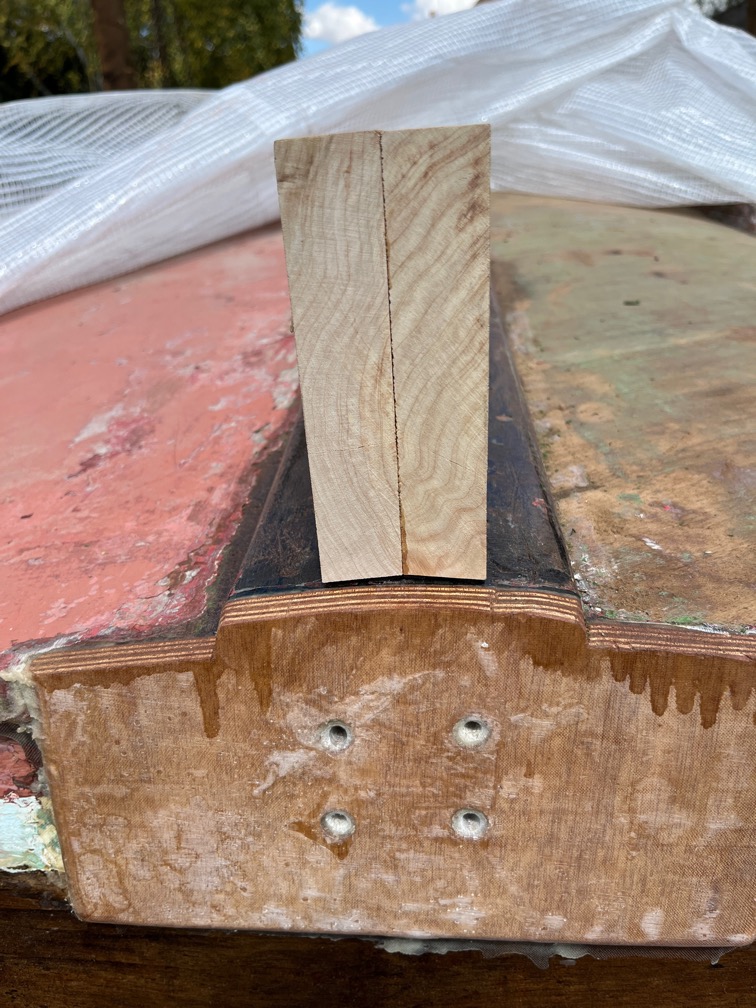
The laminated plywood for the repair came out very well and I was able to hold it against the hull and draw the outside of the hull on one edge.
I used panel pins on the rough line and a very flexible batten to fair the curve which you can see about 2.5mm away from the rough line.
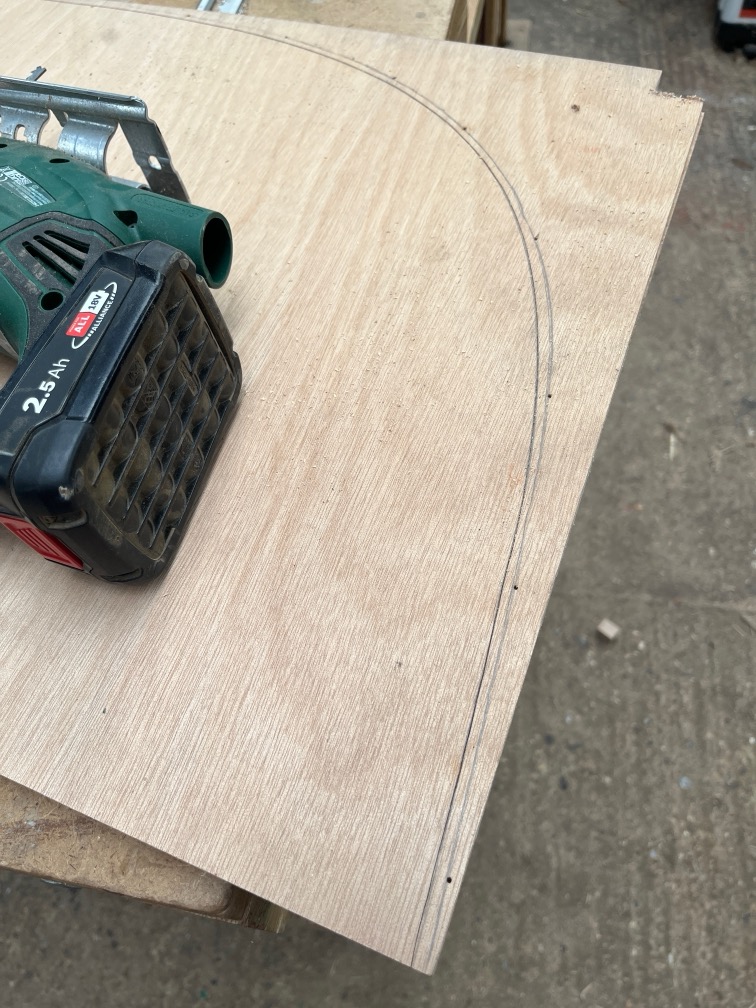
I heavily scored the line with a sharp knife to keep tear out to a minimum. It’s not really needed where the cut is in the same direction as the grain.
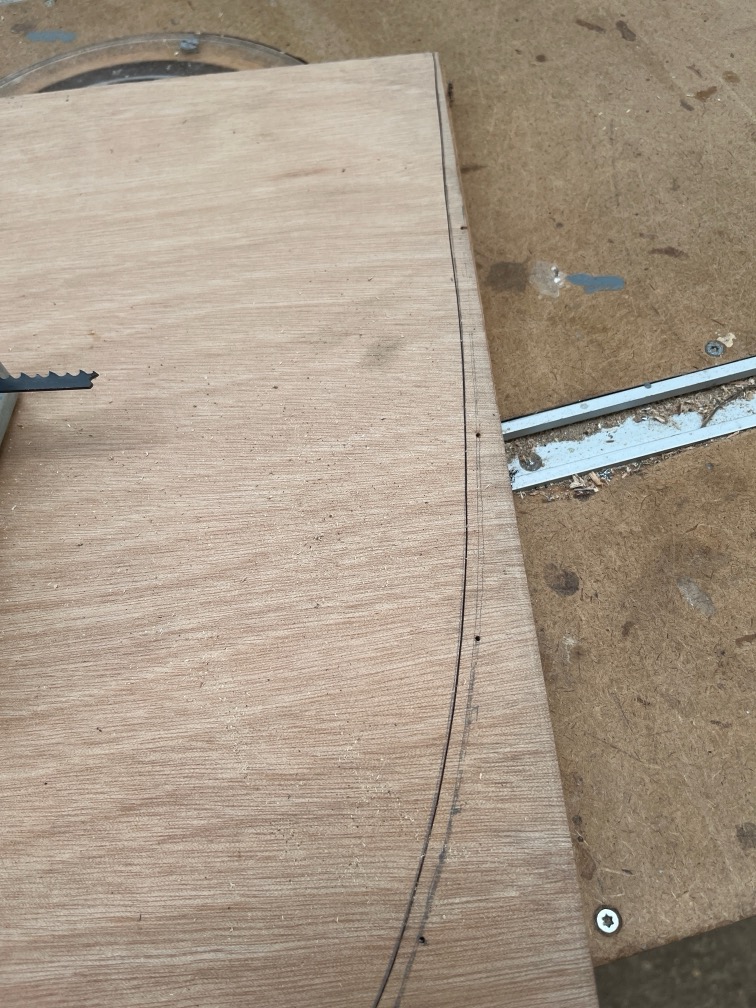
But it is very necessary where the cut is across the grain.
A few minutes work with the jigsaw and the shape was cut.
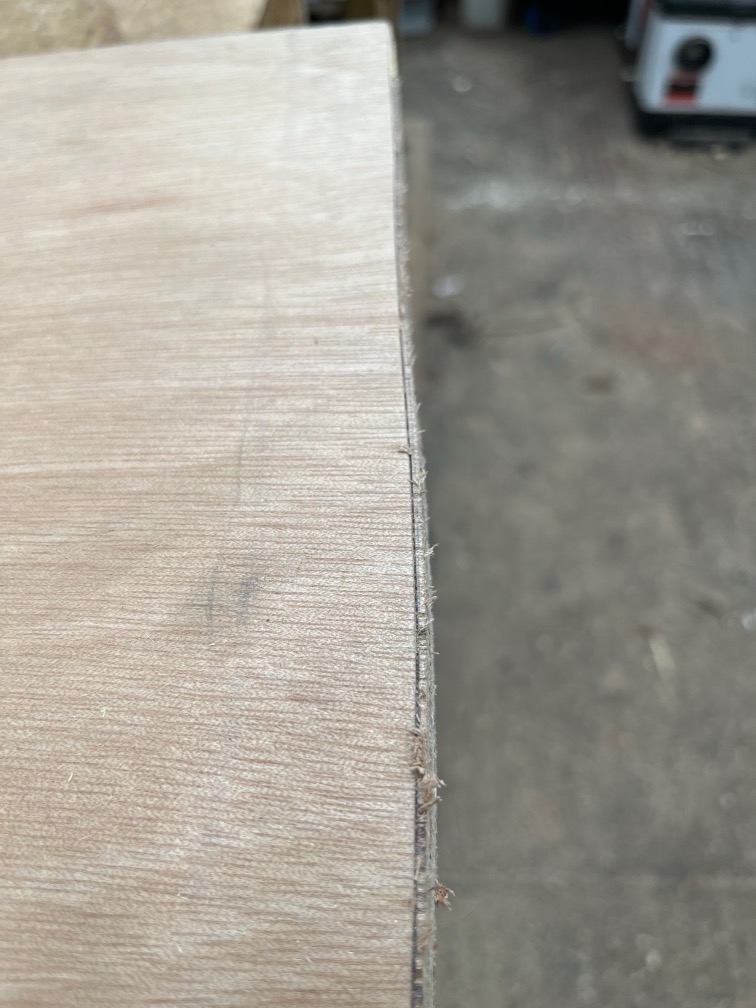
I kept the cut just outside the cut line, deliberately, so there were a few fuzzies but not on the good side of the cut.
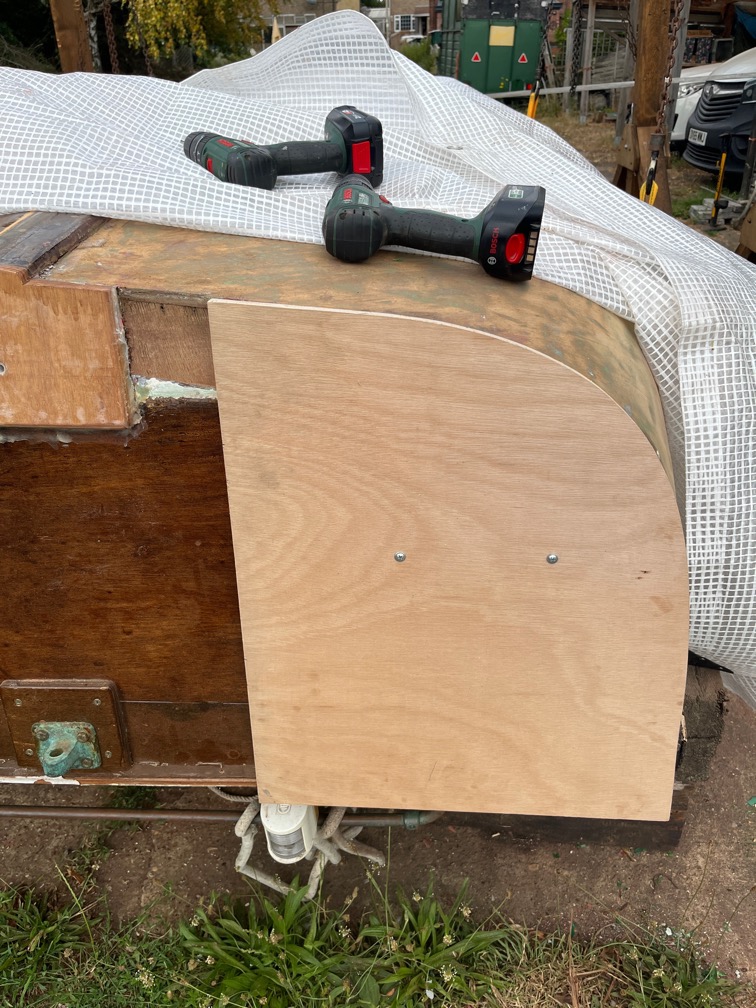
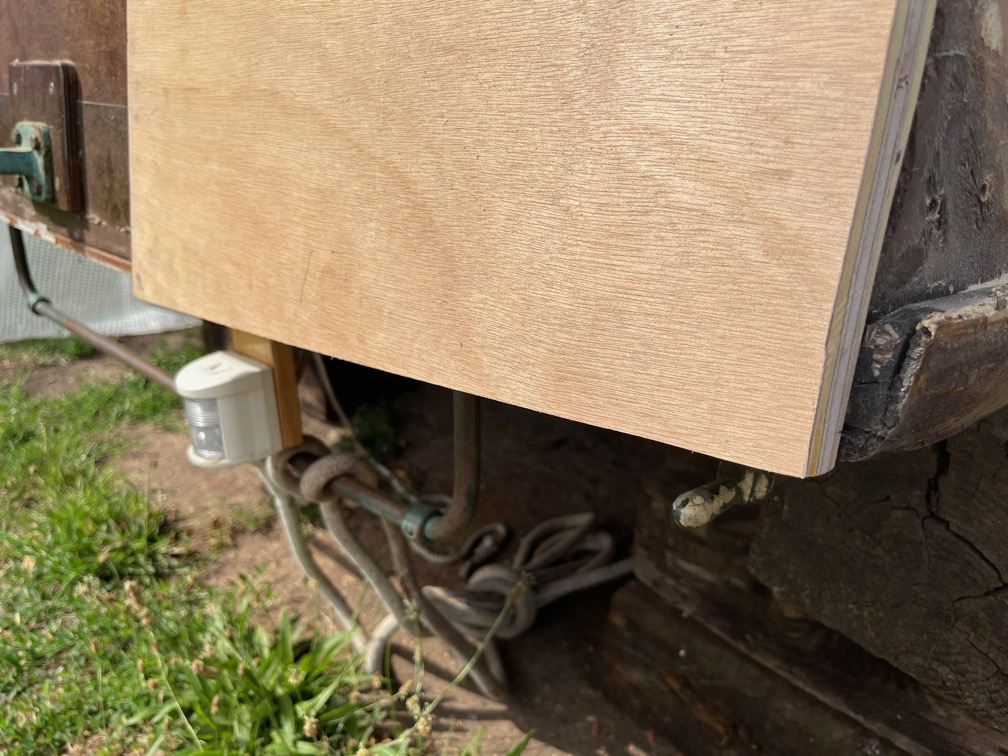
The patch was then screwed over the hole with the cut edge aligned with the hull.
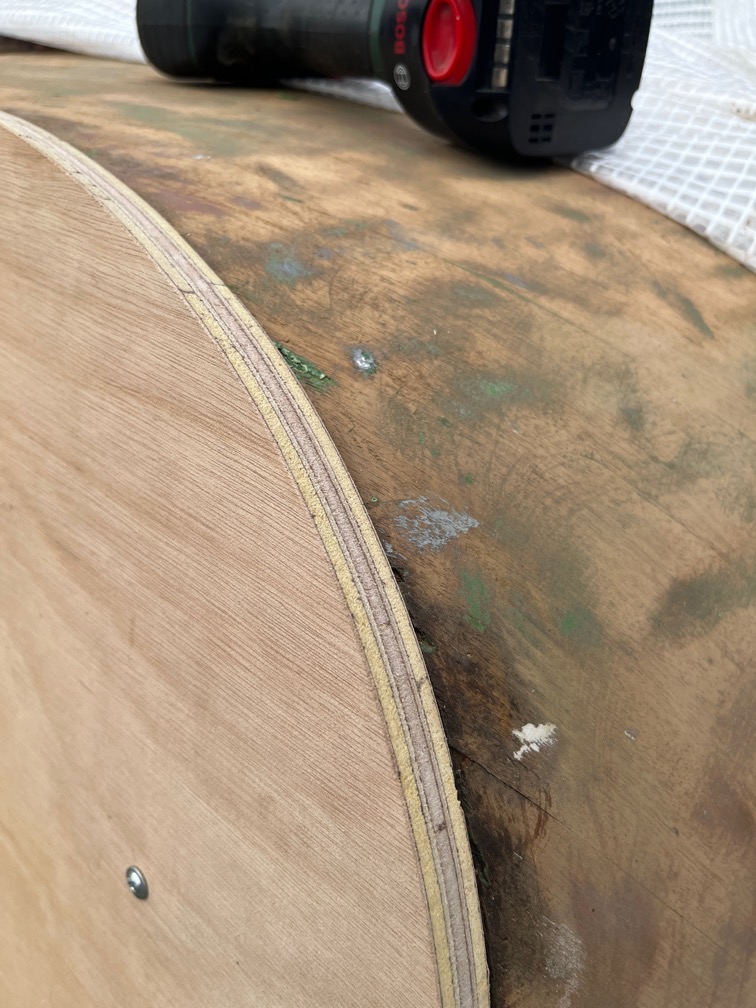
It’s not so easy to see in a photo, but the edge of the patch does not follow the shape of the hull.
I used a sanding disc on an angle grinder to fair the patch to the curve of the hull as you can see here. It was a bit tricky since I had to avoid sanding any of the hull in the process.
This part got away from my a little…
…but most of the edge was good.
I trimmed the bottom of the path to the level of the aft deck, again by drawing on the patch along the deck and then sing that line to cut the excess away.
This is not the final fit since when it is fitted to the top of the hole, this bit will extend beyond the deck and will need to be cut down again. But it shortens the patch a bit making it easier to locate and handle.
Today’s job was to cold scrape as much of the antifouling paint off the starboard hull. This took around two hours this afternoon and in places quite a lot of the wood was exposed. There are also a few scratches as expected.
The area between the bilge runner and the keel did not scrape off so much of the antifoul, but that’s because it’s further way and thus a stretch. Still, good enough.
The aft section did not scrape away so much either and I may revisit this tomorrow afternoon.
This side showed more cracks between the laminates as seen here.
With a major scratch closer to the bows.
As well as cracks between the laminates. I’ll fill these with neat epoxy. The hull will be warmed first with the hot air gun, masking tape applied either side of the crack to limit the spillage, then the epoxy dripped into the cracks. The hot wood will thin the epoxy which will then flow deeper into the crack. Or so I hope. This will be carried out once the hull has been properly scraped off and sanded and at that time I’ll also fill in the more egregious scratches. That won’t be for a few days yet. Lots of scraping to do first.
During the last week I managed to work on the scraping every day except Friday.
This was the state of the port hull on Wednesday morning, 07:05 to be precise…
… and this was the hull on Thursday afternoon with all of the paint, both topside and antifoul scraped off. I still have to sand the hull but for right now, I need to do a few other tasks and let my aching arms and hands recover bit.
The plan had been to do a strip of scraping and then another boat task, but in the end I just carried on with the scraping. Now it was time to do a few other boat things before starting on the other side.
Today I decided that the first boat tasks would be to make a start on the new skeg.
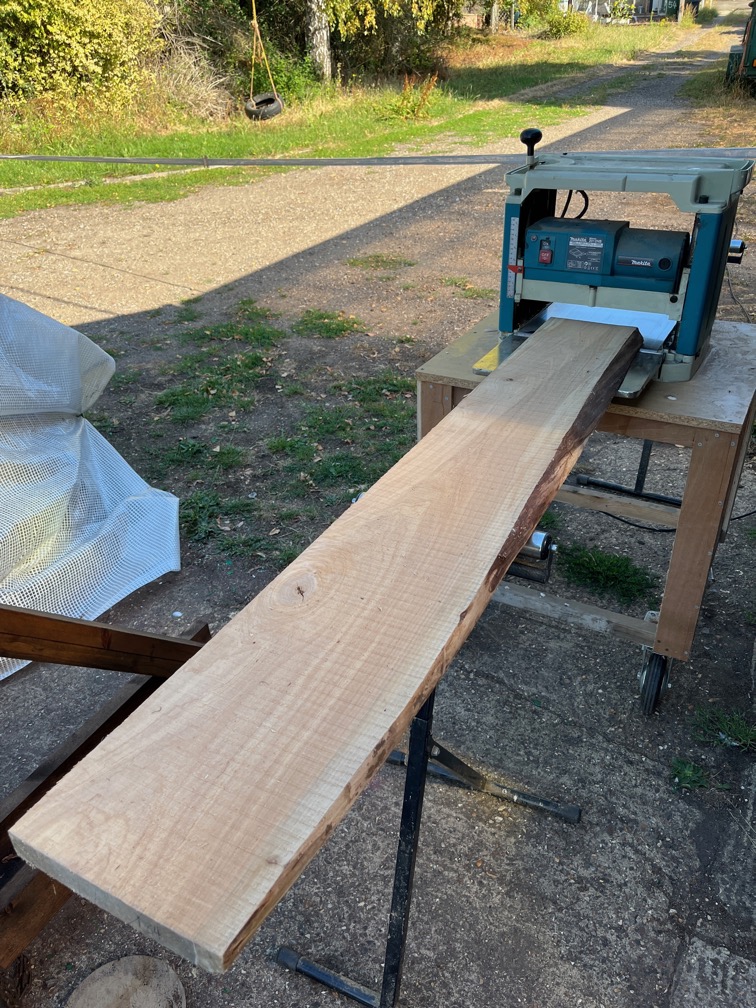
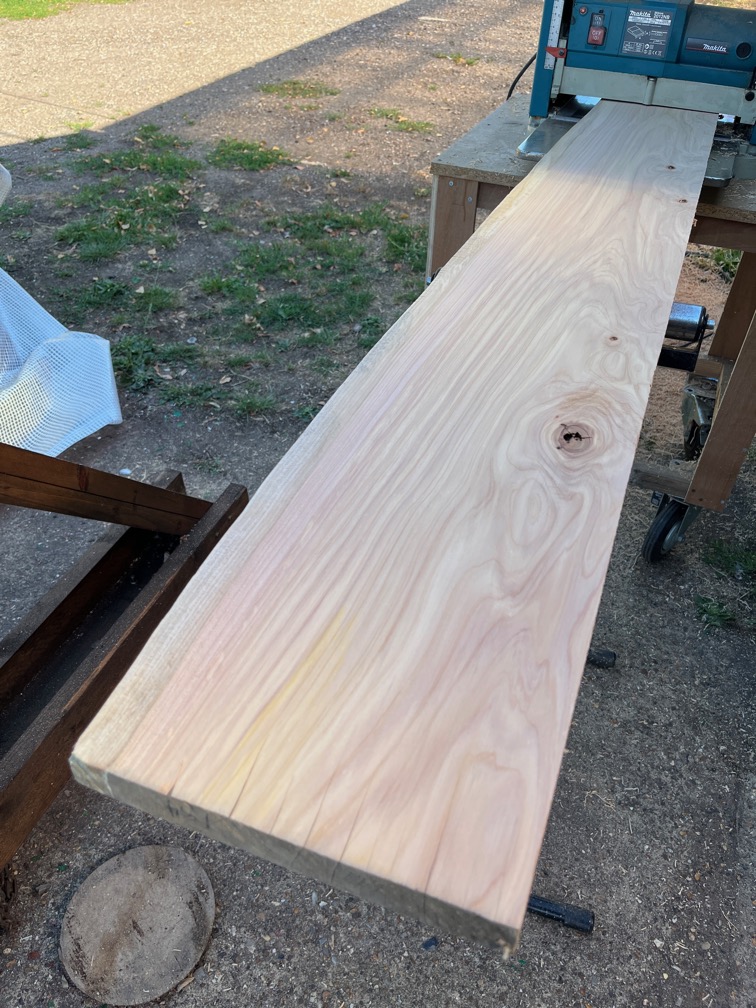
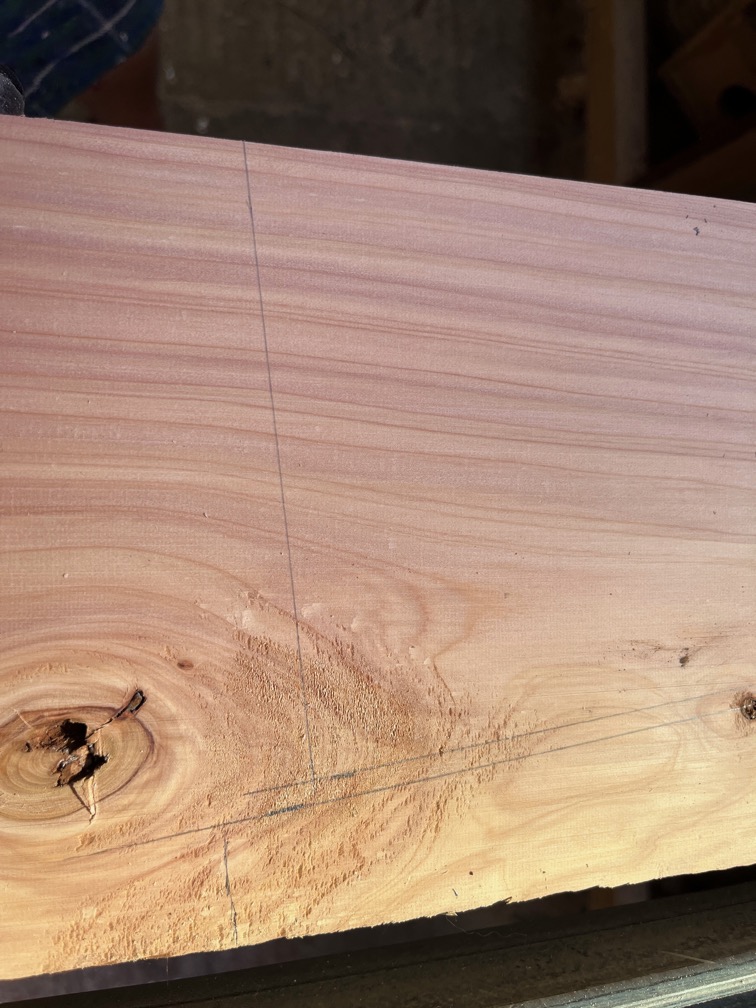
The piece of Cedar I bought was rough sawn both sides which meant that the first thing to do was to plane off the majority of the saw marks.
That didn’t take long. Notice that the end of the board has started to crack. My fault entirely, I should have painted the ends as soon as I received the board.
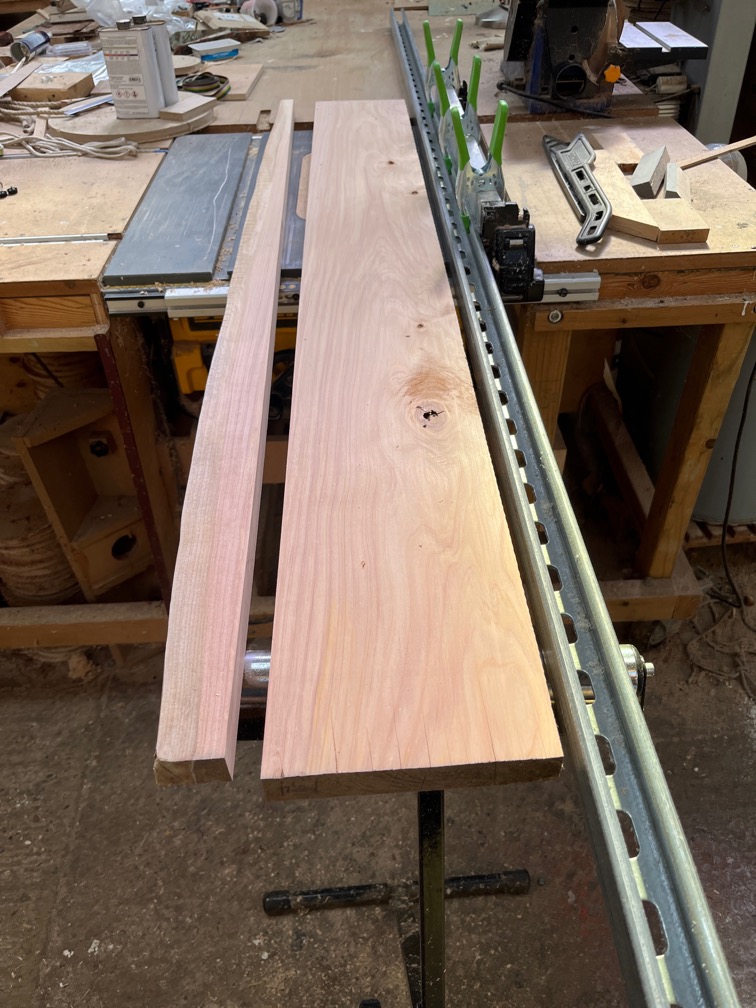
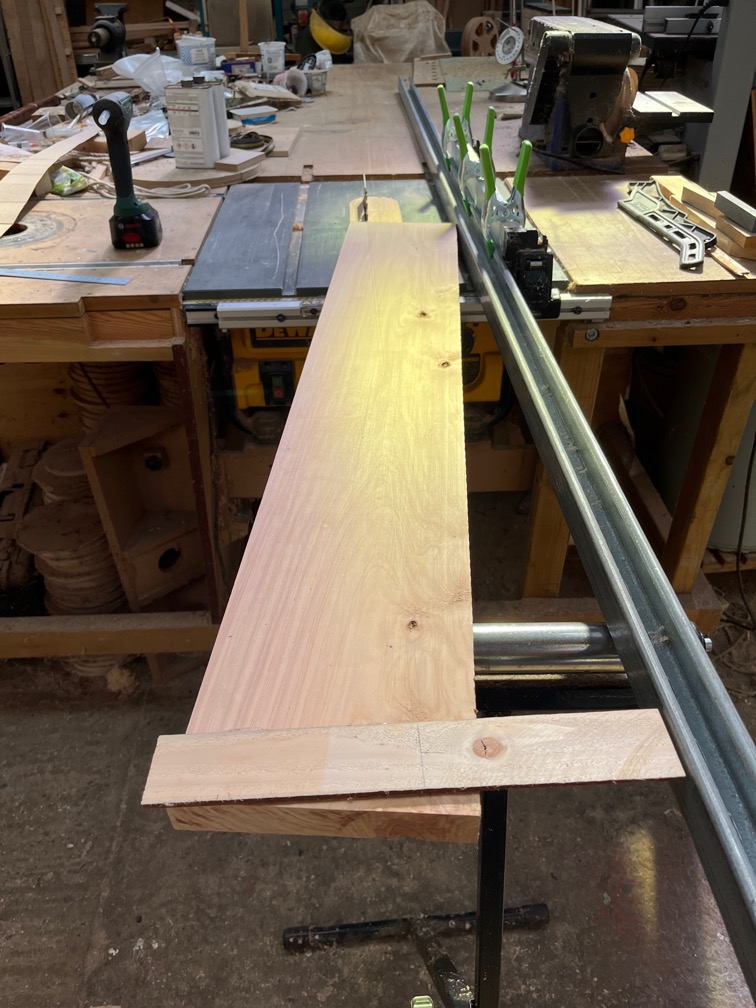
One edge had been cut square and it was a quick and easy job to cut off the live edge. I’m using a long, straight piece of metal as a fence extension to keep the board straight and a roller support to take the weight of the board at the start of the cut.
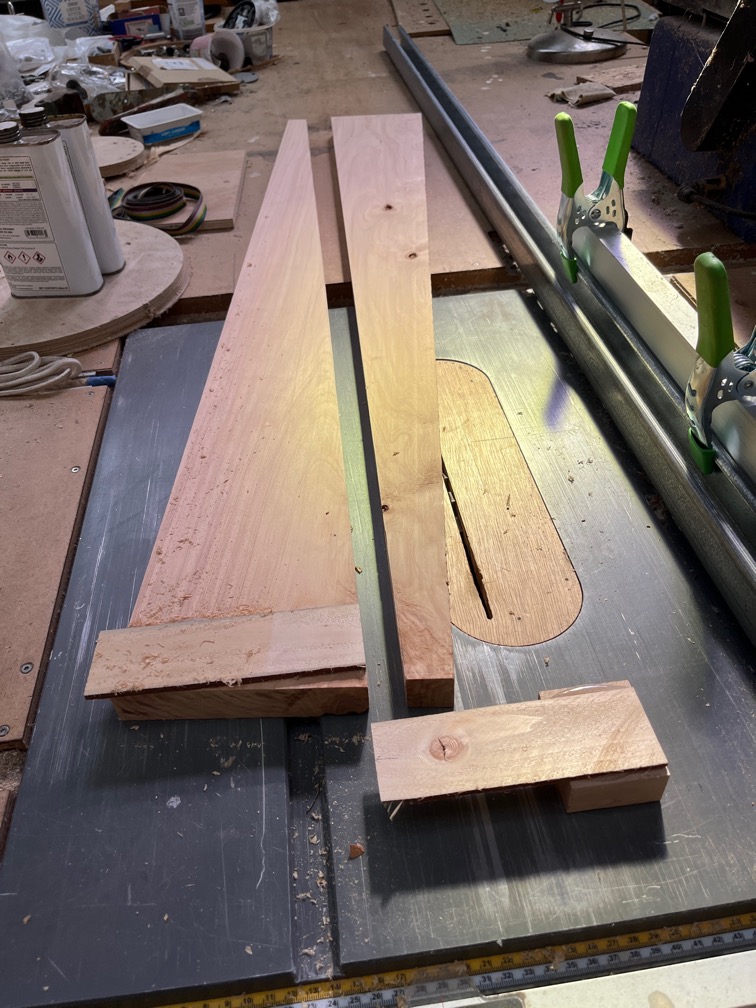
I used the cardboard template to mark the skeg on the board allowing just the width of the saw blade between the two pieces.
To make the angled cut I used hot glue to fix a piece of wood against the timber that will hold the board at the correct angle to make the cut.
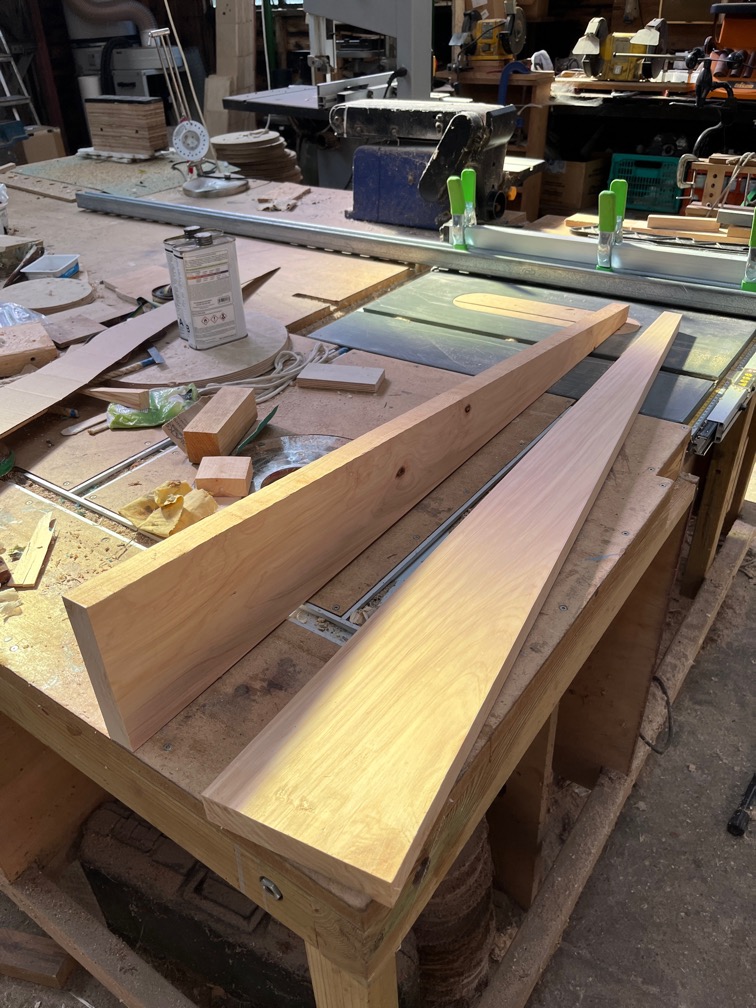
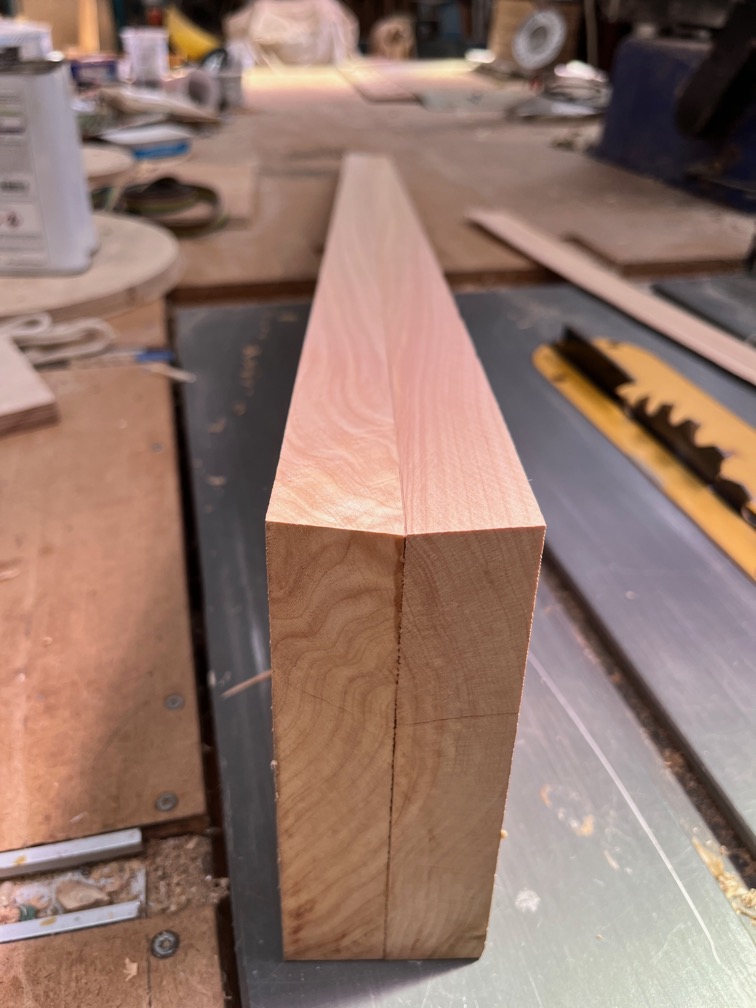
Not much later I had two skeg-shaped pieces of timber.
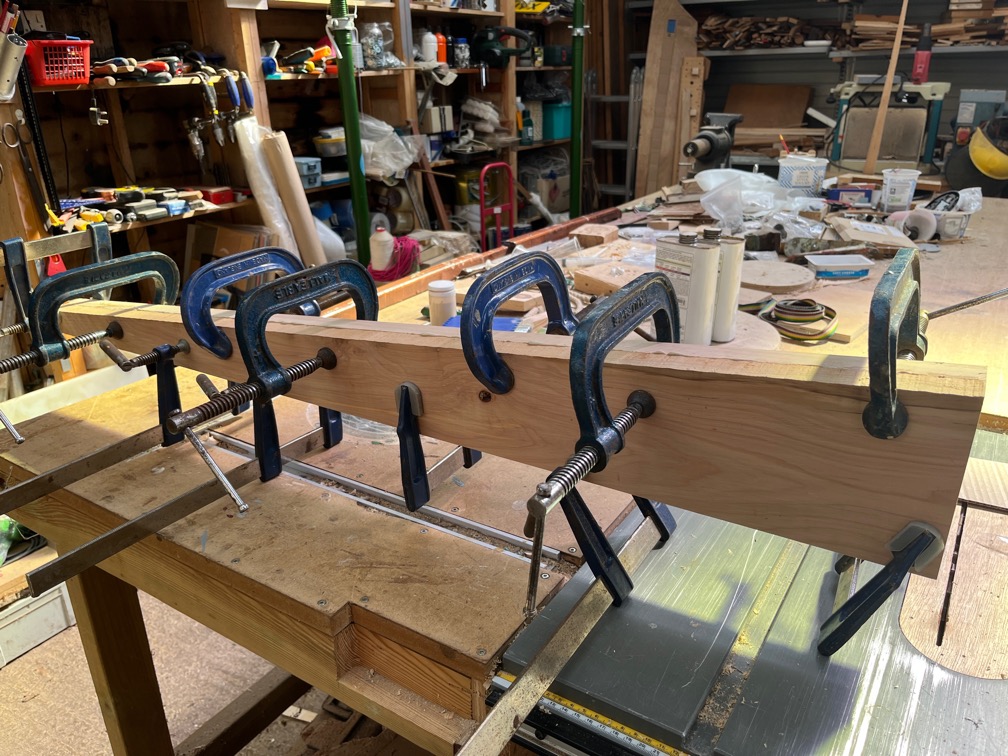
Now it was just a case of glueing them together. The timber is pretty flat so I’ll just use cramps for this job.
I used Titebond III as the adhesive, I did think of using epoxy but decided that since the skeg is going to be sheathed in epoxy and fibreglass cloth and that Titebond III is a waterproof glue, there was no benefit to using the more expensive epoxy.
One question that I have been considering since I removed the rotten part of the transom, is whether the entire thing should be replaced. This would not be an easy job all due to the bevel that would need to be cut on the replacement transom. This would be a rolling bevel, meaning that it changes angle from one end to the other and it would also mean that the new transom would need to be inserted from the bottom when looking at the upside down hull.
I had cut back the transom until I reached good plywood so the question became how likely is it that the other side of the transom has suffered the same problem. It sounds good and the surveyor didn’t note any soft returns from that side of the plywood so the chances are that the rest of the transom is sound.
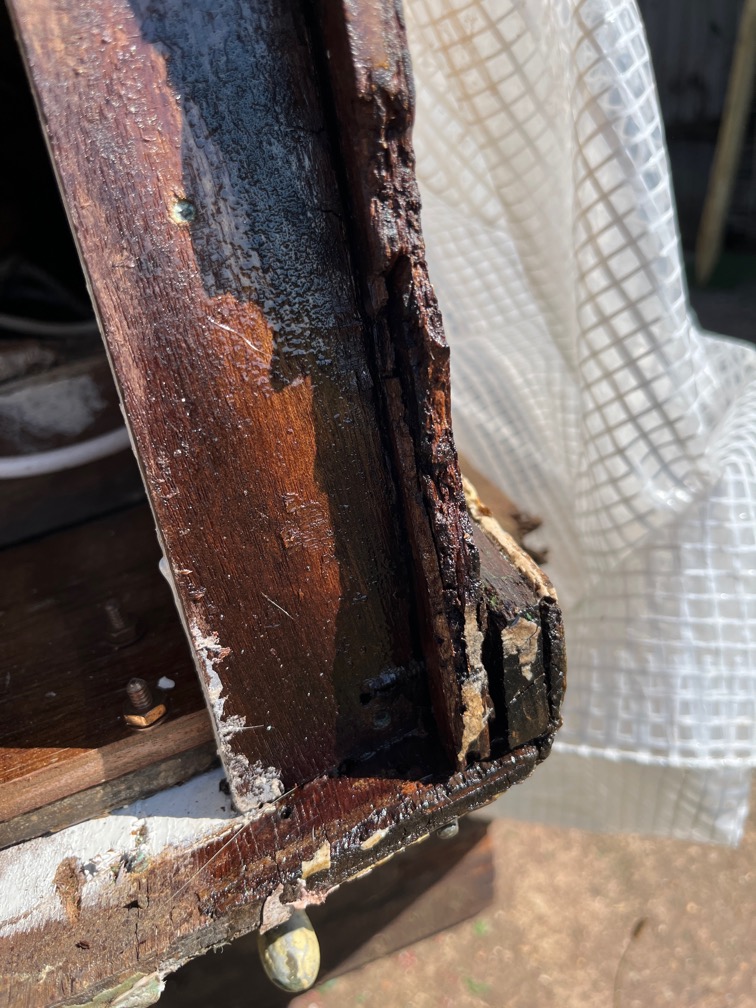
I looked closer at the corner of the boat the lower right as you look at it in the photos and I could see that part of the hull itself was a little rotten. On looking further I saw that this was not a big area of rot but I noticed that the hull to deck joint had cracked and that seems to be the point at which water had been getting in resulting in the degraded plywood. I wondered if that corner of the boat had hit something hard when being sailed which had cracked all the glue joints in that area. It would certainly would explain why just hta corner allowed water in.
I scraped away all of the soft timber that I could reach and applied penetrating epoxy using a brush and a syringe with a large bore blunt needle to “inject” the epoxy into the split joints and then coated the area around where the soft wood had been.
Time for a cup of tea.
Next task, once the glue on the new skeg had set up a bit, was to cut the bottom with a shallow vee-shape to fit the sloping keel.
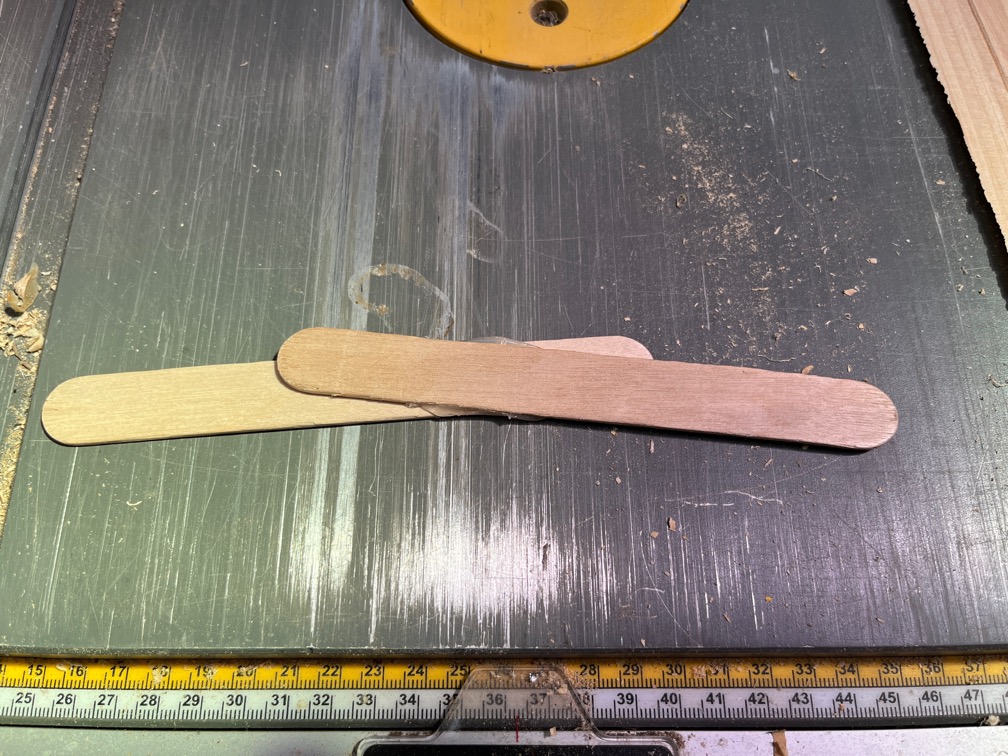
Firstly I glued two mixing sticks together with hot glue, resting them on either side of the keel whilst the glue cooled. Then I measured the angle so that I can set the table saw. My handy-dandy protractor gave a 10º angle, so I set the blade to 85º and made two cuts.
The result was pretty good, as you can see.
Here is the skeg resting on the keel. It isn’t upright but I’ll trim that out during the fitting of the skeg. The bottom needs to be hollowed slightly since the keel is curved. Something for another day, methinks.
Time for a cup of tea.
Moving on I decided to prepare the plywood for the transom. The original plywood was 3/4″ thick, which is 19mm, or thereabouts. I don’t have any good plywood that thick and I don’t want to spend around £100 getting an 8′ x 4′ x 18mm sheet of Marine Plywood only to use a quarter of it. However, I do have 6mm Marine Plywood and I can laminate three layers of that to get 18mm, which will be close enough.
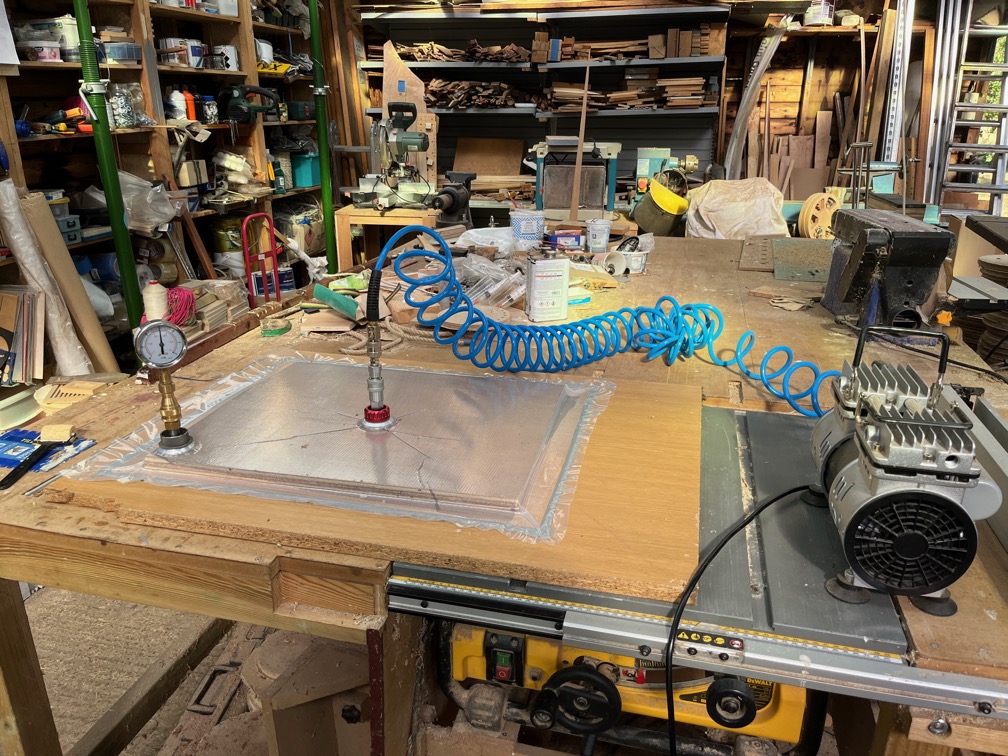
So, having cut the three pieces I set up the paraphernalia to vacuum clamp the three pieces together. Again, like the skeg and for the same reasons, I decided to use Titebond III. But before I could do that I had to clean out the pump on the top of the glue bottle as it has become blocked with old glue and would not pump glue any more.
That was a bit of a chore, but now I know how the pump works and how easy it is to clean it.
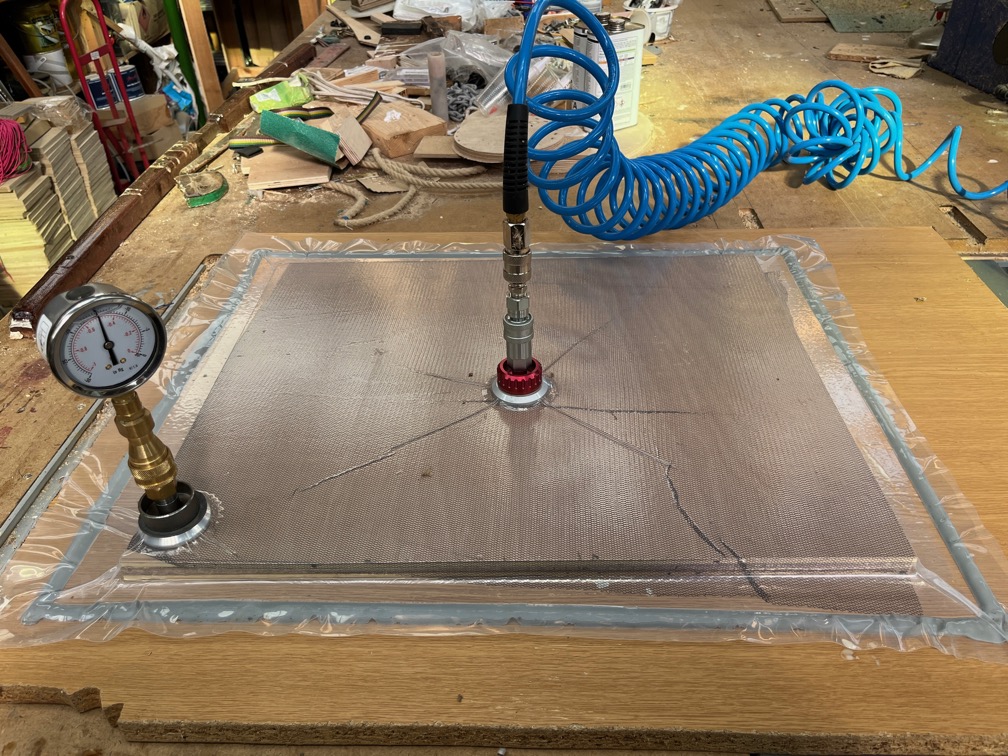
I used a 25mm thick piece of chipboard that had a smooth veneer on the surface as the base for the clamping. It was flat enough for this task. Then it was get everything cut and ready for the glue up. Once the glue had been applied and the laminates stacked, the netting was put on the top, then the plastic cover that already had the vacuum and gauge fittings fitted. I had laid out the butyl tape on the base board before starting to apply the glue, so it was just a case of remove the backing tape, press the plastic down on the tape and start the pump.
The pump is only pulling about 0.5 bar in the photo but I did go around after taking the shot to close up all the leaks and eventually get a vacuum of 0.95 bar, I let the pump run for an hour before stopping the pump and removing the various parts. Usually the glue sets up enough to be unclamped in around 20 minutes, so an hour was more than enough for this job.
Tomorrow I’ll take a look at shaping the plywood.
I really want to get the transom repaired before it is time to turn Shoal Waters the right way up so that the hull is not deformed in any way by the procedure due to the reinforcement of the transom. Preferably, I’d lie tp get it done before I start sheathing the hull as I want to sheath the transom up to the waterline to ensure that the hull to transom joint is strengthened and sealed.