
Now that the nights are drawing in, as the saying goes, it is becoming more difficult to work on Shoal Waters after work unless it is work done in the workshop where I have good lighting. Although Shoal Waters does have fairly good lighting now and I wear a head-torch as well, it is just not safe to use sharp tools in such conditions and it is also starting to get cold once the sun goes down.
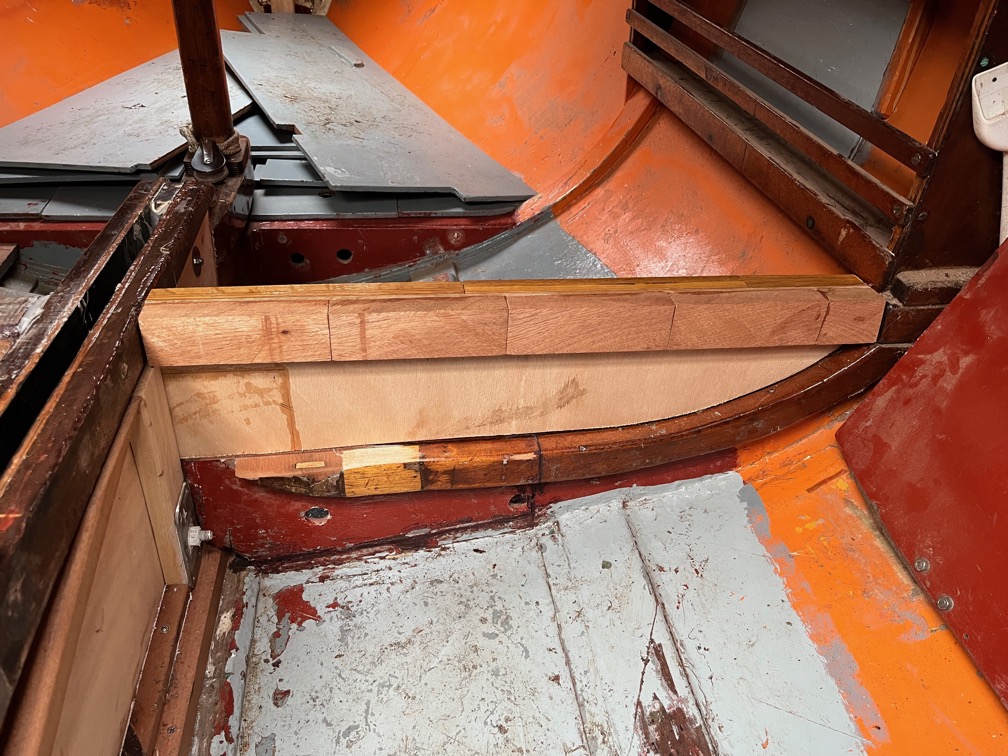
So, it was fairly imperative to get the remainder of the epoxy work done whilst the daytime temperatures are still in the mid-teens. Here is the half bulkhead piece dry fitted and it’s pretty good.
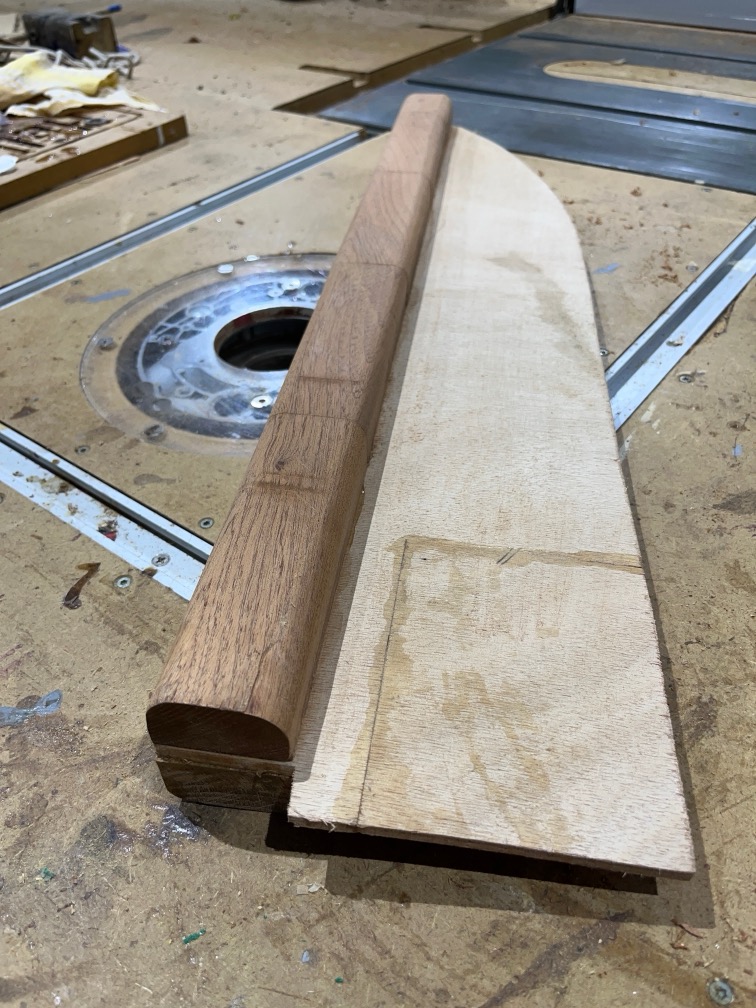
Using the largest round-over router bit I have I rounded the edges of the top section for comfort and to match the other side.
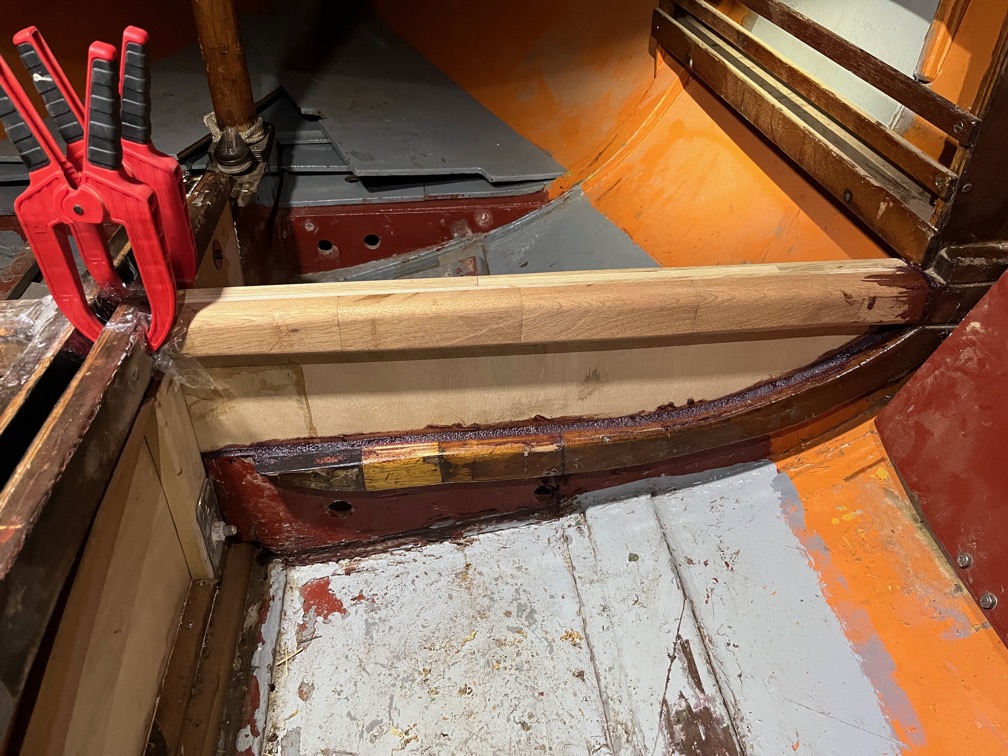
And fitted it in pace with epoxy. I made the thickened epoxy stiffer than normal so that it had the effect of holding the piece a little in place as clamping is not really possible. The two red cramps at there to stop the workpiece from falling forward or aft and are protected from the epoxy with plastic film. As usual, the wood was coated with neat epoxy before assembly where the thickened epoxy was to be applied.
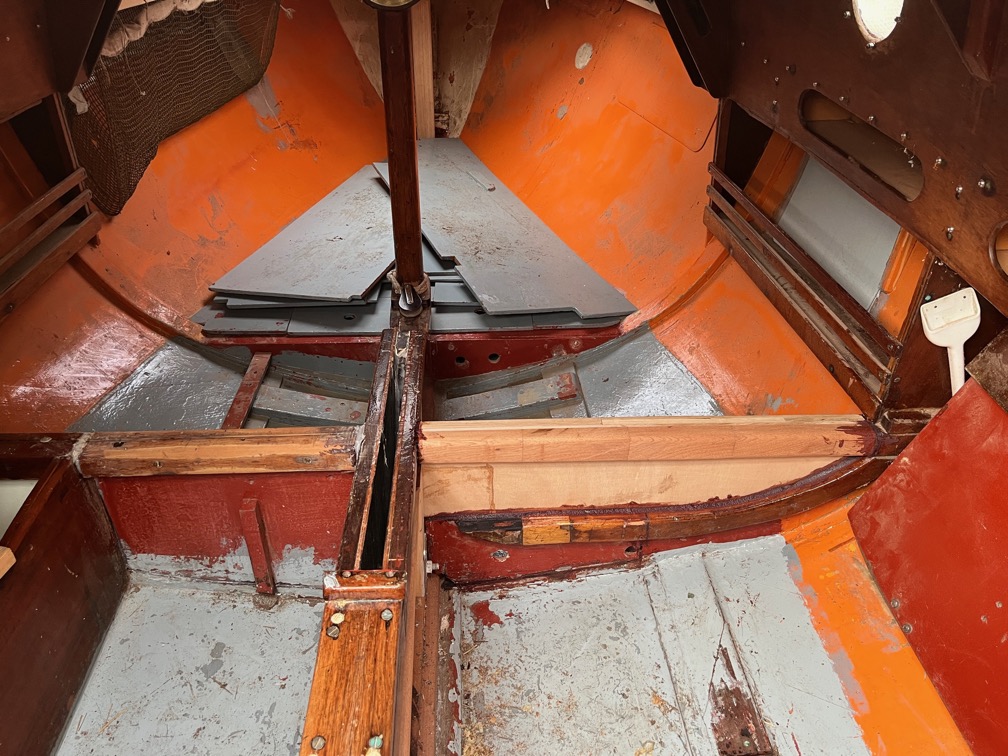
The result the following day was very strong and only a little sanding was required to smooth the epoxy down. One disadvantage of the really thick epoxy is that it is nearly impossible to get a smooth finish when applying the stuff !
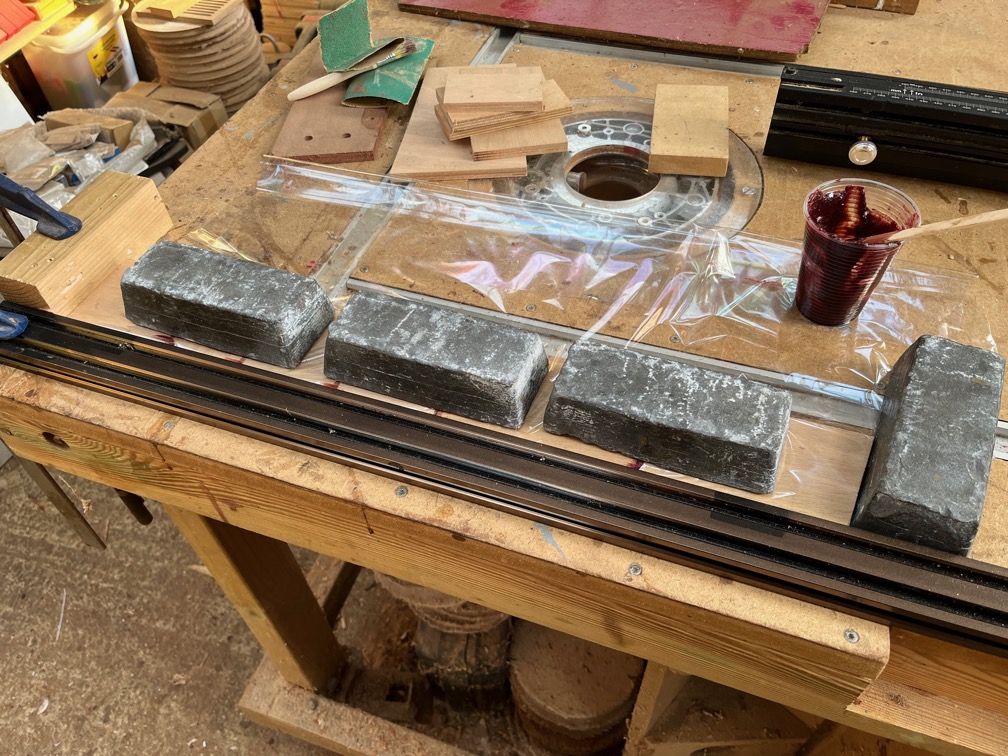
Next task was to make the patch to go over the leaky hull. I made this up from smaller pieces of marine plywood as I don’t have enough left to make this from one piece.
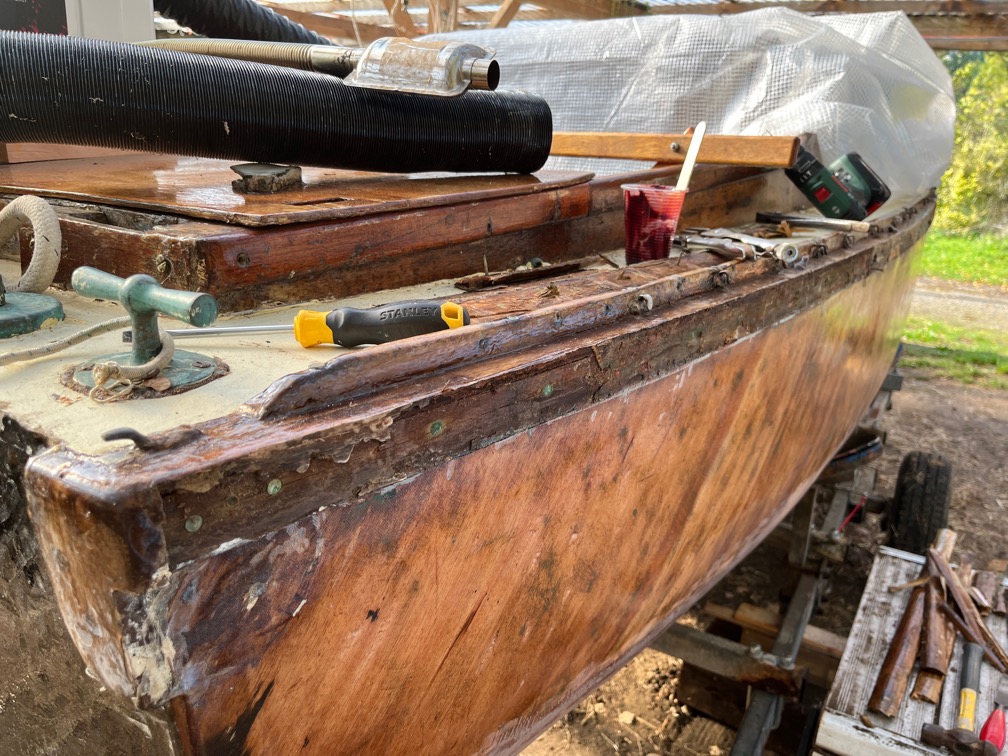
Whilst that was curing I took the time to remove the outer part of the rubbing strake that has been repaired in a number of places and is coming off in others. It came off quite easily.
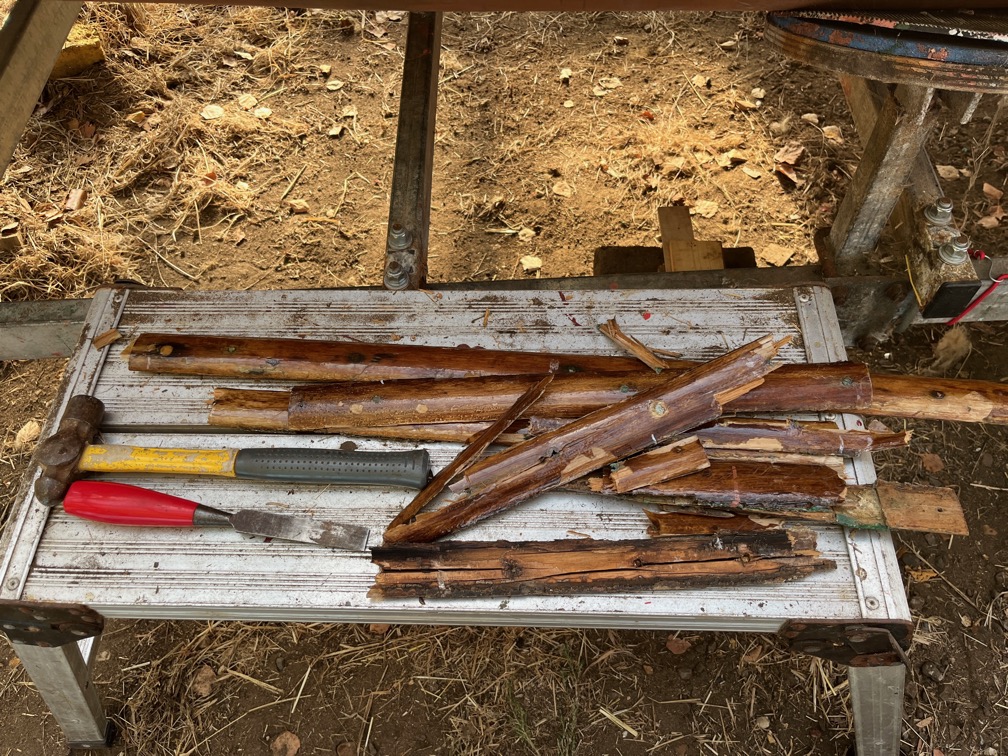
The strake was made from what is known as half-round battens which is not half round at all and has a feather edge on both edges. These are fragile and break easily.
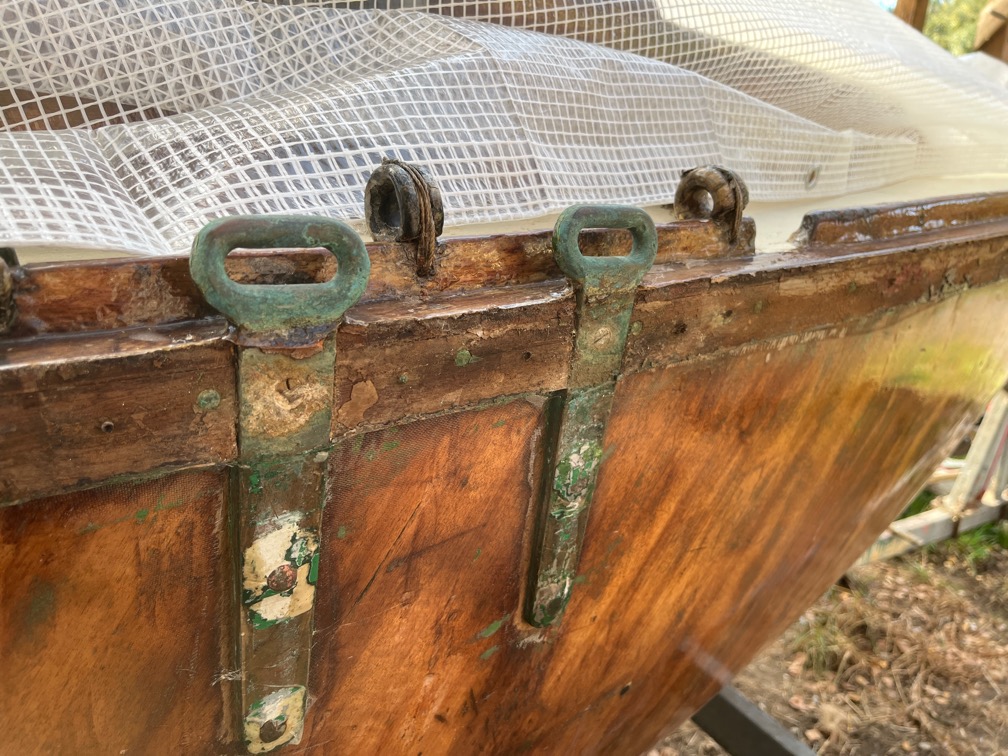
The outer strake goes over the chainplates as can be seen here.
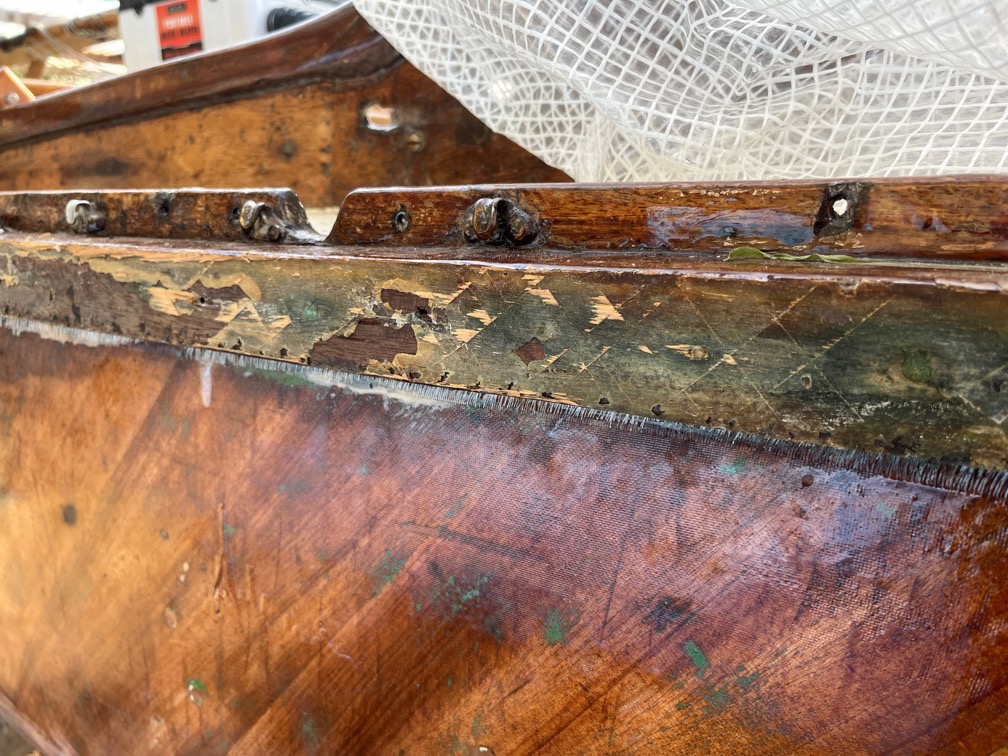
This is one of the repaired sections where you can see that extra glue has been forced between the two strakes. This part was also screwed on with stainless screws, the rest of the strake being held on with bronze gripfast nails. Well, it appears to be bronze, it isn’t steel, iron or brass, that’s for sure.
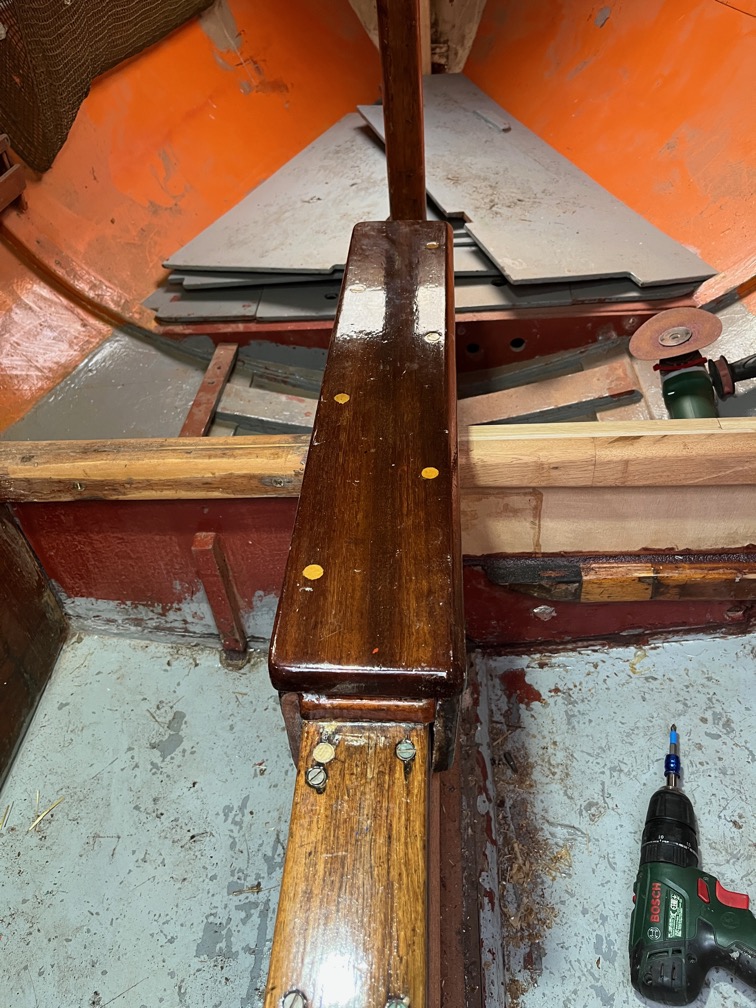
I also dry fit the centerplate case top. This needed adjusting in a few places due to the new dimensions of the case, but nothing major.
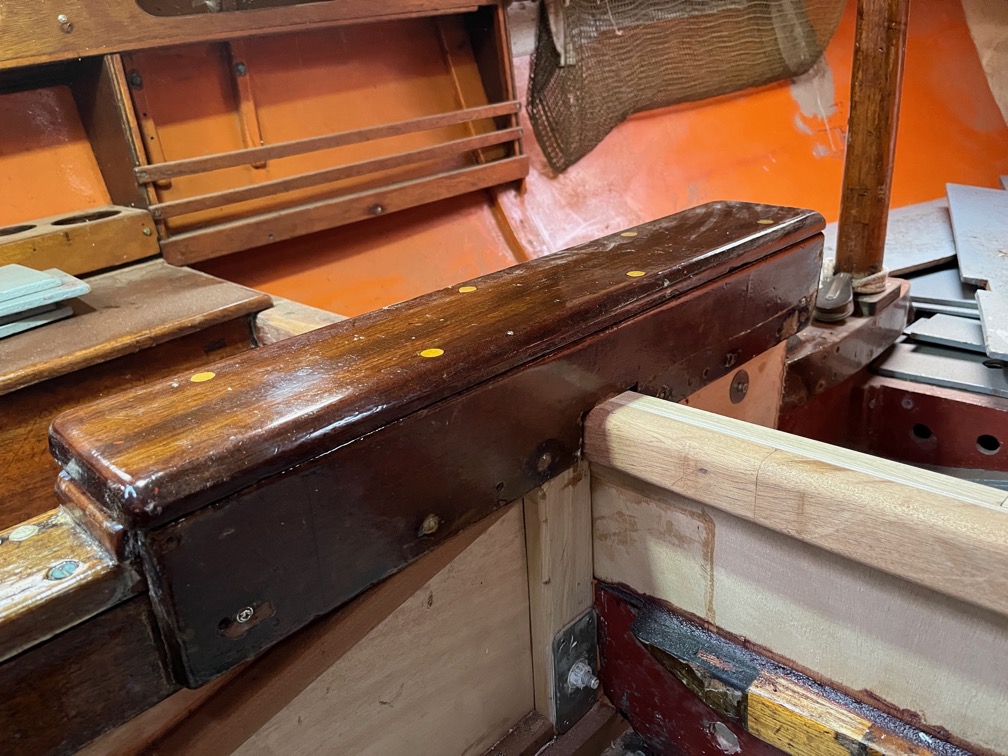
Most of the screws were brass and have snapped off, so I used stainless screws to replace those but in new holes.
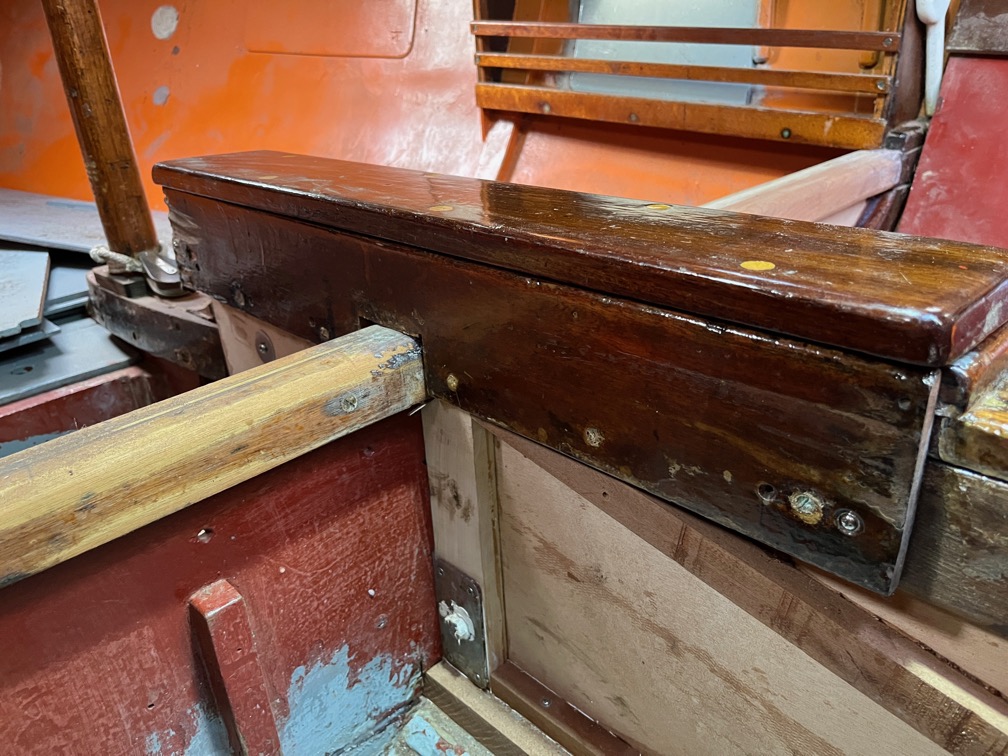
The main part that needed adjustment was the notch in both sides that goes over the half bulkhead as this is in a slightly different position than before.
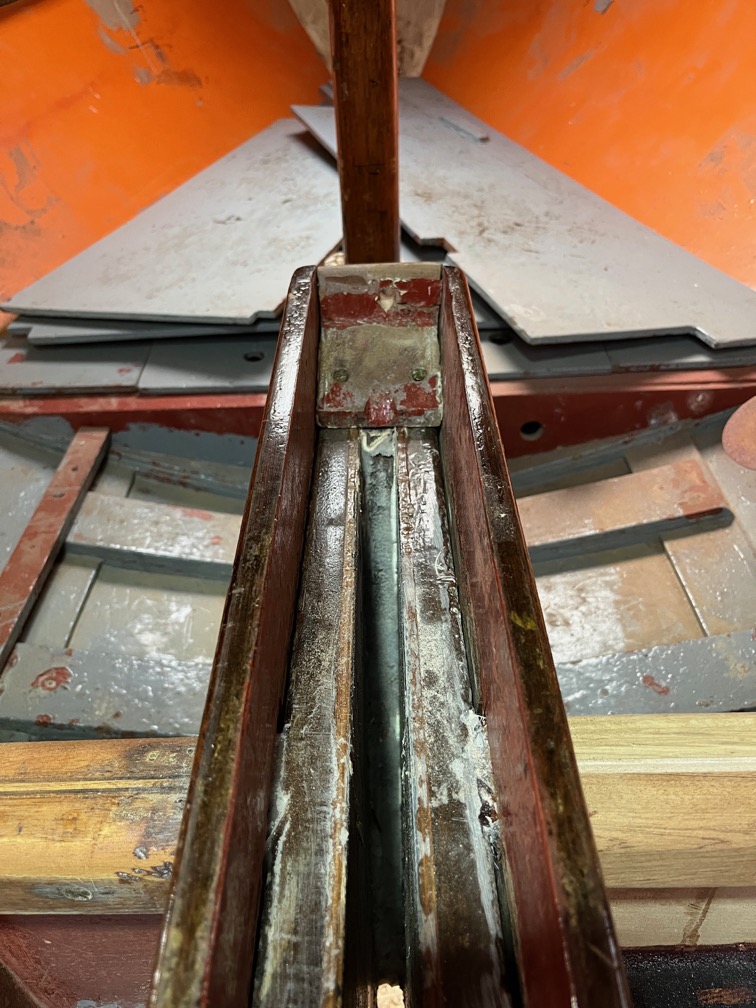
I don’t think I shall glue this on as it was before, instead I shall run a thin bead of sealant over the joins on the inside to prevent water ingress, and leave the holding to the new screws.
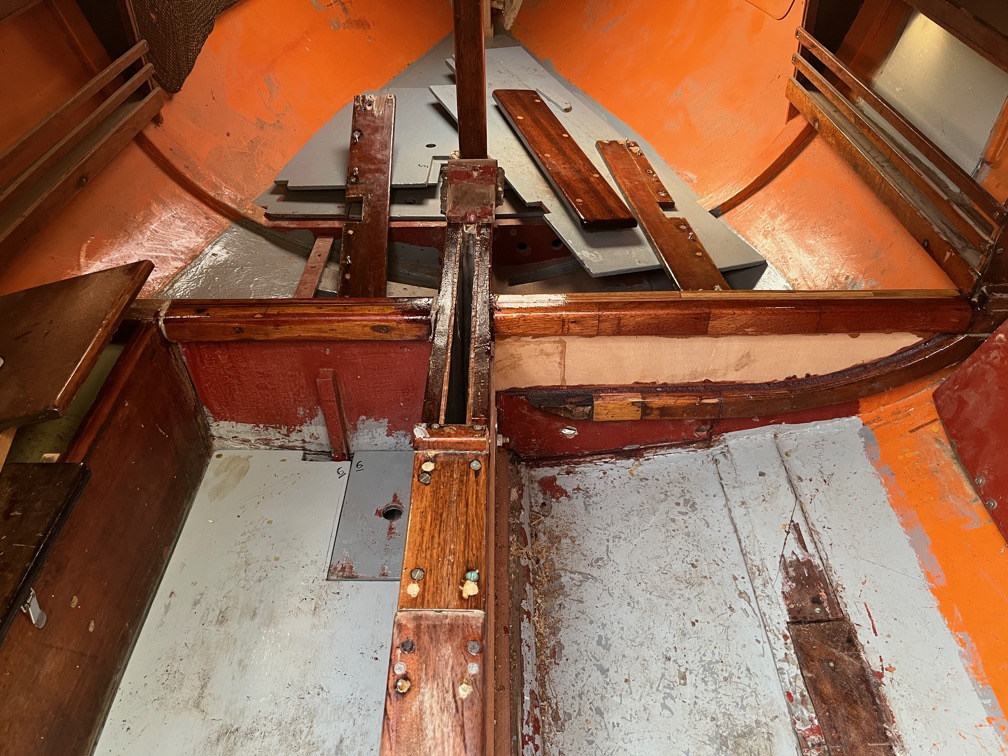
The downside is that I cannot fit this in place yet as the half bulkhead needs to be varnished first as the top covers part of the currently bare wood of the bulkhead. So that got done next.
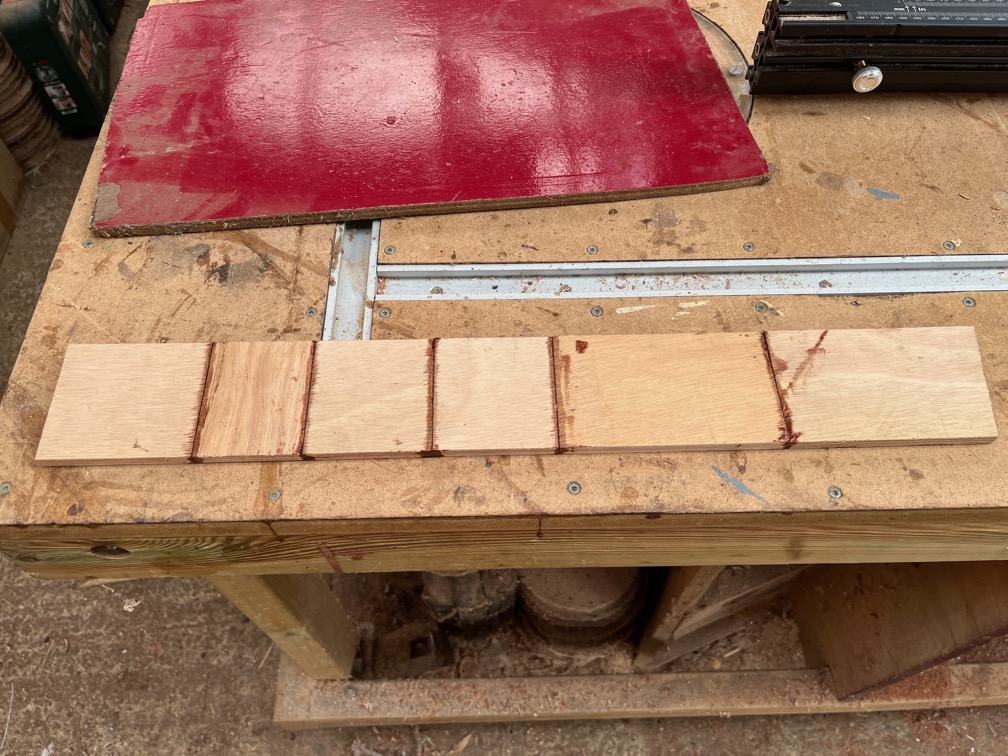
The patch came out well.
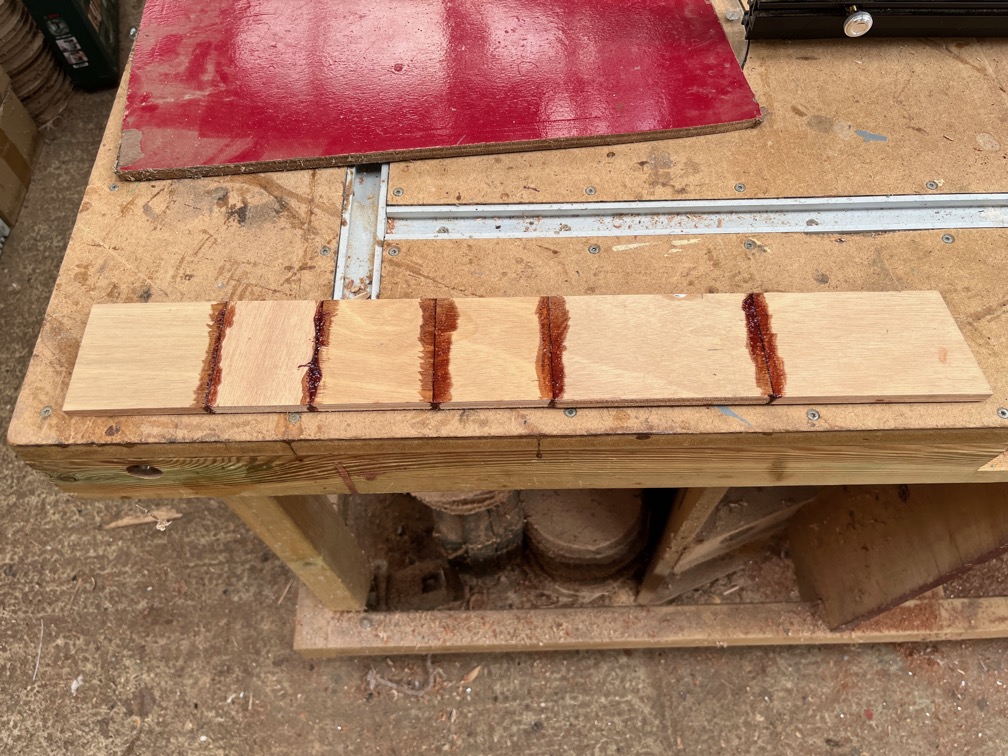
The epoxy spread where the patch rested on the plastic film and required some sanding.
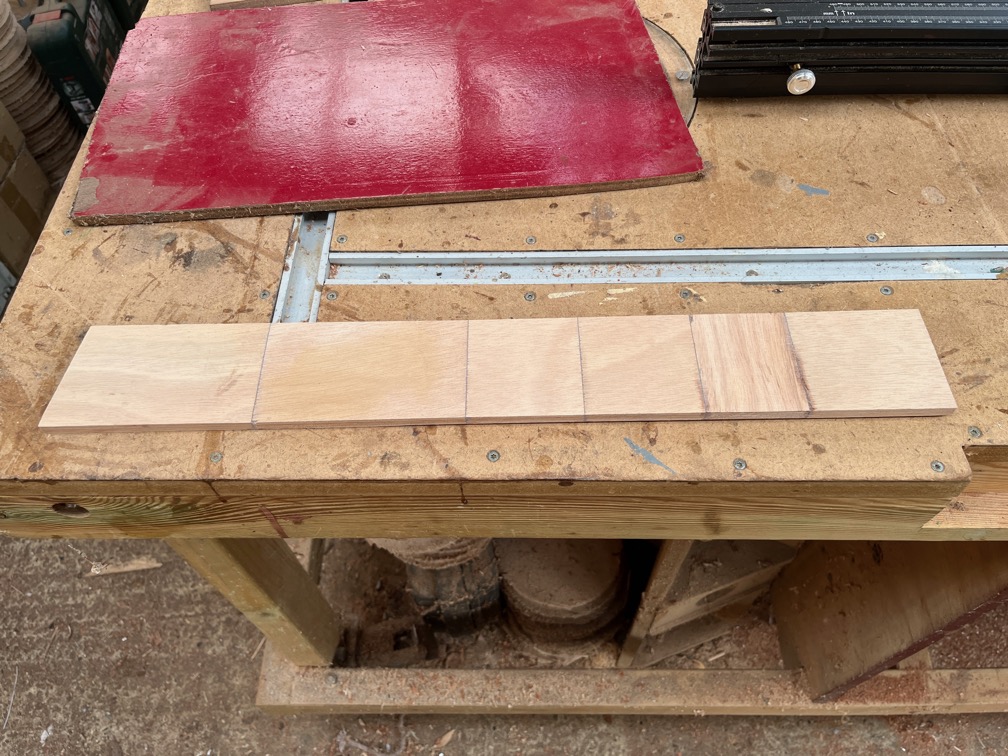
The result is good enough for the job.
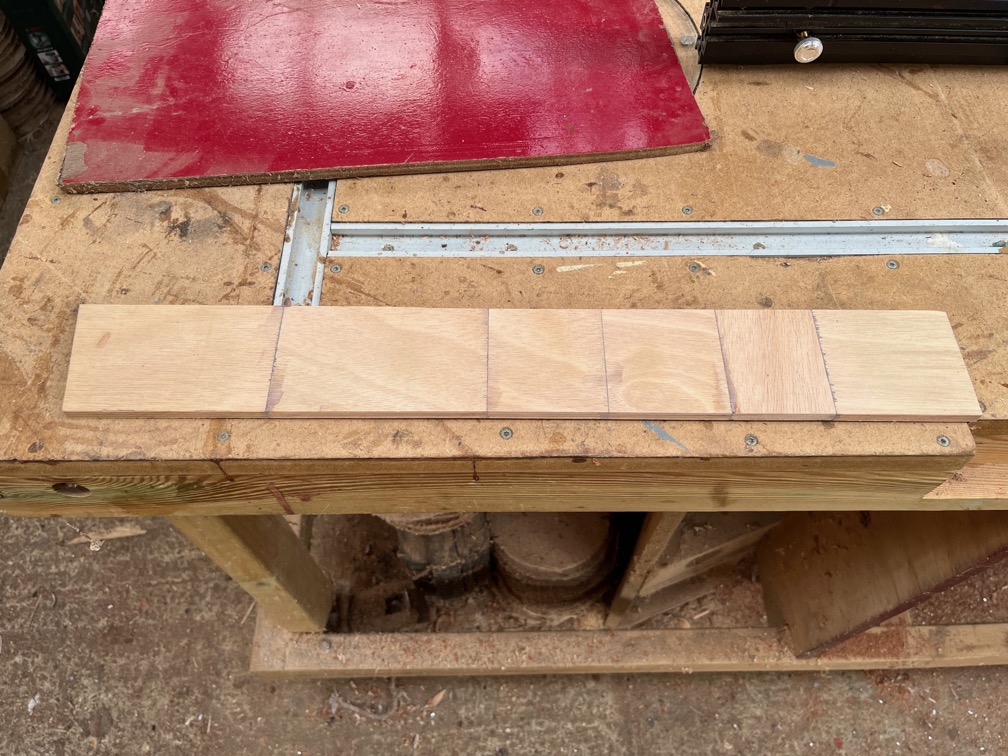
Boths sides are pretty flush with each other. I cut the ends to fit the space.
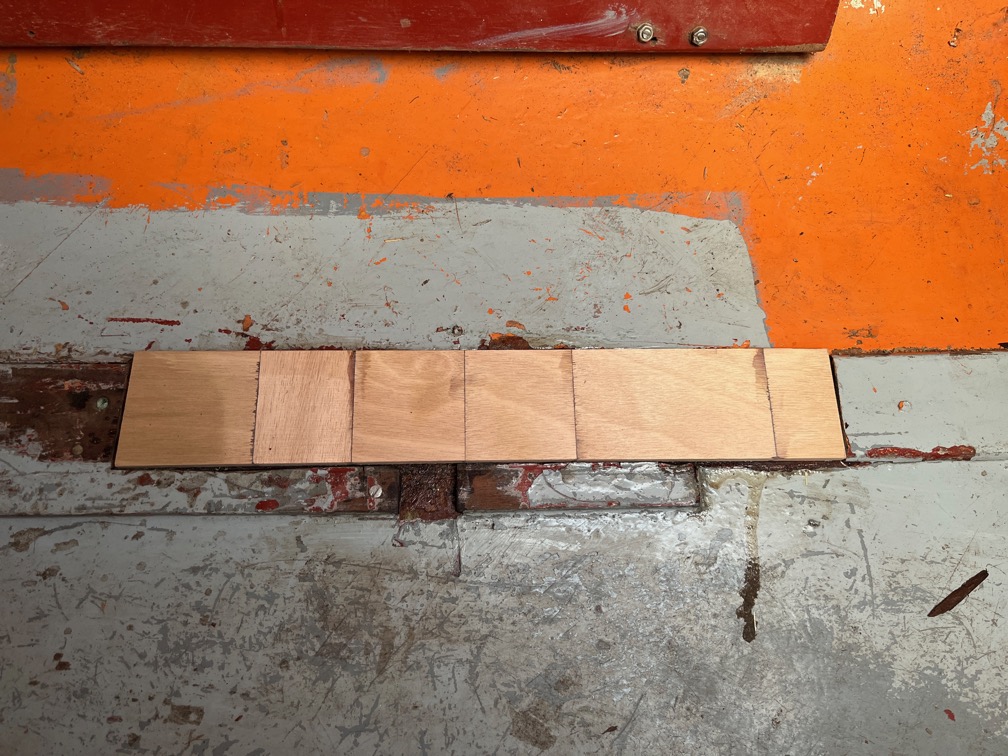
Here is the patch dry fit. This will be put in place with thickened epoxy and screwed but not until the screws arrive. The trouble is that the screws I have are either too long, too short or not stainless. The patch is 9mm thick, the hull is 10mm and the nearest stainless screws I have are 20mm or 12mm. So, I have 16mm screws on order !
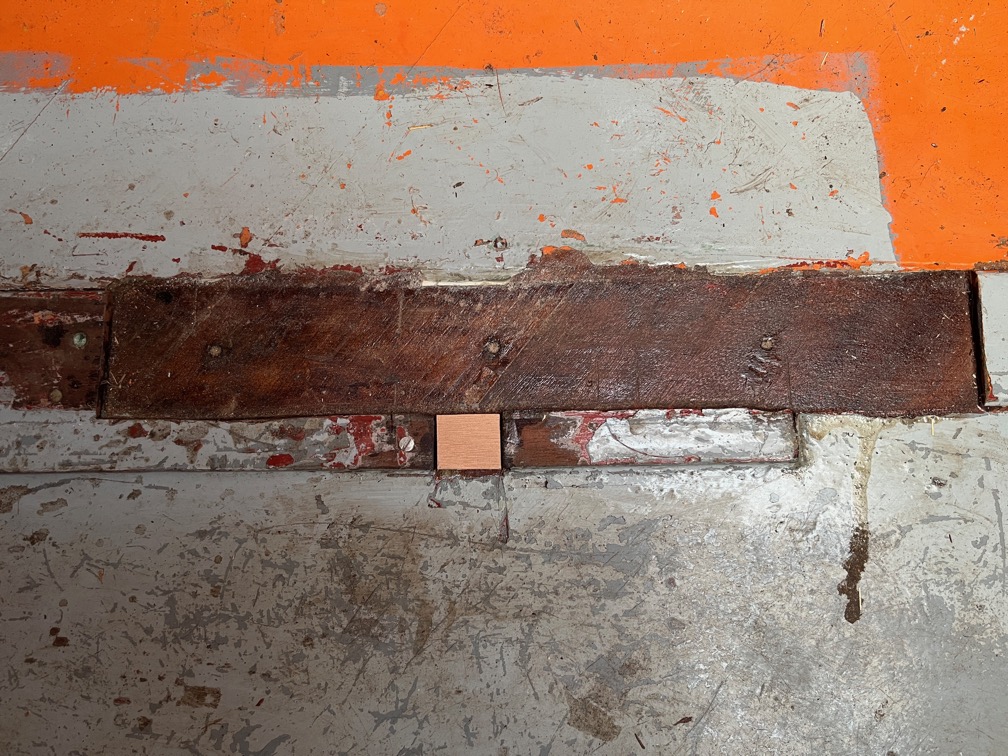
And the small patch cut and dry fit as well.
Time for a cup of tea.