
Another grey, foggy and slightly chilly day. I have to say that I put off going outside until it warmed up a bit, which it didn’t, so I went out anyway, just much later than I would have otherwise.
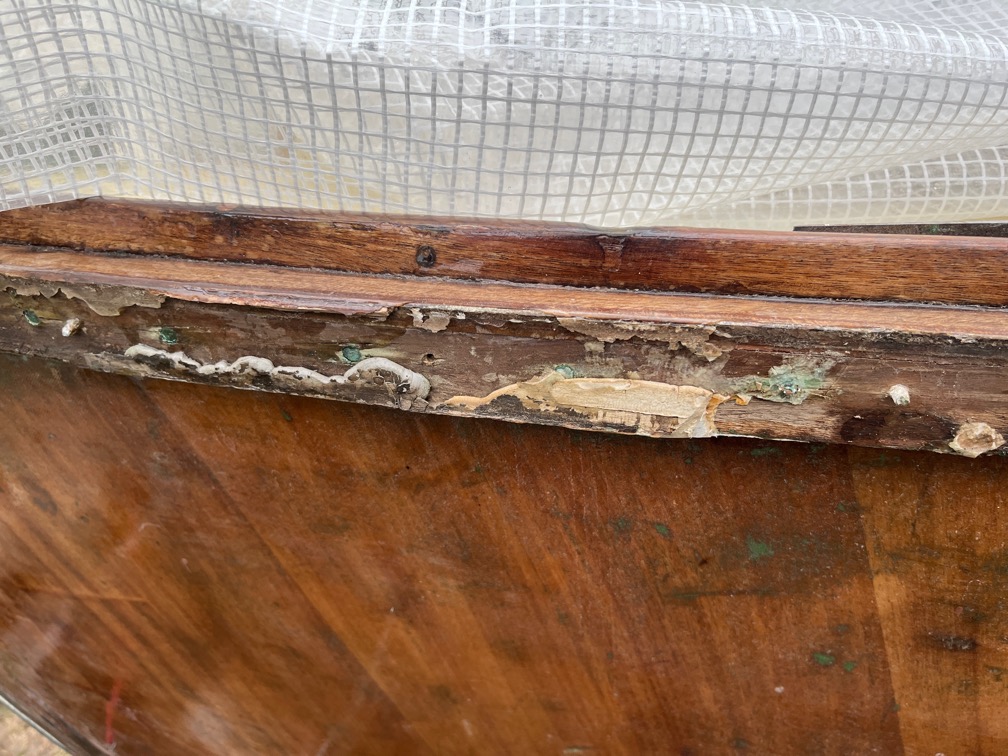
Time to remove the portside outer rubbing strake. This came off as easily as the starboard side. This strake had also been repaired and this major repair seems to have been done twice. Once using a hard filler of some kind and the other using grey butyl tape. Both were easy to remove.
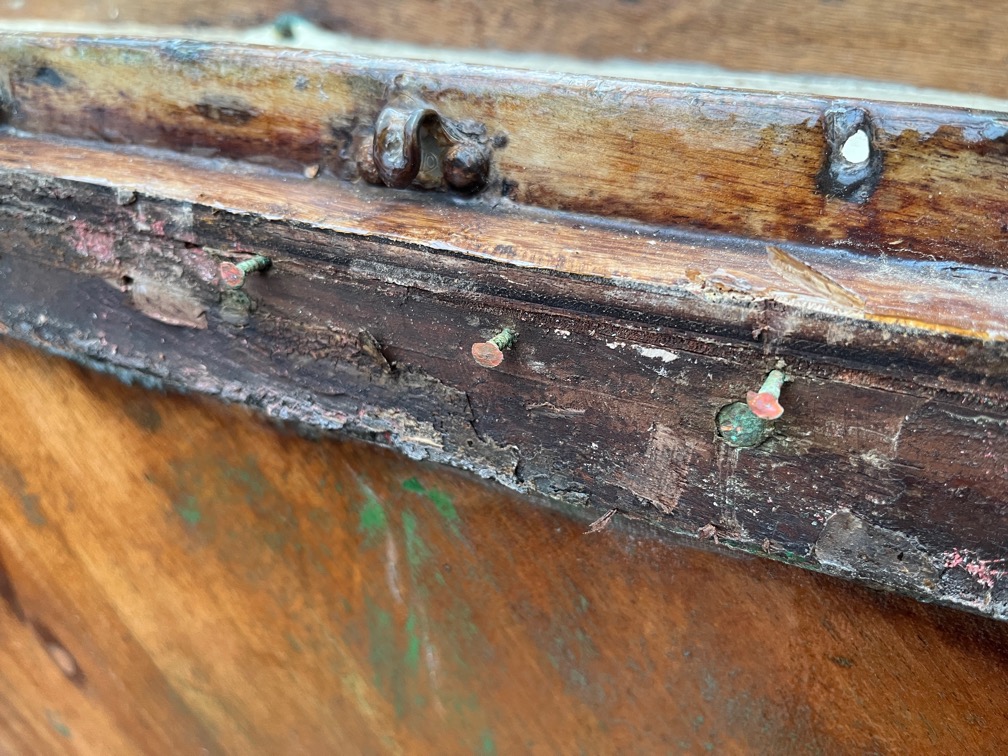
I number of other repairs have been made using bronze gripfast nails like these. Although they look like they are degraded brass nails from the copper colour of the heads, they are still strong and they are gripfast. I don’t think you can buy copper gripfast nails. You can get smooth shank copper nails, called clouts, for fencing and roofing and wot not, but not ring shank copper nails.
There were some copper fastenings in this side and these had degraded.
I ordered some 1″ bronze gripfast nails to use for the replacement outer strake and there’s an amazing difference in price. I thought I was onto a winner at £8 for 200 nails but then found that these would in Australia ! The postage was a lot.
So, I got some on order from Classic Marine. More expensive, but will arrive in days instead of weeks.
Time for a cup of tea.
The next task is to make templates for the repair of the bulkhead between the cockpit and the cabin. This had to be cut away in order to remove the centerplate case and now that this has been replaced, the bulkhead need to be repaired. And for that I need templates.
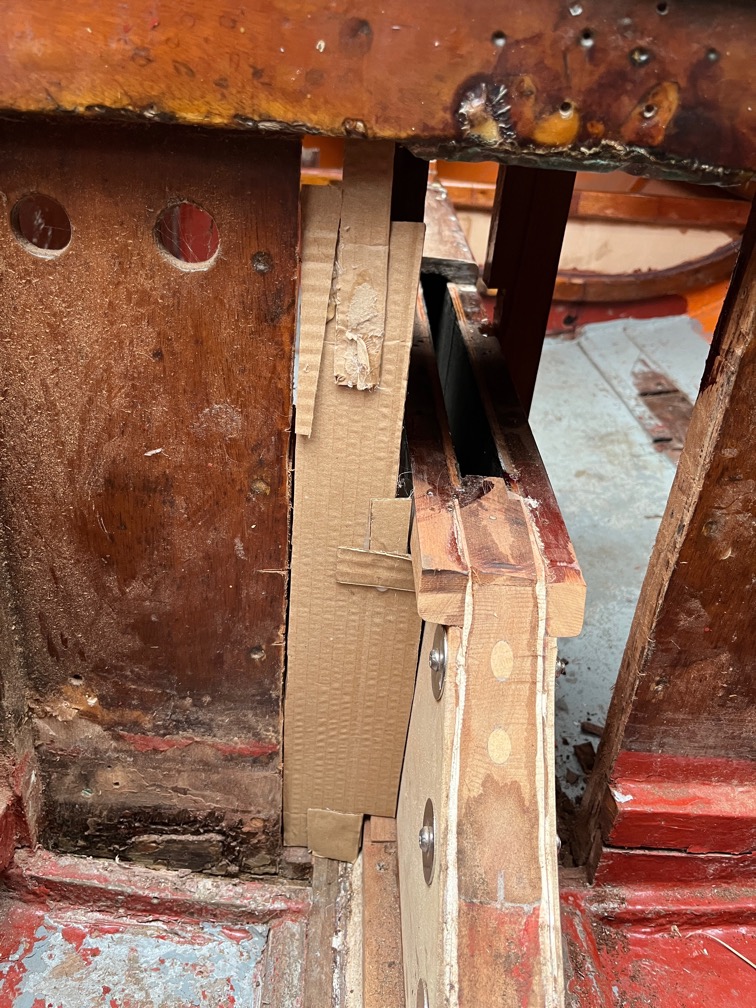
The template was made from various pieces of cardboard stuck together with hot glue. It looks a bit raggedy, but the essential dimensions are present.
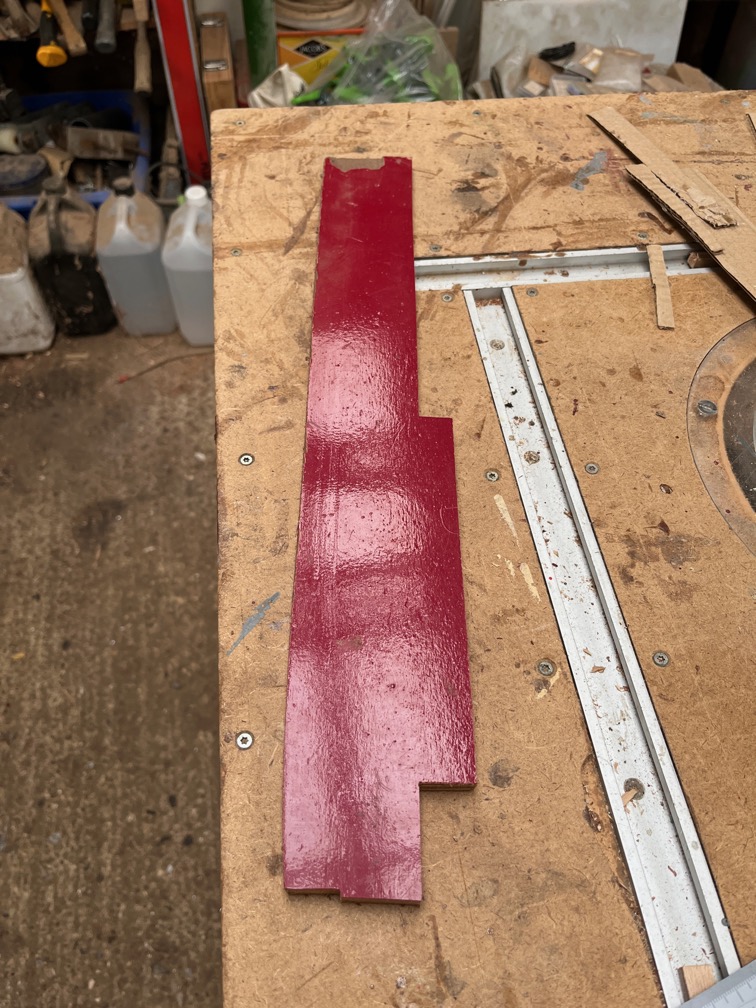
I used a piece of 9mm plywood that I took out of Naiad when I rebuild her and this is the result.
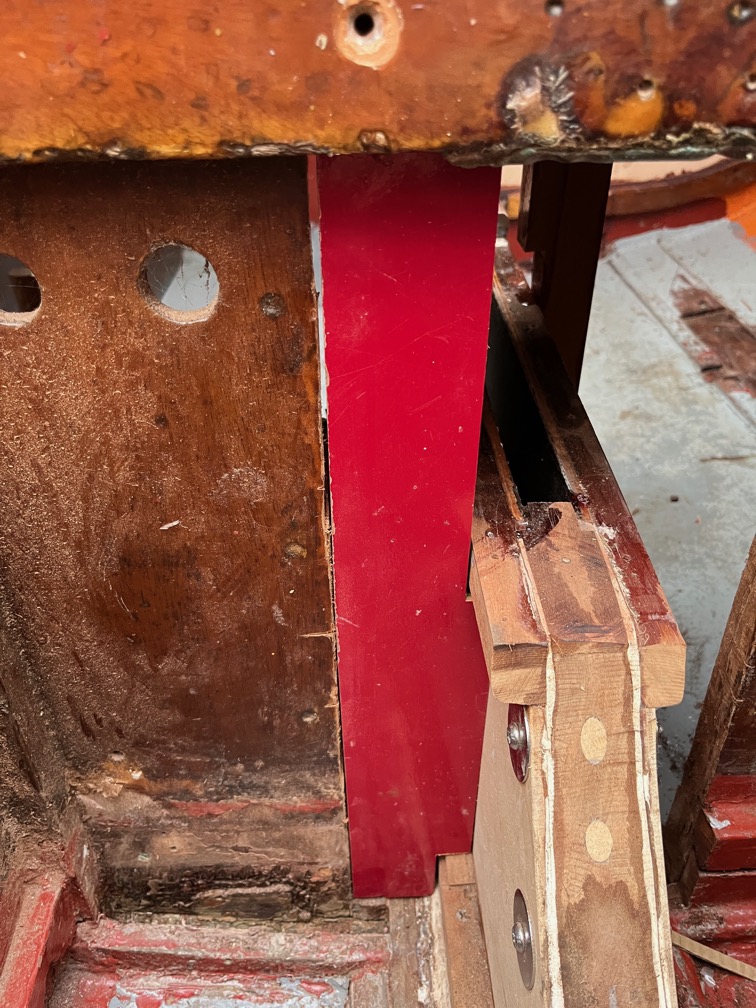
It is a pretty good fit and the gaps are because the cuts I made were not straight. These will be filled with epoxy.
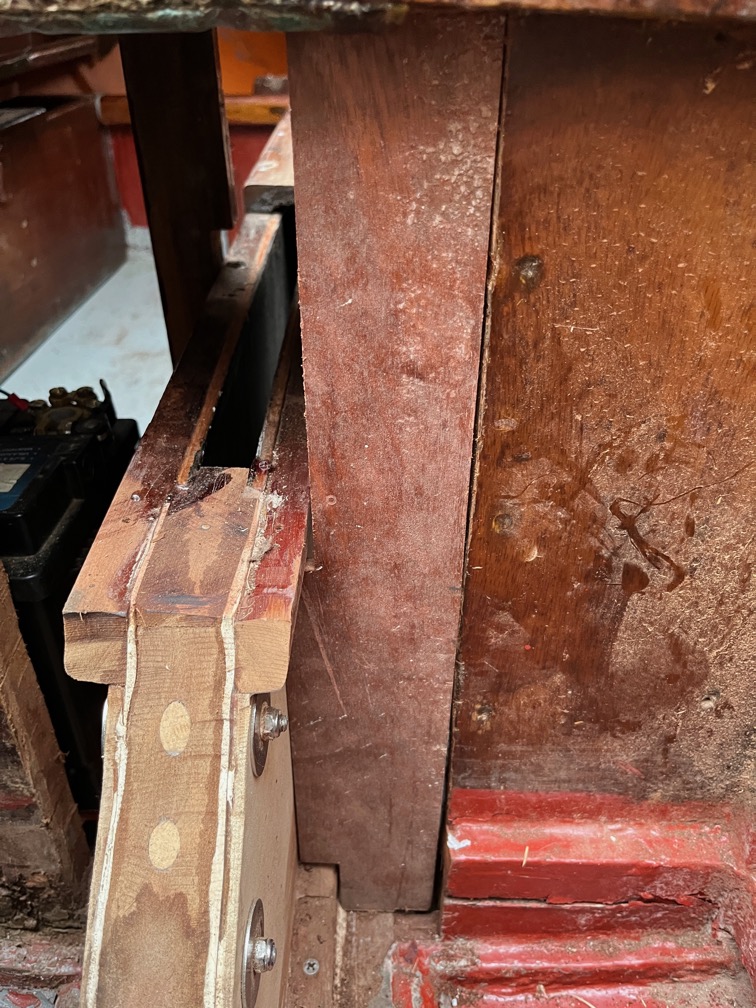
I tried the cut piece on the other side, just to see how close it was and was pleasantly surprised to find that it was a pretty good fit.
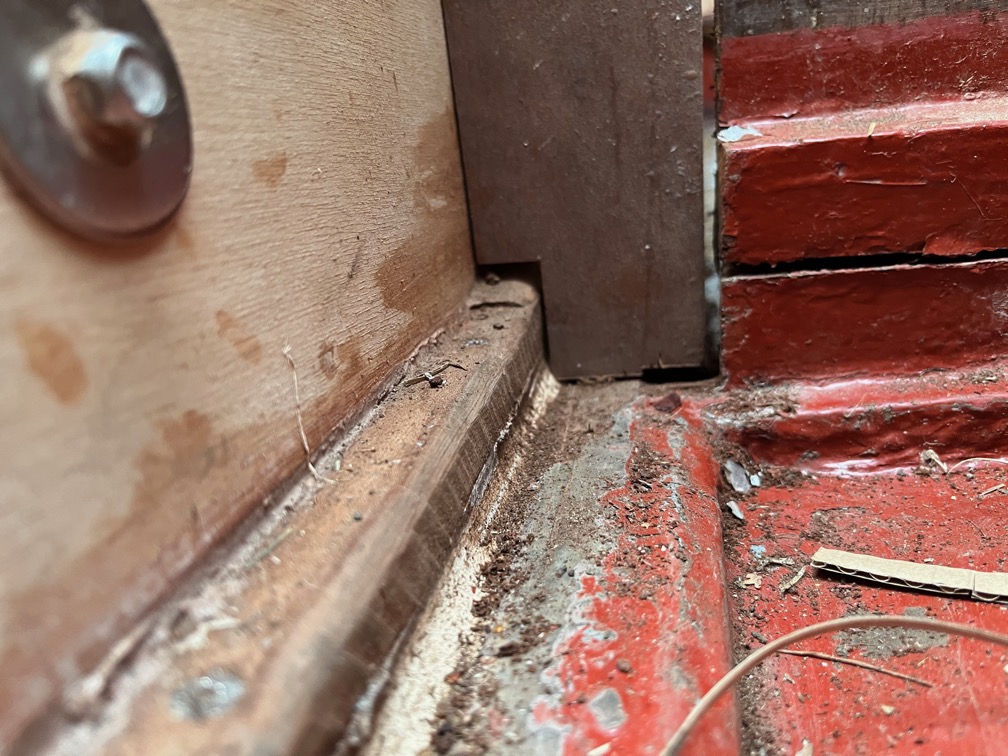
The widest mismatch was at the bottom as you can see here.
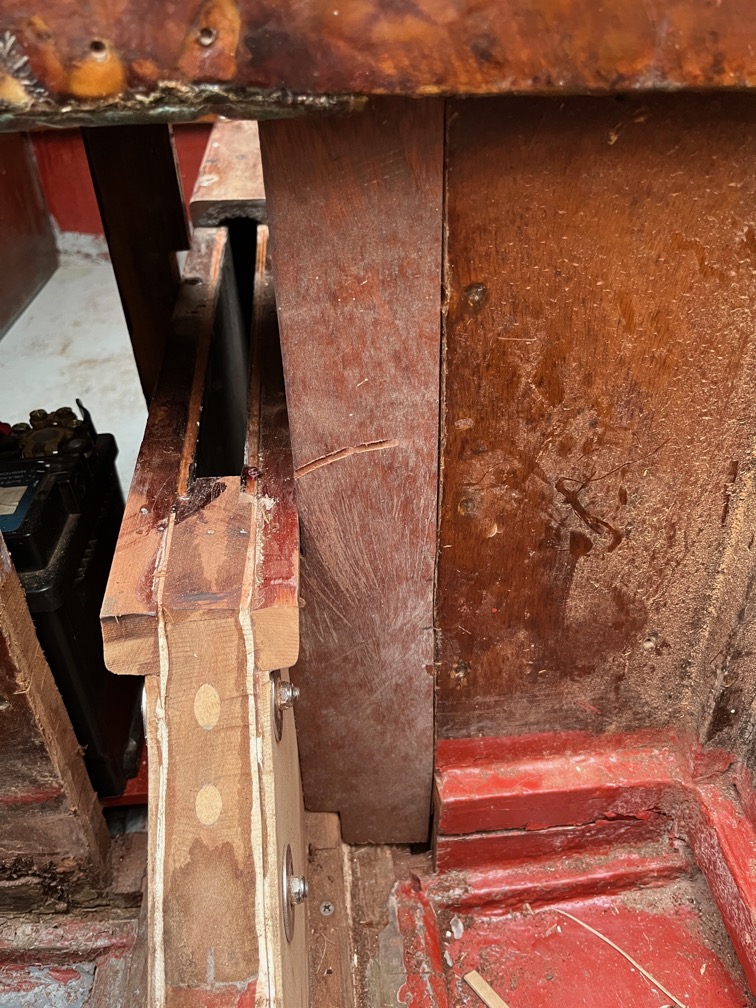
However, that did allow me to make an infill for that side without having to make a separate template. Again, any gaps caused by accidentally curved cuts will be filled with epoxy.
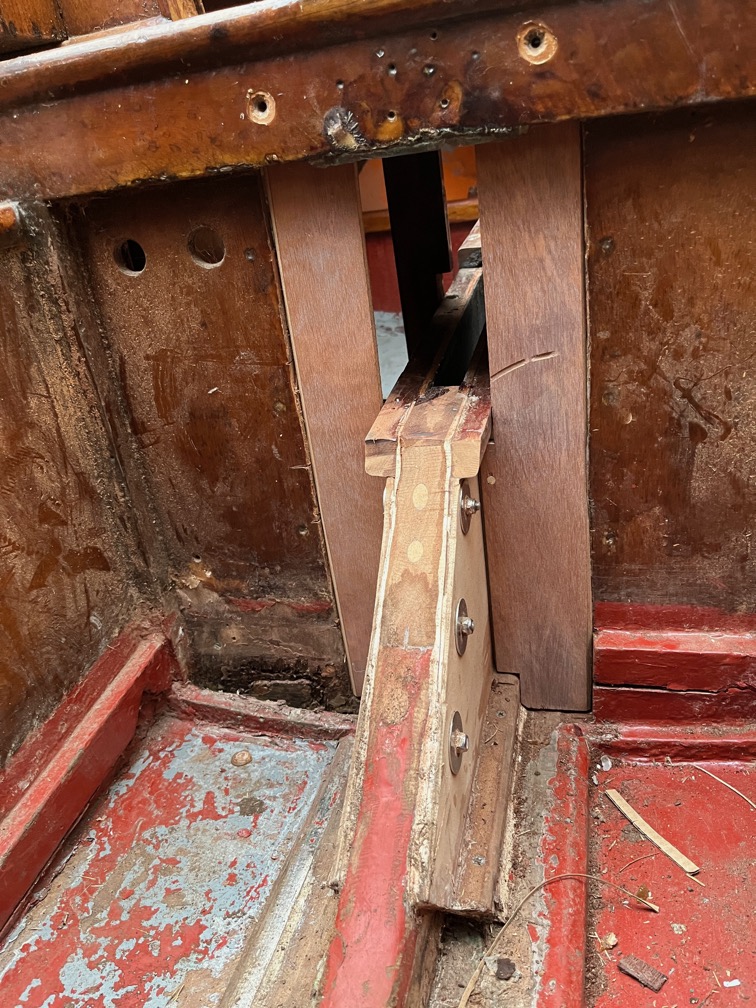
I chamfered the back edges of the infills, the sides facing the cockpit, and these will be filled with epoxy . Fitting these pieces by putting epoxy on the edges first and then trying to get the workpieces into position is just going to be messy, so I shall put the infills in place having coated all the mating edges with neat epoxy and clamping the tops to the underside of the bridgedeck, and then I will pipe thickened epoxy into the chamfers.
But, that is a task for tomorrow. It’s getting cold and dark and not conducive for epoxy work.
Time for a cup of tea.