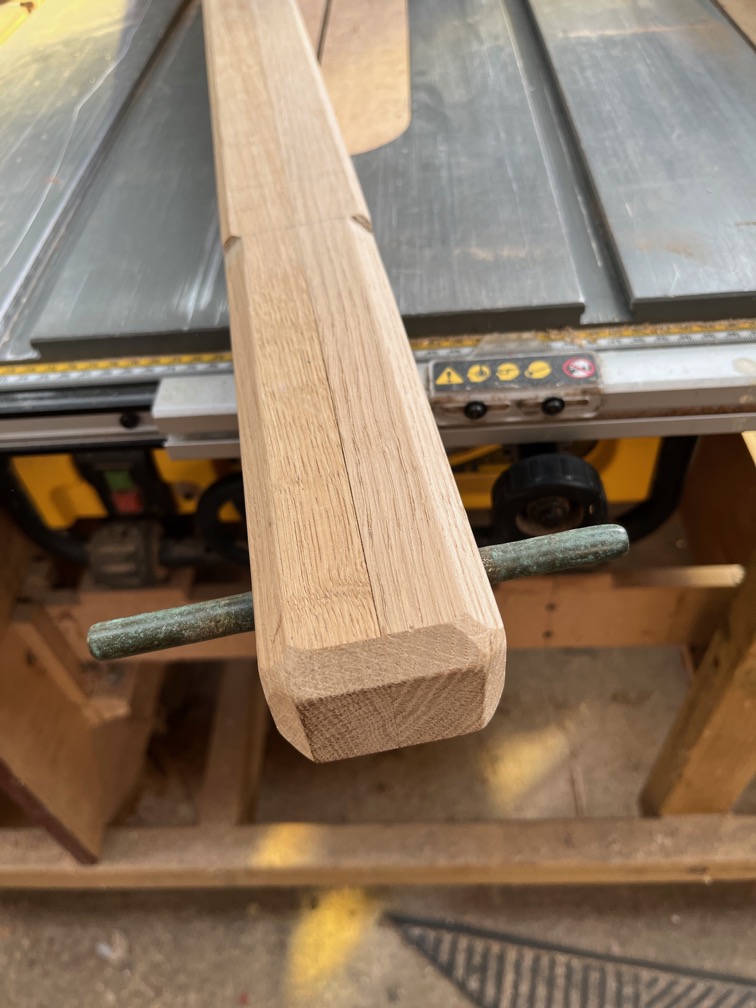
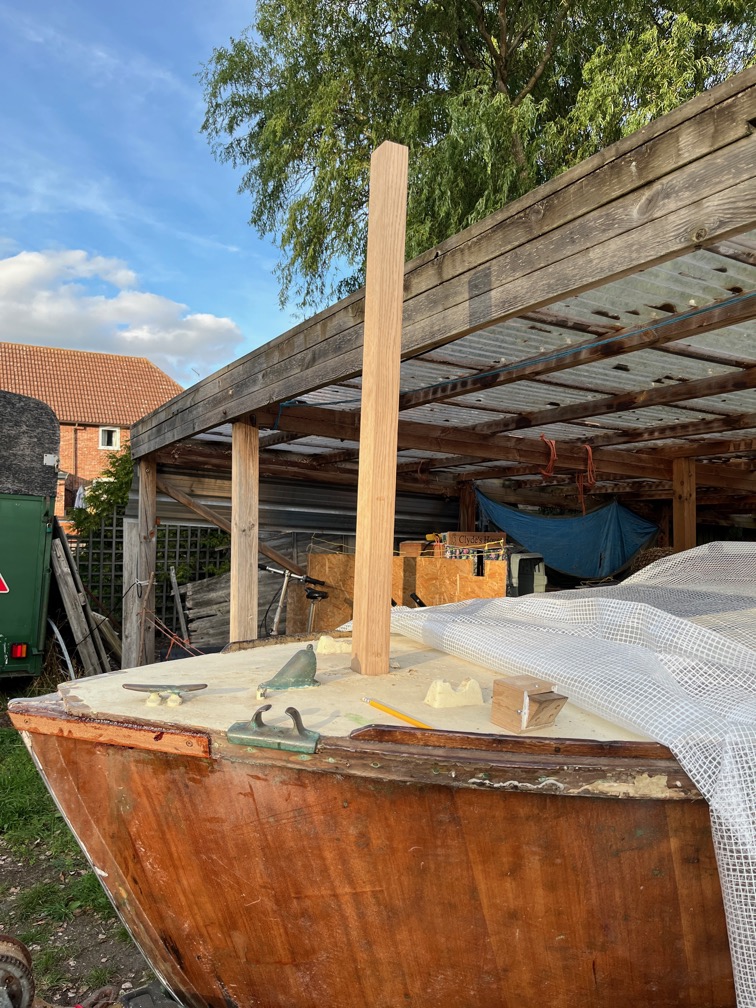
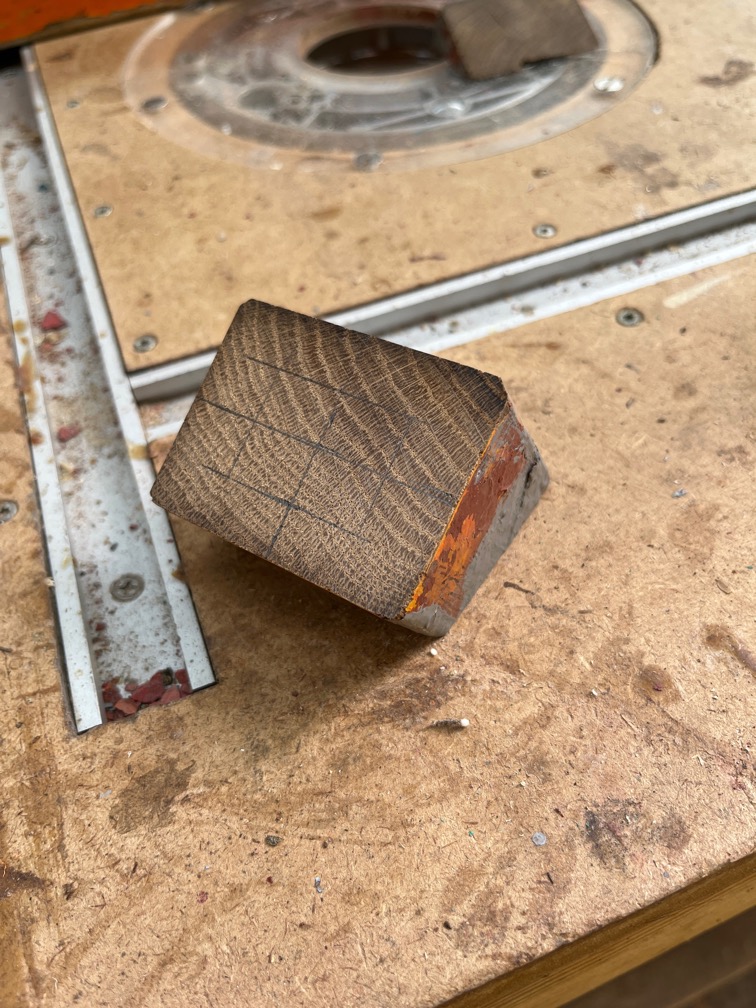
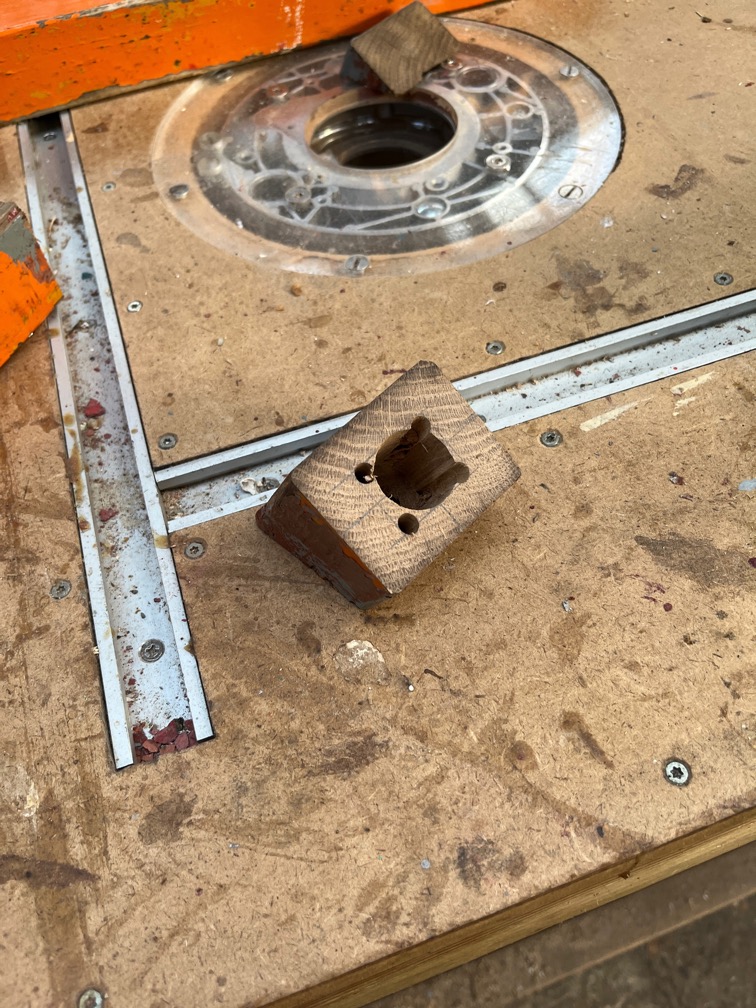
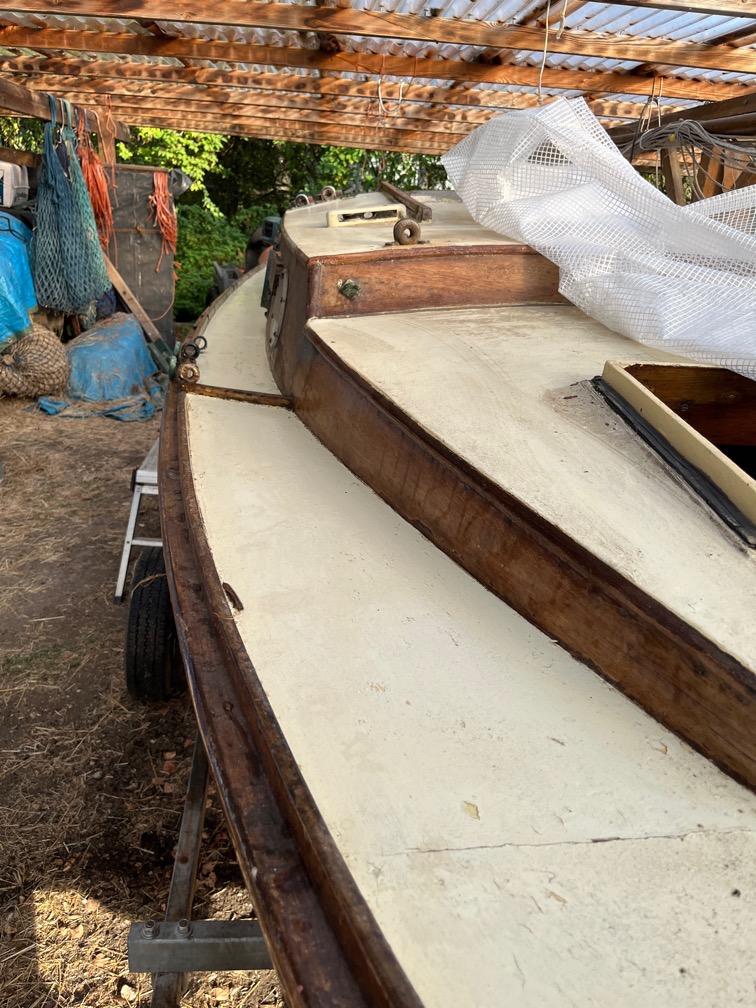
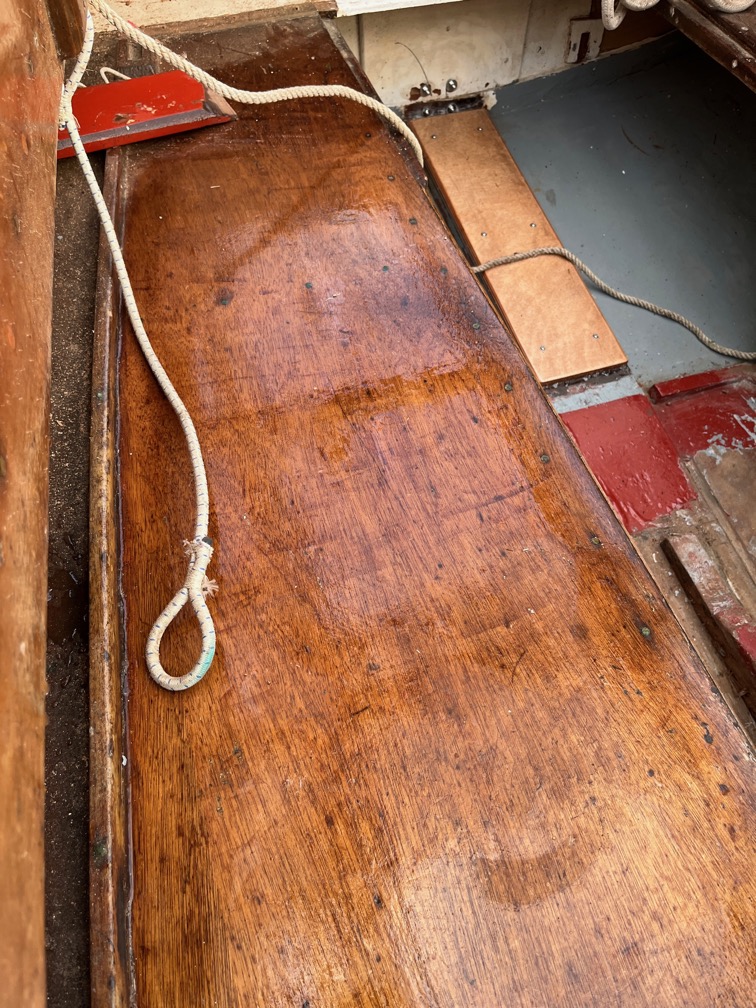
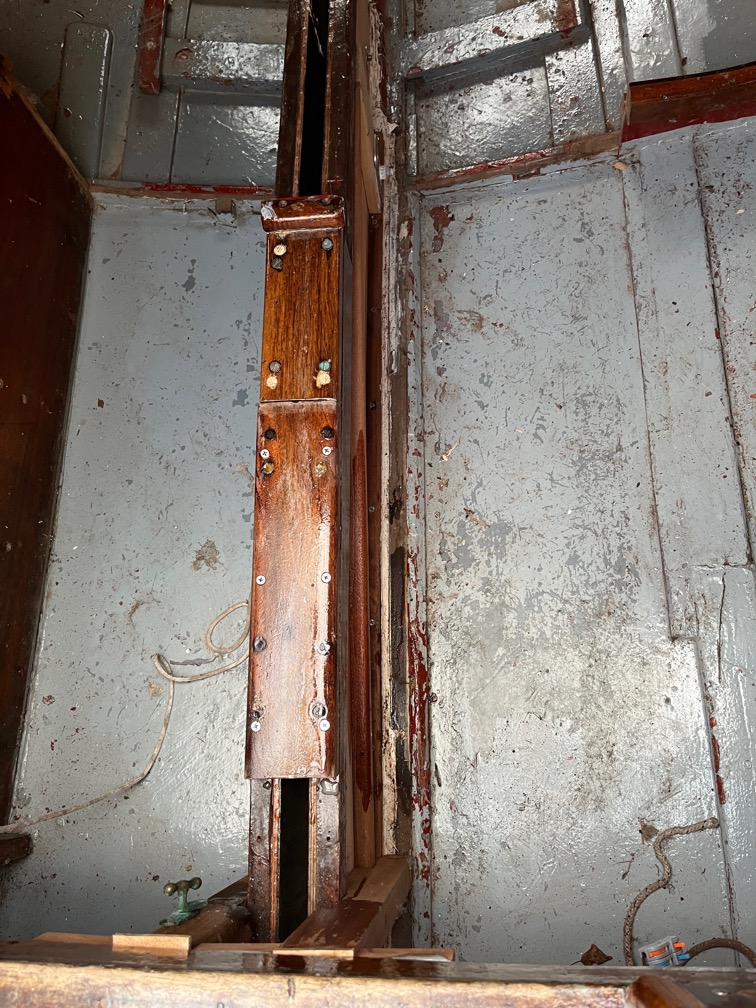
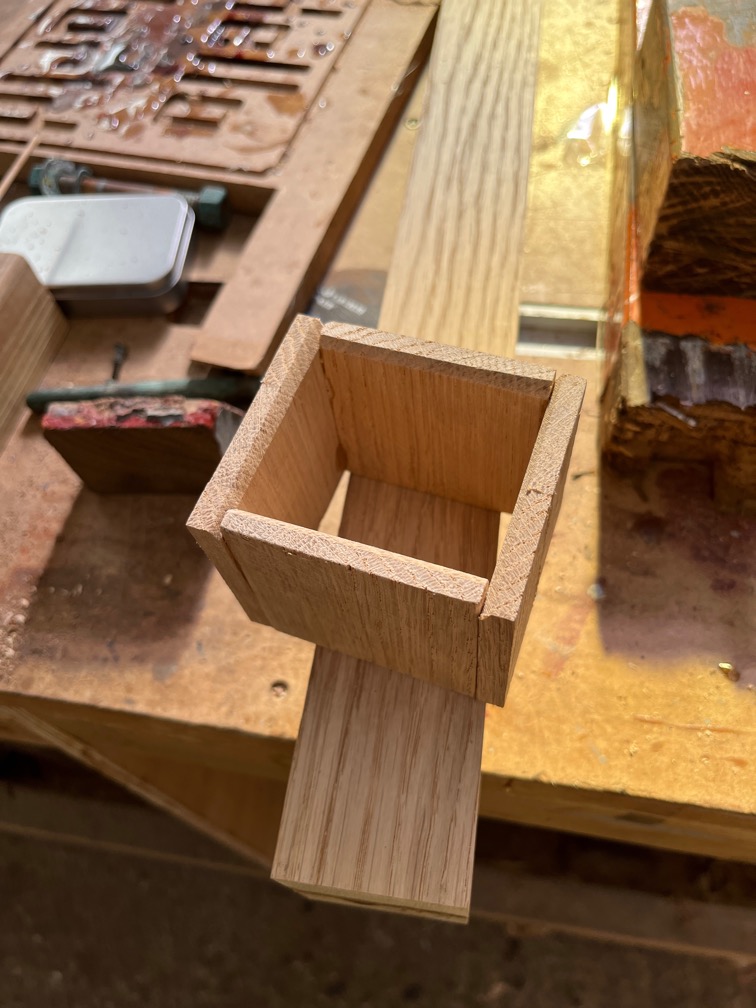
The main task of the day was to take the sampson post and cut it to size, shape it and add the mortice.
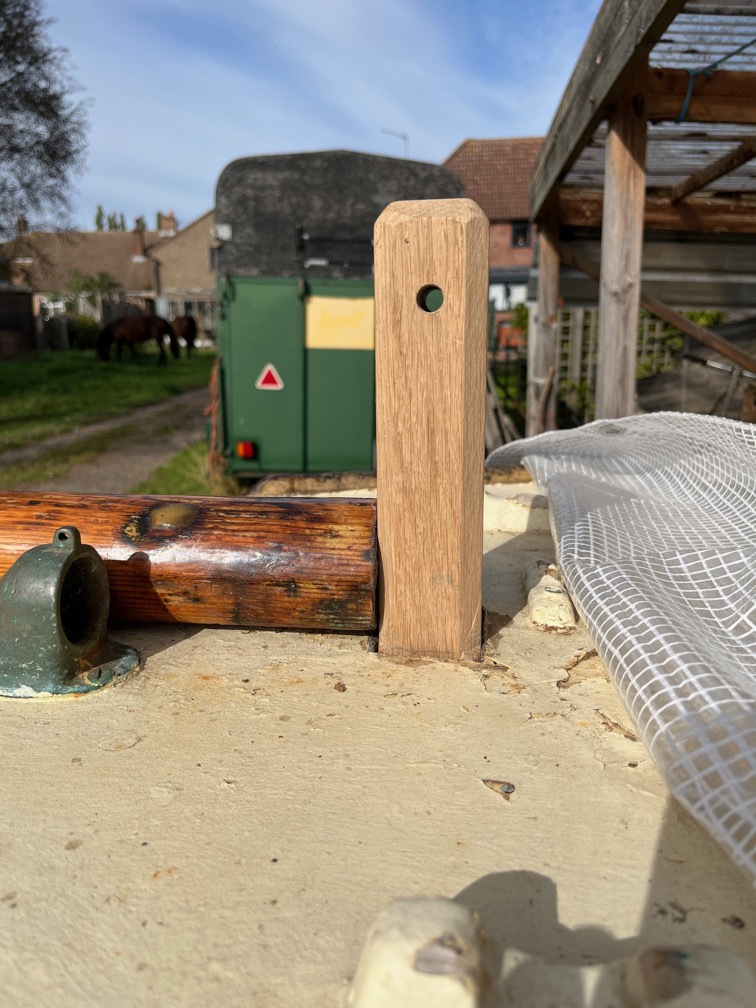
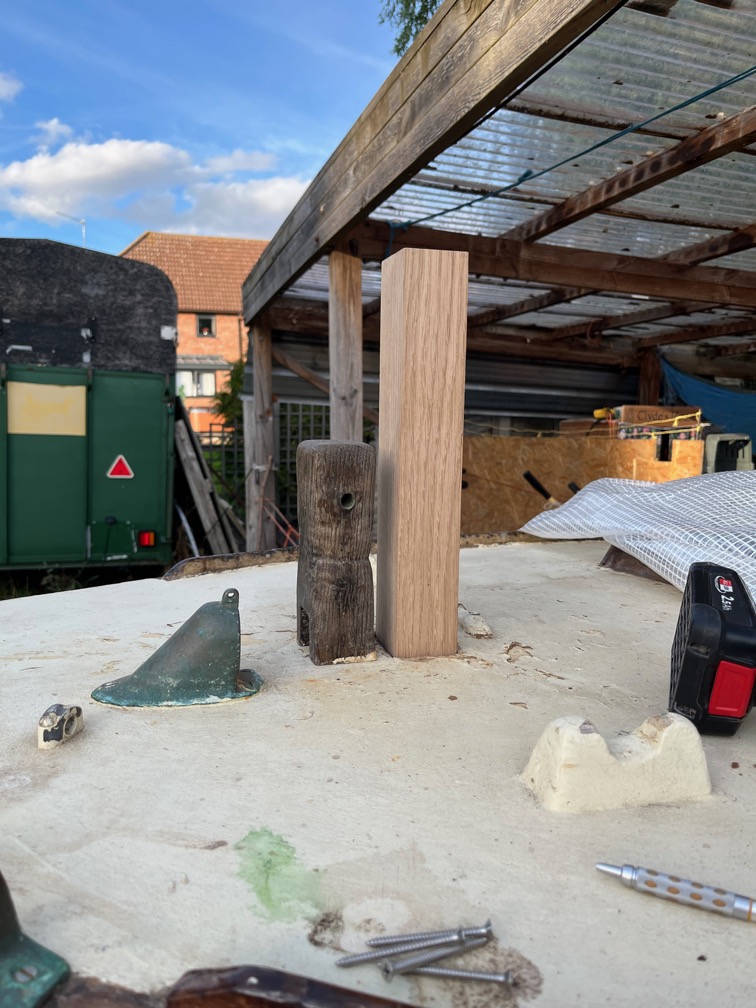
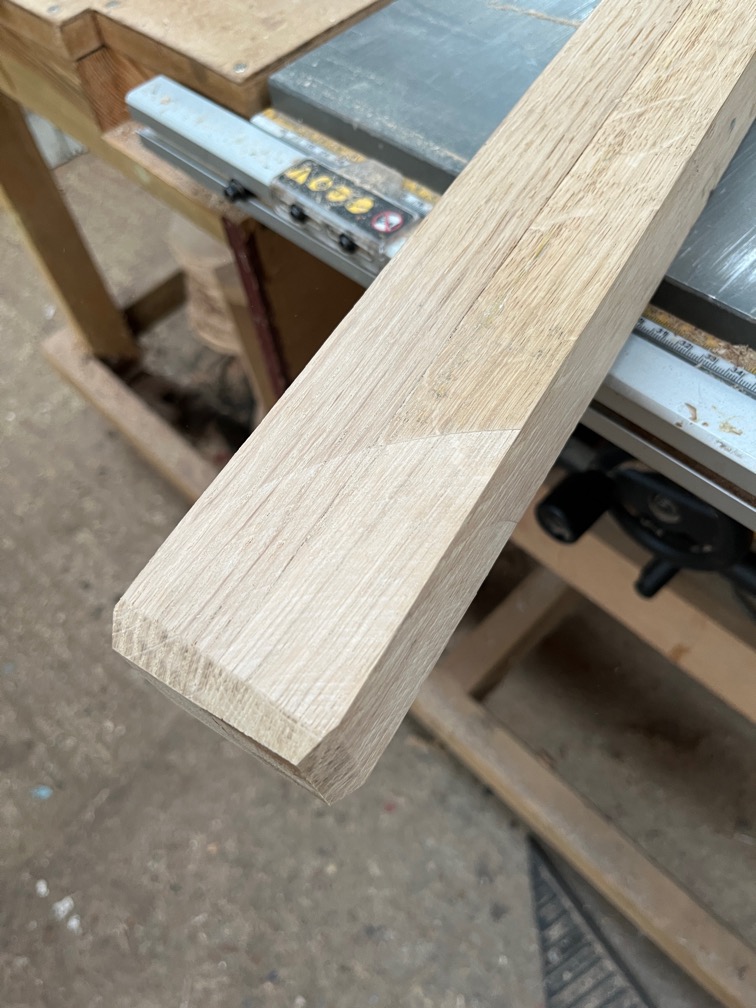
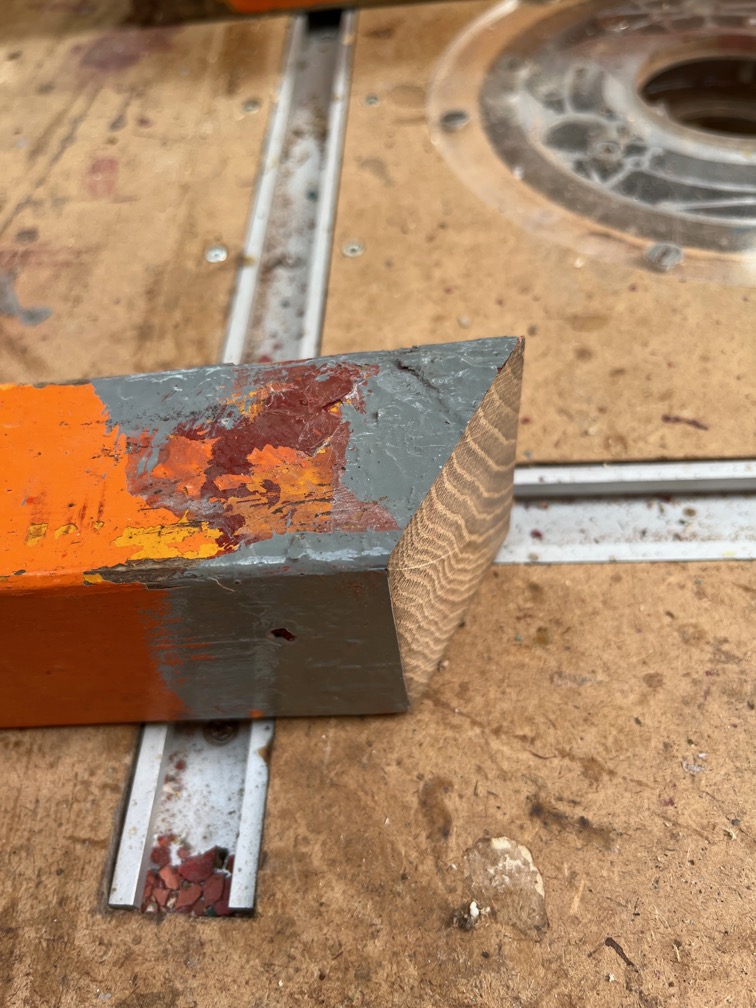
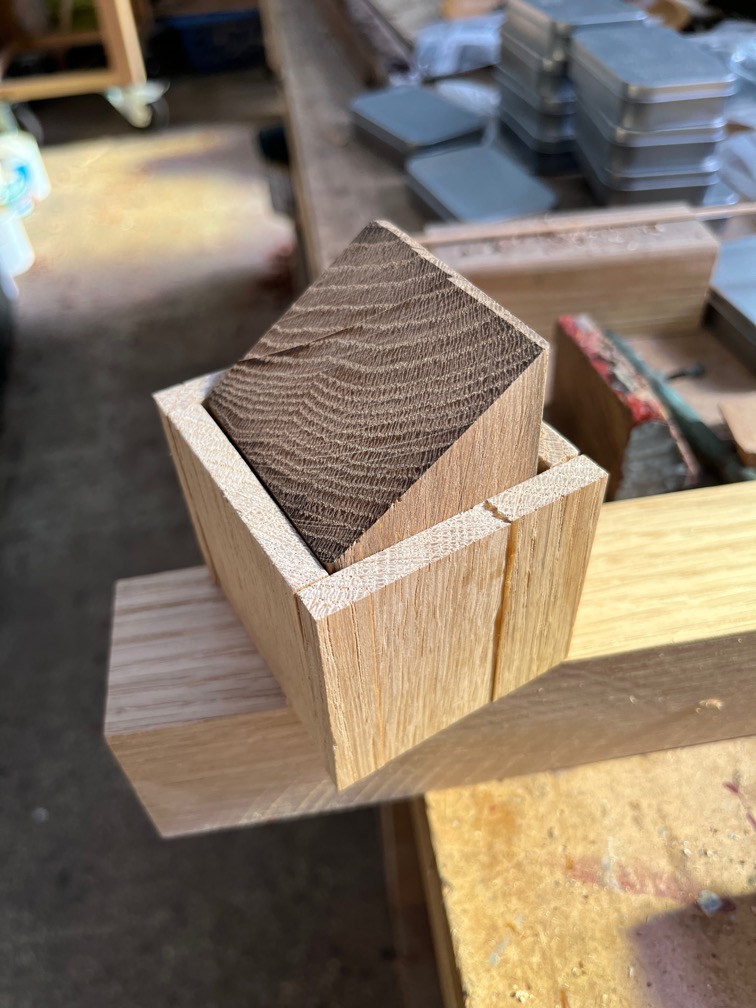
Having cut the post such that 8″ extended above the deck, I cut a significant chamfer on the four corners and the top. The hole for the crossbar was added, it is a little loose since the bar is Imperial and my drill bits are metric, but that will be sorted out with a little sealant.
The corners of the rest of the post were given a lesser chamfer which is to prevent whatever coating I use below the deck from wearing thin around a 90º corner.
The result is above. Not at all bad.
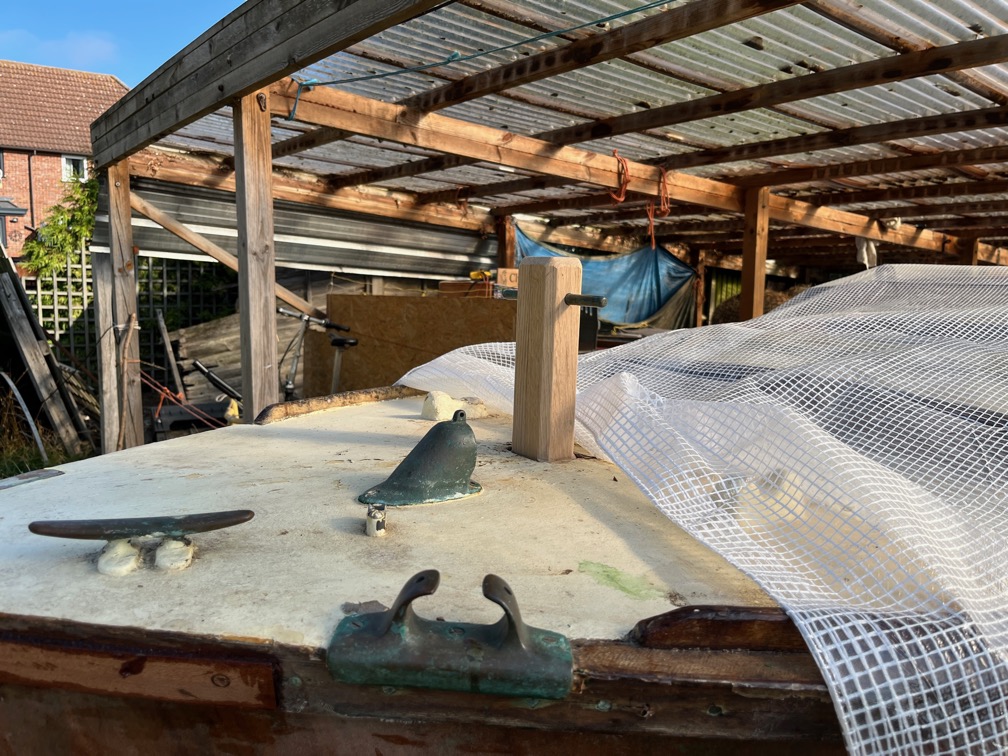
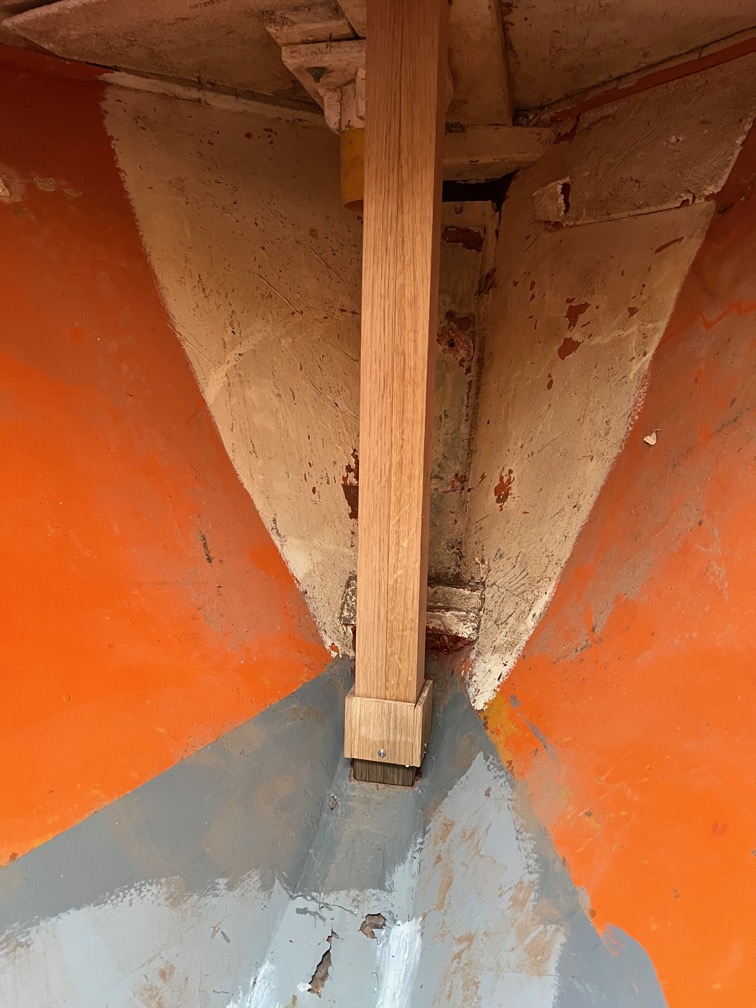
This is the result when put into the boat. The whole thing so far took around two hours as I’m being very careful such that I don’t mess anything up as that would probably require starting from scratch and I don’t want to do that.
Time for a cup of tea.
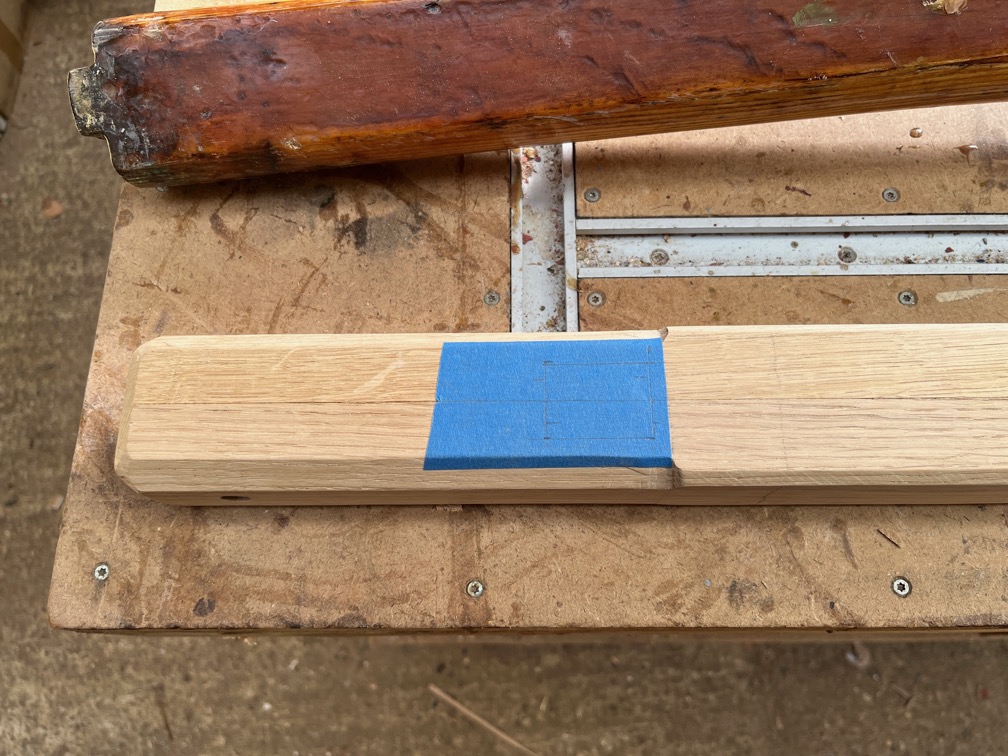
Once I had finished my tea break I started on the mortice. I used tape on the post so that if I messed up the measurements, I could remove the tape and start again. I didn’t but that might be because it didn’t matter.
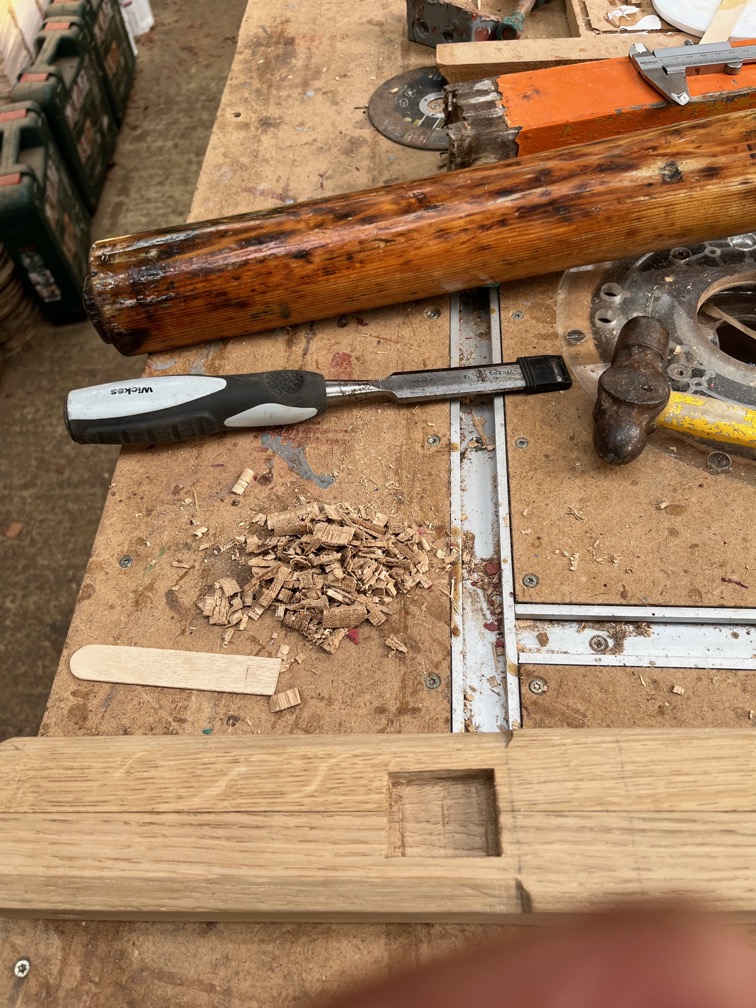
The next part, cutting the mortice, took some time. This is because I’m not a finish carpenter and I rarely make mortices by hand. The cut-off mixing stick was used a a depth gauge, the correct depth being that pencil mark, and I made sure to sharpen the chisel several times during the operation as Oak is tough.
The fit is very good. I did make the mortice 5mm above the deck level so that there is plenty of room to put a bead of mastic around the joint between the deck and the post to prevent water ingress.
Notice I didn’t say sealant.
That’s because the sealant is also an adhesive and I want to be able to get this out regularly and adhesive would prevent that.
Only one more thing remains to work on the sampson post before it may be coated with something and that is some way to prevent the post from popping out of the footer whilst in use. I intend to use a drop nose pin below the deck for this purpose and that task will have to wait until the pin arrives.
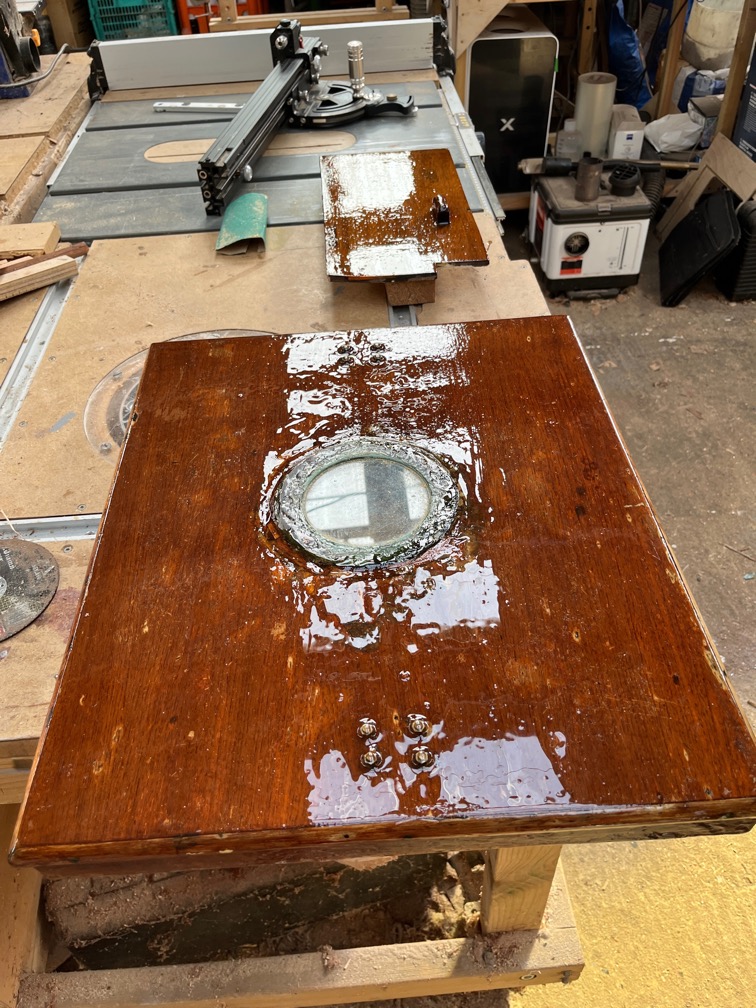
I finished the day by sanding the forehatch and the port galley locker door and applying some varnish. In keeping with the Charles Stock paint and varnish tradition, only the loose varnish was removed, the test was just sanded.
I have to confess that, despite being a really nice day to be outside, I did very little work on Shoal Waters, But, mid-afternoon I had an order delivery and that got me going.
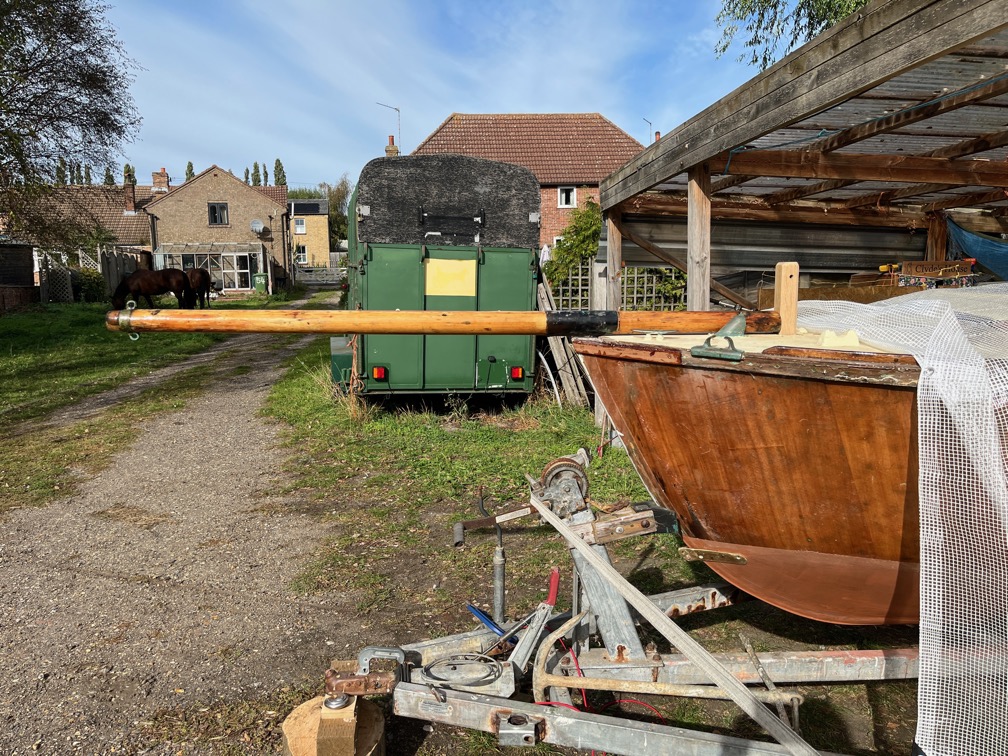
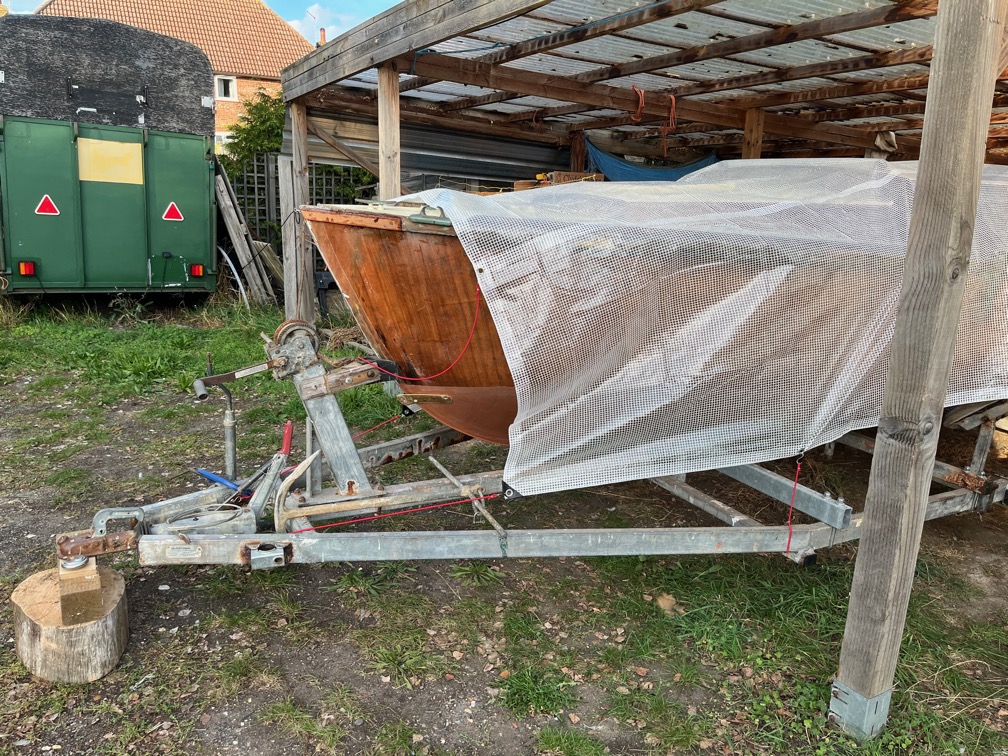
The first thing was to move the boat out from under the cover.
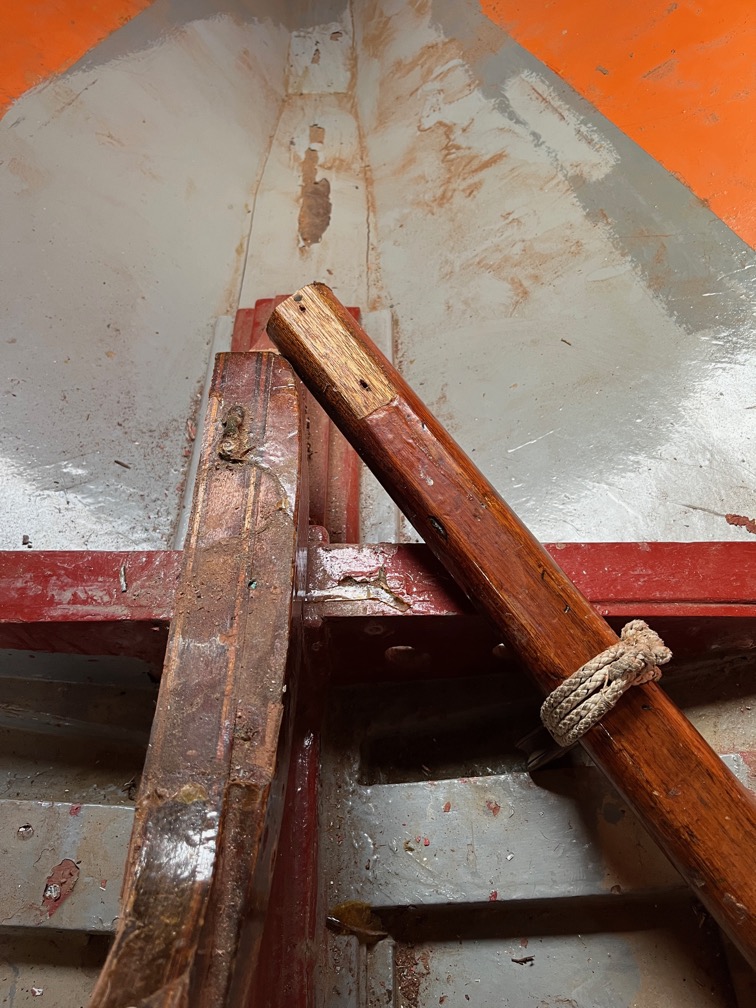
This was necessary since the new sampson post won’t go into the boat as it is too long. As you can see.
However, once that was done I could side the post through the deck, put the footer on and put it into the correct possition.
I put the old post top on the deck as a comparison. I have plenty of post extended above the deck, so making the new post 8″ will not be any cause for concern.
The next part of the task was to drill the pilot holes in the hog. I marked the aft edge of the footer before taking the post out, put the screws into the footer, put the footer into the correct position and then tapped the points of the screws into the hog with a drift and hammer. Then it was an easy job to drill the holes after that and screw the footer down for a dry fit.
The post was slid into the hole and down into the footer. It was a tight fit but it went in.
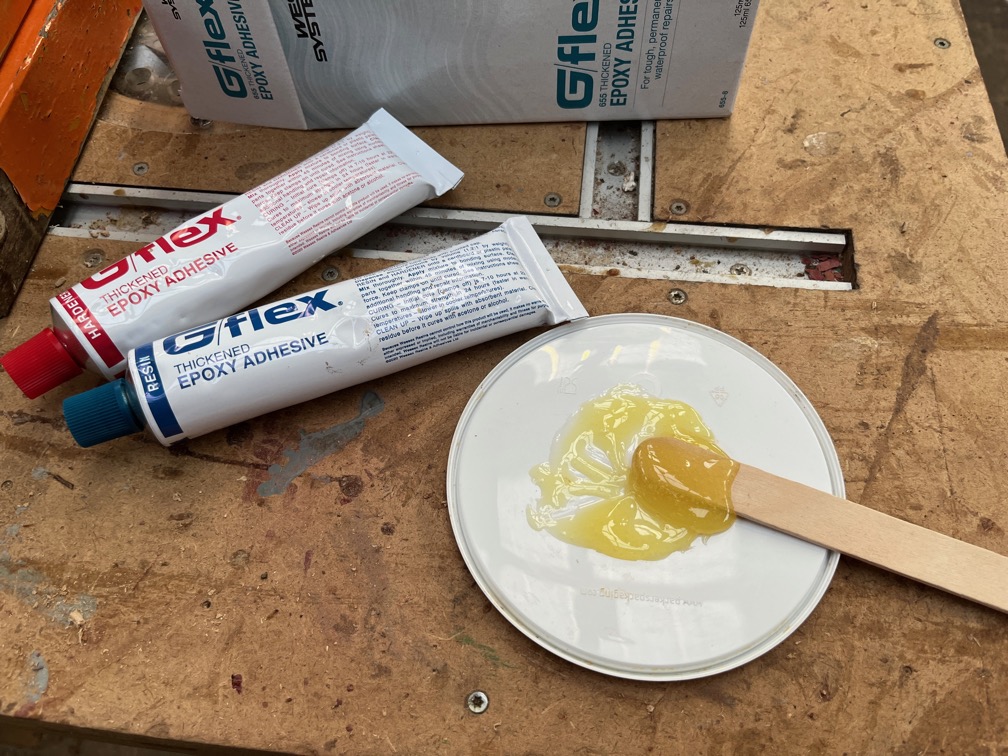
I mixed up some of the special epoxy that was delivered this afternoon. This is G/flex from West System and will work on White Oak timber due to it not being a rigid epoxy when cured. It has a slight flex, hence the name, meaning that the problems that a “normal” epoxy has with Oak does not occur.
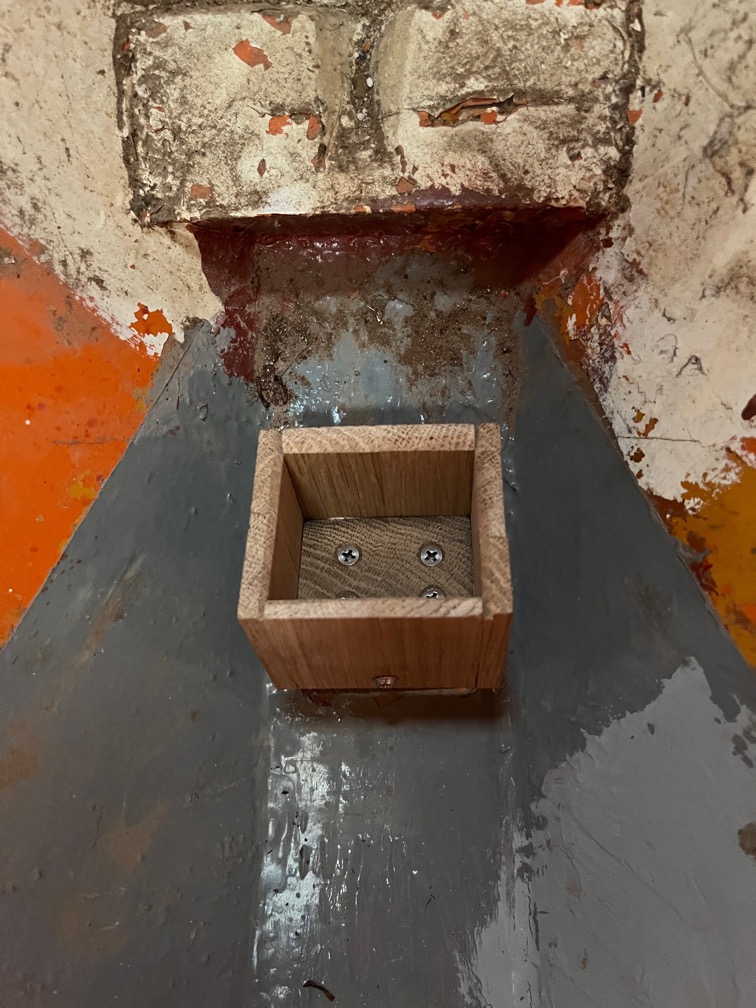
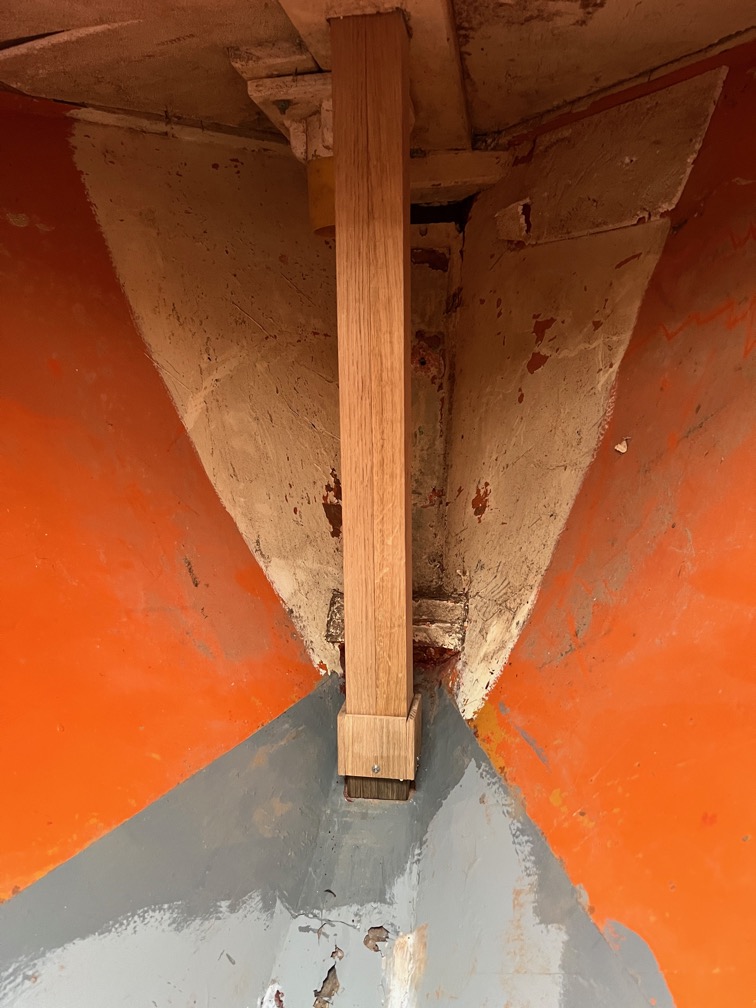
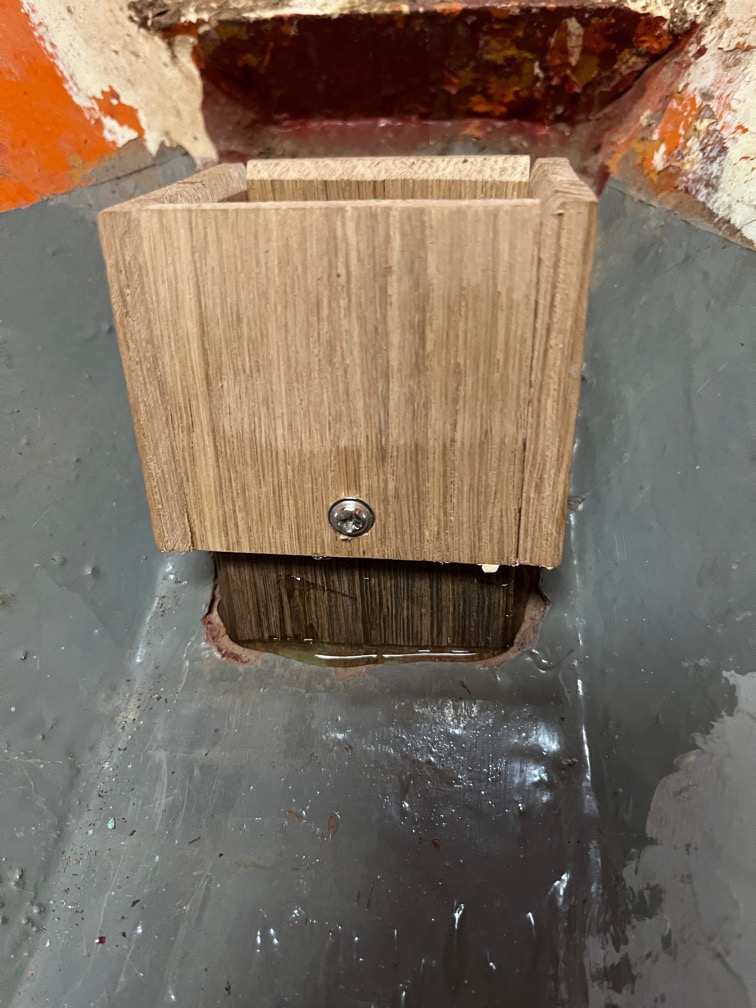
Then it was back into the boat, smear the epoxy on the bottom of the footer, seat it in position and screw it down. You’ll notice that the inside edges of the top of the footer are chamfered.
The bottom of the post is now chamfered also and I took a fraction of a millimeter off each side of the post at the bottom so that it was not such a tight fit.
Doing this meant that I could put the post into the hole from the outside, slide it down and into the footer without having to move it around a few times until I got the correct position. The chamfers allow the post to be misaligned by about 10mm and it will still locate into the footer.
That’s all for today, I’ll continue on with the sampson post tomorrow once the epoxy has cured.
It is a beautiful, warm day today albeit somewhat windy and I’m on annual leave for today and only working three days a week from next week until the end of the year. I hope to get a lot done.
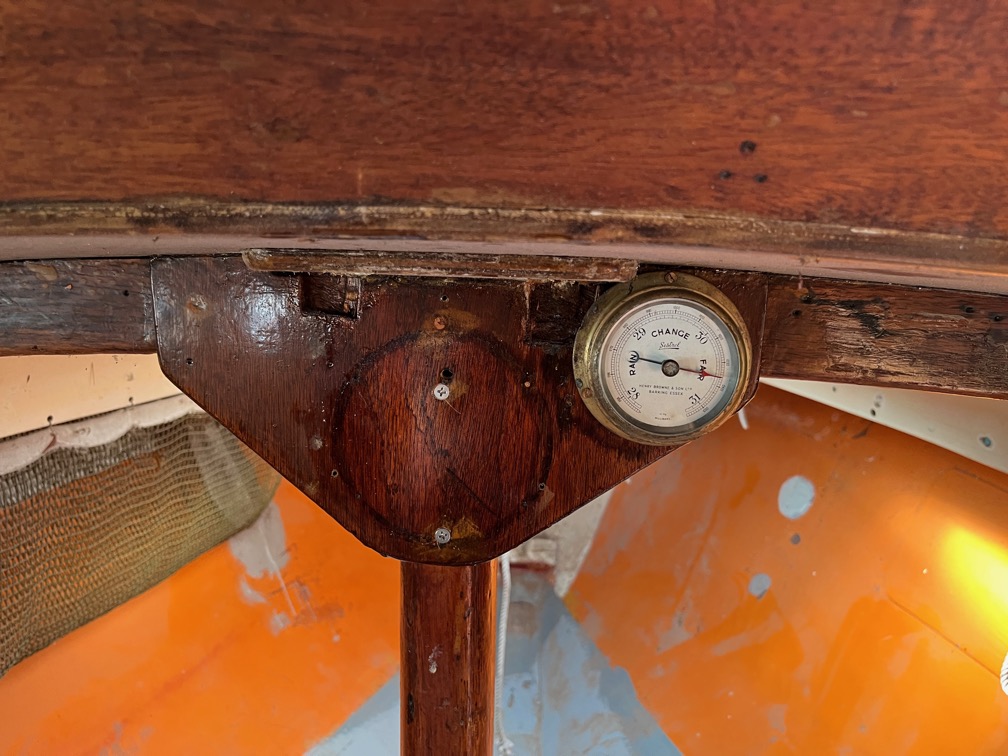
The first task was to deal with the compression post. A couple of days ago I took it out completely.
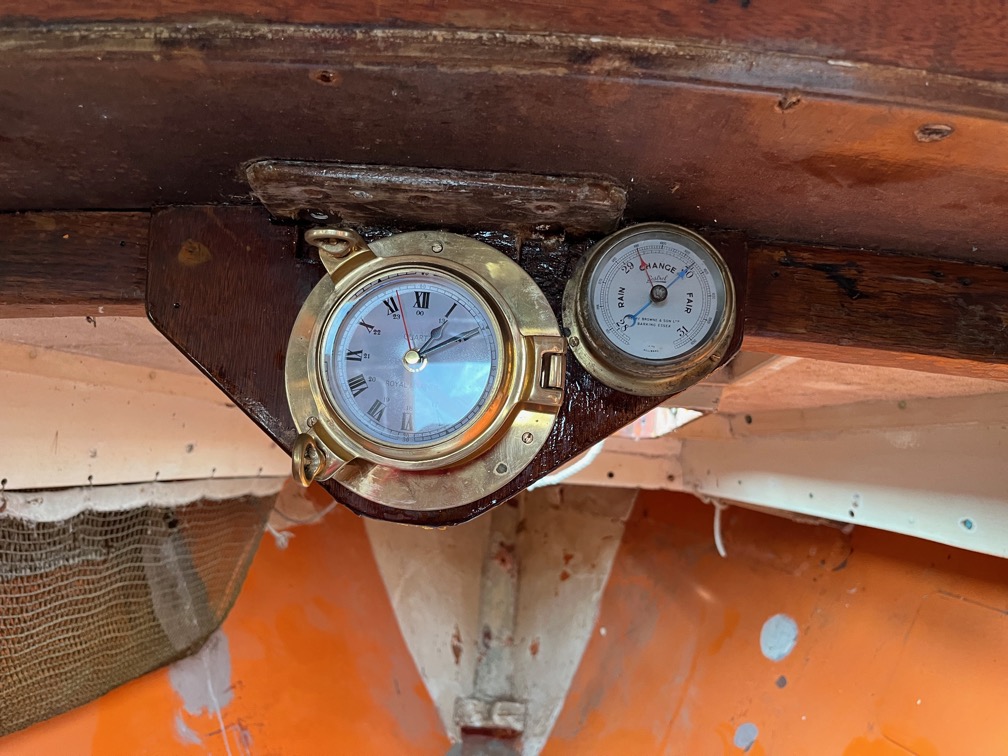
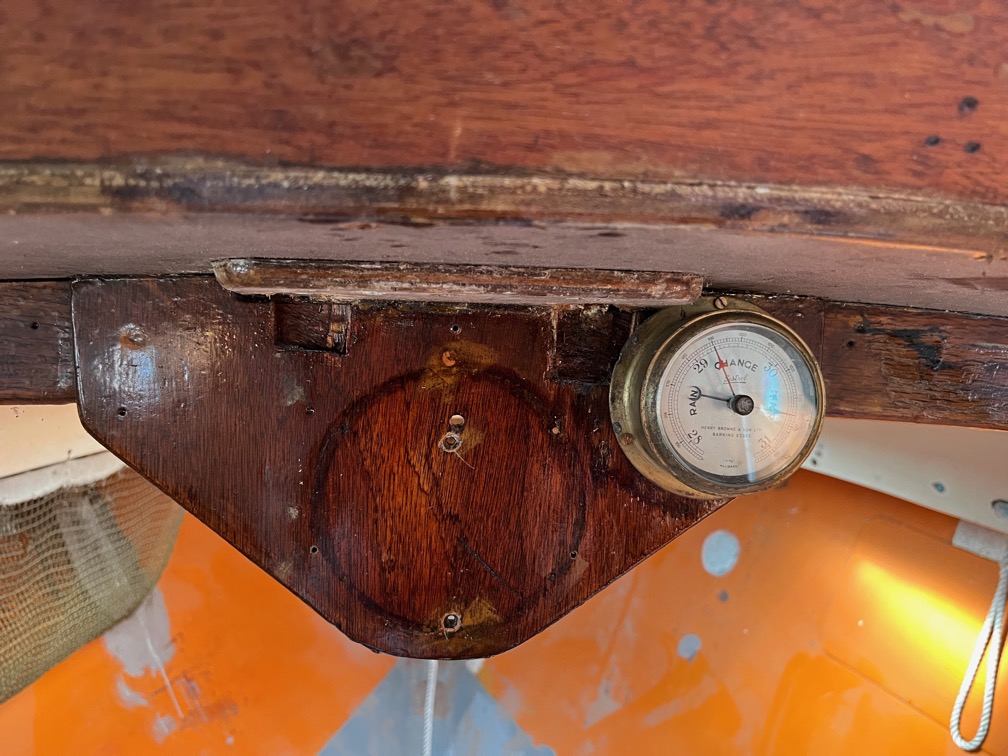
It was screwed onto the “instrument panel”, but the screws were small and originally brass. The are also under the clock. so that had to come off.
Fortunately, the screws were not too badly decomposed and I was able to get them out meaning that I could reused the holes in the board and the post.
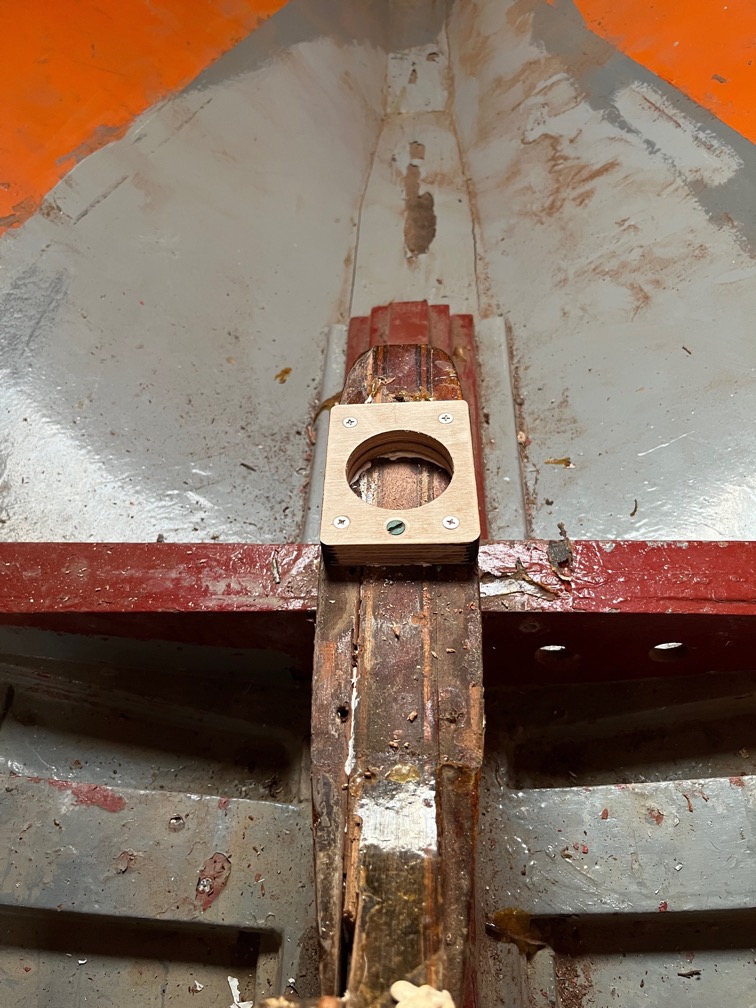
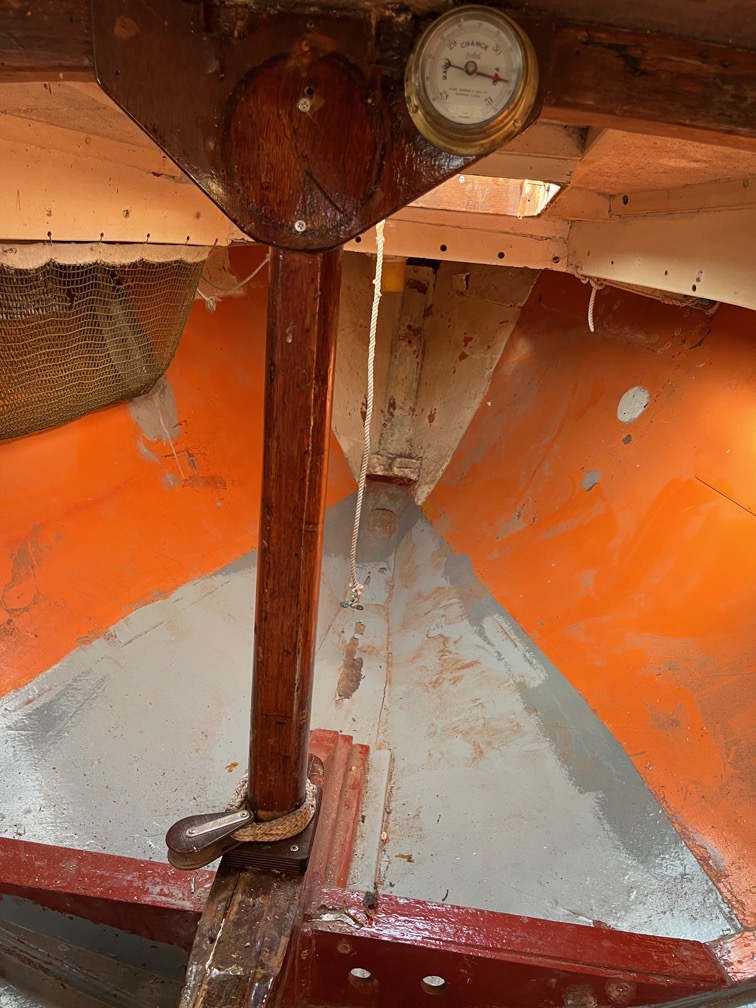
I constructed a new footer for the post out of Birch Plywood as you can see here. This is screwed in place and has sealant underneath. There is also a long bronze screw through the footer and into the centerplate case. The compression post in Shoal Waters serves two purposes. The first is to transfer the weight and the downward force on the mast when sailing to the centerplate case and thus to the hog. In the original Falcon dinghy, the mast was stepped directly onto the case, but with a cabin and tabernacle in the way, something has to stop the top of the cabin from being crushed.
The second purpose of the post is to hold the block through which the centerplate uphaul is threaded so that the plate can be raised and lowered from the cockpit. The new footer stops the base of the post from moving and the screws sealant securely fix the footer to the case.
The post is now fitted with two new stainless steel screws at the top.
With the bottom of the post in the new footer.
Moving on to the sampson post, I cut off the sloped end of the old post, completely removing the part that still contained the broken screws.
I then cut that same angle in the remaining part of the post so that I had a new piece with the correct slope but without the screws.
I cut off the bottom to form a piece that will be the retaining piece fo the bottom of the new post and marked out where the mortice was to go.
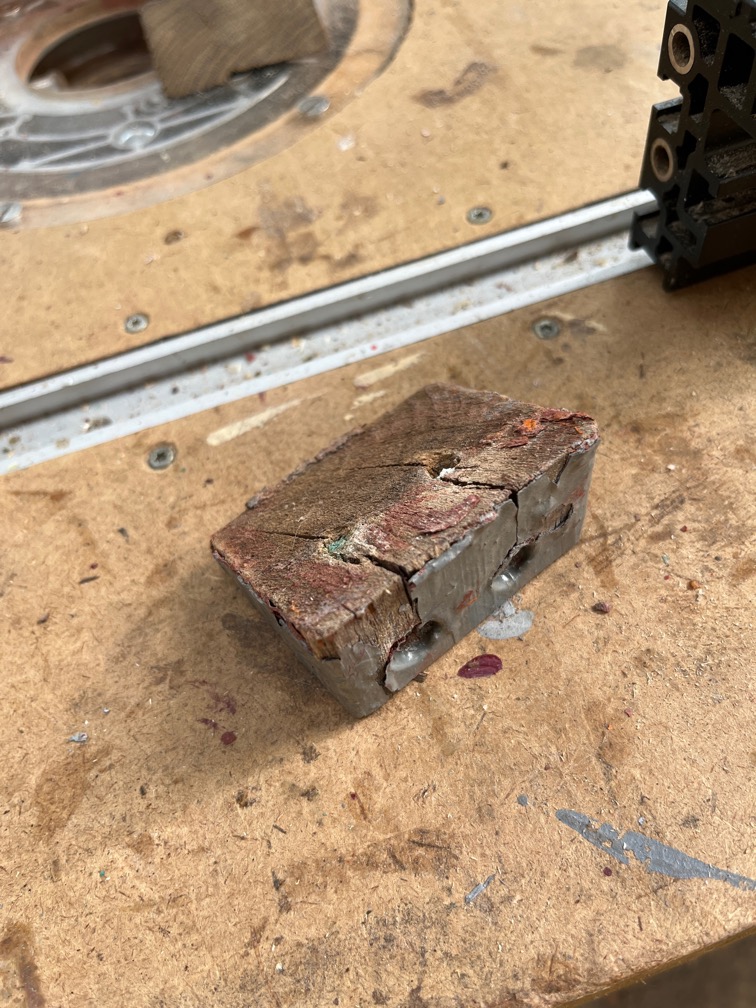
And then promptly cocked up the whole thing. Cutting a good mortice on a workpiece that has a slope is for the experts. That excludes me entirely.
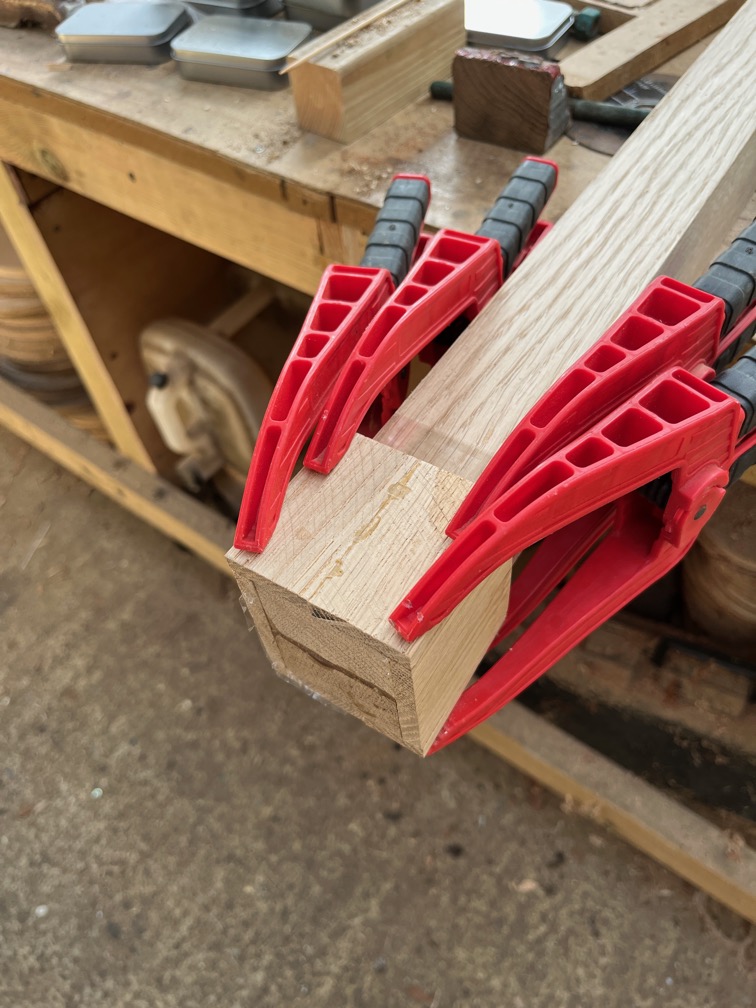
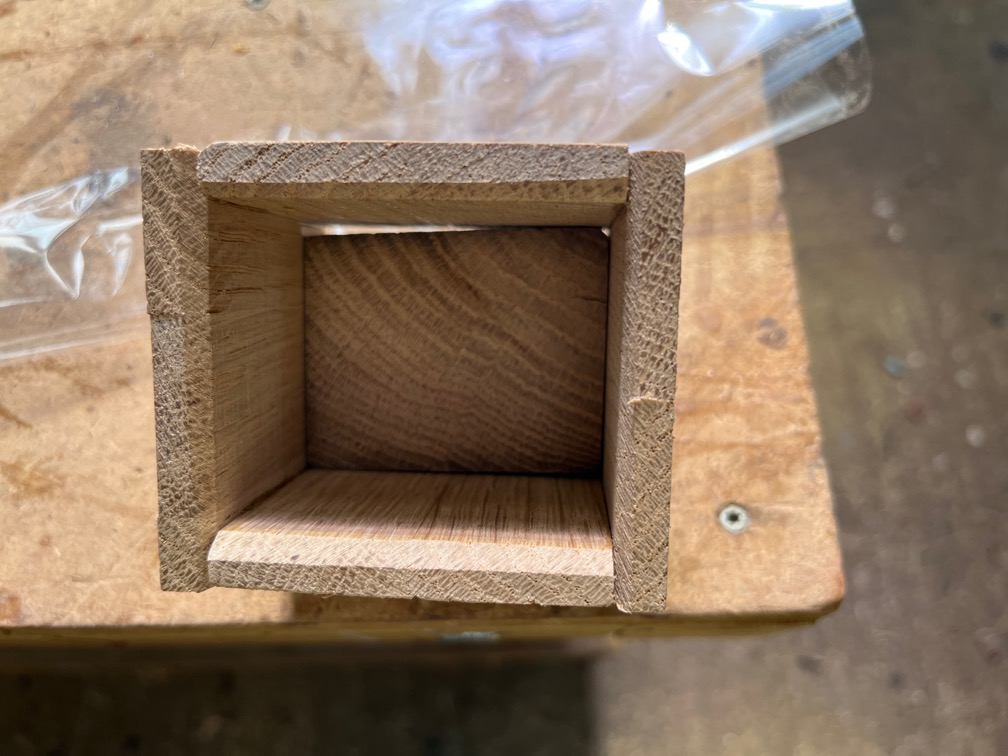
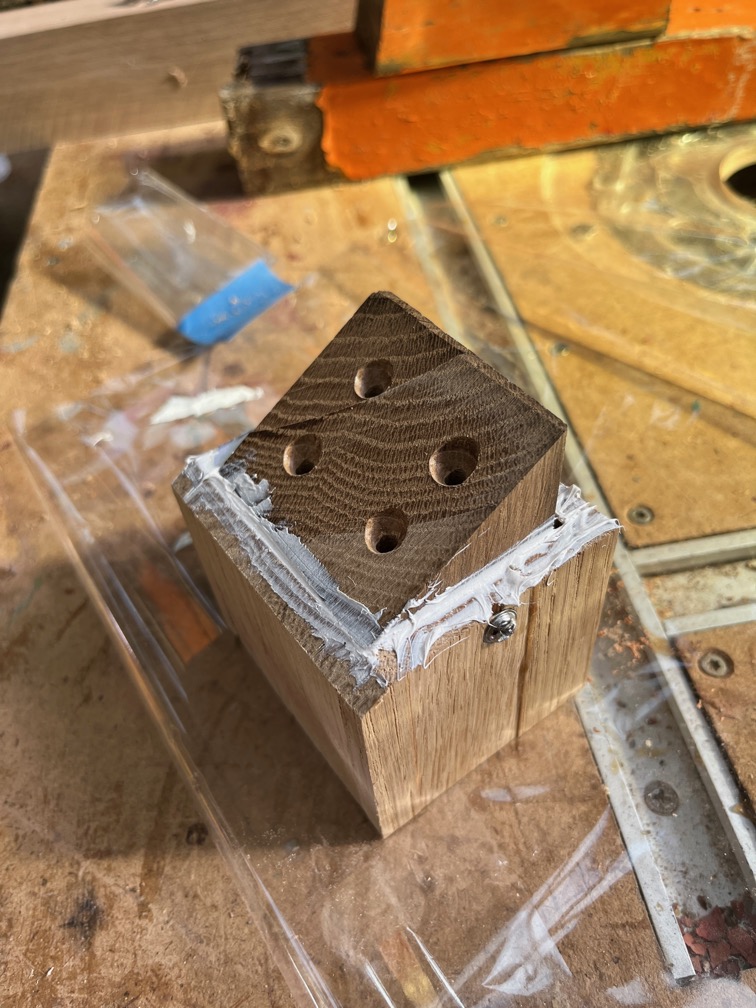
Instead I cut four pieces of Oak and glued them around end end of the new post, with plastic sheet to stop the glue from making the whole thing one solid lump. While the glue was drying I cut a new angled piece from the old post.
Time for a cup of tea.
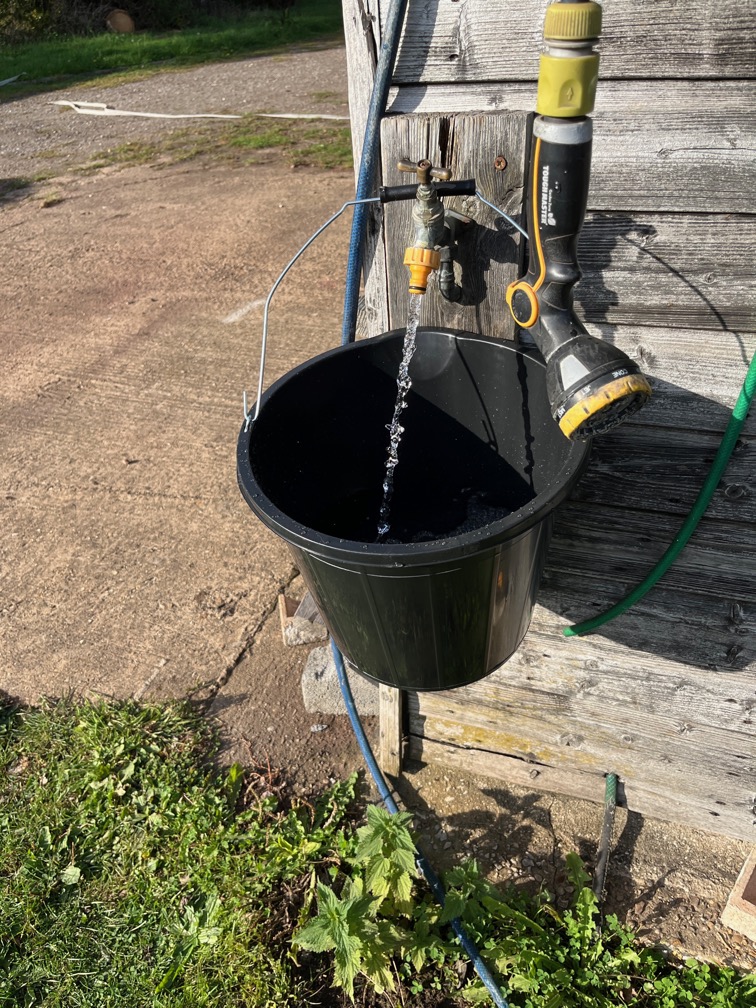
The new buckets arrived and I put one to use immediately.
Armed with a bucket of cold water, a stiff brush and a cloth I started cleaning up the bird sh*t.
Nice clean thwarts.
And no more droppings on the top and side of the centerplate case.
Time for a cup of tea.
Having given the glue about an hour to get sufficiently dry to allow me to continue working, I took the retaining wall thingy off the new sampson post.
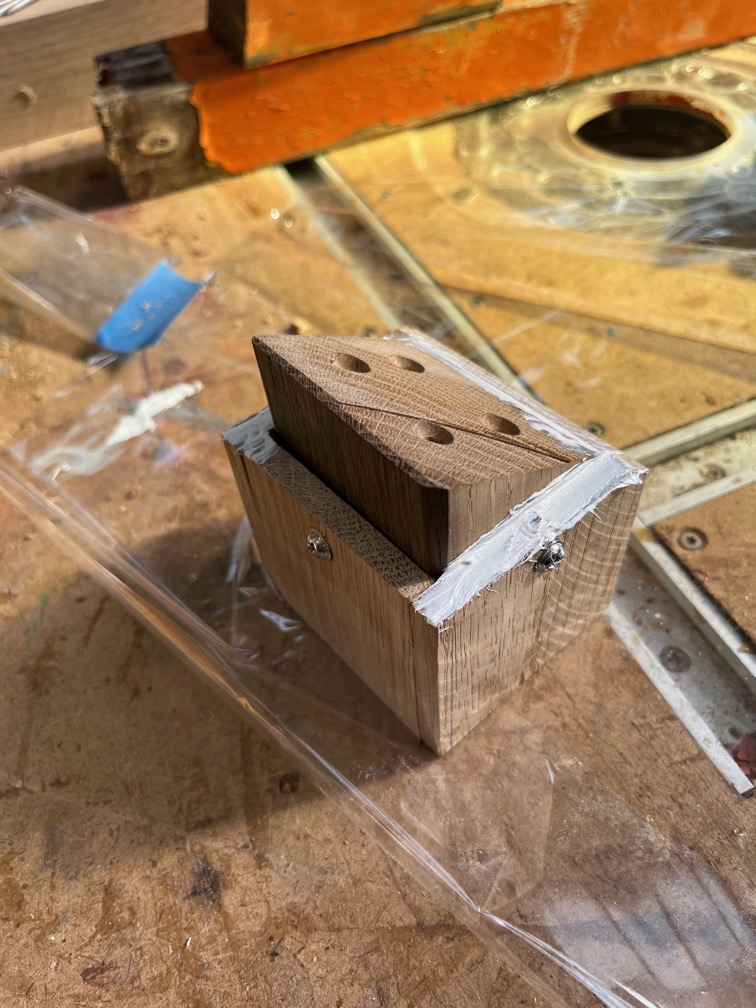
This is how it will fit on the sloped section.
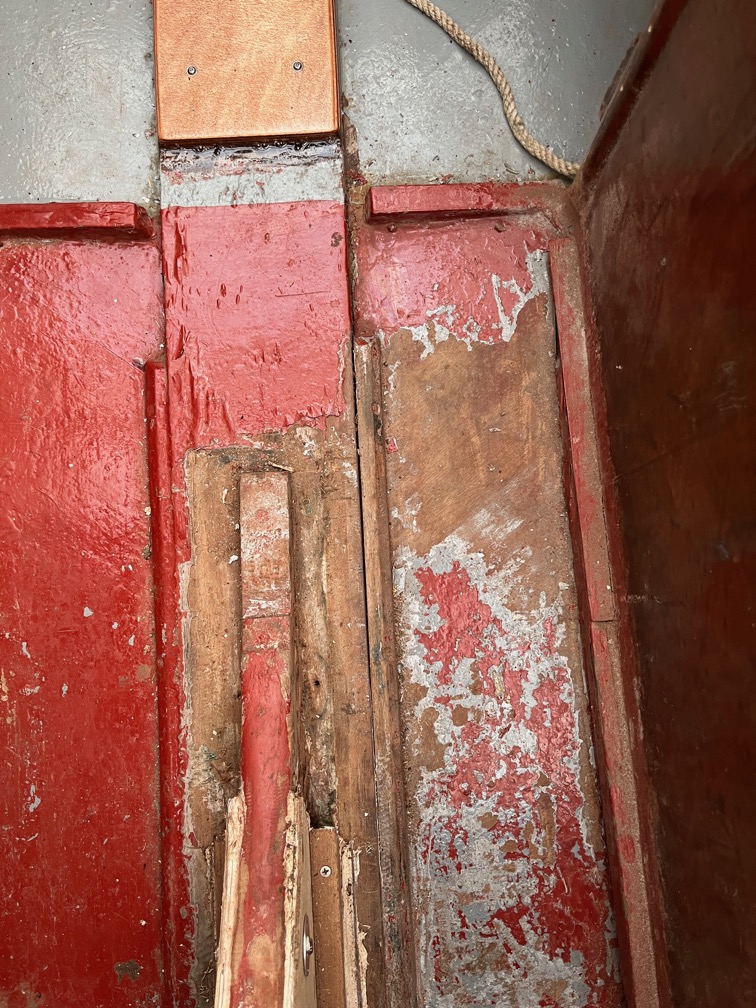
The old post wasn’t quite square as you can see from this photo, but that is fine as it means that I do not need to drill drain holes in the walls. If water does get into the footer, I don’t want it to stay there.
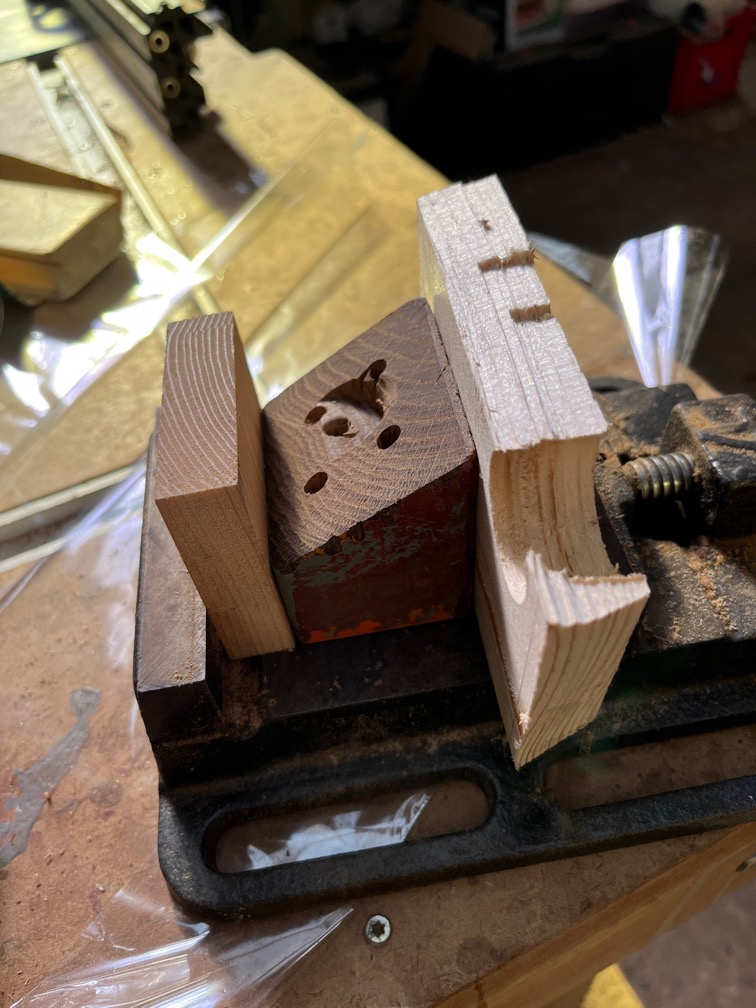
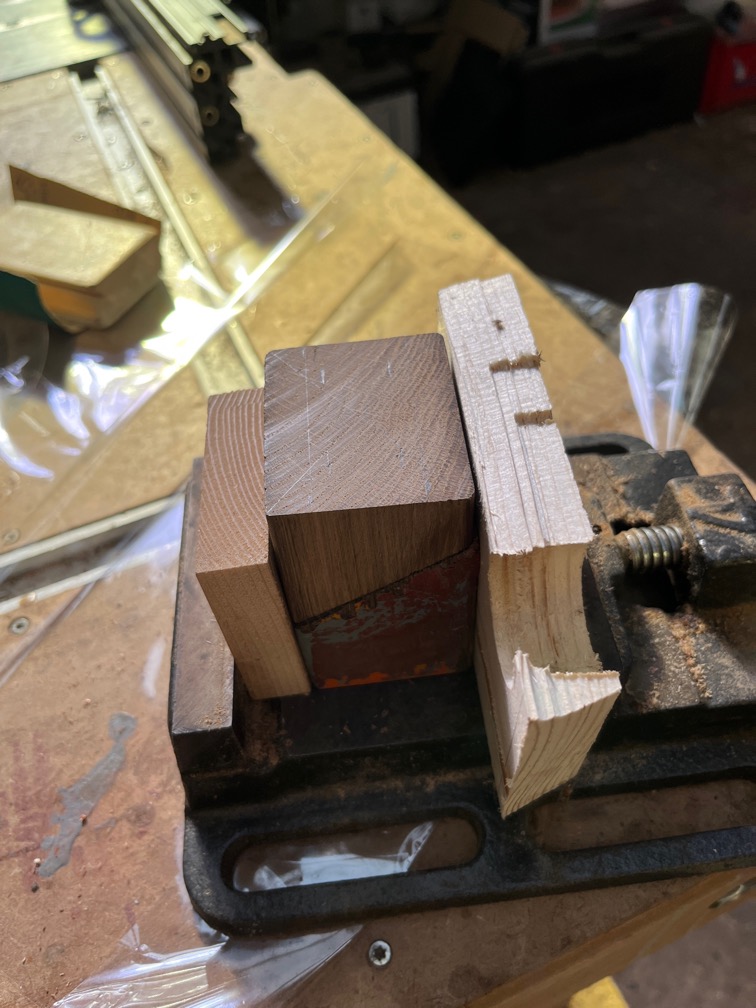
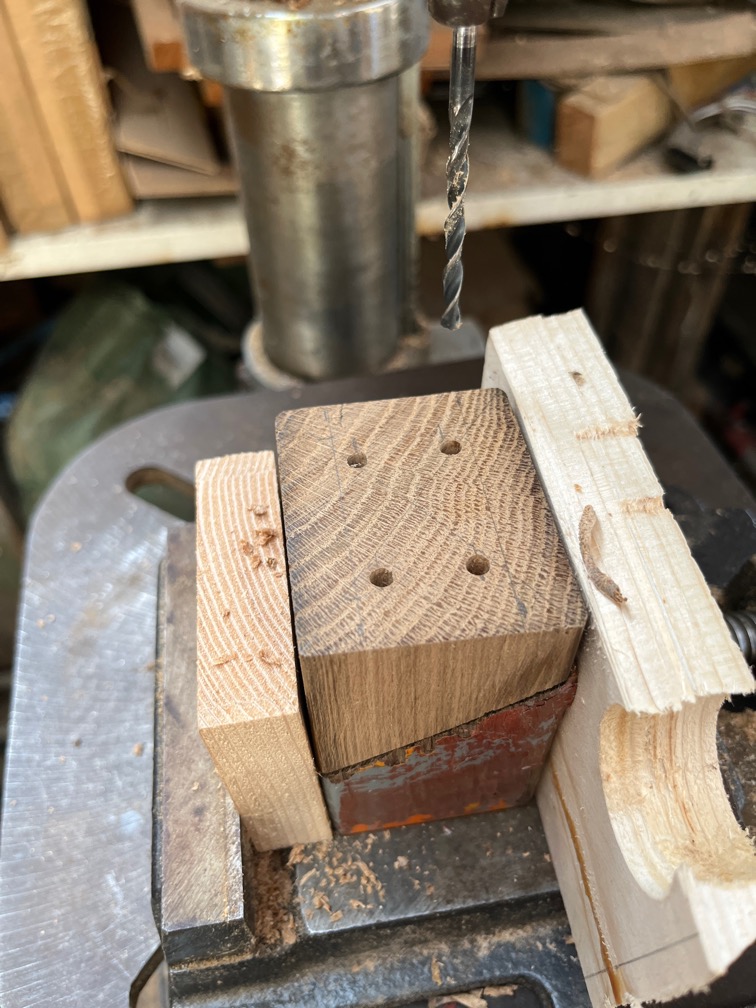
I used the messed up part as a base in the drill vice.
Putting the new piece on top means that the surface I need to drill is perpendicular to the drill bit.
The clearance holes for the screws were then easy to drill.
The wall part was drilled with clearance holes, smeared with sealant and fitted together.
But no sealant on the side that doesn’t quite fit.
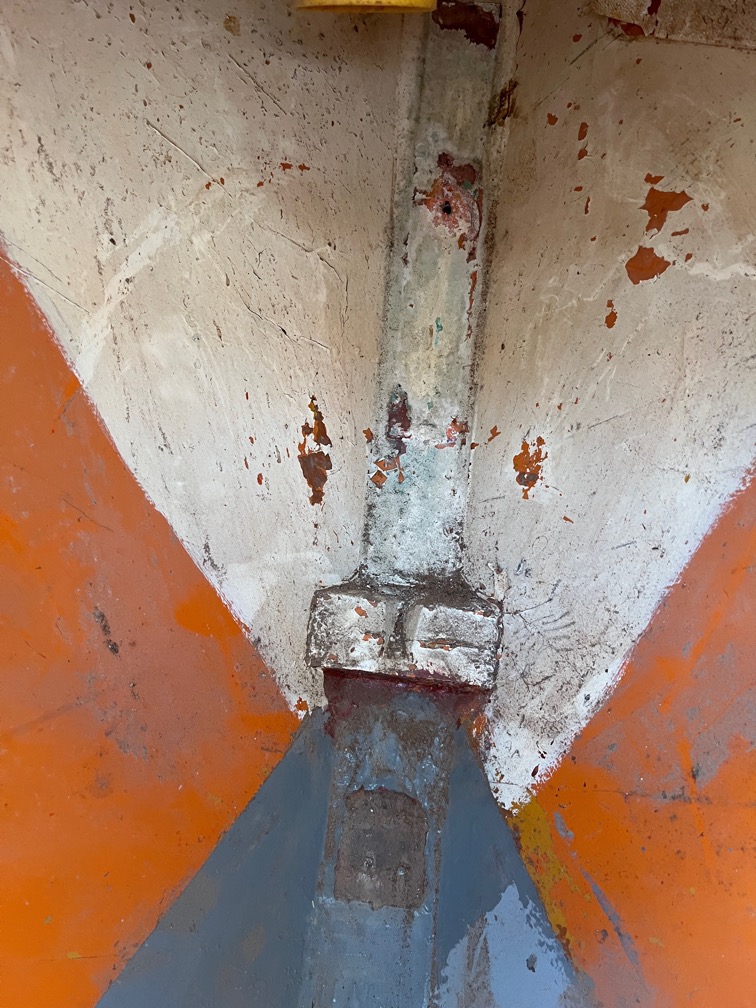
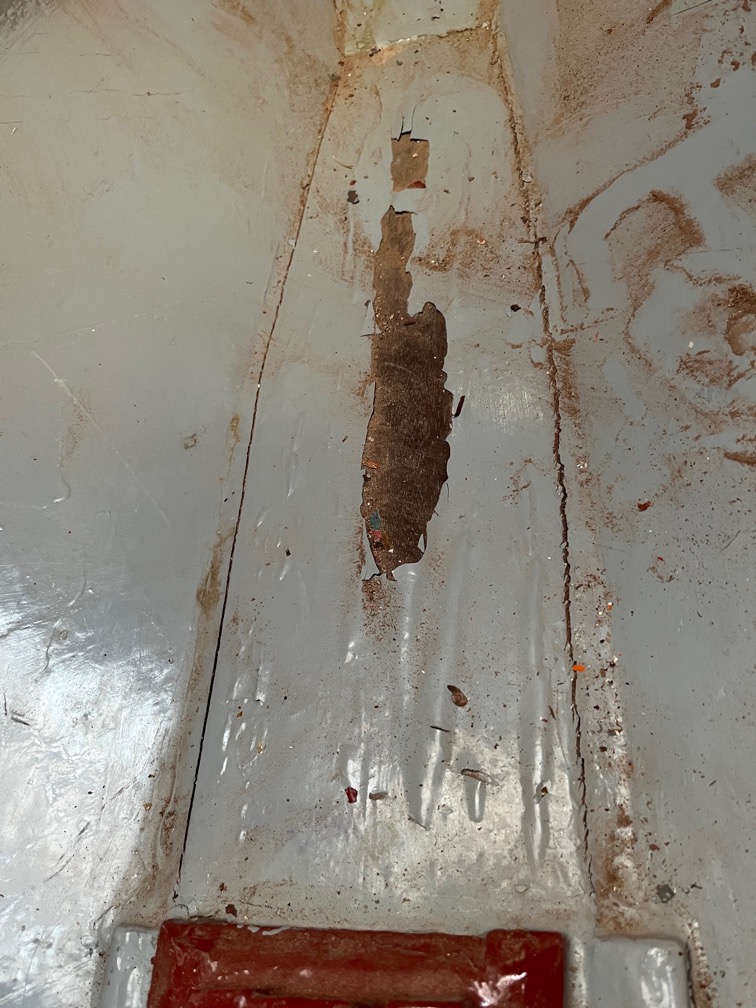
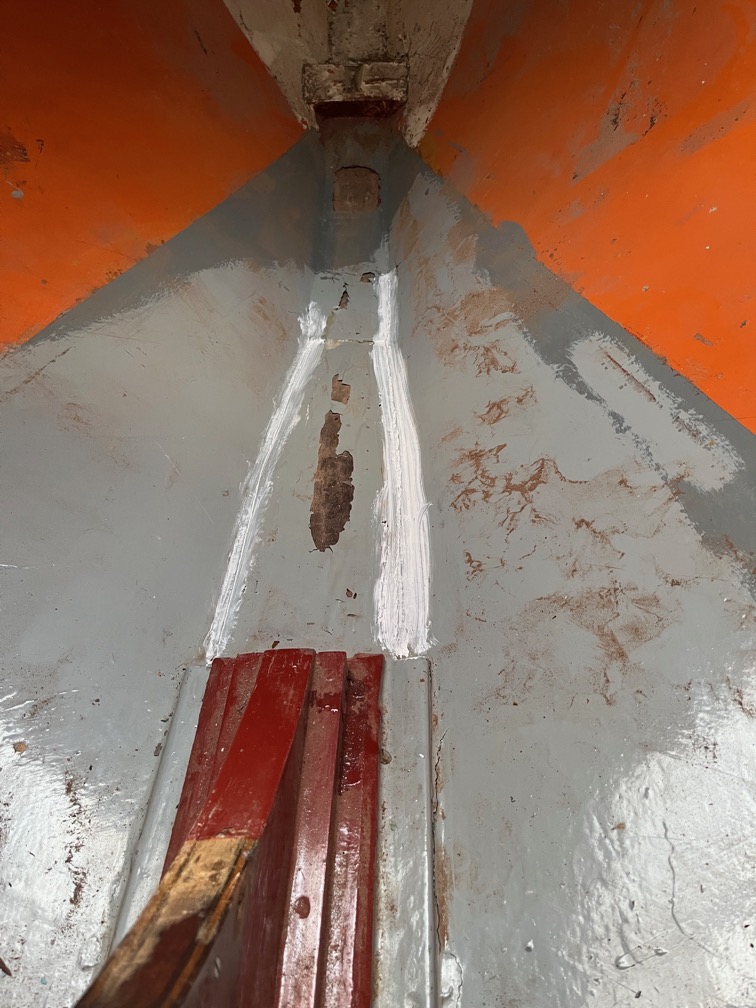
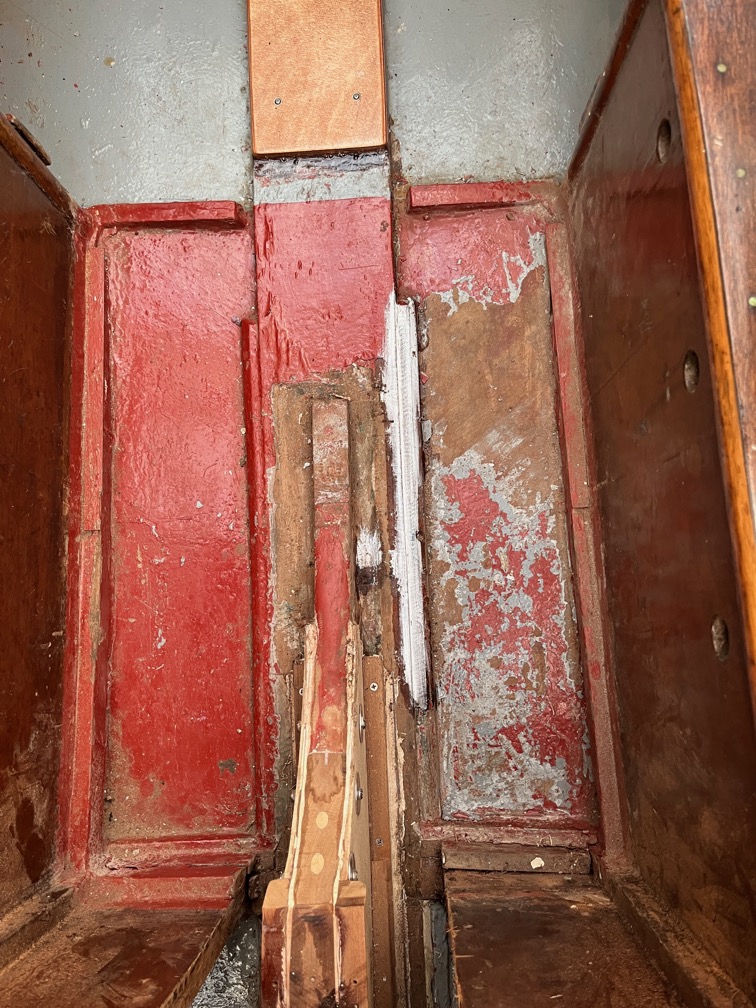
Now then. What is this thing in the bows? It has a significant notch in it which suggests a way for water to drain away, and it is in front of the sampson post. I’m tempted to think that it is designed as a ledge on which the anchor chain bucket would rest with the aim of preventing the bucket from forcing its way down between the hull and the sampson post due to the weight of the chain.
I’ll investigate a bit more once I get to the stage of dry fitting the sampson post.
Time for a cup of tea.
The last task I set myself for the day was to fill in a few gaps. The two major problems with Shoal Waters are that the vast majority of the original screws were brass and that the glue was a hard glue. Over the course of 60+ years of sailing in mostly salt water the brass has decomposed by the zinc leaching out of the brass and leaving the copper behind and the glue has become brittle.
One of the things that turning the boat over a few times in the recent weeks is to crack the glue in a number of places causing gaps to appear. My solution to this was simple. Fill the the cracks with a soft sealant and to double up the screws with stainless steel ones.
The first of these was the last task of the day.
There is a bead of filler between the hog and the hull forward of the compression post and, as you can see from the photo, this has cracked.
I used a wooden spatula to fill the gap with Sikaflex and then wiped it down with a wet cloth to give a smooth finish. The excess will be sanded away when the bilge is repainted.