
Another cool day and time to continue with the transom repairs. But, having said that, the first task of the day is some washing.
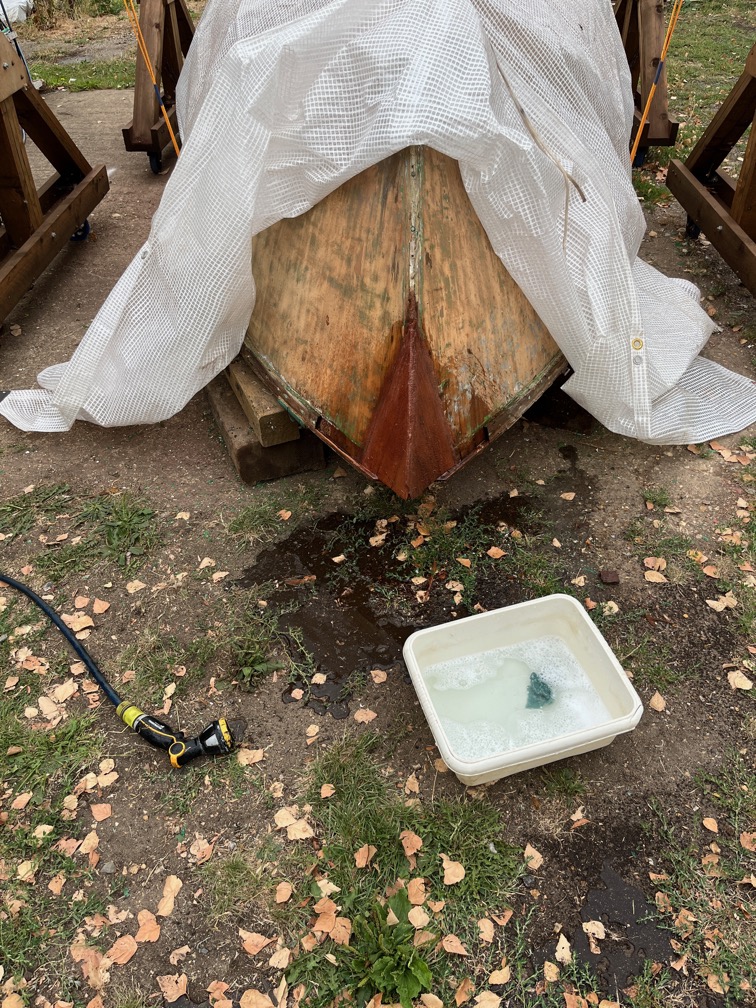
Specifically washing the amine blush off the epoxy on the new stem. Now most of the epoxy you see here will end up being sanded off, but it is still pretty essential to remove the amine blush before sanding starts and for two main reasons.
The first is that the blush, being a waxy substance, clogs up the sandpaper very quickly rendering the sanding pretty ineffective.
The second and more concerning reason is that having clogged up the sandpaper the sanding then does nothing except generate heat from friction, which melts the waxy blush and the epoxy and can mix the two together leaving an epoxy surface to which nothing will stick. The remedy when this happens is to use a heat gun and a scraper to remove the epoxy and start again.
Fortunately, the amine blush is water soluble and the recommended treatment is to use warm soapy water and a soft brush or abrasive pad to dissolve and remove the blush followed by rinsing the surface with clean cold water.
Which is what I have done here.
So, on to the transom.
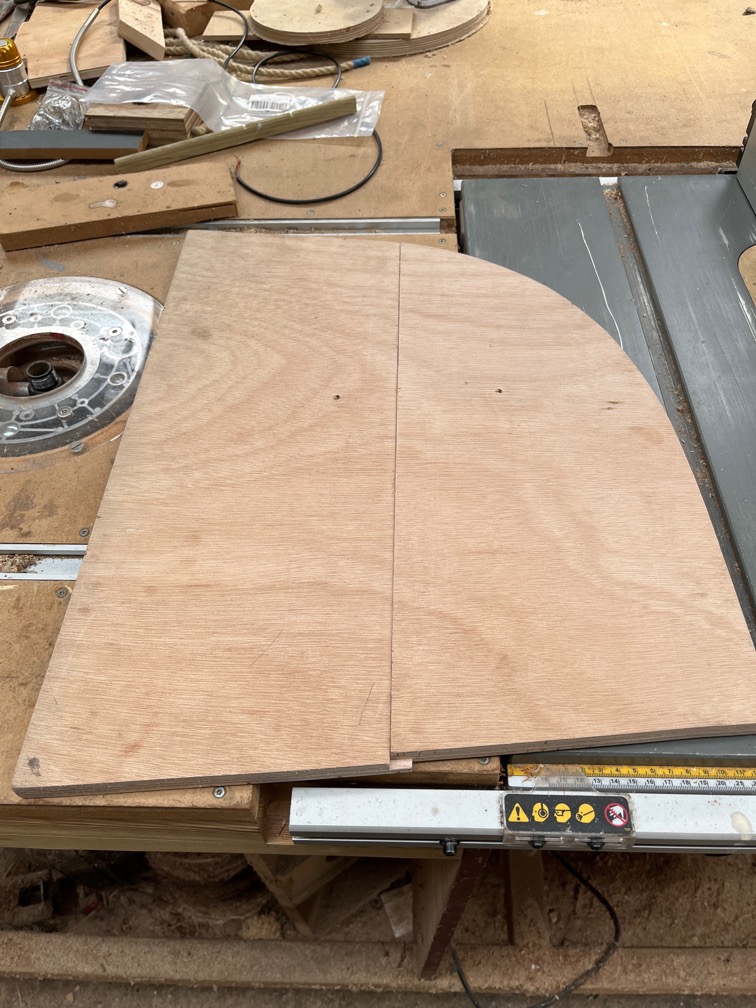
Having given it some thought and tried various ways to get the new transom piece into the correct position in one piece, I gave up and cut the thing in half.
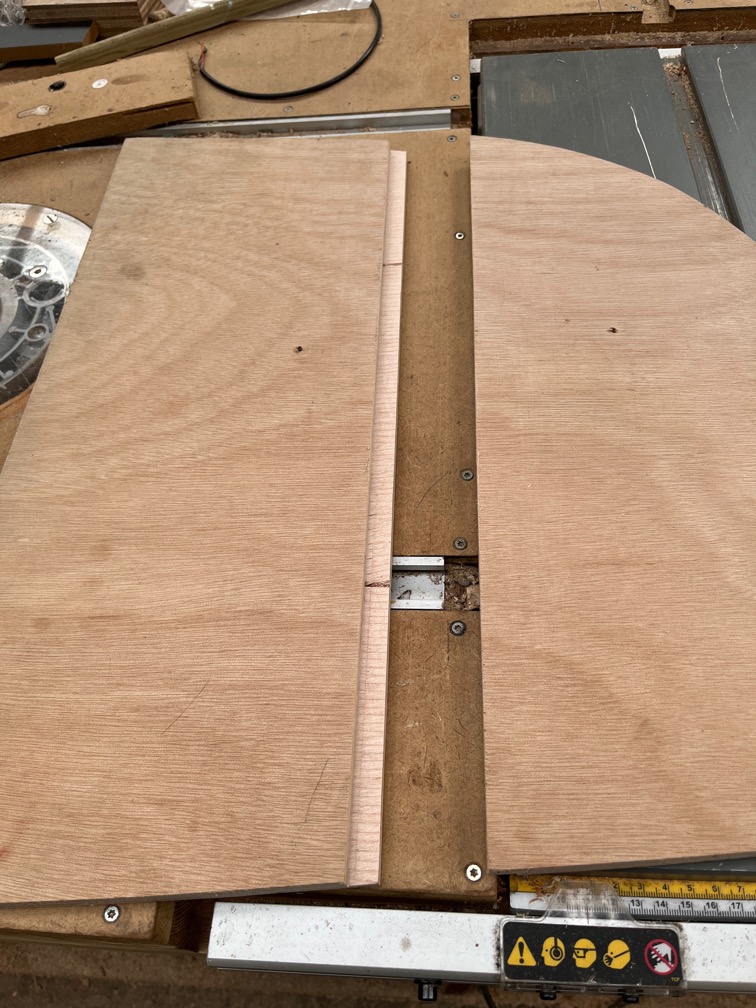
I also cut a lip on each piece, mainly to make locating the two pieces easier and also to increase the glue area.
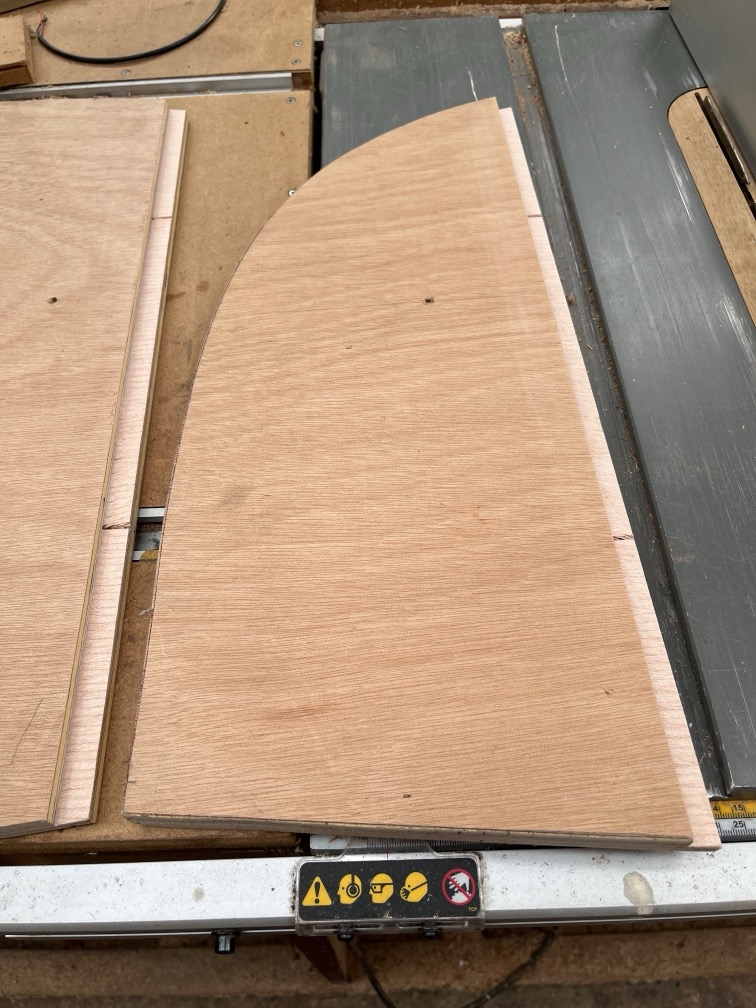
I have to confess that I had intended to cut these laps on the other side of the wood and made the mistake of getting them on the wrong side. Only, after some consideration I realised that this way round was better than the way I had intended. So, although it was wrong, it was right.
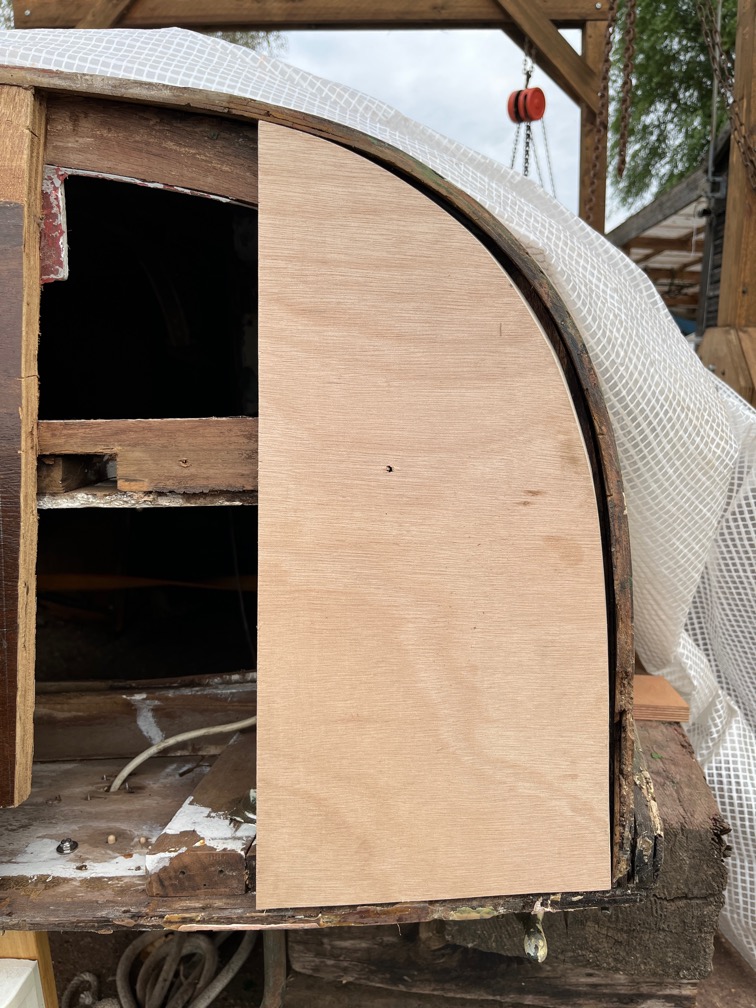
The more difficult piece was cut to the correct length and put into place. As you can see it doesn’t fit, and nor did I expect it to, but with a new belt on the bench belt sander I sanded away until I had a pretty good fit.
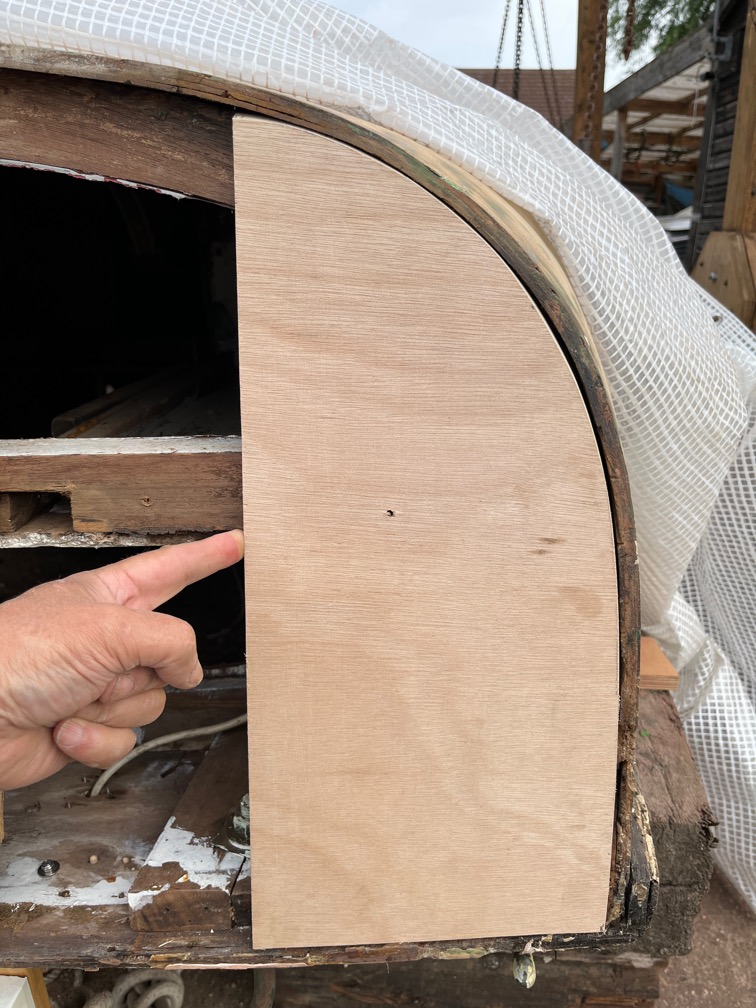
The remaining gaps will be sealed with thickened epoxy when it comes time to glue it all together.
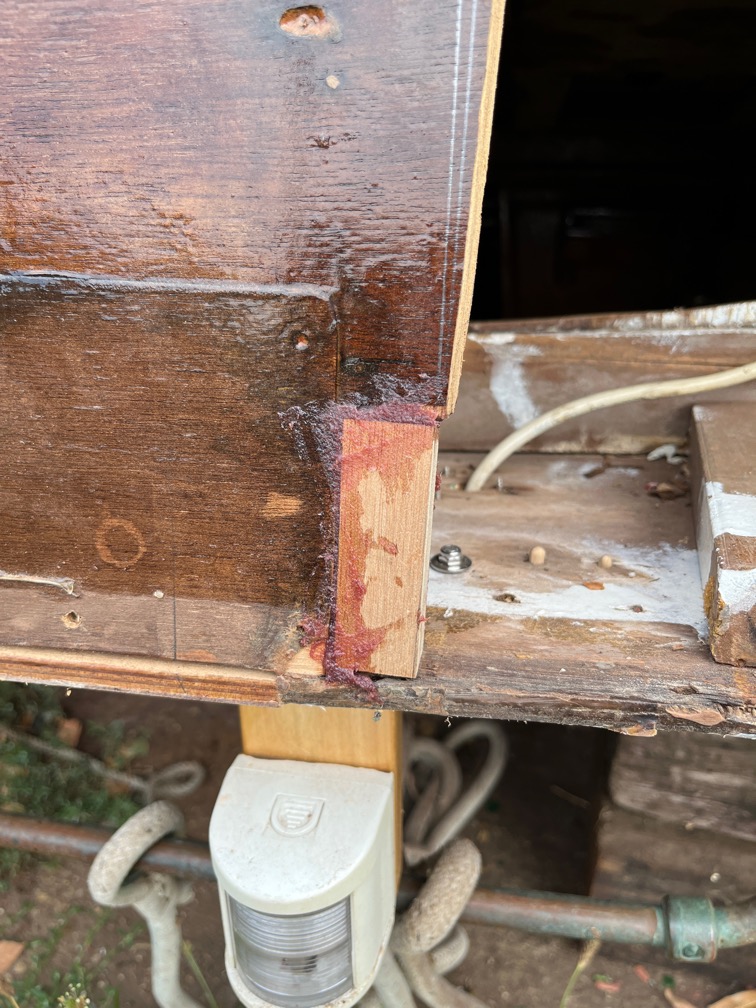
Before I continue with the other half of the repair, I needed to fit a small piece into the notch in the transom where the rotten part extended beyond that of the rest of the removed transom.
Once this has cured sufficiently I shall cut a lap on the transom. including through this new piece and then carefully cut a lap on the second half of the repair piece, probably making several closer and closer cuts until the piece fits into place.
That will be the point that the transom repair is glued into position with thickened epoxy .
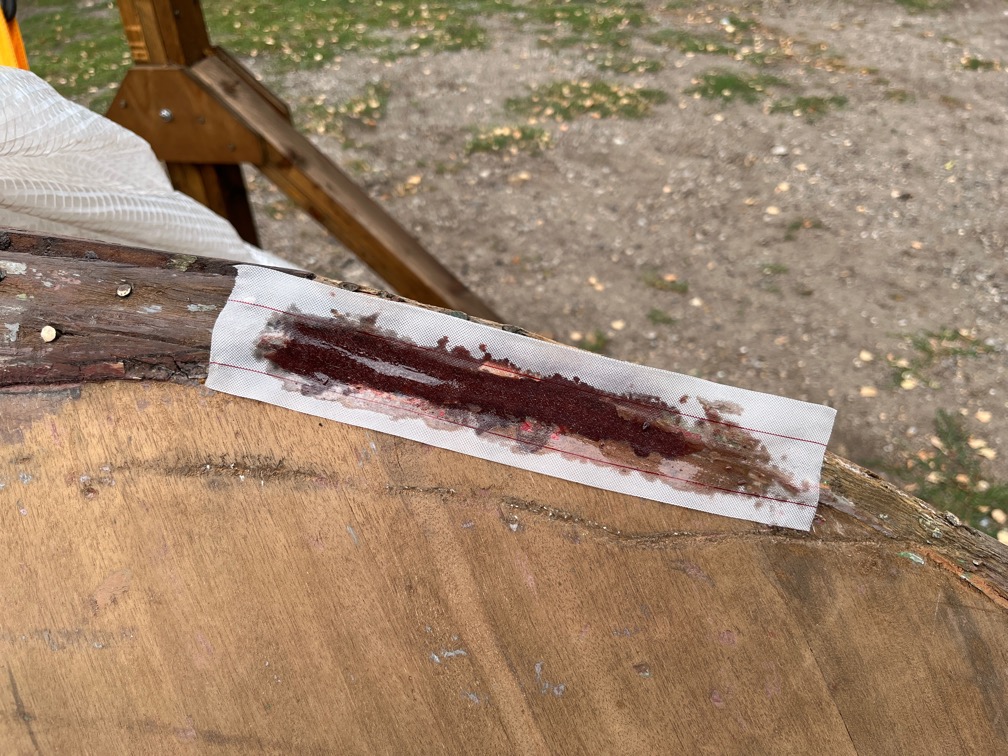
Any remaining epoxy from the work will now be used to fill in some of the dings and scratches. Peel ply will be used, as you can see here, to ensure that the amine blush is removed without having to wash the epoxy.
Time for a cup of tea.
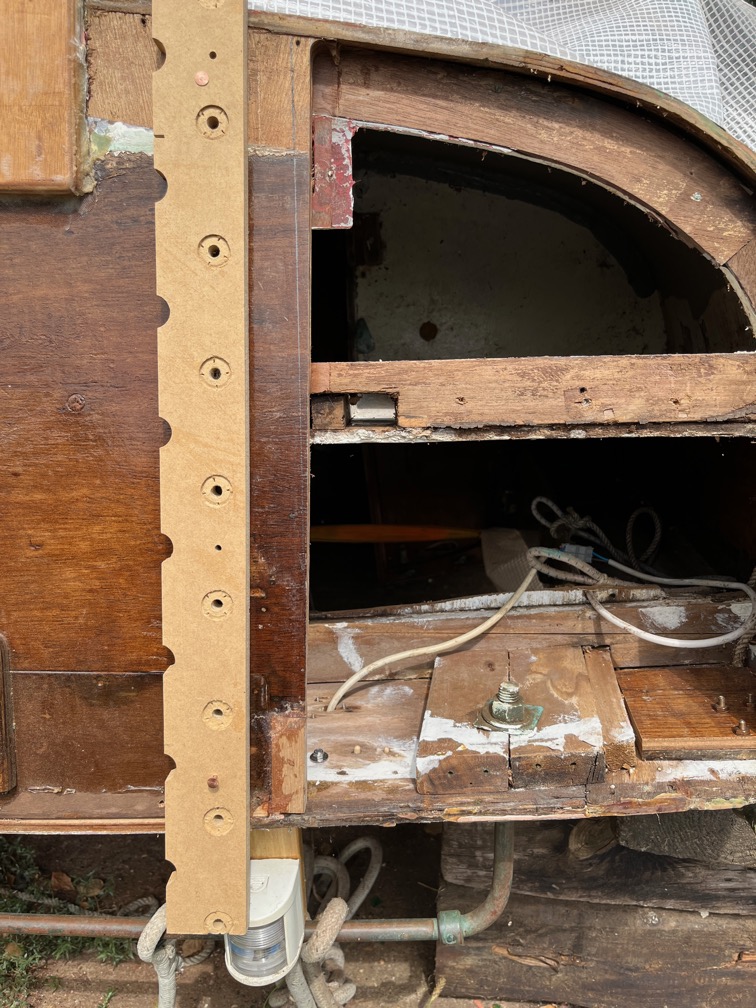
The next step in the transom task was to cut the edge of the transom to give a straight edge. This was done using a router being careful not to put the router through anything but the transom.
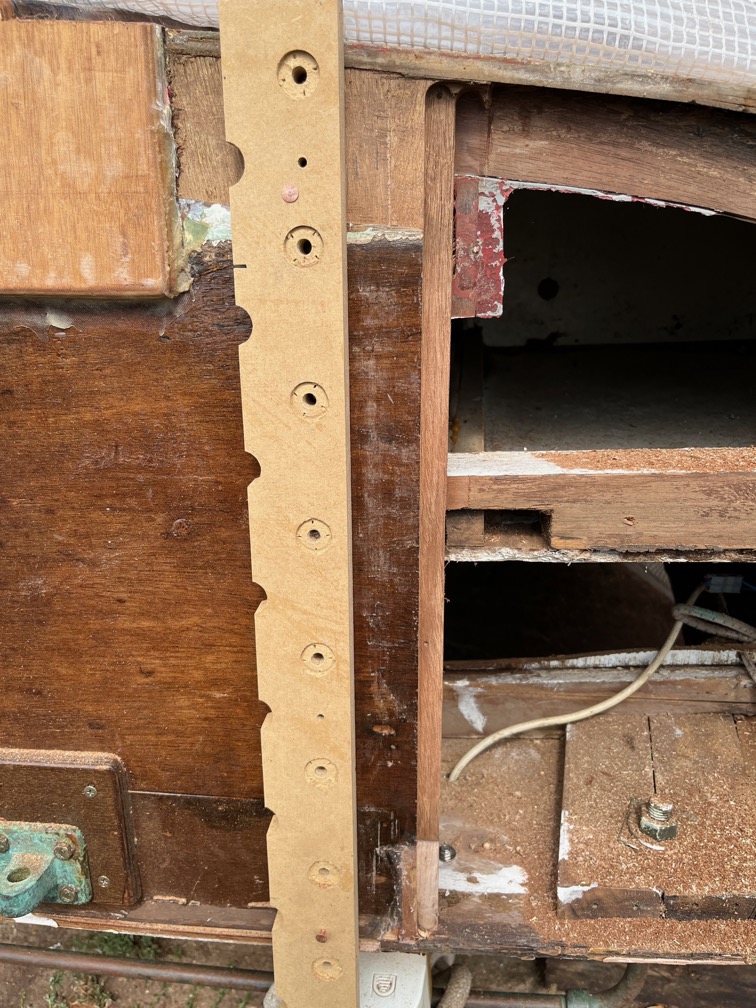
Following that the router was used to cut the lap in the transom, again being careful not to let the router go anywhere it should not.
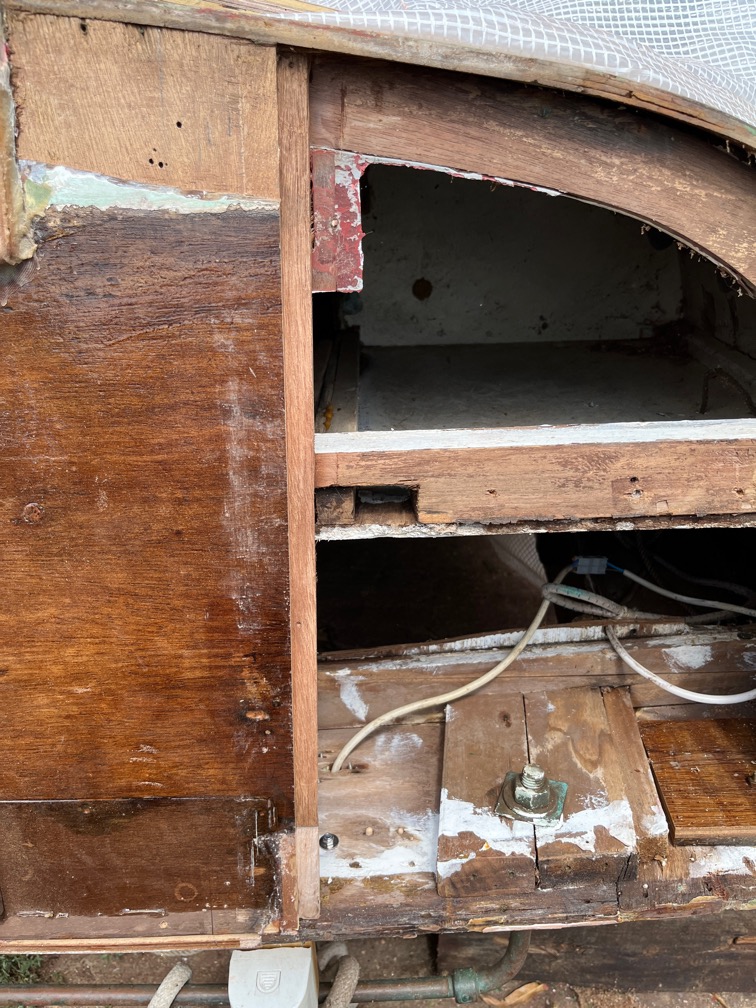
Finally I used a newly sharpened chisel to clean up the rounded ends.
At this point of the processes everything had gone well and each time a step was completed successfully, I fell into the trap of saying “I’ll just do a little more” and then “a little more”. You know what happens, you get tired and something goes wrong. Then you start saying “I should have taken a break earlier”.
Well, I didn’t fall too far into that trap, at least not this time. I took a break.
Time for a cup of tea.
The next task was to cut the lap on the second repair piece and dry fit.
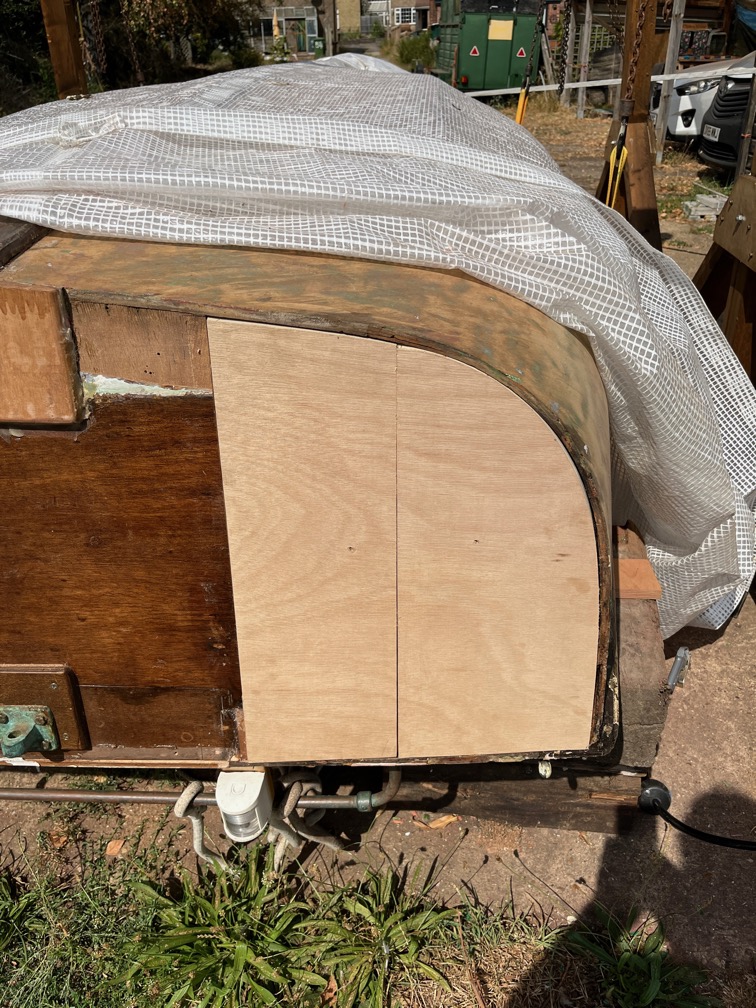
It took a bit of back and forth cutting the lap little by little until a fit was obtained.
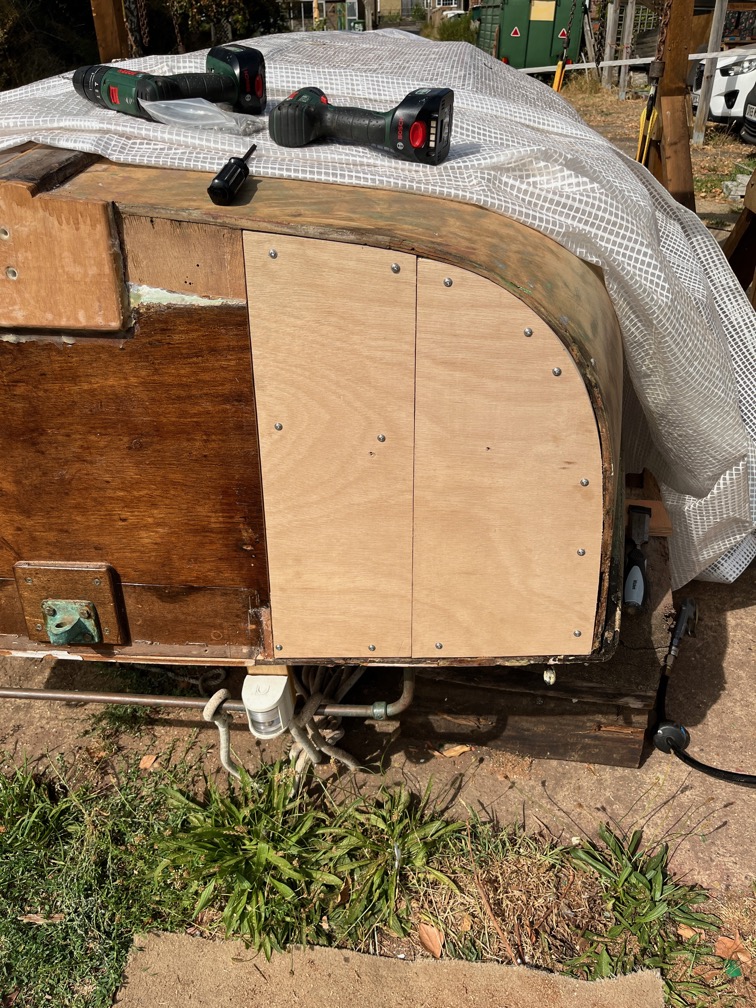
After that I drilled clearance holes for the retaining screws and pilot holes in the boat and screwed the two pieces in place for a dry fit.
Next up is epoxy work, but I need a break before I tackle that job.
Time for a cup of tea.
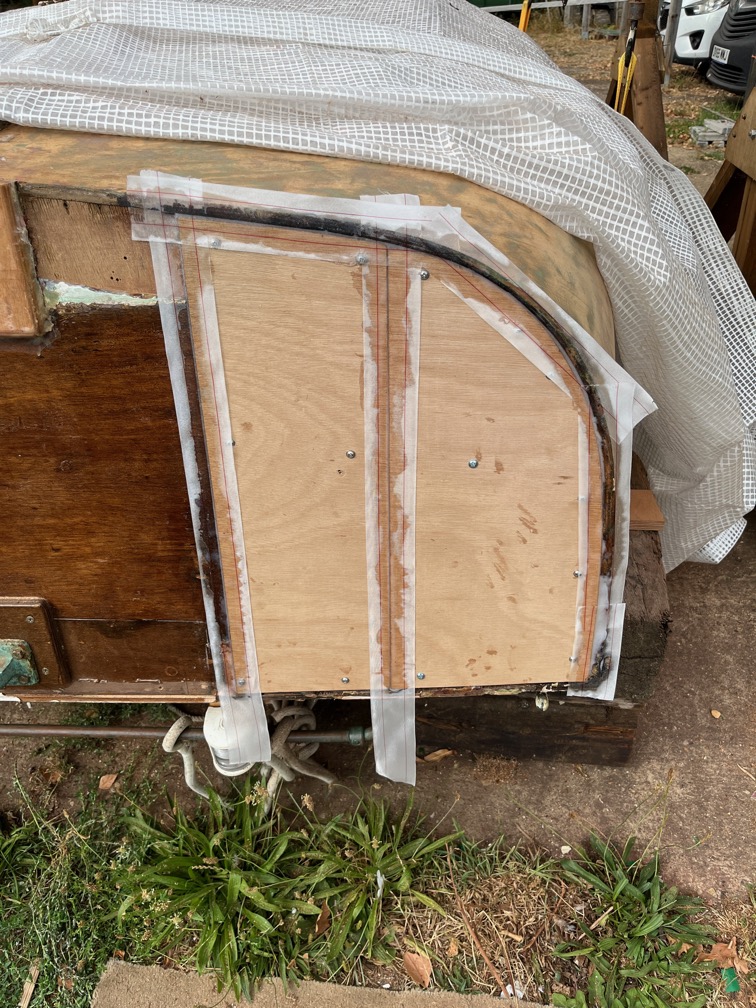
The final task for the day was to mix up a load of epoxy and glue the new pieces of the transom in place. The first batch of epoxy was neat and brushed onto all the exposed end grain and those surfaces that were to be glued. The second batch was thickened with microfibres until it was the consistency of thick Greek Yogurt. Just thick enough to cling to the mixing stick. I put this on the inside of the hull and on the mating surfaces and assembled the repair. ots of epoxy squeezed out of the joins, which was the aim and I used a putty knife to scrape off the squeeze-out and to make sure that all the joints were filled.
Finally, I mixed up a third batch of neat epoxy and used that to stick the peel ply over the joints. This last step wasn’t strictly necessary but it does stop the amine blush and smooths down the epoxy surface.
In an hour or two I’ll go out and loosen the screws and then tighten them again just to break any epoxy bond to the screws since these will be replaced with countersunk screws, probably tomorrow. Just loosening them means that it is easier to get the out once the epoxy has cured.
Time for a cup of tea.