
I ordered some oak last Saturday, pretty much as soon as I had determined that the old sampson post had to be removed and had to destroy it in the process. That timber arrived this morning.
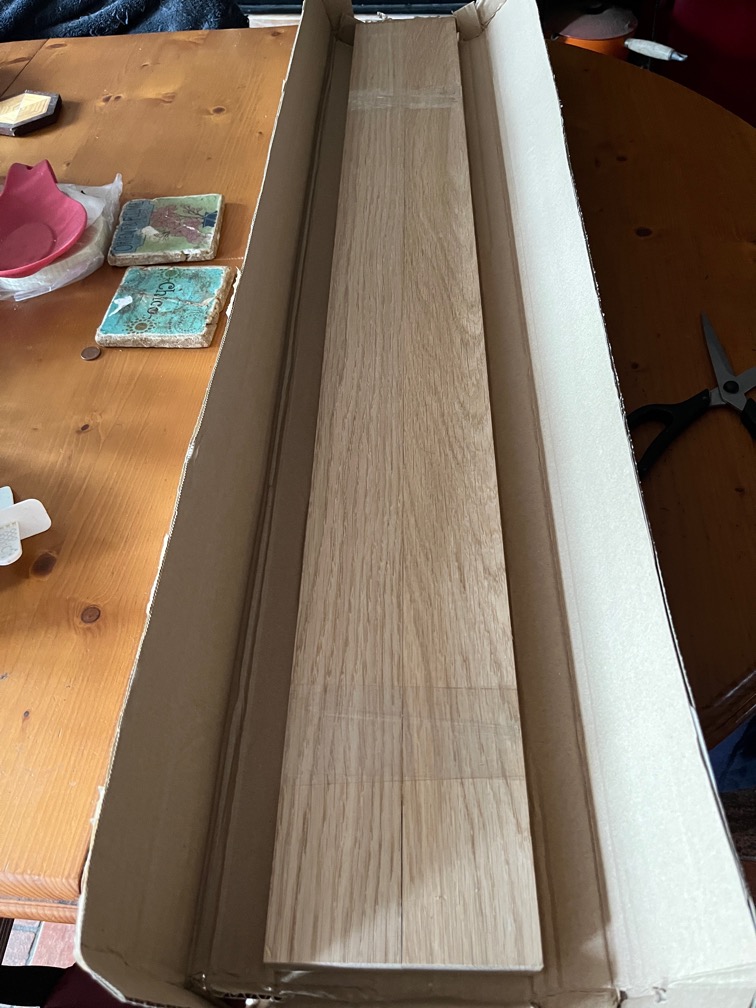
Two pieces of really nice construction grade Oak.
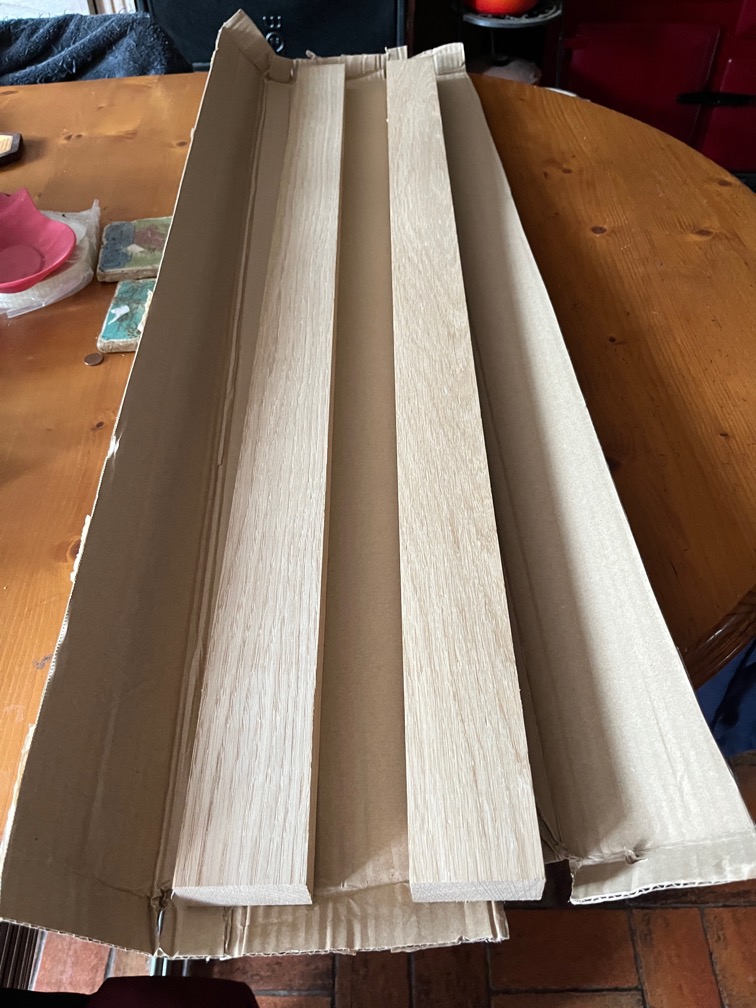
I could not buy a single piece the correct size or larger, not because they were not available but because the delivery cost was prohibitive. In one case the cost of the Oak was £35 with a delivery cost of £89.
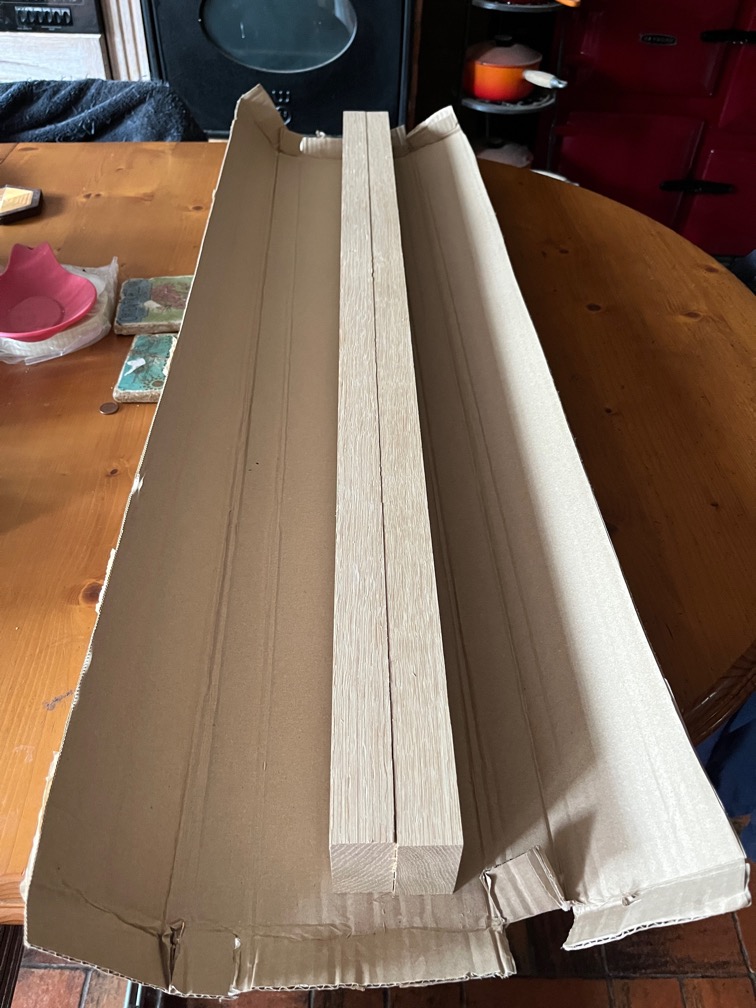
Buying two smaller pieces and laminating them together was far less expensive, just £10 delivery. Much better !
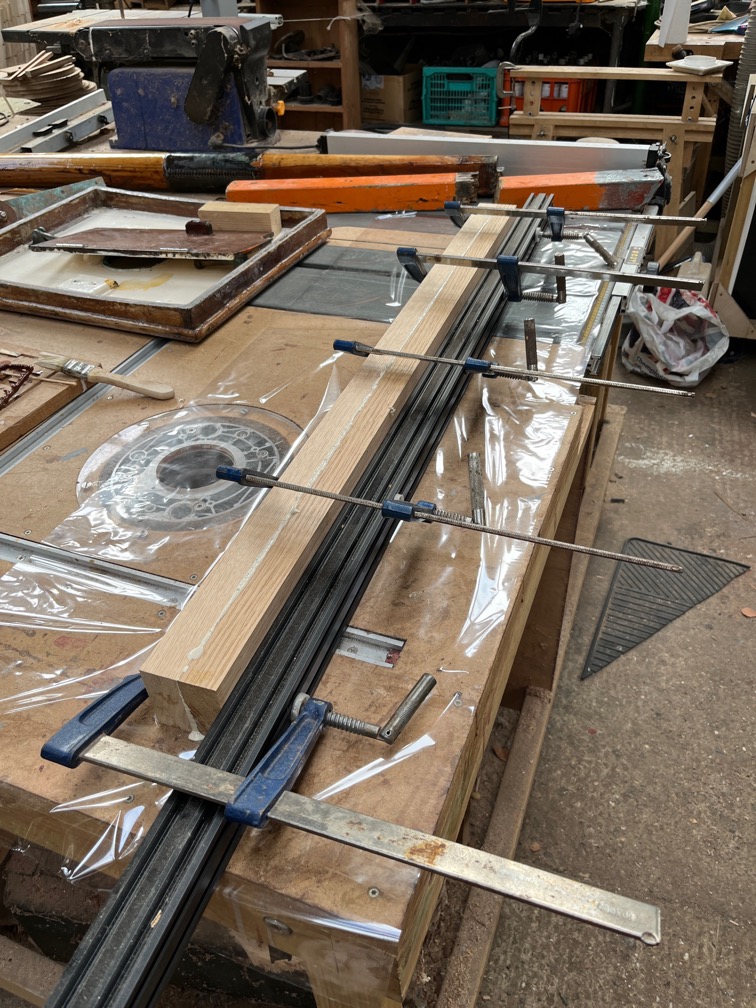
I started the laminating as soon as I had unpacked the timber. It didn’t take long as I used Titebond 3 for the adhesive rather than epoxy as epoxy and Oak don’t go well together.
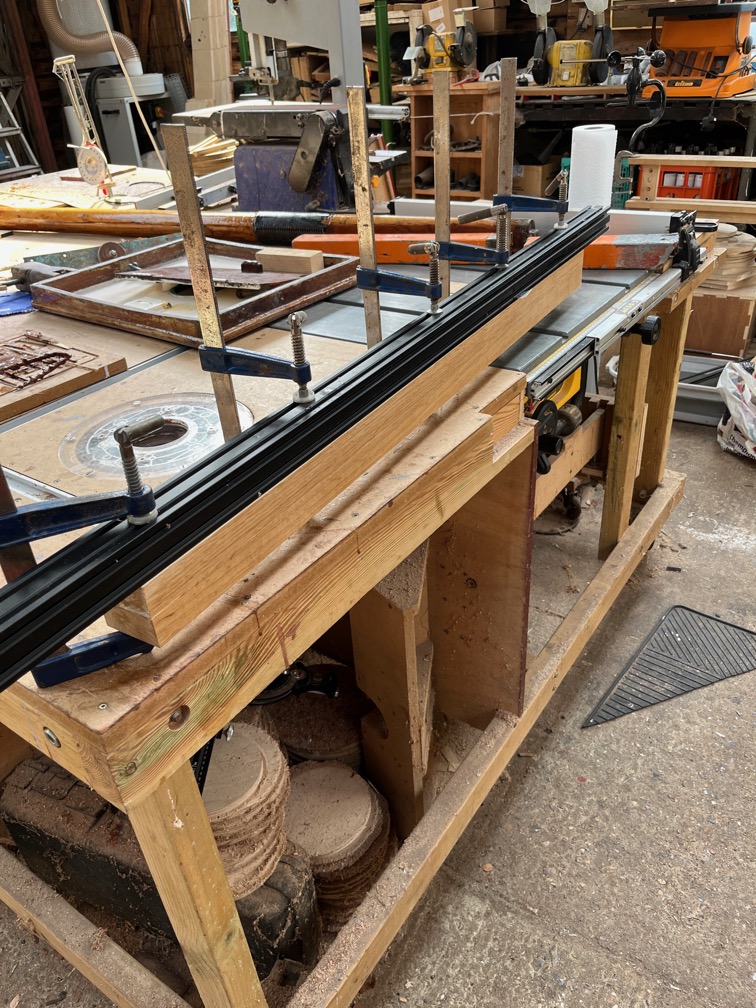
The timber was Planed All Round (PAR) and dead straight and square, so the glue up was easy.
Later on in the day I was able to remove the planks and cut down the timer to the correct size.
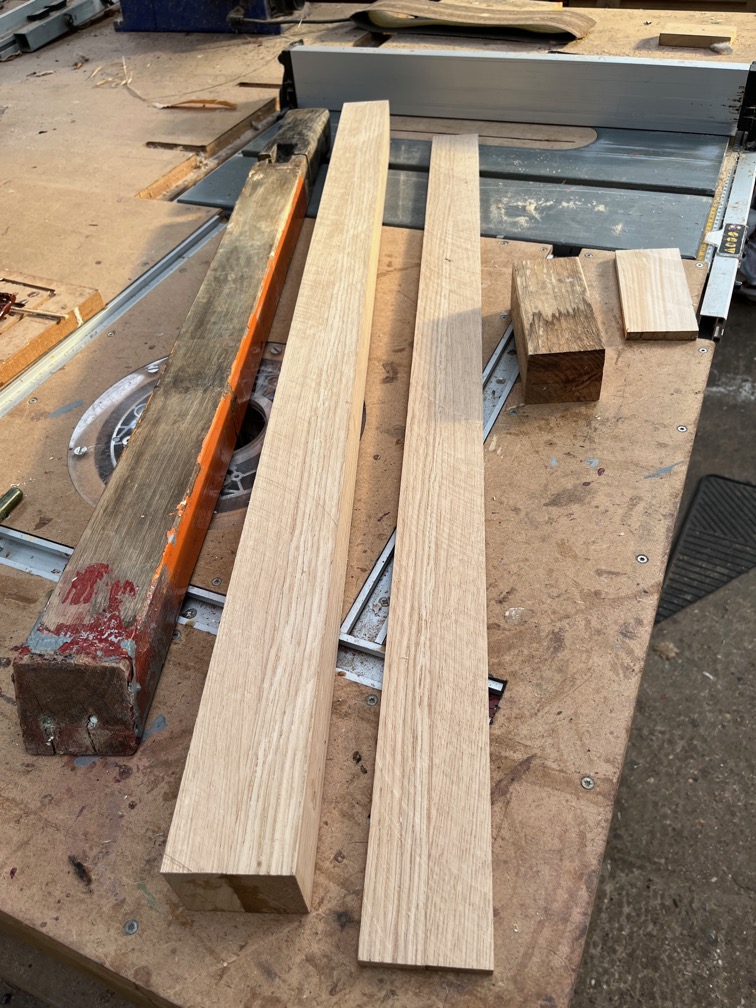
I made a test piece, the short bit of wood you can see in the photo, to make sure that the cut was correct. The two pieces I glued together were 60mm wide, which is just smaller than the hole in the deck which is 62mm or thereabouts. Once I had the test piece cut and made sure that it fitted into the hole in the deock, I cut the new sampson post.
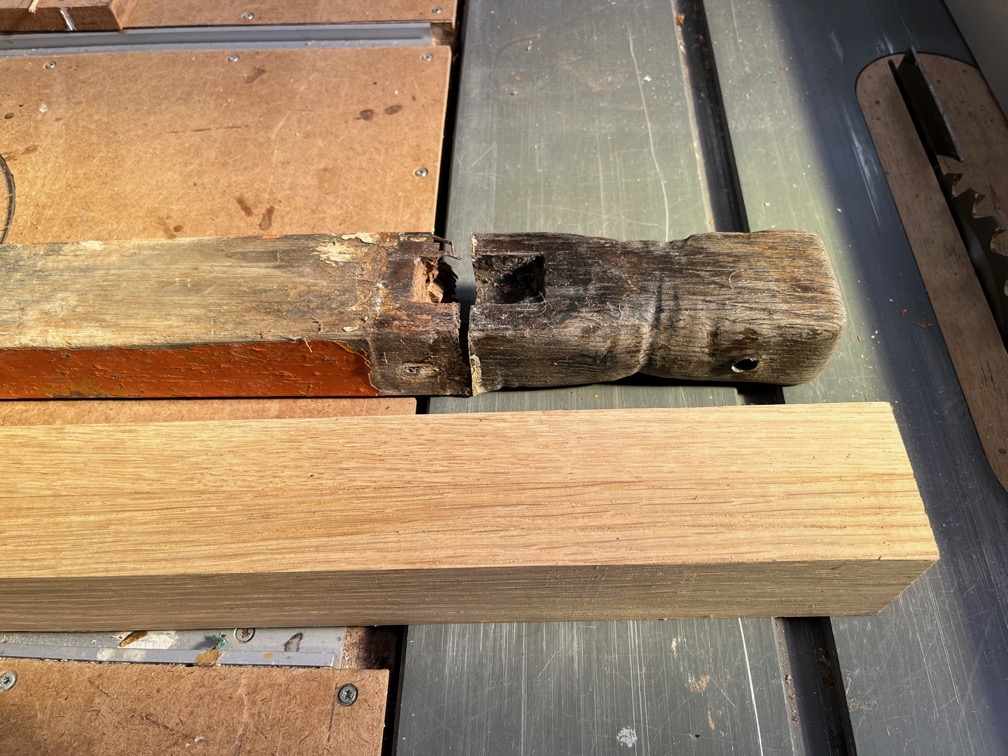
Now I have to decide what length to make the post. Looking at the old post, you can quite clearly see the mortice (slot). Originally, this would have been completely above the deck level and the line where the orange paint ends is where the deck would have been. The post above the deck measured 8″ at this time.
Subsequently, the bottom of the post was cut shorter and the height above deck reduced to 6″. I have enough timber to make the post the same height as the original 8″, but here’s the question. Why was the post cut down? If it was because the foot was damaged or rotted for some reason, then the new post can be 8″. However, if that height of the post was too high, then making the new one 8″ may mean that I end up cutting the now one down later on when I find out why it is too high.
The clue is, I think, in the fact that the post was shortened but cutting it off at the bottom. If the post was too high, then it would have been much less trouble to just cut 2″ off the top. That would not have required the post to be removed. Just tap out the bronze pin, cut off the top with a saw, drill a new hole for the pin and done. Instead, the post was removed, the bottom cut off, then post put back in again, the lower part of the mortice, now below deck level filled to the level of the deck and the tenon cut down on the bowsprit.
My presumption is that the foot of the post had to be removed and it was not the height of the post above deck that required the adjustment.
One other possible reason for this adjustment is that the mortice as originally cut and the position of the gammon iron, through which the bowsprit extends made the bowsprit point down instead of up, following the line of the deck. It would have been harder to reposition the gammon iron than to shorten the post and move the mortice down.
Still, I think I’ll make the new sampson post 8″ and see how that goes.
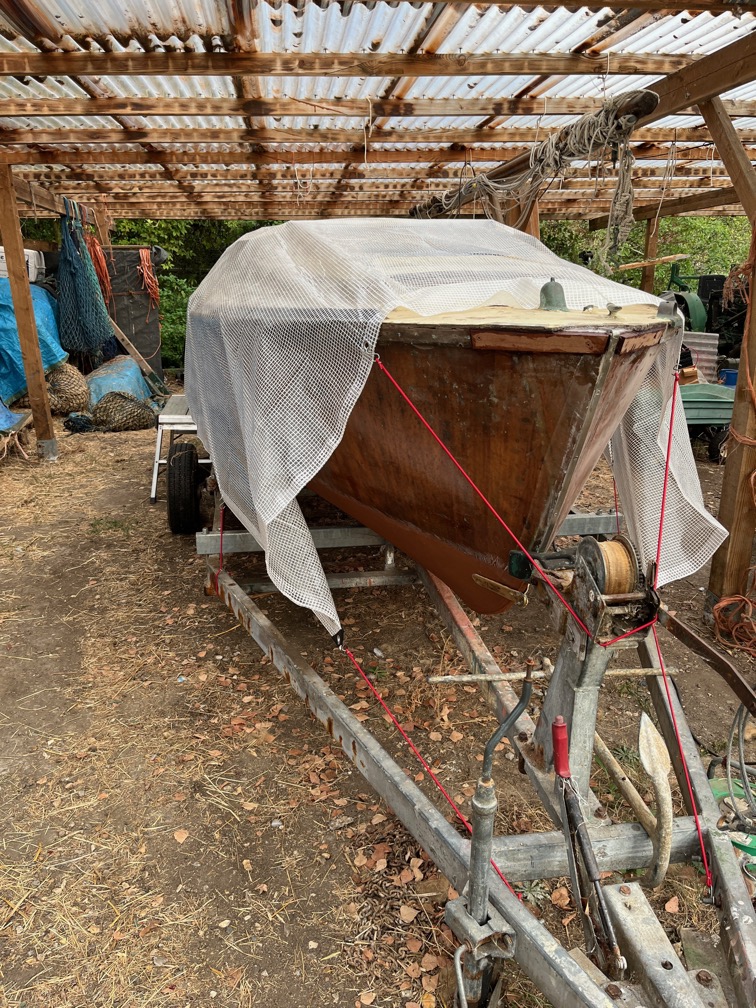
The other thing I ordered was a new tarpaulin that is 5m x 3m. This is to cover the boat whilst it is in the Hay Barn. Not to keep it dry but to prevent something else.
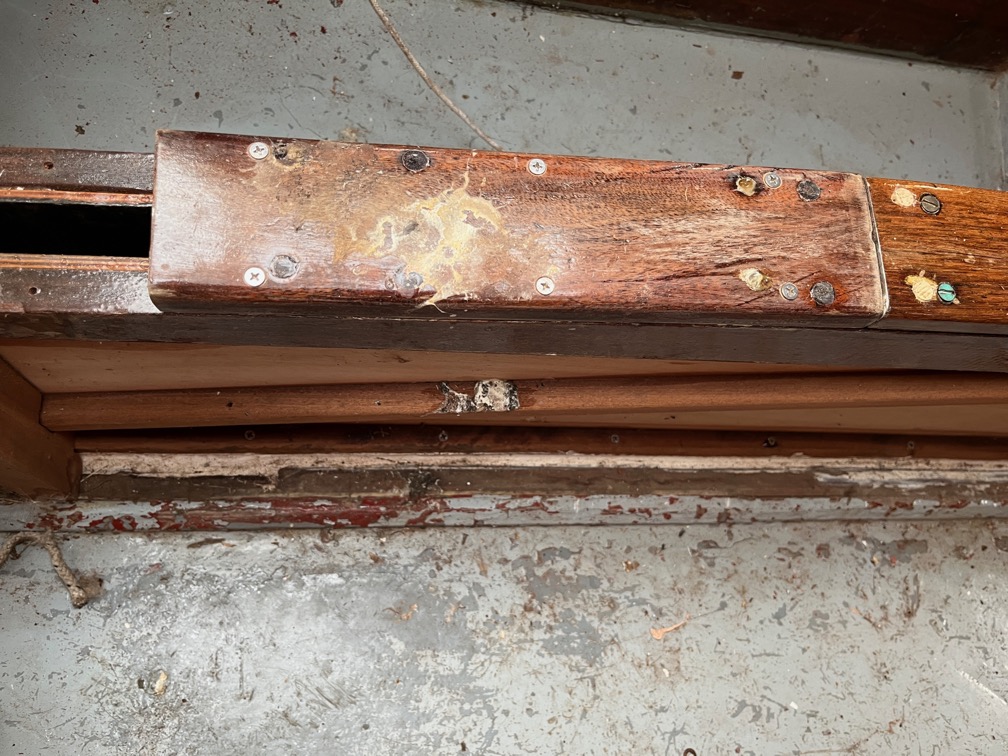
Bird droppings. This is the top of the centerplate case and it has a lot of mess on it.
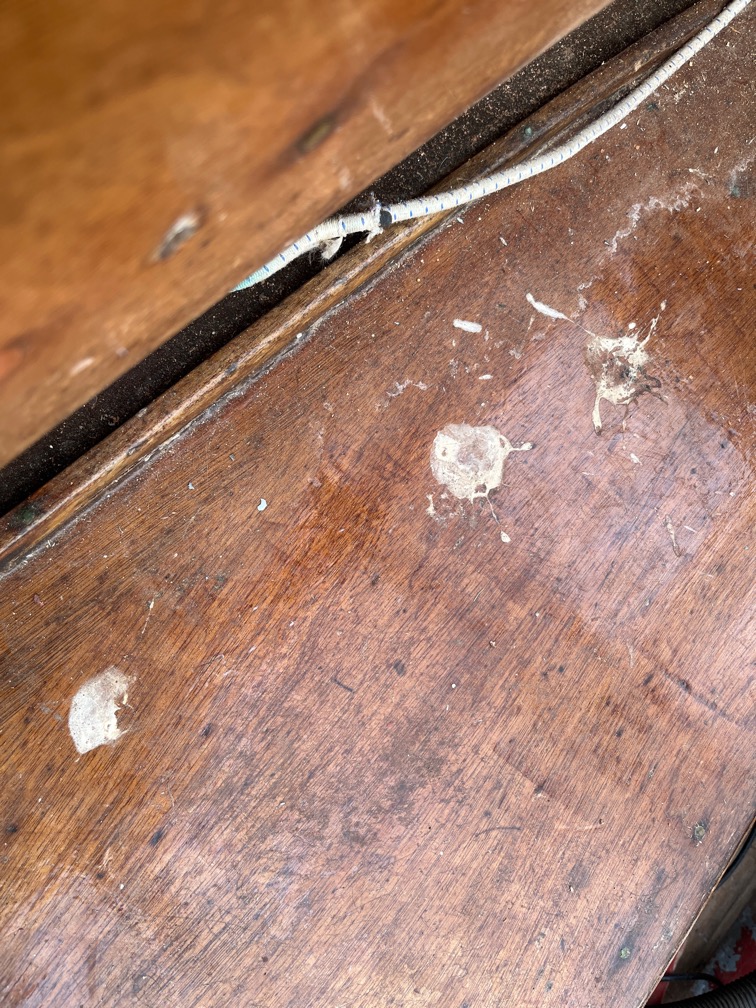
The thwarts and side decks are also liberally coated in bird sh*t and I will soon be repainting and varnishing and this sort of addition to the finish is not required.
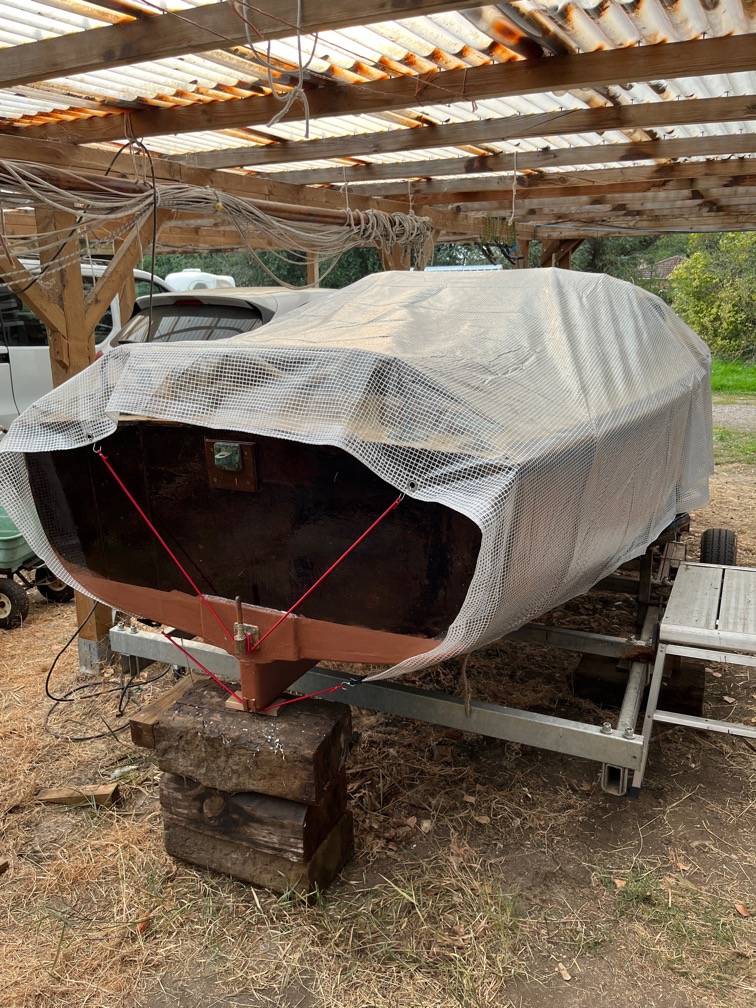
I’ve used bungee cord and small hooks to fix it in place. For those times when I need to paint areas that are touched by the tarp, such as the topsides, I shall hook it up to the rafters a bit. Enough to keep it clear of the paintwork but still low enough to keep the birds off.
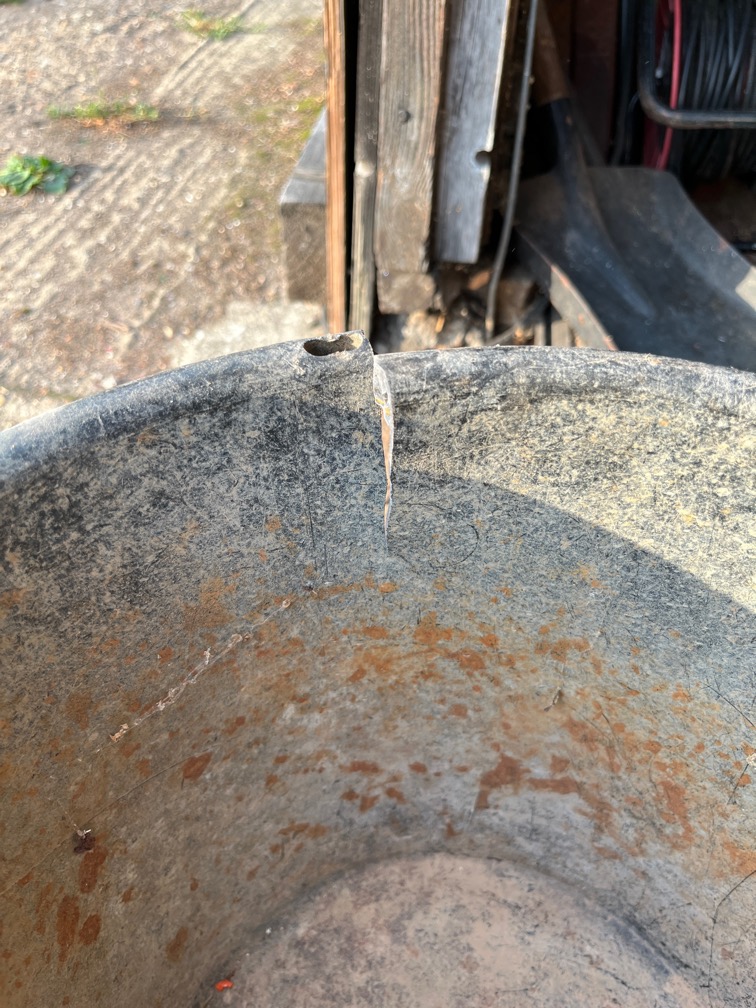
This is the anchor chain bucked which needs to be replaced. There’s one split on one side…
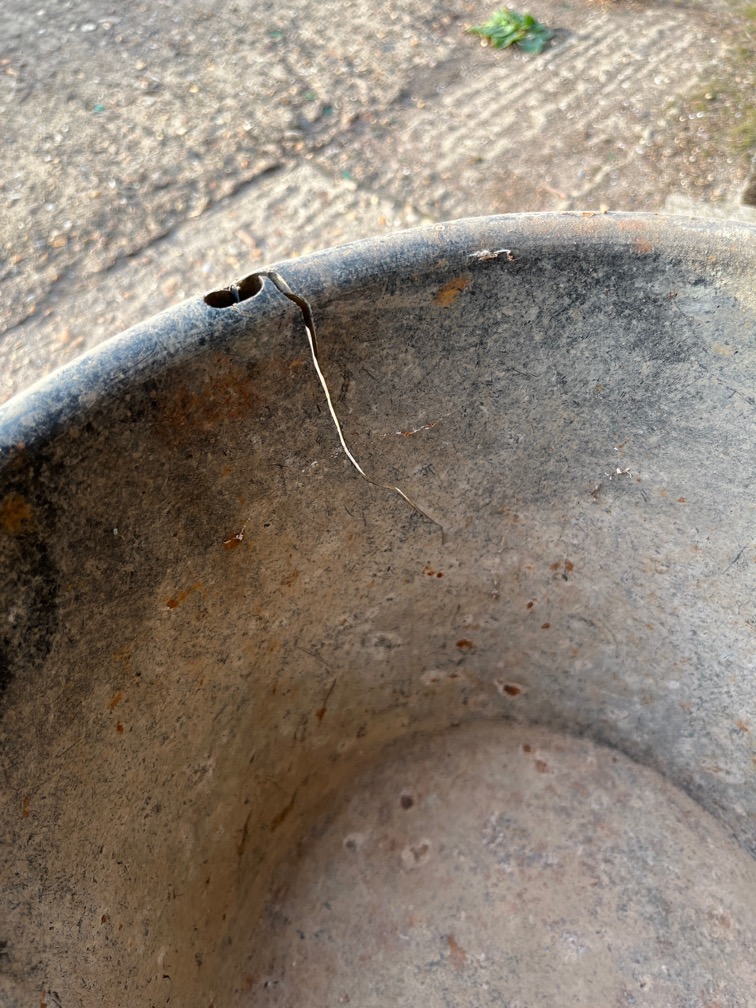
… and one on the opposite side. I would guess that this was caused by having to force the bucket between the hull and sampson post a few times as the sampson post could not be easily removed. So a new bucket is on its way. Now why would you need to move the bucket in and out so often?
Good question. The answer is that the chain is usually put into the bucket wet and often muddy. So, at the end of the season at the very least, you need to putt out the chain from on deck then take out the bucket and wash it out.
That neatly brings up the next topic, that of how to install the new sampson post so that not only is it watertight at the deck, but also not too difficult to get out.
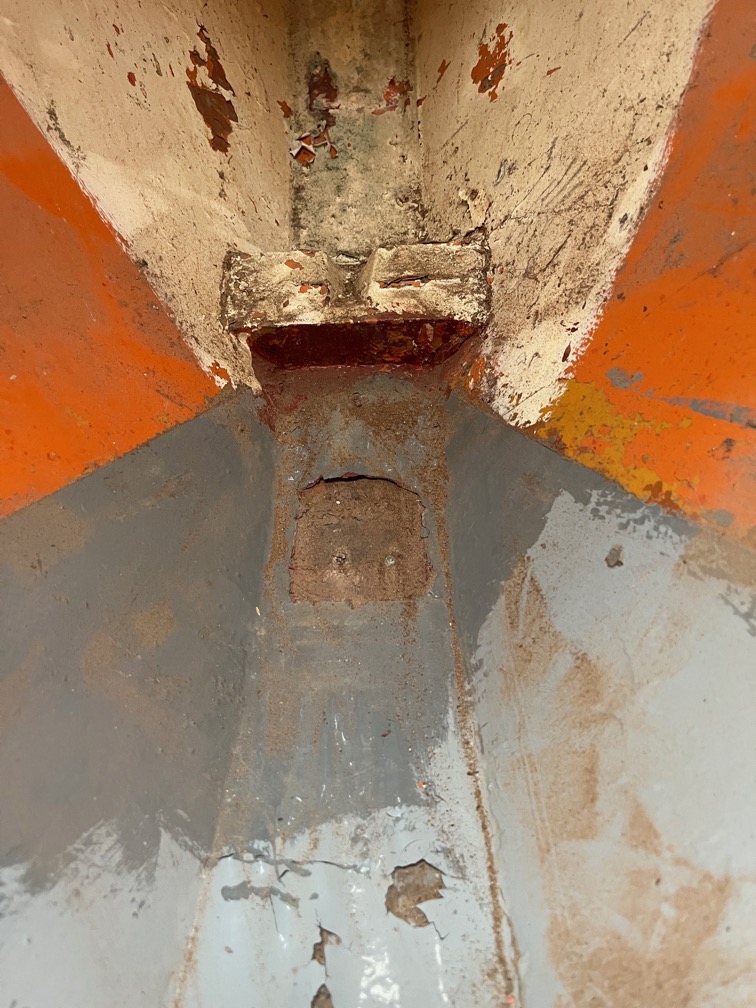
The bare section of wood you can see here is the point where the foot of the sampson post was before and you can even see the remains of the two busted screws. I think that I will make something to epoxy and screw down to the hog at this point that is no wider than the bare patch, but possibly a bit longer fore and aft. In the top of this footing will be a recess into which the foot of the sampson post will locate and stop it from moving around.
If I make this fitting too wide, then any water that gets into the front of the boat will not easily get past the fitting. I need to leave a respectable gap between this and the hull for drainage.
I will need to shape the bottom of the post, but that is a small job and the result should be more than sufficient to hold the foot in place. The timber is 60mm x 40mm and I can reduce this by half at the foot.
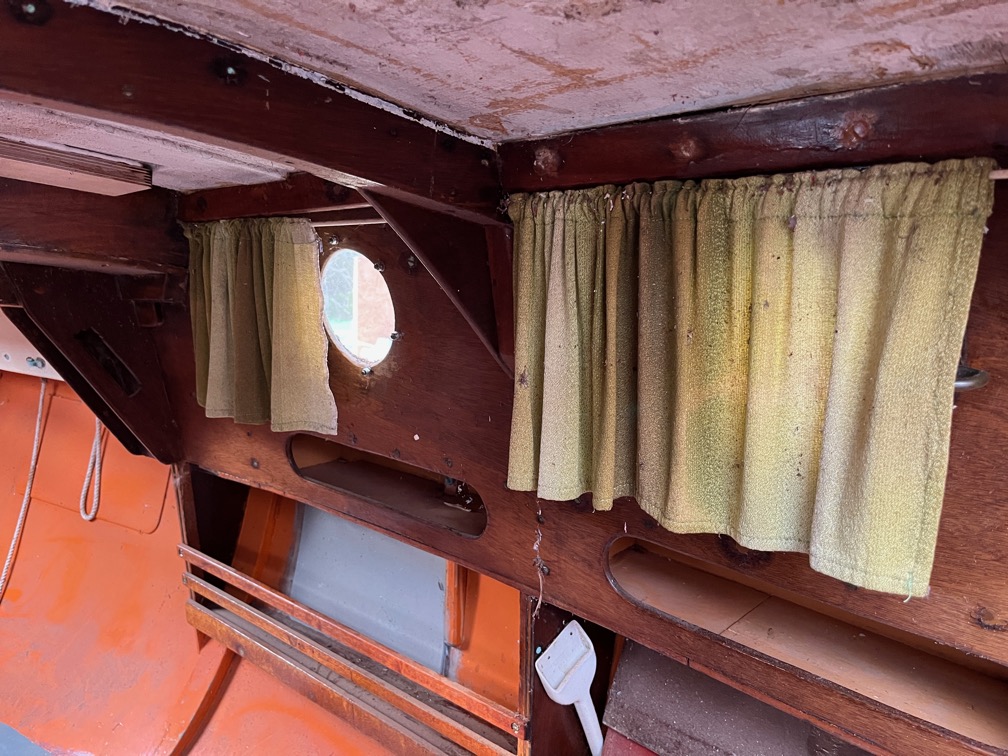
Another task I undertook was to remove the curtains. These are threaded onto short lengths of curtain wire that have hooks at either end. These hooks locate into small screw eyes. Unfortunately, all these are steel and the hooks and eyes have rusted. So down they came. I’ll wash the curtains and make new ones where they are missing, using bungee cord instead of the curtain wire and hooks.
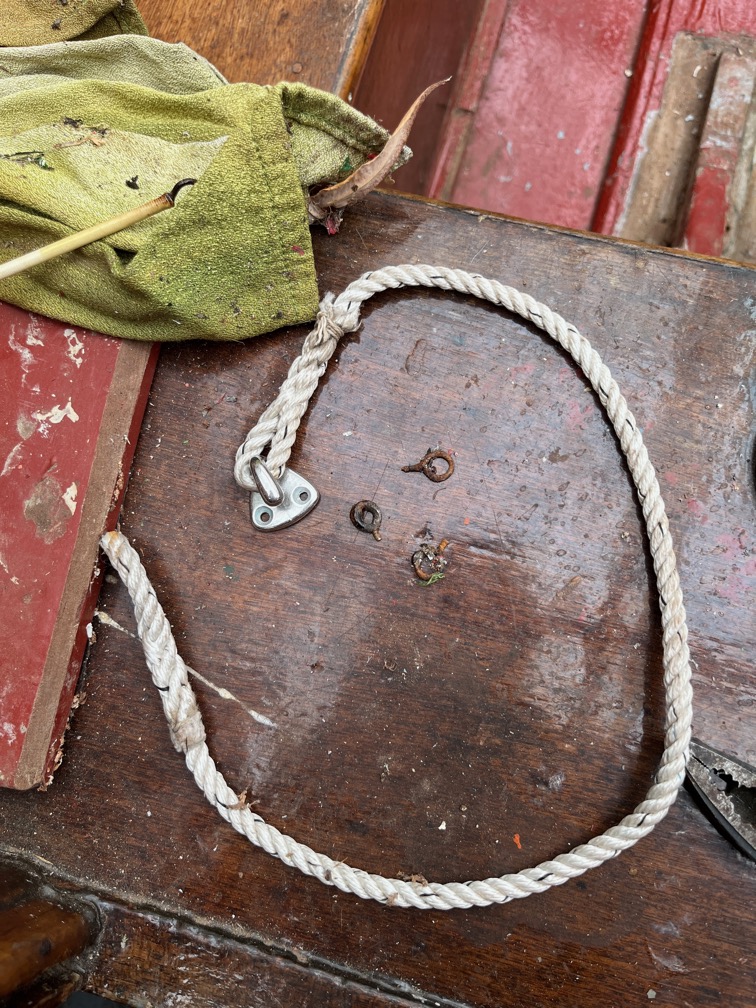
These are the remains of some of the eyes. The length of line came away when I pulled on up in the forepeak.
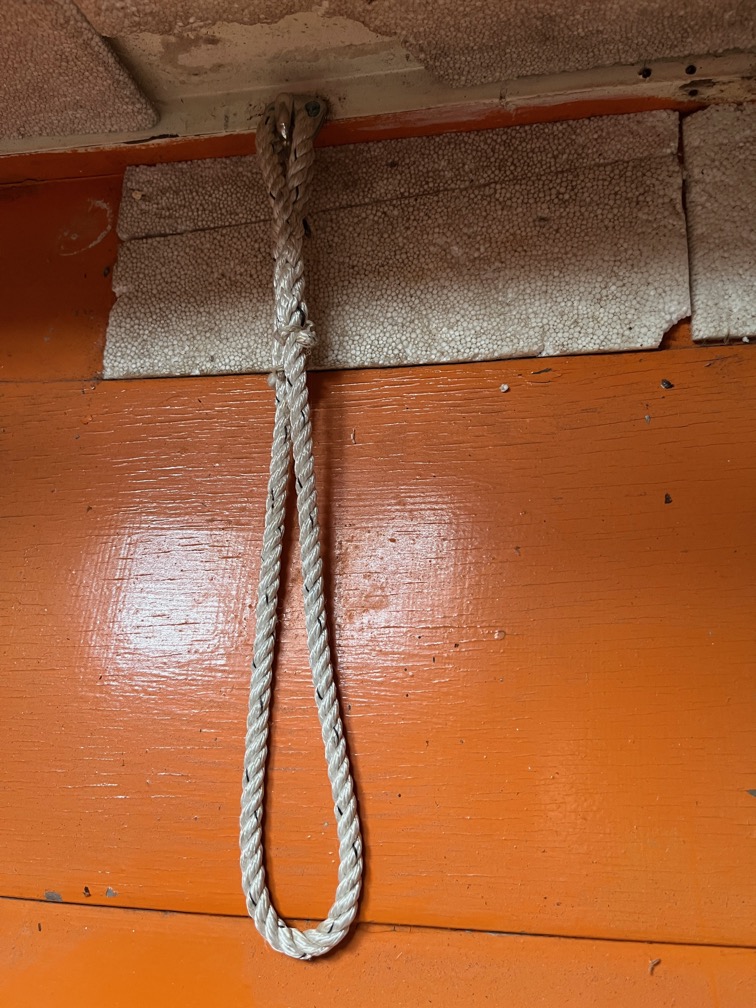
There were three up here, but only one remains in position. The screws were brass. I’ll replace these with small stainless screws. There’s netting on the other side of the forepeak and I think that also has brass screws which will need to be replaced.
Time for a cup of tea.