
The next major task for Shoal Waters is another leak test and that means completing all those things that might leak, such as the pintle fitting on the transom.
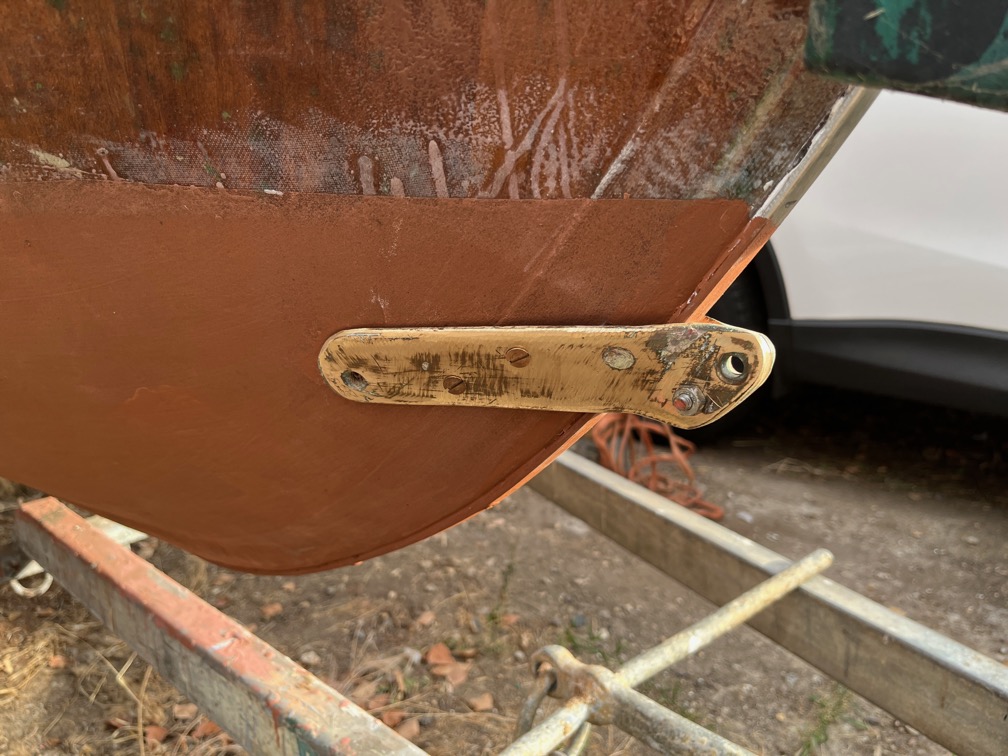
The first fitting to reattach is the bobstay stem fitting. This needed three hands to get in the correct position, two to hold it and one to drill the pilot holes, so whilst Tina was about I borrowed her for a few minutes to get this in position. Then I decided that one inch no.12 screws were too short for this, so I put in the four screws that I had and ordered some one and a half inch screws.
So far, so good.
Time for a cup of tea.
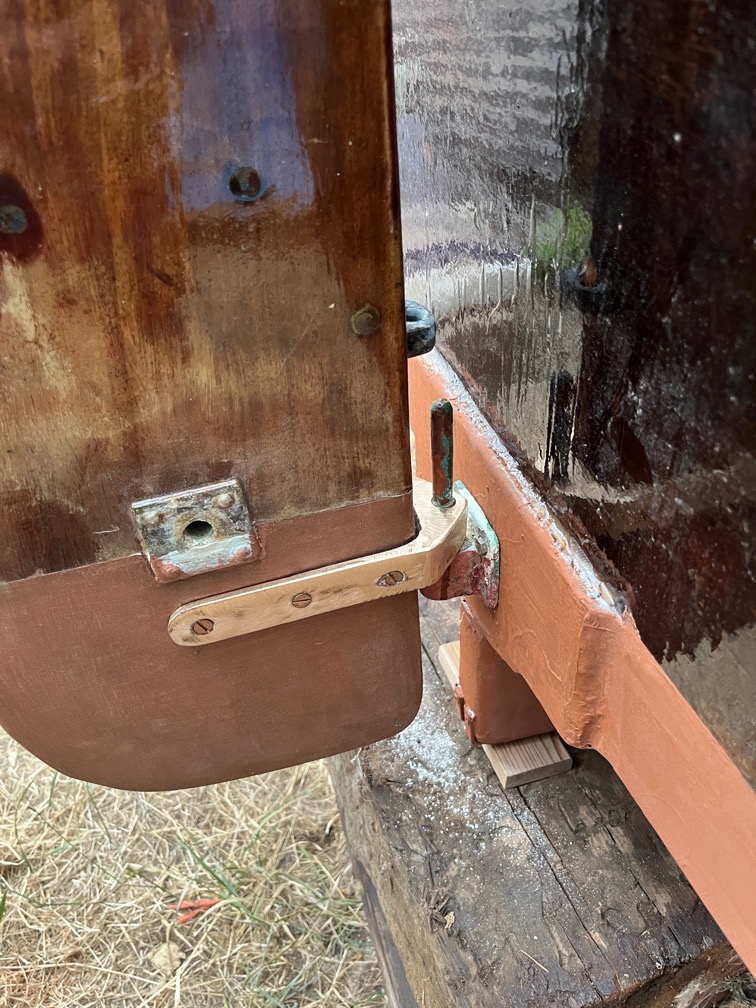
Next up is the pintle fitting on the transom and this was a lot trickier. You can just see from the above photo that there is a gap in front of the pin, between the pin and the gudgeon fitting meaning that the fitting needs to have a spacer put between it and the transom to move it backwards slightly. I used some washers for this.
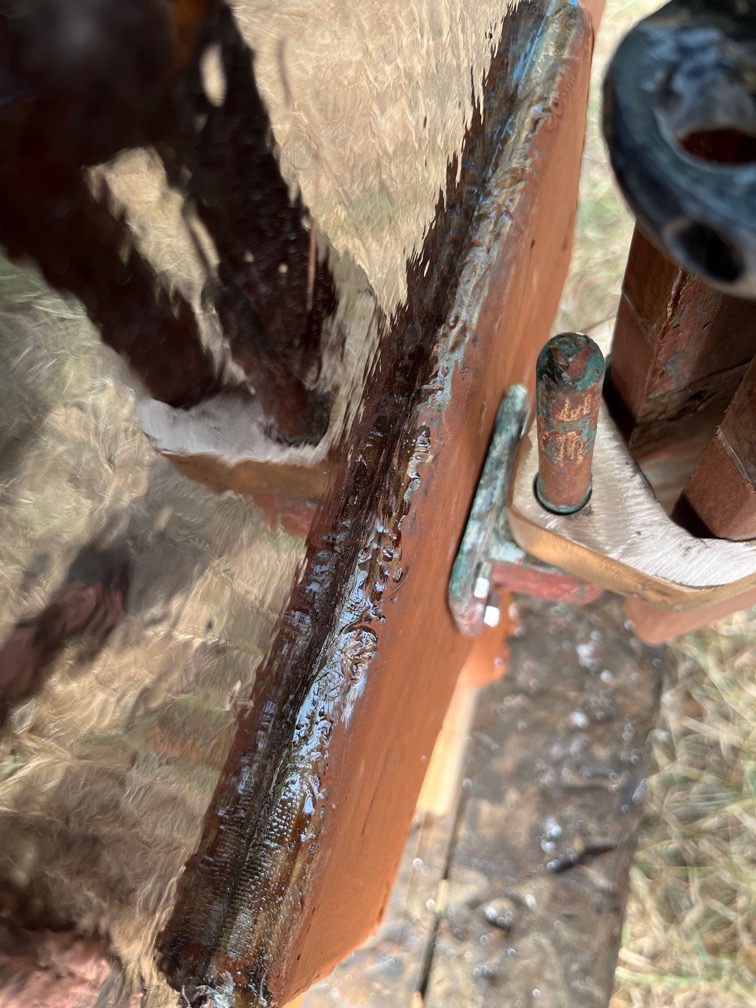
You can see the effect in the photo here. There is a gap between the fitting and the transom and the gap around the pin is even showing that the pin is centered . Mind you, I did have to drill out the hole as it was oval after many years of use.
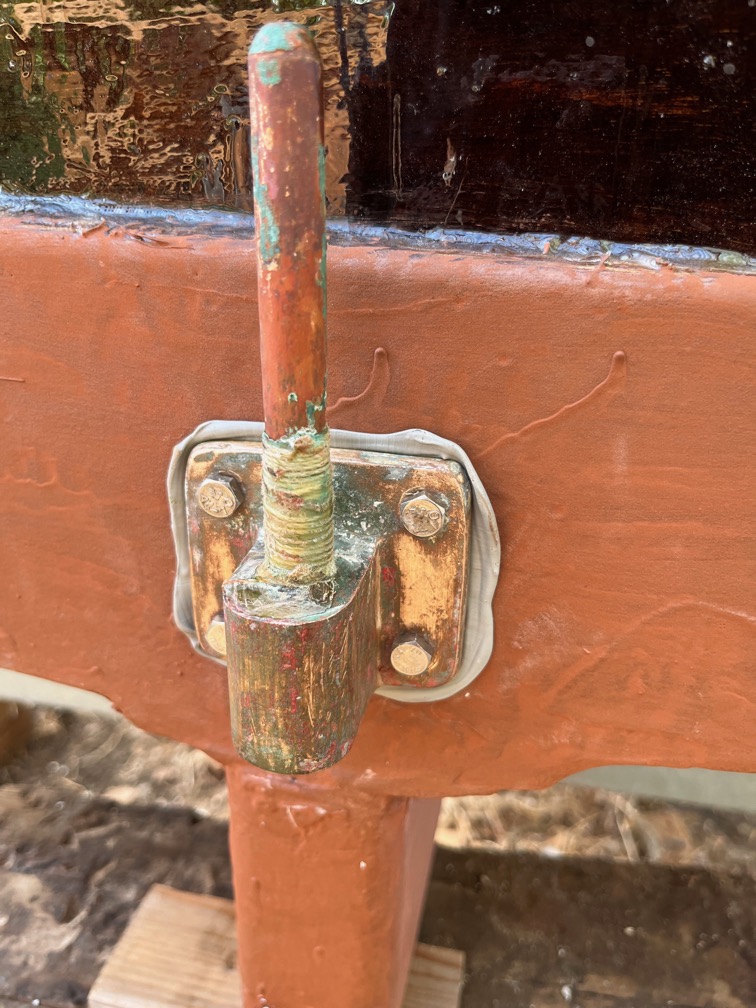
Having got the adjustment done I sanded the fitting, and bedded it using butyl tape. The holes in the transom were countersunk and as well as the tape around the edge of the fitting, I also wound some tape around the bolts. This was forced into the countersunk holes as the bolt was tightened up from the inside ensuing that the whole thing is watertight.
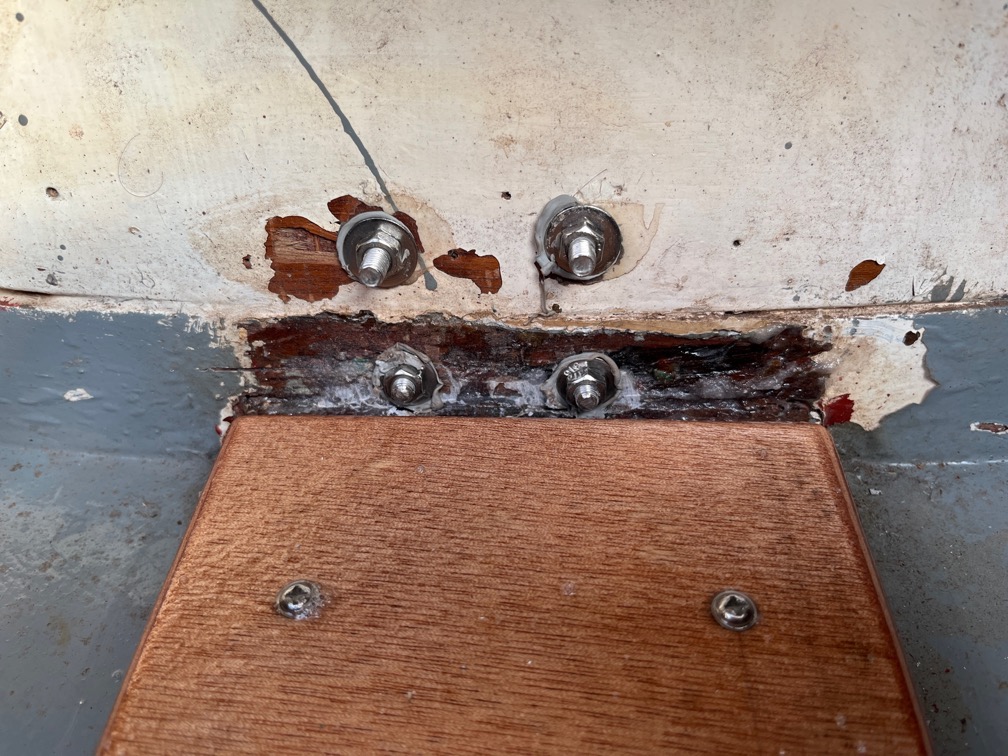
On the inside, I put some butyl tape between the washers and the transom such that there was a watertight seal on this side of the bolt as well.
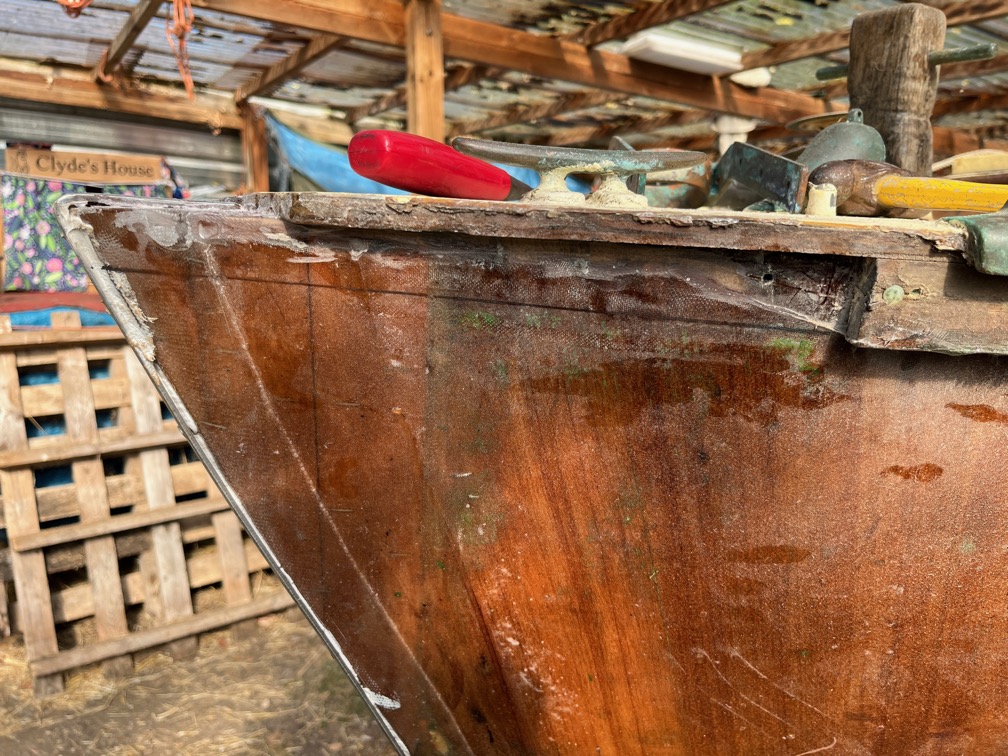
The next task I decided to work on whilst I await the arrival of the screws for the bobstay fitting is the completion of the repairs at the prow. First up in this task is to replace the rubbing strake that came away when the prow was cut back to good wood.
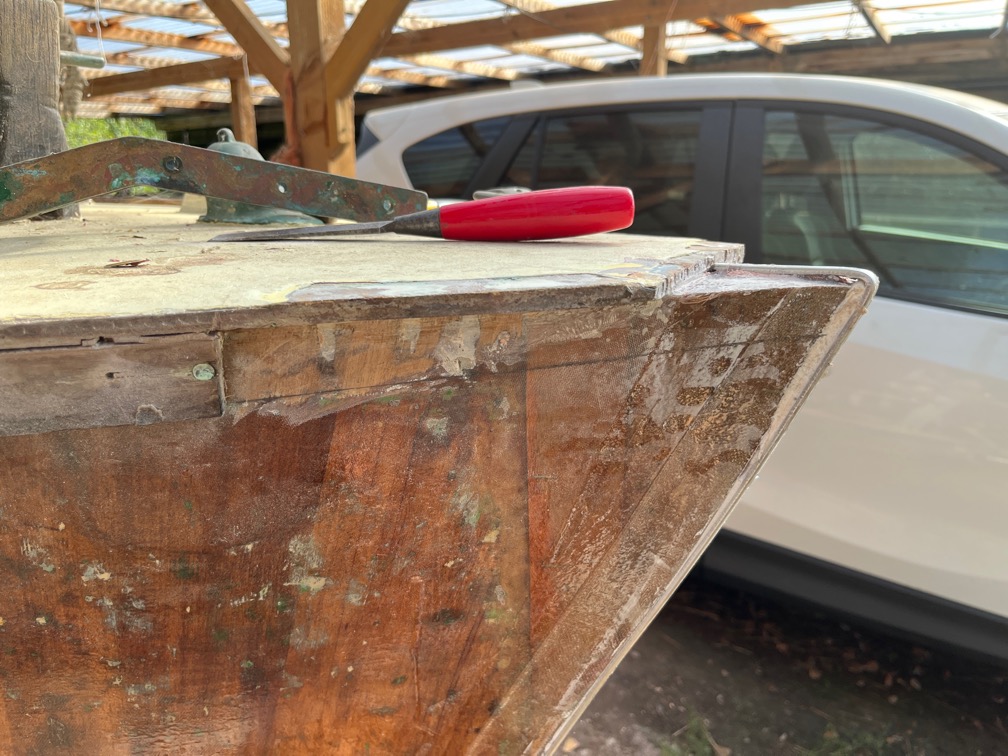
The hull was cleaned up and a line draw on the hull where the new piece will go. On both sides the part that came off was a short section where the rest of the batten was too short to reach the bow.
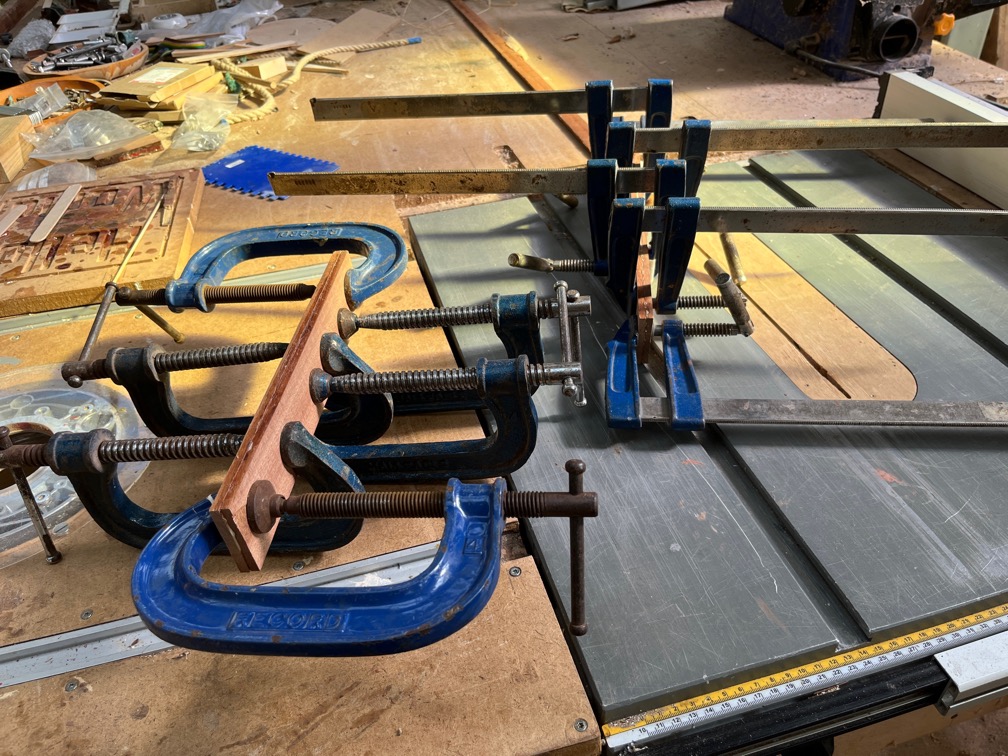
I cut two laminates of the Sapele I had left over from the Naiad rebuild and having cut them to length and planed them to width. I glued them together.
Time for a cup of tea.
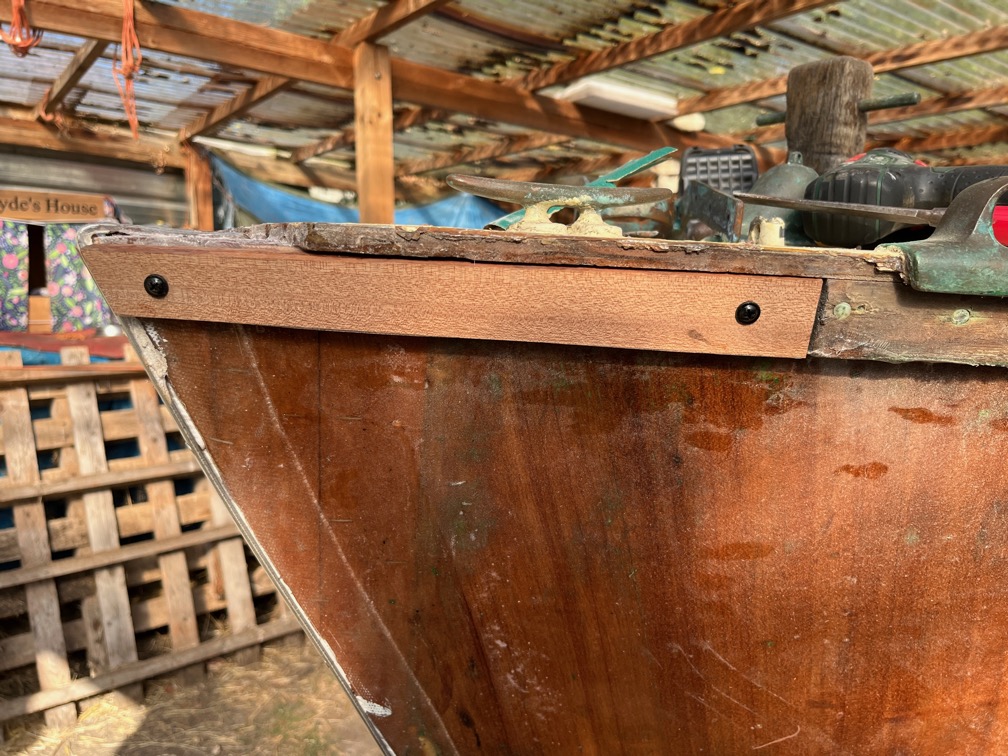
After a tea break I shaped each piece to fit the gap.
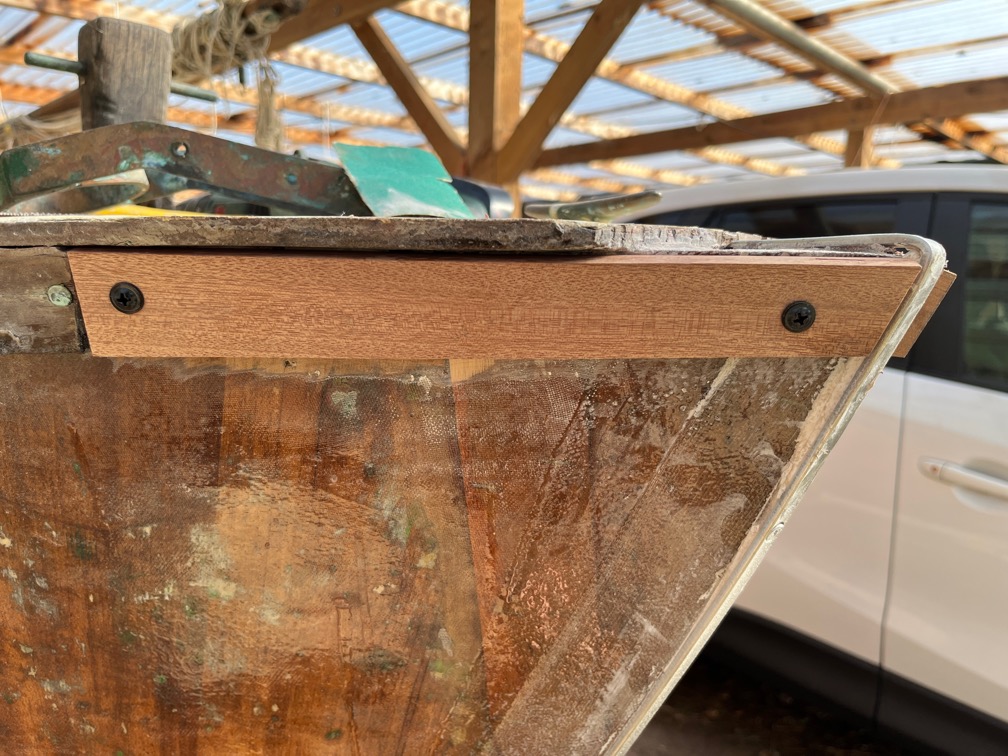
The new pieces were held in place by two screws and once the dry fit was complete I moved on to the epoxy. Yes, that stuff again.
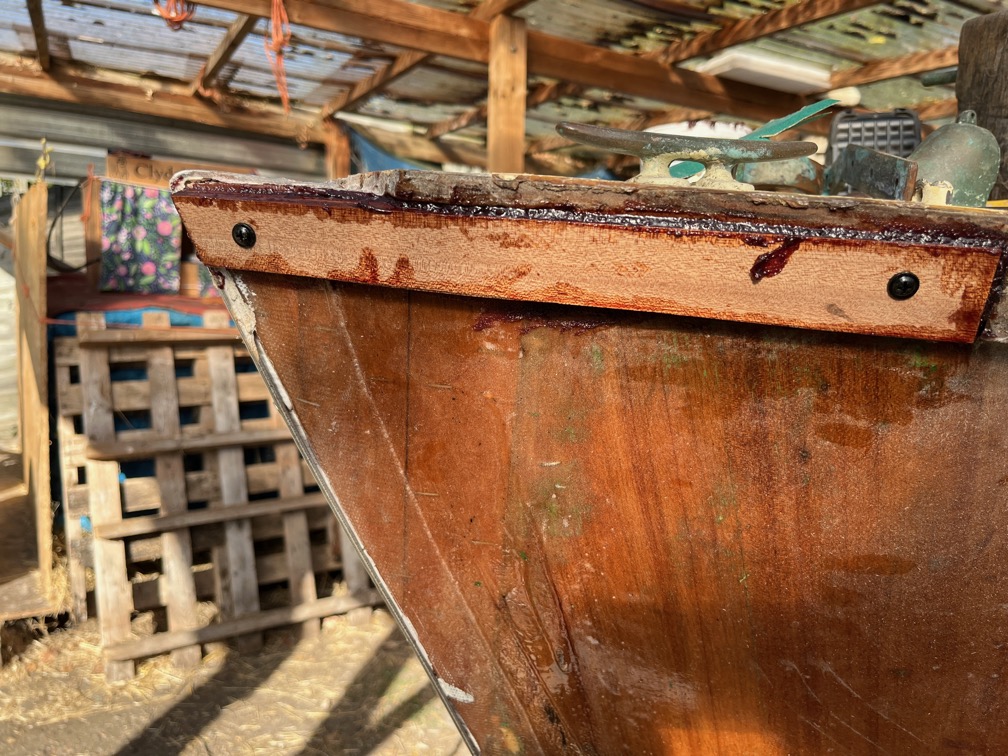
Neat epoxy was brush onto the expose wood of the hull, the ends, sides and back of each new piece. Thickened epoxy was spread onto the hull and the pieces screwed into position.
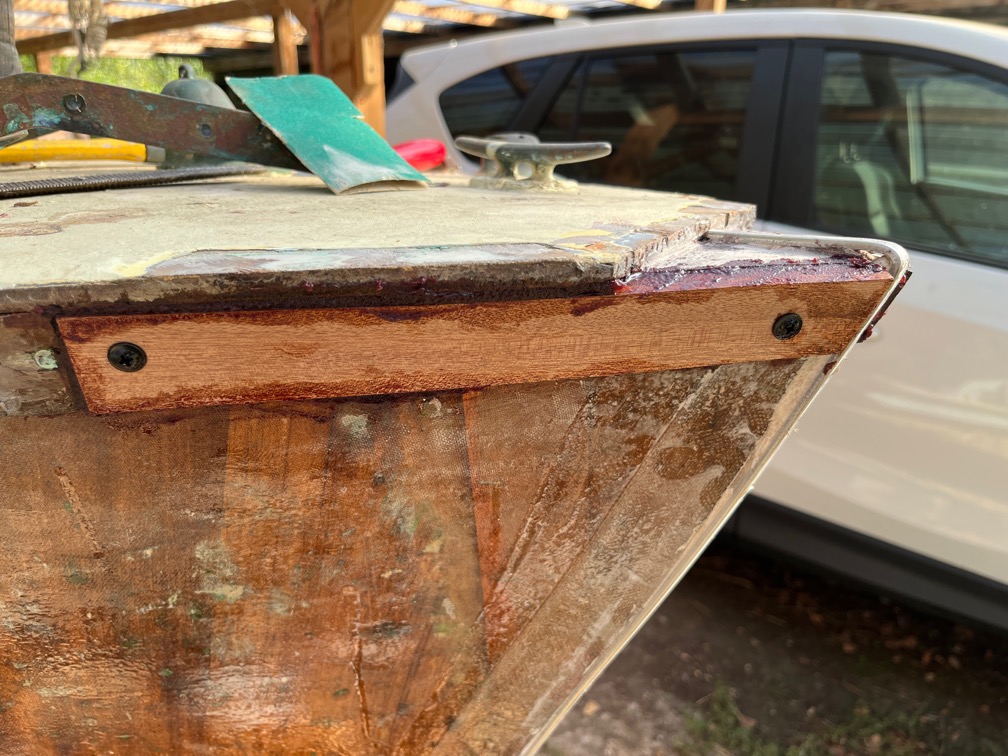
The squeeze out was removed and the new pieces left for the epoxy to cure. I used the fast hardener for these for no other reason than it wasn’t necessary to use the slow stuff. It is a beautiful warm, sunny day with virtually no wind. This was a short job so I didn’t need the extra working life of the slow hardener.
Time for a cup of tea.
The forehatch needed some work and since this will take some time due to varnish and paint drying, I decided to start it now.
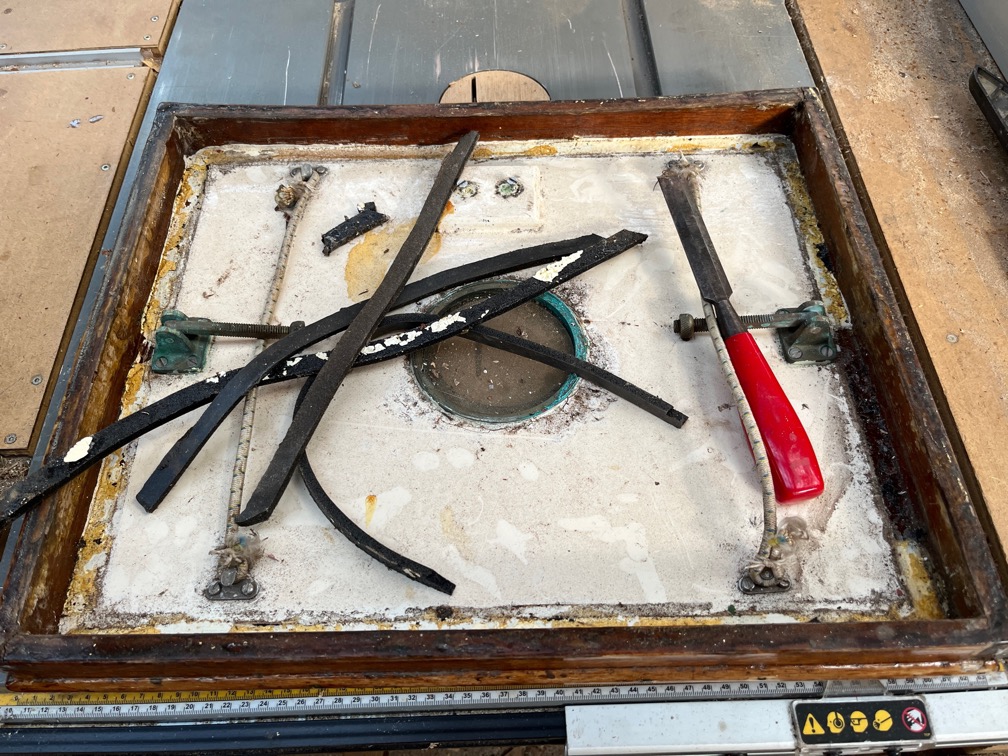
The forehatch on Shoal Waters is not hinged and is held down by two bronze toggles mounted on the inside on each side of the hatch.
There is old neoprene tape stuck around the inside edge of the hatch to prevent water ingress but this has come off in places and left a very sticky mess behind. I removed the seal, needing to use a chisel in places.
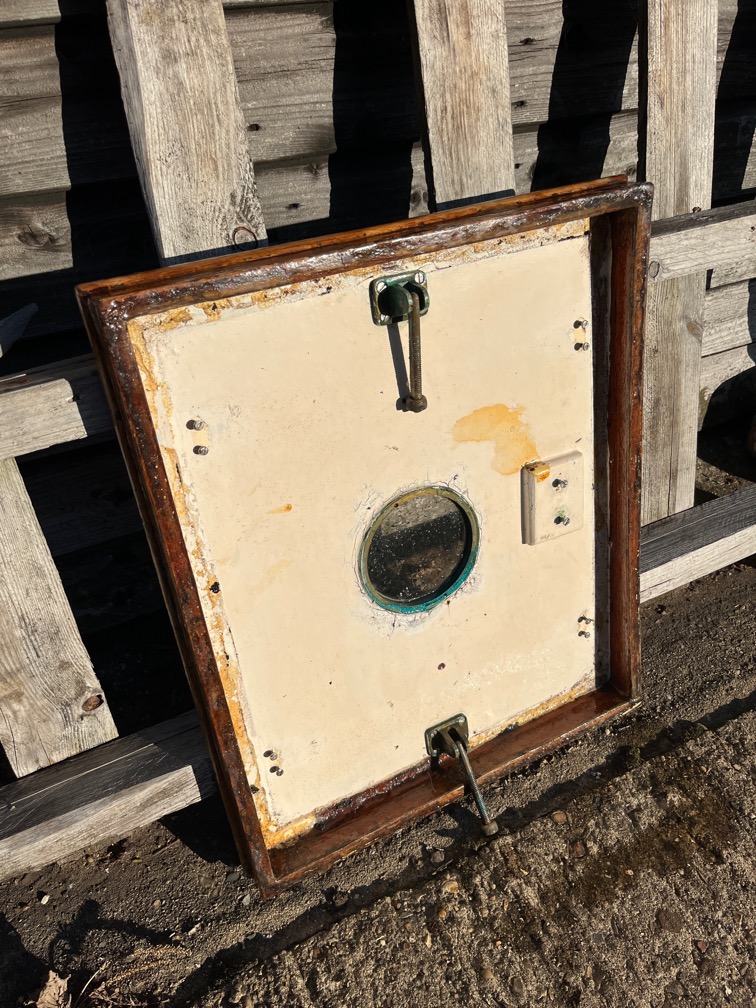
I’m not sure what the bungees were for, I’m guessing that at some point there was a curtain between the two so that you could stop the daylight from shining on your face if you were trying to sleep.
Still, I brushed it down and washed it ready for the next stage.
Time for a cup of tea.
One of the things that inverting your boat does is to move all the detritus inside to one place. Time to clean it all up !
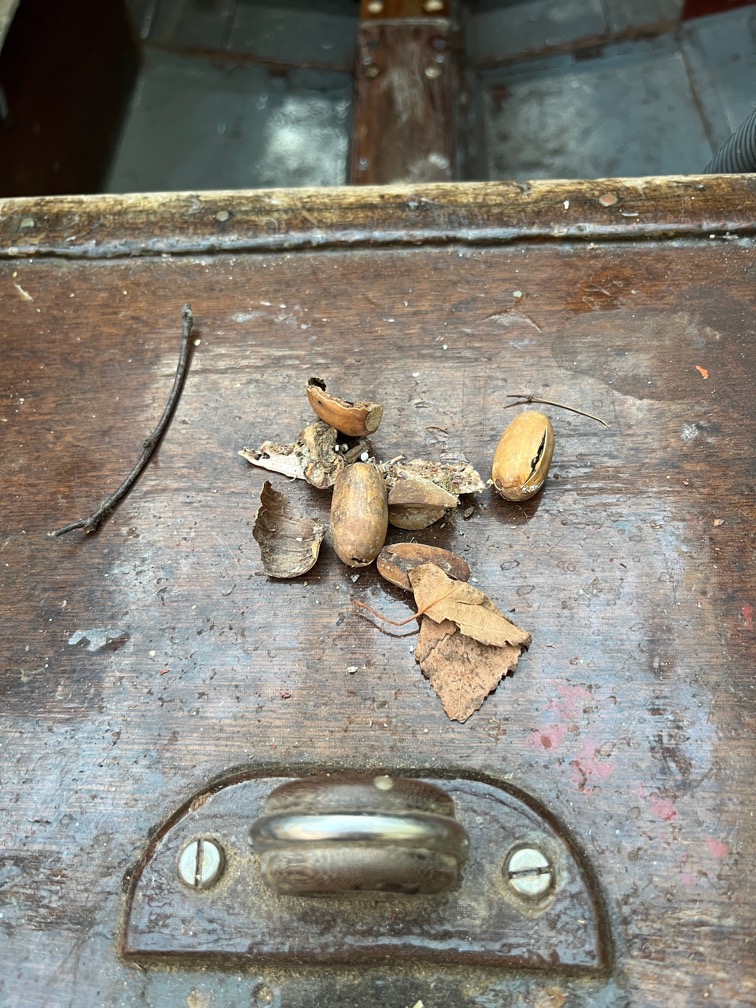
In the cabin I found acorns. It seems that one of the local squirrels decided that Shoal Waters was a good place to store these when she was upside down.
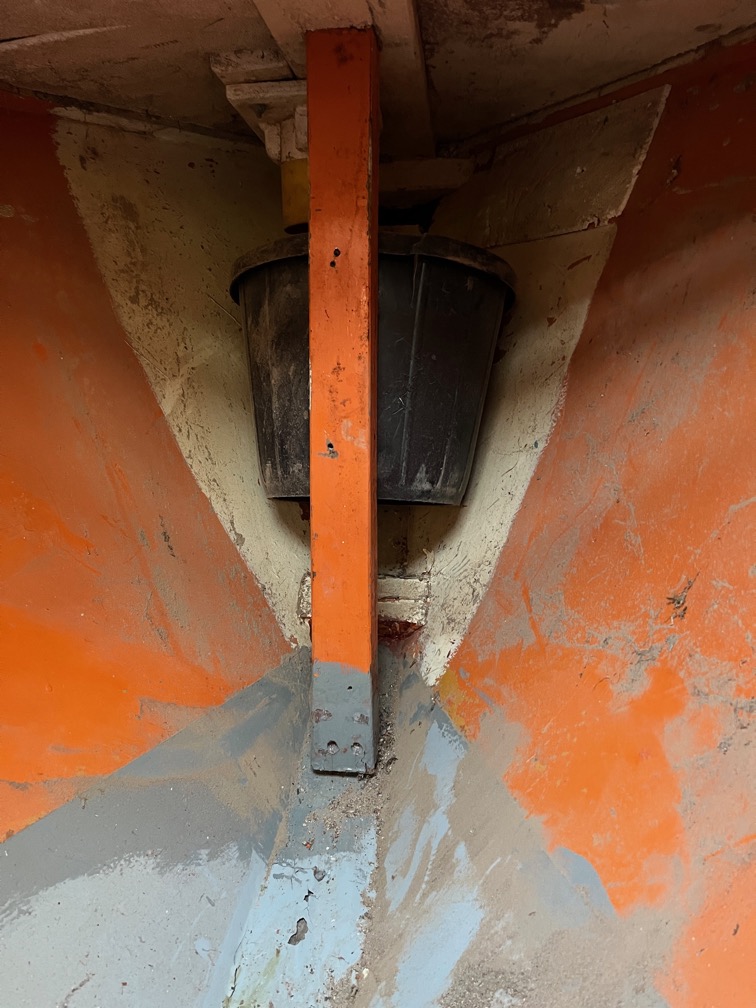
During the clean up I noticed that the base of the sampson post was loose. The bucket forward of the post is to hold the anchor chain. Unfortunately, the bucket is conical and the weight of the chain forces it down into the boat putting a lot pressure on the post.
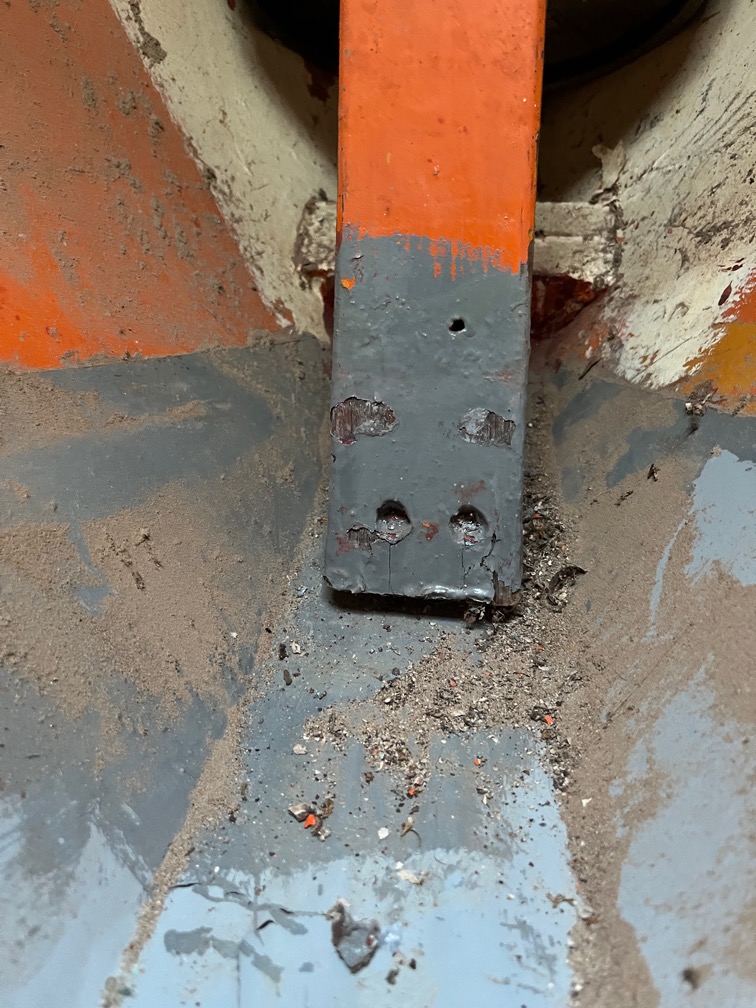
It looks like there were two screws fixing the post to the hog but I suspect that these were brass as they are not doing anything now.
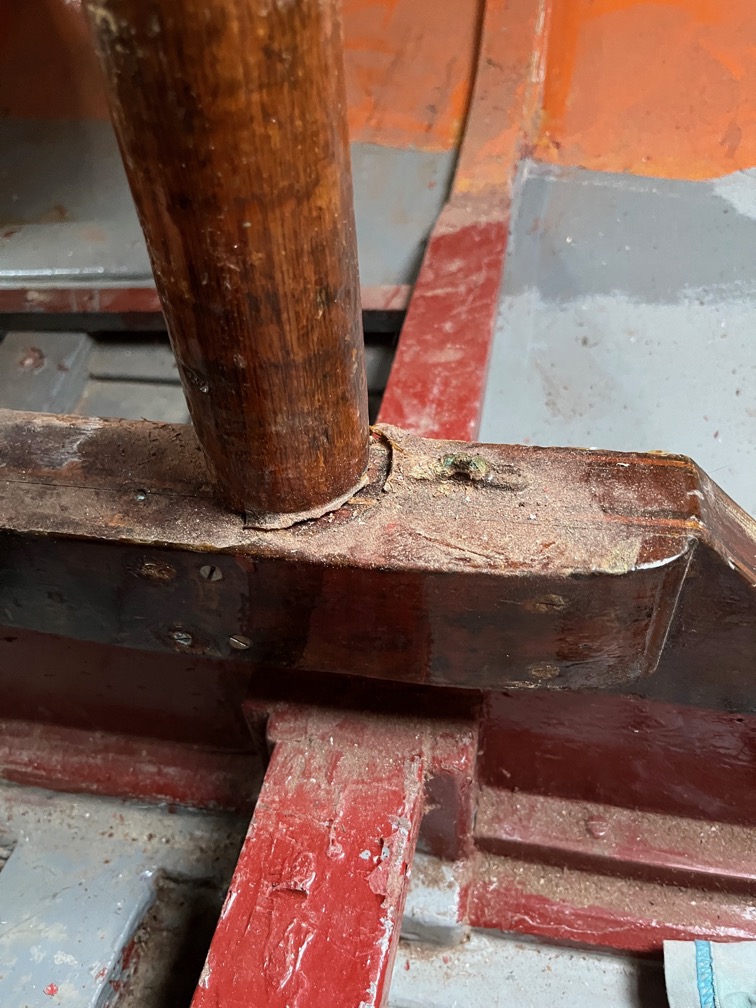
I also noticed that the base of the compression post was loose.
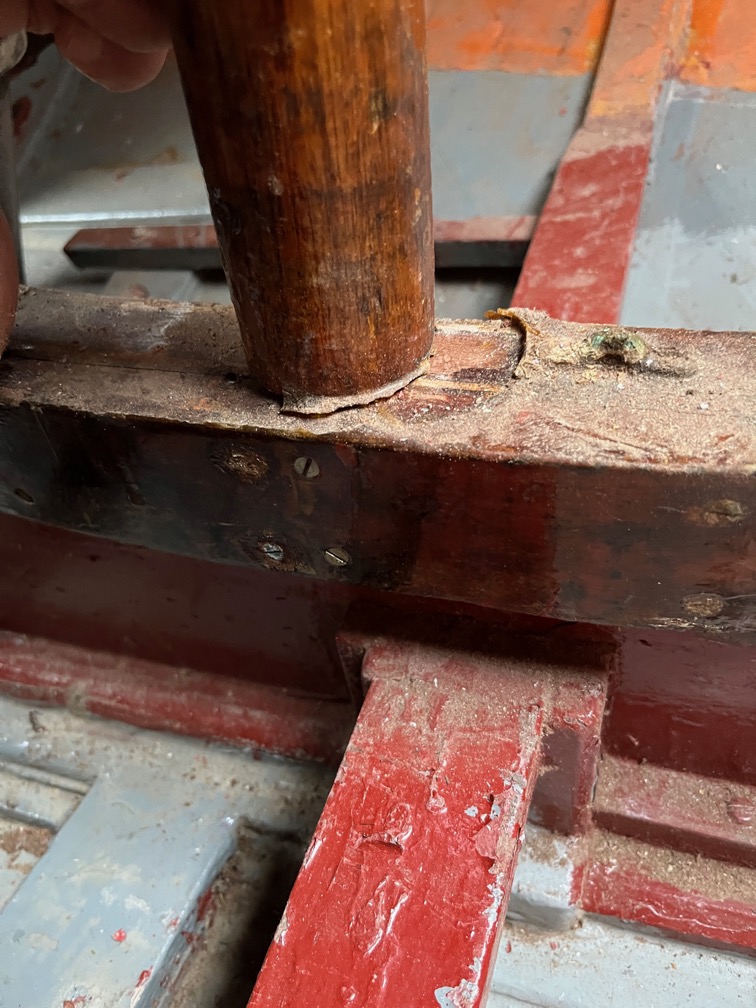
Here I’ve moved it and you can see that the glue that had been holding it in place has cracked. I suspect that inverting the hull has caused this and one or two other glue crack that I’ve noticed. Nothing awkward, I just need to put some bronze or stainless screws in a few places along with some new glue and that will fix the problem.
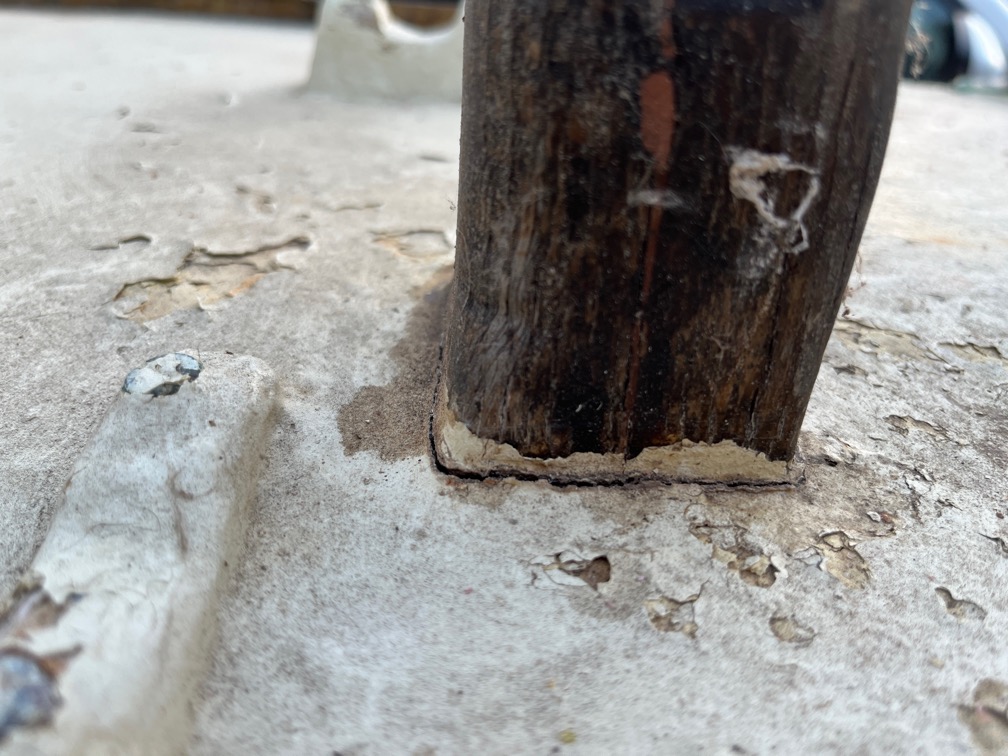
Back to the sampson post and you can see that the seal around the post and the deck isn’t, so this needs to be removed and fixed.
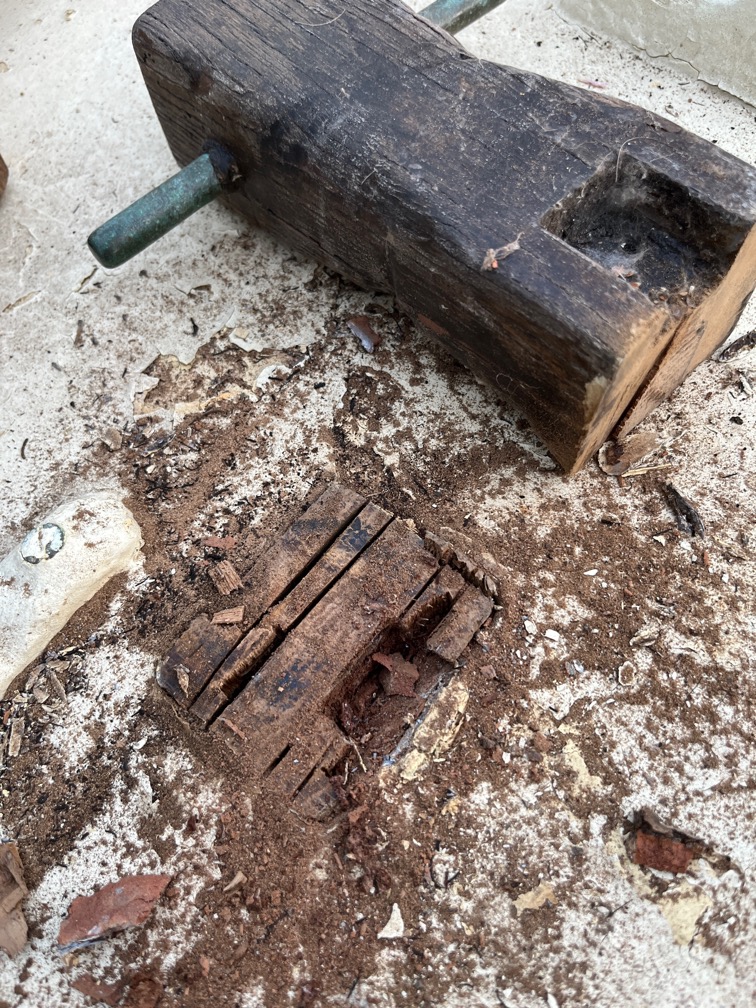
In the end I had to cut the post at deck level and chop away the post through the deck and king plank. There were two screws through the sides of the king plank and into the post stopping the post from lifting out. But, the screws were brass and I couldn’t get them out.
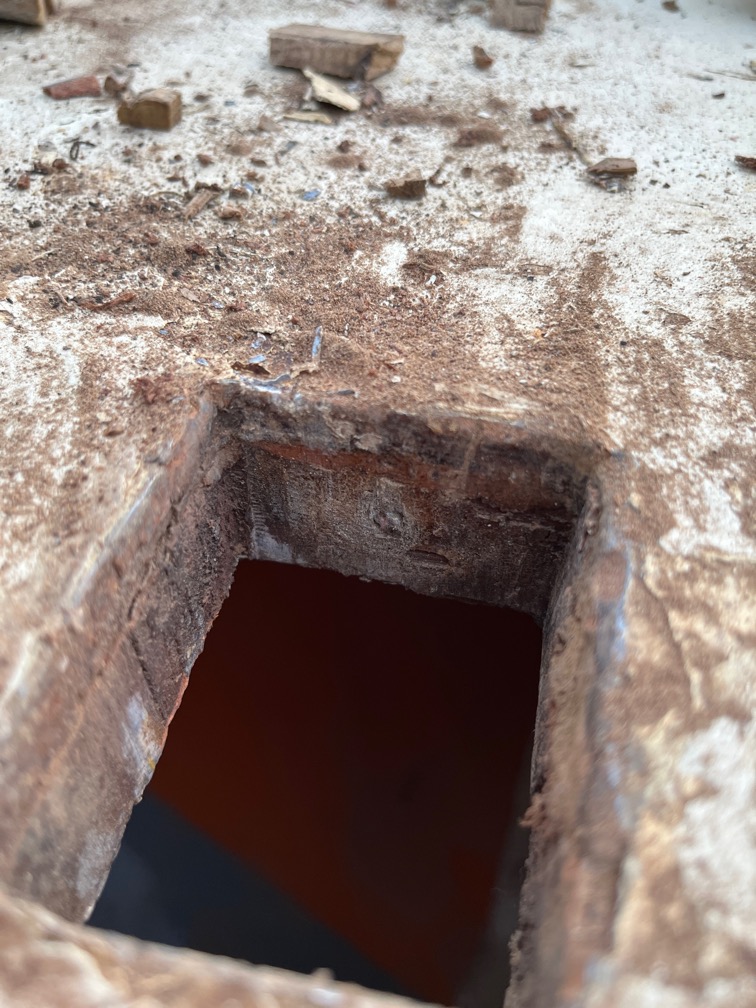
Here is the hole and you can see the remains of the screw.
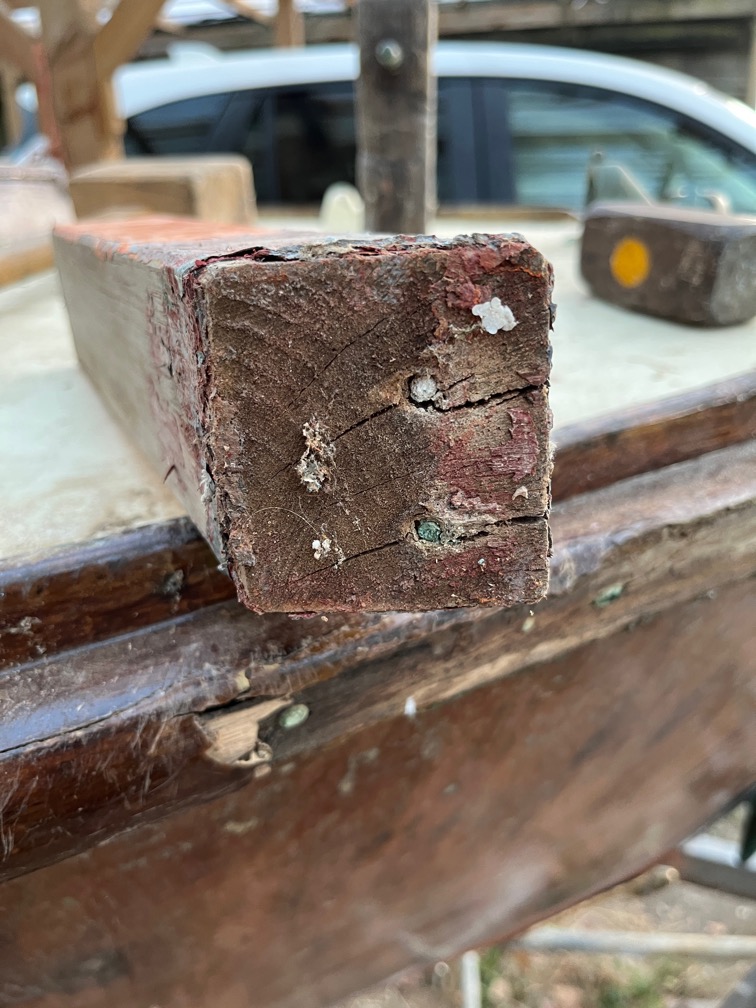
Likewise, the screws in the base have snapped off, probably due to the anchor chain the the bucket pushing against the post the whole time.
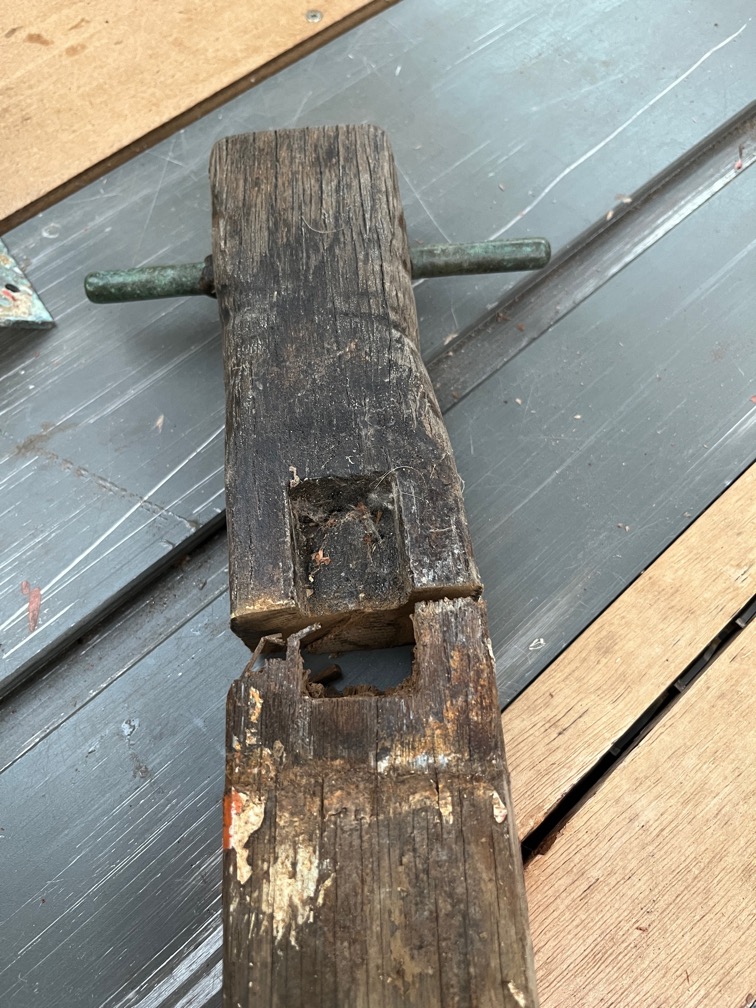
Lining the pieces up is looks as though the sampson post was a little longer at one point. The mortice for the bowsprit extended below the deck and you can see on the post where the deck used to be. I think that the foot of the post rotted at some point and was cut off making the post shorter.
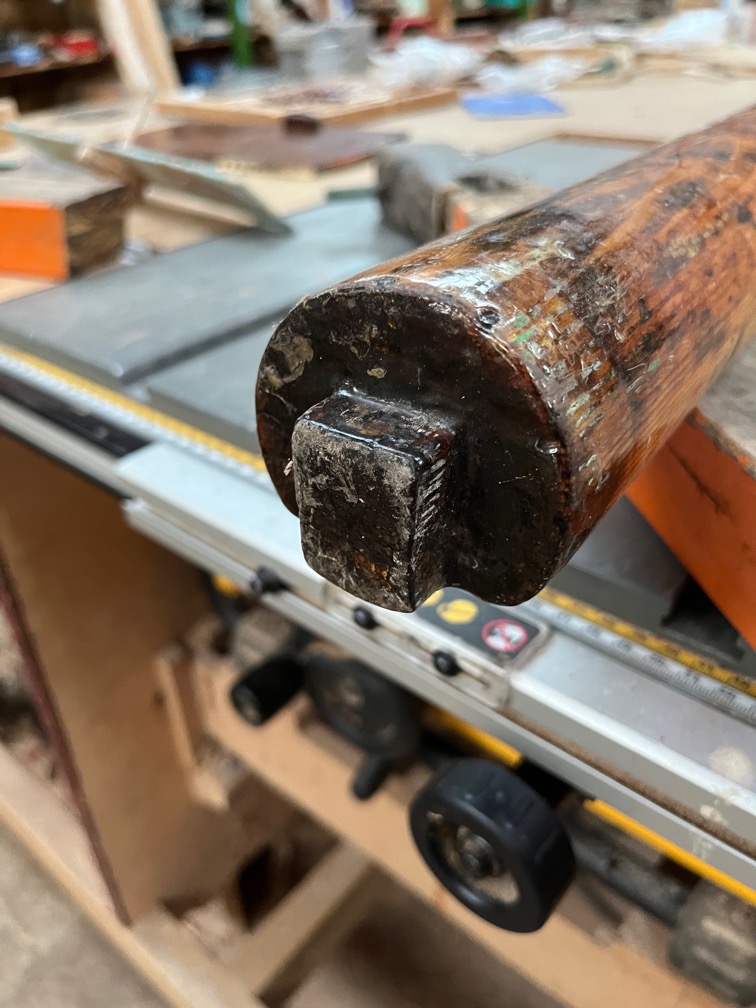
I suspect that the tenon on the bowsprit was full width until the post was shortened and was cut down as the mortice was not shorter being partly under the deck.
So, I’ve ordered some oak timber to make a new sampson post and I’ll put a hole through the post and the king plank with either a bolt through or a bronze pin. I’ll also make a footing for the post on the hog. This will hold the post securely in place, but allow its easy removal if required.
That’s all for today, I think…
Time for a cup of tea.