
The next task in the long list of tasks for the rest of the year was to measure the height of the boot top from the gunwale. I marked a number of spots 300mm apart on the gunwale and measured up from these marks to the boot top, noting them down on a piece of paper I must make sure not to lose.
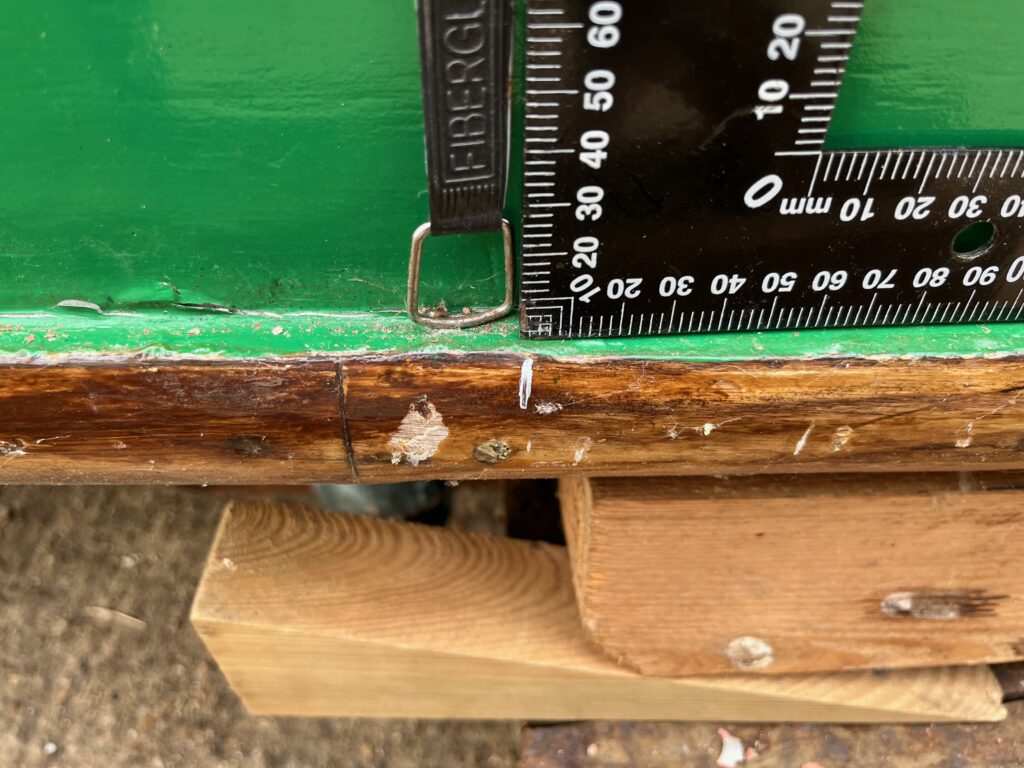
I use a large square and a soft tape to make the meaurements up from the white marks.
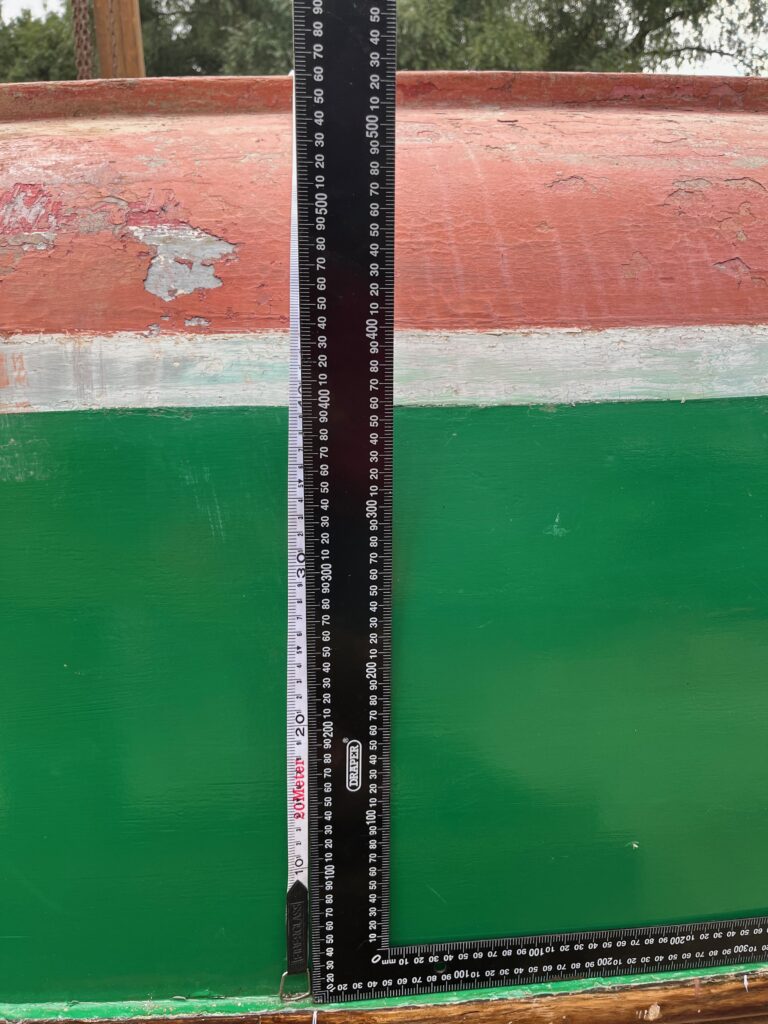
The measurements were not exact but then do not need to be.
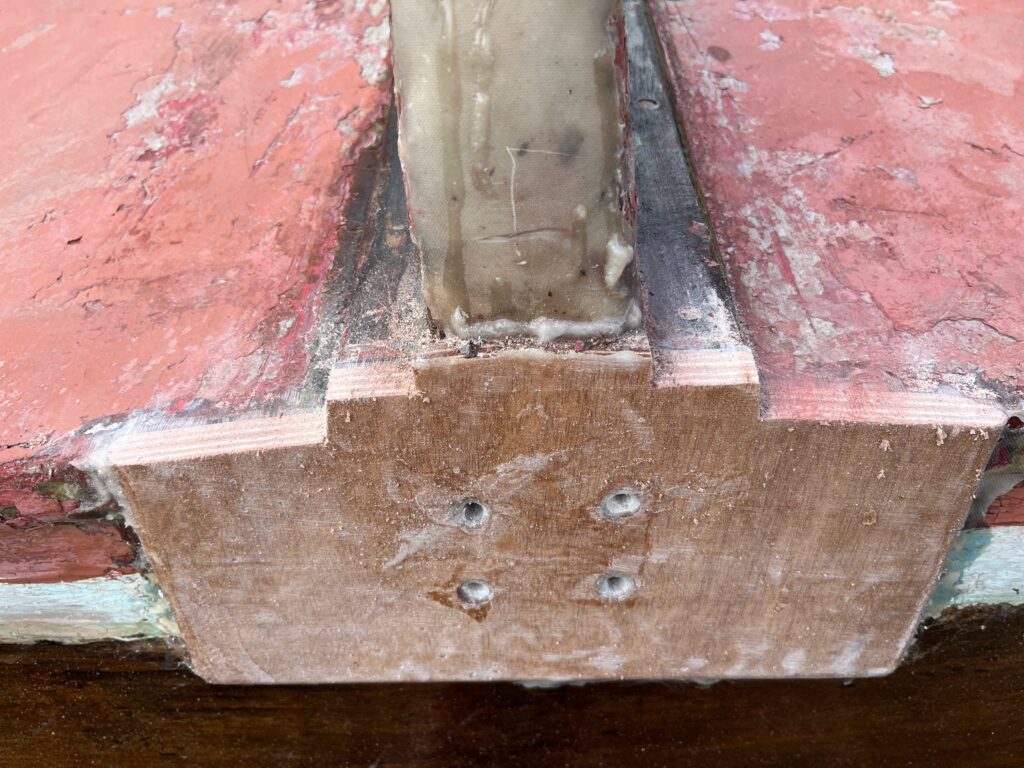
I decided to trim the backing pad on the transom next, a quick job with a pull saw..
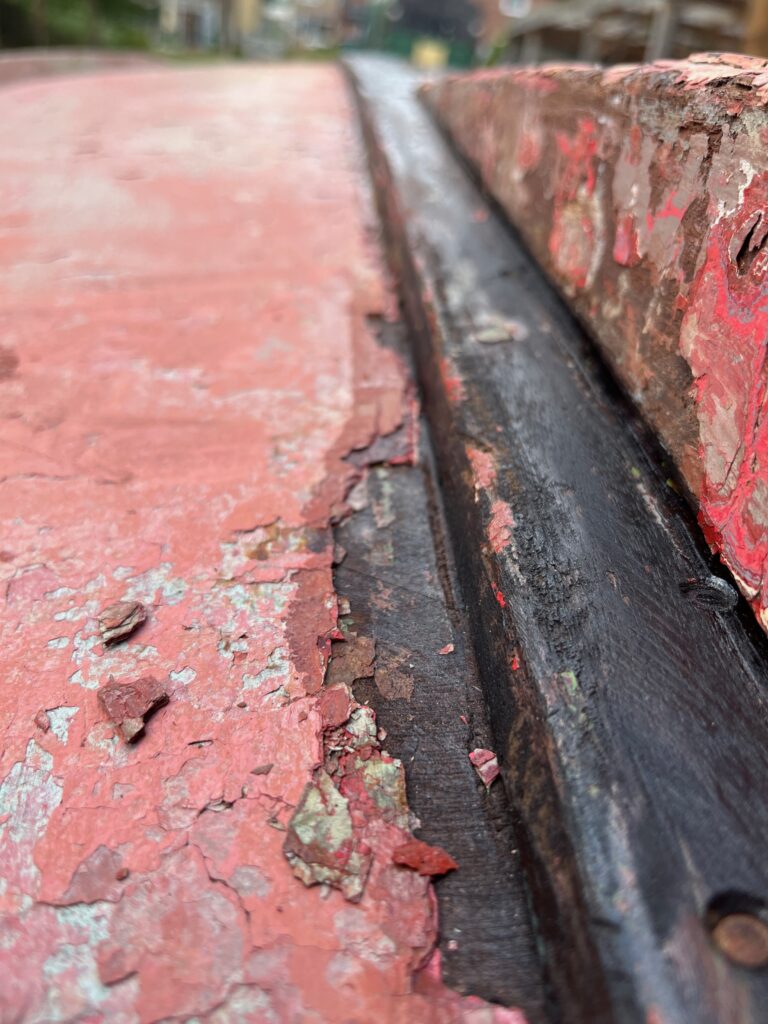
I noticed whilst cutting the backing pad that the antifouling paint is many layers and quite thick.
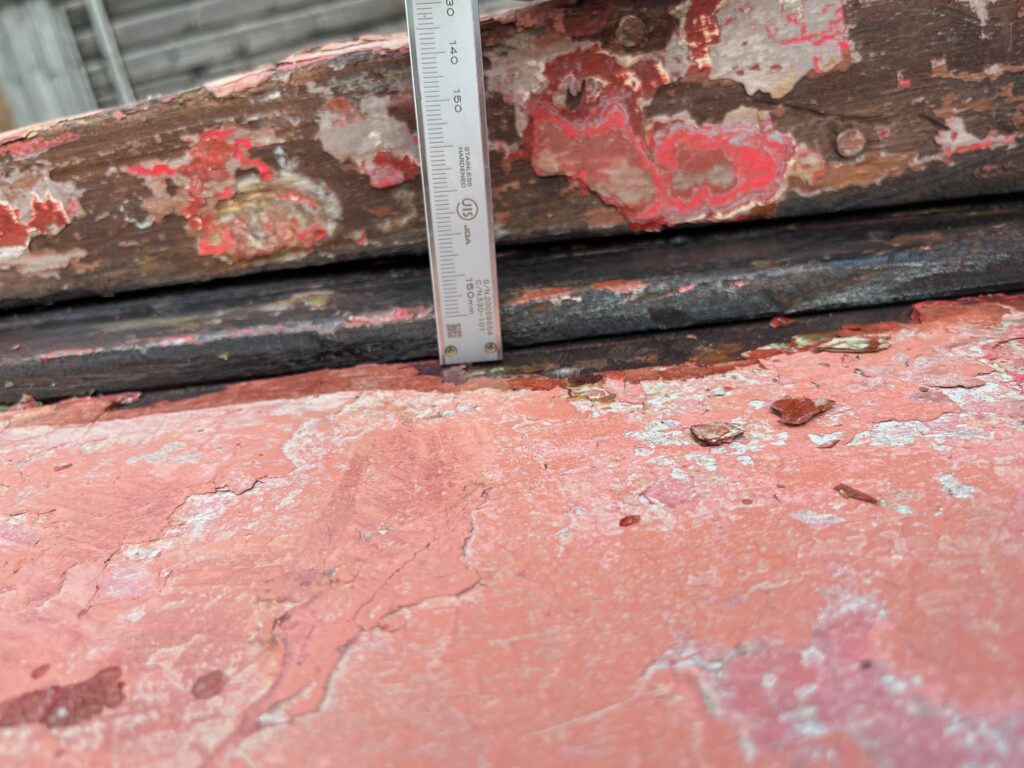
I decided to try and measure the thickness, just for information which was a quick job with the vernier calipers.
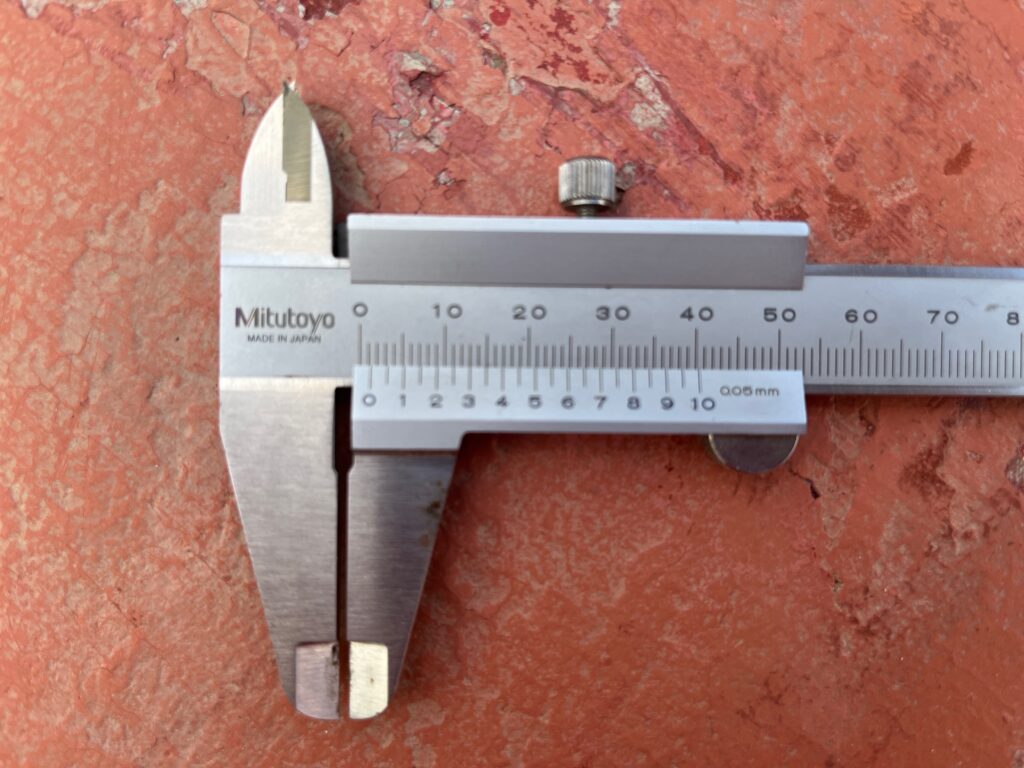
The thickness was 1.3mm more or less. Not insignificant.
I also noticed whilst trimming the backing pad that the skeg had started to lift off the keel and that meant that the wood underneath was unprotected from drying out. That meant removing the skeg entirely so that i could coat the bare wood underneath with penetrating epoxy.
However, this was going to be a problem. There are two bolts protruding through the hog on the inside of the cockpit.
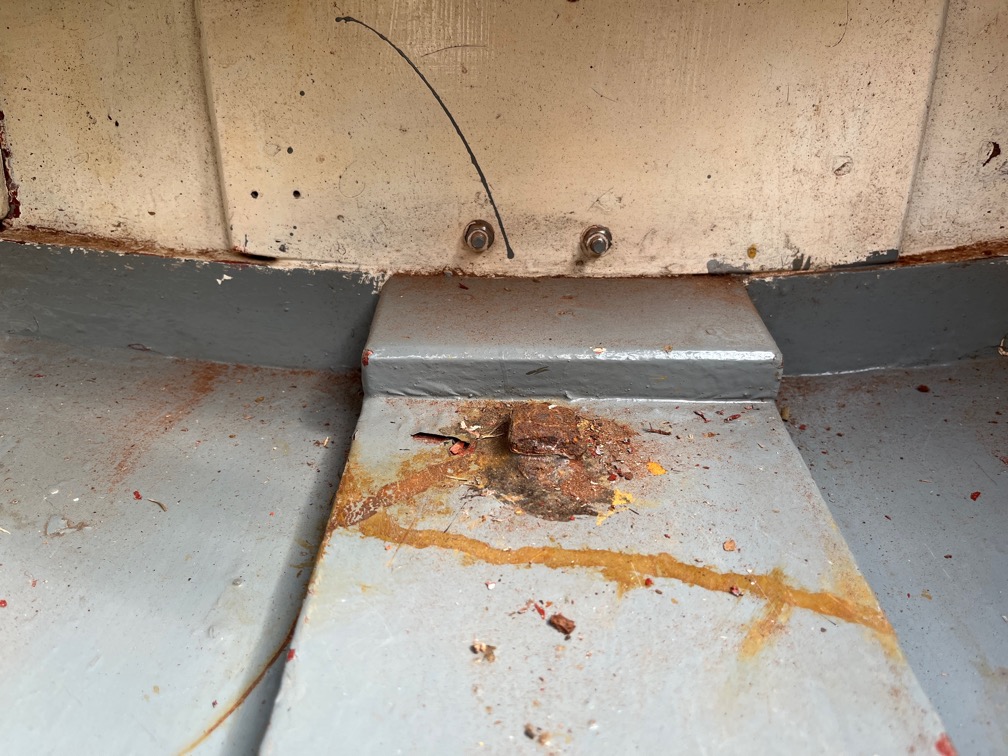
Once here just in front of the transom…

… and one a bit further forward as can bee seen in the above photo just above the bottom of the image. Both are rusted.
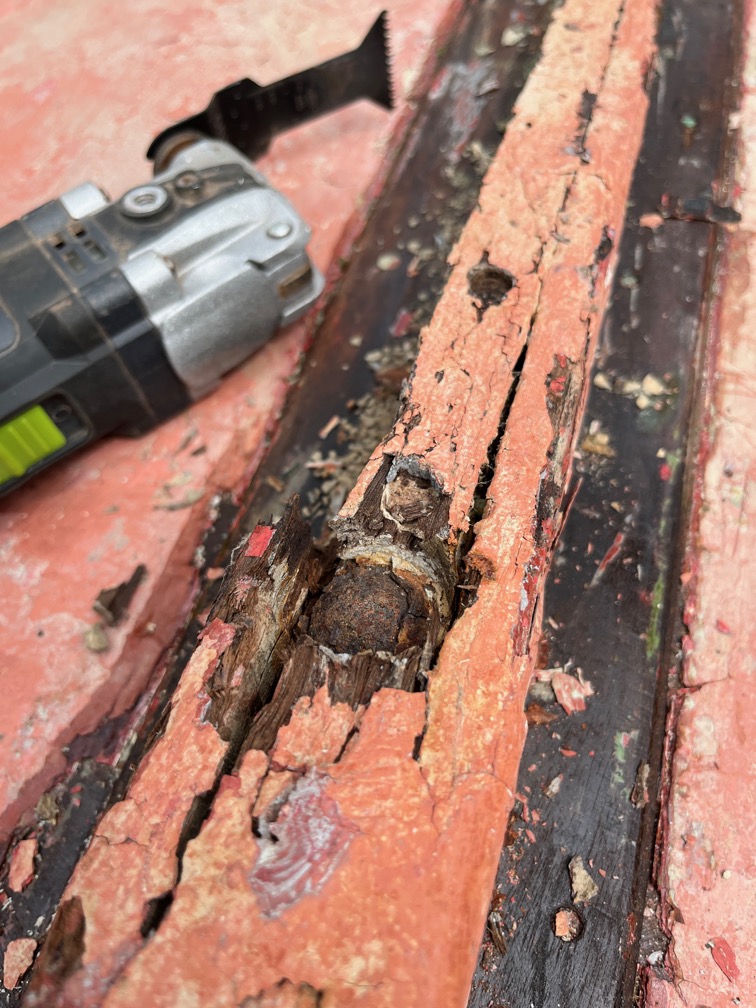
I could clearly see where he front one was located in the skeg by the filler that had been put over the top and a little digging with a screwdriver soon prised the fille out revealing the bolt head, also rusted.
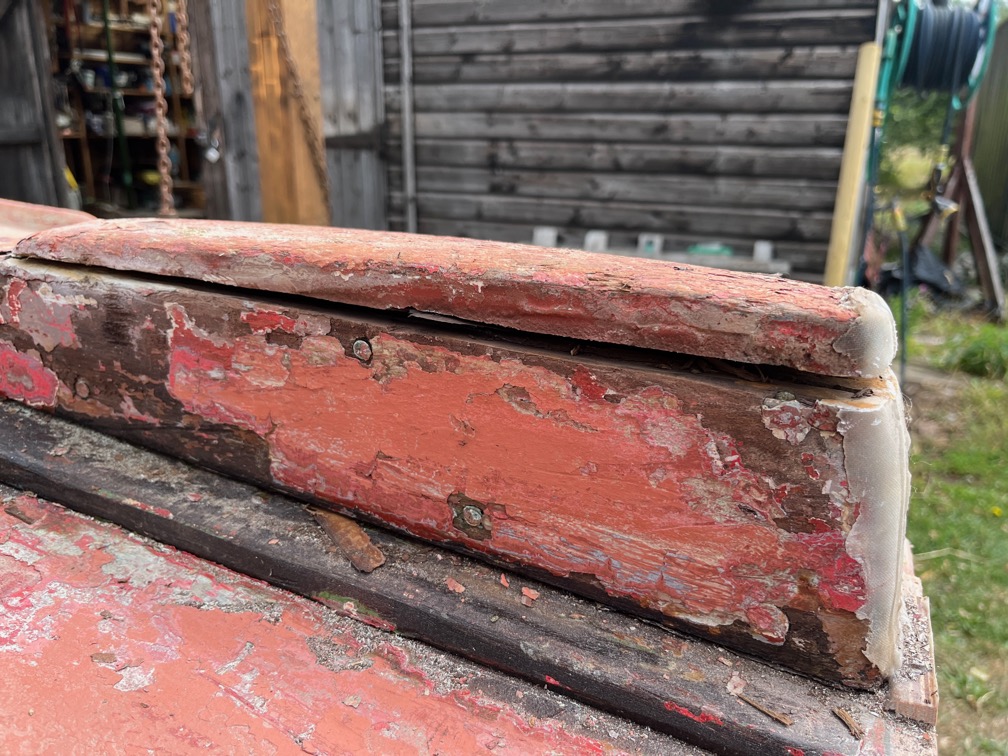
I used the multitool to cut the back portion of the skeg away…
…which revealed the head of the second bolt.
The skeg was very loose on the keel and a little persuasion with a crowbar pulled the whole thing apart.
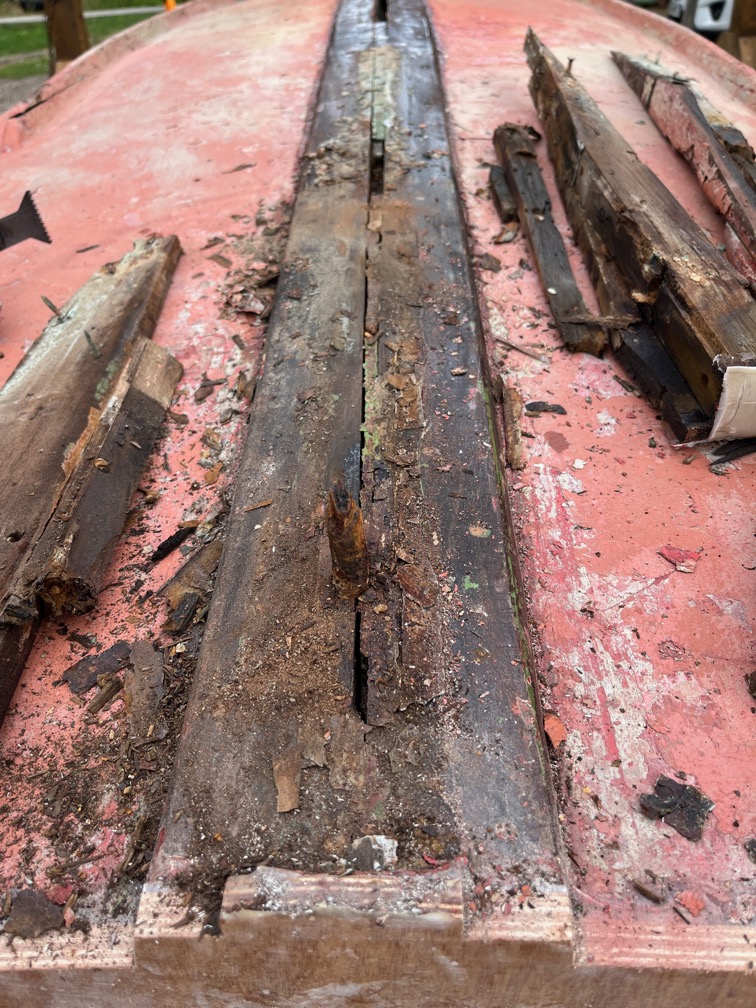
The front bolt came completely away whilst the aft one had waisted in the skeg itself and when the skeg was removed, the upper part of the bolt was left behind, as you can see.
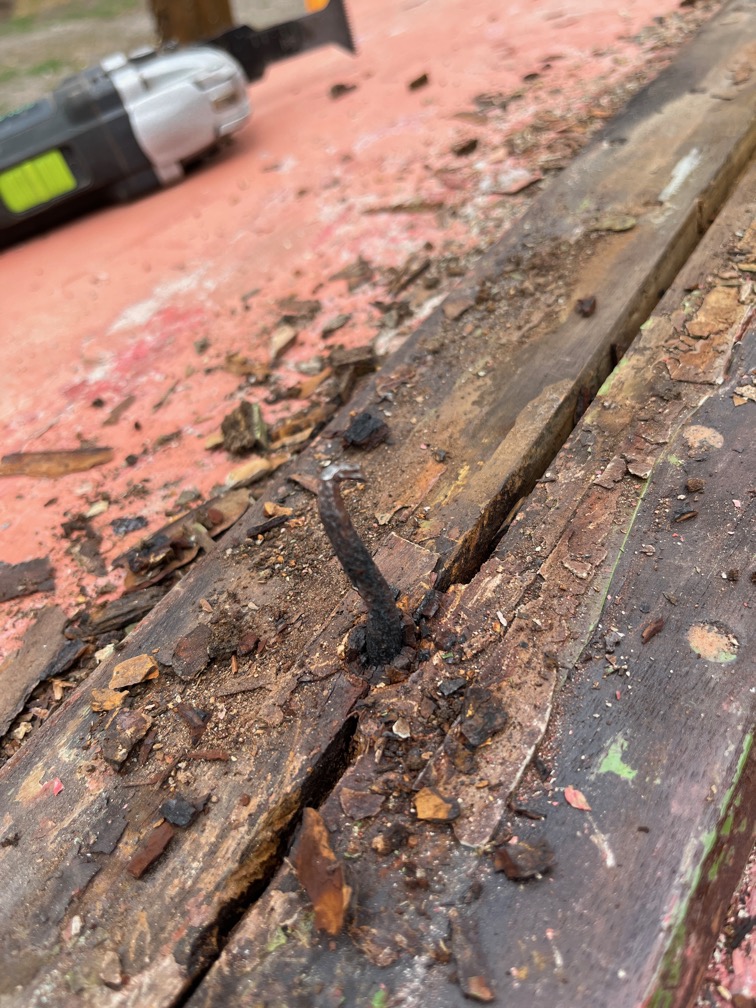
I hit the top of the bolt a few time, bending over the spike of still good metal in the centre but the rusted part of the bolt just shattered away.
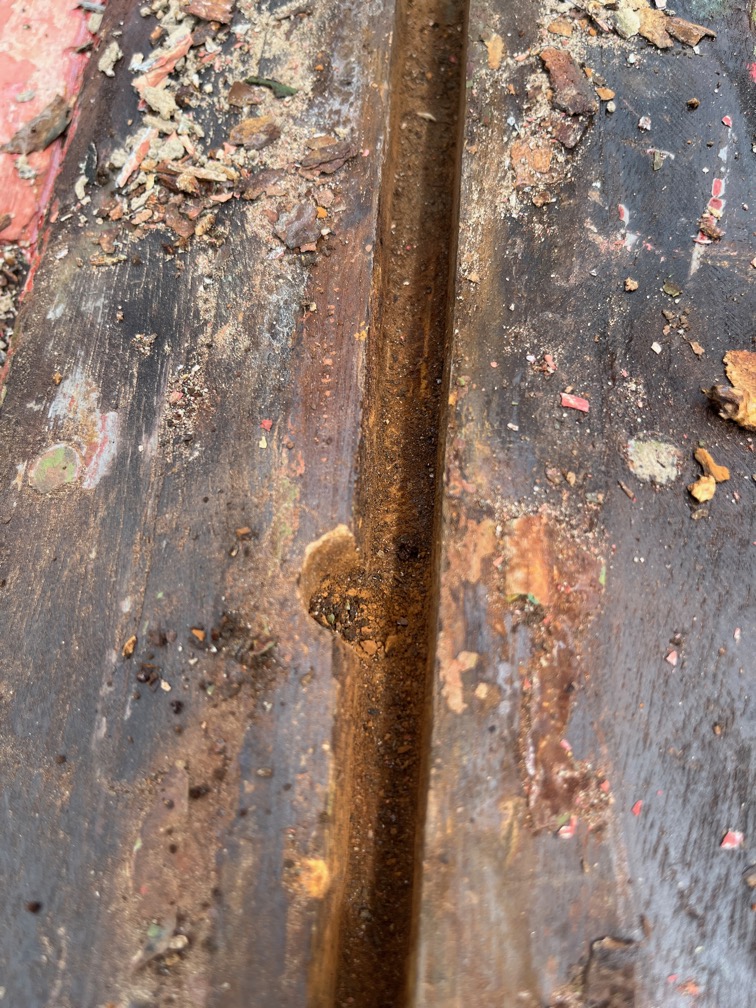
This is where the front bolt was, Just rust remains.
I cut off the aft bolt and then used a drift on both bolts, gently hammering the drift which pushed the bolts out through the hog.
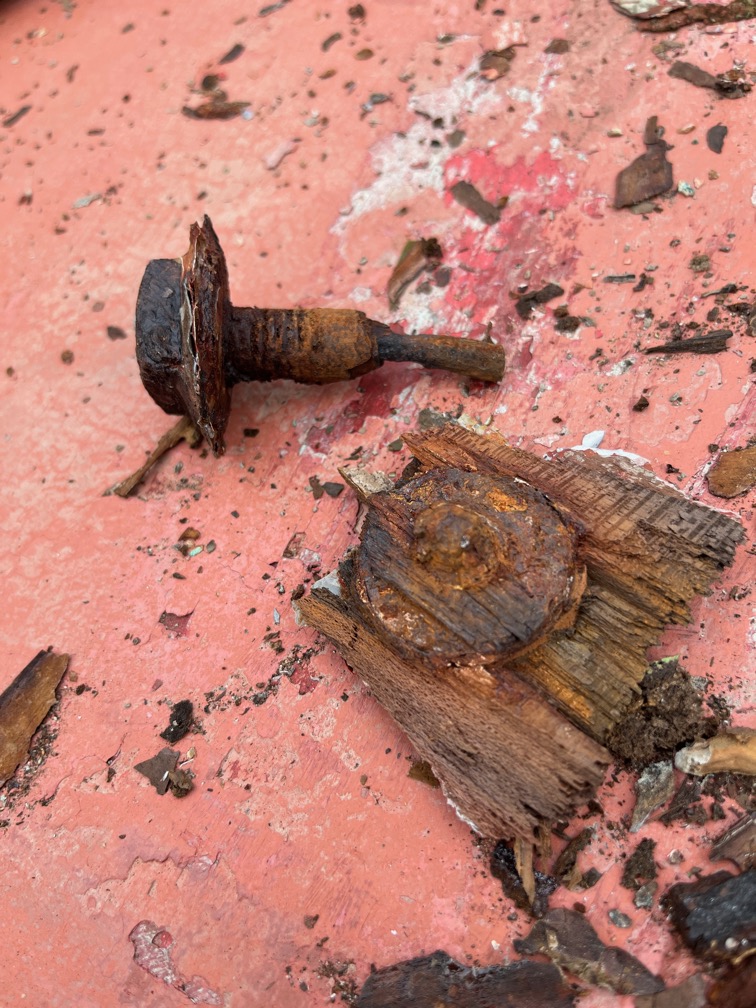
They both pulled part of the hog away but that can be repaired with by letting in a graving piece or, more likely given the very restricted access in the cockpit, thickened epoxy.
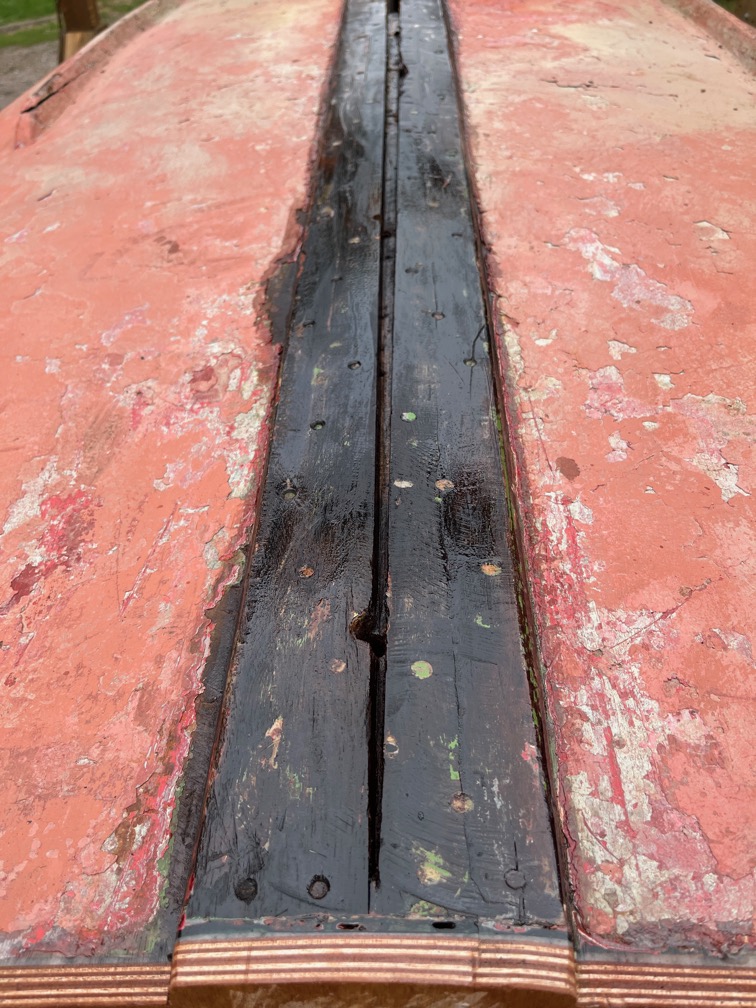
I cleaned up the slot between the two piece of timber that Charles added, swept up the mess, sanded the timber that was under the skeg and liberally applied penetrating epoxy to prevent drying out and splitting.
I had thought of plugging the two bolt holes with epoxy immediately, but decided not to since it would be difficult to prevent the epoxy from falling out on the inside where I cannot reach for the moment. So, a better bet will be to plug the holes with softwood plugs, using epoxy to glue them in place. The slot between the two piece of timber will also be plugged with a softwood spline, glued in place with epoxy. If the spline is too difficult to make to fit the very aft end where the slot becomes too narrow, then that part will be filled with thickened epoxy.
I have ordered a Cedar plank from which to cut a new skeg. The plank is 32mm thick and I should be able to get two skeg shaped pieces out of this which will be glued together and the epoxied on to the keel one the sheathing and epoxying has been done.
Before making the spline I need a template.
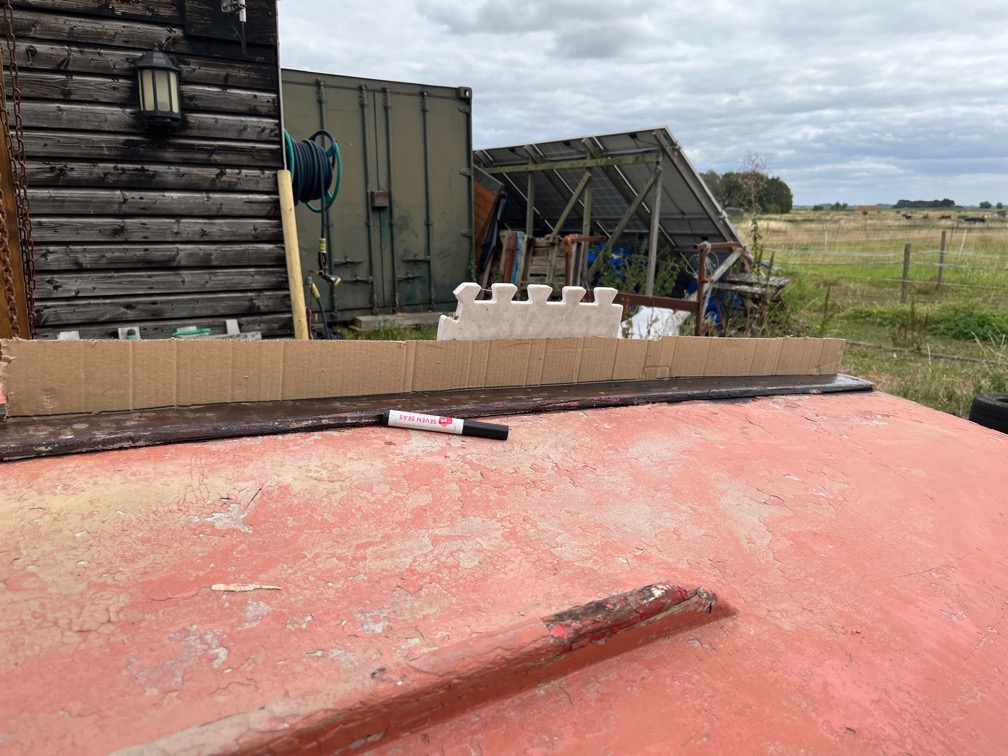
I wedged a piece of cardboard into the slot and used a black marker to draw along the slot where the spline needs to go.
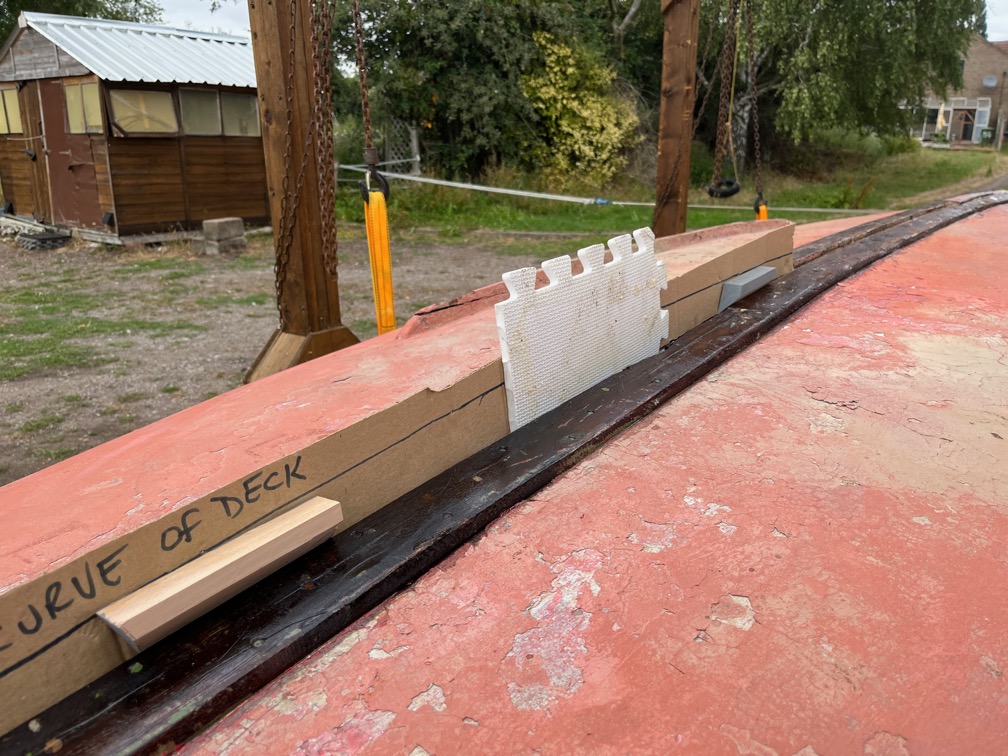
The wedges served two purposes. The first was to push the cardboard against the side of the slot and the second was to stop it from blowing away !
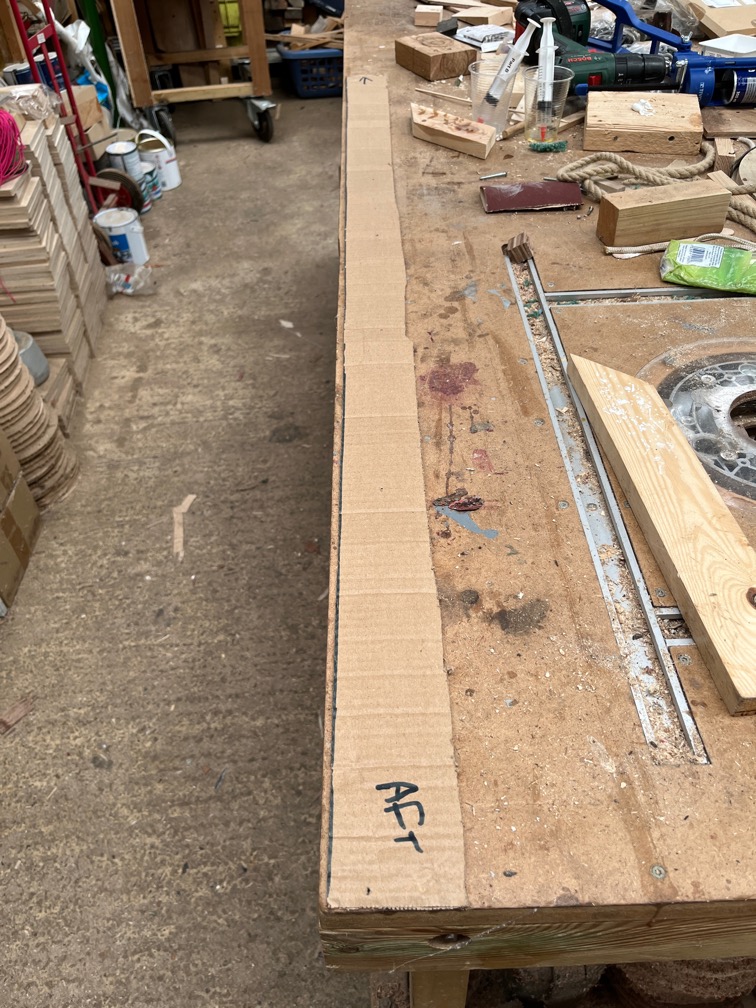
I carefully cut along the line to make the template. As you can see, there isn’t much of a curve, but it needs to be done. I put this away in a safe place for later.
Time for a cup of tea.