
I decided that it would be prudent to try to find the best method of removing the antifouling (AF), and in this case “best” meant fastest that left the hull in good shape. A secondary concern was to leave me in good shape as well, so anything requiring too much physical effort was discarded.
Getting old is the pits (GOITP)!
I started with my best paint scraper and removed as much of the loose AF as possible.
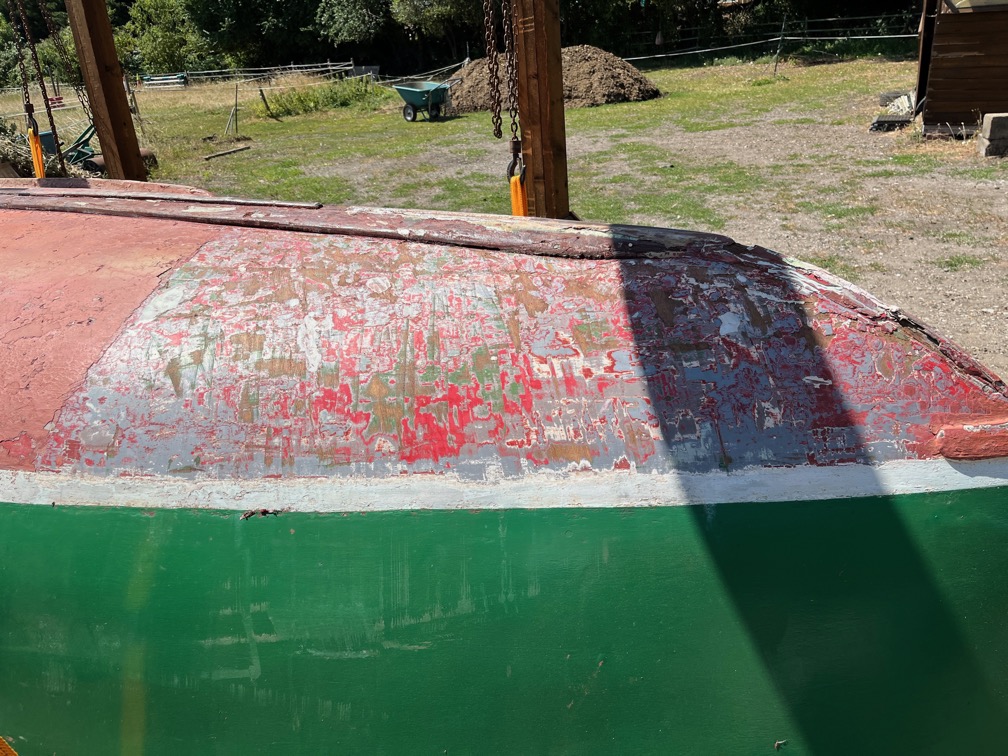
As you can see, the results were mixed. In some places the AF came off right down to the wood with ease, in others it was very resistant to being scraped off. I found that the best way to carry out the scraping was to move the tool along the grain of the underlying wood which prevented the sort of damage to the wood that scraping crosswise made.
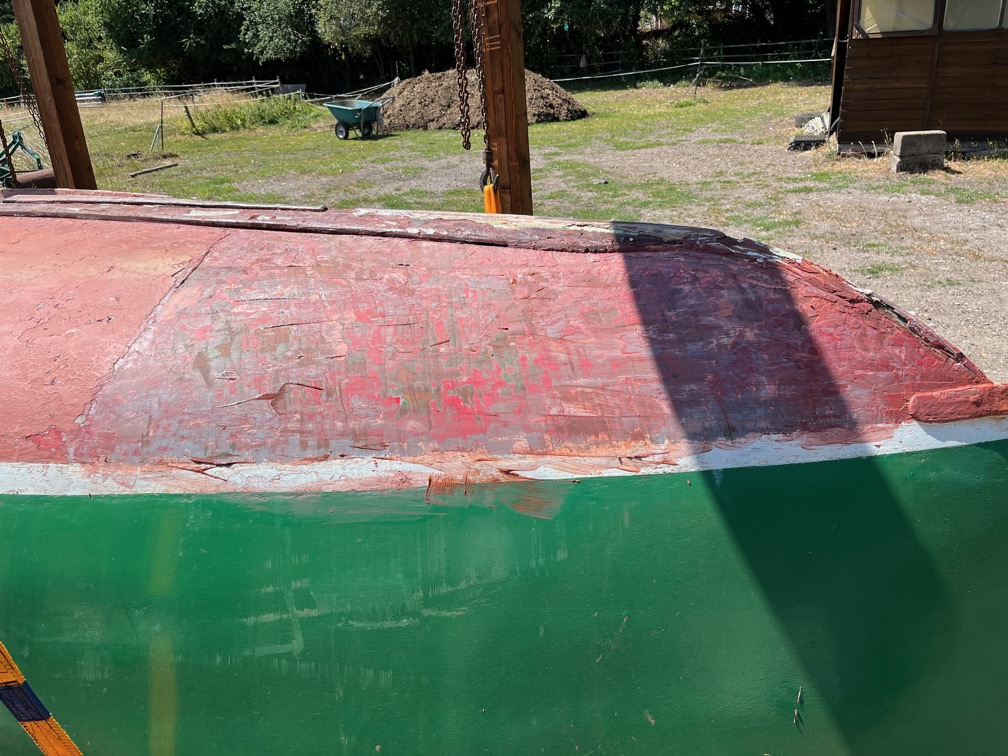
I then applied a liberal coating of the AF stripper, left it for the ten minutes as instructed…
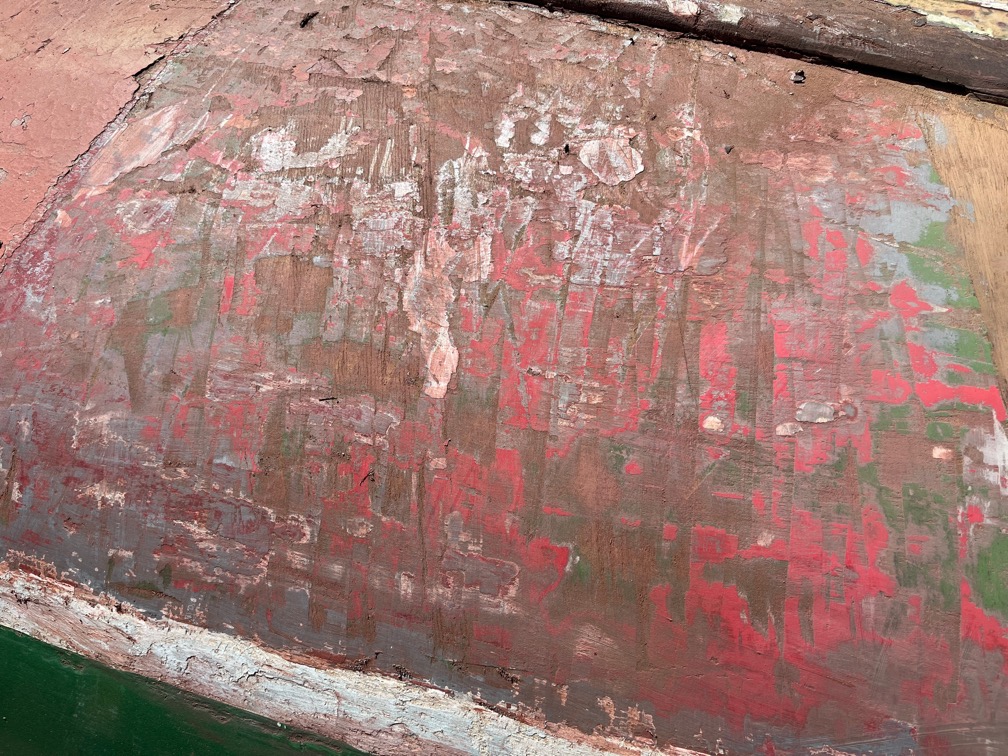
… and then scrapped it off.
The result was less than impressive. However, the instructions did say that heavy build up might required more than one application.
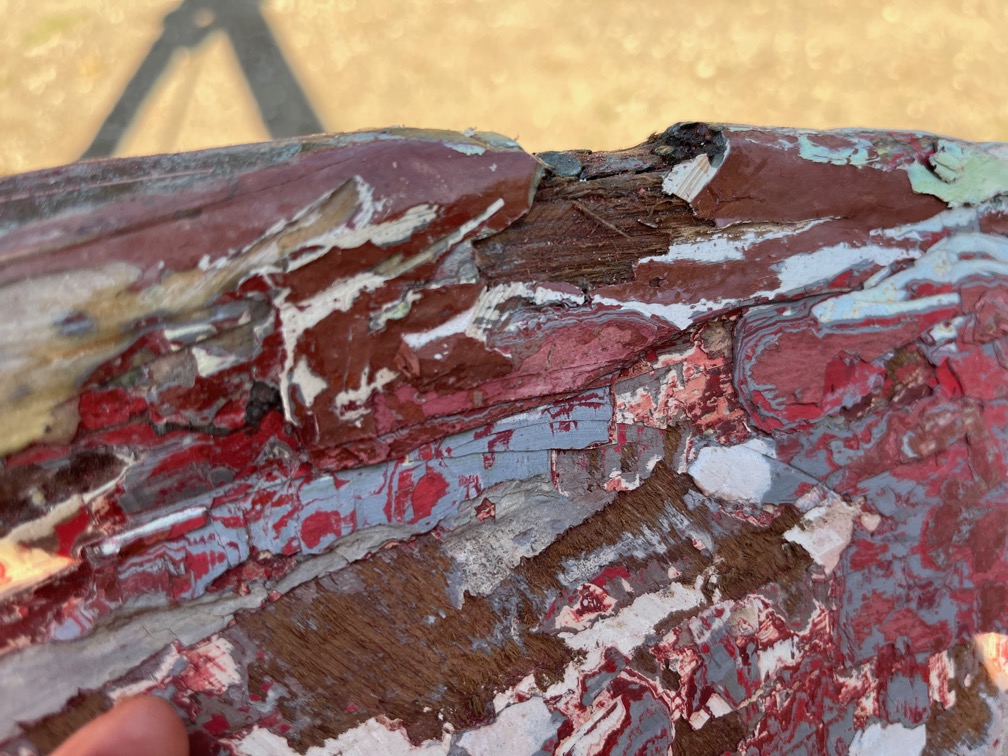
In this section of the hull I can count at least 12 layers of AF and barrier paint, so the chemical stripper is not looking that effective in this case.
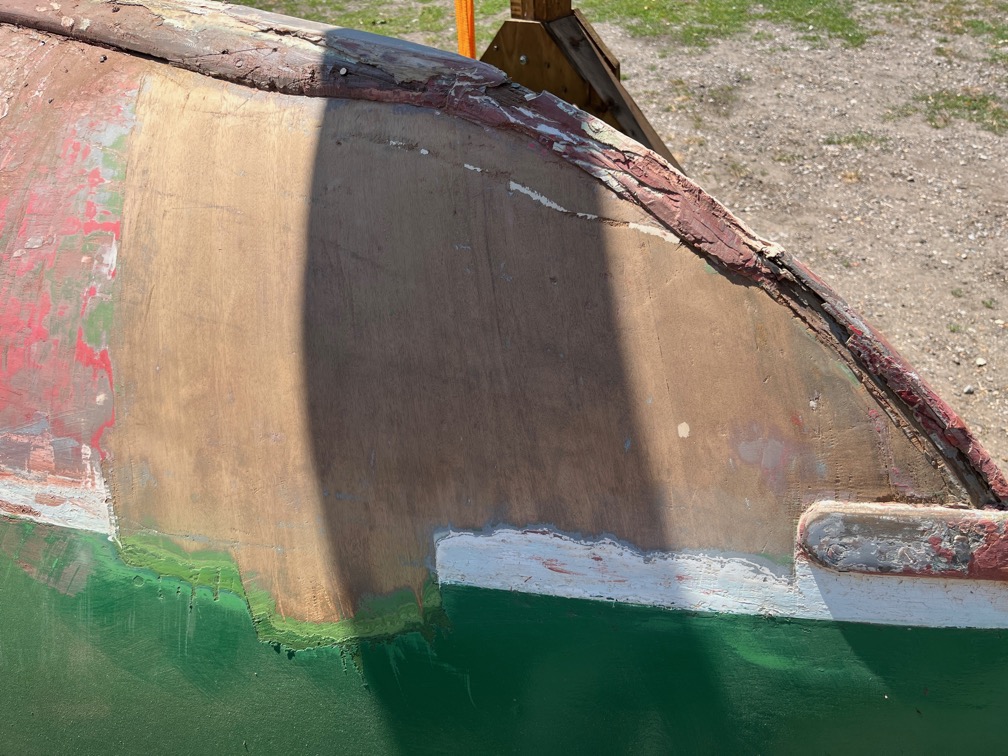
This is the result obtains using the scrapper, a hot air gun and then a light sanding. This is a good way to remove the AF and it works well on the hull paint and boot top as you can see.
There seems to be a scrape in the hull that has been filled and I expect that there will be more dings and scratches found as more of the bare hull is revealed. This one looks like an unexpected encounter with a rock.
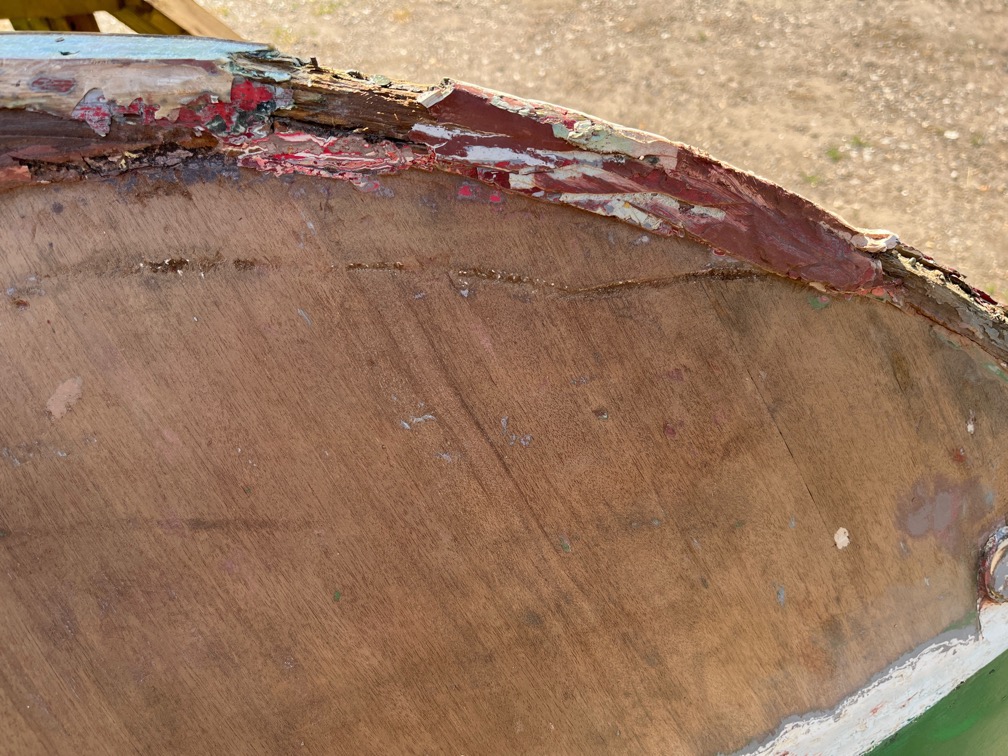
This is the scratch with the filled removed. I’ll fill this and any other such damage, with thickened epoxy before the fibreglass cloth is applied.
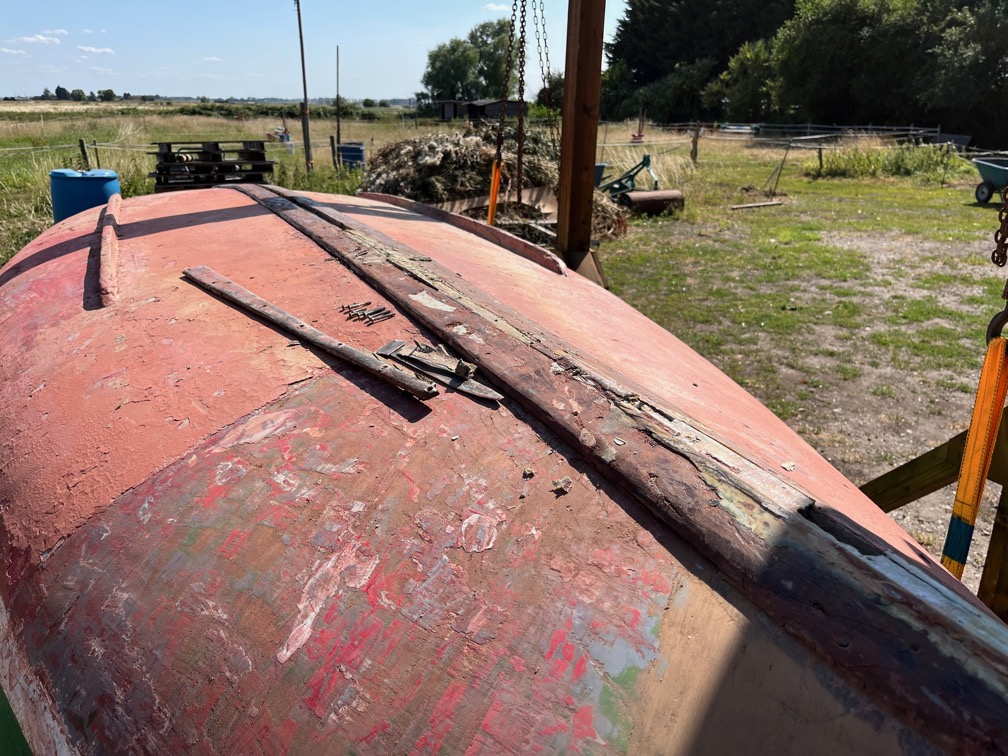
Having decided on the best AF removal method, I turned my attention to the keel band, the bronze protection strip on the keel. This came off fairly easily as it is not screwed into the wood but mostly into the filler between the two reinforcing timbers.
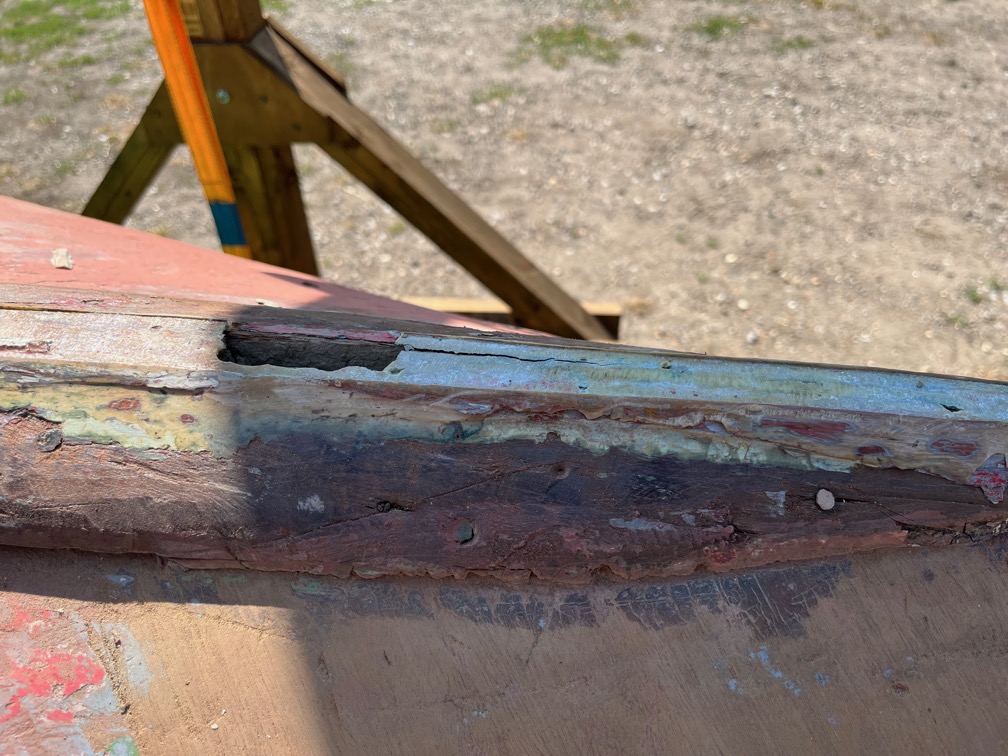
In places the filler is a soft mastic like material and in others it is something like polyester resin.
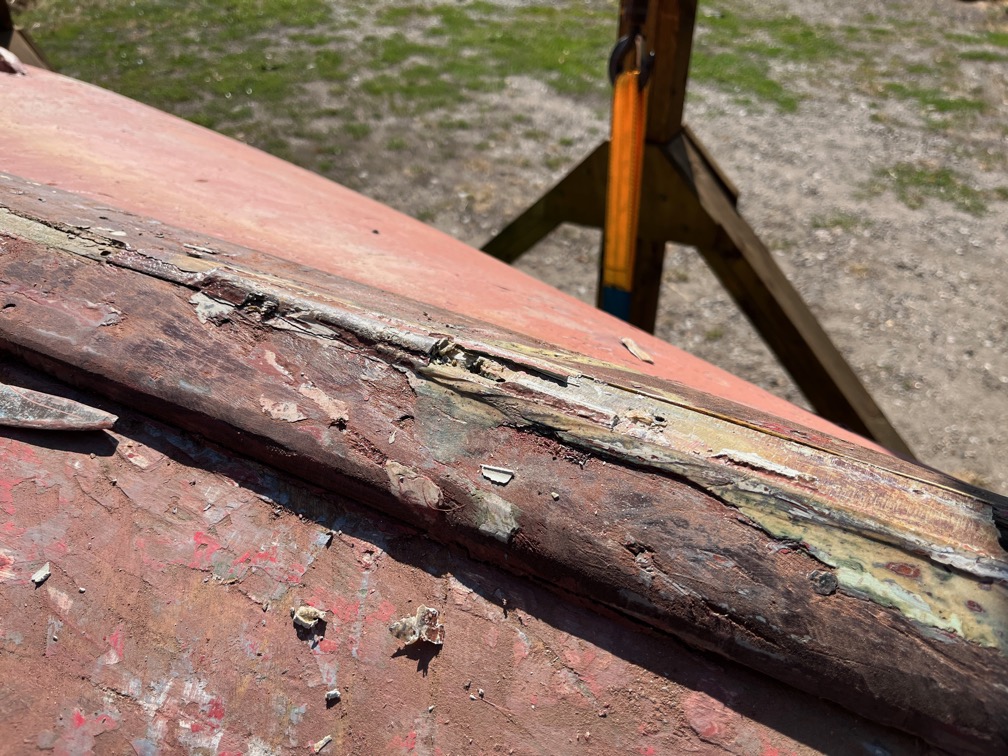
It looks quite messy in places but I think it will clean up fairly well.
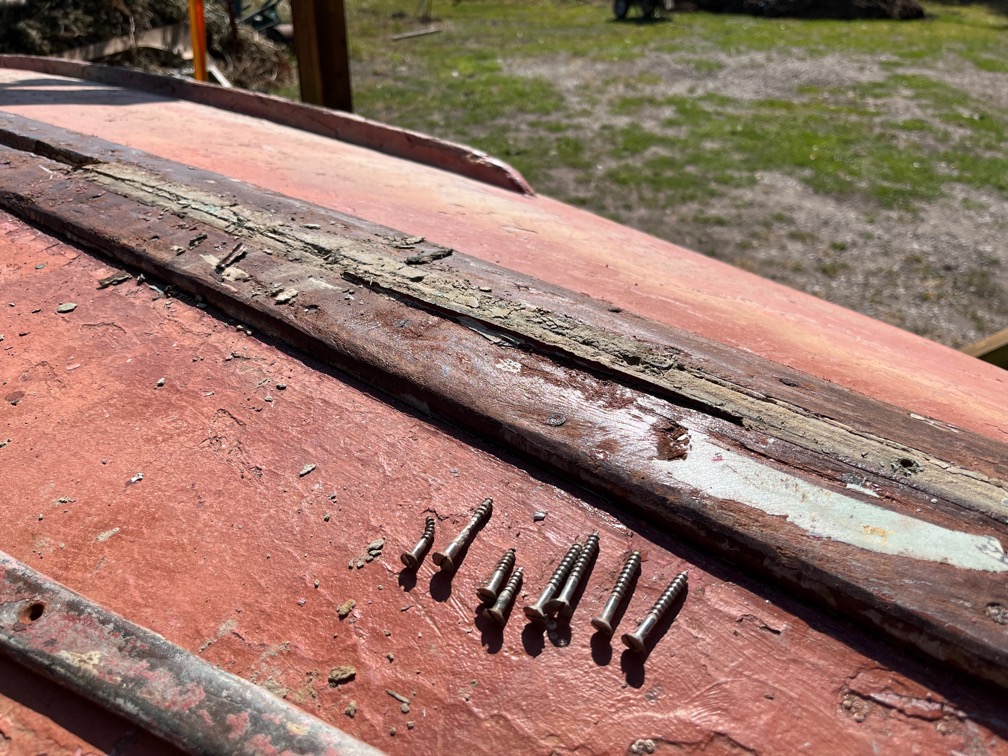
The plan is to remove the filler and apply penetrating epoxy and then return to the scraping which I estimate will be the better part of a week to effect, depending on how well I hold up physically, GOITP !
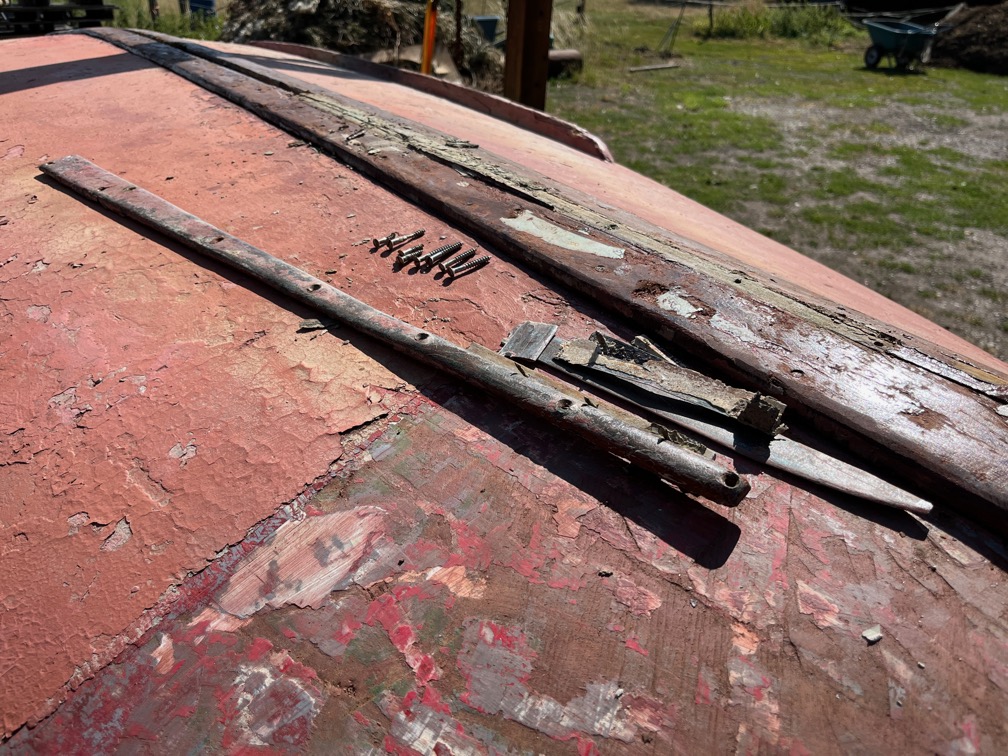
The keel band seems to be made up of several different pieces. There’s this huge chuck that looks original.
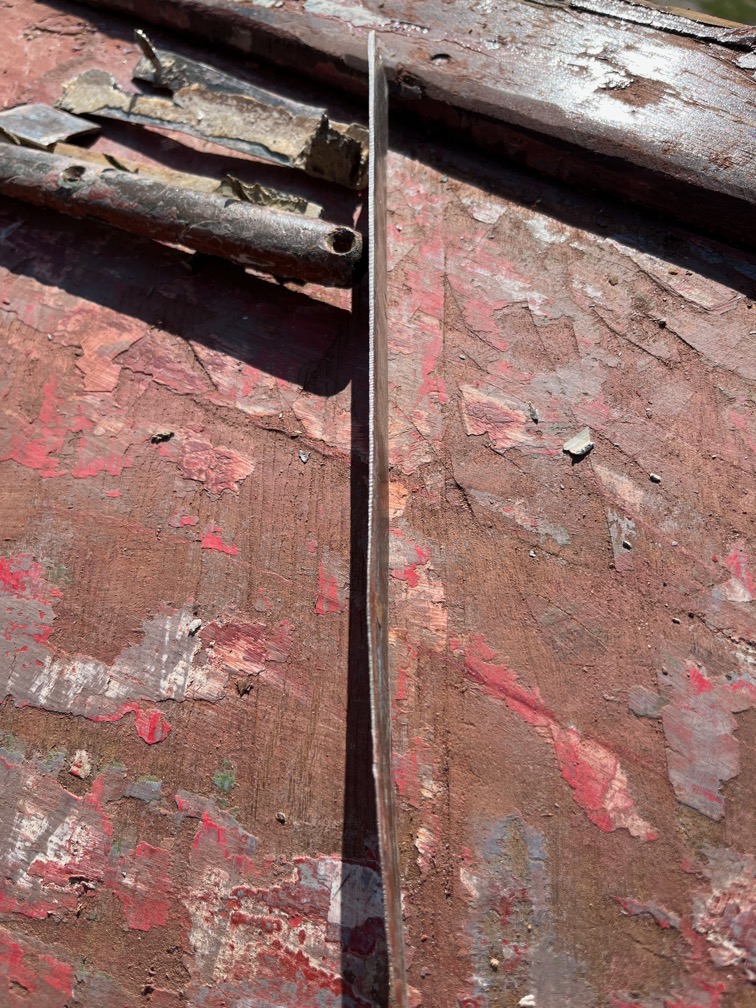
There’s another section that is of the same sort of width as the big piece but is very thin.
And there are several other pieces that are the half-round cross section that you find on older wooden dinghies. The large piece will probably be put back but the others will almost certainly be replaced with a stainless steel flat bar,
Time for a cup of tea.
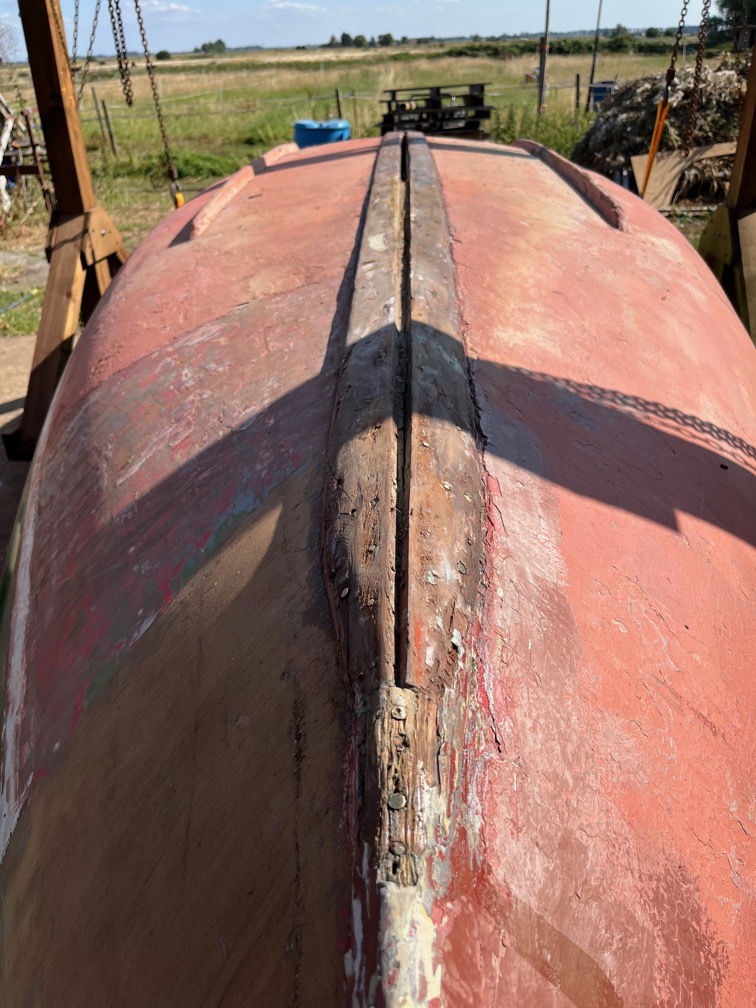
It didn’t take long to clear out the gap between the timbers and give it a light sand.
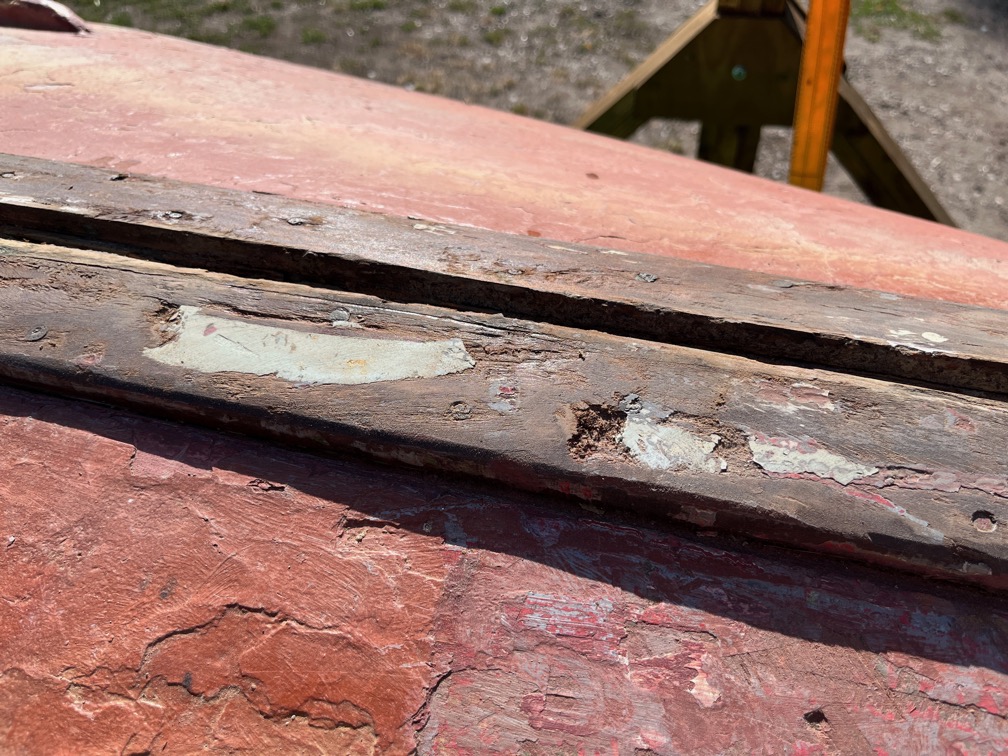
There were more damaged spots in the timbers that were filled with something that looks a lot like car body filler, but it came out easily enough.
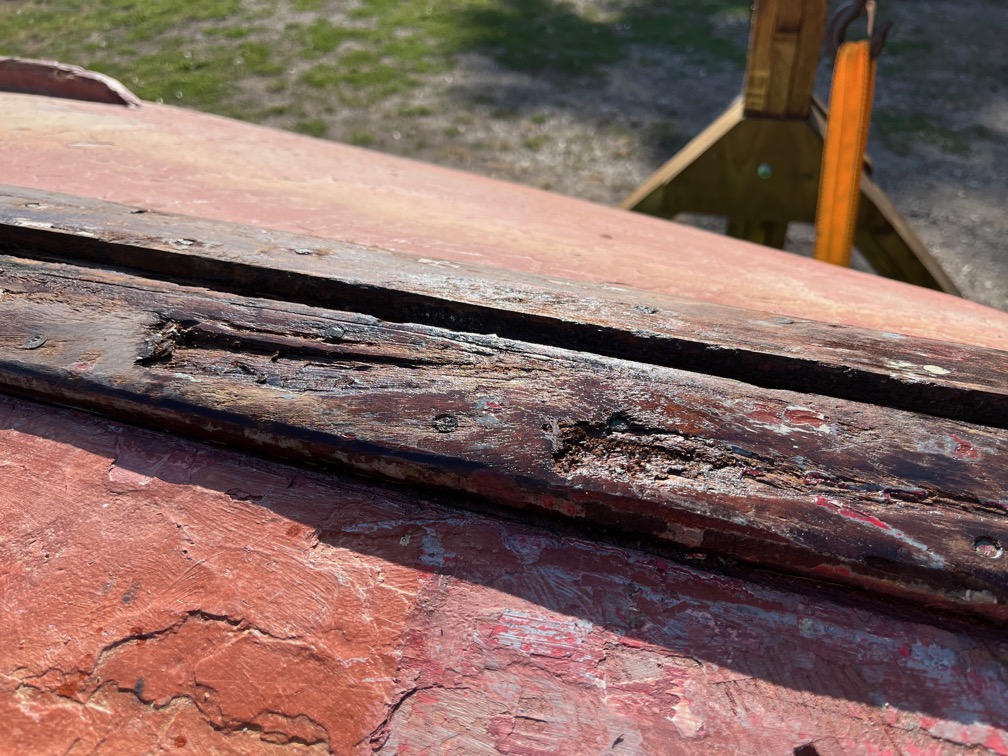
These two were quite deep…
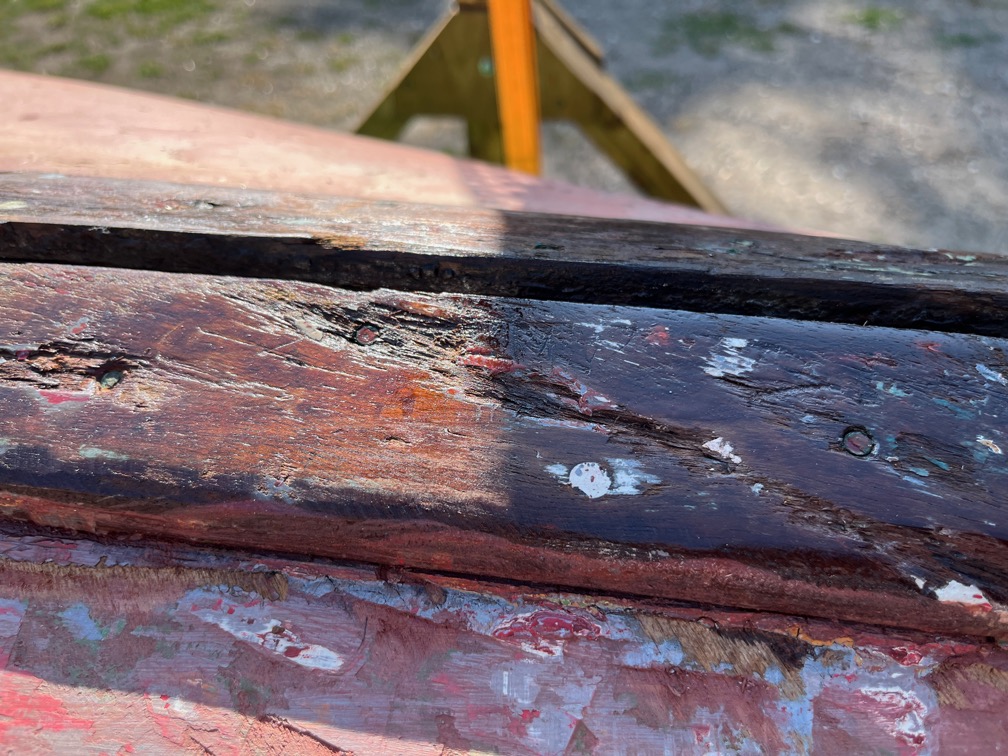
… as were some others. Once the majority of the filler had been removed I put on a liberal coat of penetrating expoy.
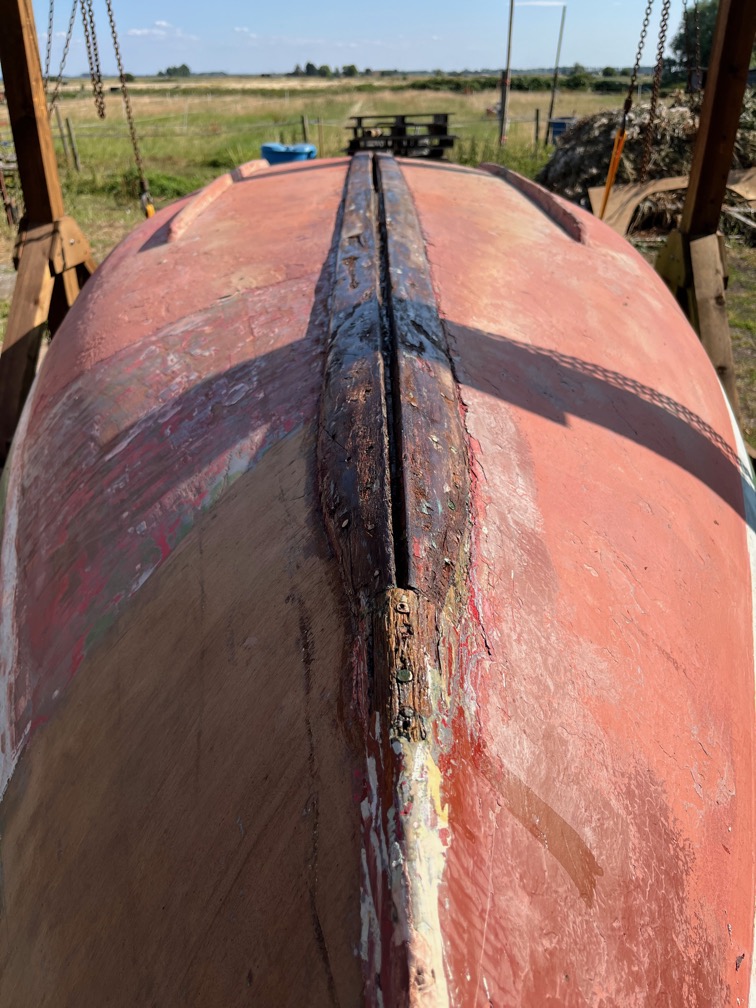
Interestingly, the epoxy has highlighted two areas of damage, seen in the shadowed area, where the damage is more or less in the same place.
Time for a cup of tea.