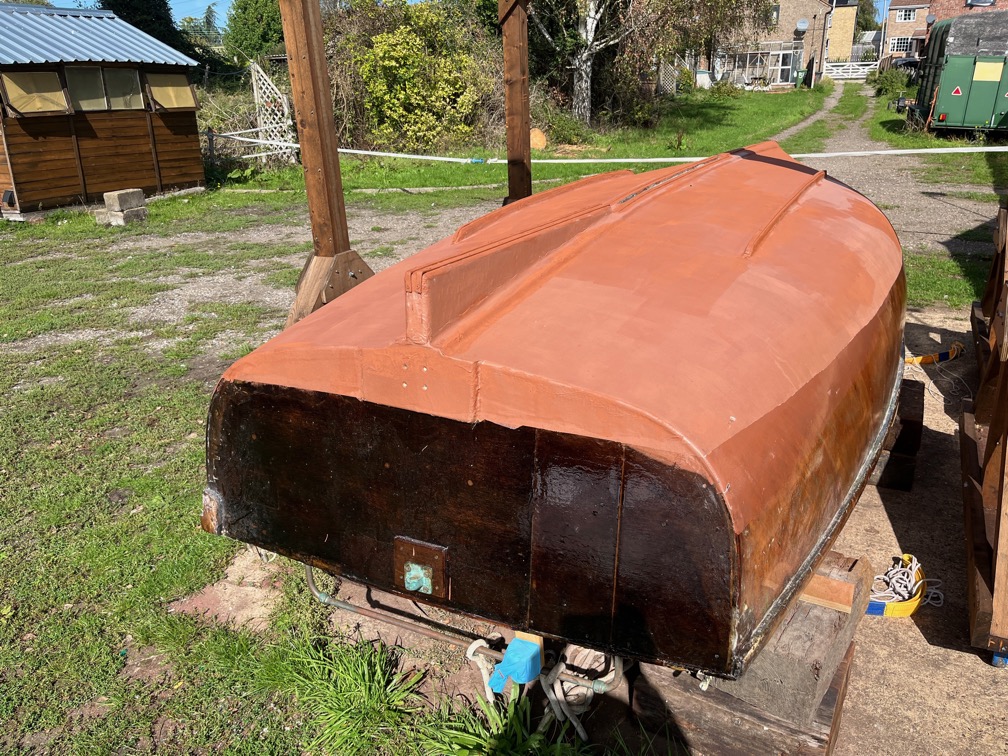
I had wanted to turn the hull today, but it’s too windy.
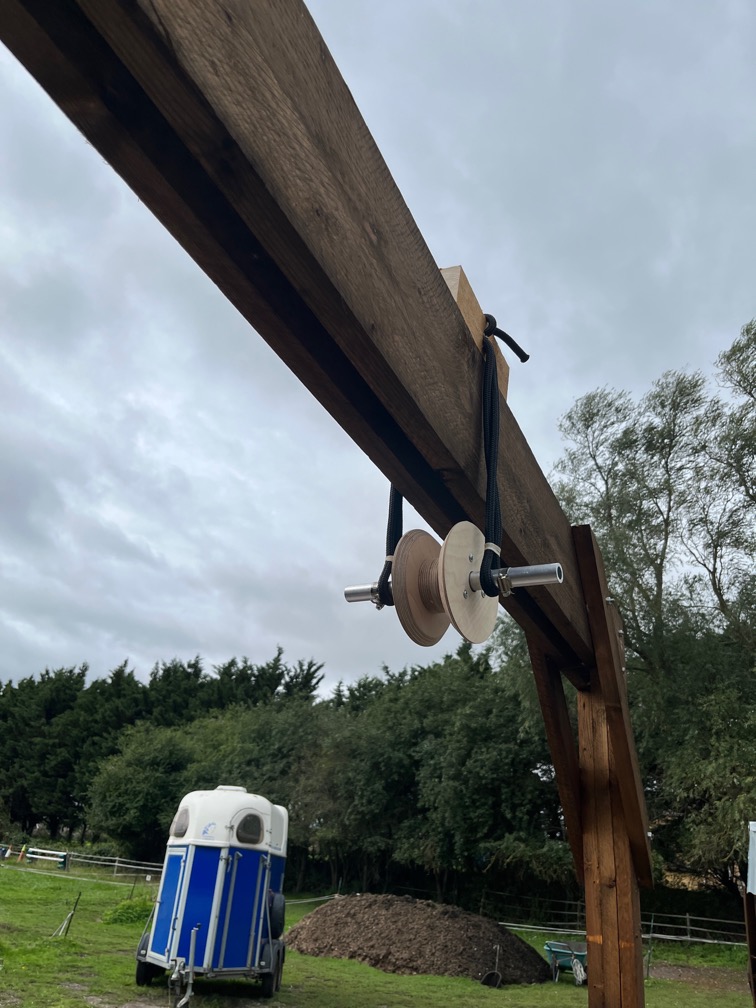
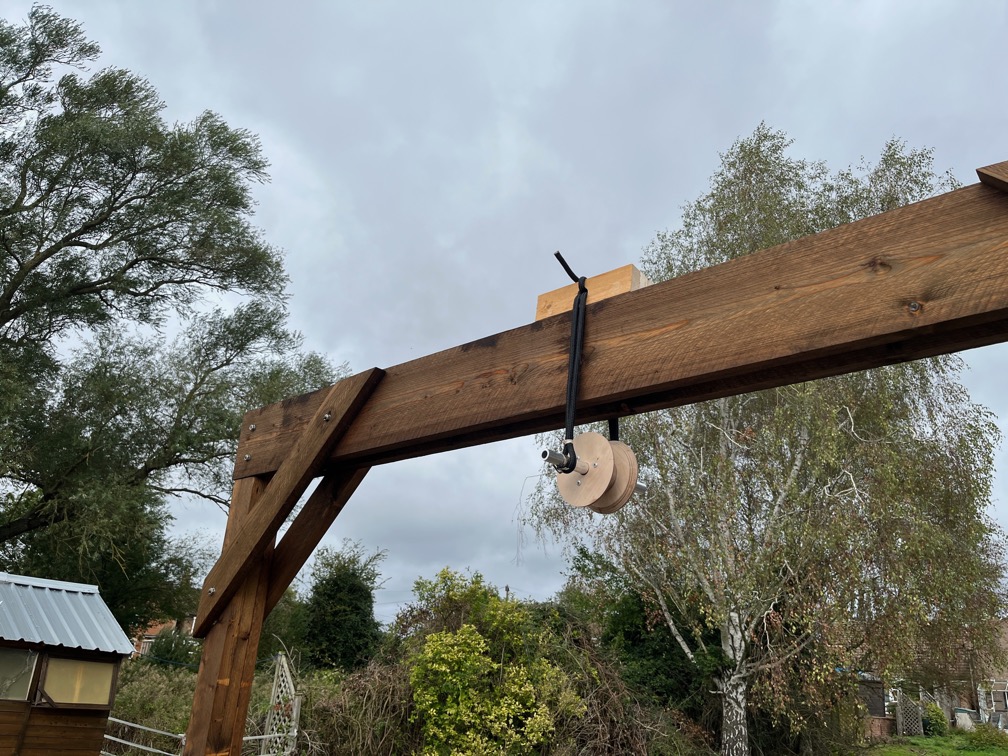
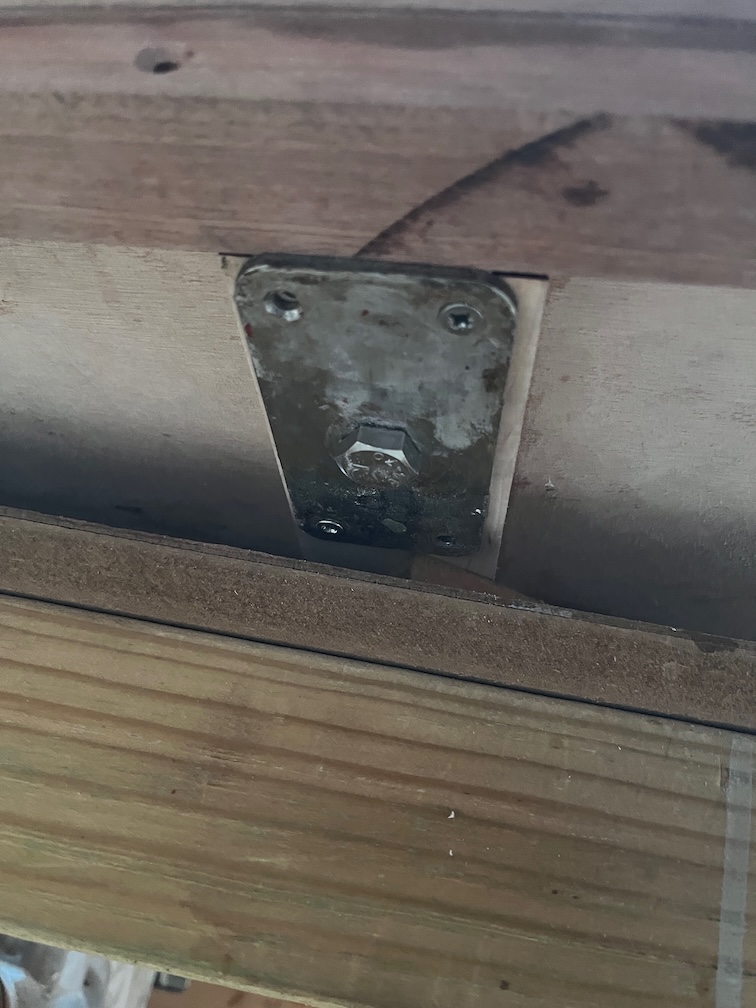
You see, I was unable to drill the 25mm holes in the metal I had cut, my equipment is just not powerful enough to do one, let alone eight, so I had to resort to using rope.
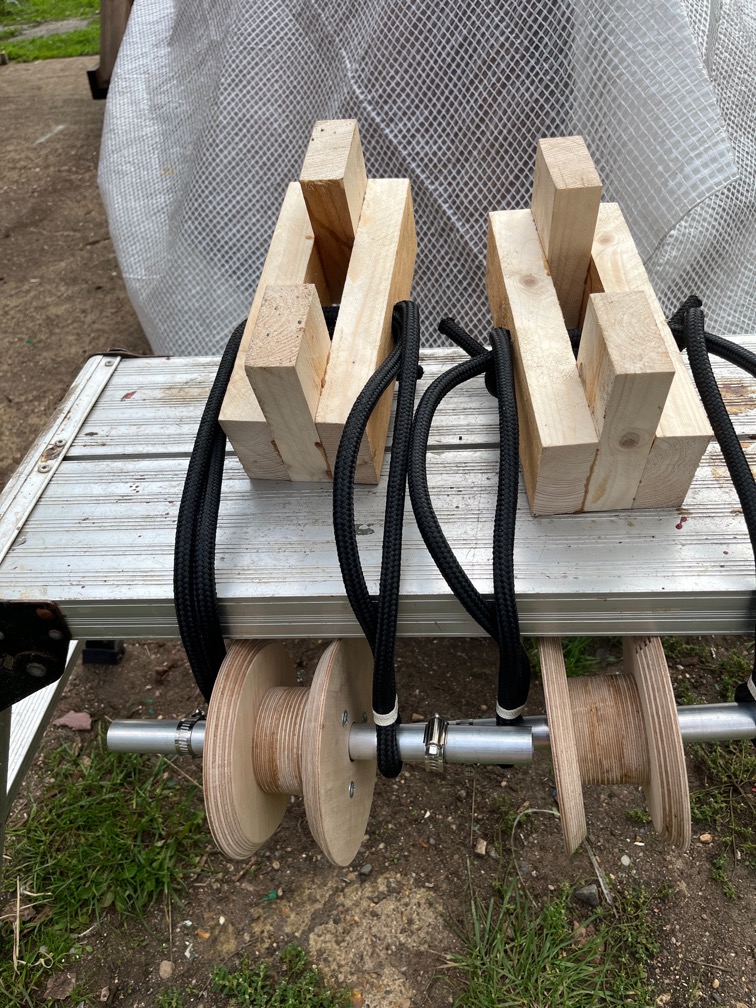
Like this. Perfectly strong enough to take the load but it moves and can move sideways and possibly destabilise the block.
This is manageable, but since this is the first time I’m doing this, I do not want any more possible failure modes and force 6 and 7 gusts of wind count. That is enough to move the boat in the strops and that I want to avoid.
So, having made up the two blocks I put them aside until another day, perhaps tomorrow, when the wind is not so strong. If not tomorrow then Monday and Tuesday look to be quite calm.
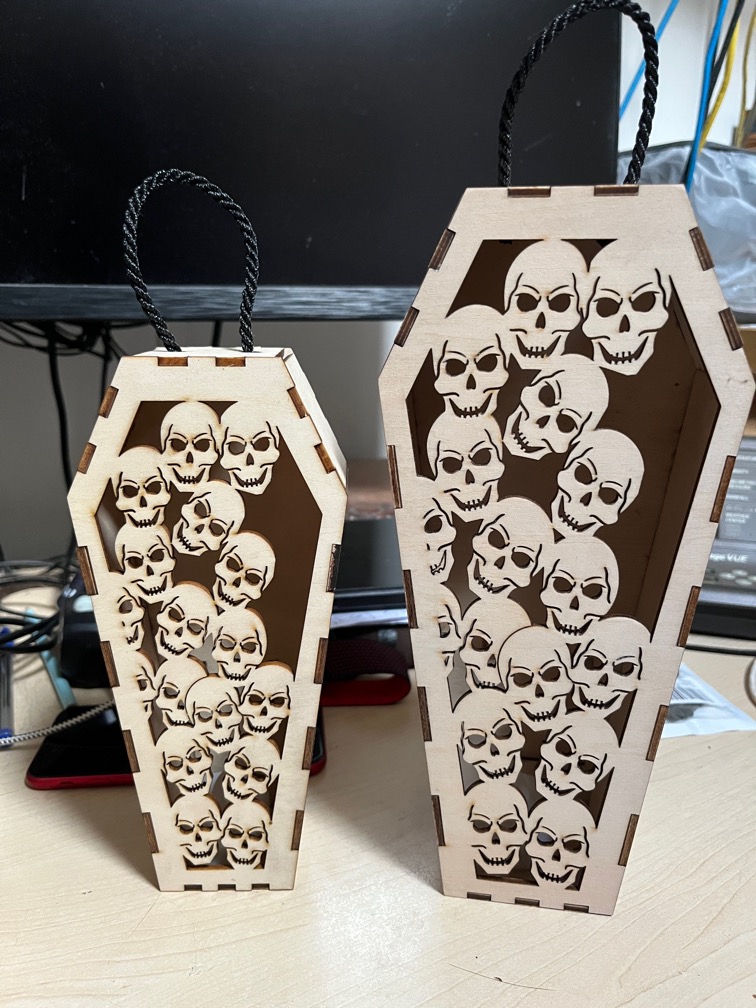
Instead I made these. I’ve not worked on these since Shoal Waters arrived here and I need to make some of these up for an upcoming craft fair. The trouble is that the first two versions required more time to assemble and glue that to do everything else, include the packaging, and that made them not something that I could sell and make a profit.
This version, however, snaps together so there is no assembly, at least not that I have to do and an added bonus is that they ship flat. The biggest issue is the LED tealight. Still, the redesign means that these are now profitable. I have seven different face designs and they are quite popular. The skulls face above being the one that most people seem to want.
Anyway, this was not a wasted day, despite not working on Shoal Waters much.
I did also create a drawing for the metal side pieces I need and send that off for a quote from the same person who made the pieces for Naiad’s tabernacle.
The first task of the day and mid-morning or so, was the dismantling of the tent over the hull.
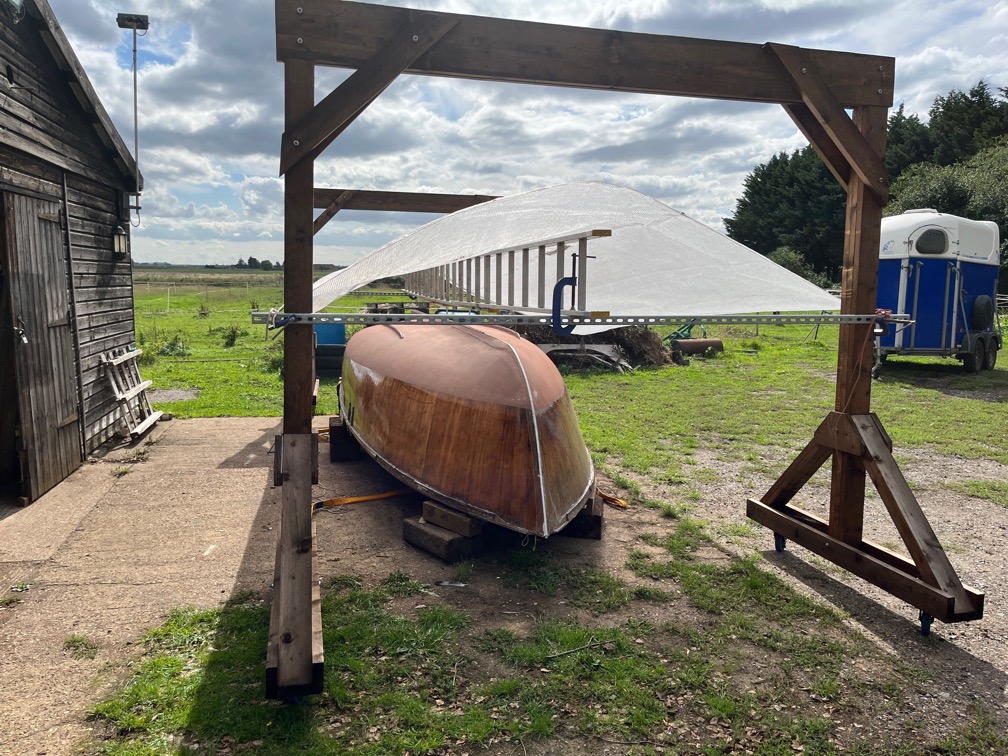
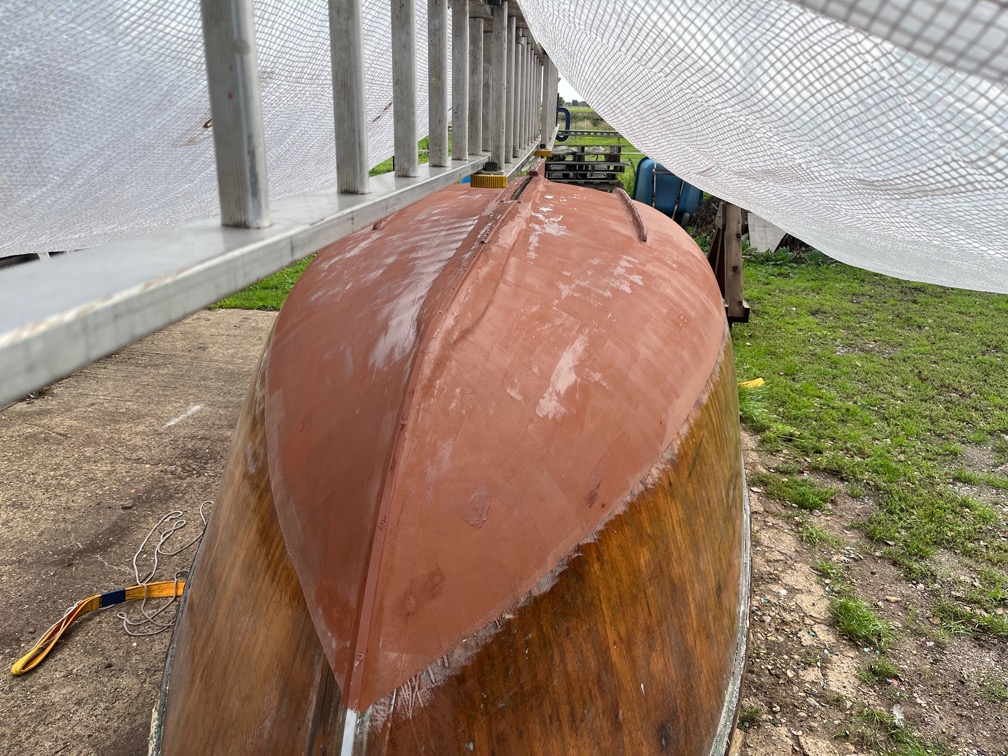
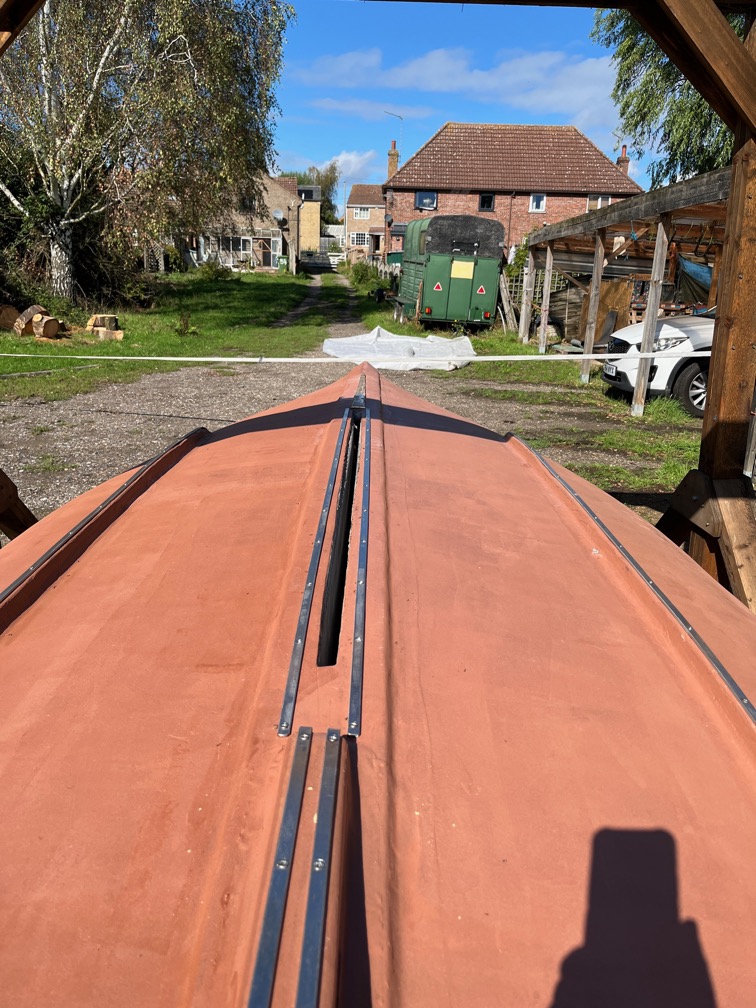
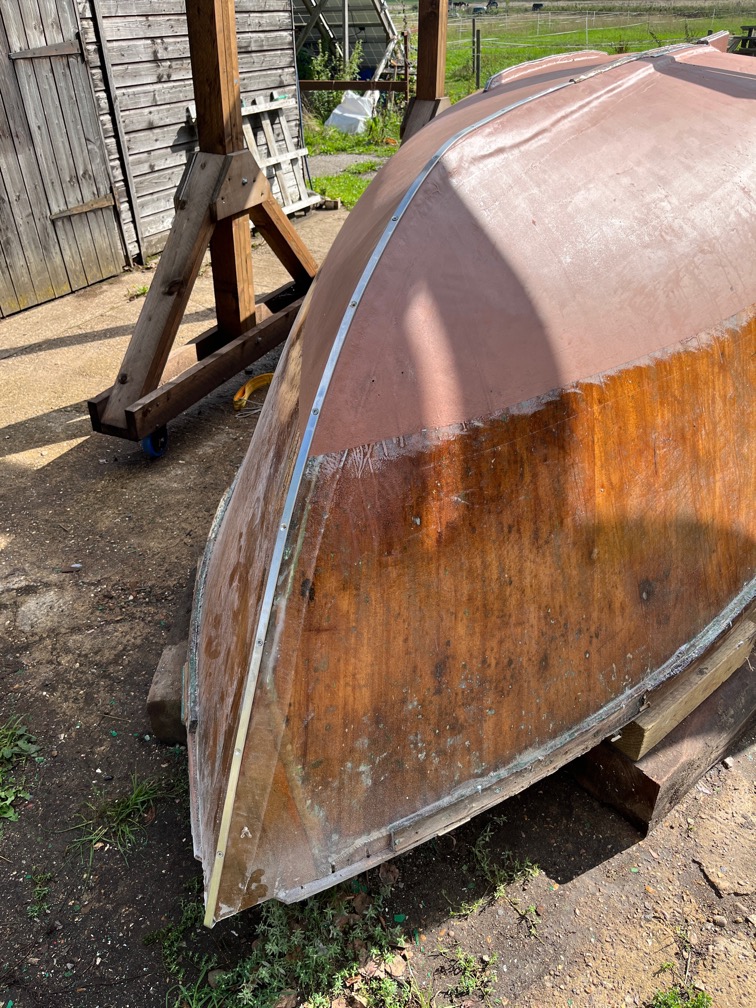
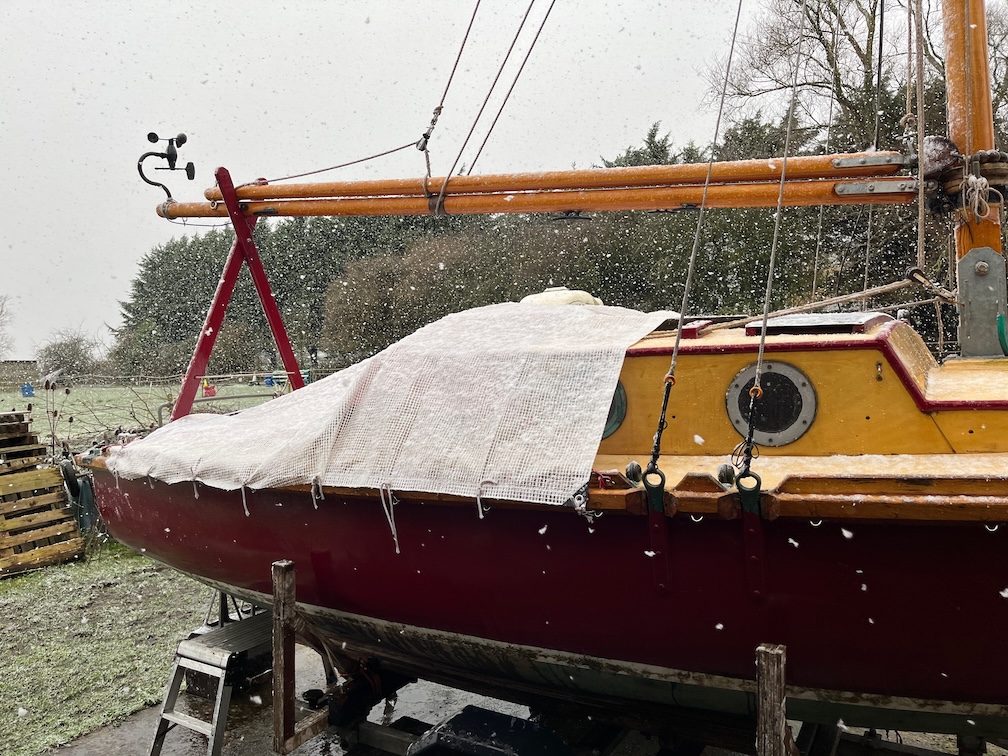
Here she is without the framework around her supporting the cover, and in the light of the morning instead of the early evening.
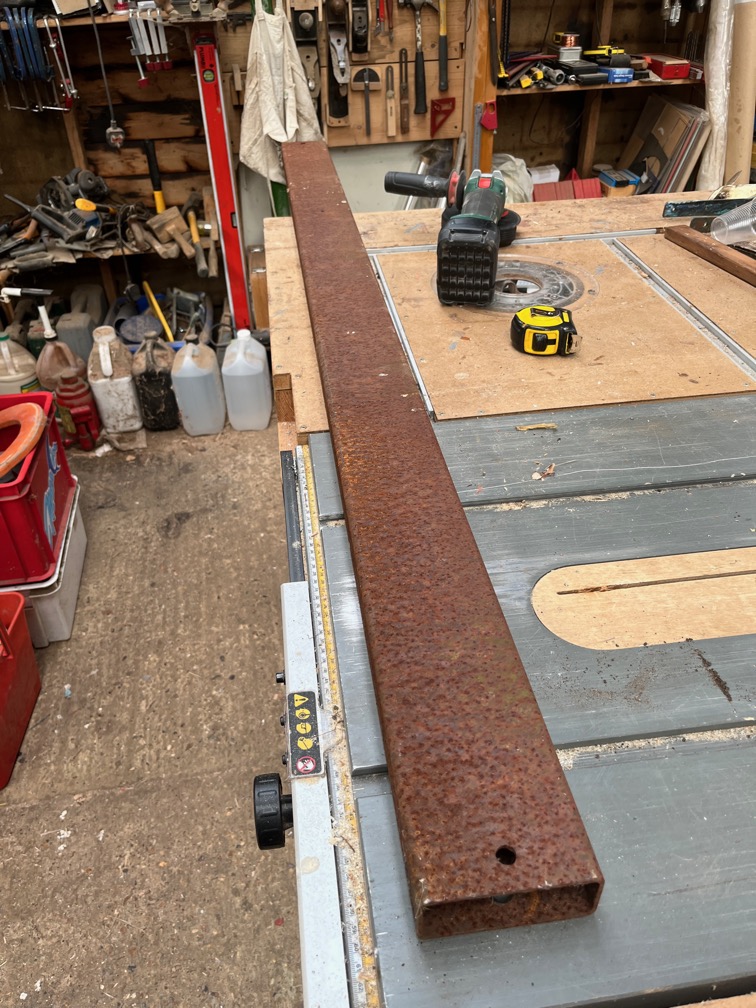
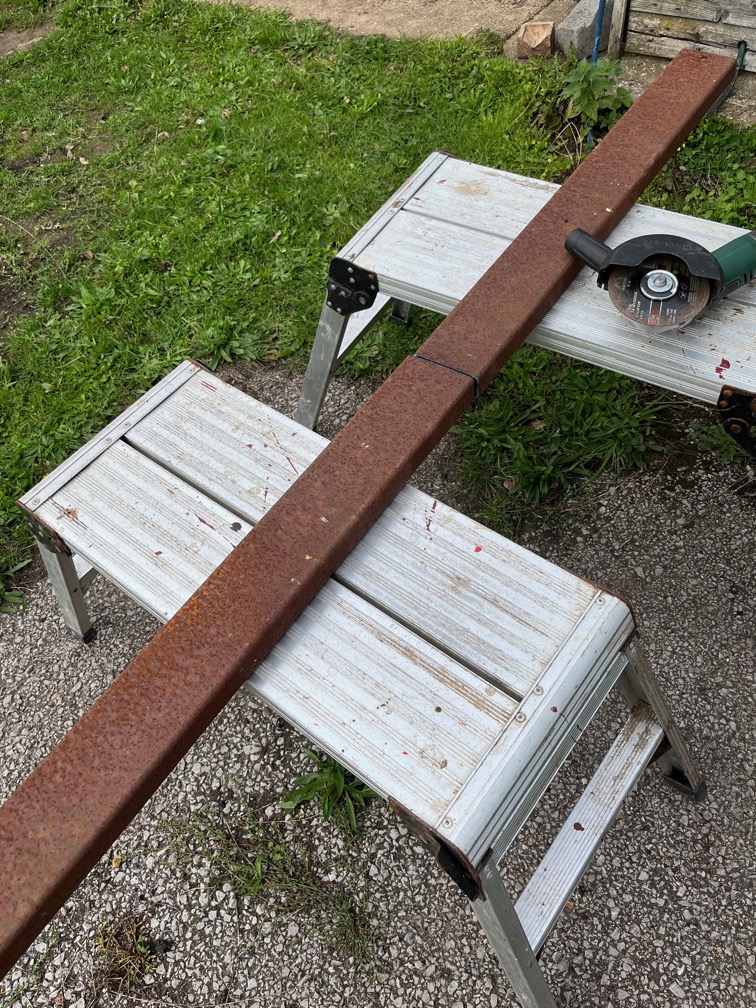
The last part of the inversion blocks is the manufacture of the side pieces that connect the bat over the top of the gantry to the spindle through the pulley proper. The will be made from this length of rectangular section steel that has been laying around the yard for the last thirteen years or so. The first requirement is to cut it in half.
An easy job with a good cutting disk in the angle grinder.
The technique I decided to use was one that I save in a Youtube video made by a gentleman by the name of Mark Reuten, a boat builder in Canada (I think, he has a Canadian accent). He has a business named Mark Reuten Nomad Boatbuilding and the episode to which I am referring is called “Building the Catalina Wherry – Part 25 – Flipping the hull”. Specifically the part that starts here.
Now, the hull in the video is far lighter than Shoal Waters which is why I’m making the blocks so strong, but you can see the principle used.
But the weather forecast said that it should clear up around 13:00 and sure enough, after raining on and off most of the morning, although not hard, the skies cleared and the rain stopped.
However, I wasn’t going to take the forecast’s word for it and built a temporary shelter under which to work that will also keep off any rain that may fall, thus ensuring that none does.
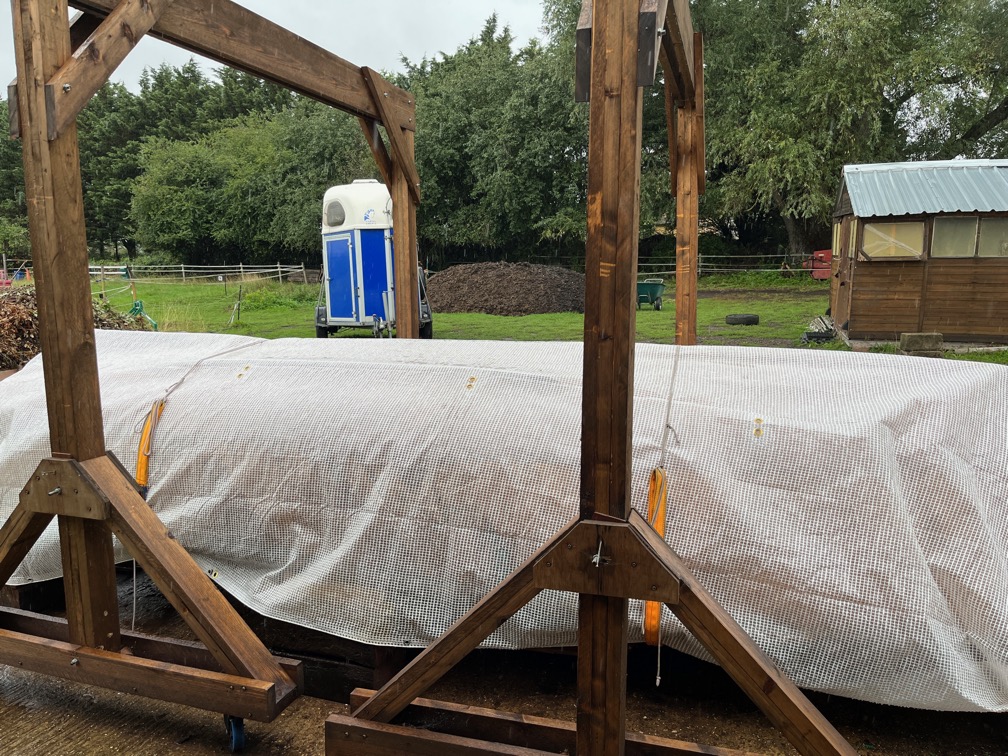
This is the arrangement this time, with sufficient clearance not only to stop the tarpaulin from touching the hull but also to allow enough space for me to work under it.
Worked well.
This is the result after the second copper epoxy coat. All the keel bands have been liberally coated and since I mixed up far more than I needed, I spread the remainder around the hull with a roller, concentrating on those areas that looked a little thin.
What it quite interesting is the colour of the copper powder used, from a different supplier, is a different colour to that used in the first two coats. Not that it matters since it will all be underwater and will go green quite quickly.
Now all that remains is to work on the inside of the bottom of the centerplate slot, removing any sealant squeeze out and making sure that there are no gaps anywhere or rough spots. However for this work to be done I need Shoal Waters to be on her side. First one side and then the other and for two reasons. The first is that I can’t access the slot as she is now, it’s too far away from where I can stand and too high. The second reason is that I will need to put in some epoxy in places and having the hull on its side will mean that the epoxy is pulled into the place where it is put, instead of dripping through the slot and into the cabin.
So, the next task is to finish the inversion blocks.
I awoke to the sound of steady rain this morning and by the time had gotten up and done the necessary, there was no sign of the rain letting up. It was warm enough, just wet. Not that a decent soaking rain, which this was, was not welcome in a general sense, it just meant that the plans for the day had to be changed.
Work moved inside the workshop instead of outside.
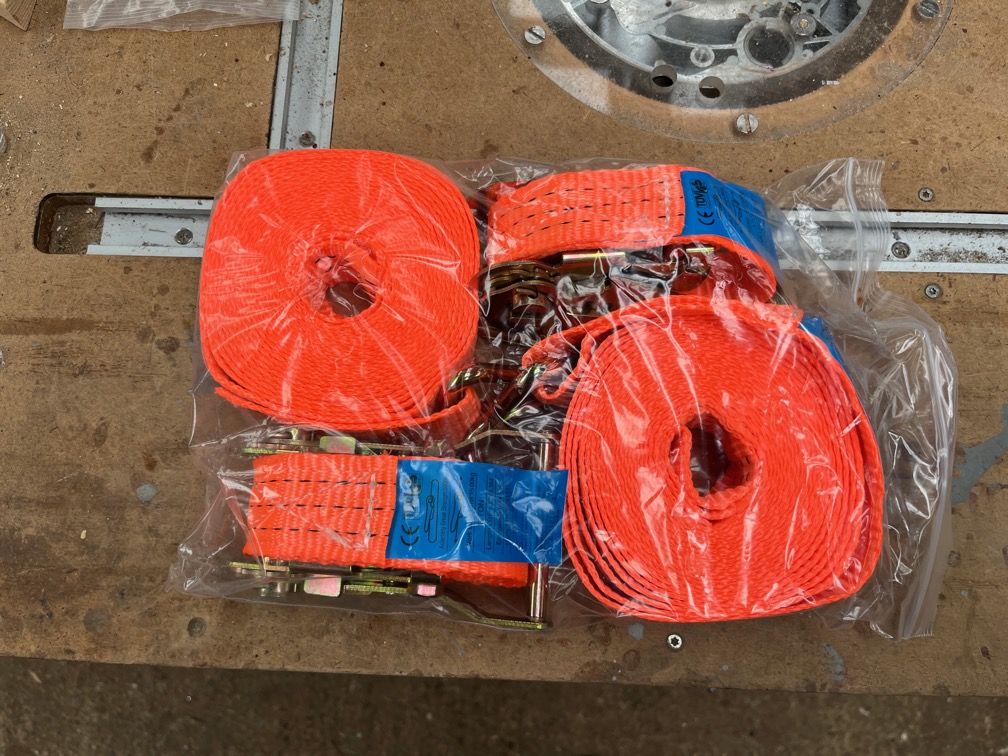
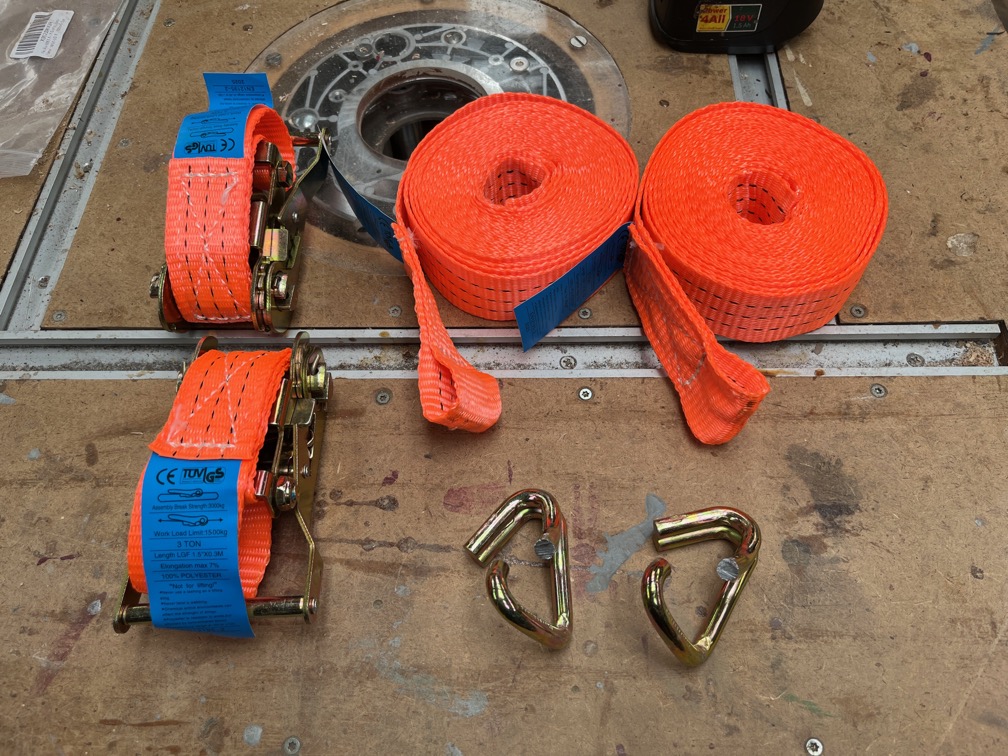
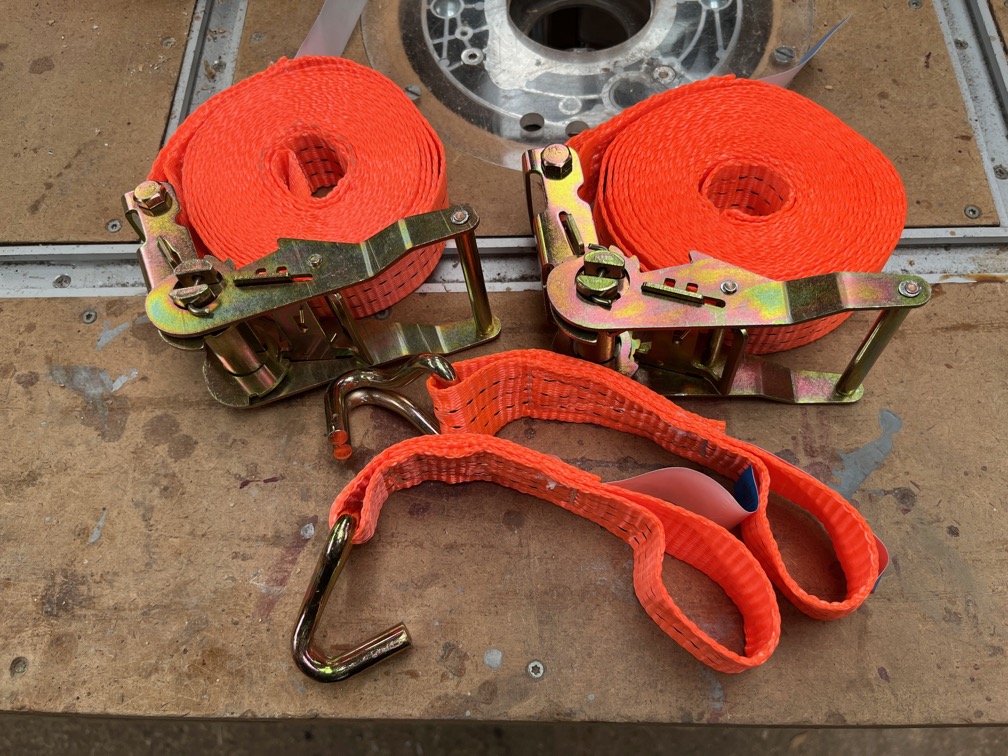
The first task was to convert the three remaining ratchet straps from hooked to non-hoked.
This isn’t difficult, you just use a hacksaw to cut the hook on the strop end and bend the hook so that you can remove it, as shown.
The strops are then put onto the ratchet replacing the short strop and hook st give the desired result.
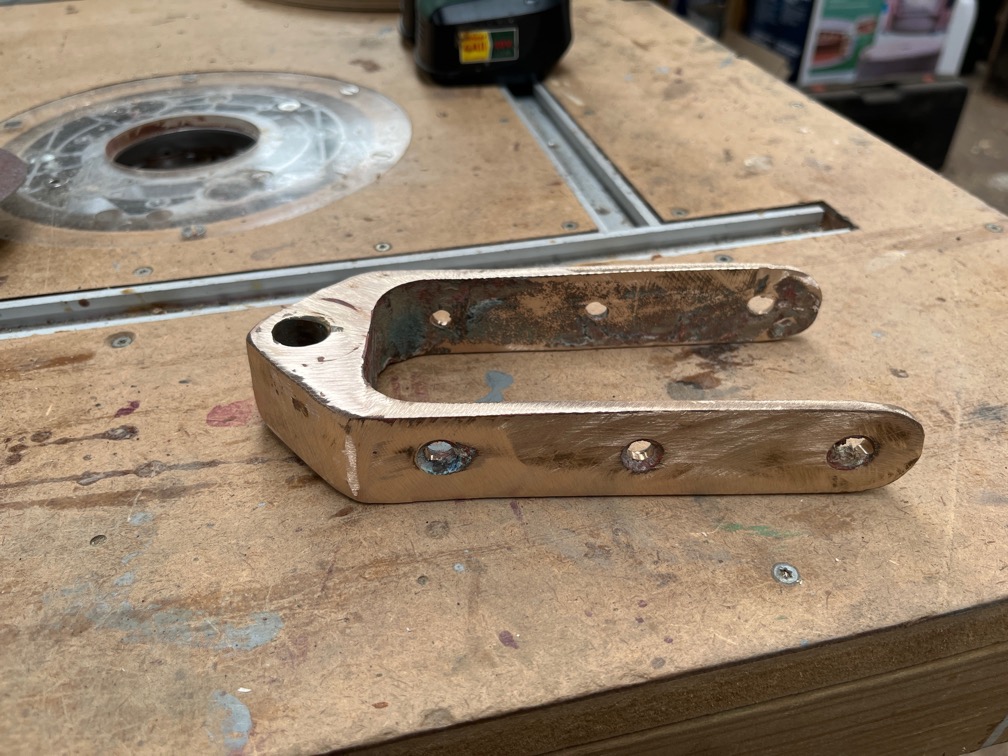
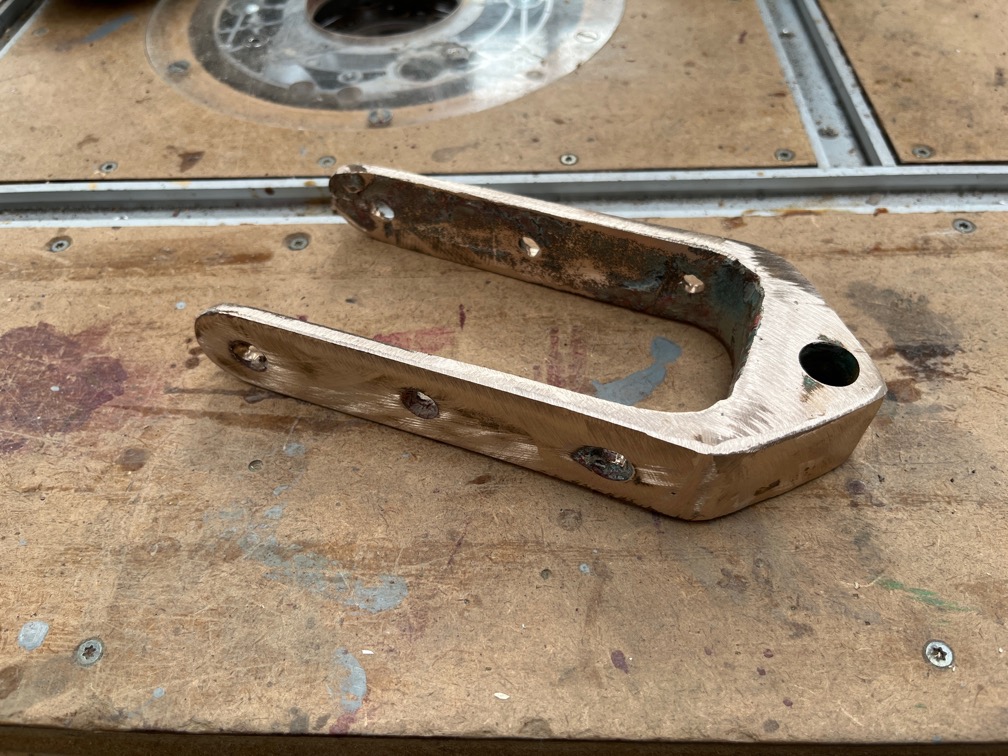
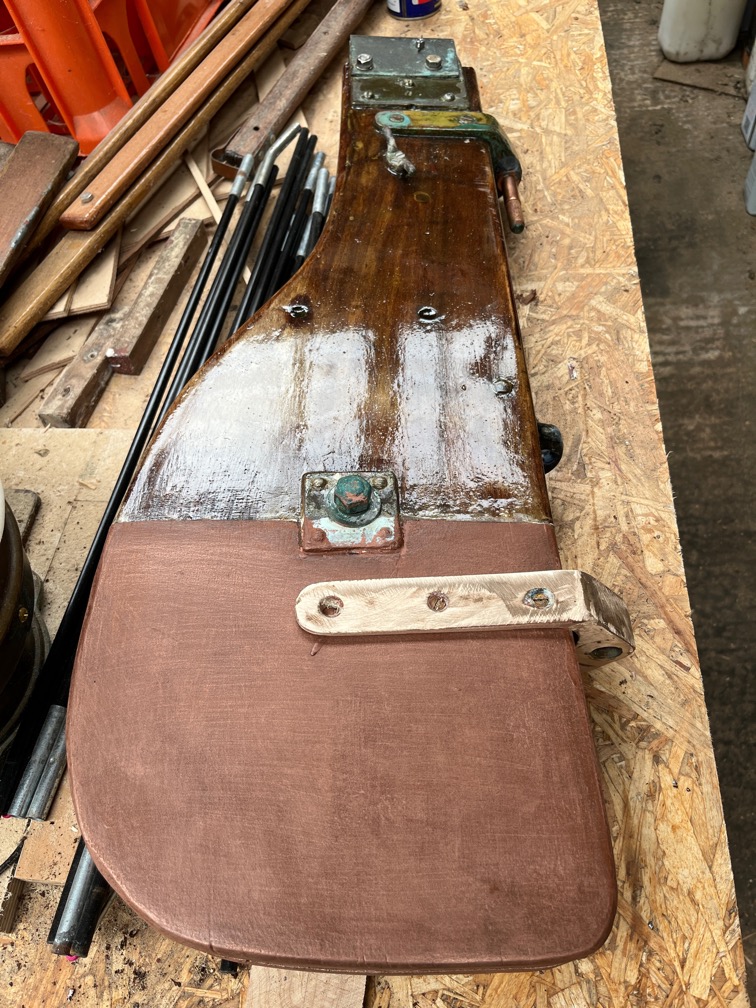
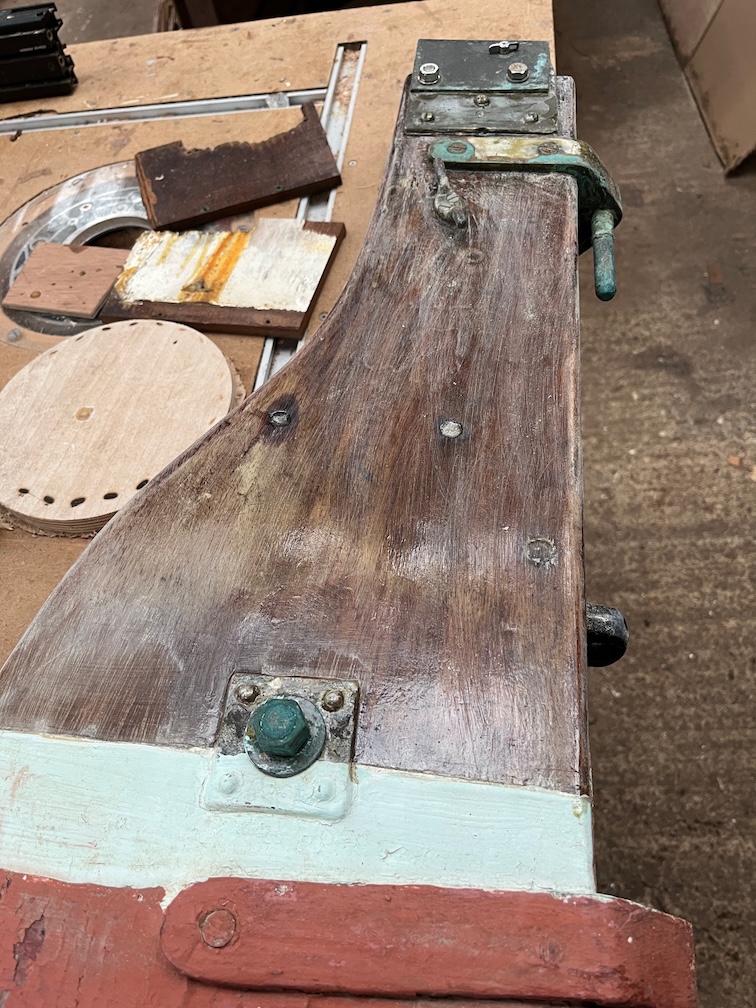
The next task I choose was to clean up the rudder gudgeon fitting prior to putting it back on the rudder stock.
I left a rough finish to give a key as this will be coated in copper epoxy.
The position of the fitting was marked by two notches in the rudder stock which made it fairly easy to get it back in the correct position.
The only issue was that I didn’t have the correct sized bronze screws to fit it together. So I put two smaller screws in to hold the fitting in place for the moment and ordered a pack of ten No.10 1″ screws. Once these had arrived I can fix the fitting in place more securely.
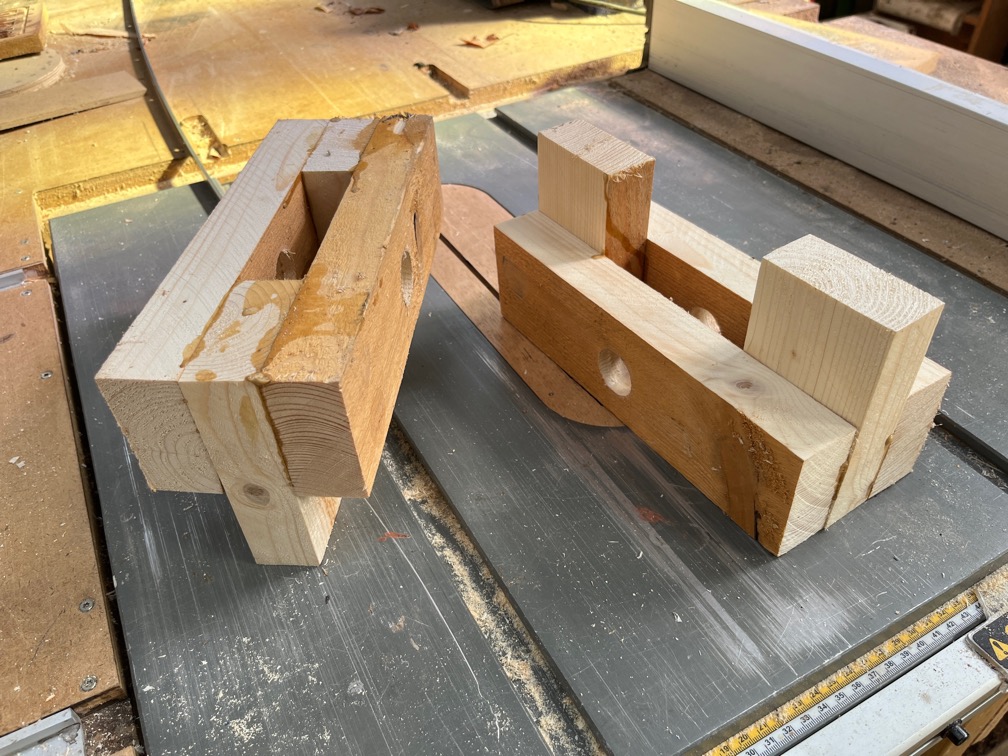
After that I cut up a piece of scaffold plank to make two fittings for the inversion blocks. Then I took a break.
The rain has stopped and the dark gray clouds are being slowly replaced by ones that do not look like they will drop rain everywhere.
Time for a cup of tea.
Sure enough, the weather did improve and the sun came out, so it was back to work.
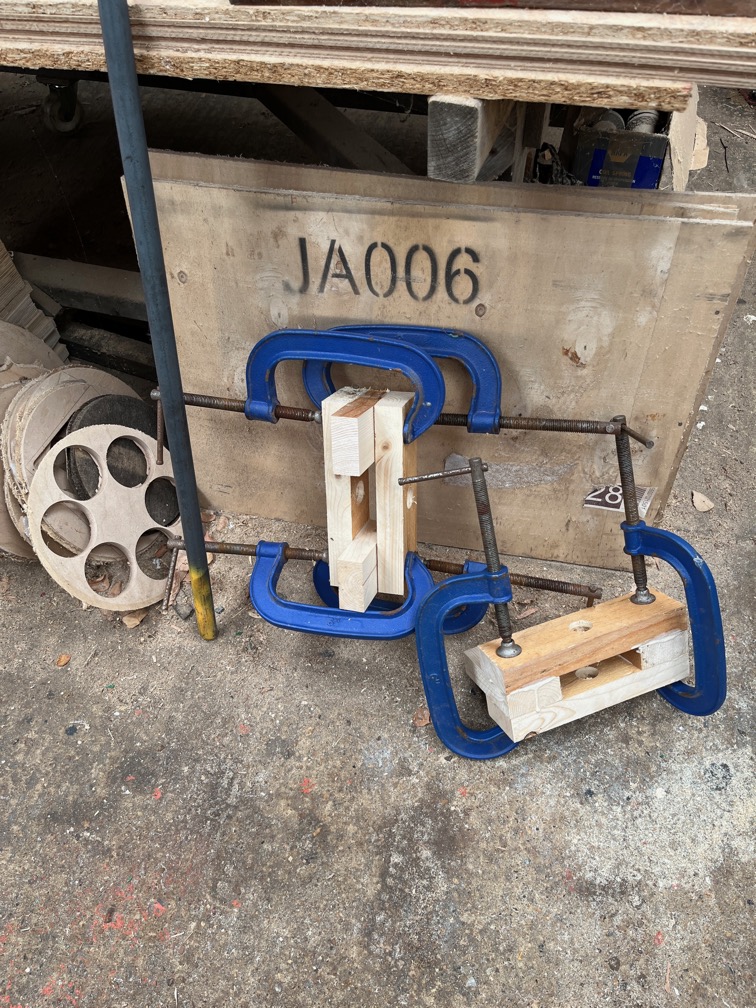
The supports for the inversion blocks were taken out of the cramps and put aside until needed.
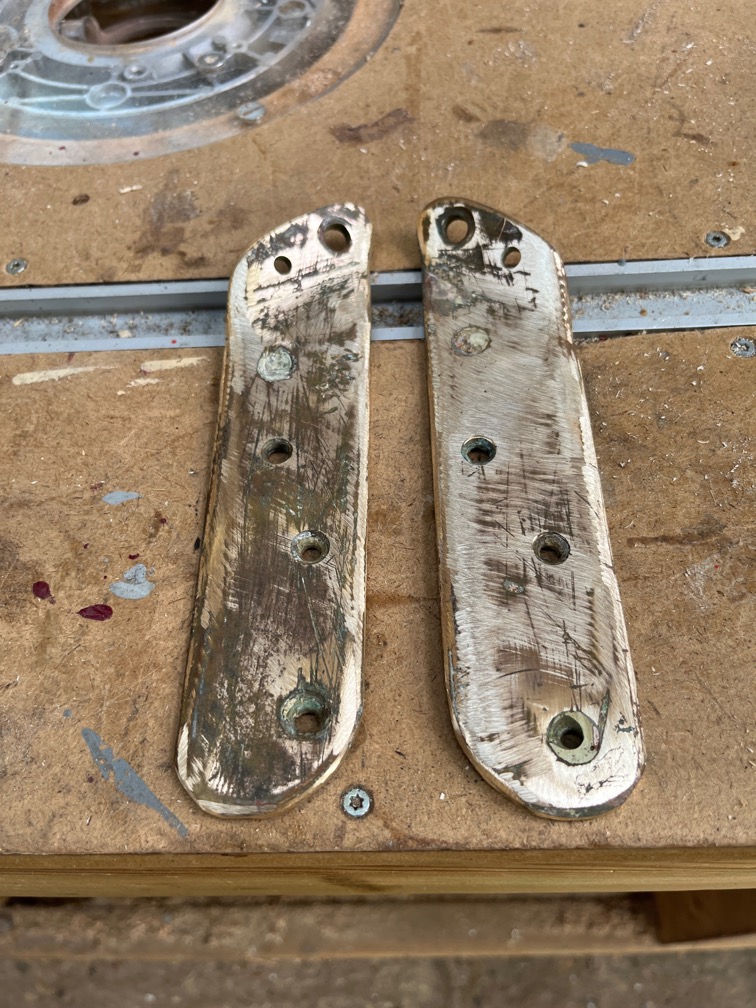
The two halves of the bobstay stem fitting were cleaned up ready to be re-attached.
The two keel bands either side of the centerplace slot were made and dry fit.
The final keel band, for the ste, was also made and dry fit.
This was a little awkward as the end was designed to fit over the top of the stem which made for a very acute angle. The band will be pulled against the stem with a line or pressed with a wooden batten but for now, we wait for the correct screws to arrive. At which point all the bands will be removed, sealant applied and squirted down the screw holes and the band refitted with all the screws, not just half of them !
After the usual round of applying varnish to various parts of the boat, I took a look at the case side.
Here I have removed the peel ply and the result is pretty good. It will need sanding but that was expected. For now, I shall put it by the Rayburn to keep warm to allow the epoxy to reach full strength before I take sand paper to it.
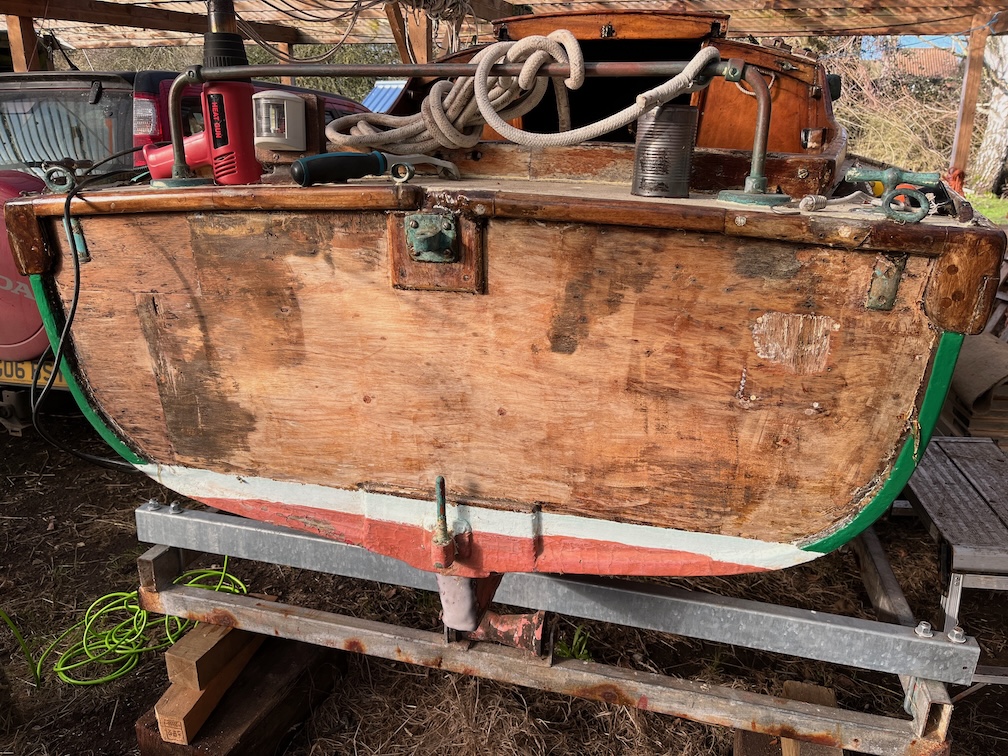
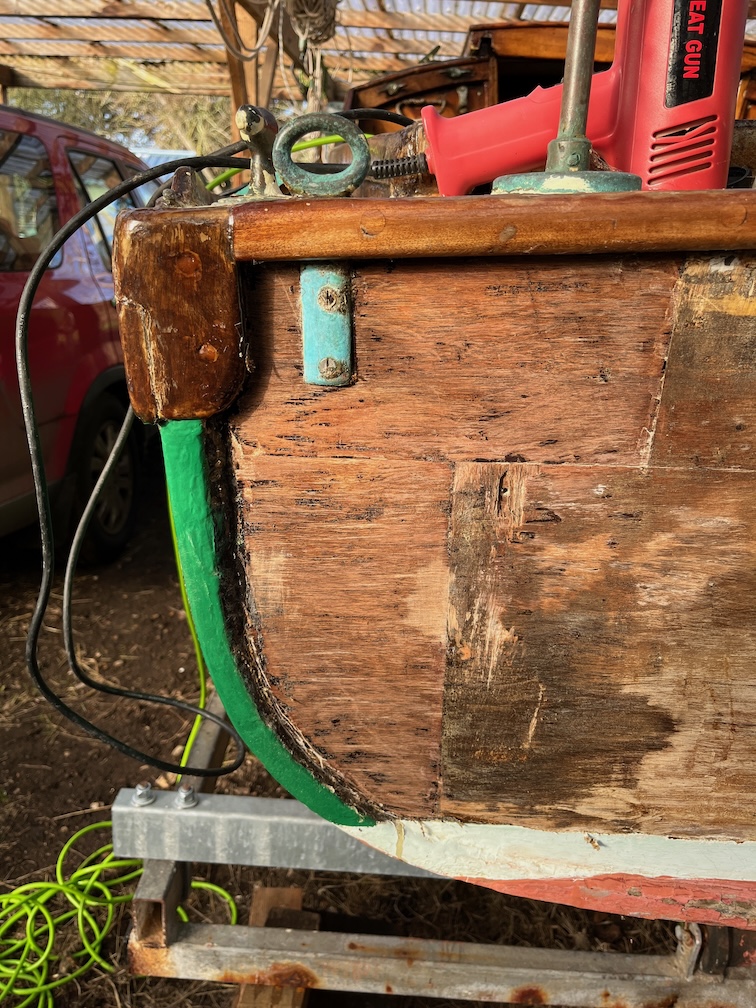
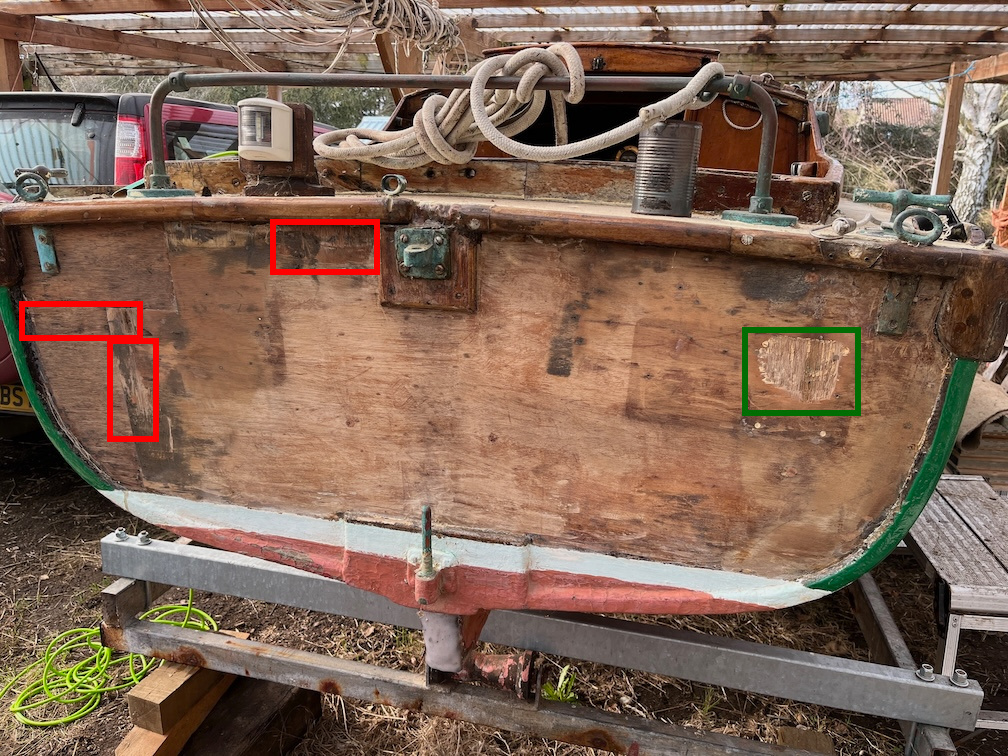
After that I turned my attention to the transom. Armed with hot air gun and a scraper it was the work of only half an hour to remove the paint and varnish. I say paint, but I think it is a coloured varnish rather than a paint and you can see why it was put on. There are several damaged areas as well as dark areas where the wood has suffered water damage.
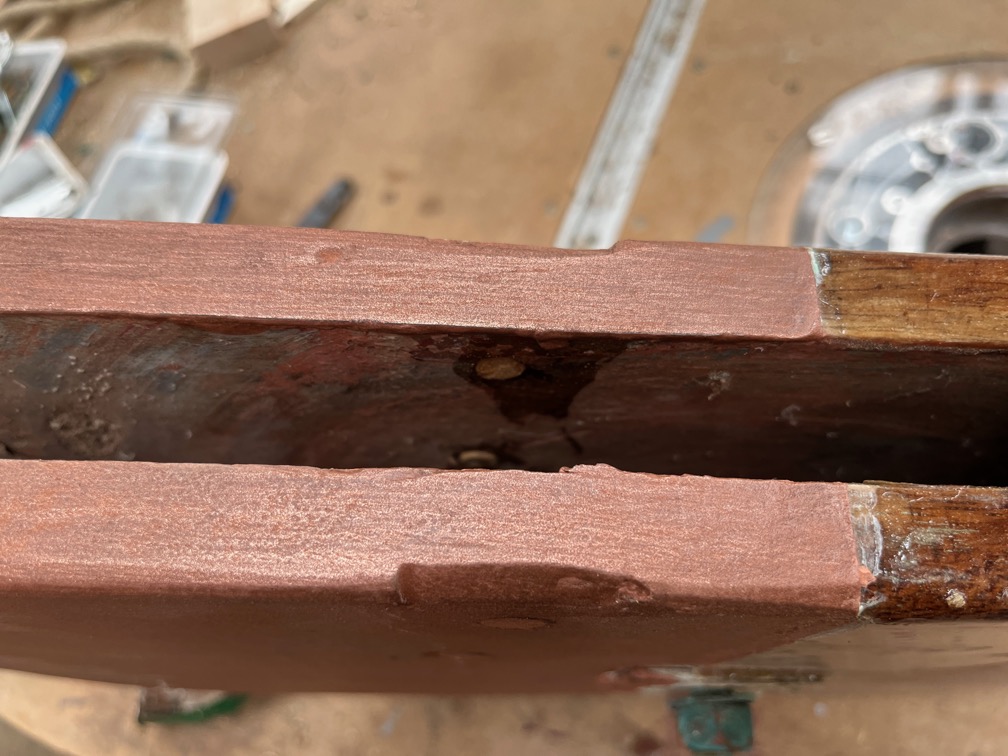
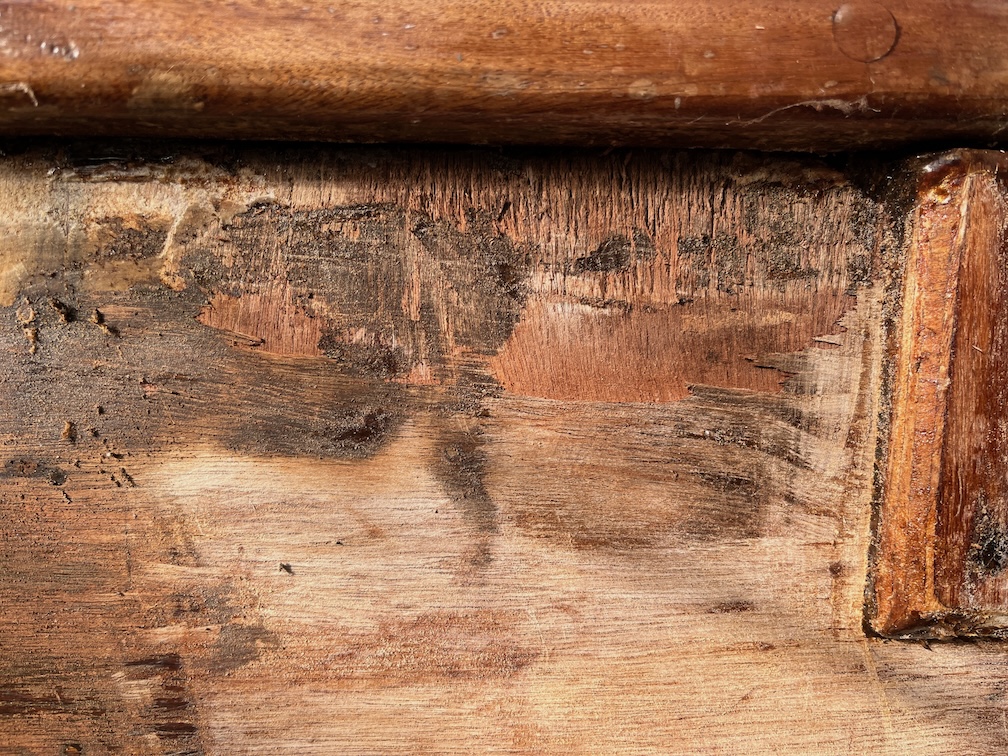
This is an area that needs some attention, at the top of the transom just to the left of the rudder gudgeon. Here is looks as though the plywood has been sanded too aggressively and that has removed the outer layer of the plywood. The exposed and rough grain will wick water easily and although no damaged seems to have occurred as yet, this area needs to be sealed to prevent water ingress.
This was the most surprising area. It looks to be a massive repair and I suspect that it was carried out due to severe water damage.
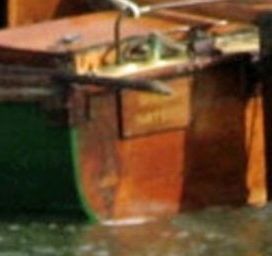
This is a section from a photo of Shoal Waters whilst she was still in the ownership of Charles Stock and you can see a large discoloured area to the left of the name board that corresponds to the repair in the photo I took this morning.
So, more tasks to add to the list. Remove any remaining varish, sand and fill the two, possibly three areas that need graving pieces. Carry out some stain removal to at least lighten the darkened wood. Then I will probably stain the entire transom just to stop it looking such a light colour and after that, we shall see.
Sa far an interesting morning.
Time for a cup of tea.
During my next break I sanded the transom with 180 grit sandpaper and then went tapping around to see where the soft returns were.
The green area is where I’ll certainly put a graving piece and the red areas show where I’m getting soft returns with my tapping. The top red area is a place where I’m tempted to put another graving piece rather than use the epoxy sealer. One or two of the very darkened areas of wood I’ll treat with Oxalic acid and try to bleach the wood a little, but other than that I think the transom will be lightly stained to even out the discolouring and then varnished. This will not hide the repairs and such, but they will be less noticable unlike with the varnish/paint which hid everything.
The two red area on the left will be left until Shoal Waters is next out of the water for maintenance and I can spend more time investigating and repairing.
It is a miserable day today, here in the Fens of Norfolk. It has been sleeting sideways for the last couple of hours and it cold, just 2º C. Still, most of the tasks for today are in the workshop out of the wind and rain.
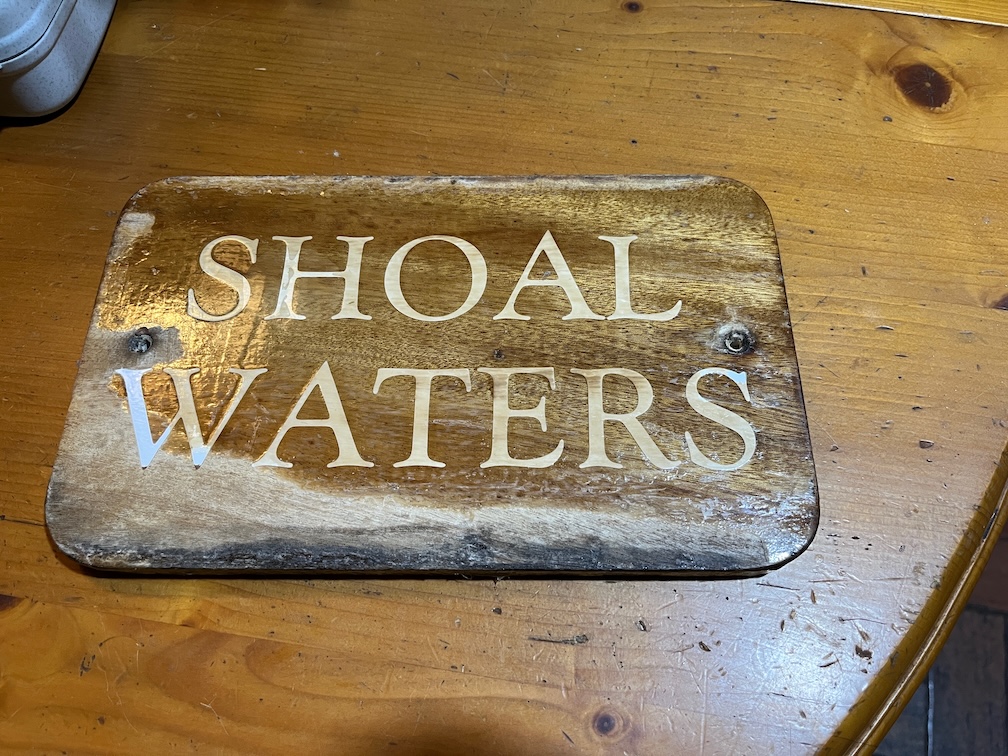
First up is the name board.
This is the board vanished on the front..
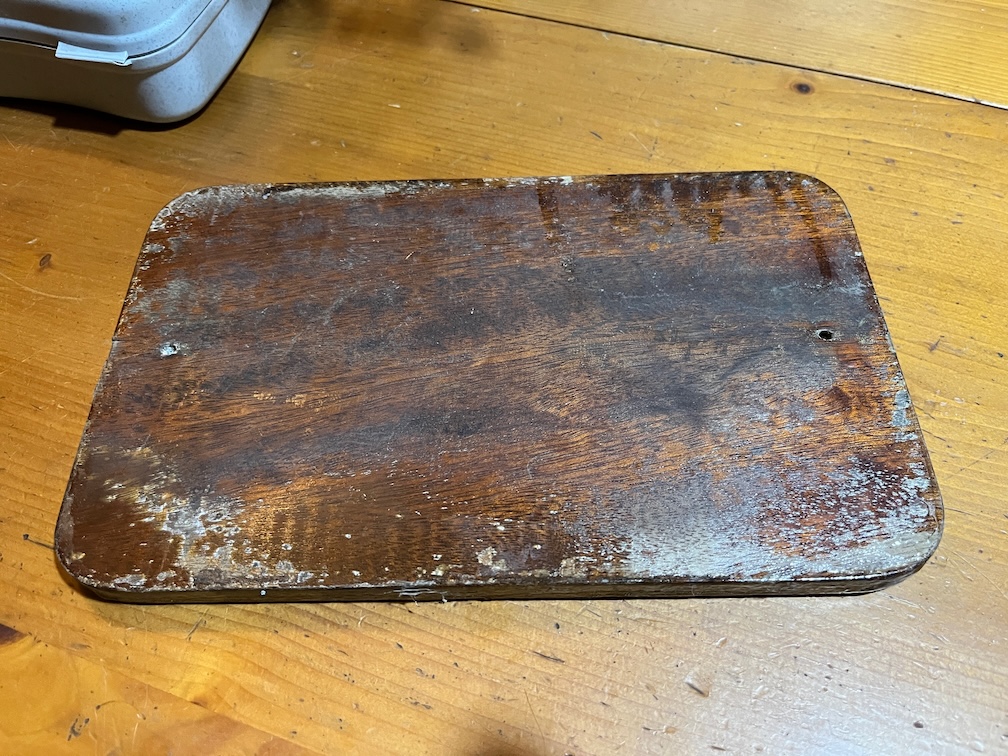
But not on the back. The varnish you can see here has come from being varnished in place on the transom. The trouble is that having no varnish on the back has caused the wood to warp and with screws in the middle of the sides instead of on the four corners, the warp has pulled the top and bottom away from the transom and varnish has seeped down behind the sign.
So, to carve the name I had to first un-warp the board. It’s currently resting on the Rayburn, varnish side up and is starting to get flatter.
Next I took sandpaper and scraper to the rudder stock for a little energetic work to warm me up.
Next, trimming the excess glass mat and epoxy from the case sides. This one worked well.
The port side not so well. The trimming and sanding around three of the edges came out correctly.
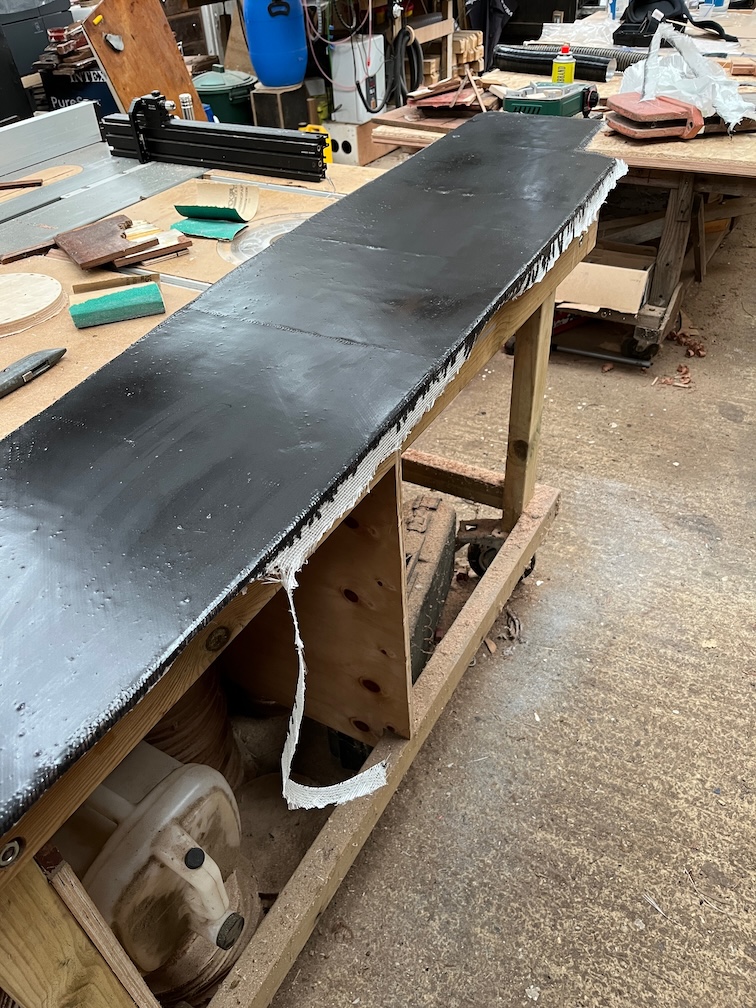
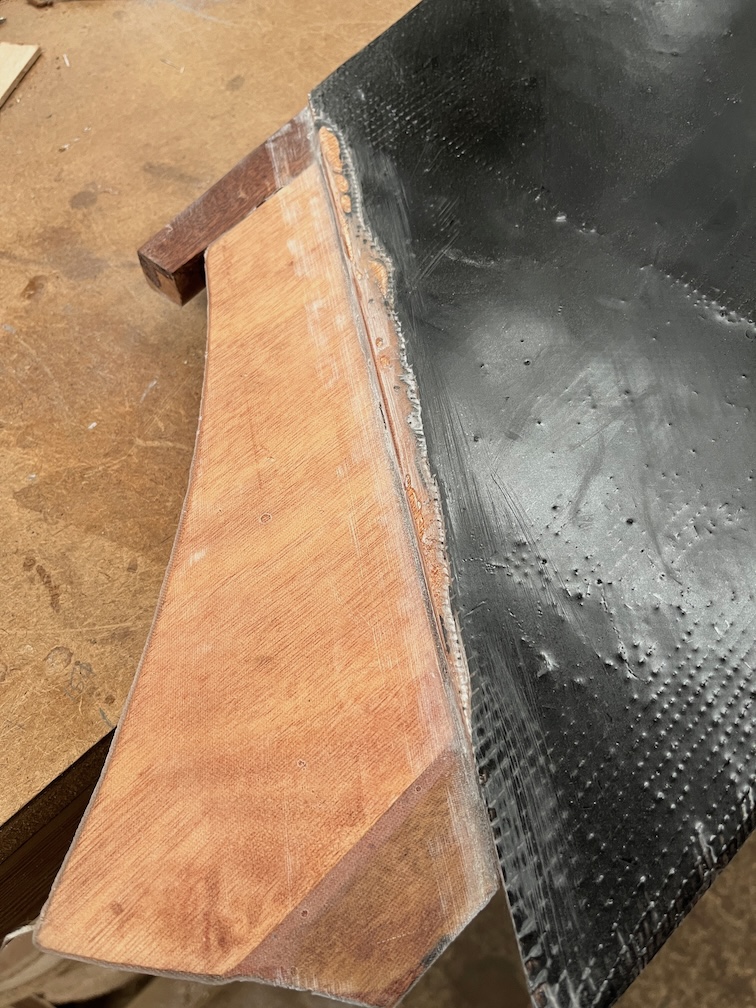
But I screwed up when putting the peel ply on the aft section here and it overlapped the inside face where it should not and I had to cut away the glass matt to get it all out. It’s not too much of a problem, I’ll just have to mix up some epoxy and patch the gap.
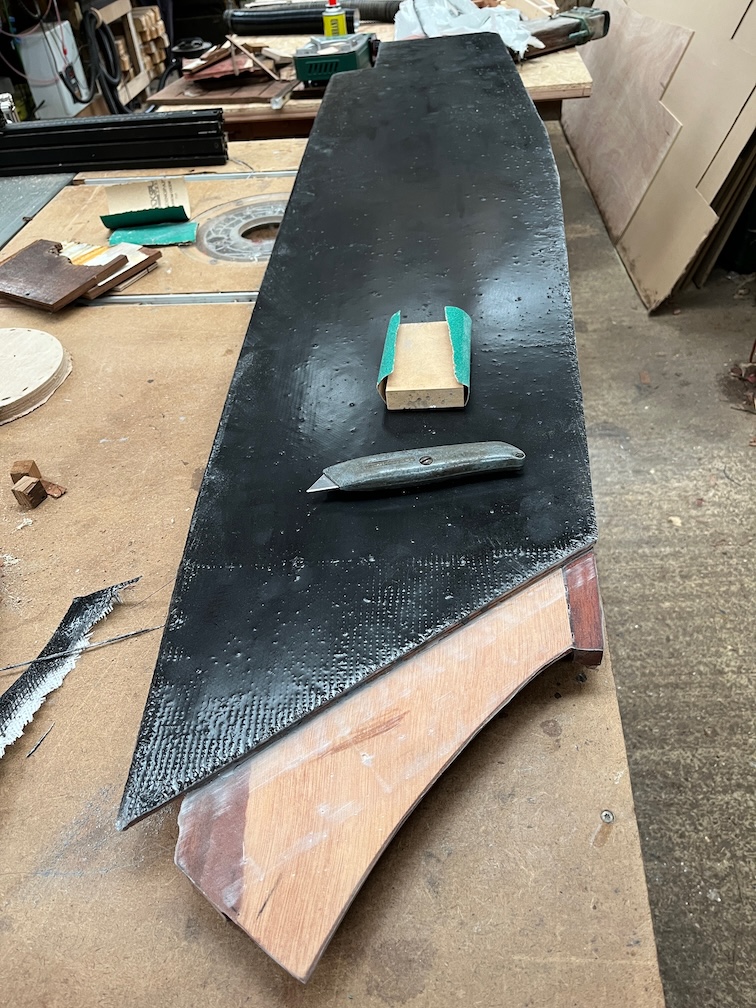
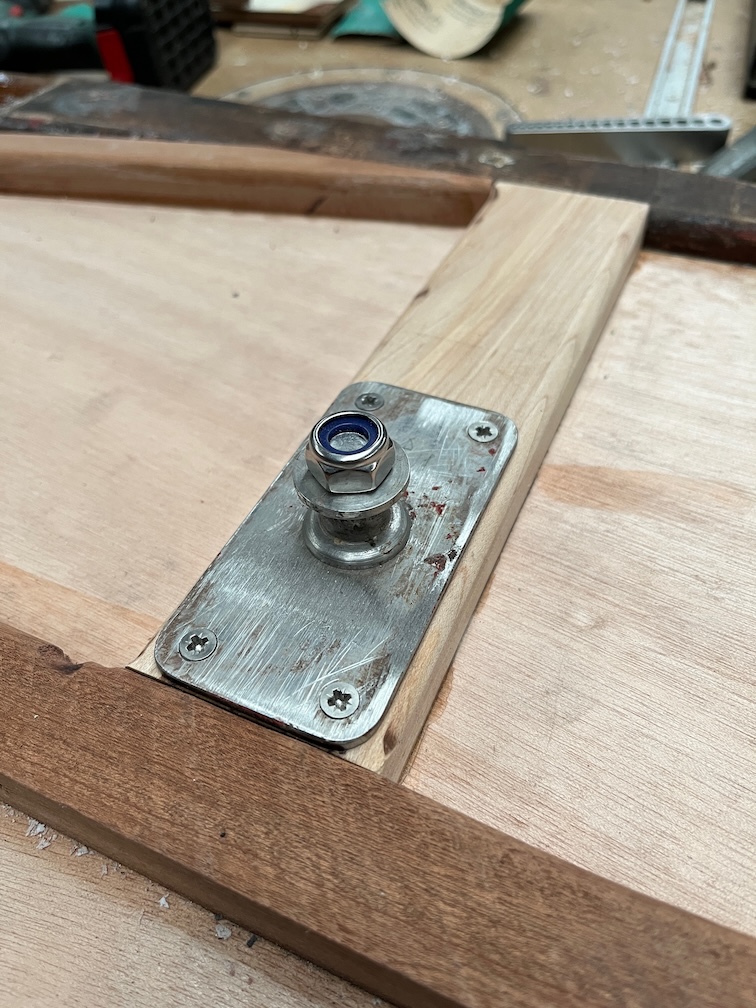
In the meantime, I drilled out the pivot bolt holes, put the case sides together inner face to inner face, put the metal plates on the stiffeners and put the bolt in place with the spacer on the outside. As you can see, the bolt is about 5mm too short ! It has to be long enough to screw through the nylon locking ring, it is not called nyloc for nothing, or be long enough to allow a lock nut.
So, one 10mm longer is on order. This one will do for the next phases, the dry fit possibly even the real fitting, but the longer one will be needed before the boat goes into the water. There will be six layers of sealant, two either side of the spacer and one each under the metal plates and one on the outside of each plate and under the bolt head on one side and the nut on the other. All those sealant layers will probably mean that the shorter bolt may not fit. I have M10 studding from which I can cut a longer bolt but since it is mild steel it will only be good enough for the assembly.
Still, not having the correct bolt will not stop progress.
It has stopped sleeting and is now snowing. Still cold.
Makes one glad for a workshop.
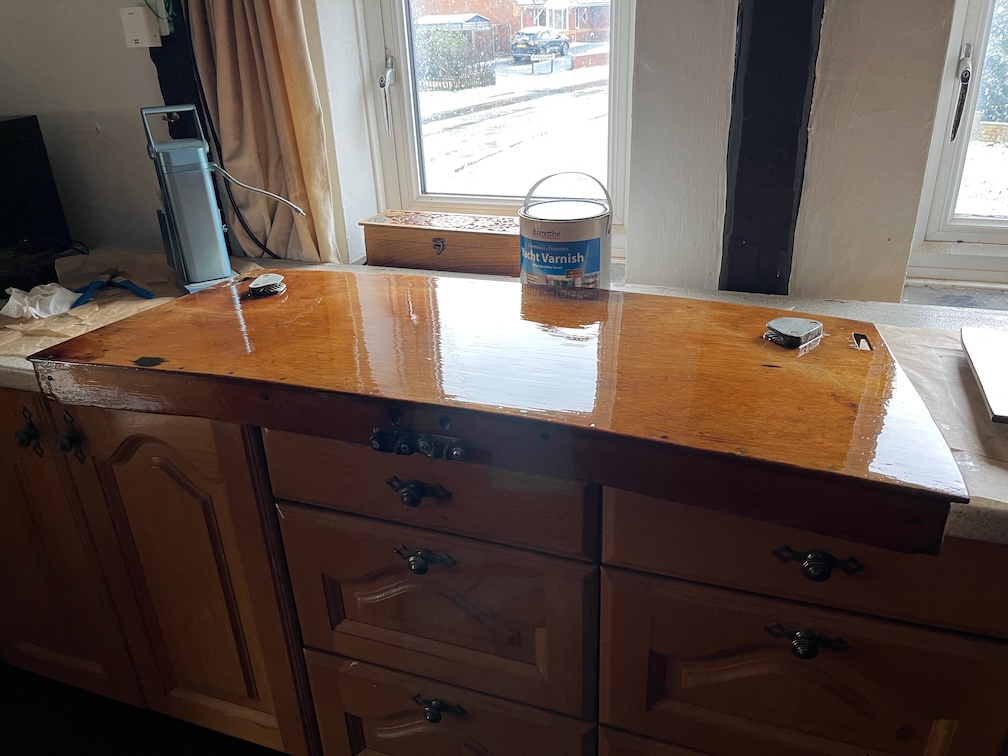
Since I have the poop deck removed I decided to continue the theme of getting ahead of the brightwork where possible and give it a coat or two. I was sanded in the workshop, brushed off and then brought into the workroom for its first coat of varnish. Being an outside piece of varnish it needed a good sanding but has come up nicely as a result. This might only need two coats. I might put more on, after all it is going to be out in all weathers when sailing and under a piece of canvas when on the mooring, so more coats of varnish will be better than less.
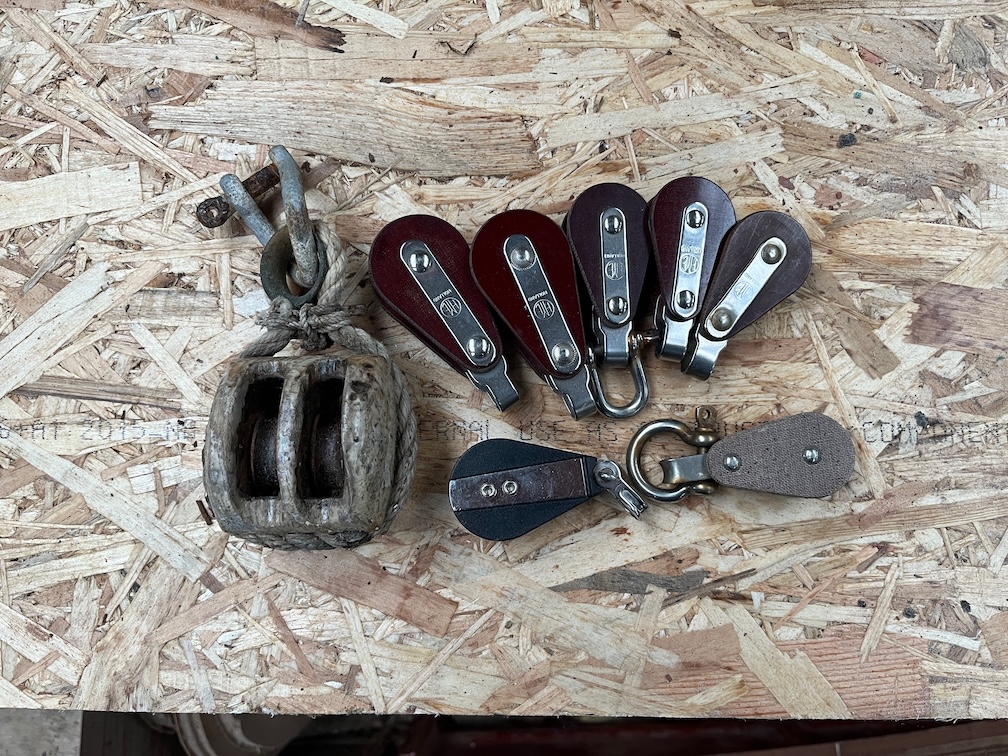
One of the things on my list of upgrades for Shoal Waters in the future is to replace all her old blocks with new ones. In the meantime I will replace the old blocks with Tufnol blocks that I have left over from building Naiad.
Shoal Waters’ blocks are currently like the one on the left and the spare ones I have are the others. I say spare but the fact of the matter is that I ordered exactly enough blocks to dress Naiad’s mast, the five new looking blocks on the top row. But they didn’t arrive. After a month or so I got back to the supplier and asked what had happened and they had no record of the order being fulfilled, so they sent out a new set of blocks which arrived within a few days. All well and good. Naiad was launched and I thought nothing more about it until about nine months later when the original set of blocks arrived in the post.
I contacted the supplier and they said that since they still didn’t have a record of those being fulfilled and dispatched I was free to keep them. They have been sitting in my rigging kit box for the last seven years!
So, Shoal Waters will have her existing block replaced by these Tufnol blocks and I’ll make some shiny new wooden ones for another season.
For now, since it is Sunday and I have already carried out a number of tasks, I shall call it a day and rest for the remainder of the afternoon and evenong.