
With the warm and dry weather continuing to hold for the last week and for the next few days, according to the forecast, I could continue with the final underwater hull work before Shoal Waters could be turned back the right way up and put back into the hay barn.
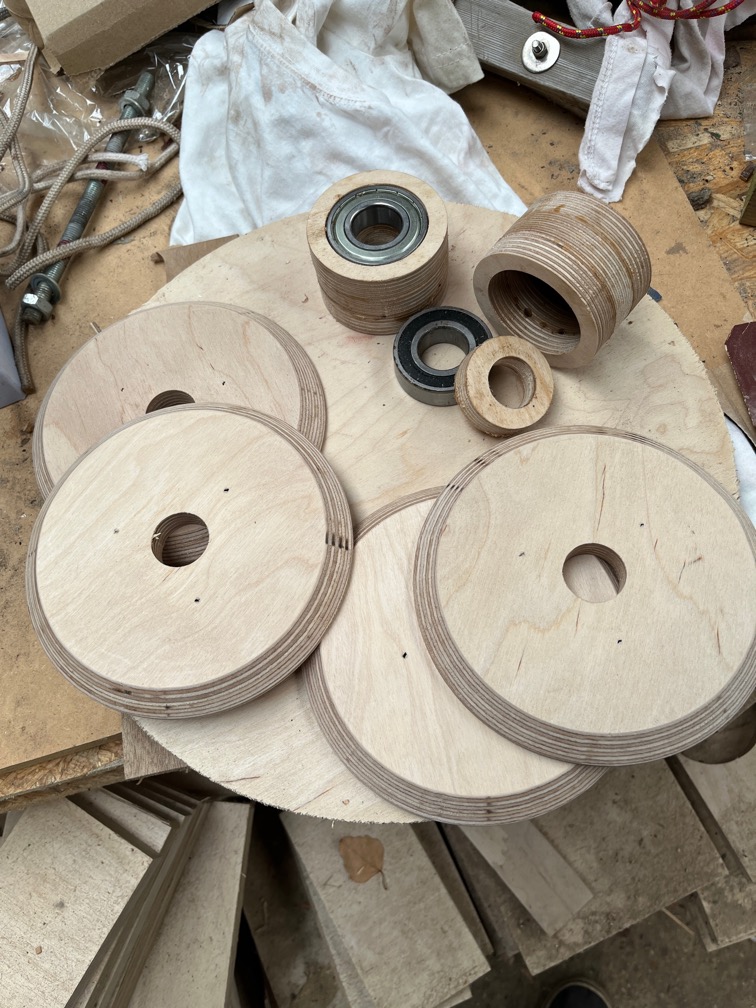
I spent a few days during the week using the CNC Router to make these. Once assembled these will form two large bearings over which a open ended ratchet strap will run that will make the task of turning the hulls over a much easier process than is it now. More on that in a later post when the inversion is carried out. Today’s task for these bearings took a couple of hours, so..
Time for a cup of tea.
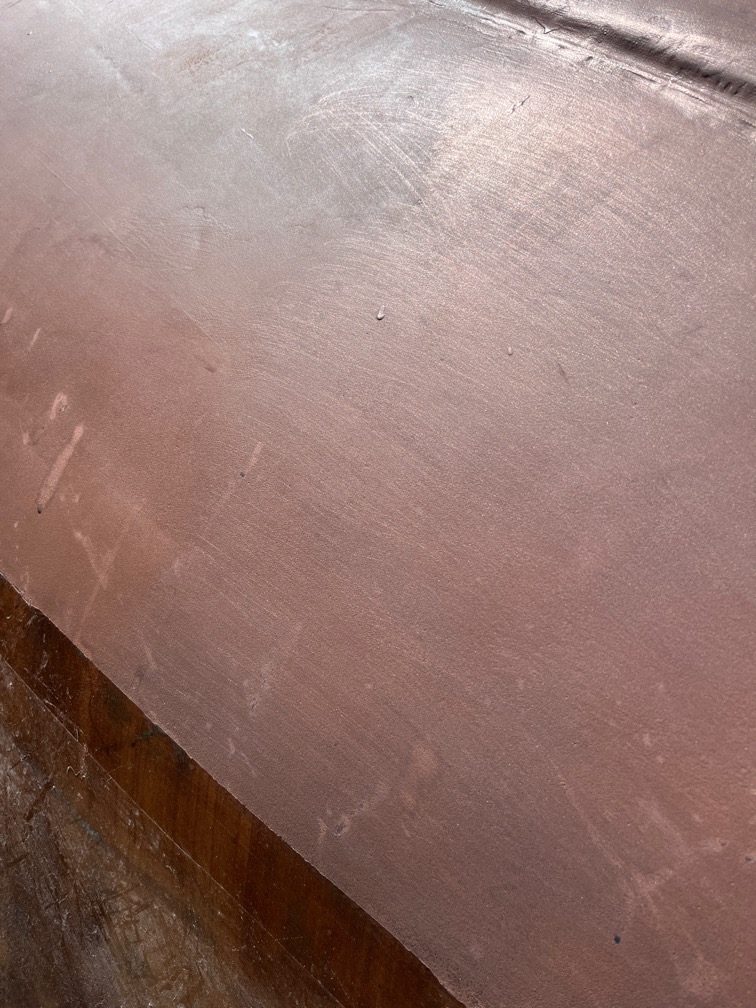
I took the stainless steel scrubbing pad to part of the copper epoxy scraping off the top layer of the epoxy and exposing some of the copper particles embedded within it. It’s not easy to see here but the slightly lighter and more metallic looking surface on the right hand side of the image is the scrubbed bit. Thankfully it is not difficult as the scrubbing pad acts like a lot of small, sharp scrapers made of stainless steel.
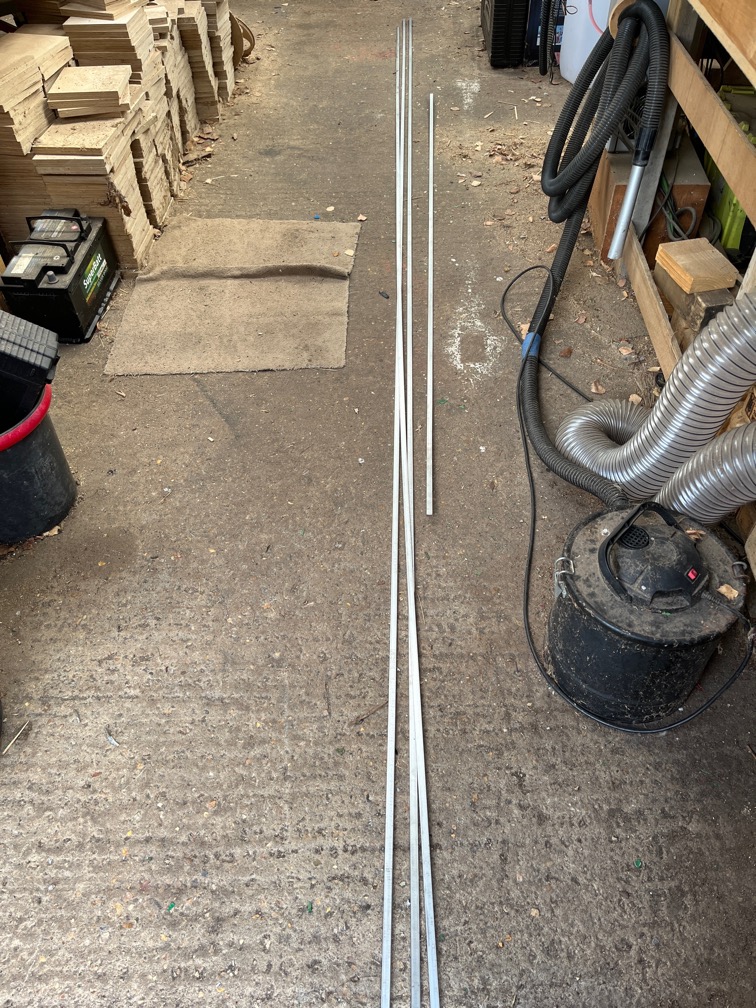
These are the 316 stainless steel flat bars from which the keel bands will be formed. Stainless steel, as mentioned in a previous post, instead of the expected bronze because of the staggering cost of making the bands out of bronze.
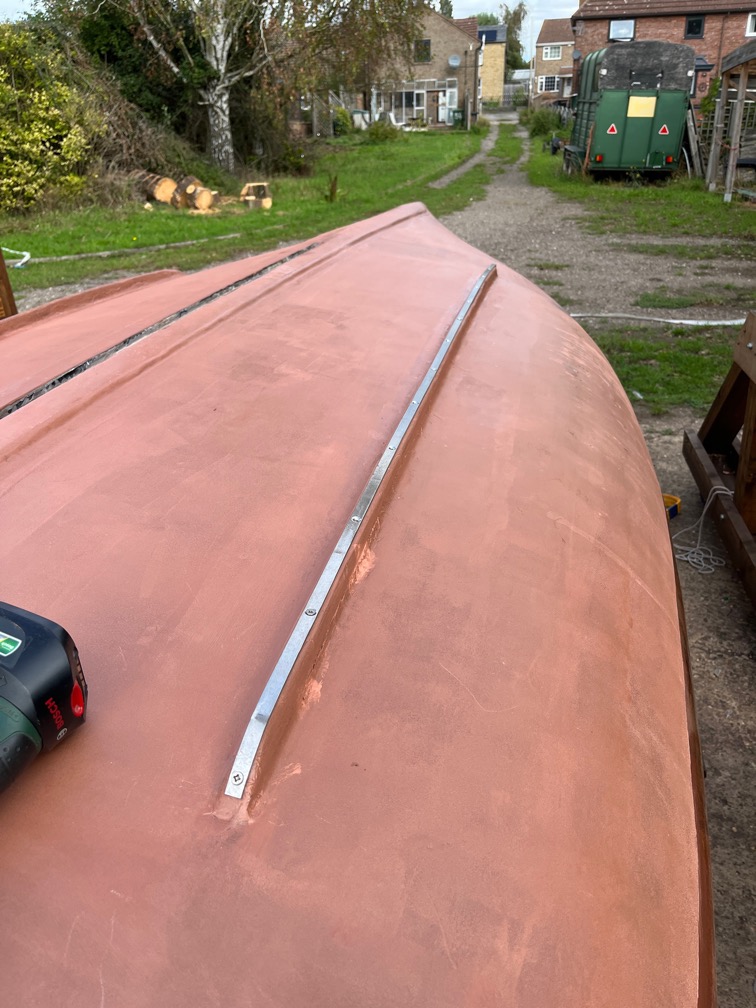
This is one completed and dry fit to one of the bilge runners. Dry fit as I don’t have the 316 stainless screws to hold the bands to the hull and have used what I do have until the proper one arrive. Hopefully that will be tomorrow.
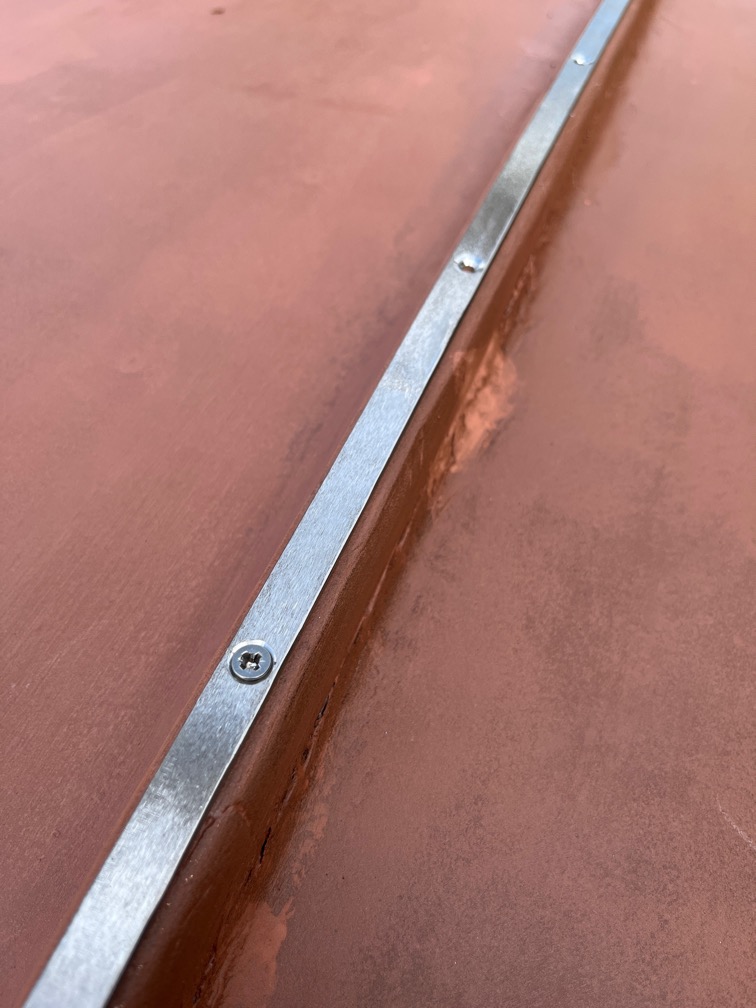
I have only used as many screws in each band is required to hold it in place since my stock of correct length and diameter screws is limited.
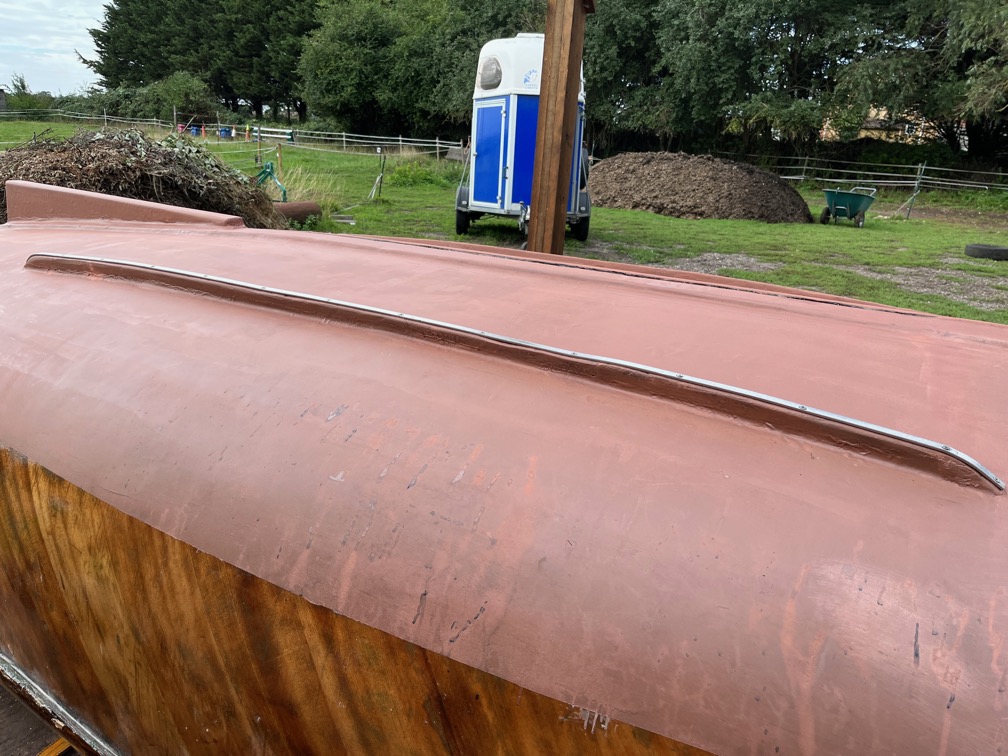
That is still a lot of screws as the runner is not an even surface as you can see.
This first one took another hour and a half and, guess what?
Time for a cup of tea.
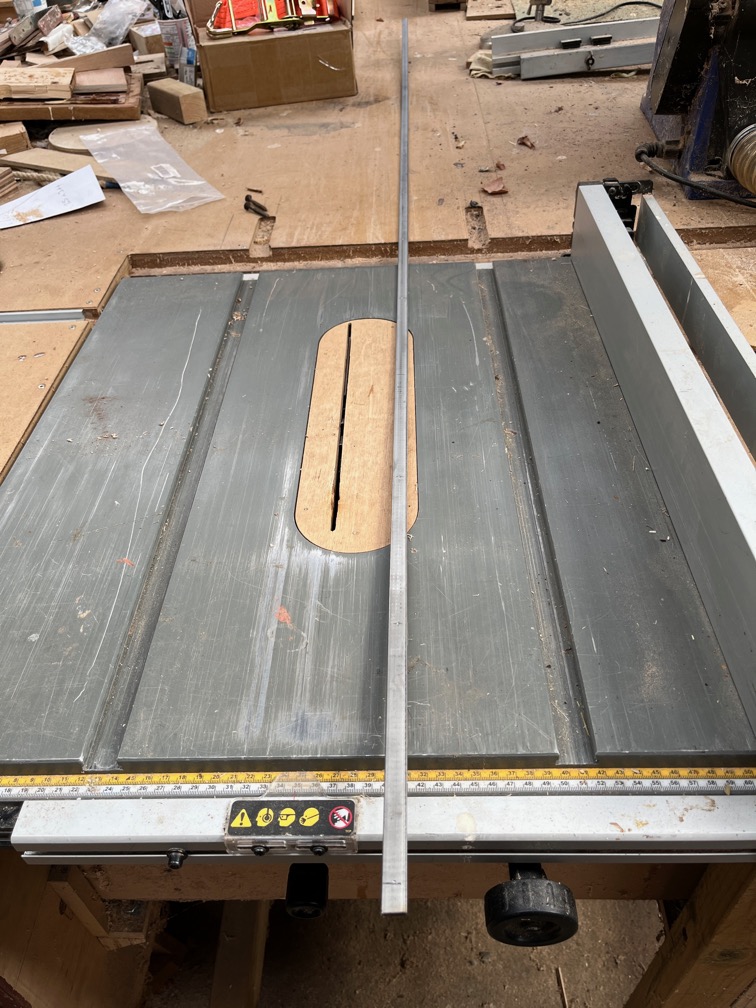
The process of making each band is tedious but straightforward. A length of stainless steel is cut, having carefully measured at least twice.
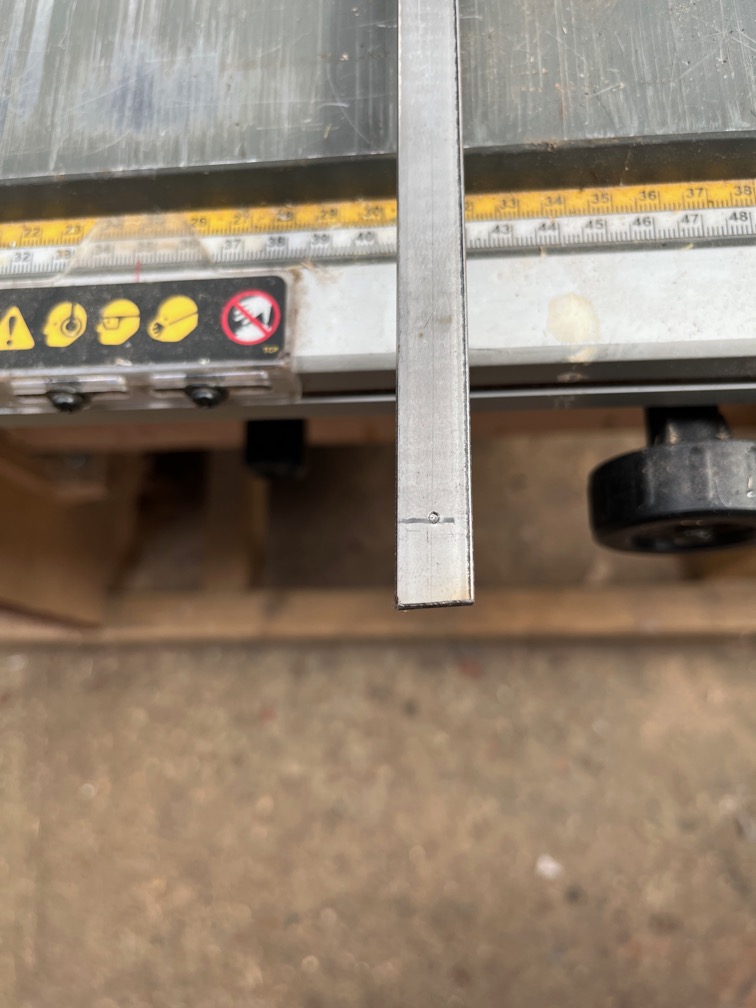
The band is marked where the screws will be places, every 150mm or 6″ more or less, and a punch used to make a small dent in the steel to guide the drill bit.
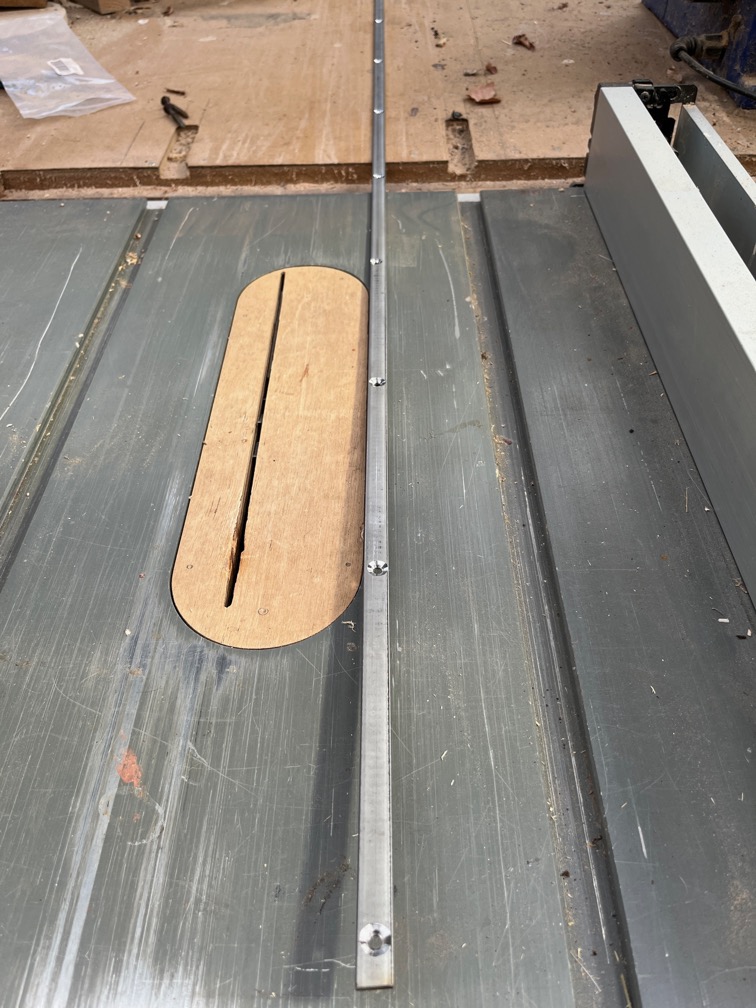
The holes are drilled and counterbored and the top “corners” of the bar chamfered using a bench grinder.
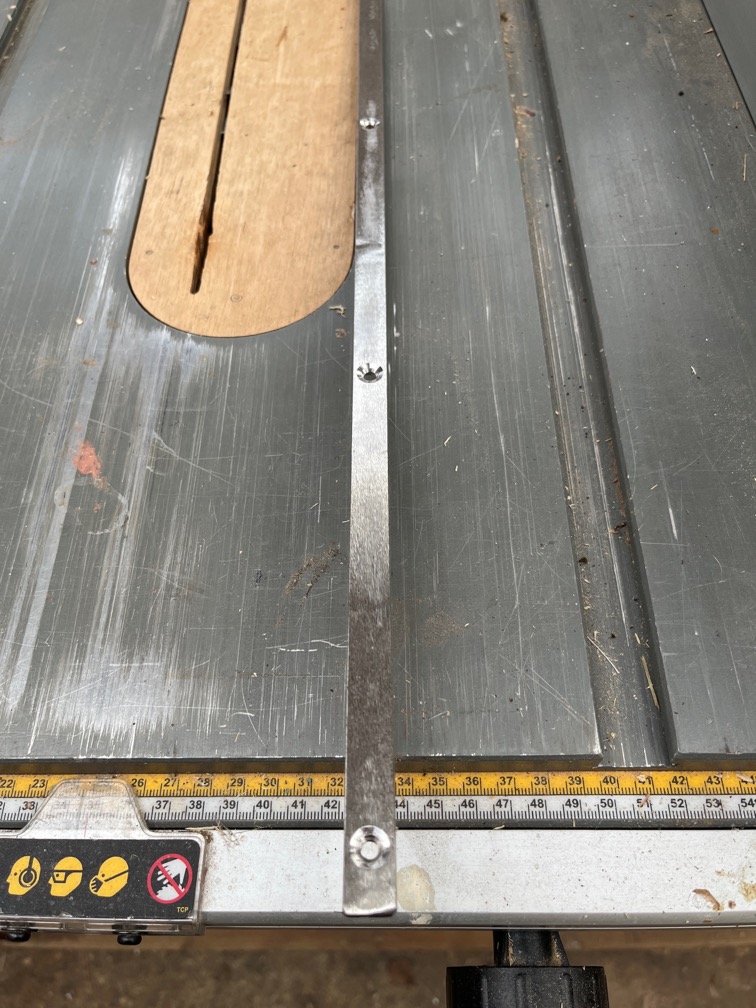
Both the top and bottom faces were abraded on the belt sander to give a good key.
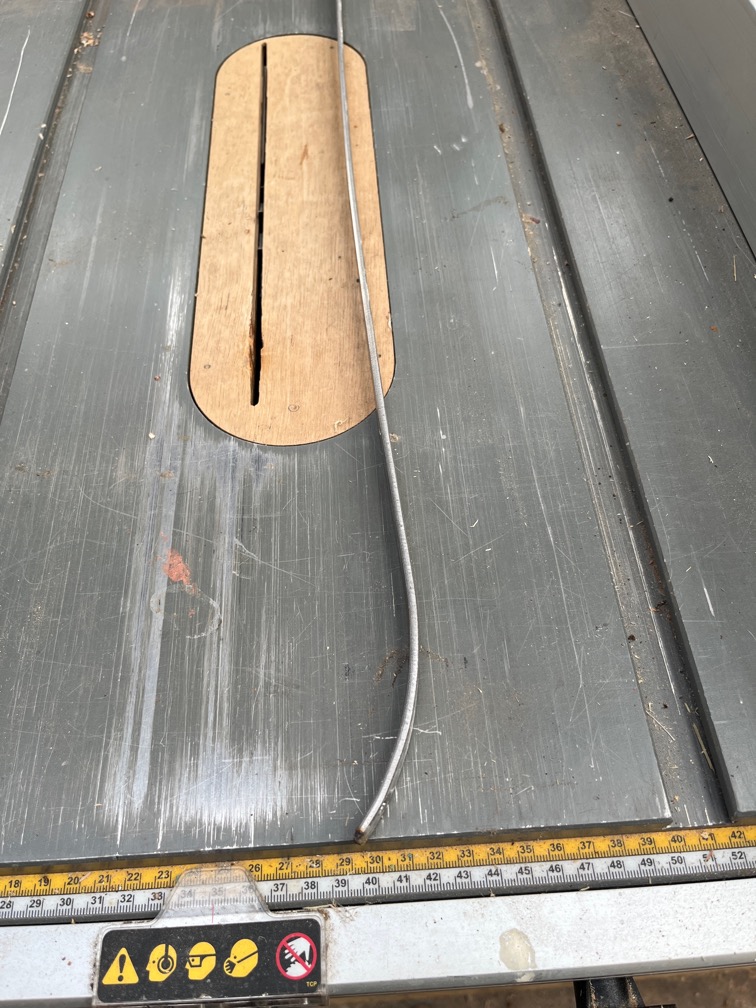
All but two of the bands needed to be shaped, like the one above. This was a case of hammering the band over the horn of the anvil until the correct curve was obtained.
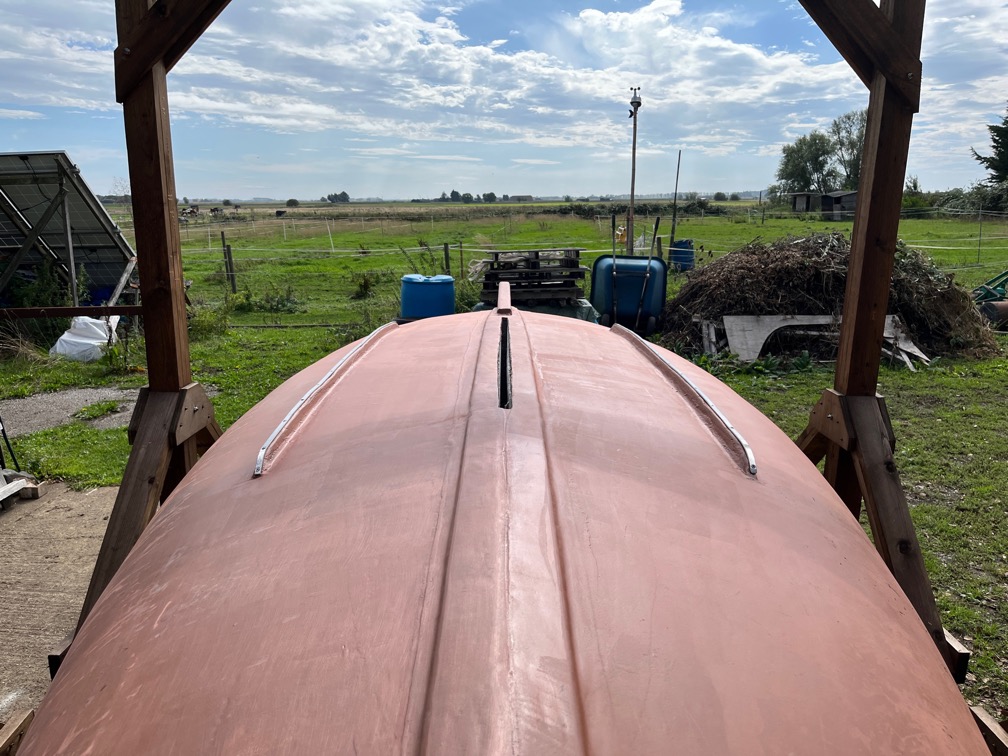
Then the band was dry fit.
Time for a cup of tea.
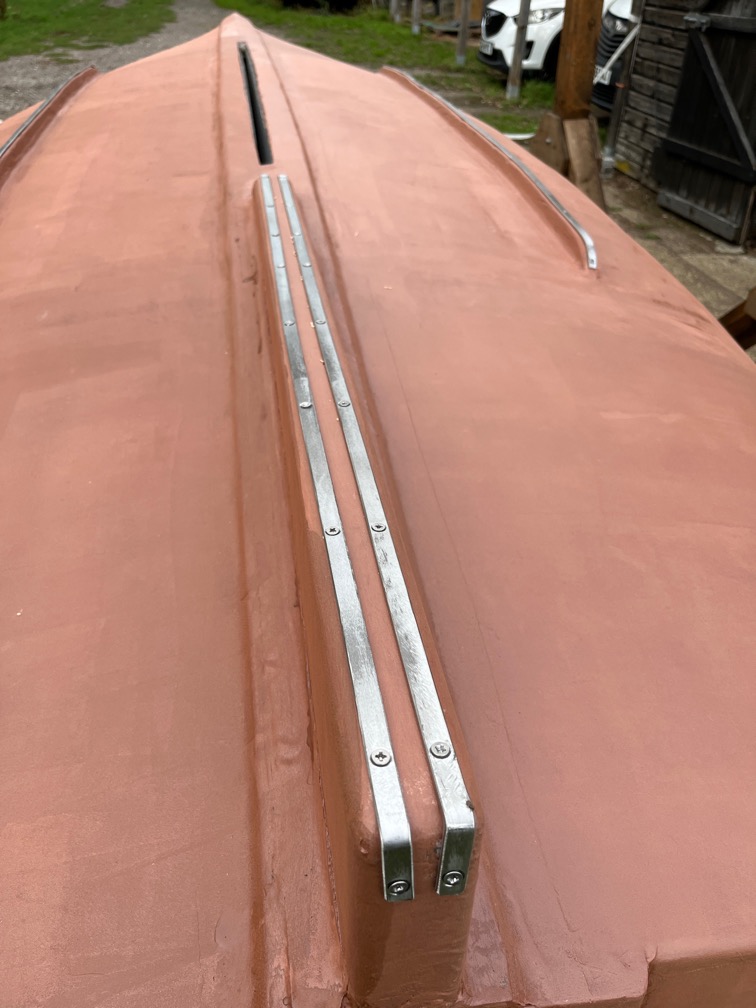
Rinse and repeat for the two bands on the skeg. Including the cup of tea.
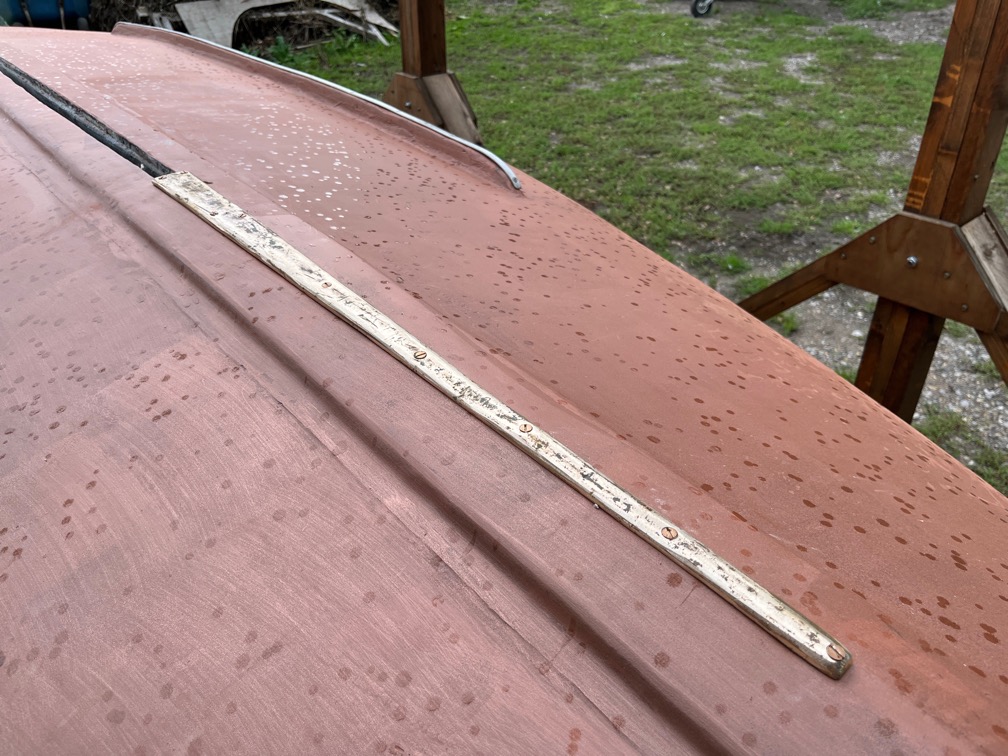
I sanded the old bronze keel band, or what remained of it and used bronze screws to fix this to the keel.
At this point, as you can see but the spots of water on the hull, it started to rain, so work stopped until the morrow when the remaining pieces will be done. Two either side of the centerplate slot and one from the bronze above forward and up the stem to the deck.
Time for a cup of tea.