2026-03-14 – Investigating the Leaks

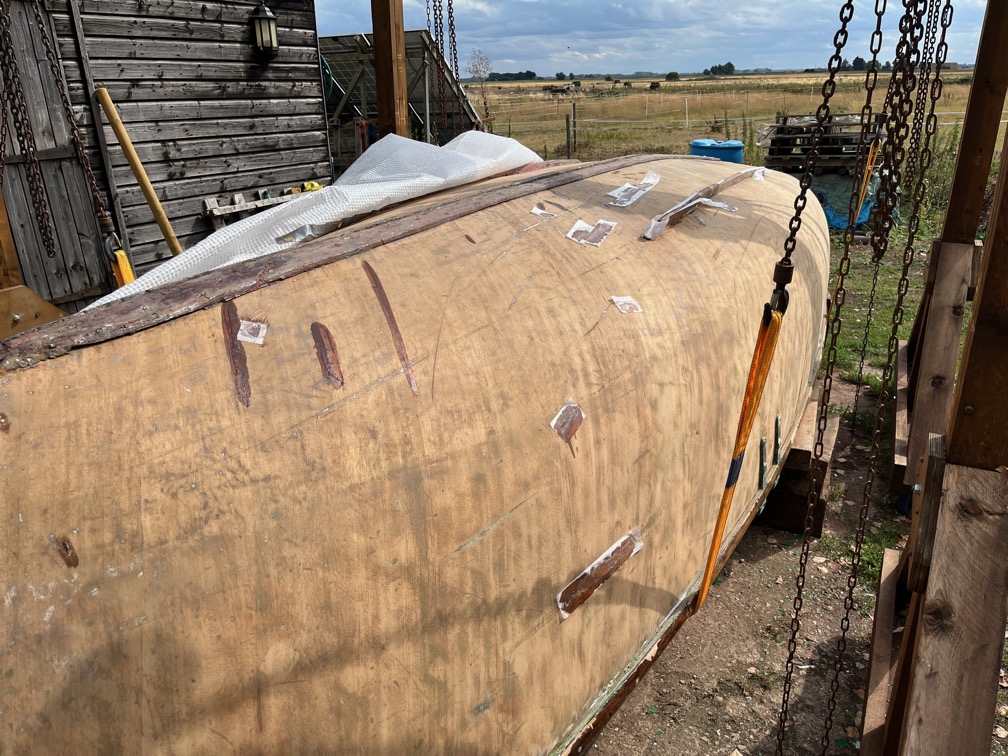
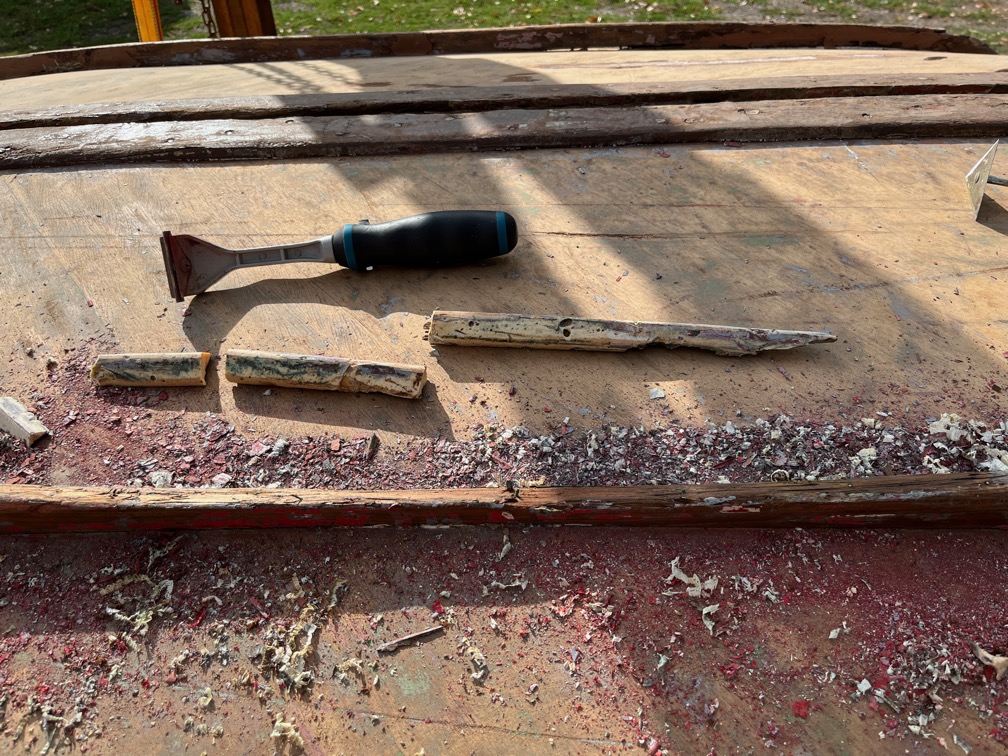
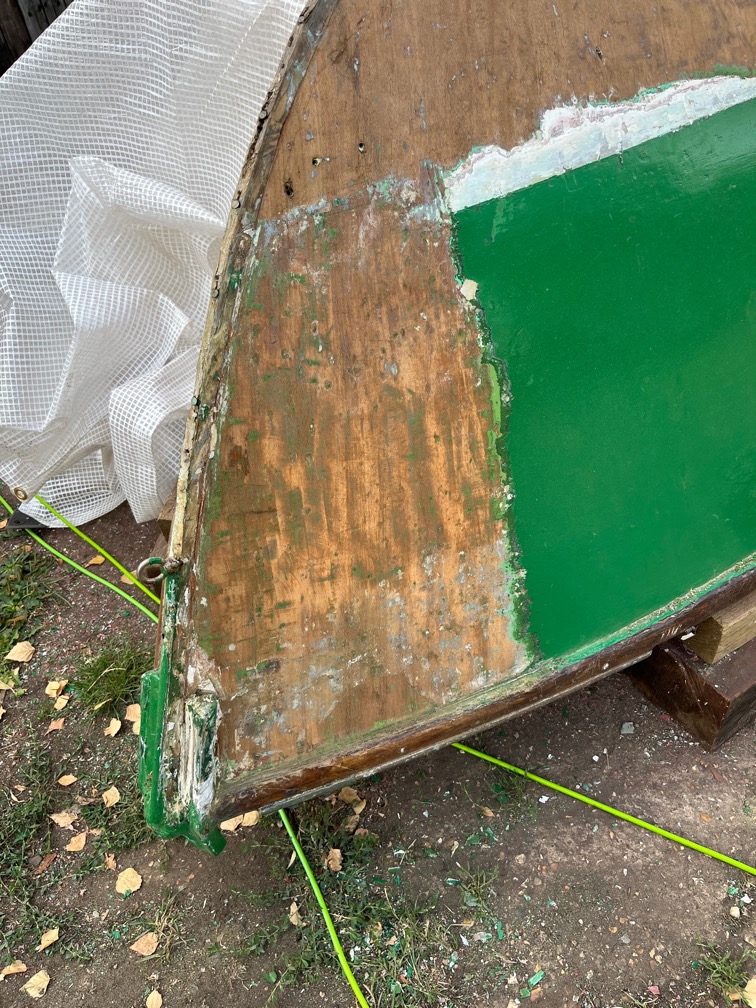
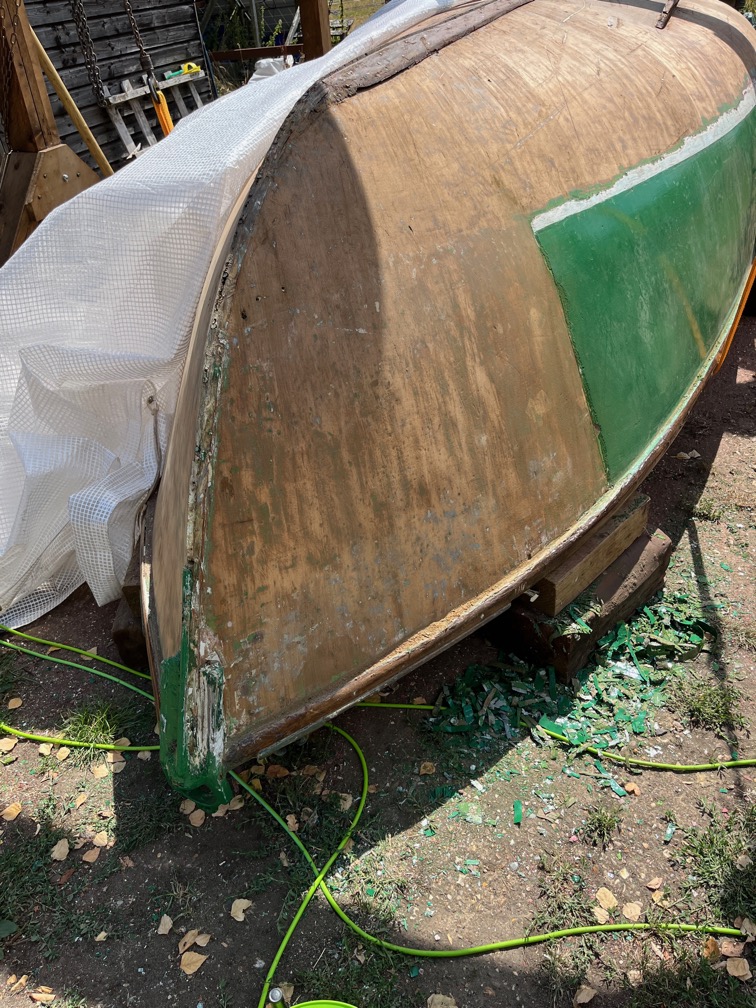
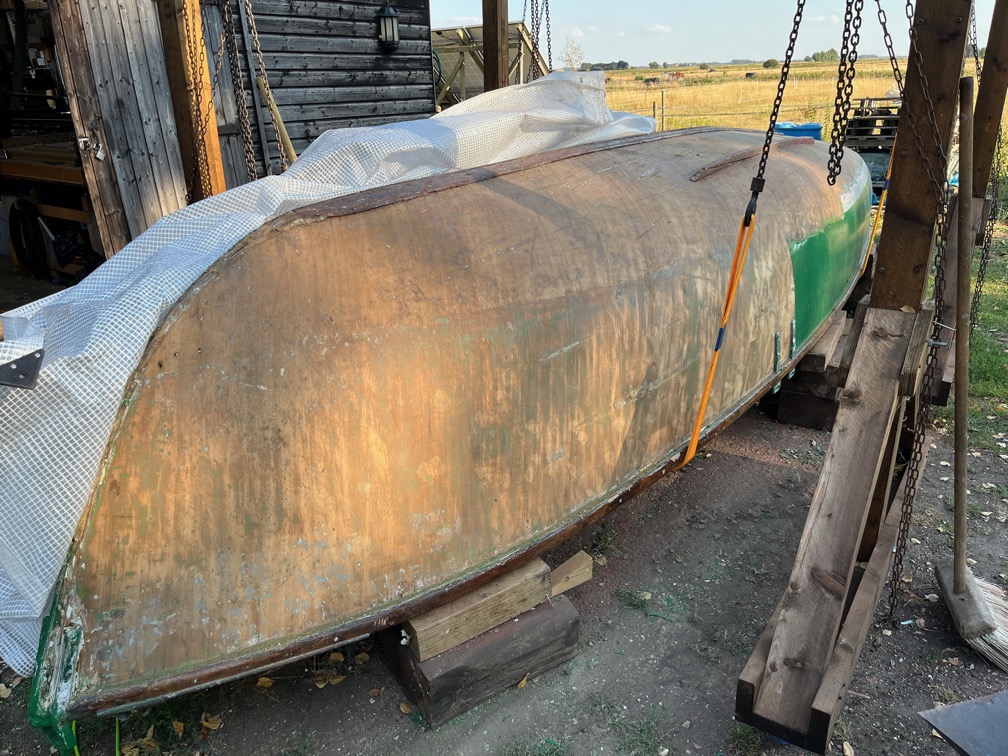
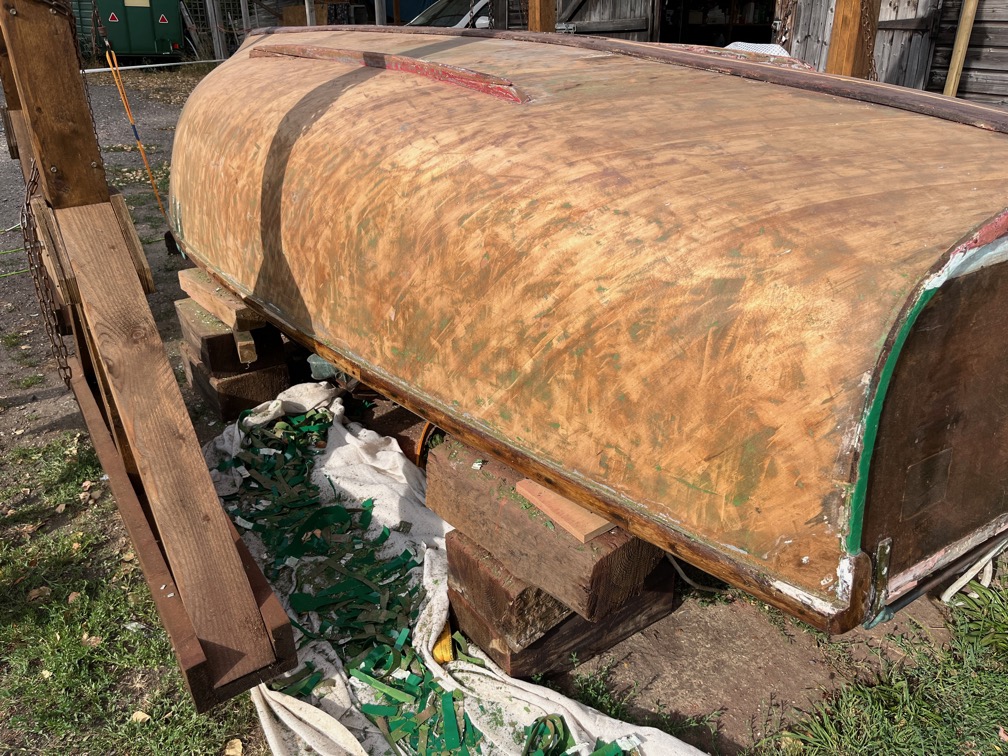
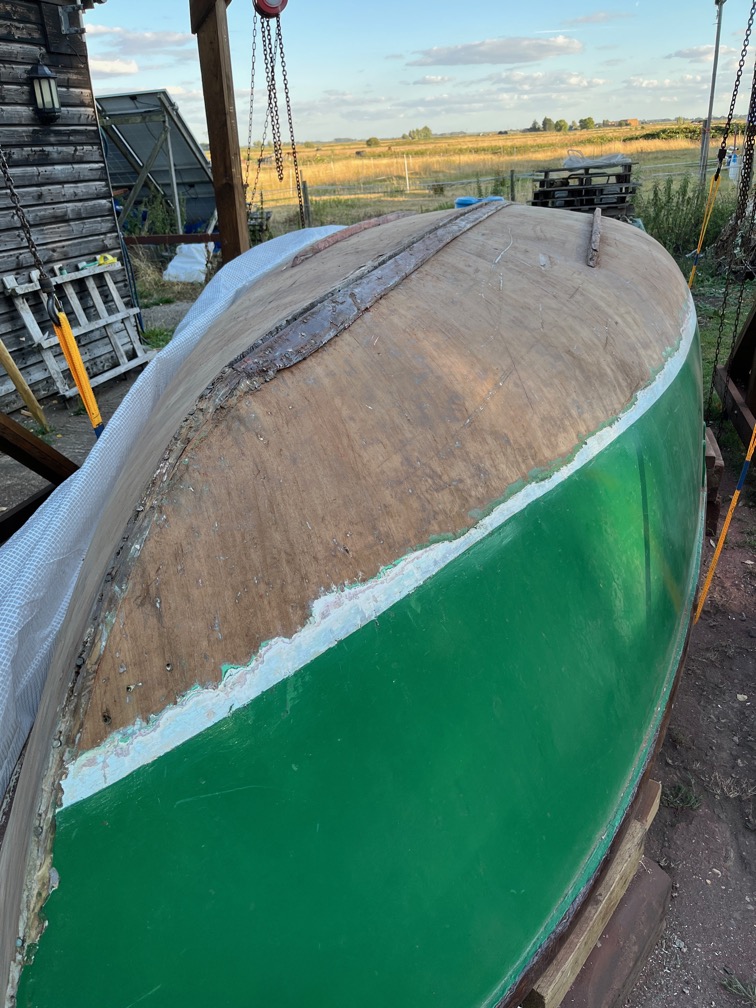
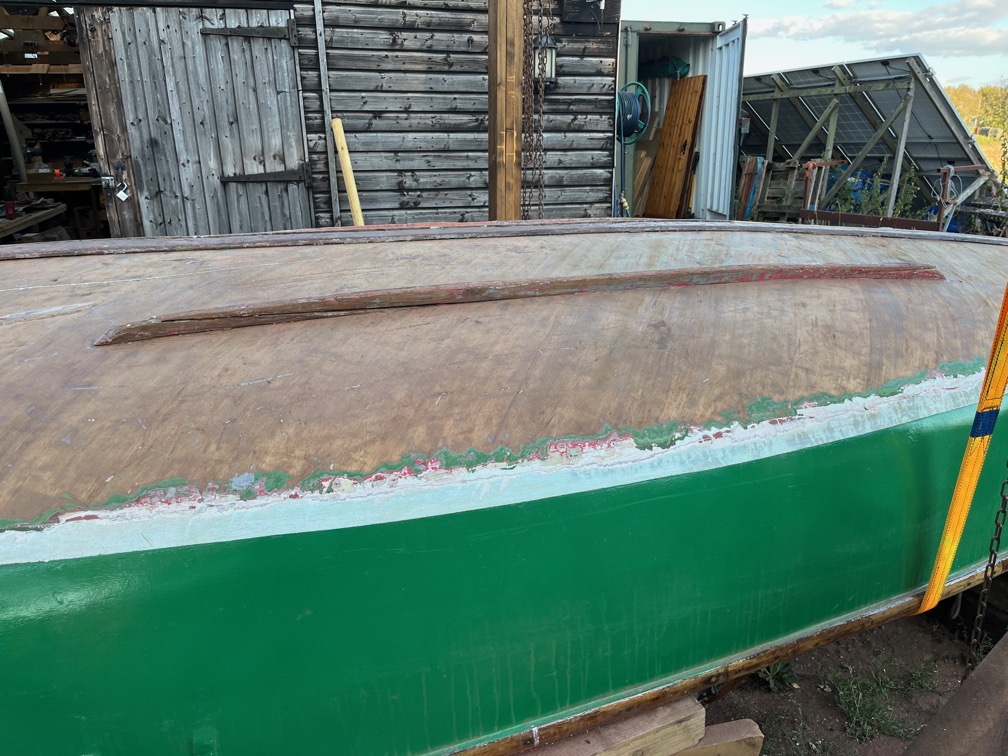
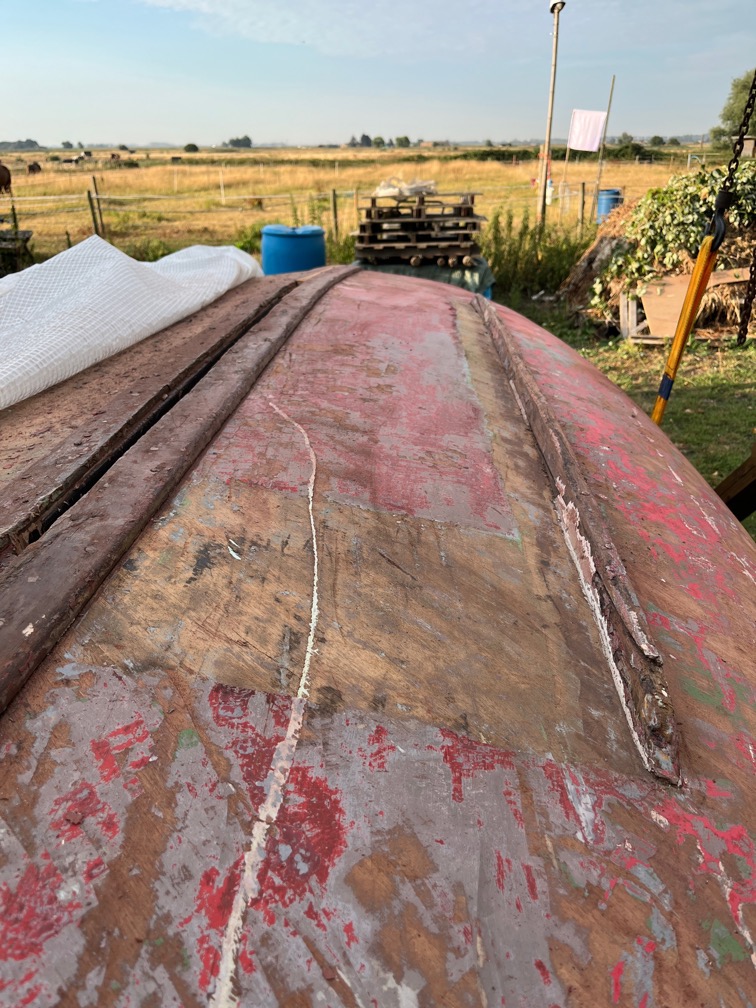
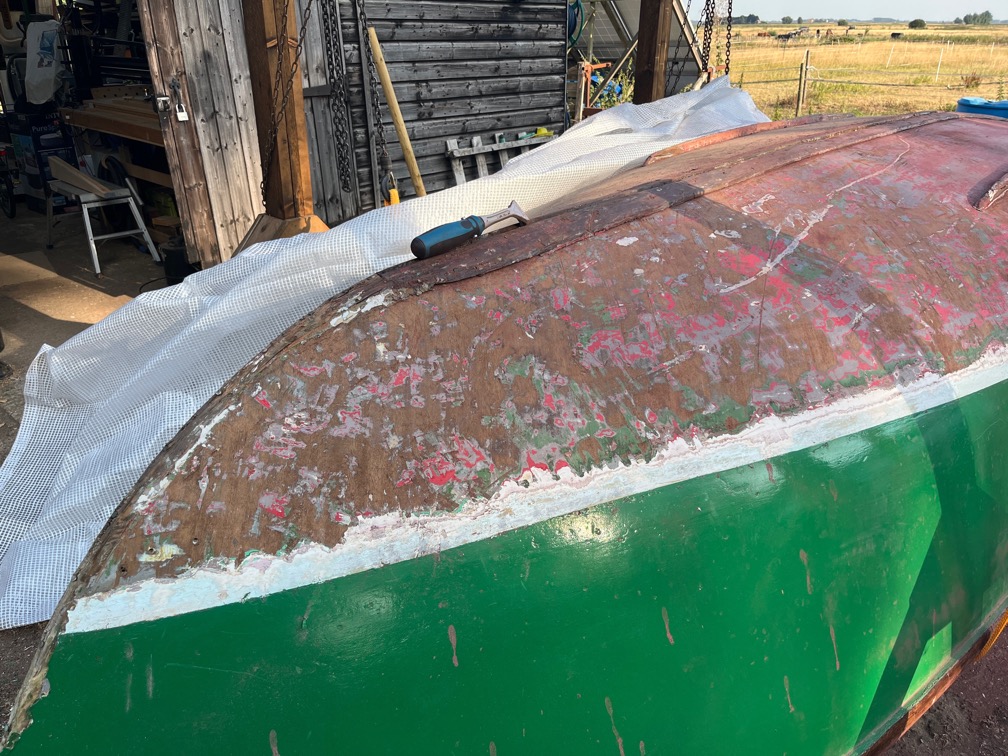
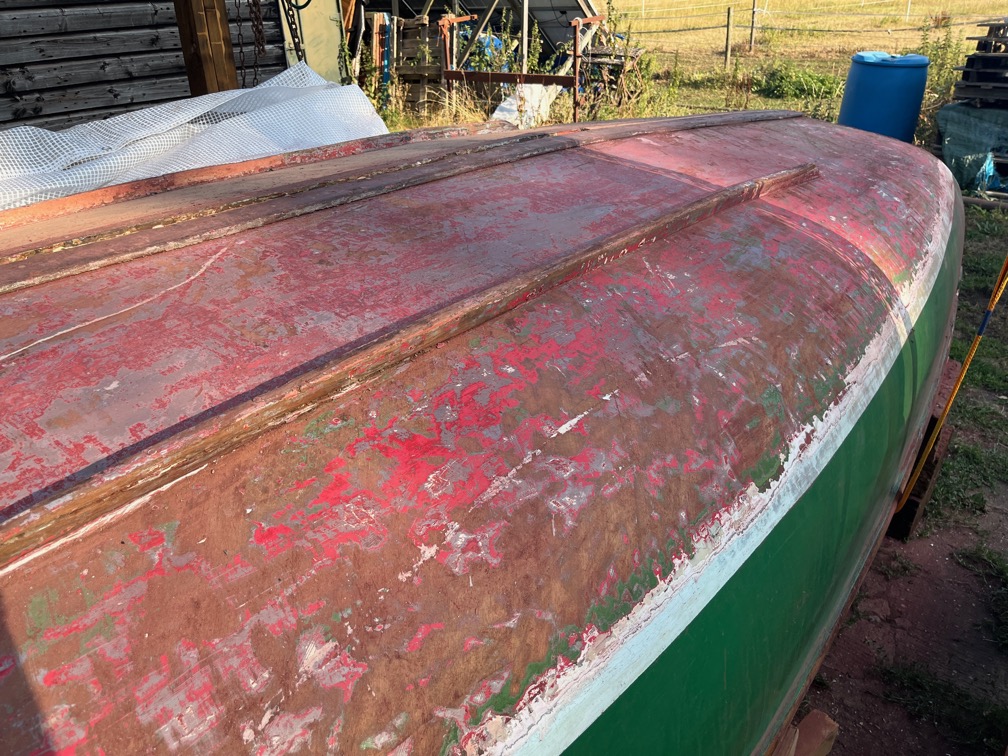
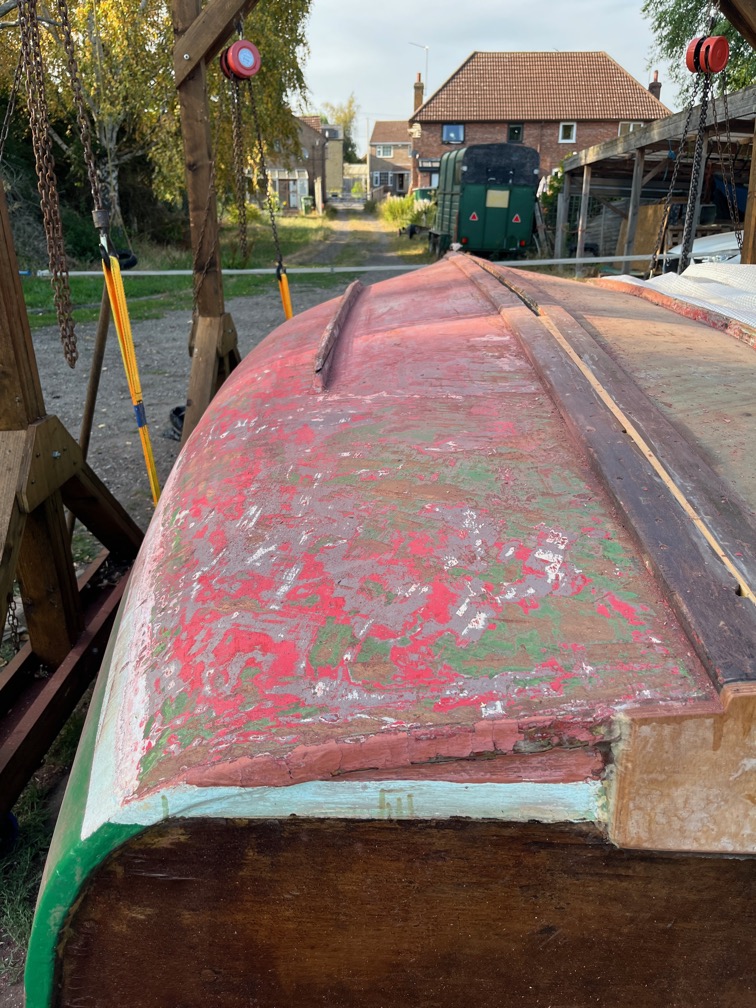
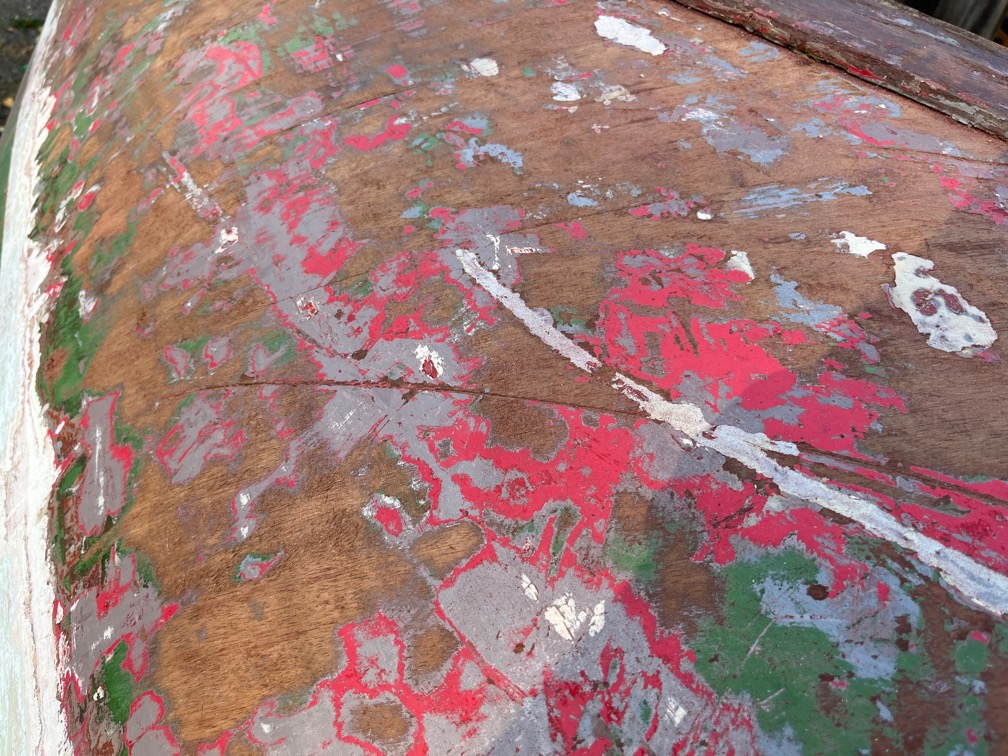
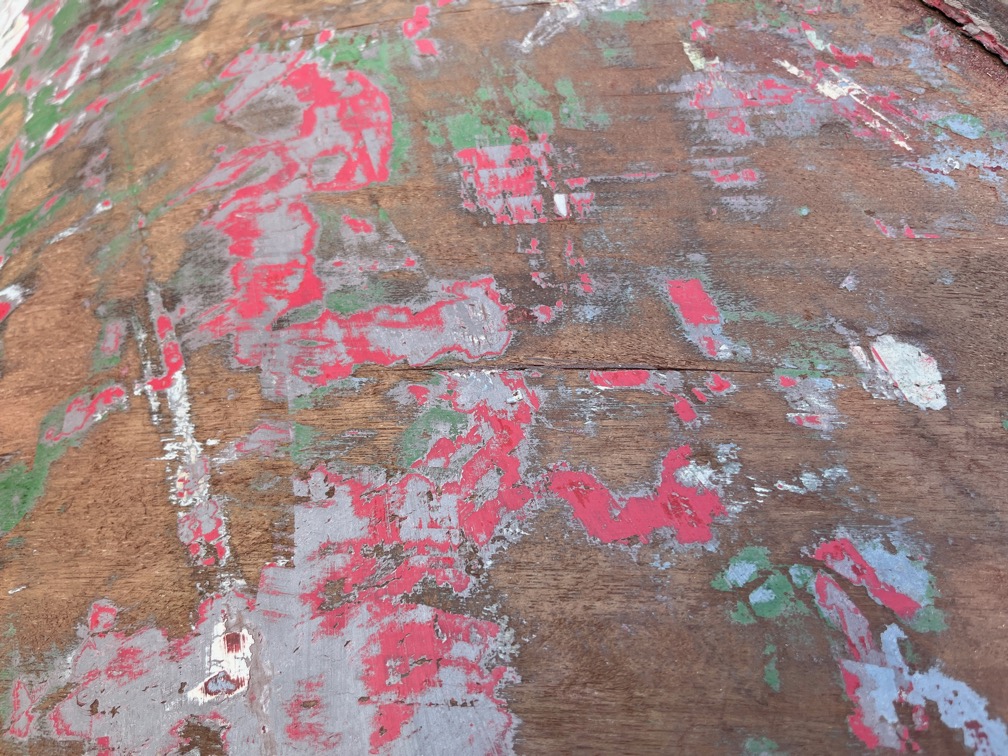
Something that is easy to do and requires little thought is scraping off paint. Armed with hot air gun and scrapers I set to in the cockpit well on the port side where the leaks appeared.

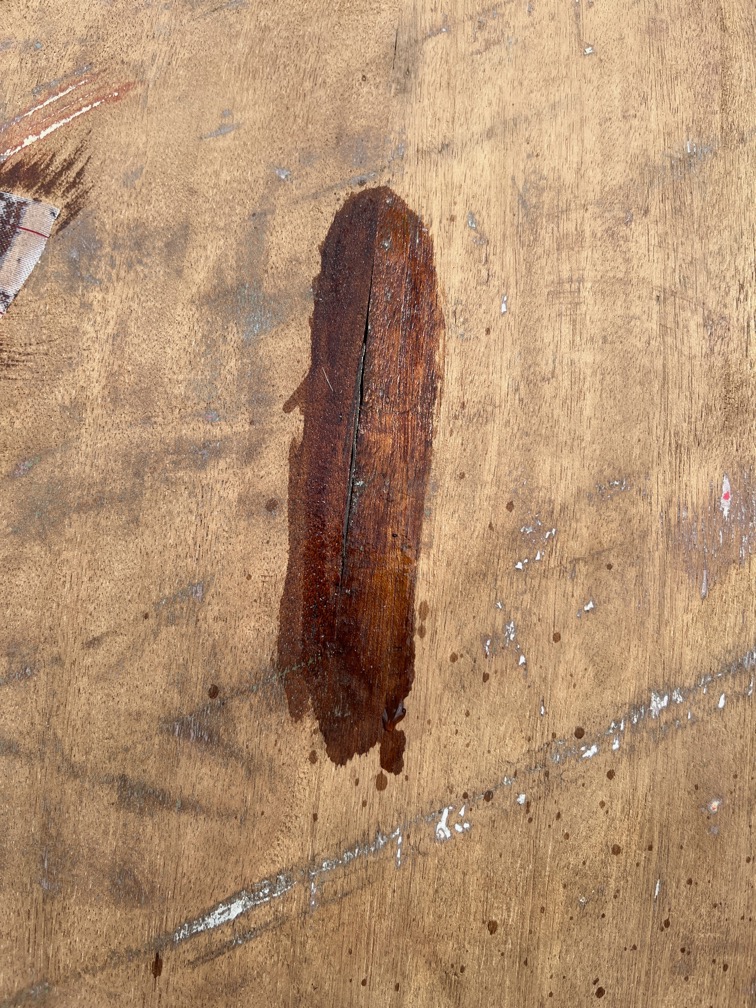
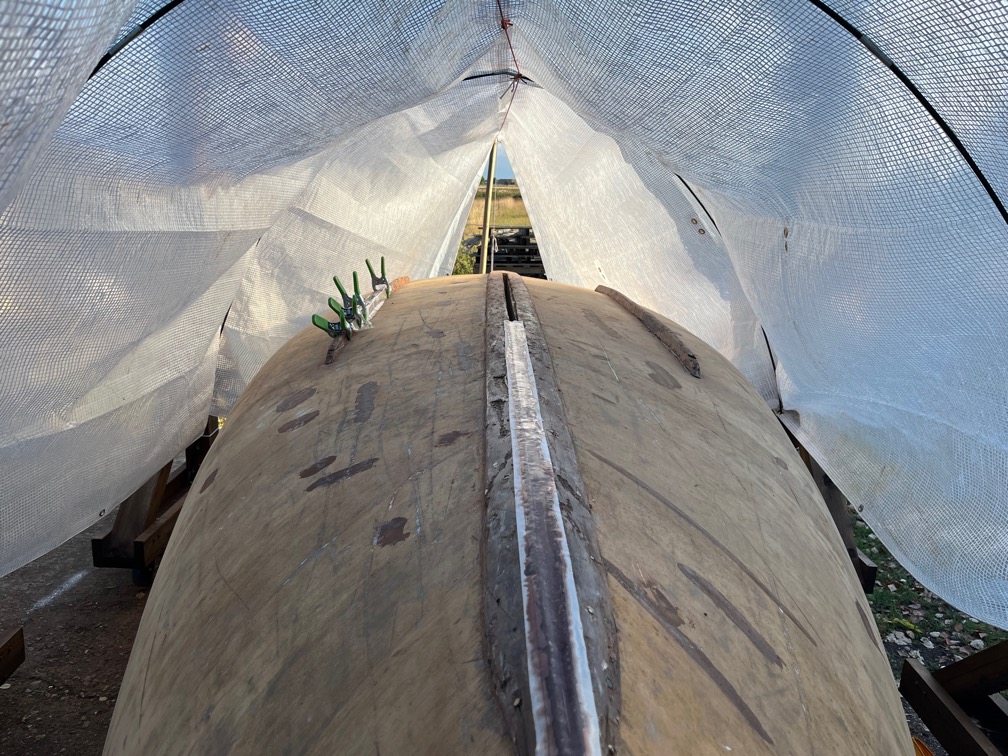
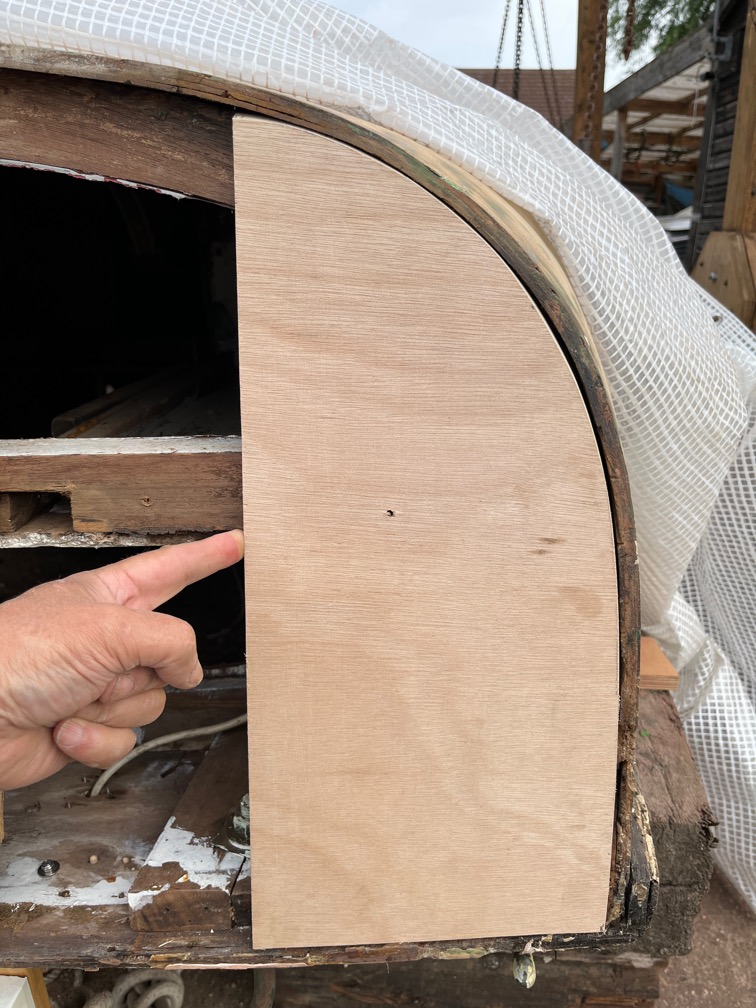
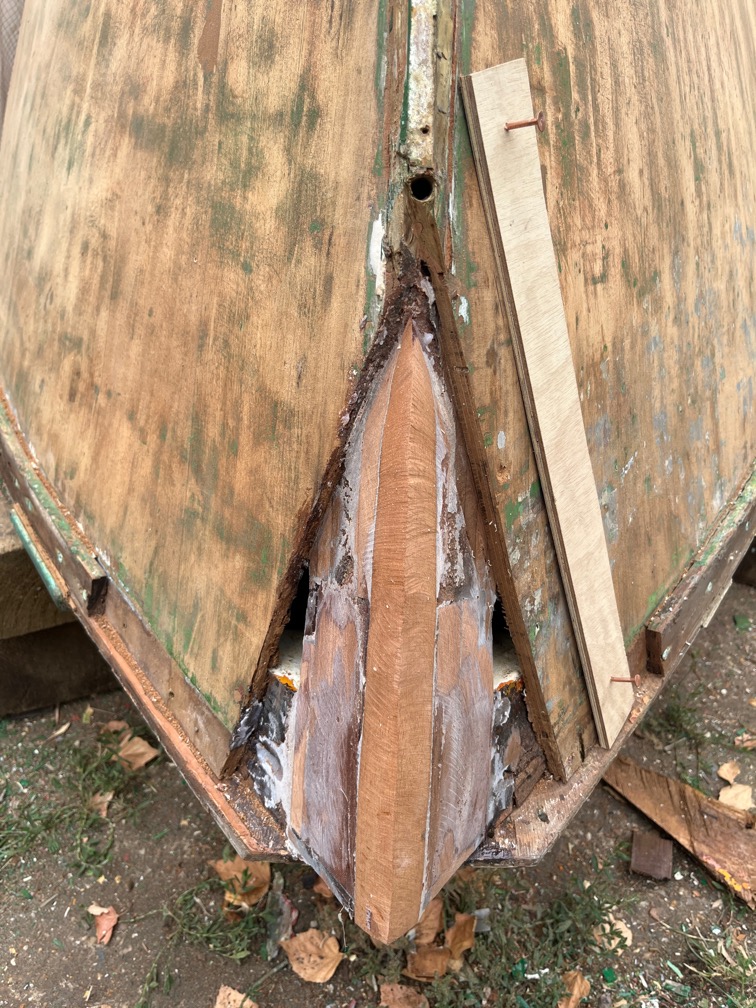
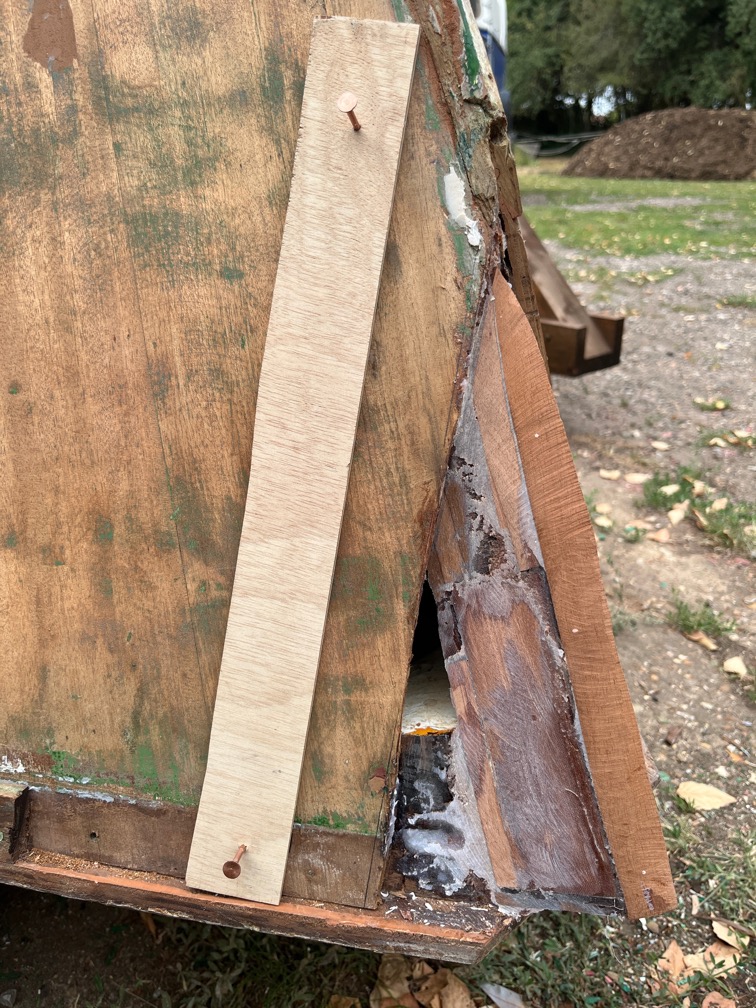
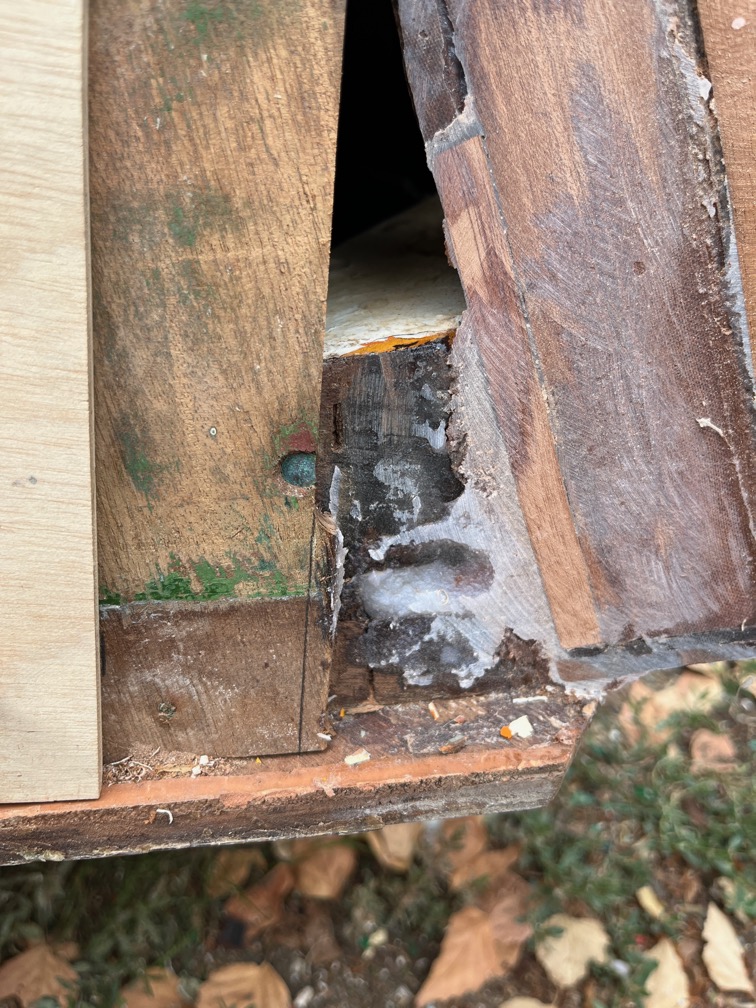
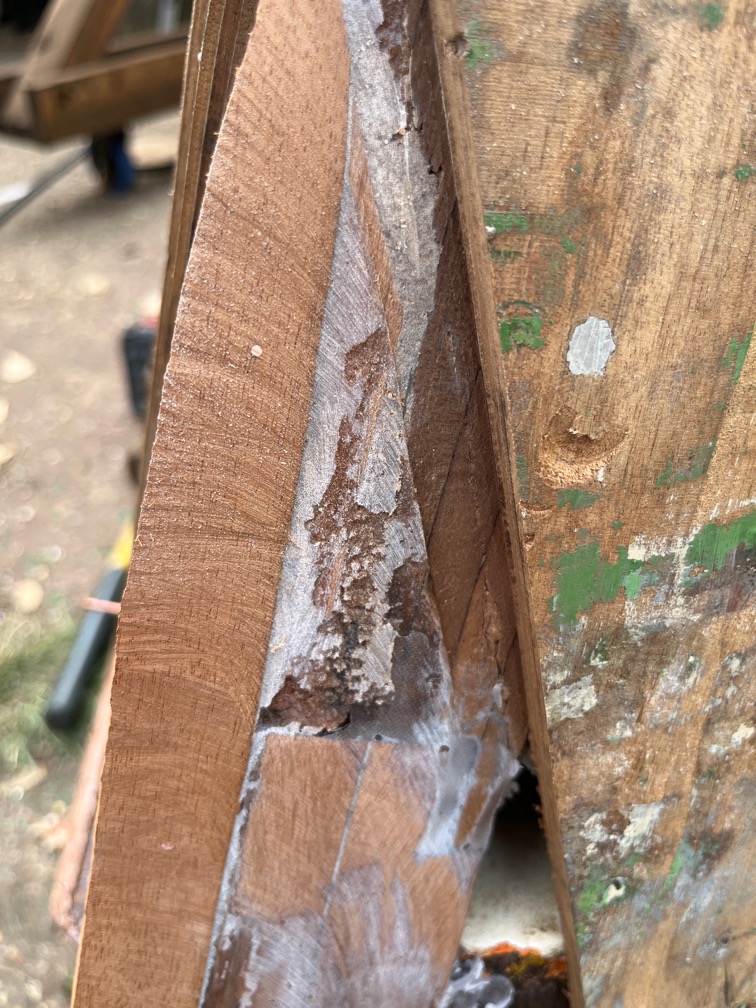
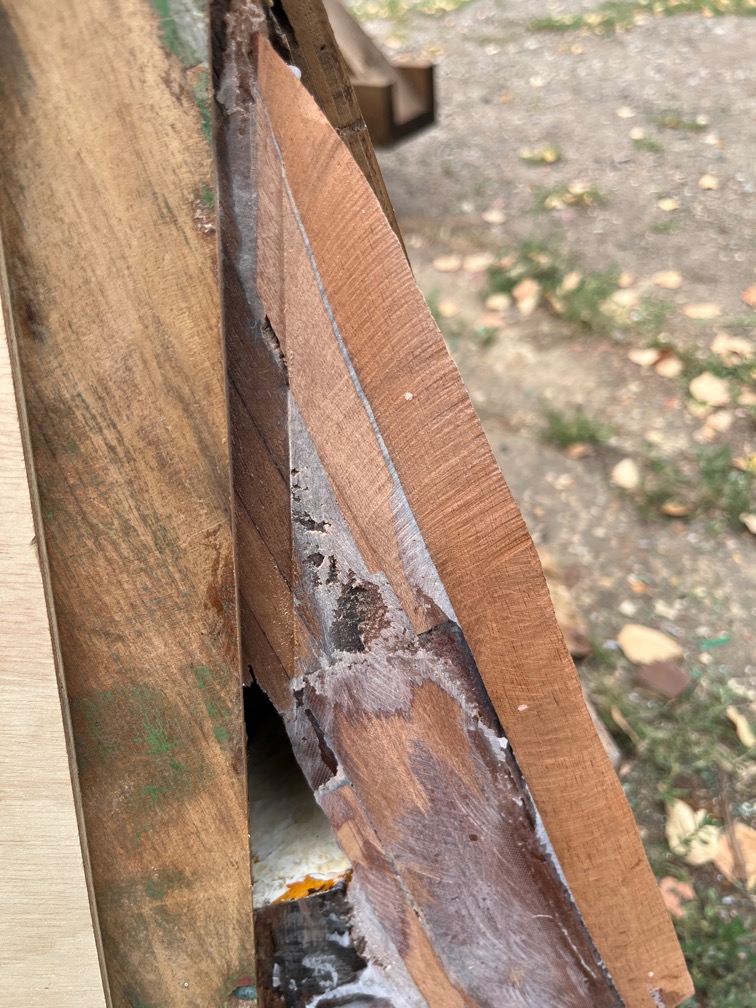
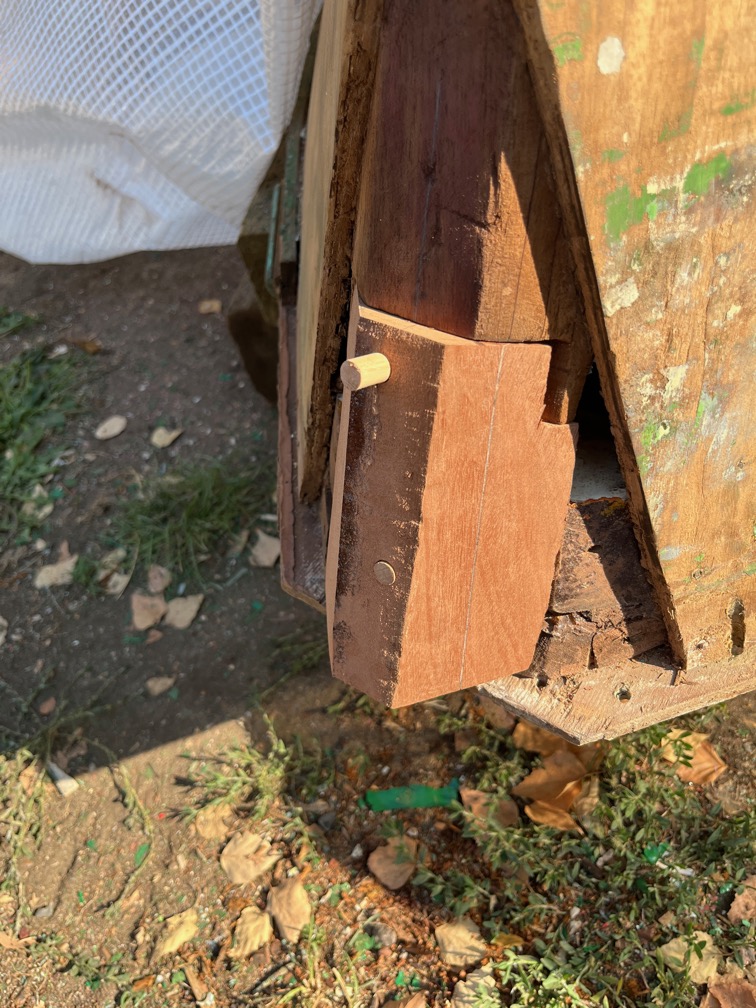
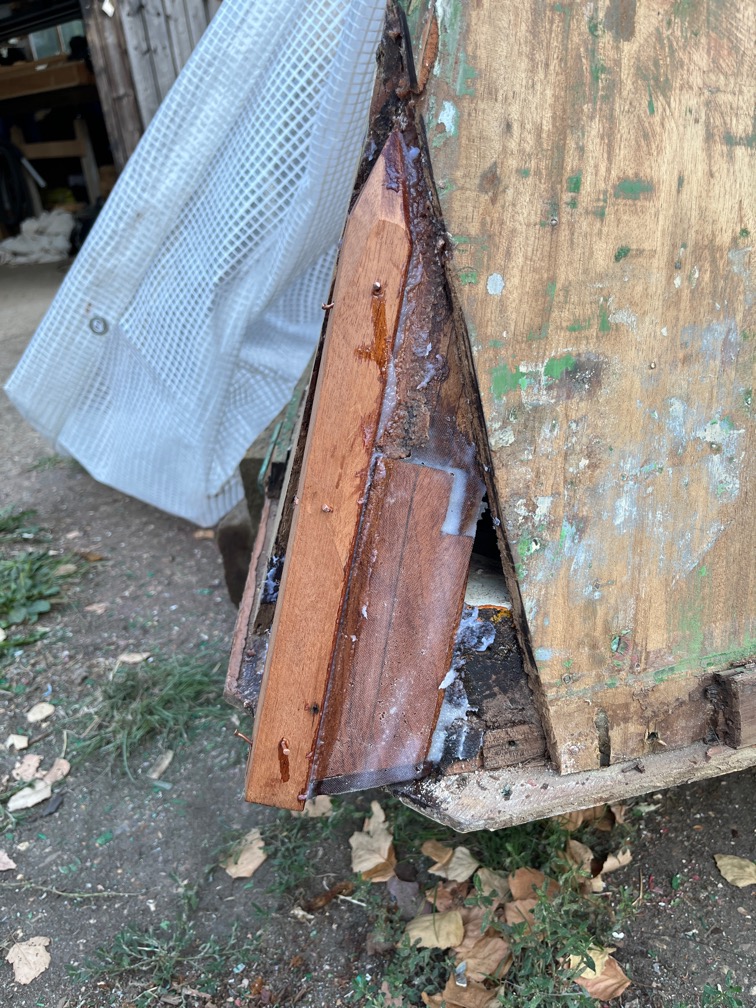
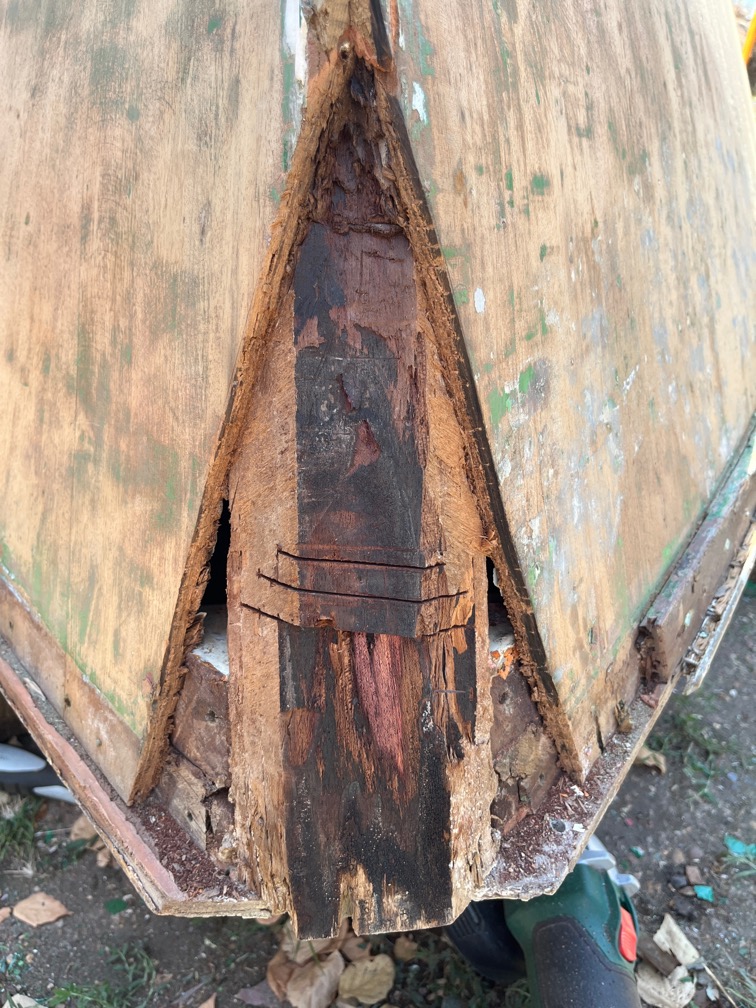
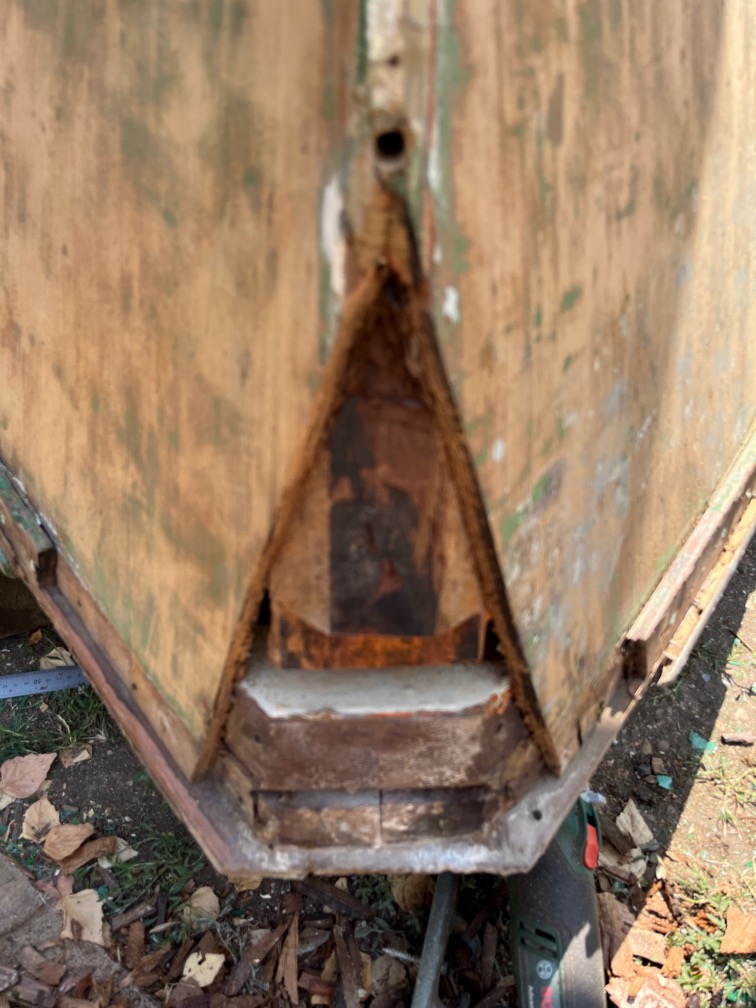
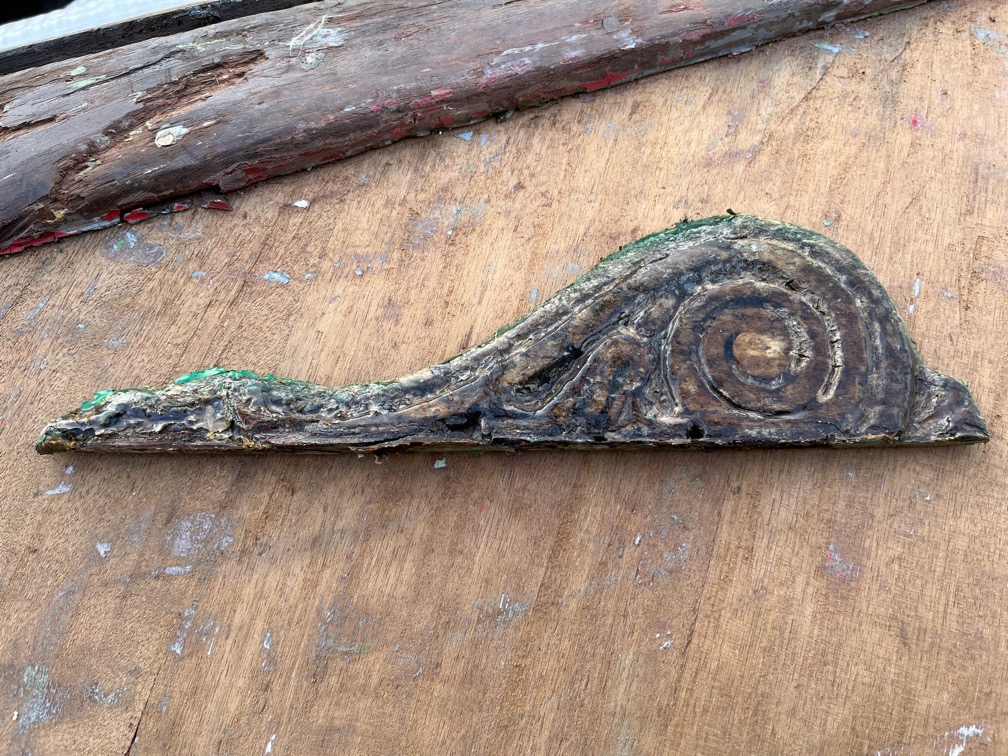
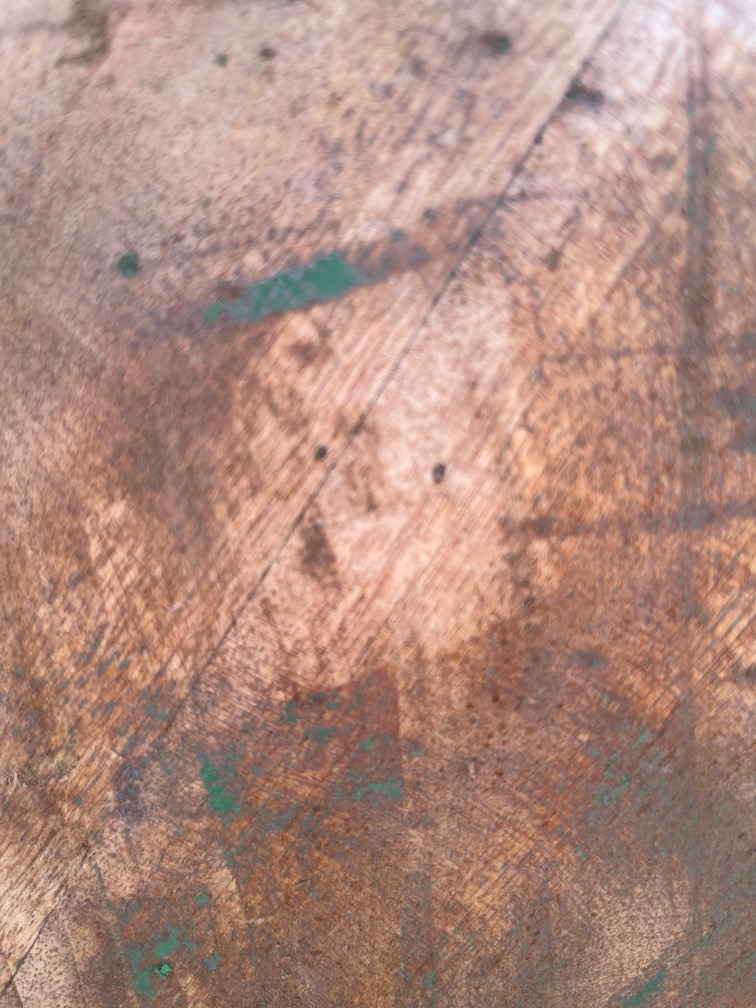
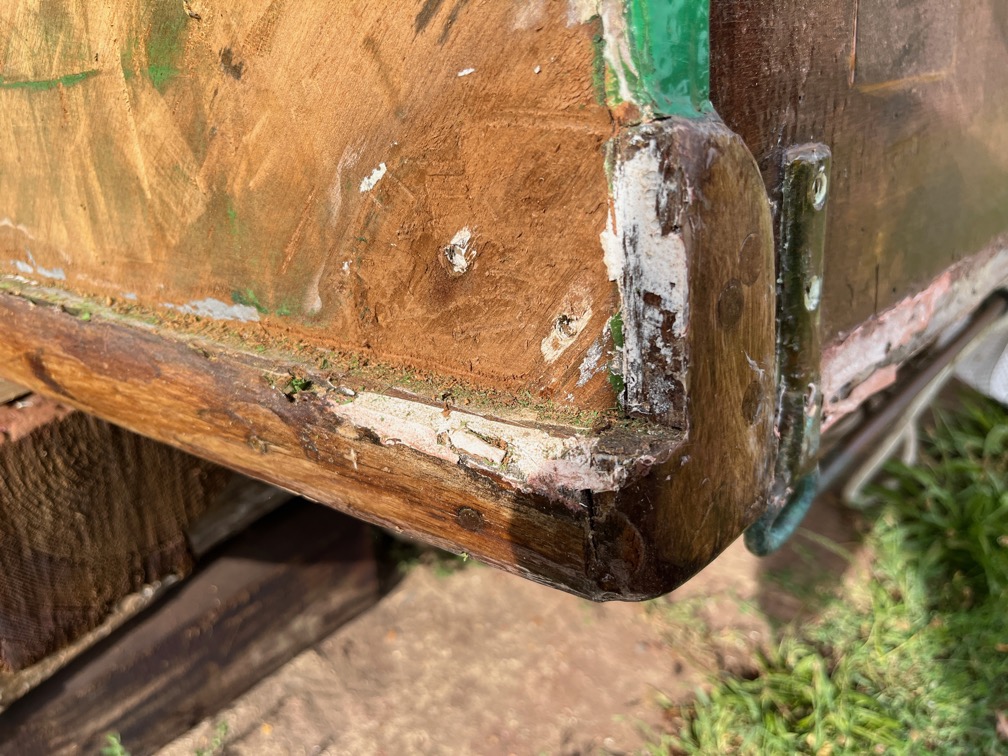
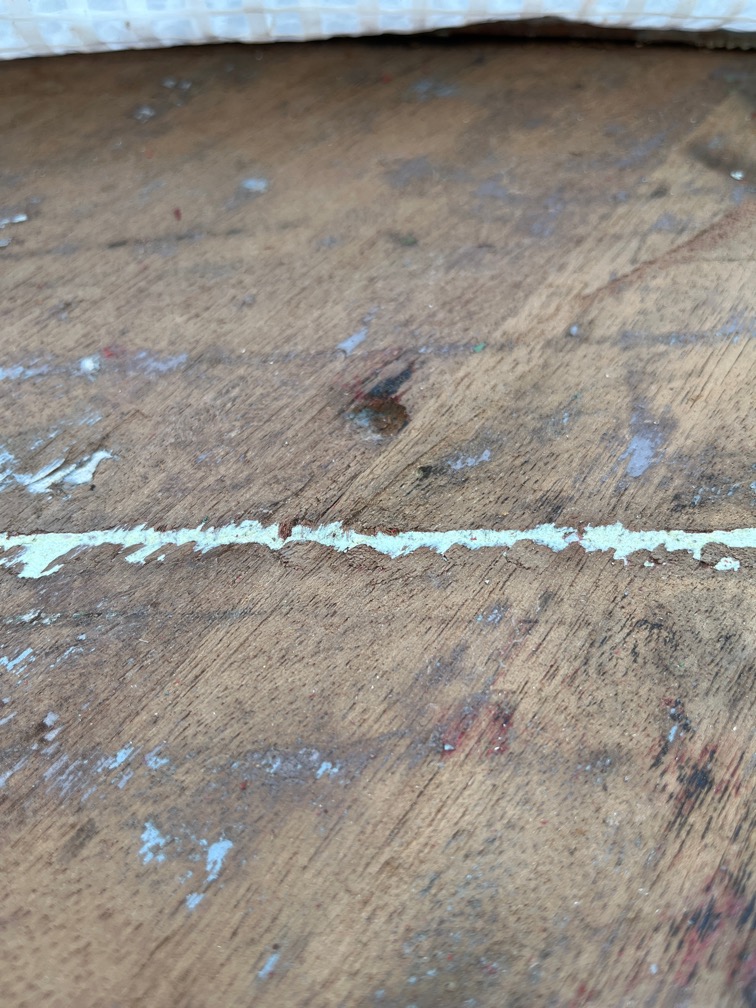
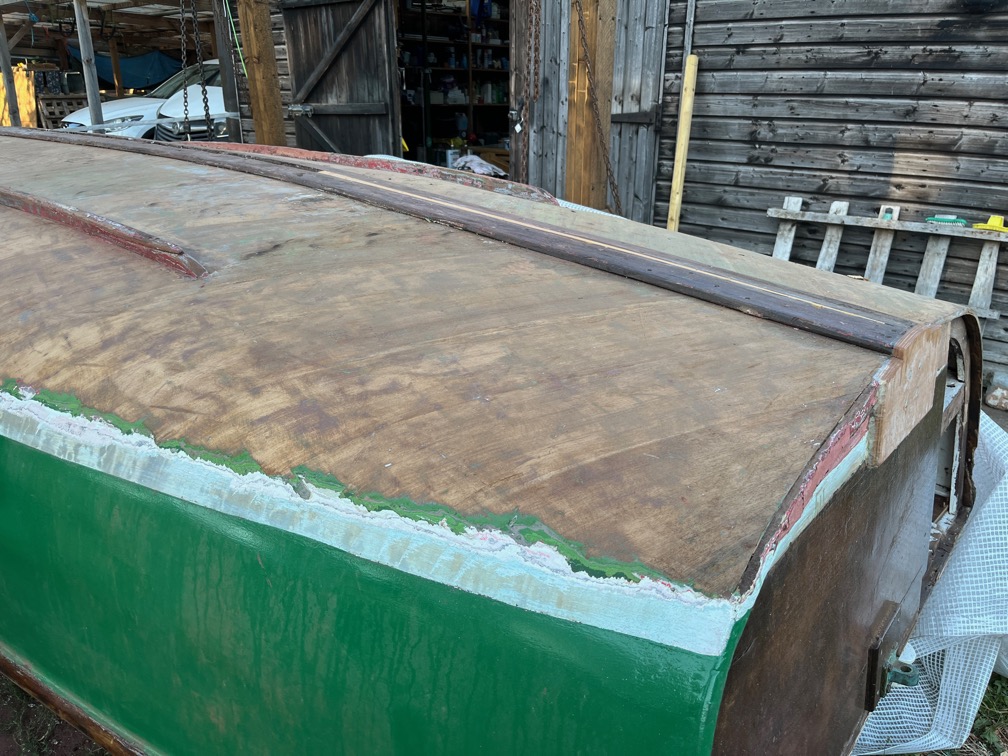
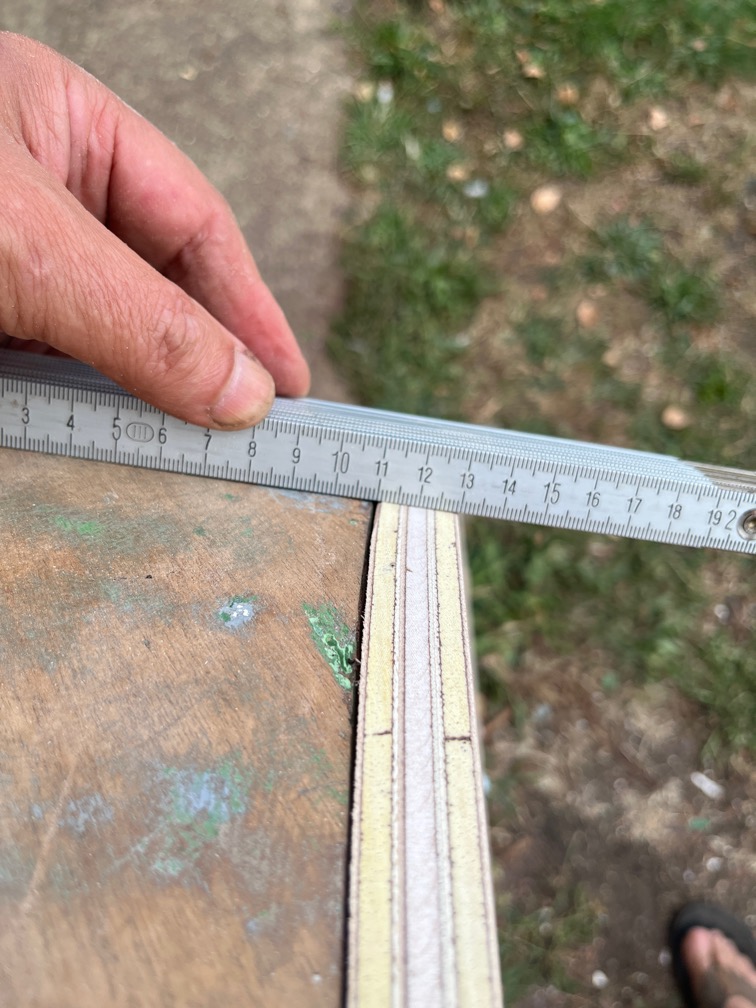
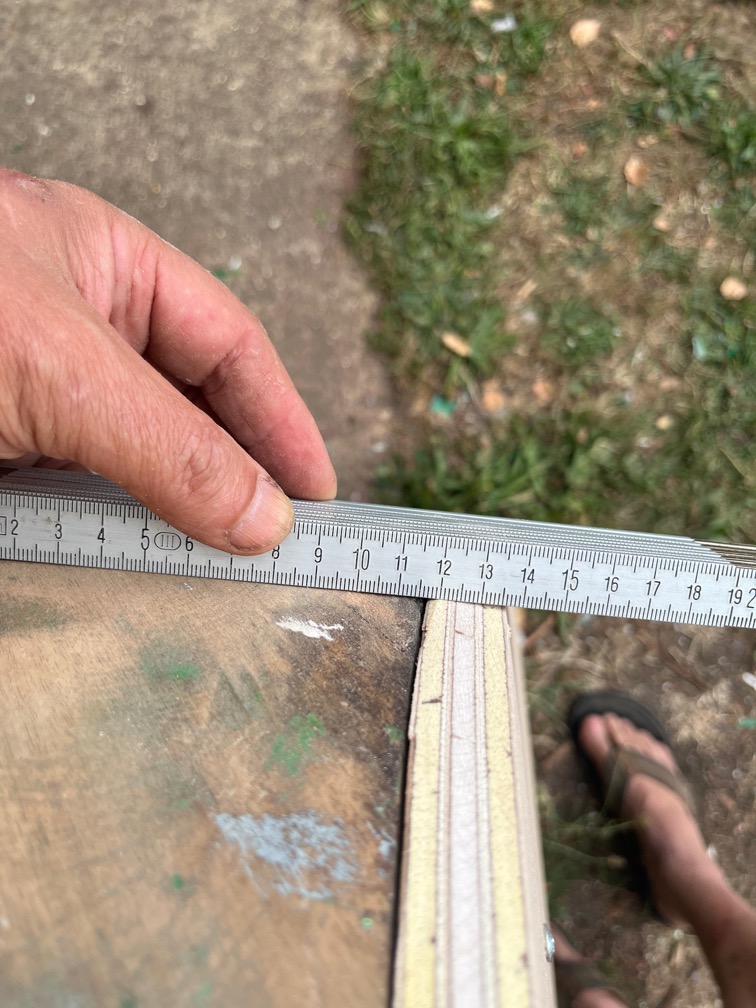
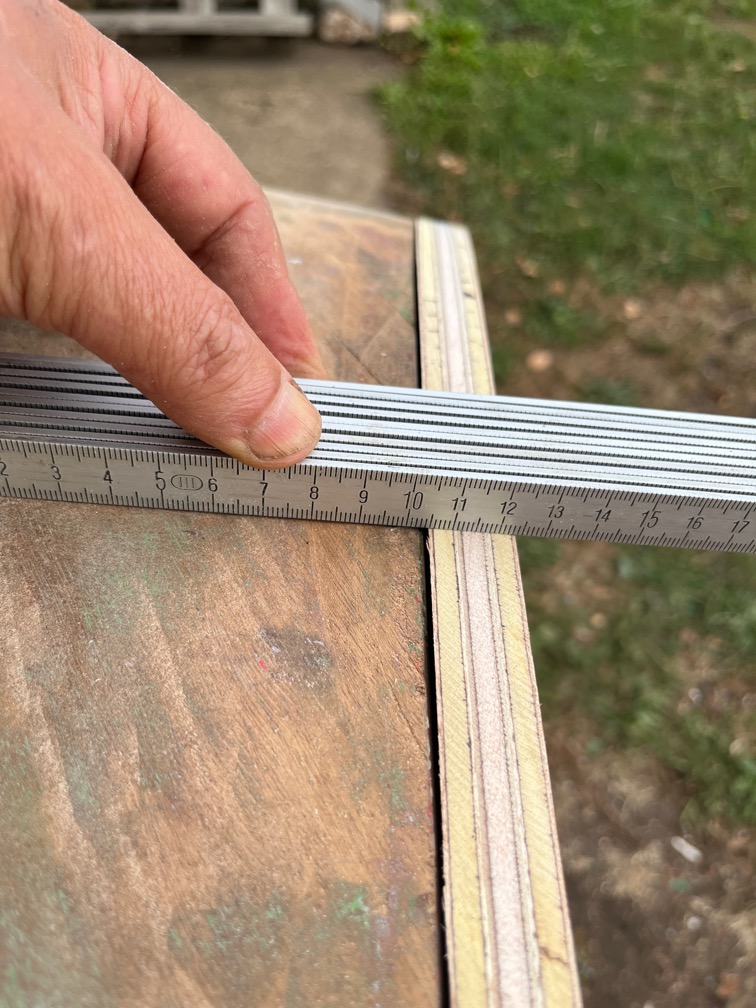
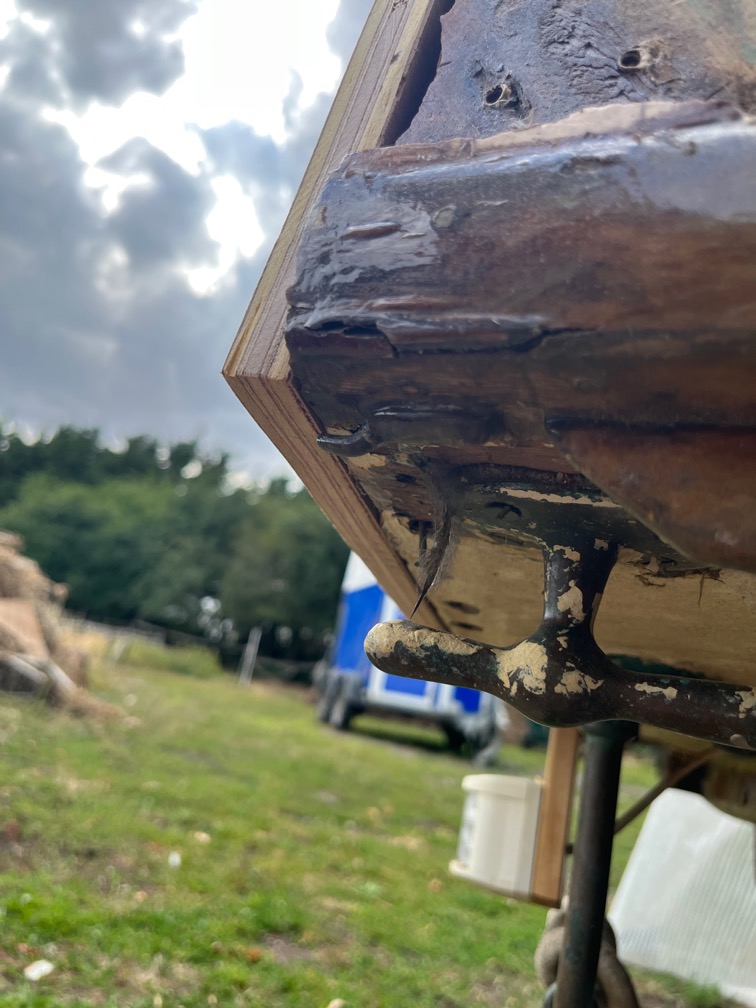
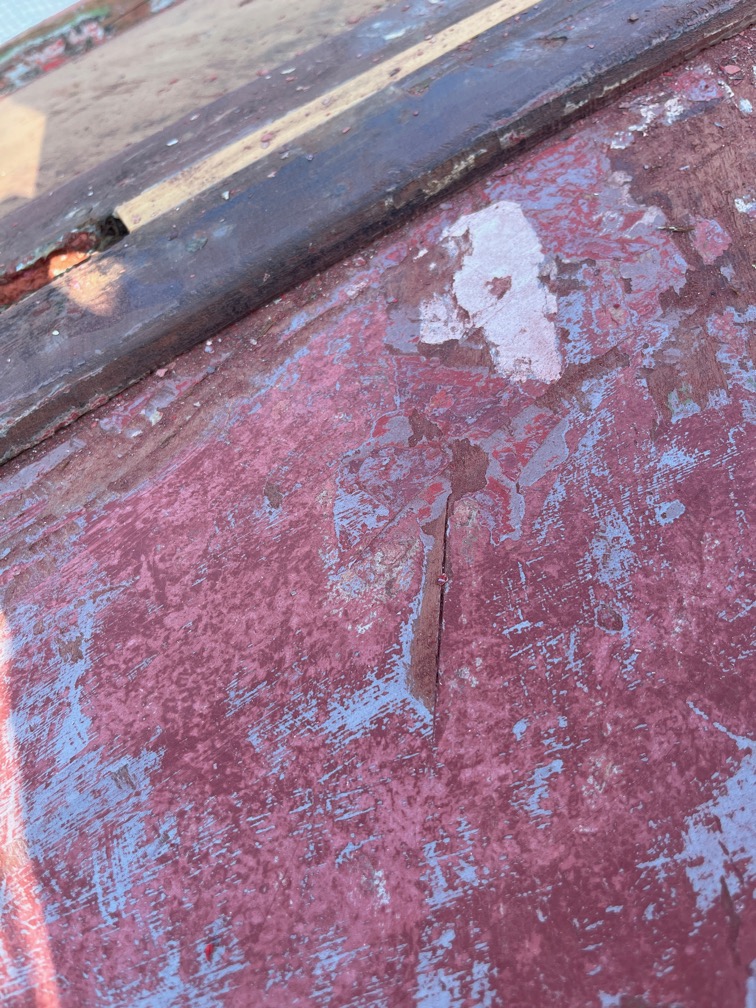
Some of the paint came off really easily and in this photo you can see the gap between the aft end of the aft centerplate block and one of the extra pieces put in by the original owner. This is the source of one of the leaks and fairly obvious.

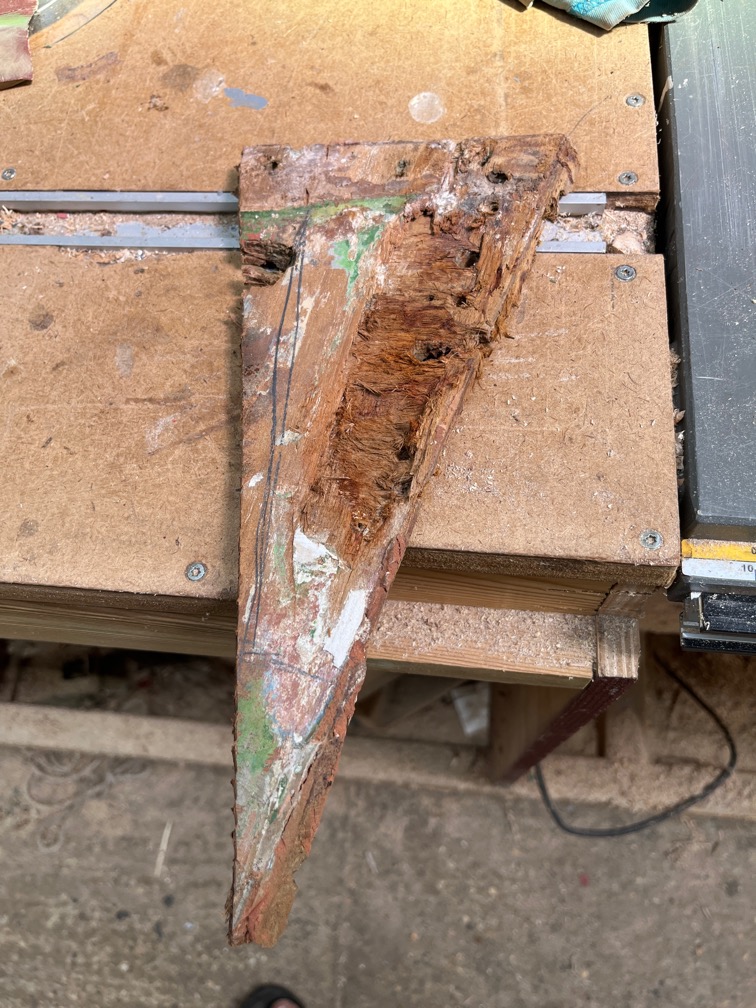
I poked at the extra batten with the sharp point of the paint scraper and it came away easily and the wood underneath is wet. The conclusion is that the leak starts further forward where the slot in the hull begins and the crack allow water to seep along until it find a point where it can get through the point.

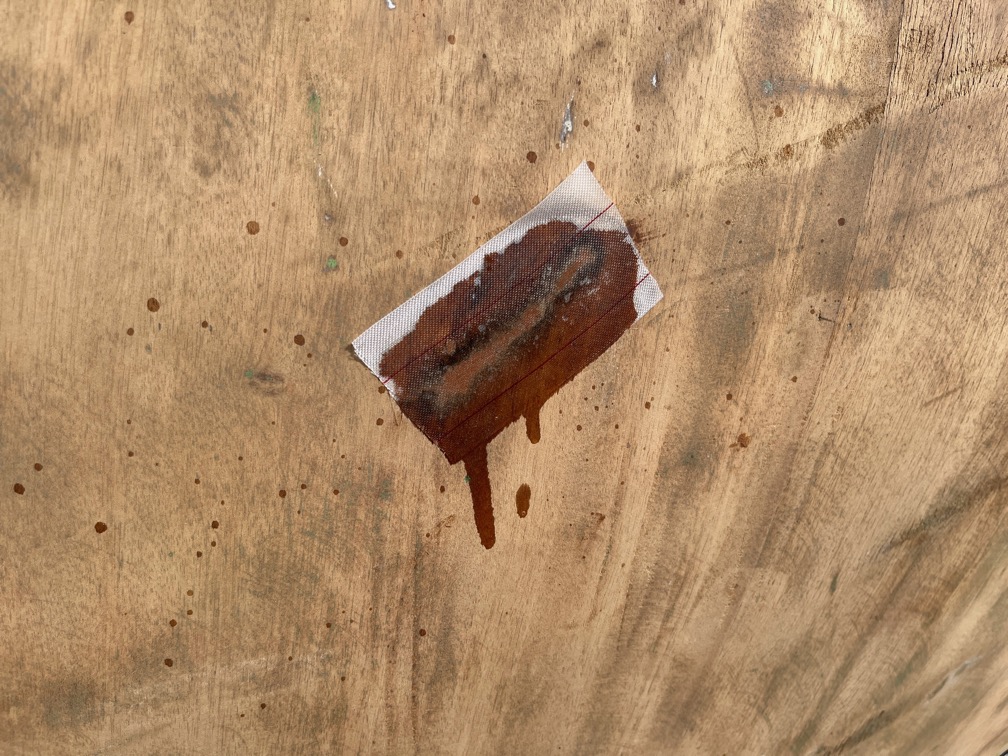
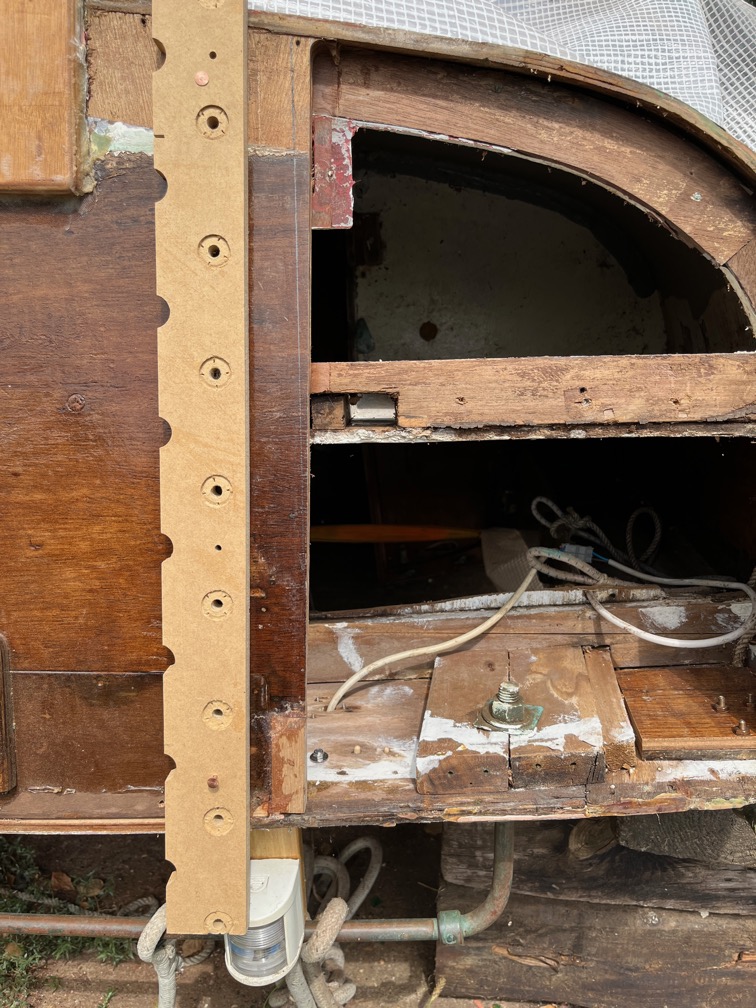
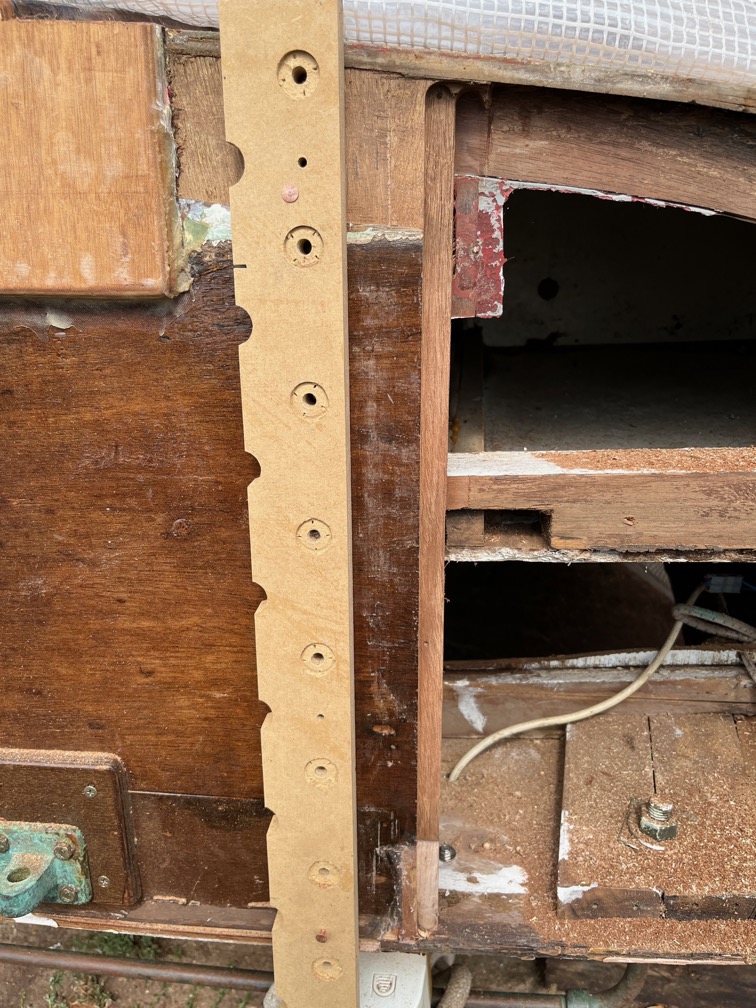
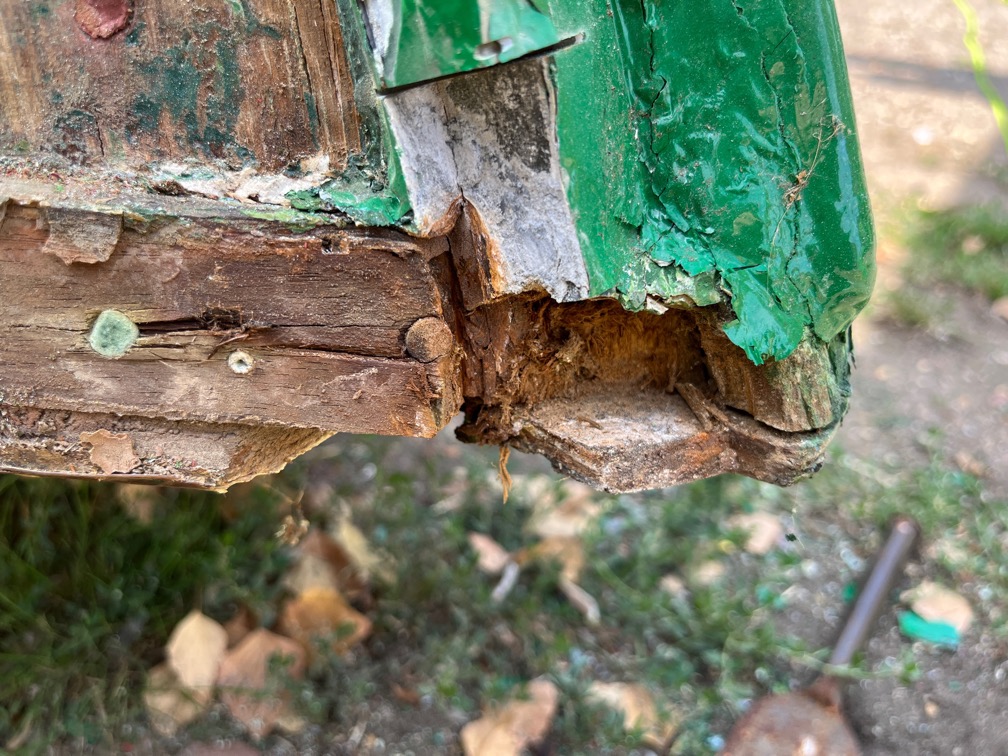
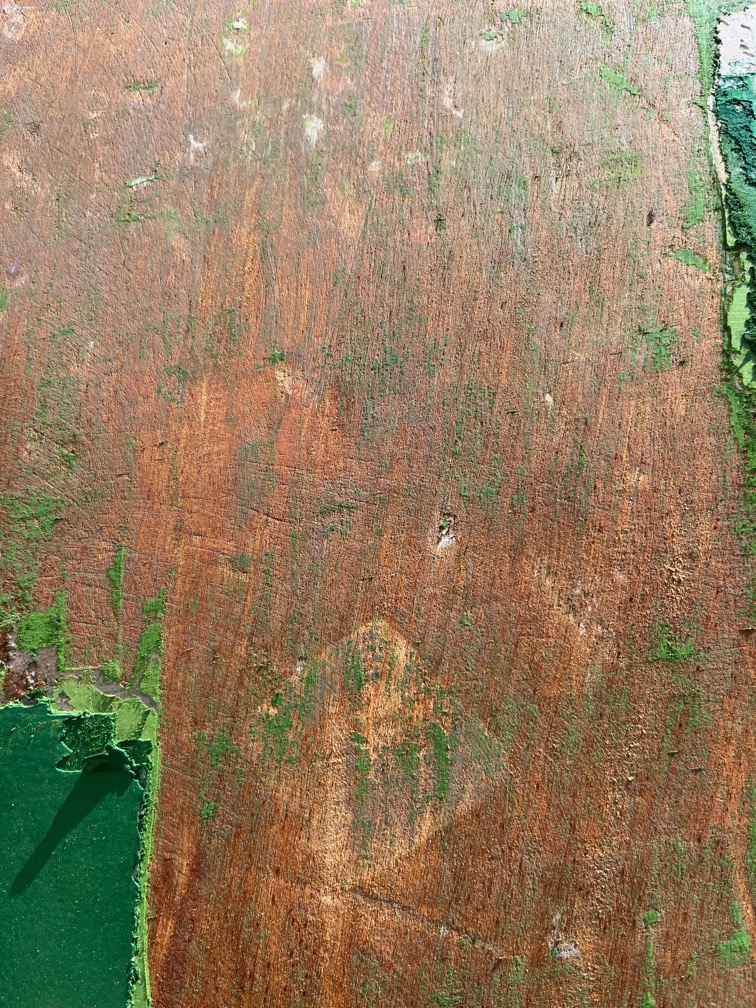
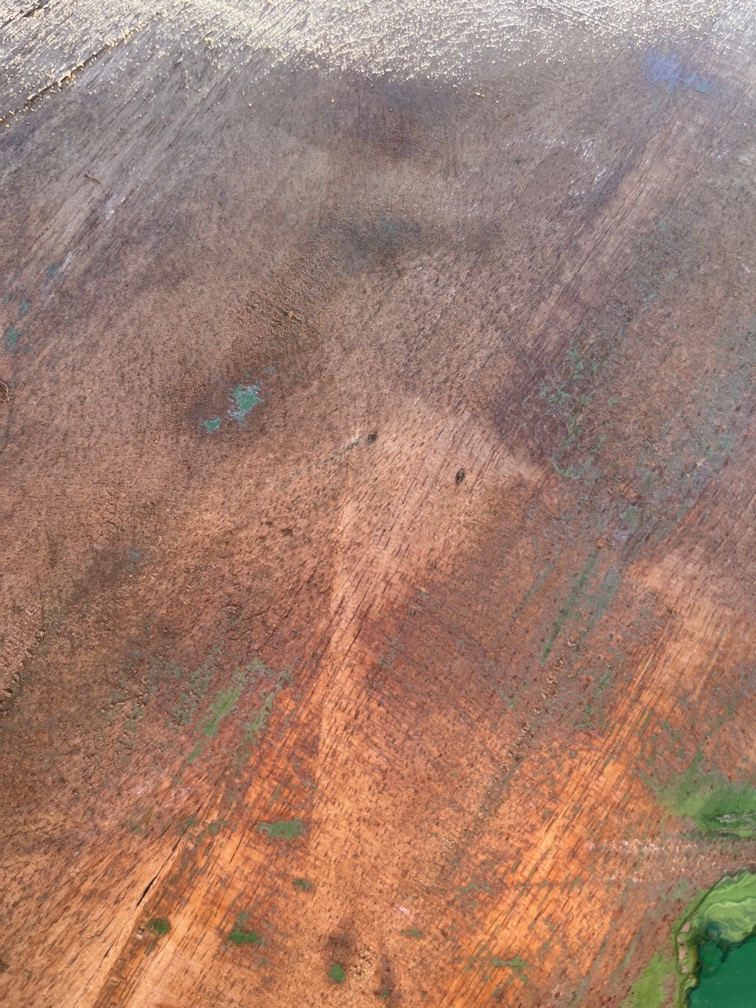
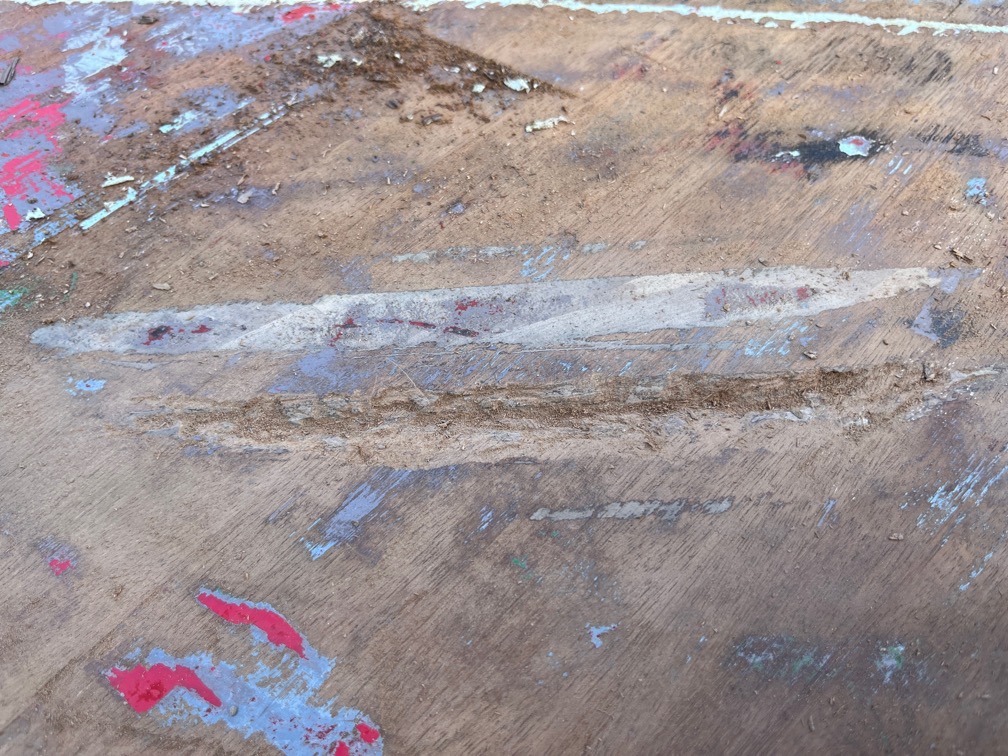
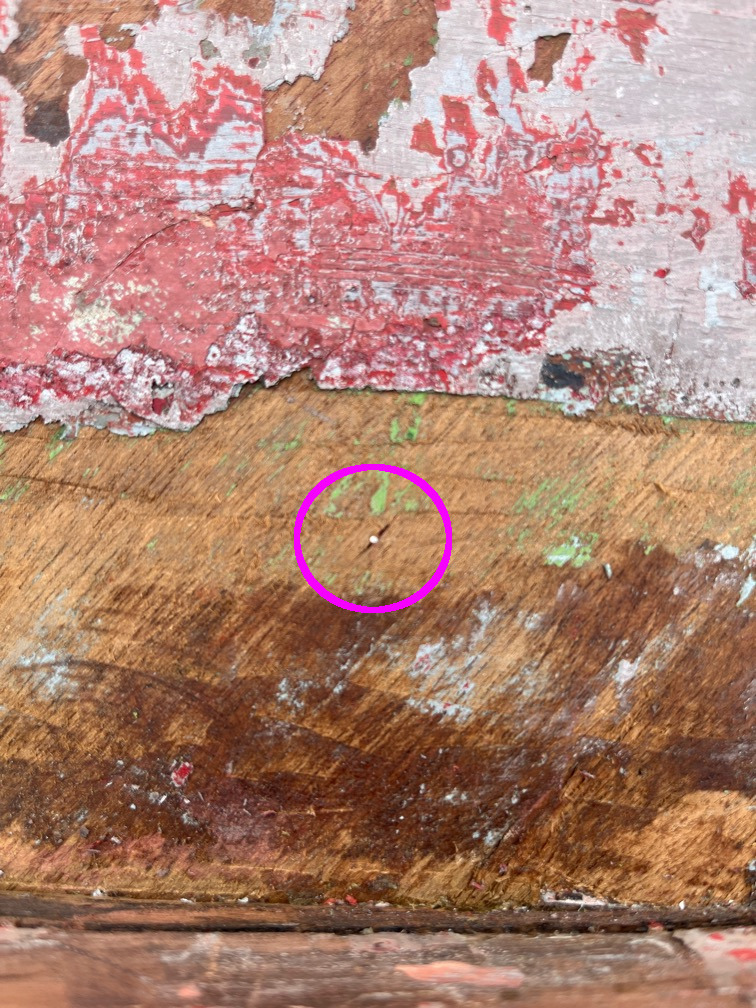
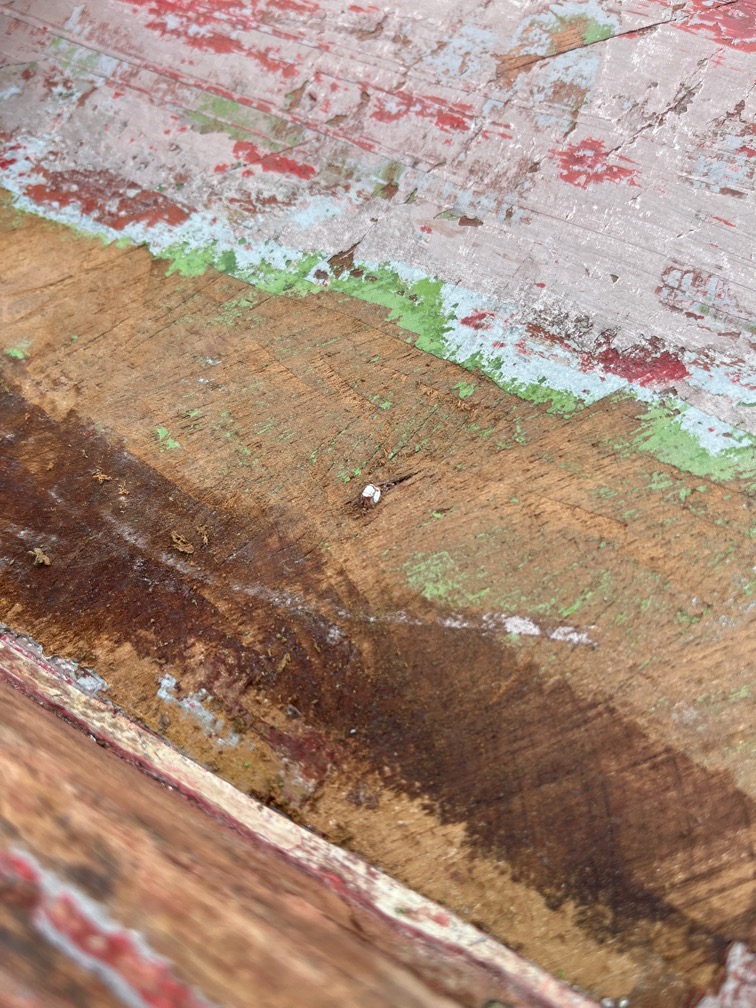
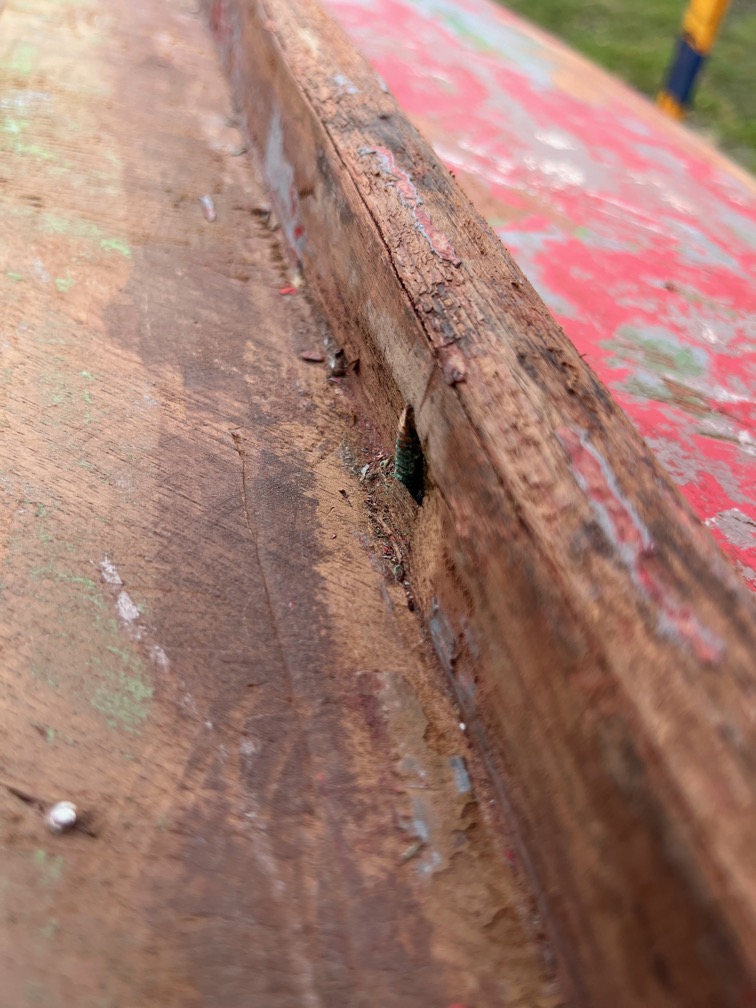
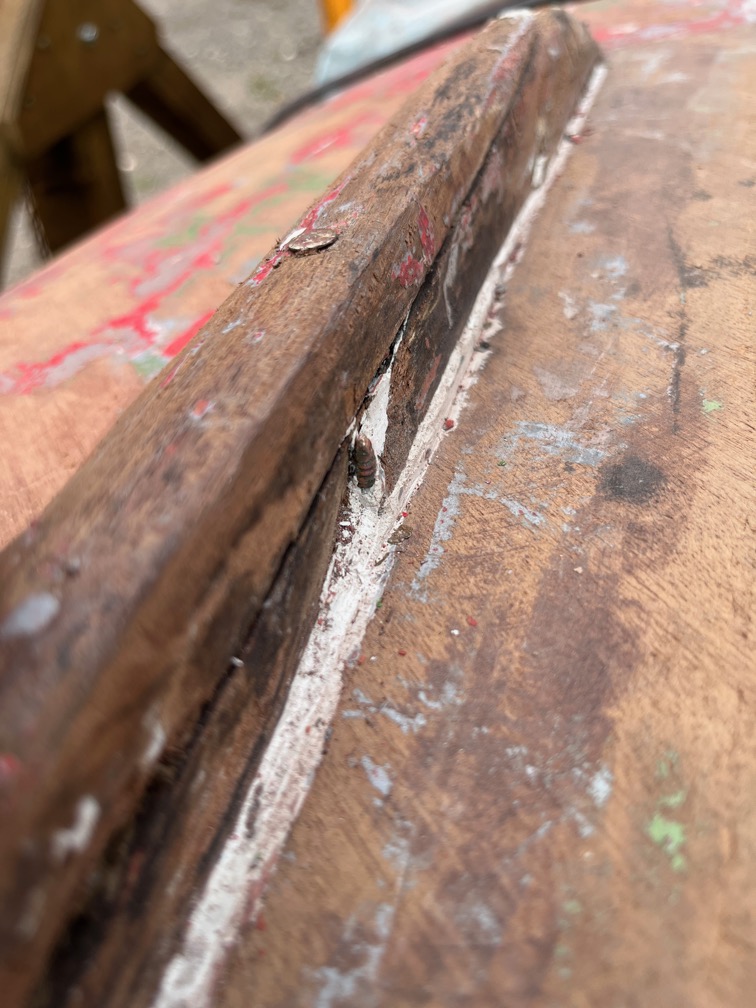
I’ve put two images together to show the next leak, the one highlighted by the cyan circle. This is just aft of a brass screw put in through the 45º angles face. You can see the screw in the left image and just see the indentation in the paint on the right image at about 11 o’clock on the circle. I would suspect that this is the source of the leak. I would suppose that over time the brass screw has degraded until it is no longer watertight and so the water gets it. It might be the case that after a few days in the water, the wood around the screw expands and makes it watertight again. That screw may even be at such an angle that it penetrates through the hull.

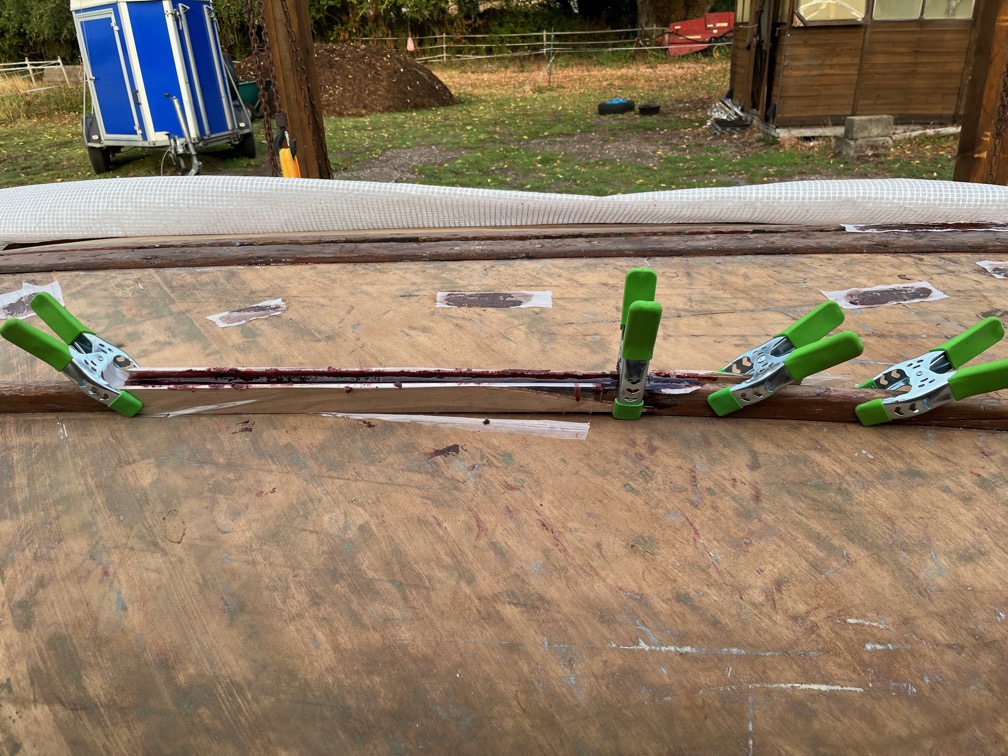
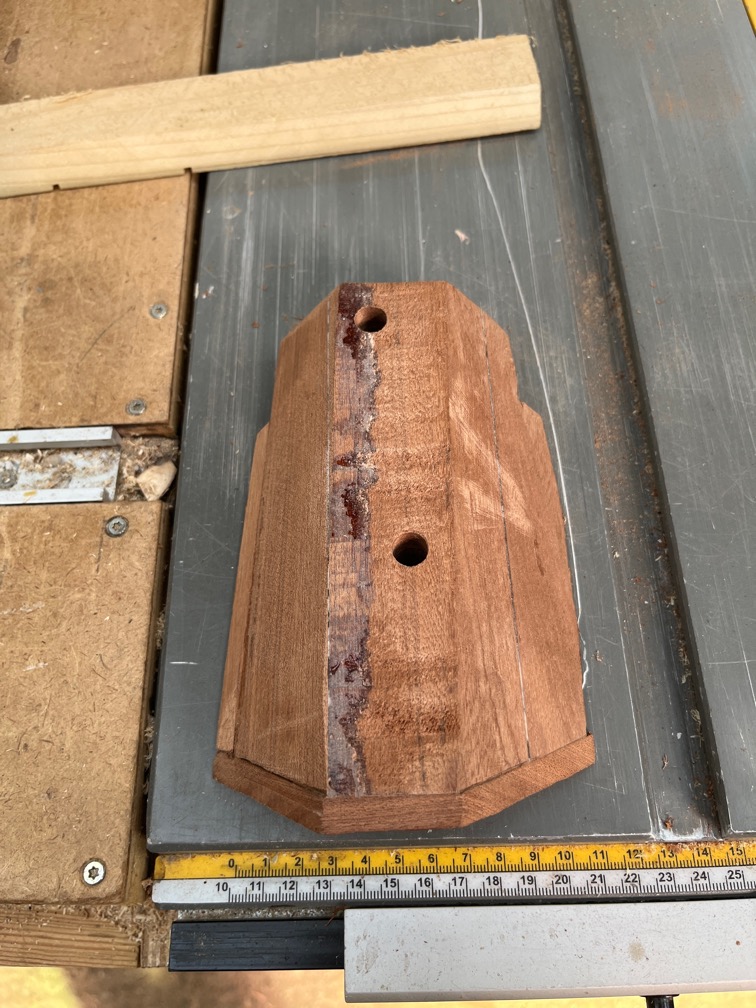
That has to come out and since this is suspect, I’ll take the entire batten out on both sides, carefully removing the brass screws in the process. The screw holes will be filled with a flexible sealant and a new batten put in place, held by SikaFlex as this remains flexible when cured.

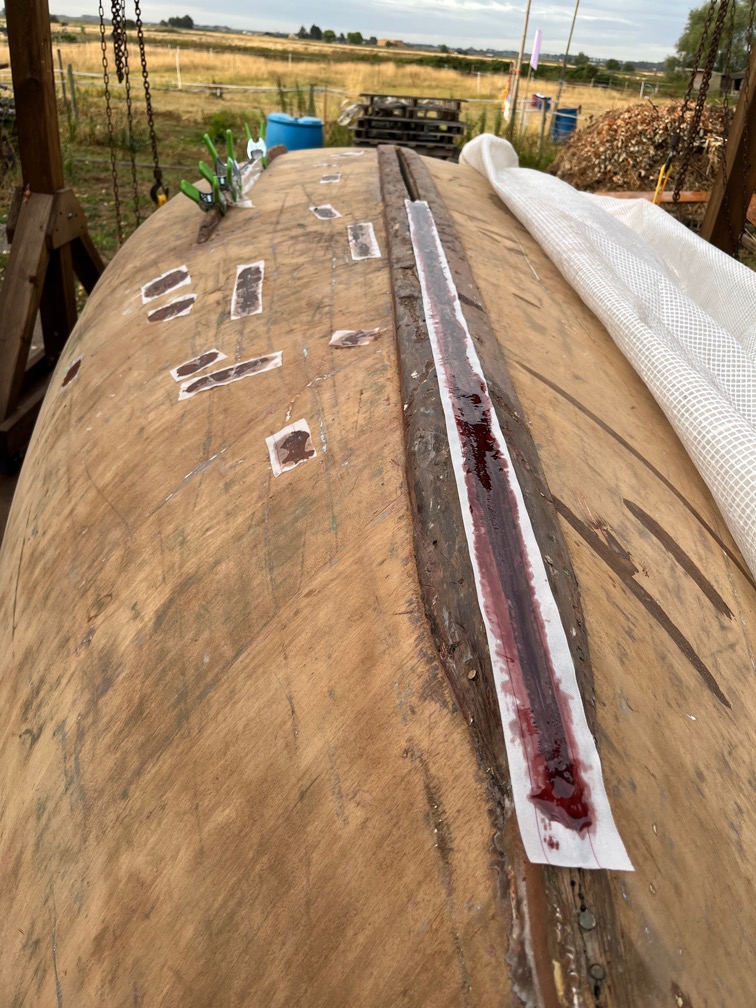
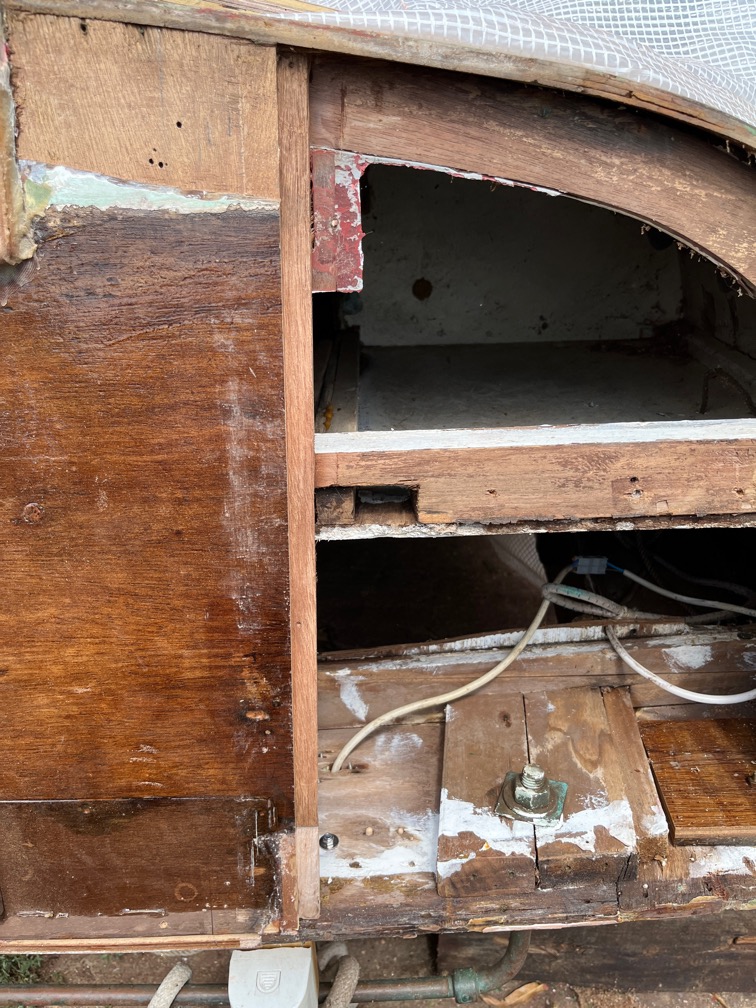
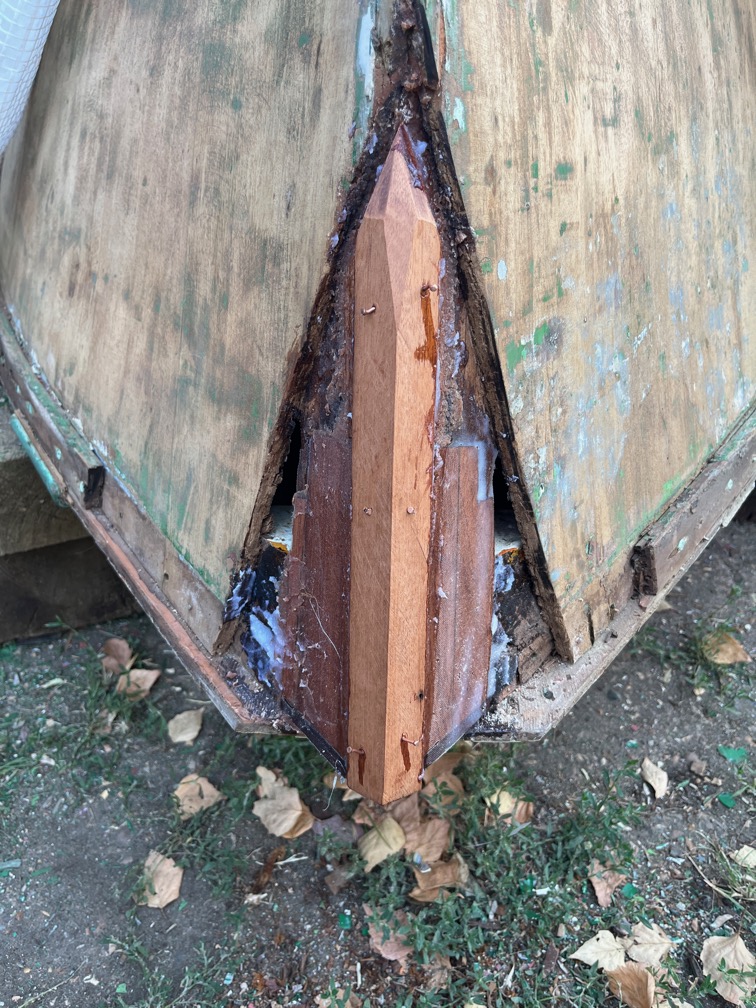
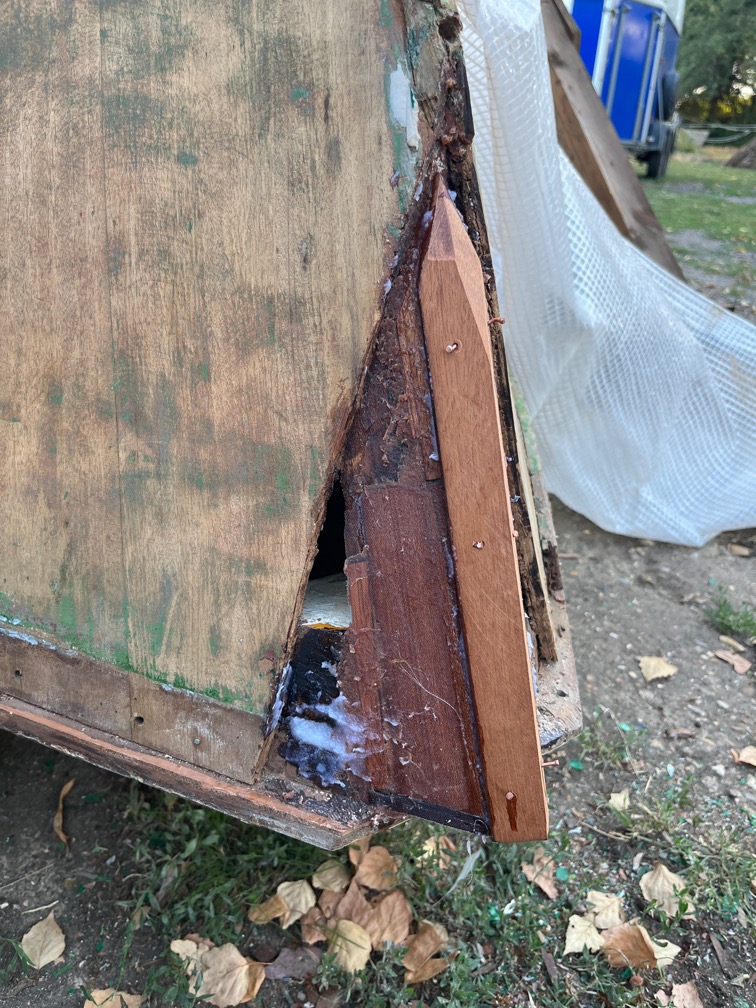
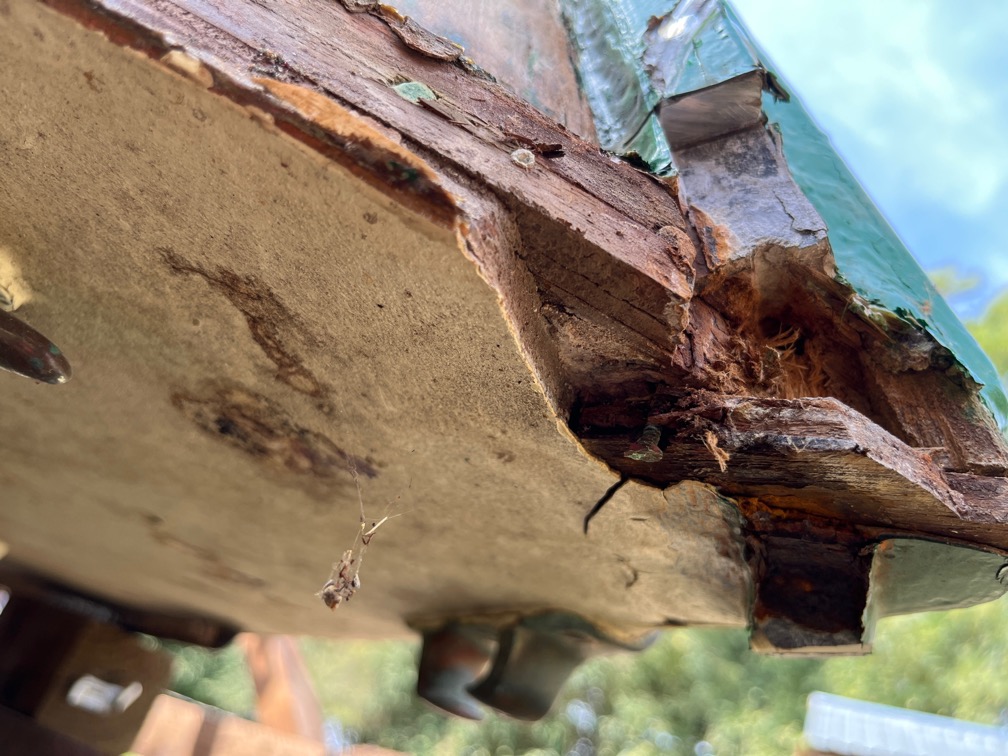
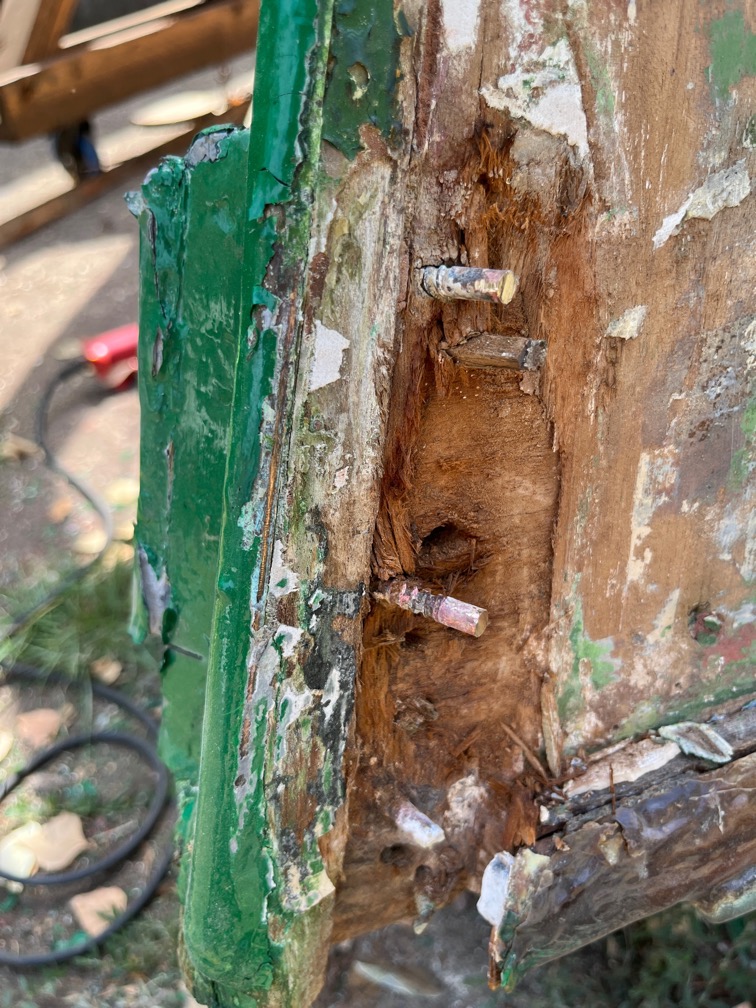
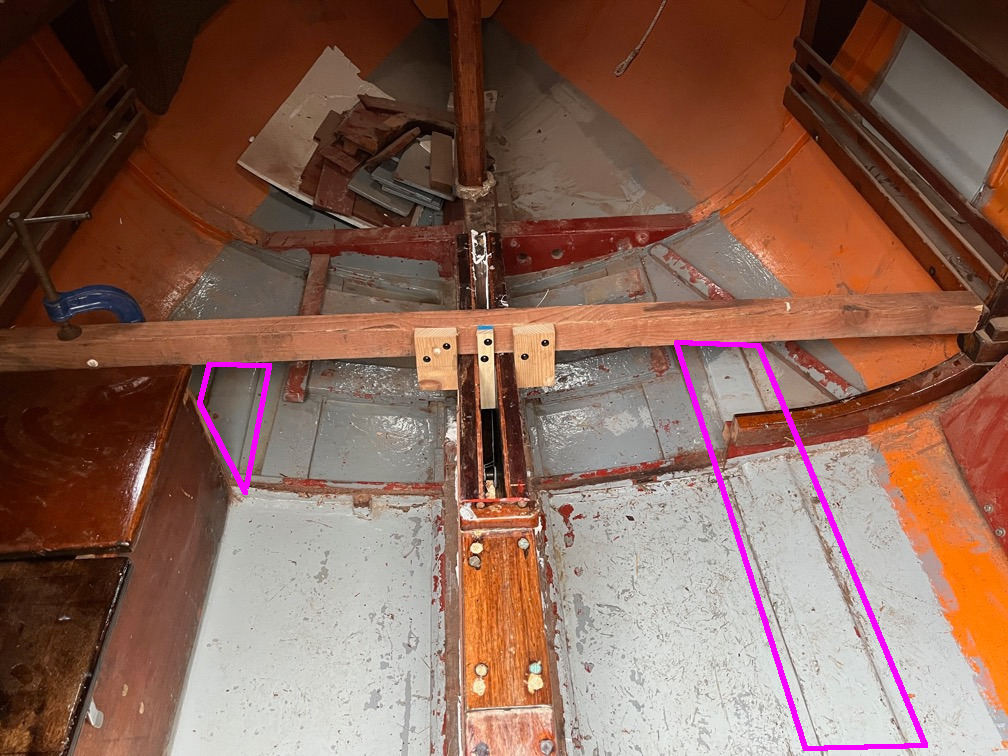
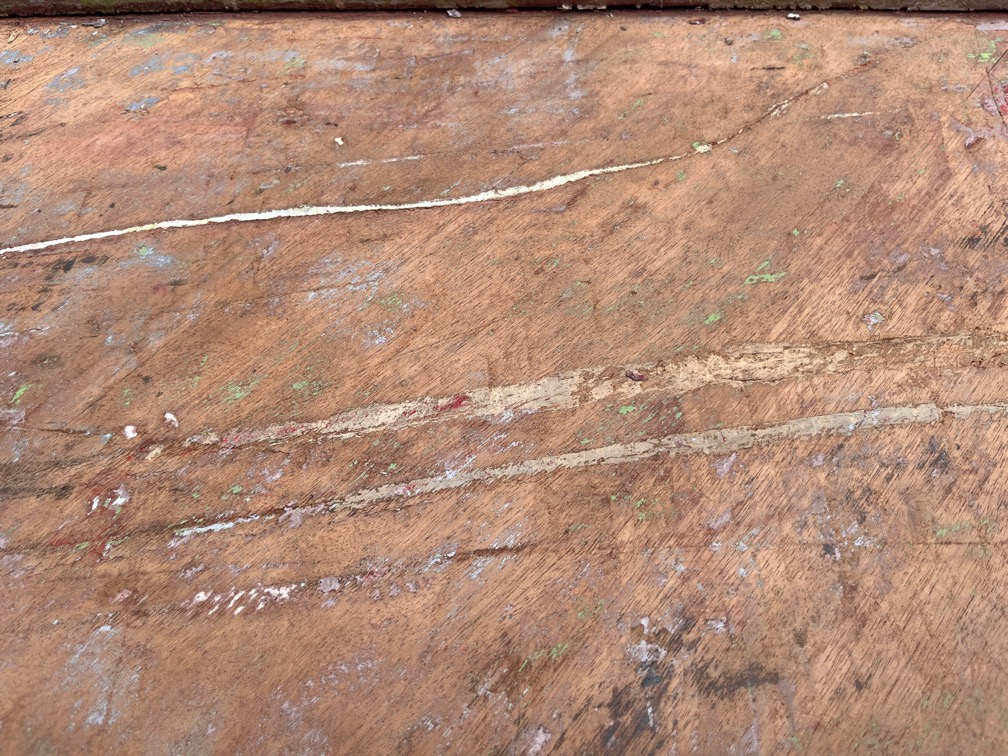
The next area is a little more difficult since it appears to be under the battens. The whole shebang was covered in a thick layer of what looks like SikaFlex, indicating that the leak has been there for some time and attempts have been made to fix it. These battens and the bulkhead will need to be removed to investigate and I would not be surprised if there is another degraded brass screw or two through the battens, and possibly through the hull, that are no longer watertight.

So, more deconstruction required and some careful investigation of the hull that appears to be leaking.

That’s all for today, I burnt my hand on the hot air gun and need to go and attend to it.

Time for a cup of tea.

2026-03-13 – Demoralised !

I don’t know about you but I know myself very well and after such a day as yesterday the last thing I need is more failure. The boat was just one part of a bad day, we had to scrap the car and that’s a story all by itself.

Suffice it to say that for the next few days I shall be working on small, easy tasks that have practically no realistic possibility of failure.

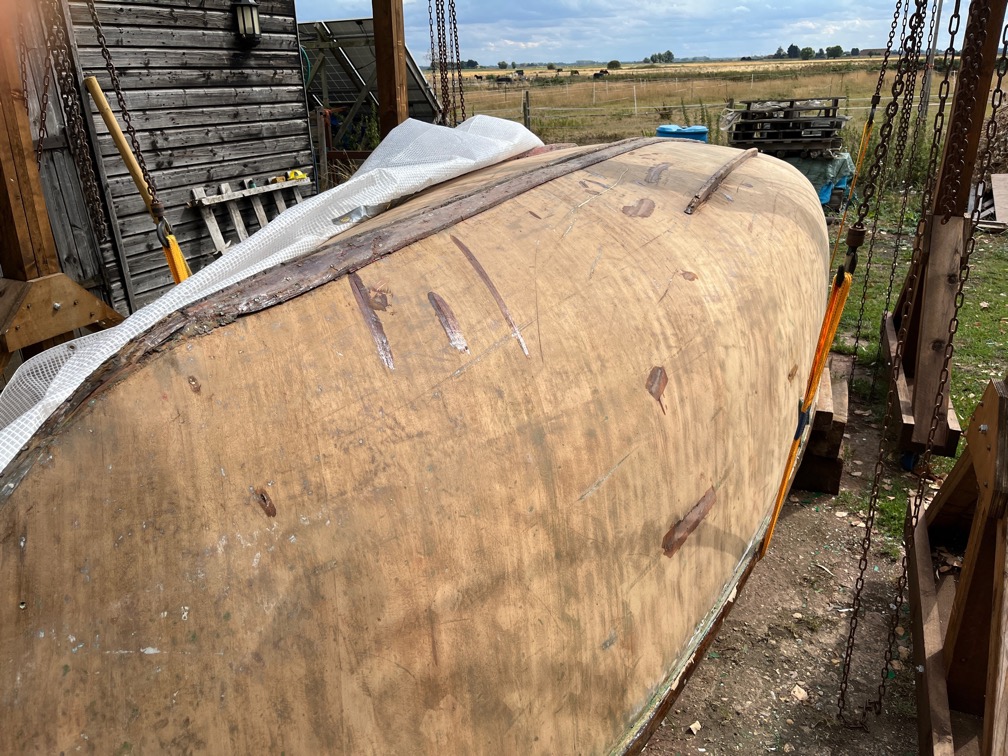
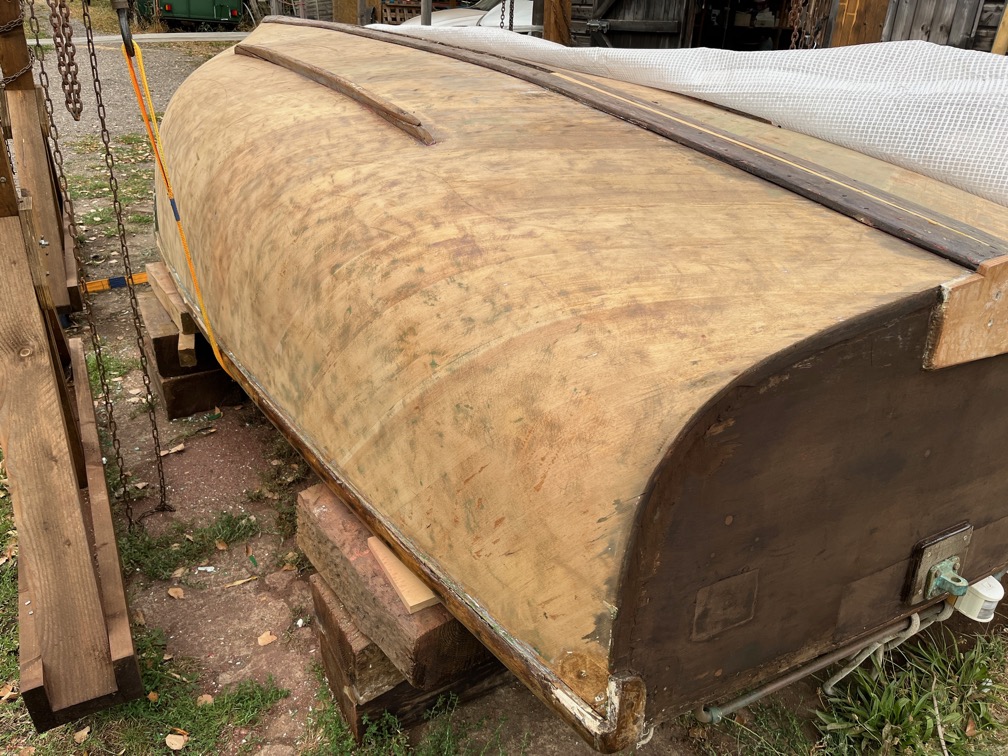
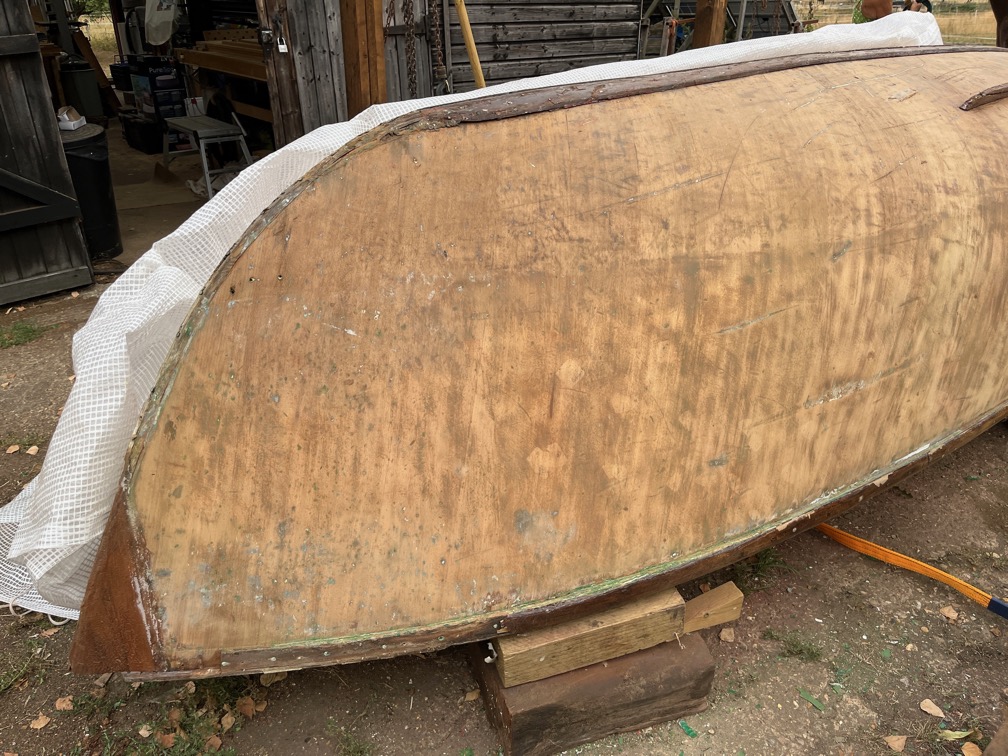
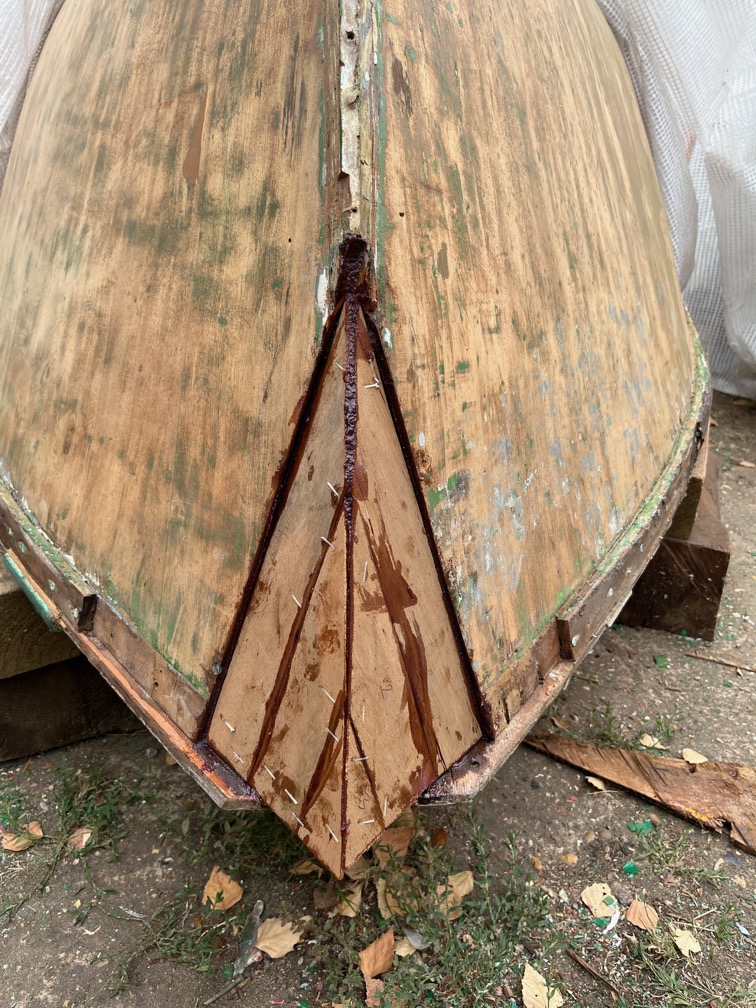
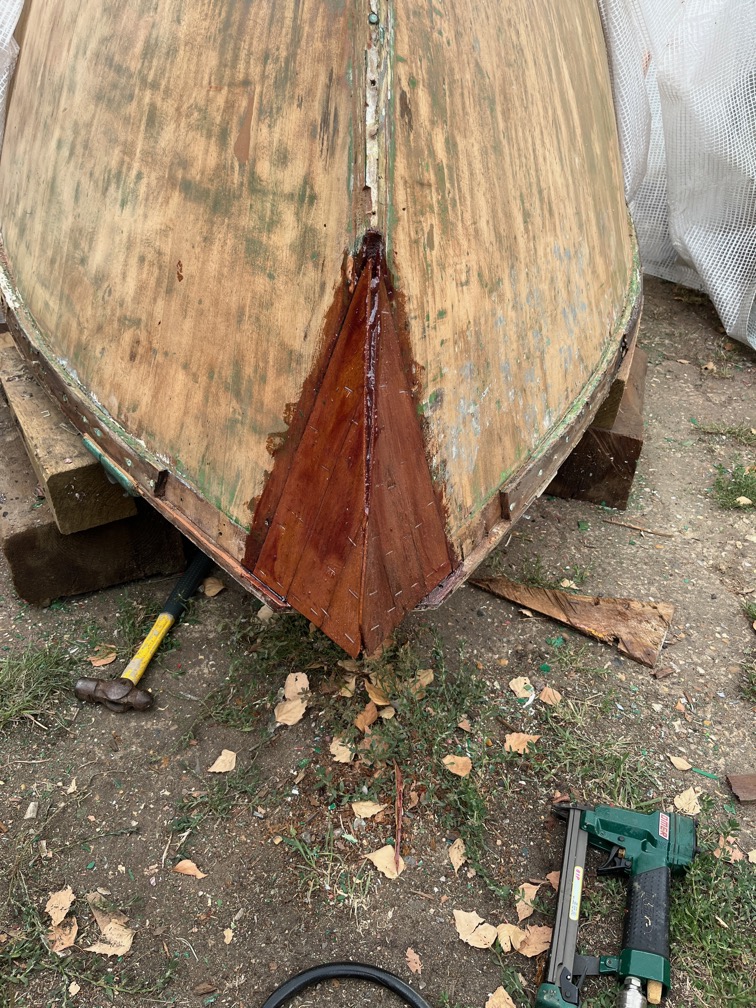
The first task after propping up the boat, was to bail out the water in the bilge. In doing so I found another leak forward of the mast, shown above.

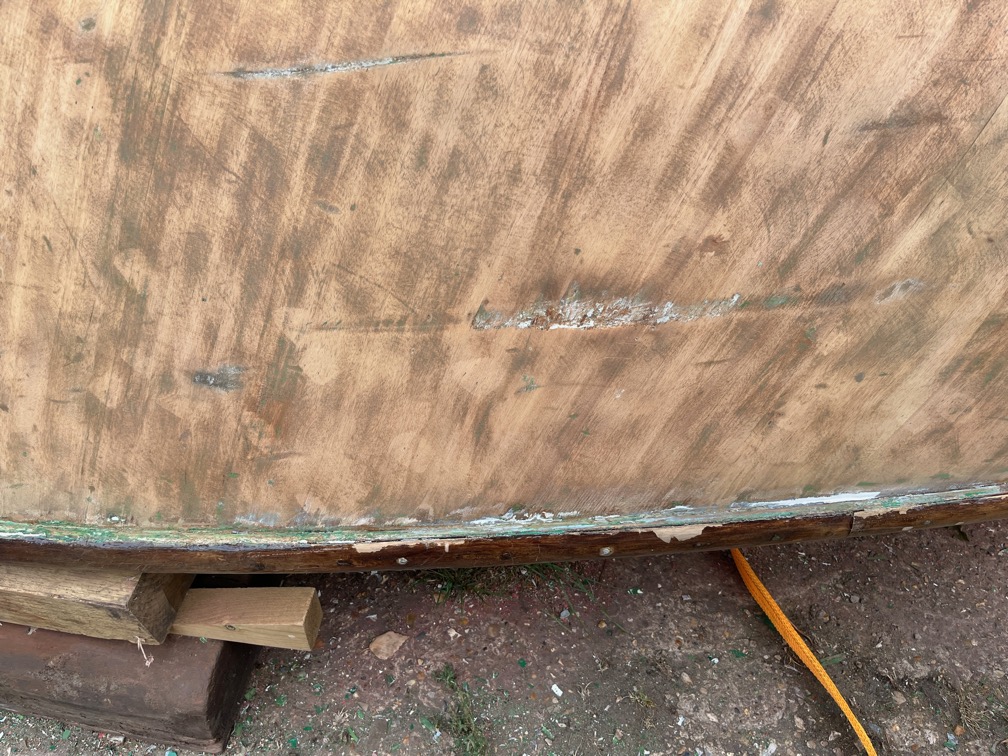
And another one on the opposite side of the keel. Both of these are easy to deal with, but without having to bail out the boat after the leak test I would not have seen these ones.

One good thing about bailing out the boat is that it has removed a lot of the dust and grime that had accumulated during the works.

The same in the cockpit foot well…

Except here where it all ended up. I’ll deal with that once it has dried.

The next small task was to open out the holes in the chain hoist mounts to accept the black iron pipe that are the pins.

This was fairly easy to achieve although the wood splintered a bit as it was a bit damp from having been outside. I also cut section from the old anchor chain and used that to hang the hoists upon. These were made over long and shackled together to get the correct length for the job.

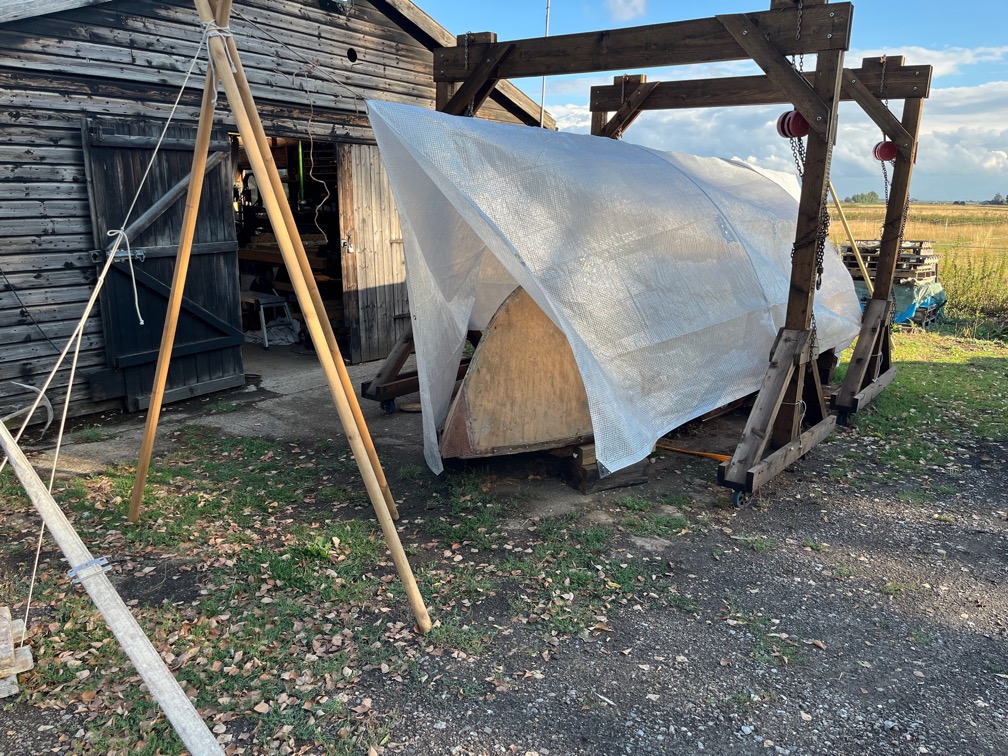
The next task was to put Shoal Waters back on the working trailer since the travelling trailer is too short to be good for working and then to level up the trailer.

I used a spirit level to get the trailer level, but I think that the boat is still slightly down on the port side. The next task, therefore, will be to adjust the side supports such that the boat is also level.

Time for a cup of tea.

2026-03-12 – Leak Testing

I had prepared the boat for the trip to Ely last night and this morning we drove over to the boatyard.

Ready for the trip.

The leak test failed. Several of the screws leaked…

…but only on the starboard side.

This is not a difficult fix.

And I noticed that one of the screws I have not touched is also leaking.

As I said, these are not difficult to fix.

However, there were several other leaks that are in area that I have not touched. This one, for example, is at the aft end of the centerplate case aft block, specifically long the glue line.

This one, however, is in the hull beside the keel and I will need to explore where the water is getting in. Egress does not mean ingress.

Likewise, this one is also in the hull planking right next to the keel.

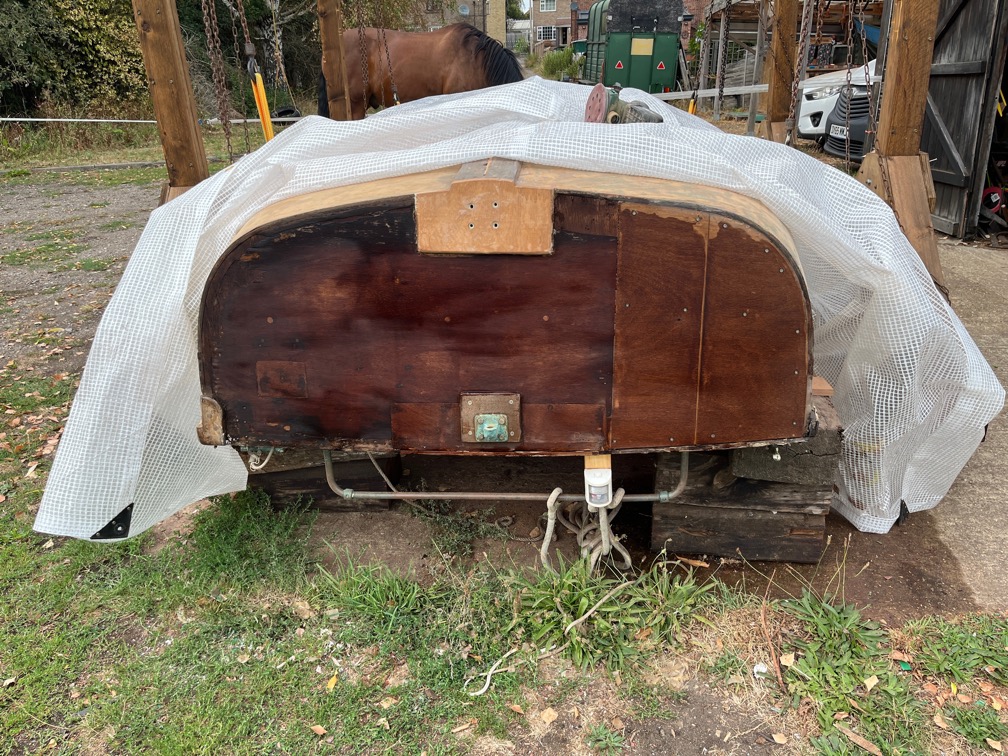
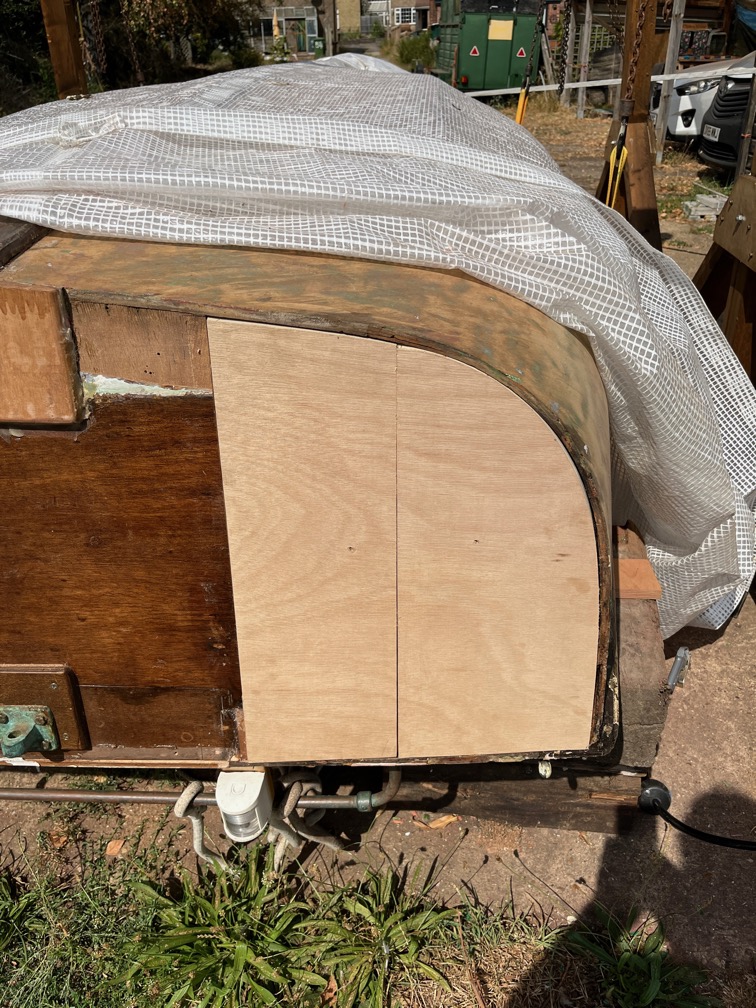
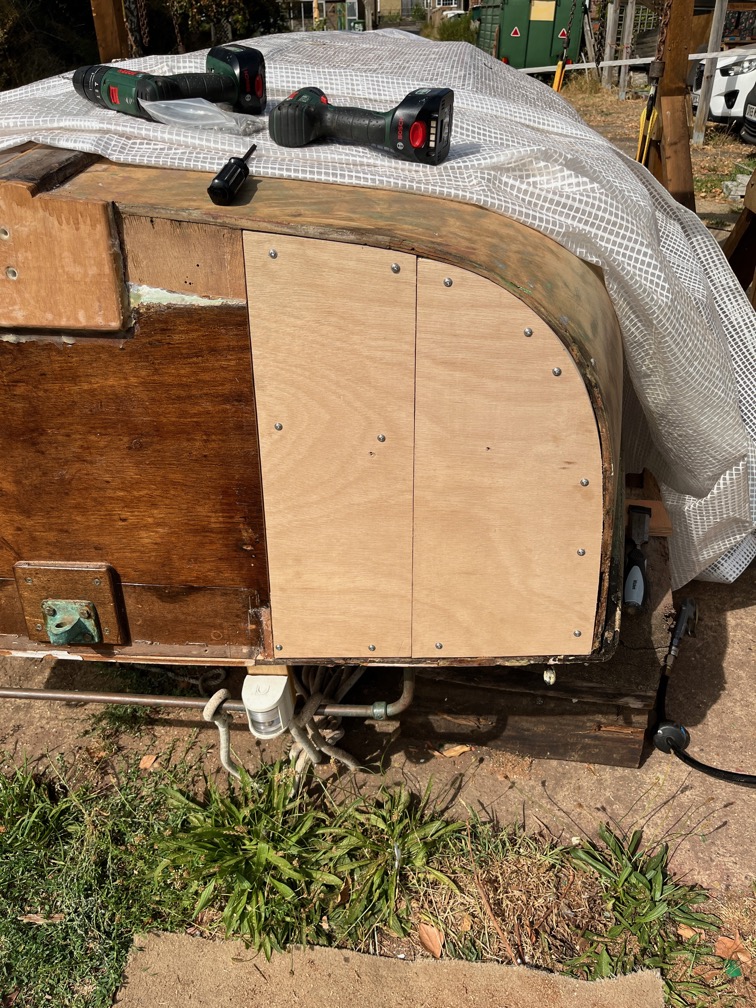
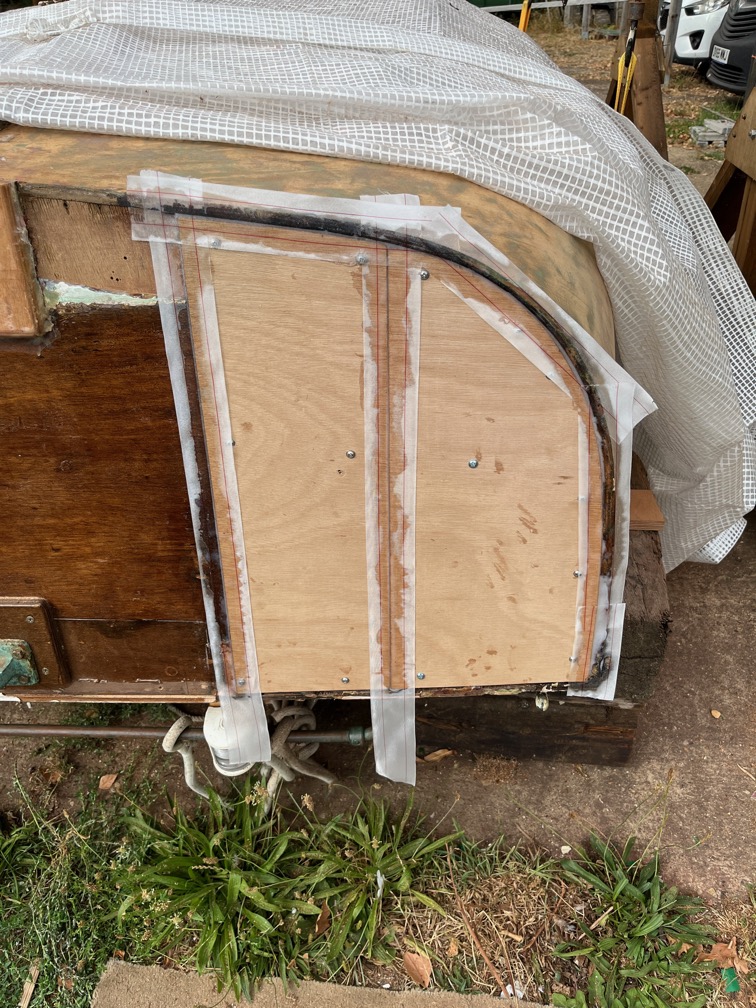
This one is right at the bottom of the transom on the starboard side and I have a pretty good idea what is causing this since Naiad had a leak in the same place but on the port side.

To be honest whilst most of the leaks will be easily solved, the ones in the hull and transom may require a little more effort, but the whole thing is a little demoralising.

Still we brought the boat nae home and I will begin the investigations and repairs another day.

Time for a cup of tea.

2026-03-11 – Gantry Crane V

The pins for the cranes did not arrive yesterday, so the first thing I did this morning was to look for alternatives that will do until they do arrive.

Rummaging through my sundry metal bits bin I found these. They should be good enough.

During my first break I put the pins into the mounts and hooked on the chain hoists.

There we are, two gantry cranes completed and ready to go.

The pins arrived at lunchtime, so I will replace the alternatives with these later. These are 25mm diameter black iron pipe, threaded at both ends with caps.

However, I noticed, just by eye, that these are not 25mm in diameter, that measurement is the inside diameter. So I went and measured them and I need to open out the holes to 35mm. Wide enough for the pipe to go through but not the cap. Oh well. I’ll use the alternate pins for today and open out the holes later. I don’t have the time to do that before needing to use the cranes.

Instead I started to prepare Shoal Waters for the move to the other trailer and that meant removing all the blocks from under the trailer. Here she is now sitting just on the trailer and she is canted over to one side slightly due to the slope on the ground.

I took a moment to check the pressure in the tyres of both trailers and to add more air where necessary. I also need to check the wheel bearings for grease on the travelling trailer before putting Shoal Waters on.

The blocks that were under Shoal Waters ready to put under Naiad.

Now that the construction of the gantry cranes is completed I gathered up all the offcuts.

This is all that I have left of 12 scaffold boards. Not at all bad. I’m not sure whether to put these in the offcuts bin or the burn pile !

To get Naiad ready first required me to lower the mast since the forestay would get in the way of one of the cranes. This did not take long, it’s an easy and simple process.

Then the blocks under the trailer were removed and put aside except for the one aft of the transom since they will not be in the way there and were close to where they were needed.

After work we began the process of getting Shoal Waters onto the traveling trailer.

The cranes were positioned around Naiad and the strops put in place.

She was lifted off the trailer, the trailer moved out of the way…

…and blocks out under her to rest on. Having lowered her onto the blocks, the cranes were moved and Shoal Waters placed under them.

She was lifted up, the trailer moved out from under her…

…the travelling trailer put under her and she was lowered onto the trailer. The cranes were then moved well out of the way.

Shoal Waters was tied down to the trailer using ratchet straps and ropes as required. With the trailer board lashed to the stern and the correct registration plate put in, she is ready to be taken to the boatyard tomorrow.

Time for a cup of tea.

2026-03-10 – Gantry Crane IV

I would have liked to have started on the construction of the second gantry this morning, but I needed to keep the drive clear of obstructions until this afternoon. Instead I started work on the chain hoist mounts.

To start with, this meant removing the strapping from some of the offcuts.

A tangled mess of strapping. This stuff is no use to me, so rather than keep it, just in case, it went straight into the bin.

Four of the offcuts were cut into three equal width pieces, one of each three was faced slightly to make it thinner than the other two and then cut in half.

These pieces formed the mounts for the four hoists.

Time for a cup of tea.

During my next break I assembled the hoist mounts.

This consisted of boring a 28mm hole through the centre of the long pieces then glueing and screwing the two short pieces as locating legs between the pieces with the hole. The result is as shown.

These mount sit on top of the gantry with the locating legs of the mount down between the two cross beams. The hole is for the attachment point, due to arrive later in the afternoon.

Now all that remained was to construct the second gantry and mount the choin hoists.

Time for a cup of tea.

After work it was time to finish up the second gantry.

This did not take much time at all, as expected.

I chose to build the second gantry close to the first so that I could use the first one and a rope to haul the second upright.

And here we are, two gantry cranes.

These are the four chain hoists. They have lived in the rafters for the workshop for a number of years and now it is time to make good use of them.

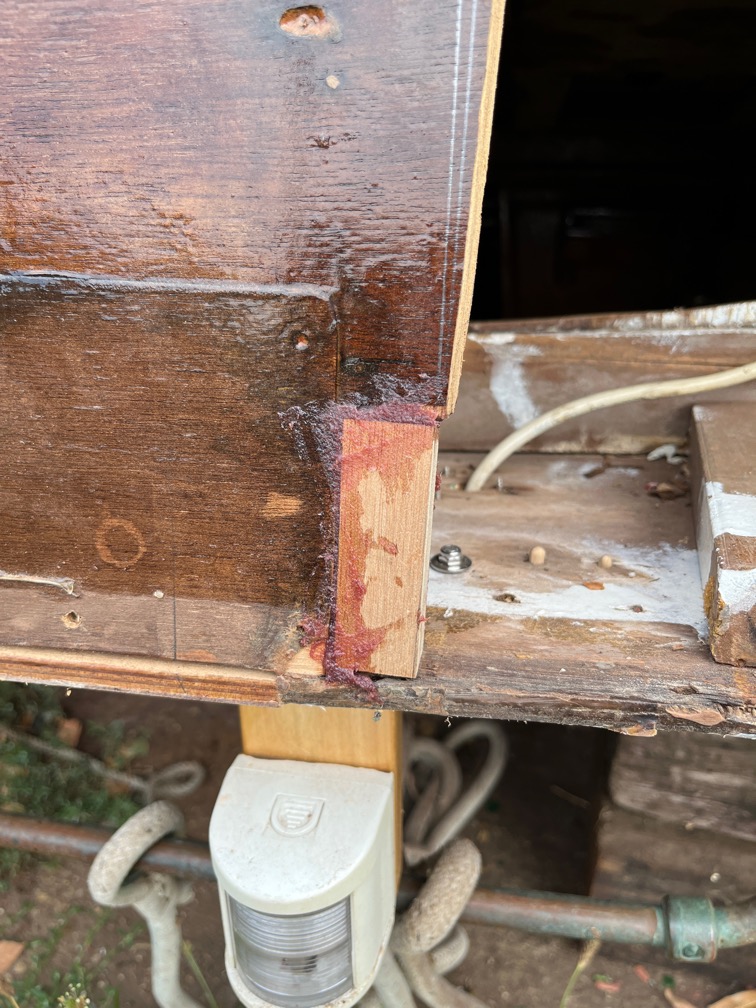
While I await the arrival of some metal tubes I started tidying up the boat ready for her short journey on /thursday. One of those things was to fit the gudgeon to the transom in its new, slightly higher position. Having done that I needed to check that the rudder stock still fitted. It does, tso that is another thing that can be checked off the list.

Time for a cup of tea.
2026-03-09 – Gantry Crane III

With time running out the gantry crane needs to be completed today if possible and that meant an early start. So before breakfast I hied me down to the workshop and spend the next 45 minutes cutting eight lengths of 10mm studding, deburring the ends with an external deburring tool and putting the retaining bolts into the crane legs.

The bolts were all cut the same length to save time and if the upper ones, which are longer than required, cause problems from being too long, then I shall cut them down at a more convenient time.

The task during my morning break was to make a drilling jig for the wheels.

This is comprised of a single sheet of plywood with four holes drilled in it. The width of the sheet is the same as the width of the underside of the feet.

And the four holes mark the position of the base of the wheels.

Easy to make and easy to use.

During my lunch break I started on the task of putting the wheels on to the legs. The jig was clamped to the underside of the foot with one end level with the end of the foot as show. Four small holes were drilled through the holes in the jig. The jig was removed and the 8mm drill used to widen the holes to the correct diameter.

The wheel is then bolted to the bottom of the foot.

Two complete legs had the wheels added during my lunch break. The brake on these wheels not only locks the spin of the wheel but also the rotation on the mount.

Back to work and …

Time for a cup of tea.

During my afternoon break I put the wheels on the other two legs.

A simple and easy job and quite quick as well.

After work I set to an put the cross beams in place. This took nearly three hours and I was completing the task in the dark, hence the flood lights. The reason it took so long was because all the things that had to be made, the bolts, braces and so on I made for both gantries. This means that the second one will take a lot less time.

Hopefully !

For now, I’m done for the day.

Time for a cup of tea.

2026-03-08 – Gantry Crane II

The next part of the gantry cranes part is to make the various components from the timber that was cut yesterday.

I started with the leg braces. These were glued and screwed together to form eight braces and put to one side.

Next were the legs. I used three saw horses on level ground to ensure that I had enough flat space to construct the four legs.

The legs were also glued and screwed but I used 100mm long timber screws. Four of these need to be screwed in flush with the surface so that I can dismantle them form the feet for storage.

Even though I used screws, cramps were added in between the screws to hold the glueing surface together.

The top of the leg is stepped as shown so that the two cross beams can sit on the step for added rigidity.

The last component are the feet. Again, glued and screwed using the timber screws.

Now I wait a while until the glue has grabbed the wood sufficiently before assembling each leg.

Time for a cup of tea.

The first leg took quite a while to construct, mainly because it was the first one.

This the main parts of the leg fitted together and I need to make a bridge piece that covers the joint between the leg upright and the braces.

I made one then used that to mark out the rest.

This is how it fits on the leg.

After lunch I made a start on the other three legs and, as expected, I built the three in the same time that it took to build the first.

The weather forecast suggests that it is going to be foggy and misty tonight so I pulled the legs into the workshop.

This took a bit of doing because they are taller that the rafters and also heavy.

To complete the legs I have to put on the wheels, cut and fit the retaining bolts for the uprights. Once those tasks are done the cross beams will need to be fitted along with the top bracers.

However, for tonight I’m done.

Time for a cup of tea.

2026-03-07 – Gantry Crane I

Today I started the construction of the gantry crane, which is really two gantry cranes that will be used in tandem to lift the boats, one at a time.

Initially I started cutting on the pile of planks, putting two spacers under the plank being cut.

The jig I made last night worked very well and allowed me to make the cuts with ease.

The first two planks were cut like this, but I found that this was a bit too low for comfort and decided to use the work horses instead. The planks would only get lower as each one was cut.

A lot more comfortable.

At the end of the length cutting phase, these are the results:

These will form the four legs, consisting of three pieces, one long and two short.

These are the feet upon which the legs will rest, consisting of three pieces for each foot.

These will be the diagonal braces between the feet and the legs, each brace consists of two pieces, one long, one short and there are two braces per leg.

These are the cross beams at the top of the gantry, two on each gantry.

All of the pieces except the cross beams will be cut lengthwise in half, which will be the next task after a break.

The cutting was easy due to the circular saw jig.

This was the hardest part, getting the metal straps of the ends of the planks. It took as long to do that as it did to cut the planks. And there’s more to come !

Time for a cup of tea.

After a break I started on cutting the timber lengthwise.

An hour later I had a stack of cut timber almost ready for the construction. I say almost as the diagonal braces need the ends cutting to 45º. But I needed another break before I tackled that task.

Time for a cup of tea.

The foot braces were cut on the table saw with the blade set to 45º. Once set up this didn’t take very long to get through both ends of the sixteen pieces of timber.

All sixteen pieces cut.

This is how they will be when fitted. A pretty close fit. Good enough for this project.

Now I am ready for the construction which is tomorrows task.

Time for a(nother) cup of tea.

2026-03-06 – Preparations Continued

The day started overcast with little wind but chilly, so I decided to do a small task, just to get things moving, so to speak.

A nice, simple job, installing the aft navigation light. The various bolts and screws had butyl tape wrapped around the shank as was the underside of the deck gland. The fixings were all tightened up, but not overly tight, to allow the tape to spread into the gaps.

During the next break I took, I lightly sanded the transom and applied a third coat of varnish.

The next part of the necessary preparations for the leak test was to put the half-bulkhead back on the port side of the case.

Putting it back in place is easy, just apply some epoxy and stick it in. The problem is that if there are leaks, then I may need to take it out, so for now, it needs to be temporarily fixed in place.

I also need to put in the second and third bottom runners on each side of the case, you can see the gap in the bulkhead where one of those is meant to go.

The top need to be adjusted slightly as the case side reinforcement is slightly wider than the original. The bulkhead also need to be well cleaned as it is covered in sawdust.

I stepped back and restated the problem. It is not how to fix the bulkhead in temporarily, it is instead how to brace the centerplate case for the journey on the trailer to Ely and back again and for the launch and recovery.

Stating it this way made the solution very simple. All that is required is a stout piece of timber the width of the cabin at the pivot bolt position, some scraps of wood and some cramps.

Sort of.

Like this. The starboard side is braced against the woodwork on the starboard side of the cabin and the port side is clamped to the remaining section of the half bulkhead. That should be enough bracing for the leak testing procedure.

I took the cut out section of the half bulkhead into the workshop to give it a clean and a sand and it looks as though the last coat of varnish was applied without cleaning or sanding the workpiece first. The top layer of varnish just flaked off. I’ll have to go over it properly and make sure that all that top layer is removed. The forward part of the bulkhead is half painted and half varnished. Since this part is rarely if ever seen, I’ll paint it and just varnish the top part. The aft side of the wood is painted.

I took the time to sand the cut section of the half bulkhead during a tea break. This is the aft side.

And this is the forward side, the side which was varnished and I have scraped off. This entire piece was not sanded before the last coat of paint and varnish was applied, it was all flaky. I expect that piece of the bulkhead remaining in the boat is the same. I probably will leave the rest of the interior “redecoration” for another season.

The next task lined up for the day was to restrict the lateral movement of the bridge deck supports such that they are effective.

Like this. These three blocks are screwed into the underside of the bridge deck with butyl tape in the joint and they are tight up against the two supports. They will be sanded and varnished when the supports are varnished. However, the port side block now prevents the door to the battery compartment from closing, so the next task is to deal with that.

The first attempt was close but not quite good enough so I took little pieces of the door away until it fit.

This is the adjusted door with the catch fitted. The plywood at the top of the door and where the cut out has been made needs to be varnished, so it was taken off and returned to the workshop to do that very thing. It will only need a couple of coats and will be finished tomorrow.

For now…

Time for a cup of tea.

The first task tomorrow will be marking out and cutting the scaffold planks to length and then to width. To make the cutting to length easier I make a circular saw jig.

It is simply two piece of wood hinged together with the narrower piece being exactly the distance from the edge of the case to the cut made by the blade.

You open the jig out, put the right hand edge on the line you want to cut, clamp the jig in place…

…fold back the narrow piece and then use the edge of the wider piece to guide the saw. Simple and easy. Since I have twenty-four cuts to make, this is going to make it a lot easier to carry out.

That’s it for today.

Time for a cup of tea.

2026-03-05 – Preparations For the Leak Test

With only a week to go before the leak test, the tasks over the next week will be concentrated on getting the boat ready. The day started out fine and sunny with little wind but with condensation everywhere. The forecast was for around 16º C so as soon as the sun had driven off the dew, I took the varnish down to the workshop to make a start.

After cutting off the protruding ends of the plugs I glued into the redundant holes in the transom yesterday, the next task was to remove the skin that had formed on the surface of the varnish. Over the past few weeks I have just poked a hole in it each day and dipped a small brush in the hole. However, today I needed to use a large brush and that method would work no longer. I used a large screwdriver to detach the skin from the sides of the tin and lifted the whole skin out. I was wearing nitrile gloves, so it wasn’t that messy.

A few minutes later and Shoal Waters had a varnished transom. Well, one coat at least. The overcoat time for this varnish is 6 hours meaning that I should be able to get another coat on later this afternoon. It looks pretty good although I do seem to have made one mistake and that is to use a silicone based sealant. I read the small print on the cartridge after using it yesterday and it clearly states that this product cannot be over painted. I say clearly, the language is clear but the lettering is very small. So, I’ll put that aside and use it for something else and get a non-silicone based sealant for the rest of the job.

Still, the transom does look nice with the varnish. It will never cover over the dings, scratches, repairs and so on. The only way to do that would be to paint it. You have to remember that at this time, Shoal Waters is sixty-three years old and is not in pristine condition any more. The scars she carries eloquently show that she has not been sitting idle for those years but was a well-used and cared for boat and not a museum piece.

The next major task in the next week is to build the gantry crane. That stack of scaffold planks you can see next to the boat are for that purpose and the task at the weekend, come hell or high water, is to convert those planks into two gantry cranes. Which reminded me that I need to find the heavy duty wheels I bought for this purpose sometime last year !

Oh, and service the chain hoists.

And inspect the lifting strops.

Yet more tasks for the to-do list.

Of course, having thought that I needed to find the wheels and strops, I couldn’t concentrate on my work and had to take a break to find them !

Fortunately, neither were hard to find. Eight heavy duty lockable wheels, each rated at 200 kg.

And the strops. Now that I’ve found them I shall inspect them later.

Oh, and another thing for the to-do list, buy new waders. I threw out my old ones after they developed a leak.

Since the weather is so good right now, there are a few painting tasks that need to get done and since they don’t take long, I decided to get on with it.

The patch on the aft deck so that I can finish the aft navigation light.

Time for a cup of tea.
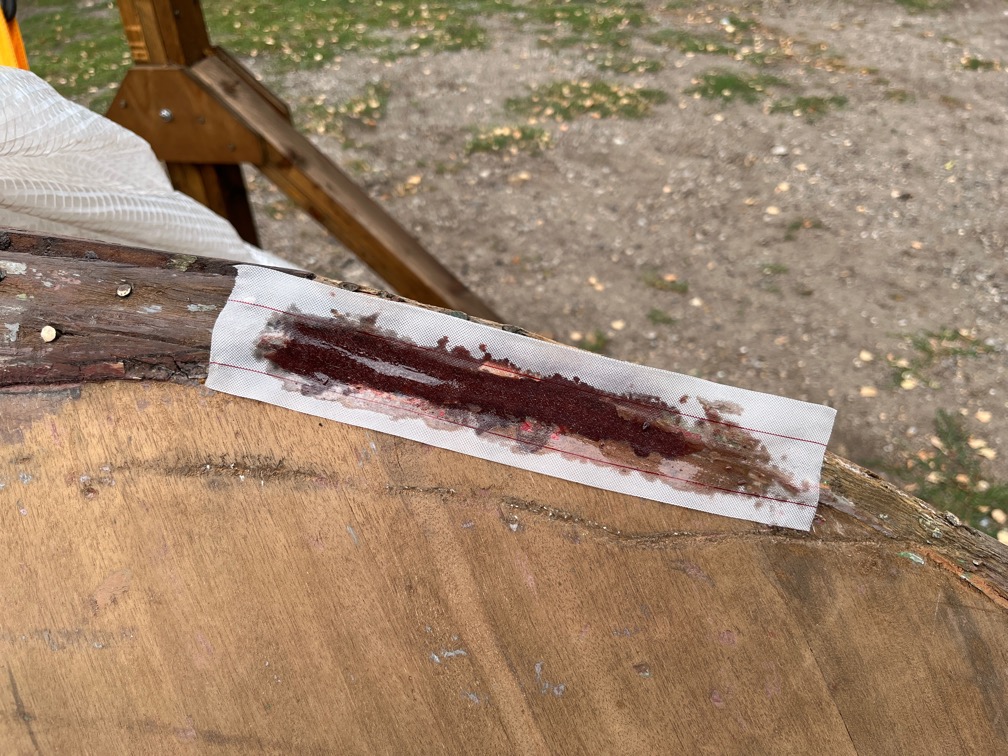
I looked back at the photos and realised that I should have painted the new aft deck piece, so I went back to the boat.
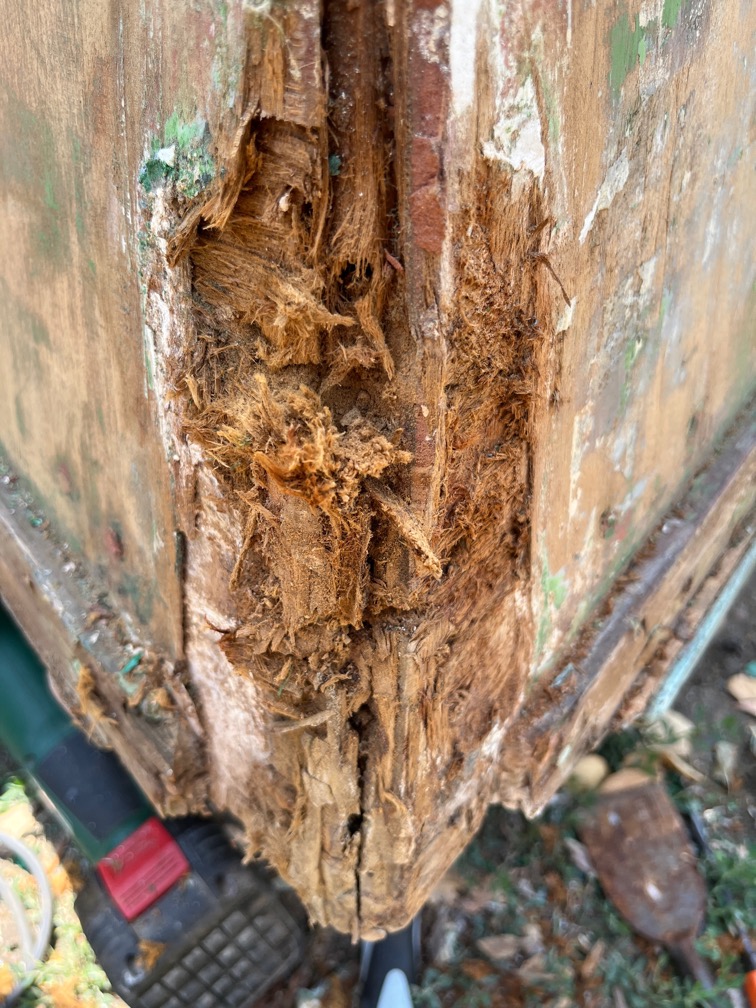
That took very little time, but since I was out here and the weather is really nice…

…I also painted the section on the port bow that was treated with epoxy.

You can see that the new paint is much darker than what she is currently wearing. The current colour is ‘Norfolk Green’ according to the old tin of paint that came with the boat and that colour is no longer available. The nearest colour and one that is likely to remain available for a long time to come is ‘British Racing Green’, affectionately known as BRG. So, Shoal Waters will be BRG and from what I can tell from older photos of the boat, she has been that colour before.

After work I continued the under bridge deck case supports. BUt not before putting another coat of varnish on the transom and a second coat of deck paint on the deck as previously.

After some measuring and cutting this is the starboard side support, screwed into place but not permanently fixed.

The is the port side support also screwed into place.

The gap above the case top allows it to be unscrewed and removed without first having to take off the supports. Hopefully it will never be needed.

After this I completely ran out of energy, so called it a day.

Time for a cup of tea.