
Despite the weather being warm enough to carry out epoxy and varnish tasks, once they are done they prevent other work from being carried out. I have already put my hand on wet varnish whilst getting out of the cabin and with the epoxy being at clodhopper foot level it would be far too easy to knock the epoxy pieces askew without noticing and ruining the work.
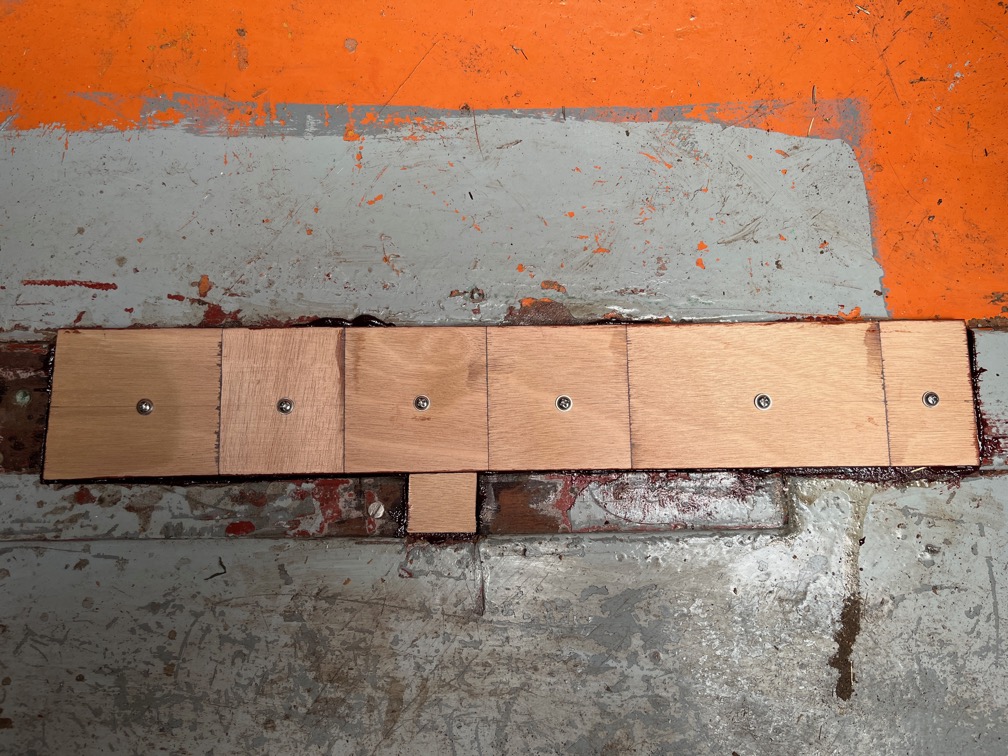
The first piece to done is the leak patch, working from inside the cabin outwards. It was a straightforward glue up, the only part of the task that required care was when drilling the pilot holes for the screws. No point in doing all this if the pilot holes go right through the hull !
Time for a cup of tea.
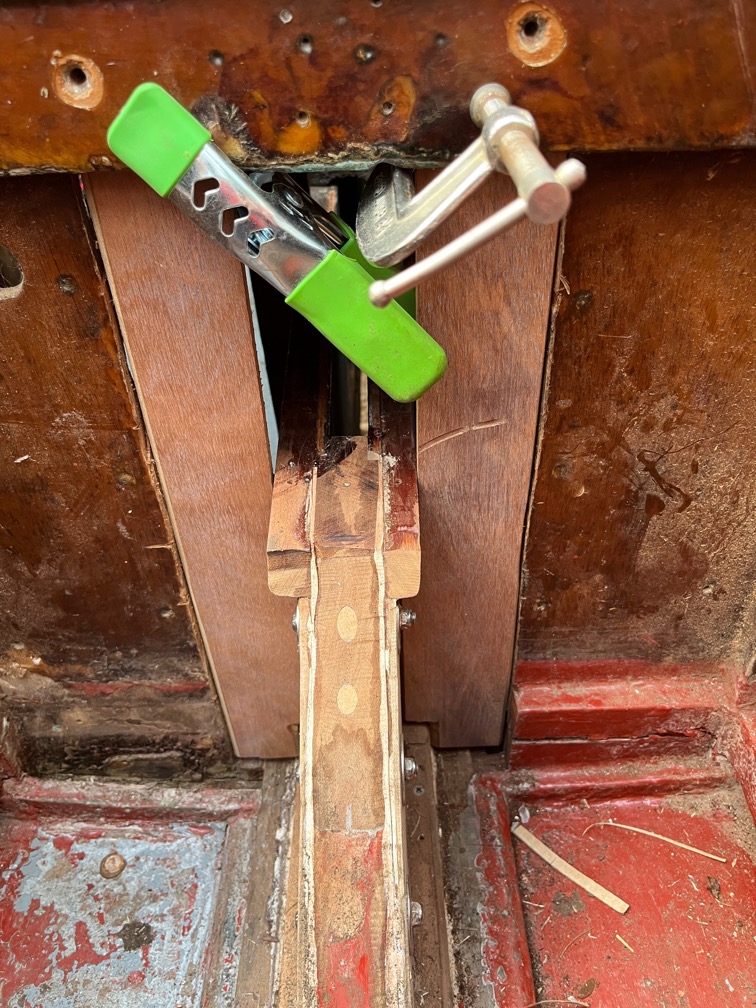
Then it was the turn of the cockpit/cabin bulkhead. These were dry fit with cramps to see if I needed to brace the bottoms of the workpieces. The pieces were fairly stable with just the cramps, so I continued without any further bracing.
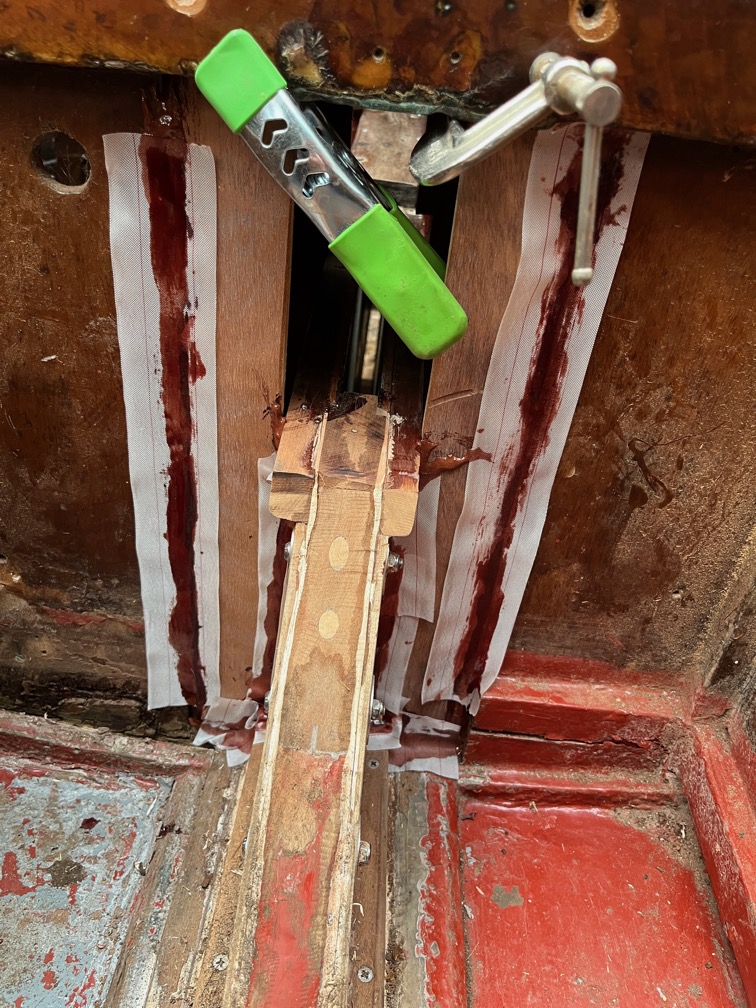
The epoxy for this part was an exercise in mutually exclusive requirements. The thickened epoxy had to be sufficiently stiff to hold its shape when applied and not sag, but not too stiff that it could not be applied using a piping bag. As it turns out, there is no overlap in this case and I had to settle for a slightly sloppy mix. I found that applying the peel ply did give the epoxy sufficient support to prevent sagging. Brushing on some neat epoxy also helped to distribute the epoxy over the joins and give a smooth finish. But it is not an easy job to apply the ply in such a confined space not with the shapes of the workpieces.
Still, it wasn’t too bad as far as I could see. I did check again later in the evening and found that the epoxy was curing and hadn’t sagged, or not that I could see with a torch in the dark.
Time for a cup of tea.
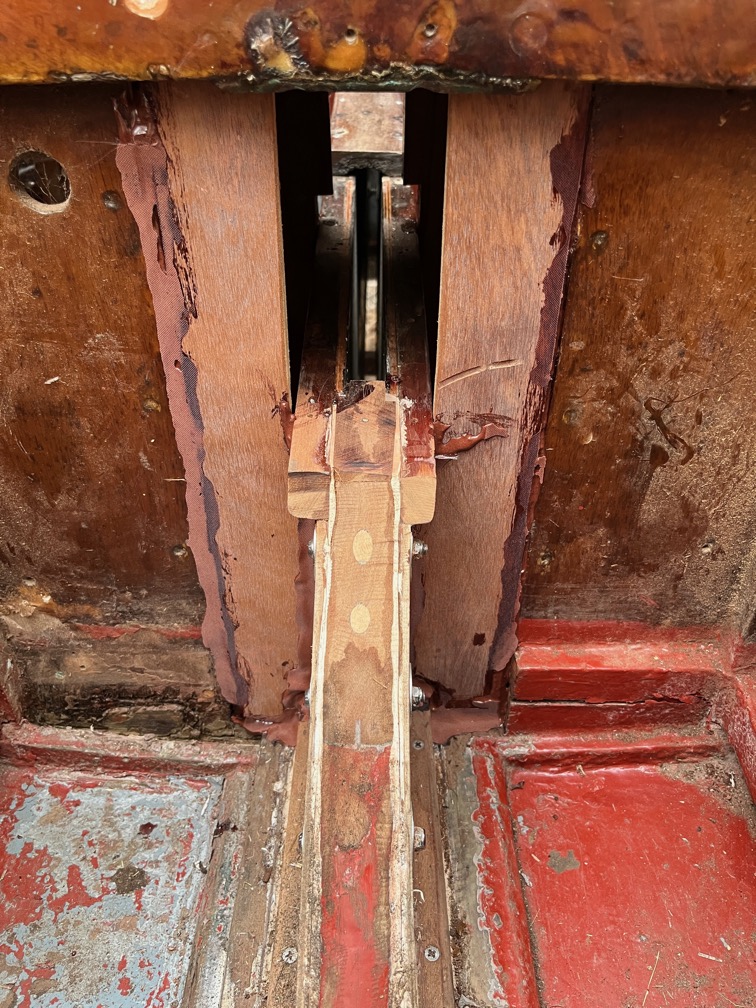
The result this morning, having removed the peel ply, is better than I expected.
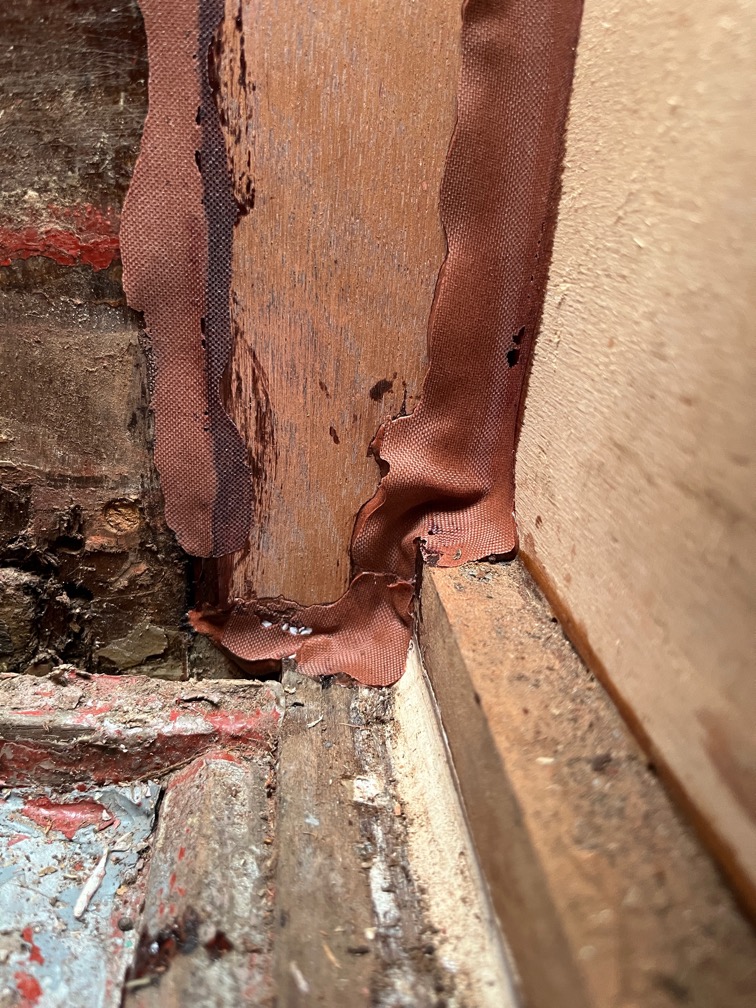
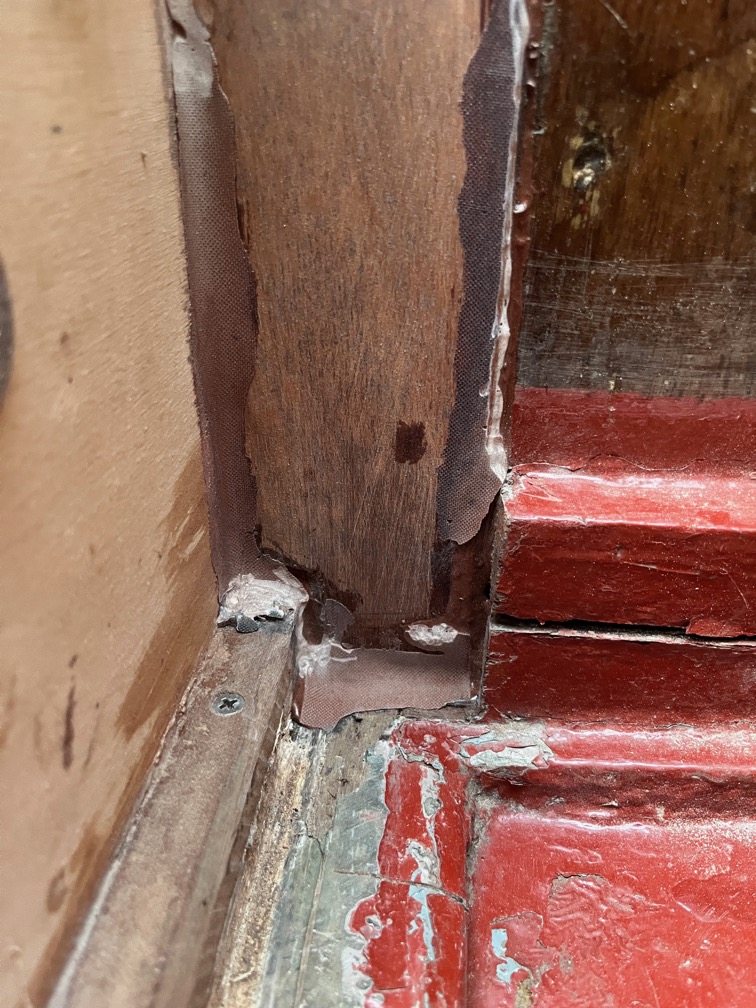
The parts that will need some extra work are the bottoms of the infills as you can see here on the port side.
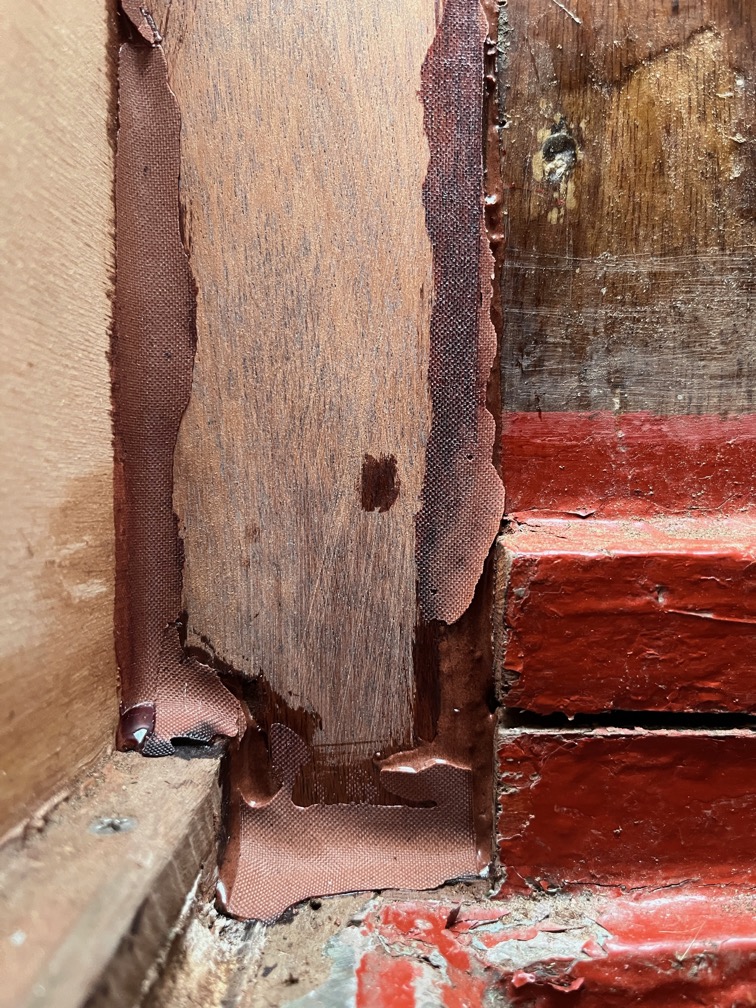
This side isn’t so bad, but both sides will need some sanding to remove the lumps and possibly some more epoxy to fill any remaining gaps. This is important at the bottom as this join should be watertight between the cockpit and the cabin.
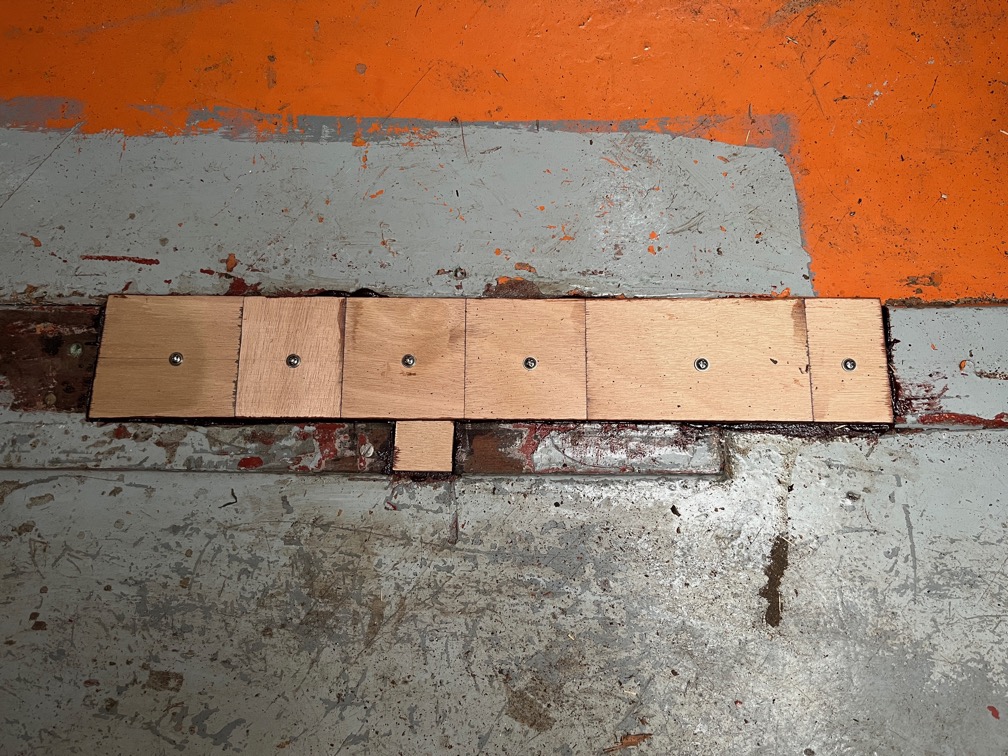
The leak patch cured well but will need some attention.
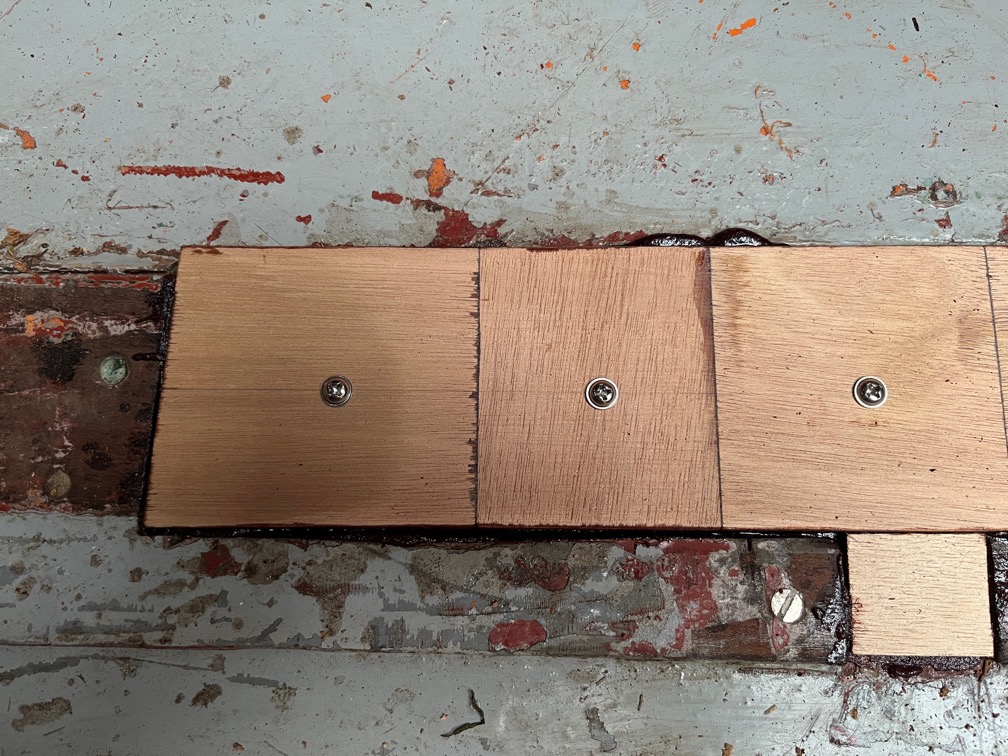
Specifically along the lower edge and ends where there is a gap and along the top where some squeeze out has occurred and where a bead of epoxy needs to be applied so that any water that gets in does not get caught in the top of the join but will be encouraged to drain away into the bilge.
Time for a cup of tea.
During my afternoon break I decided to work on smoothing out the rough sections of yesterday’s epoxy. Working in such a confined space is quite hard unless you have one of these:
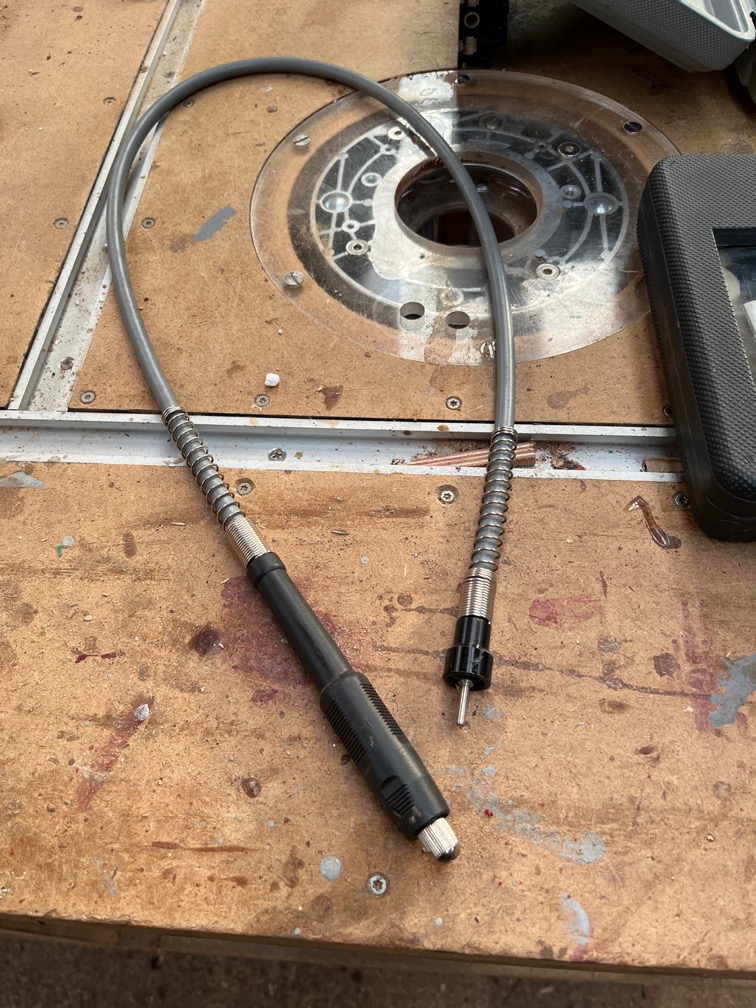
This is a flexible extension to a rotary tool, made famous by Dremel.
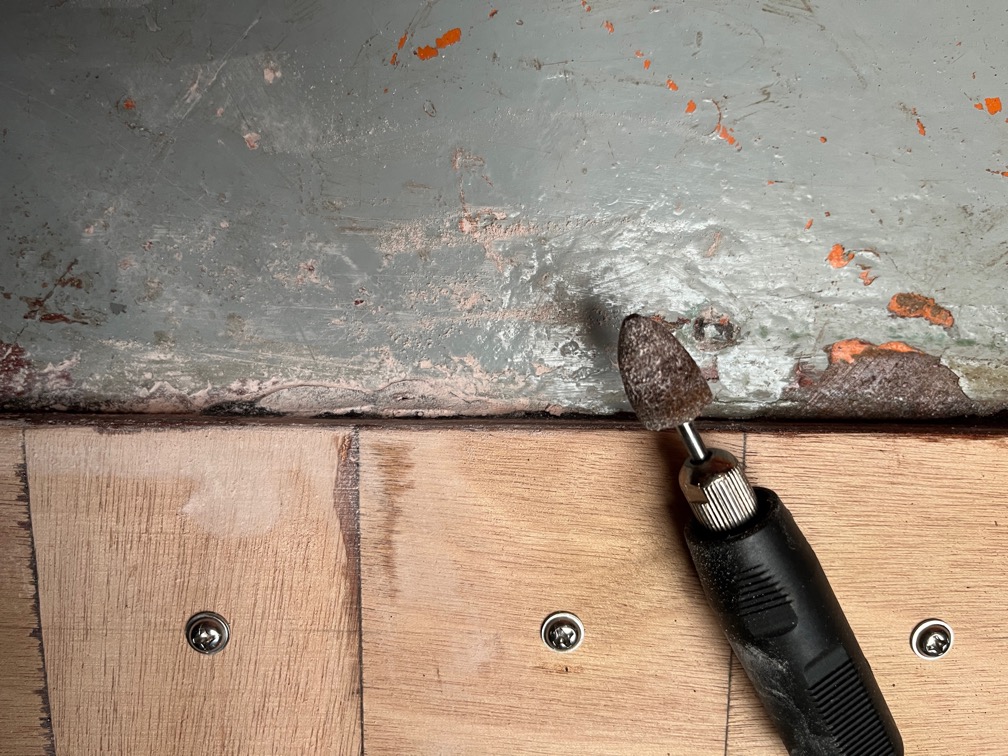
Here the offending squeeze out on the leak patch has been removed using the Dremel.
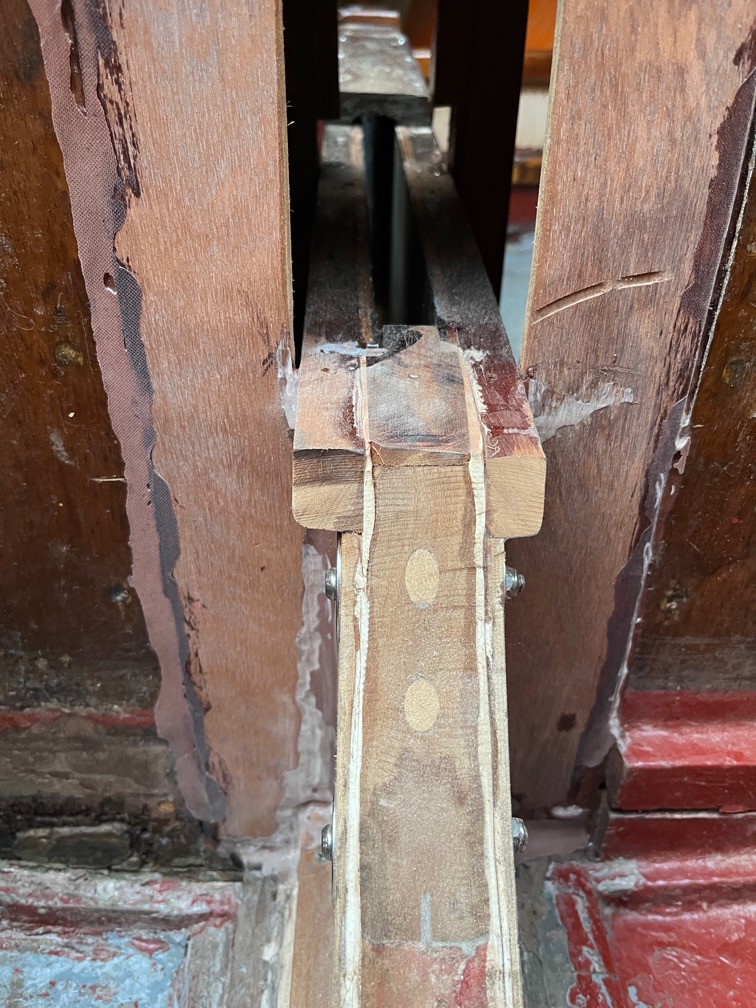
/and likewise on the infills.
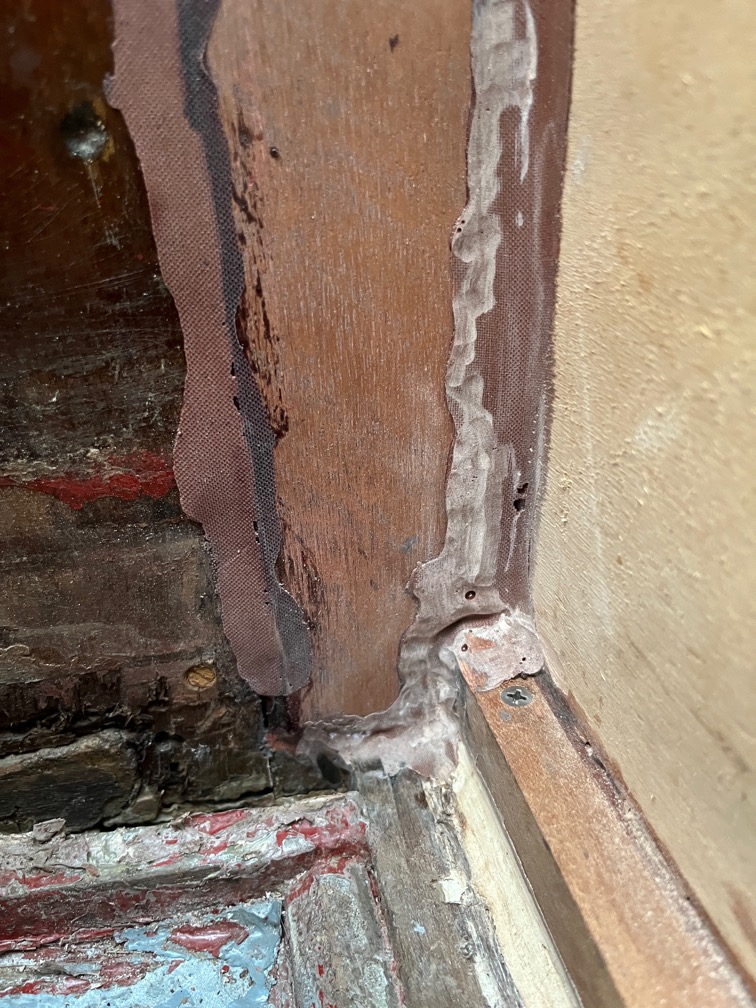
The epoxy is stilla bit rough, but if you run your fingers over it you do not get cut by any sharp bits and that is good enough.
Likewise on the starboard side, no more rough bits.
Time for a cup of tea.