2026-07-18 – Inverting Shoal Waters

It has been some considerable time since I last carried out any sustained work on Shoal Waters, primarily due to getting my own boat Naiad ready, then launching her then doing some sailing whilst the weather allowed. I will be unable to sail for the next few weekends, so the time has come to continue with the Shoal Waters’ refurbishment.

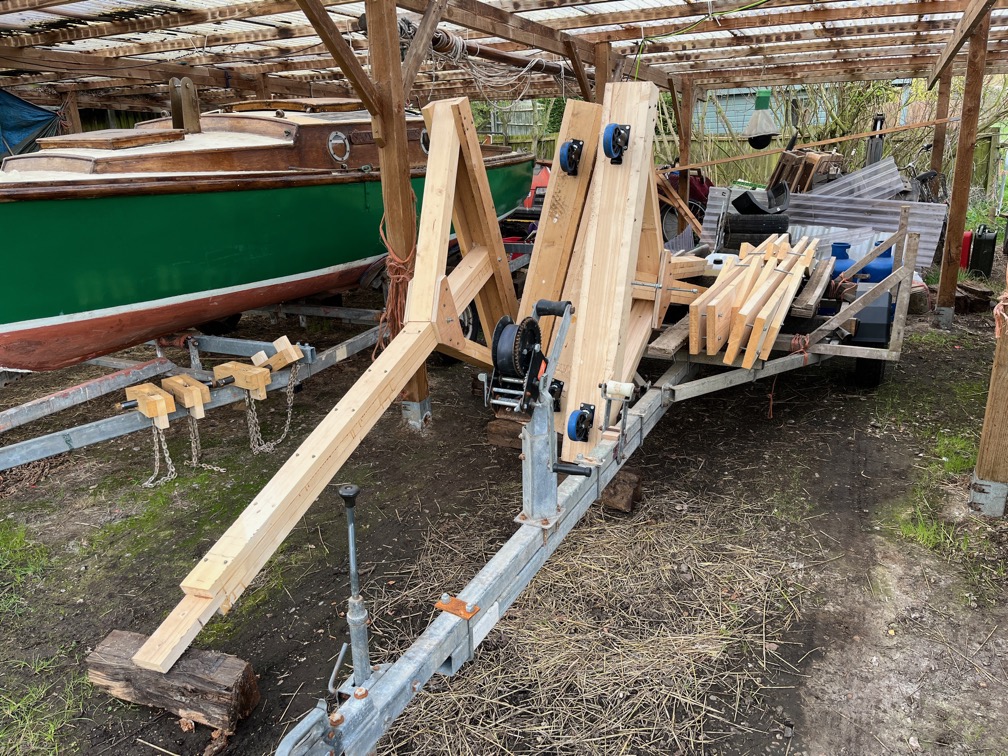
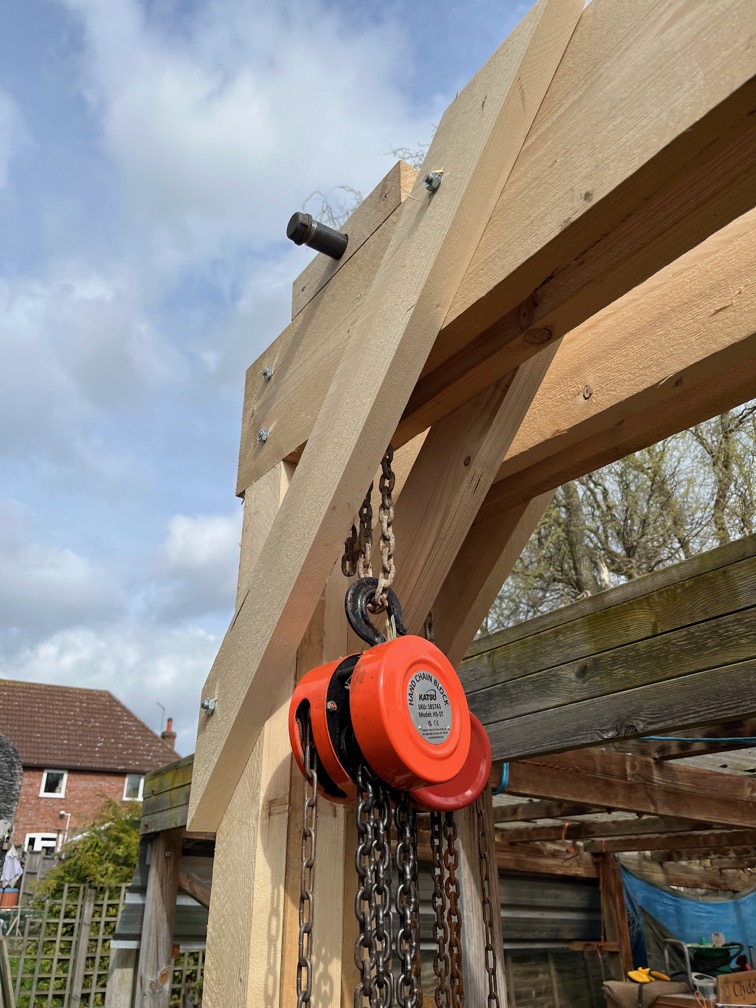
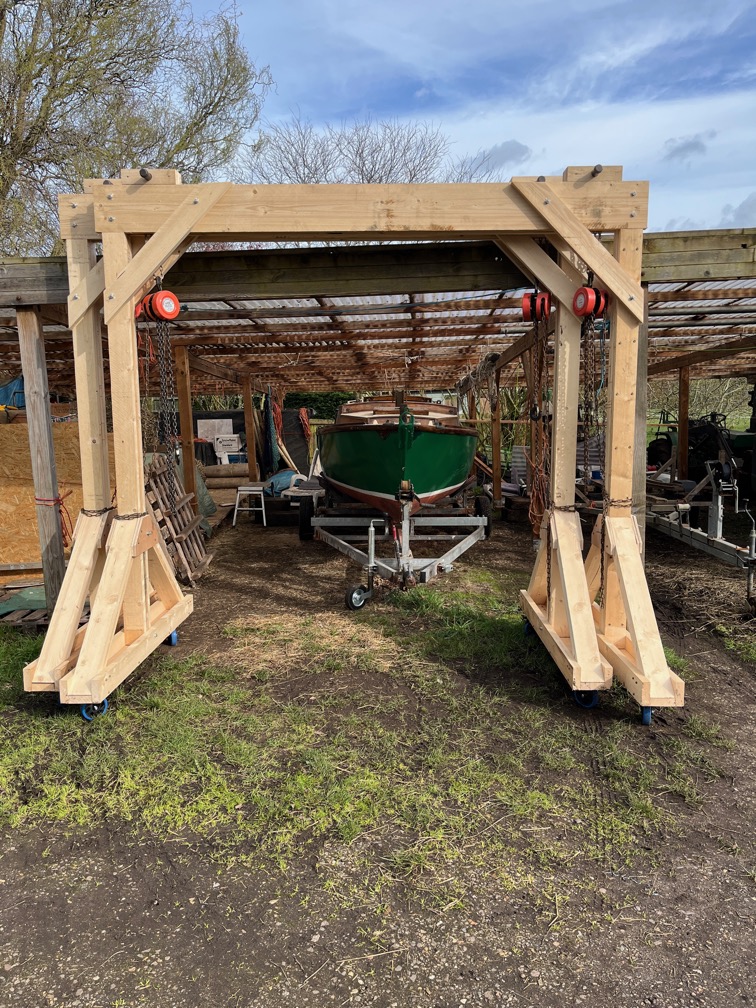
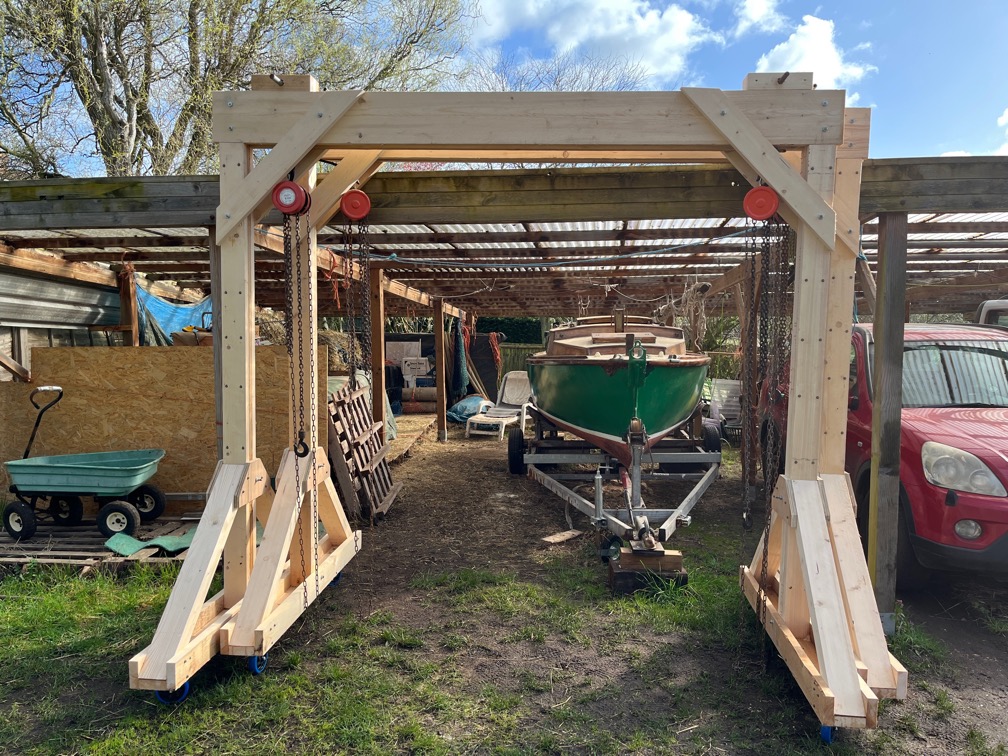
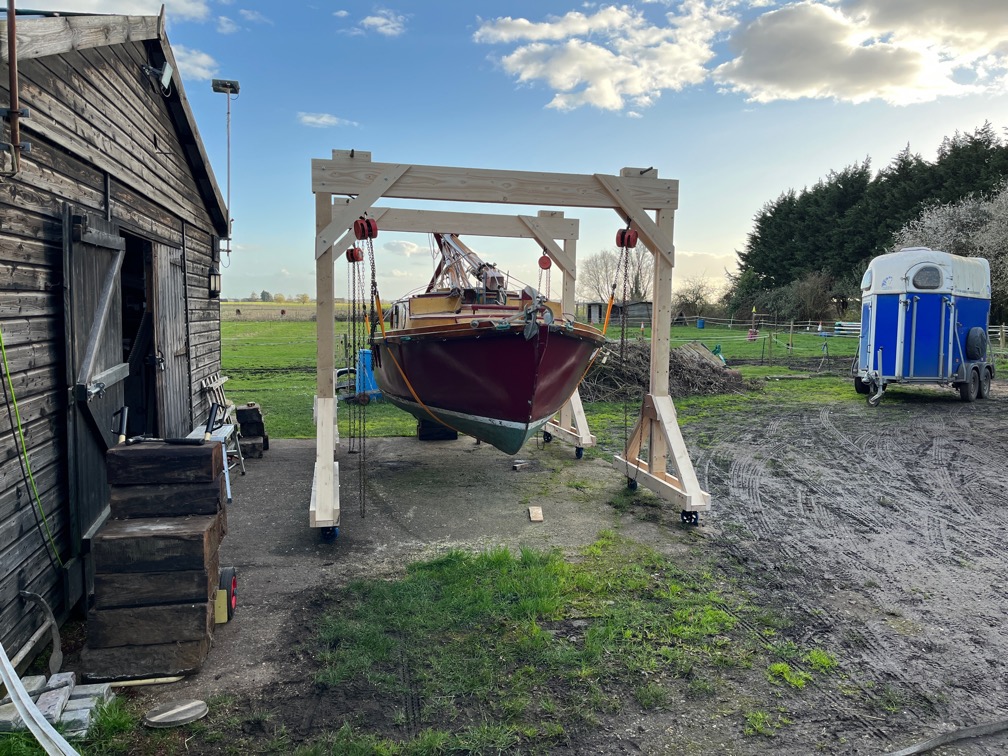
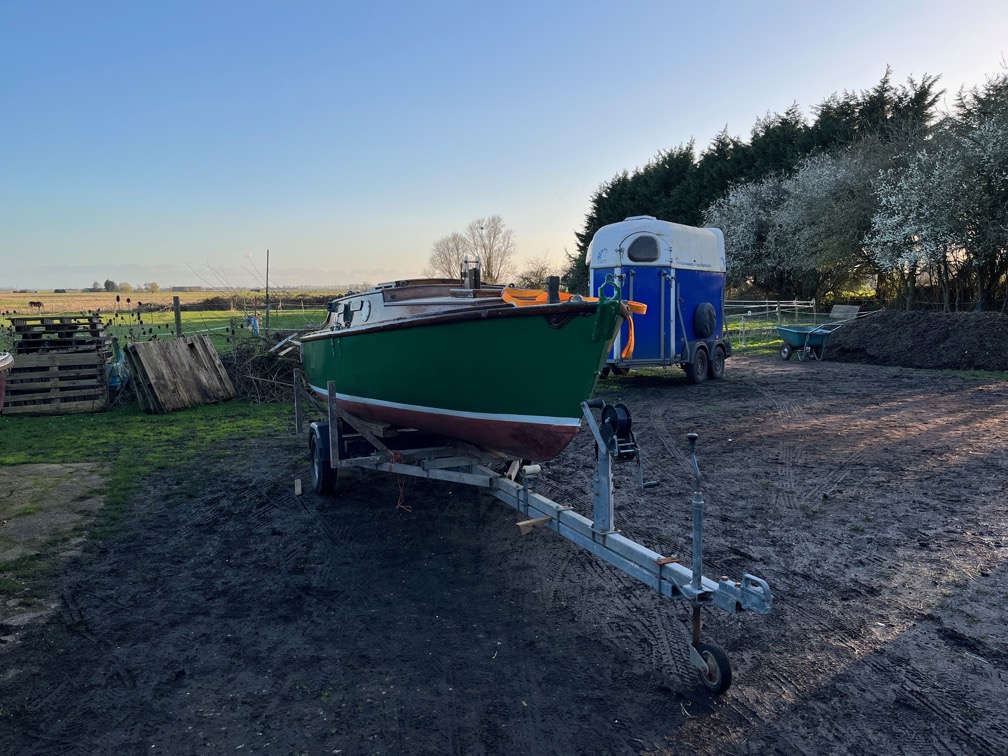
The first task of the day is to invert the boat since it is the hull upon which I need to work next and that is not possible when she is the correct way up. So, the gantry cranes were rigged and put into position, Shoal Waters on the working trailer positioned and strops attached to the hoists and then the tedious process started.
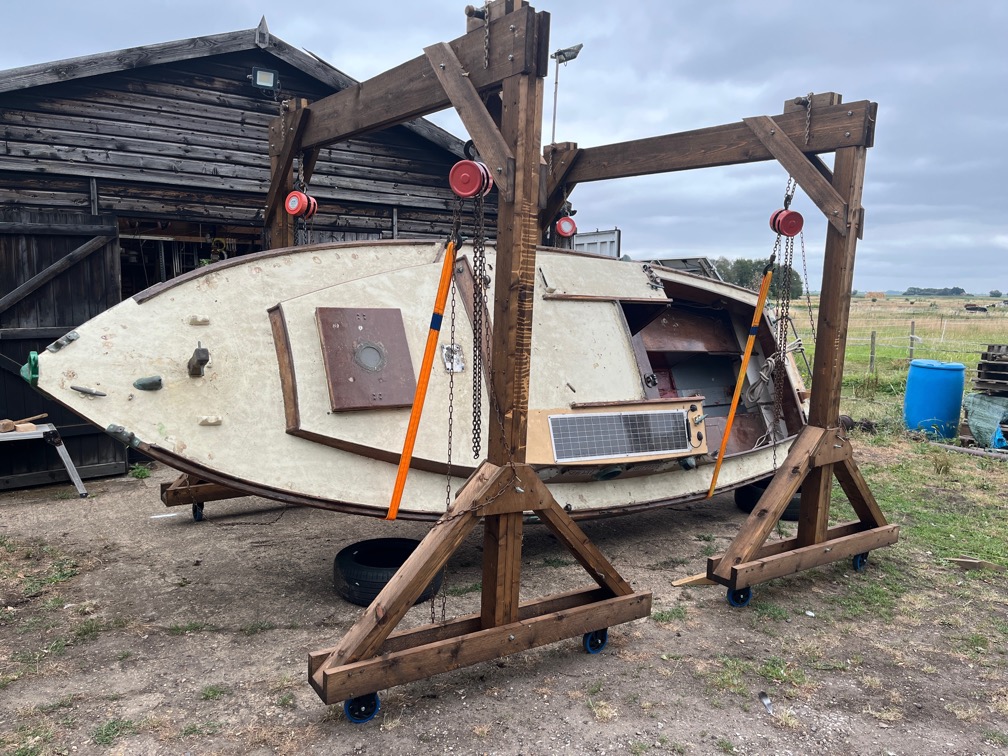
Down on one side and up on the other.
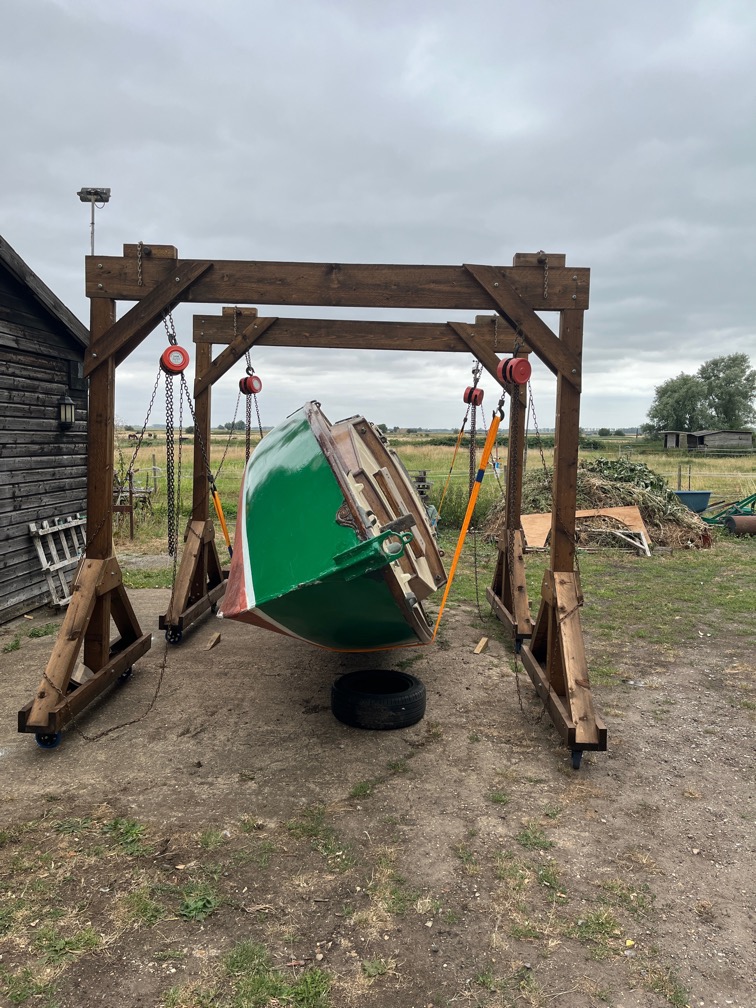
I dislike this part of boat maintenance intensely.
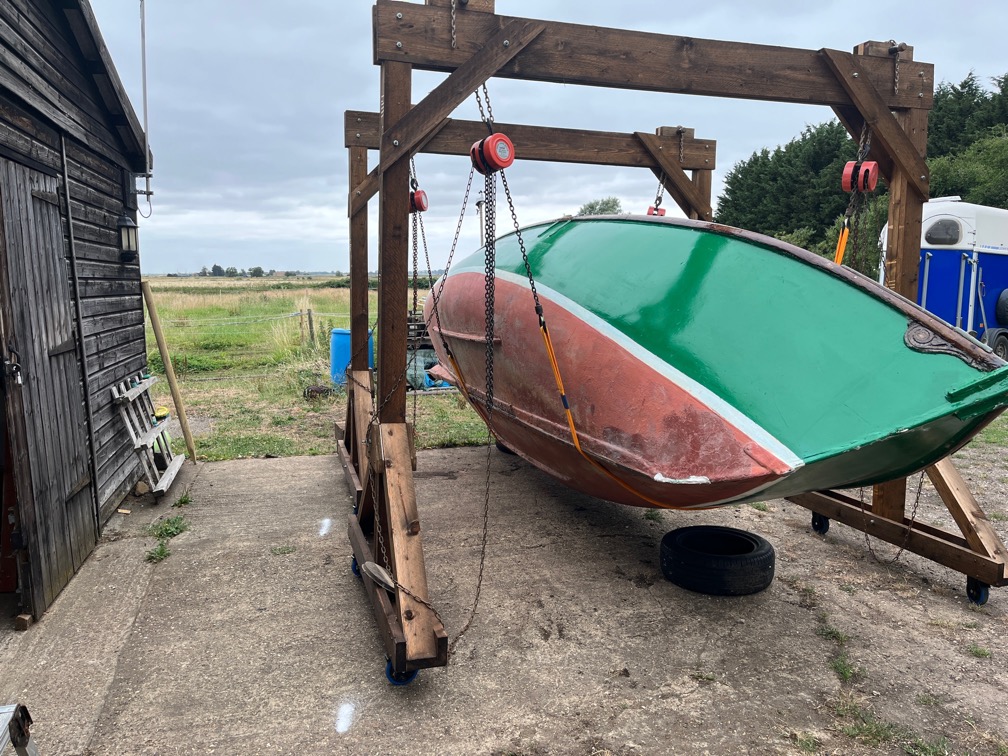
I know it is necessary but that still doesn’t mean I like it much.
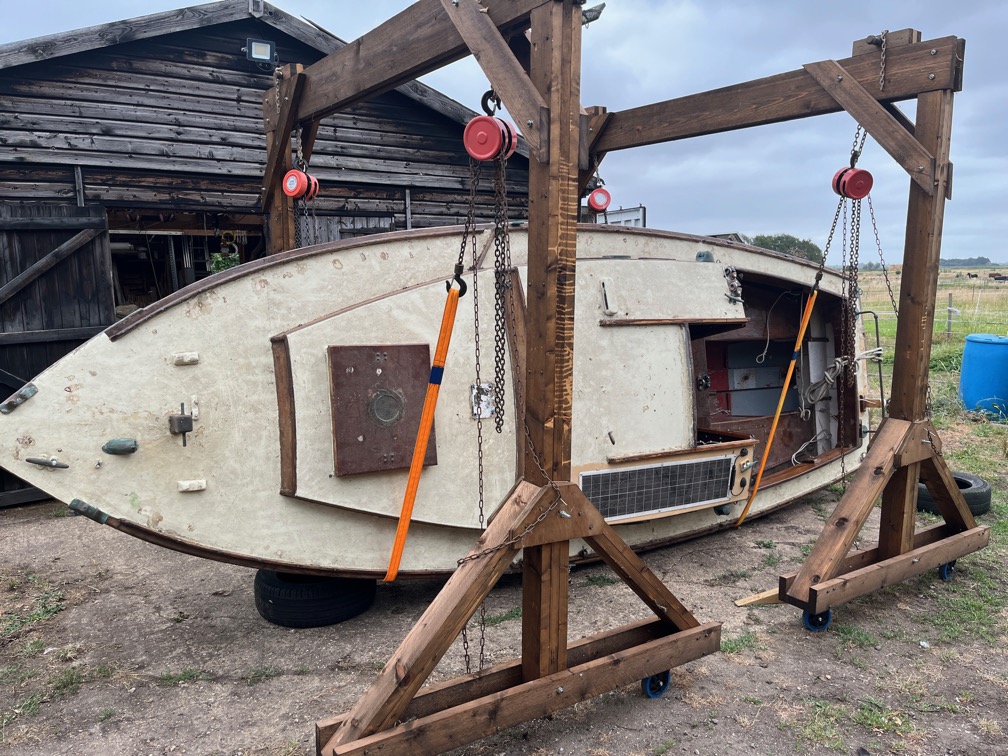
More and more she tipped over.
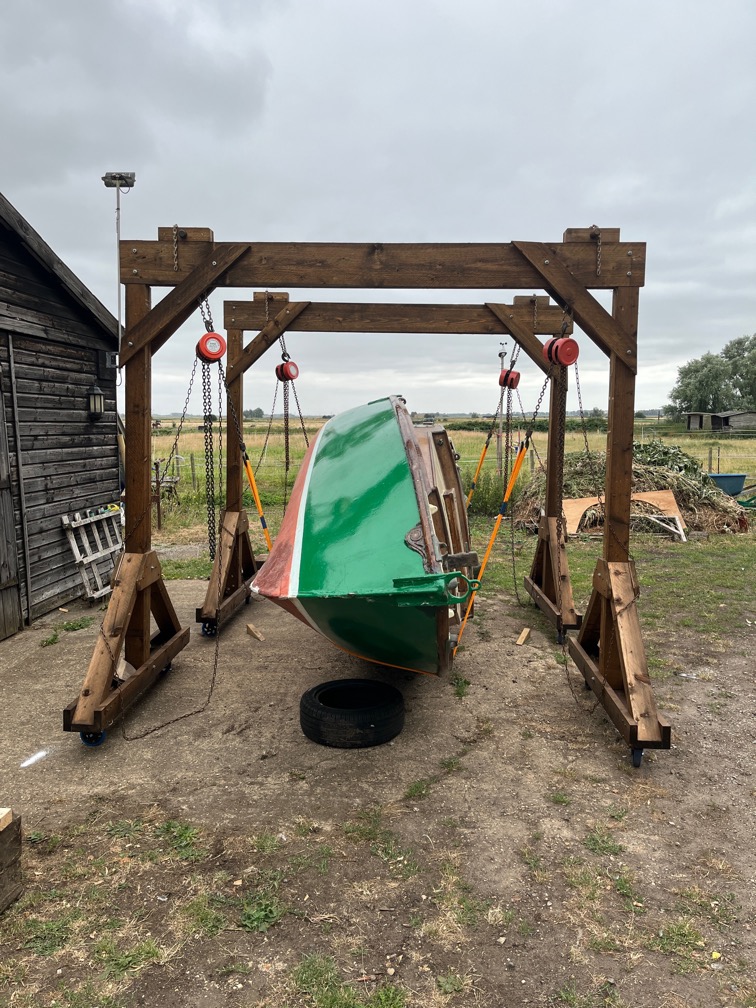
And despite looking like she would tip right over about here, she did not.
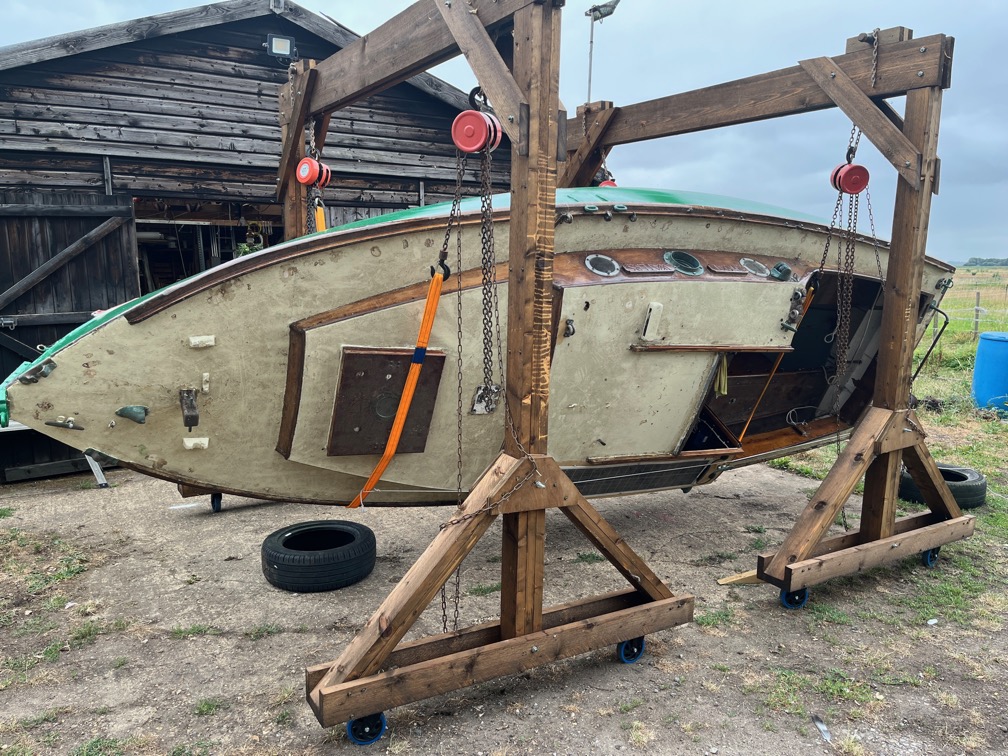
It was only at this point that she finally tipped over the center of gravity and came to rest on the strops and chains on the other side.
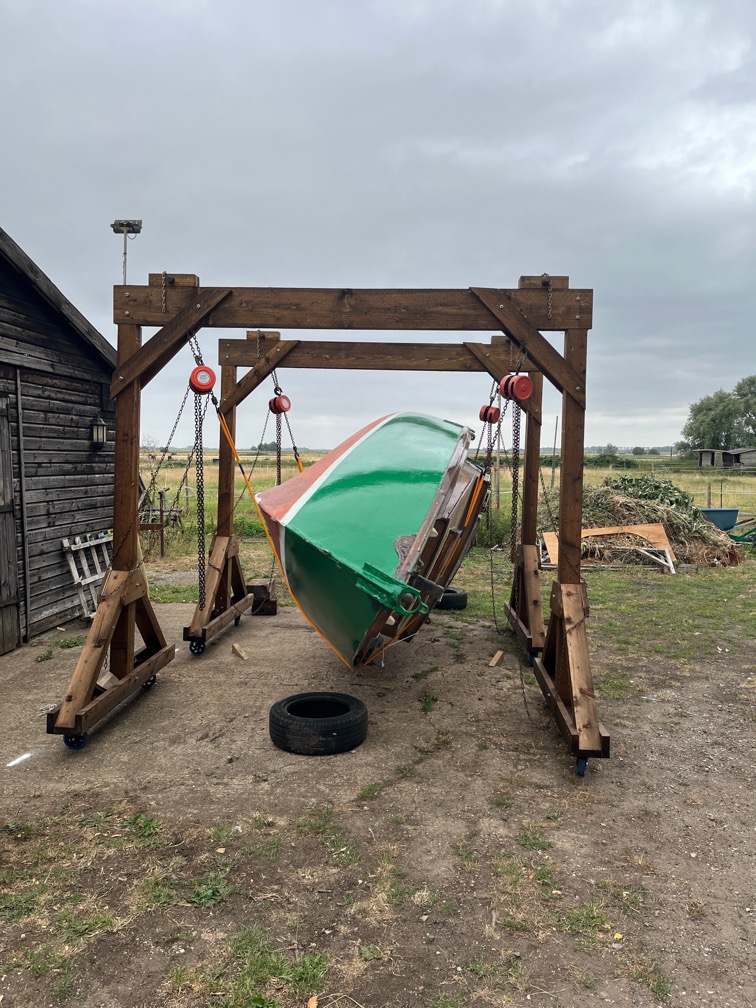
This shows just how much the topsides have to cant over before the tipping point is reached.
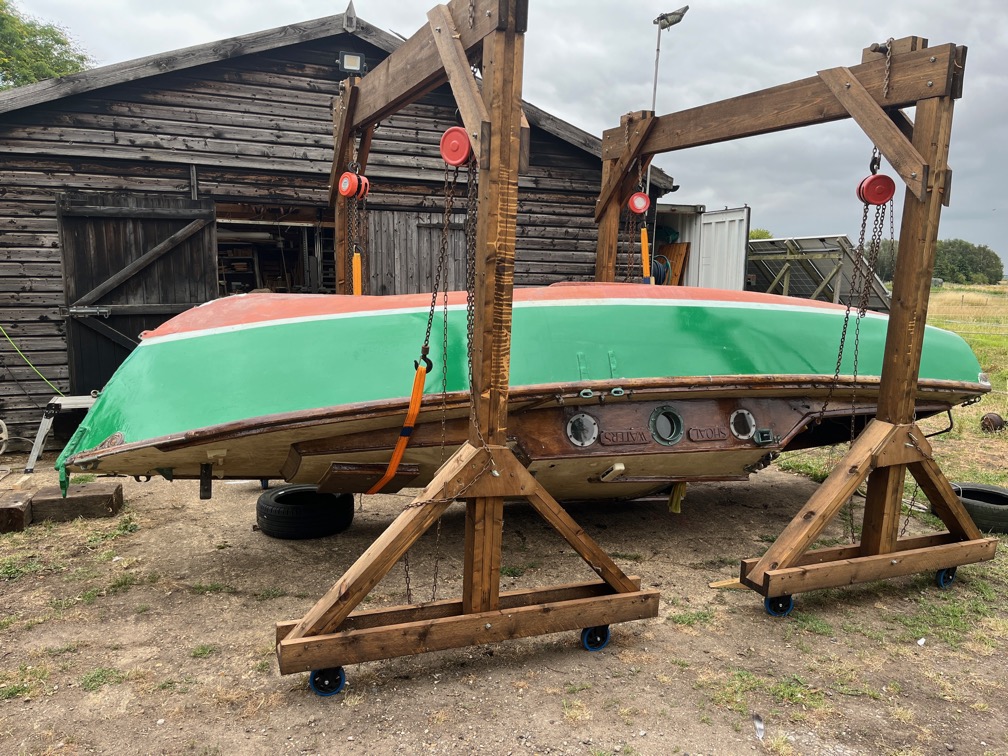
Then it is lowering down instead of lifting up, again little by little. No need to rush, we were not in a hurry.
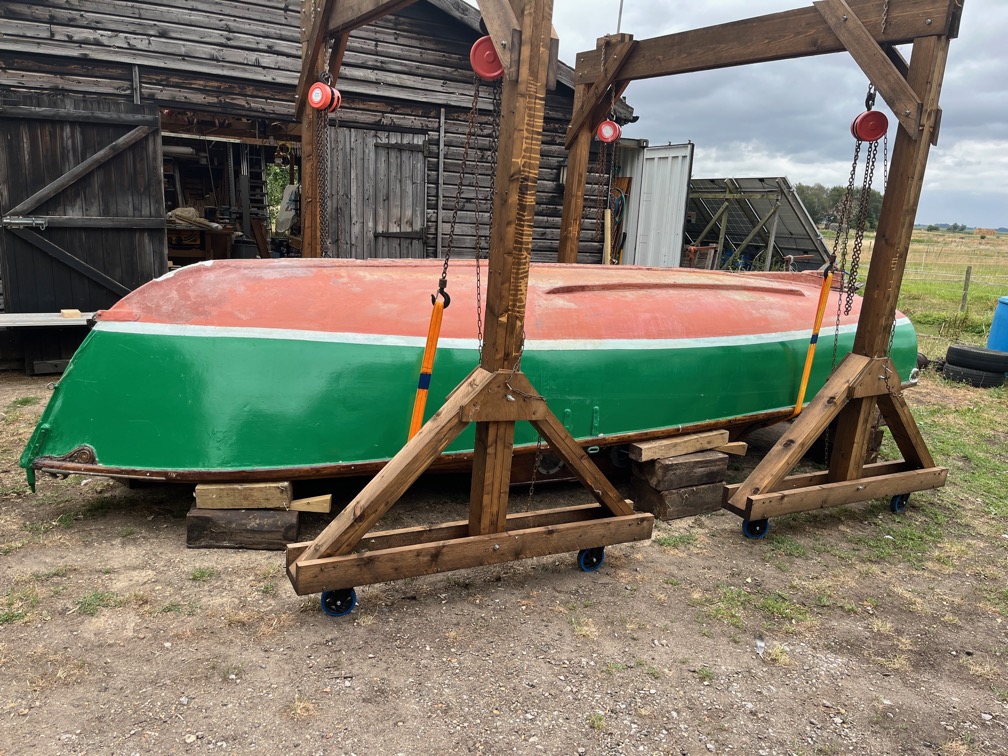
Until she was finally down and resting on blocks.
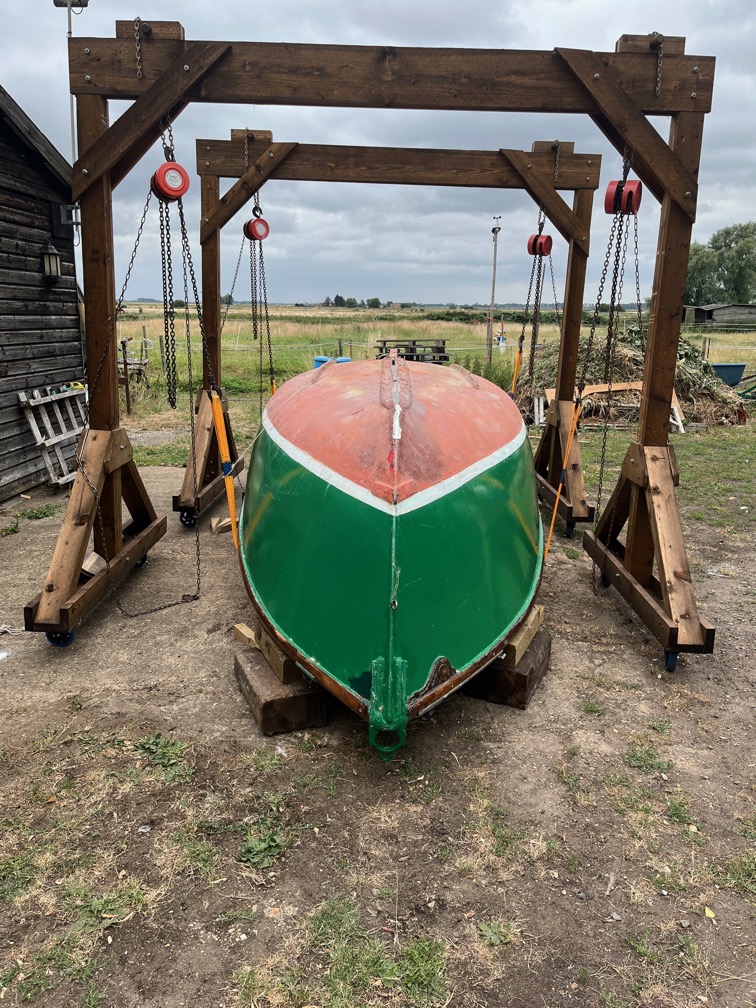
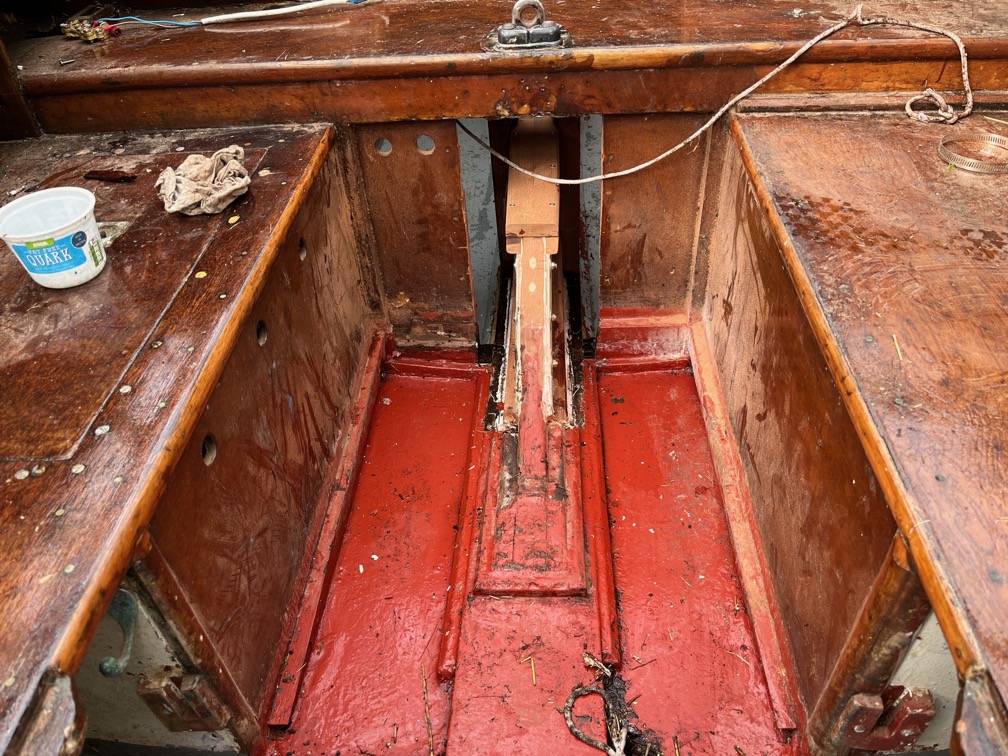
This is as low as she can be, the main hatch frame is a centimetre or so above the concrete. Time to get to work.
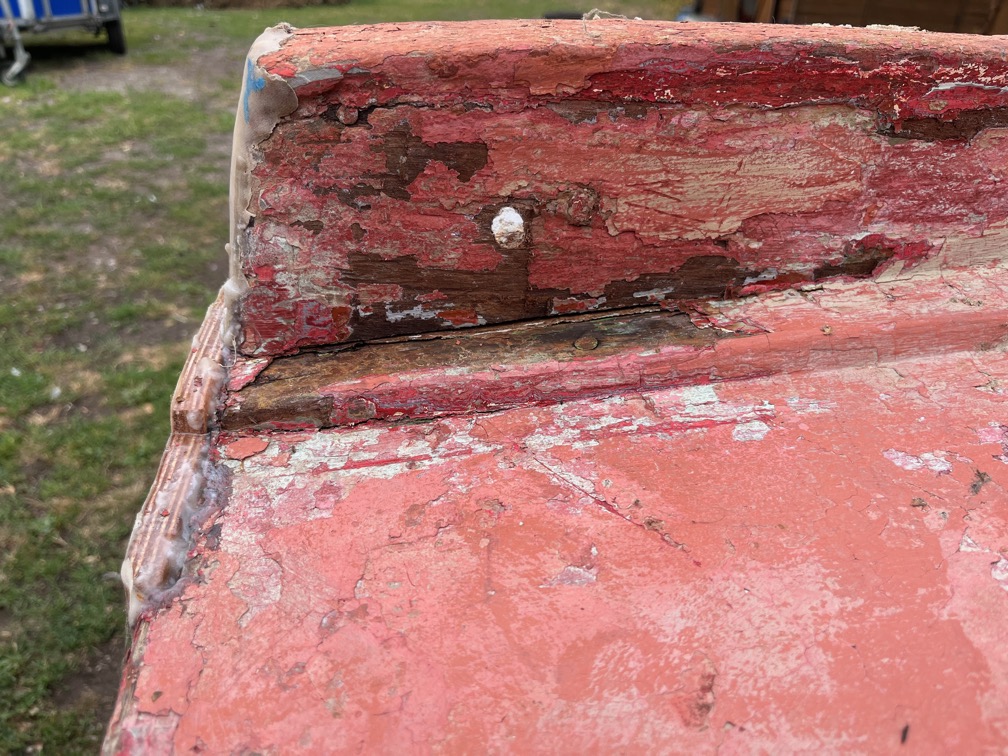
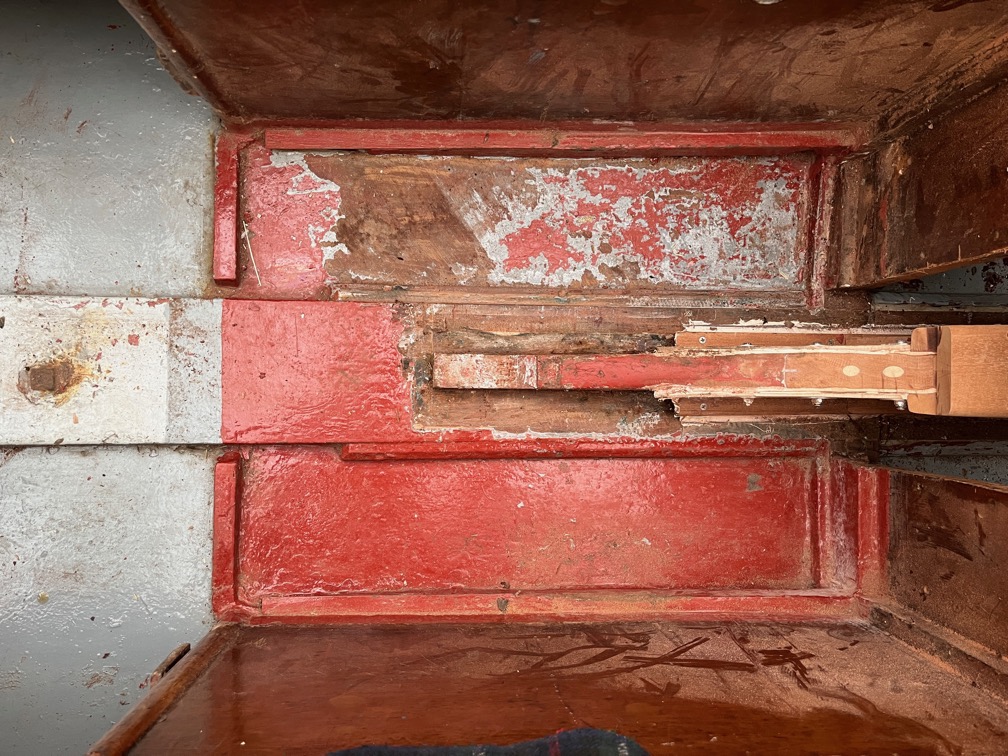
The first task is to remove the paint and antifouling from the keel. Parts of it, as you can see here, are already bare, the accumulation of paint having chipped off sometime since she was last in the water.
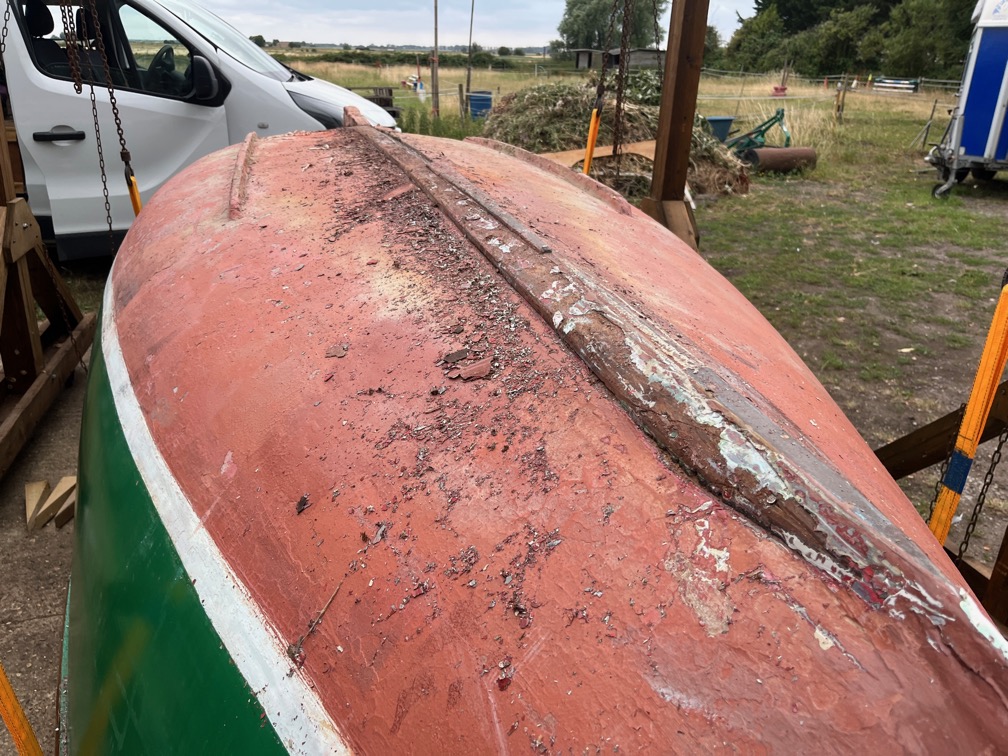
I set to with a sharp paint scraper and it didn’t take long to remove the majority of the paint from one side of the keel. This is the after photo…
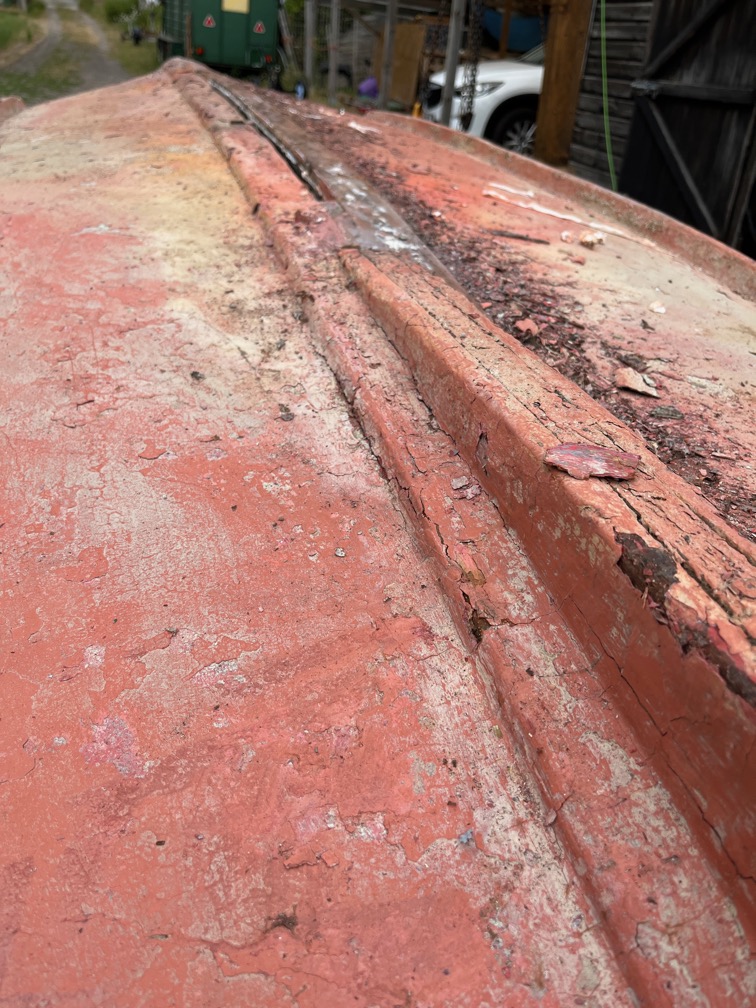
…and this is the before picture. Quite a difference.
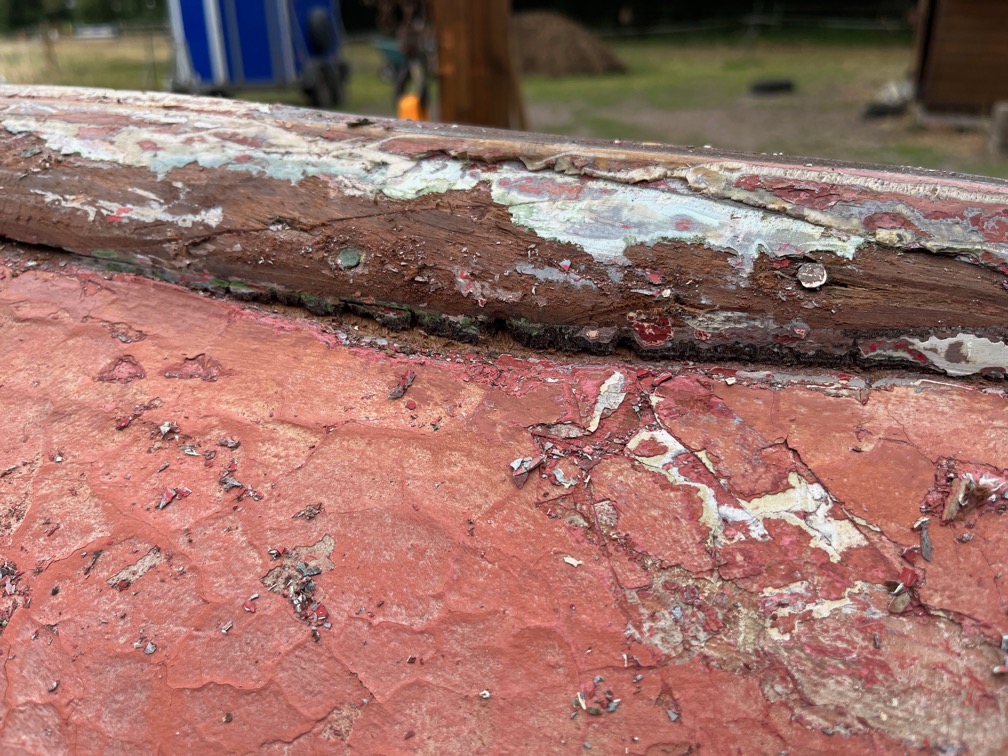
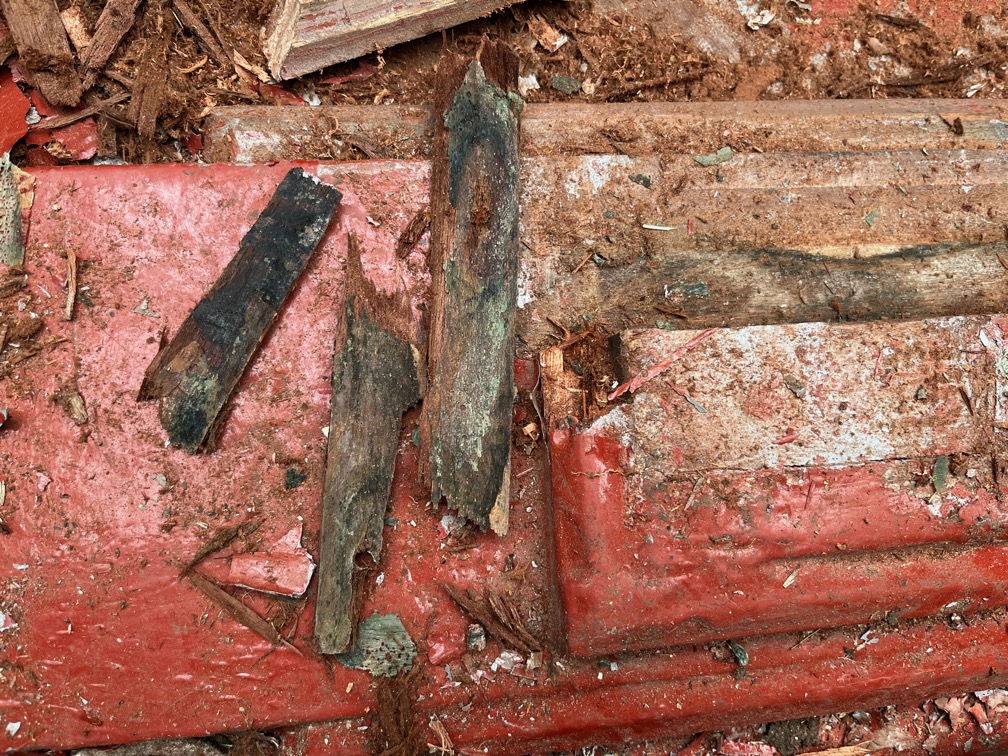
It is quite evident that these pieces of wood are the pieces that were first put onto the hull after she was delivered to Charles Stock way back in 1963. In his book “Sailing Just for Fun” Charles says this:

Fitting a shallow keel below the moulded hull to protect it when grounding or hauled ashore, for the winter, was the first problem. Shaping a solid piece of wood was beyond my skill so I used two pieces of wood three inches by a half inch, laid each side of the keel ridge and glued and fixed into the hull laminates and hog with alternate gripfast nails and brass screws every three inches (p25)

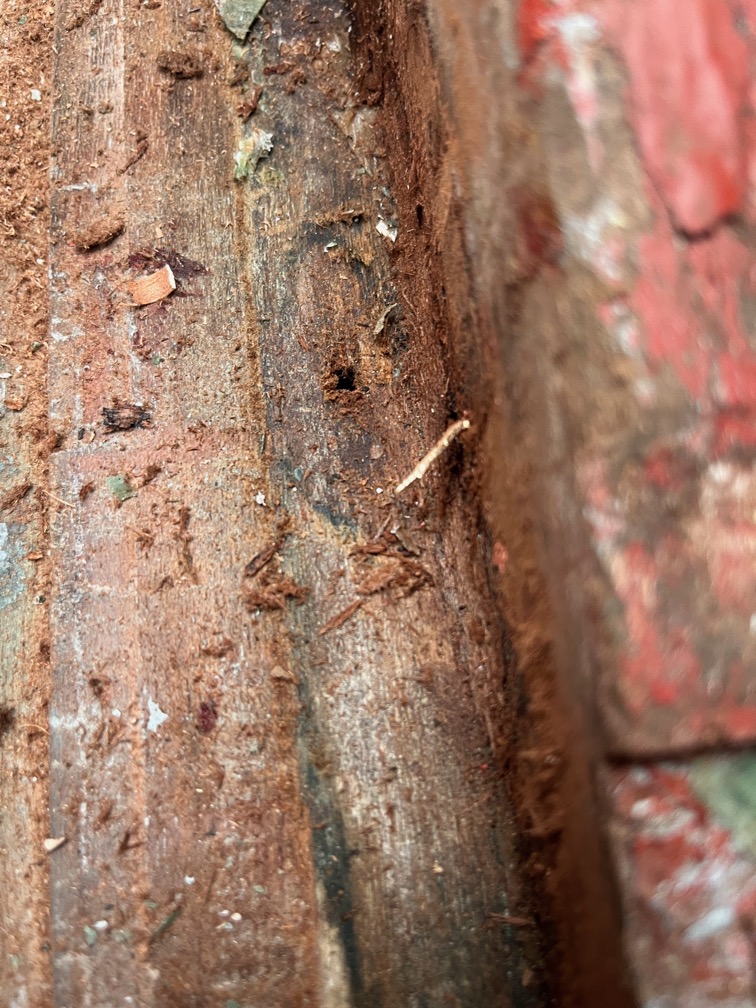
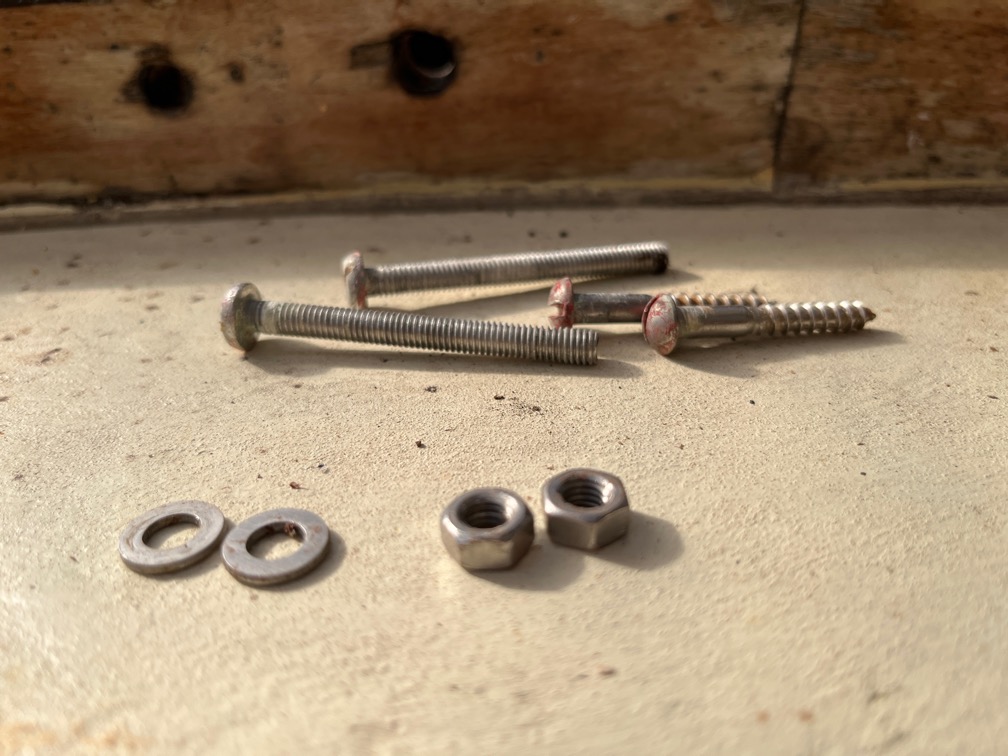
And surprisingly the nails and screws are in better condition than I expected.
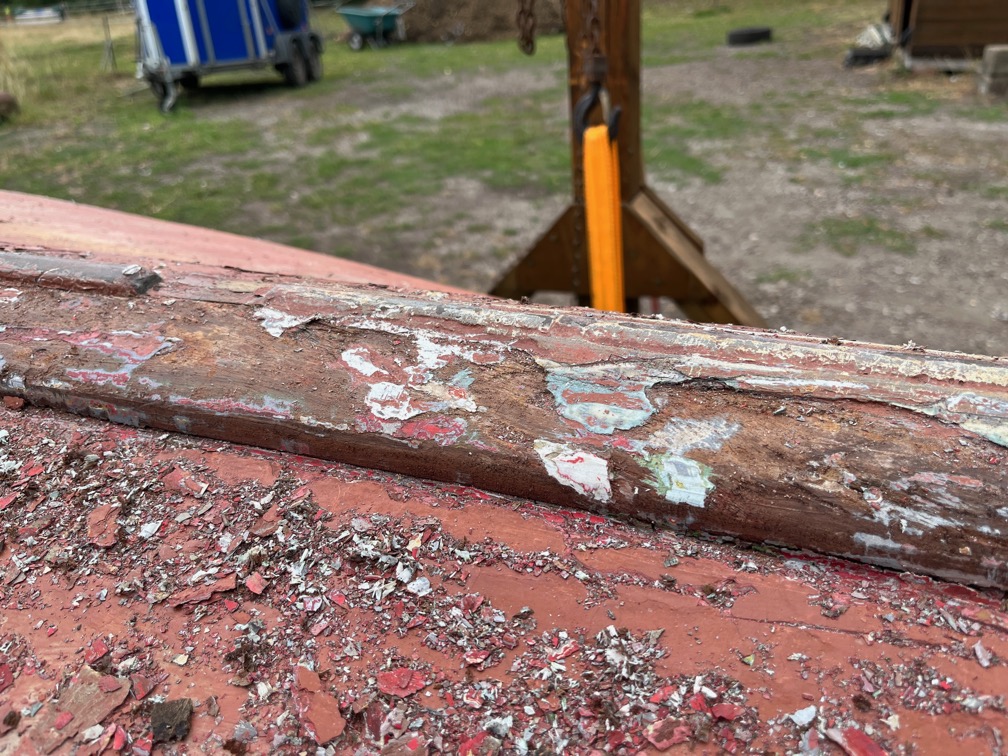
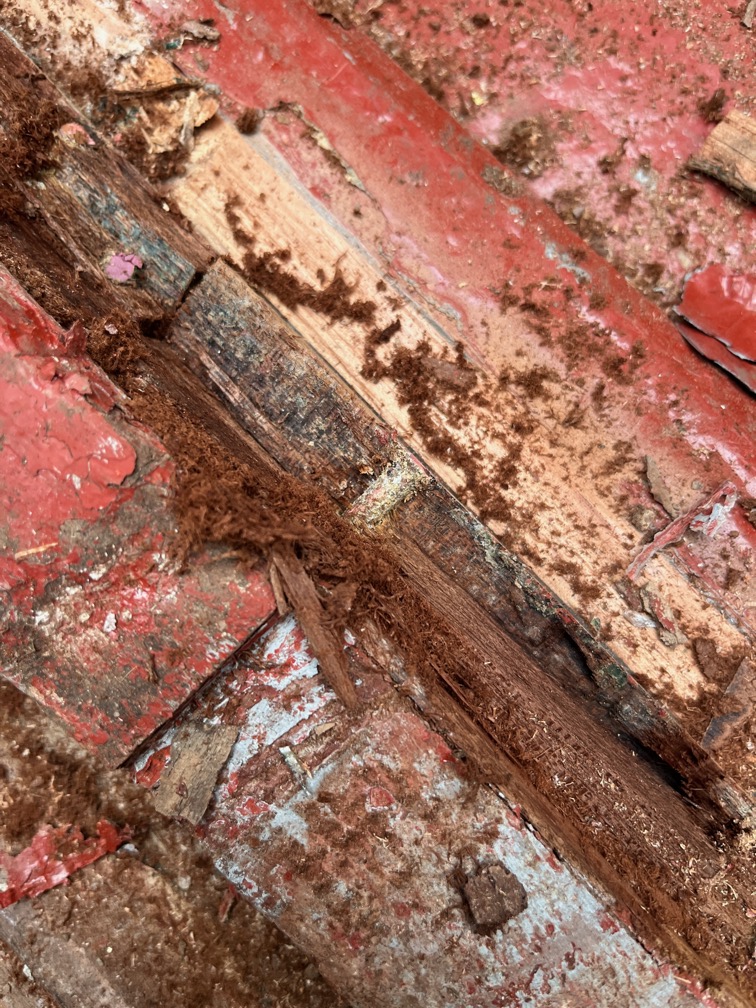
There is a lot of evidence of repaired dings and scrapes along these two pieces of timber, but that was the reason for them being there in the first place.
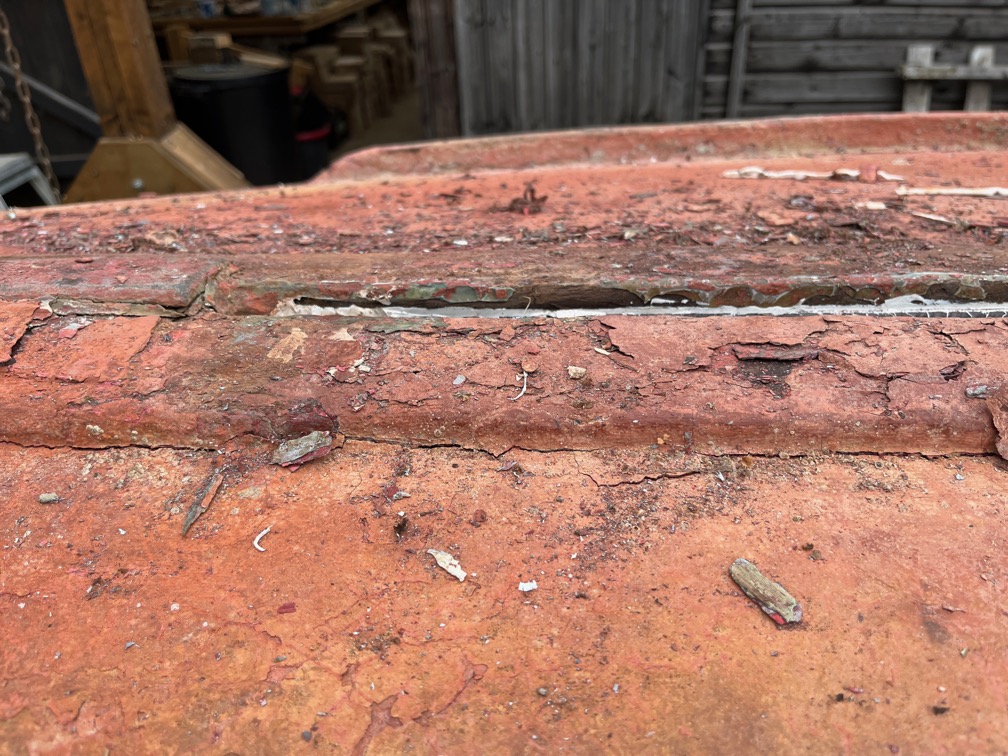
The keel looks to be in poor condition when first viewed but this was not the case.
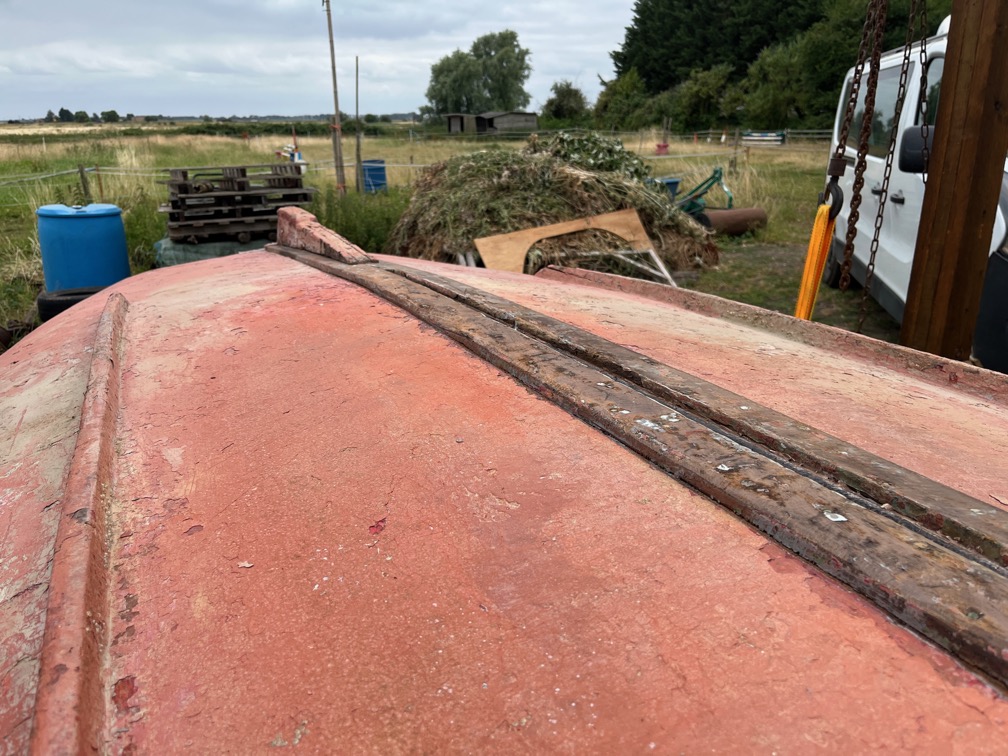
Here is the keel with most of the paint removed and having been given a fairly aggressive sanding using an angle grinder and a sanding disk.
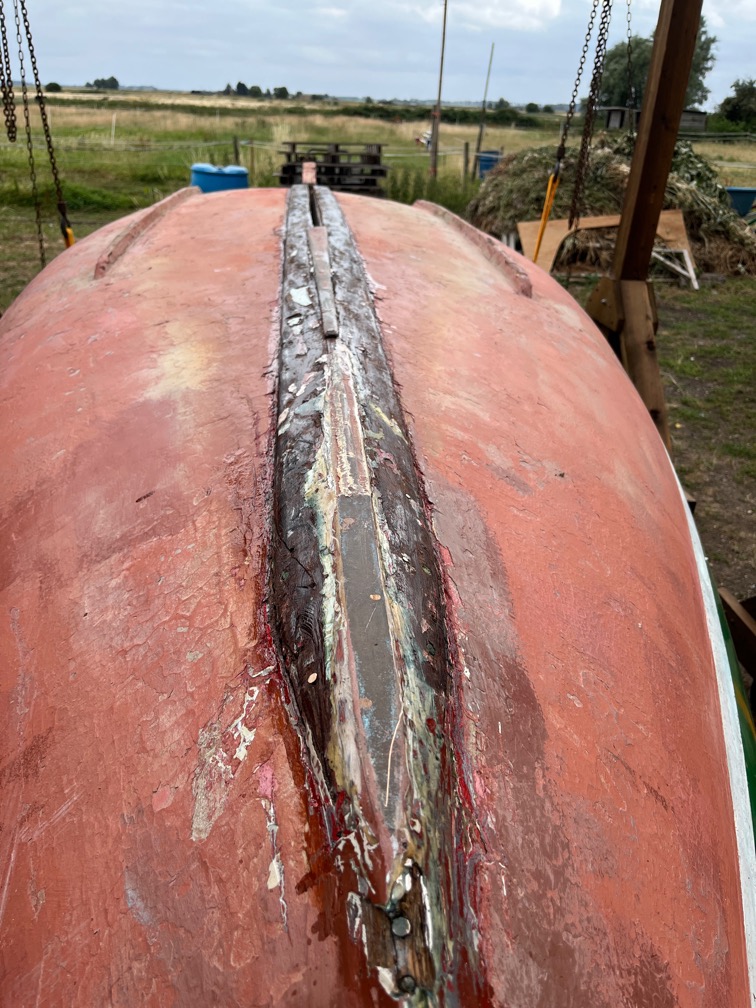
Finally, the exposed wood was liberally coated with the penetrating epoxy I have. This was an important step in the cleaning up of the keel. We have just had several week of hot weather and although is wasn’t hot today, the forecast indicates that the temperature will rise again over the next few days and the last thing I want to happen is for the exposed timber to dry out and split.

Hence the epoxy coating. I’ll probably put another coat on tomorrow, just to ensure good penetration.

This will not be a problem for the hull itself as this is made of four 2.5mm layers of Agba that have been glued together in a process known as hot moulding. This heats up the wood and glue and the glue then seeps into the wood. It is unlikely that the hull will dry out and split even in the hot weather.

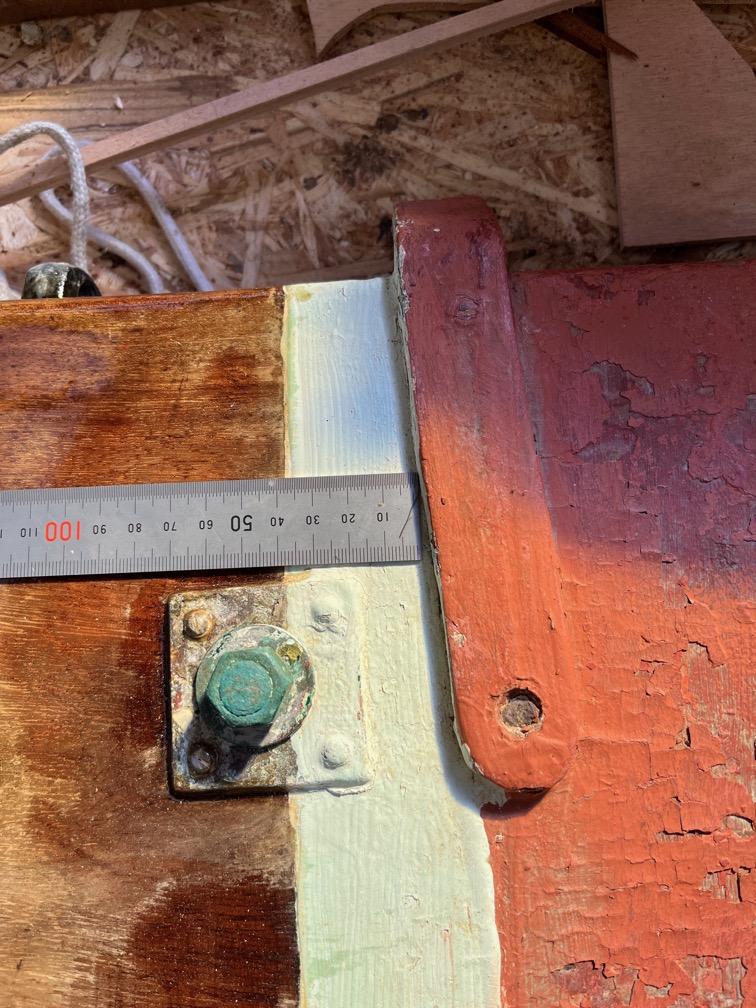
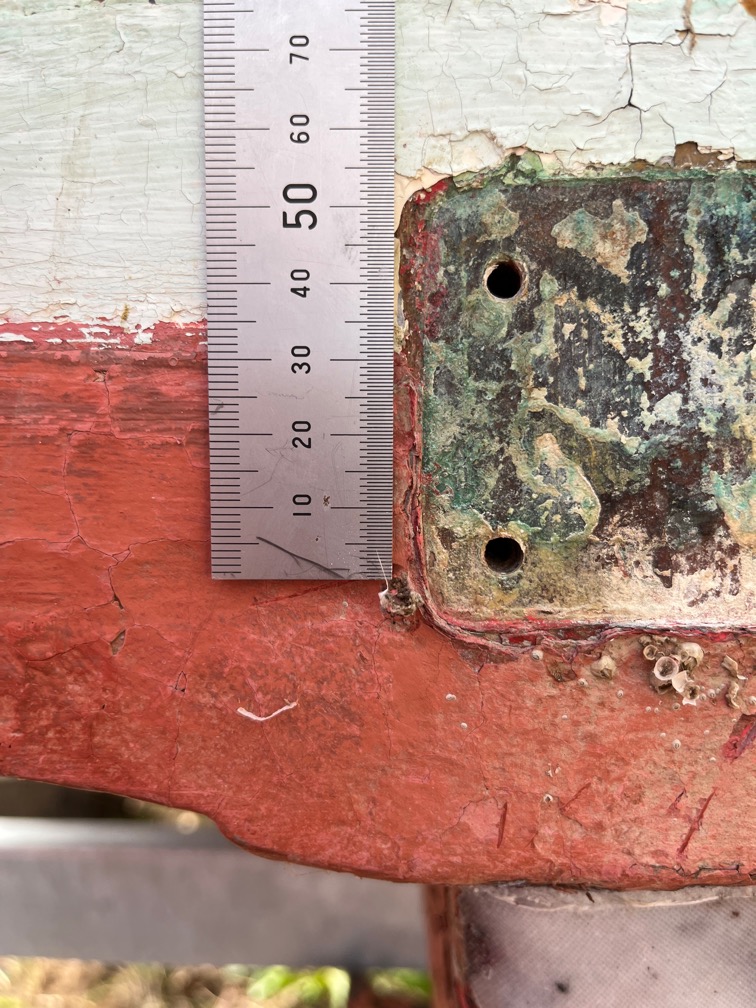
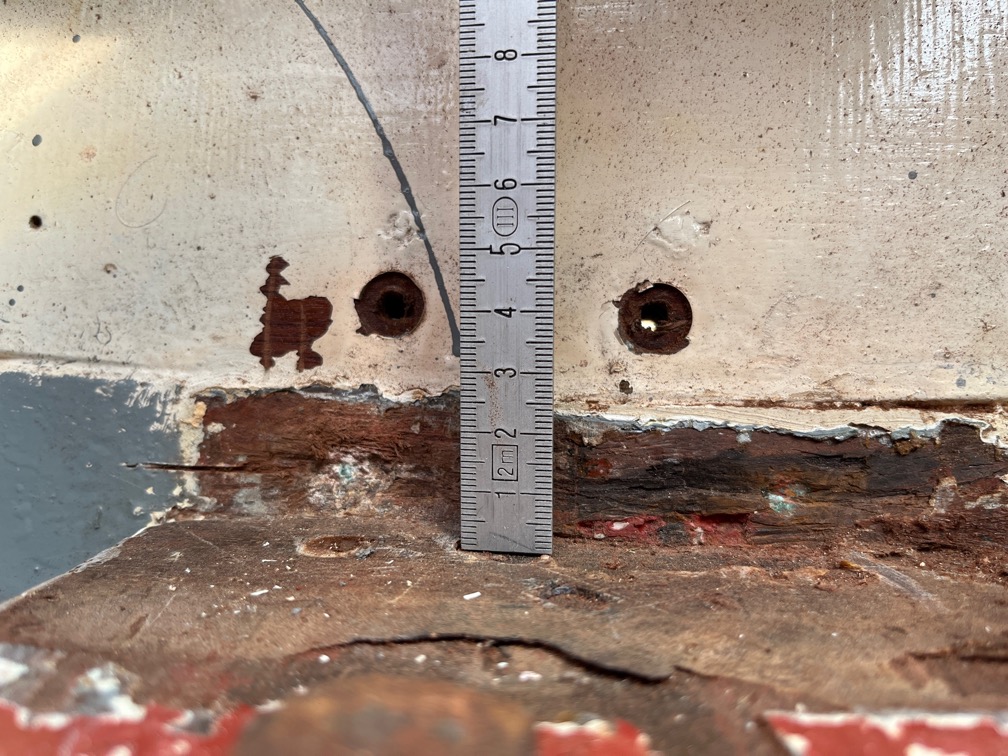
The next task on the list is to measure the distance from the underside of the gunwale to the lower edge of the boot top so that when I get to the point of repainting I know where to put the different layers of paint.

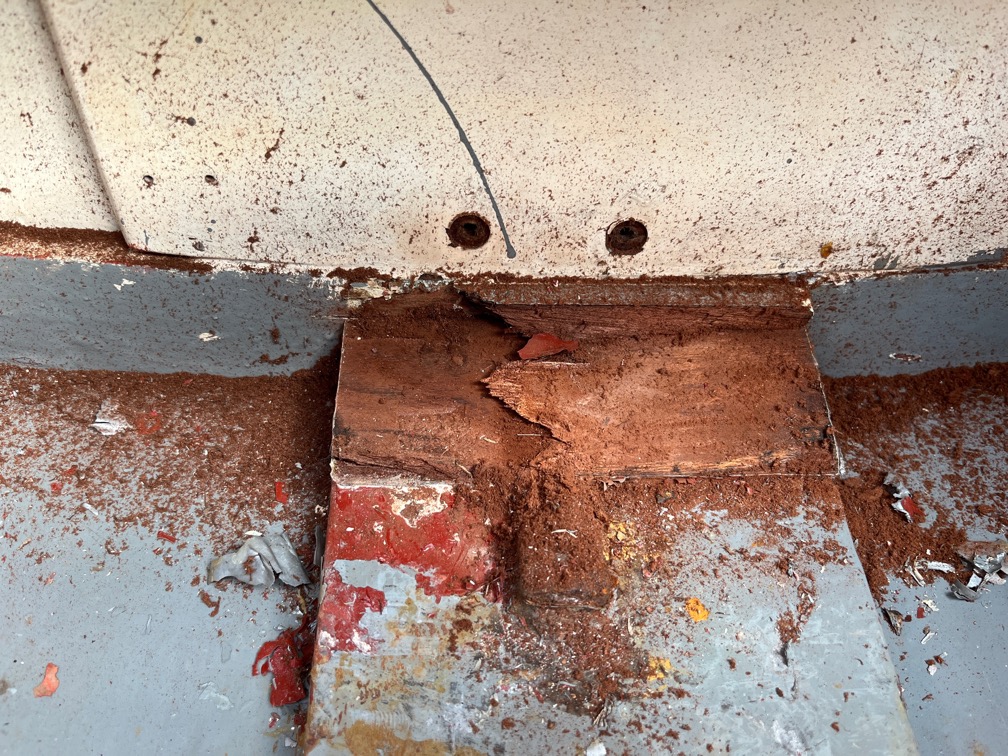
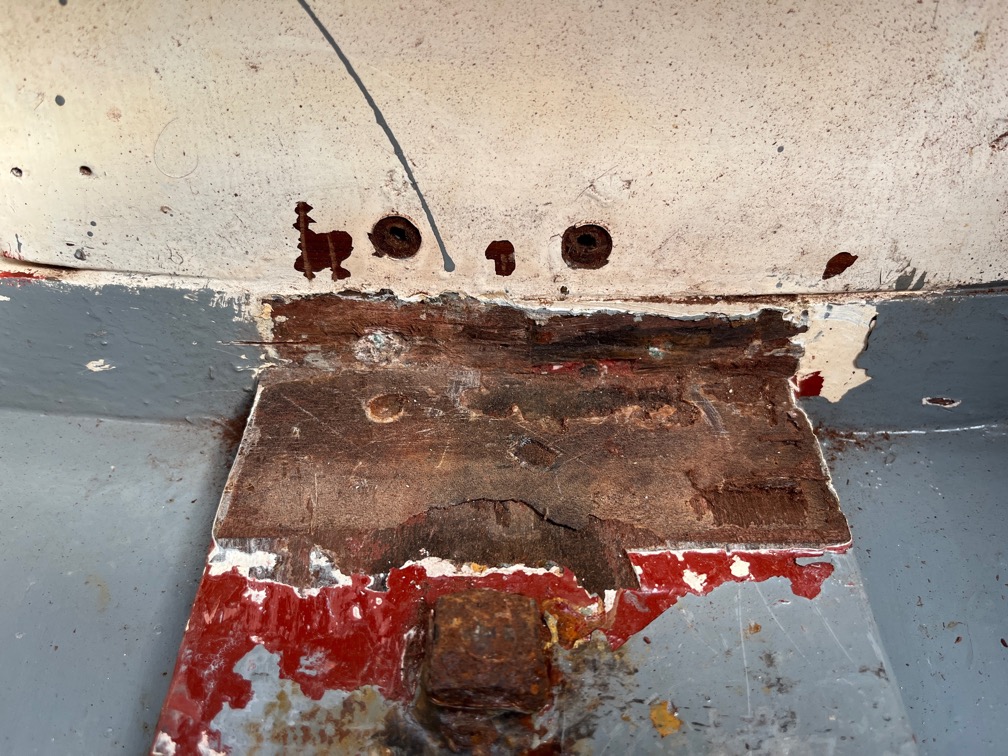
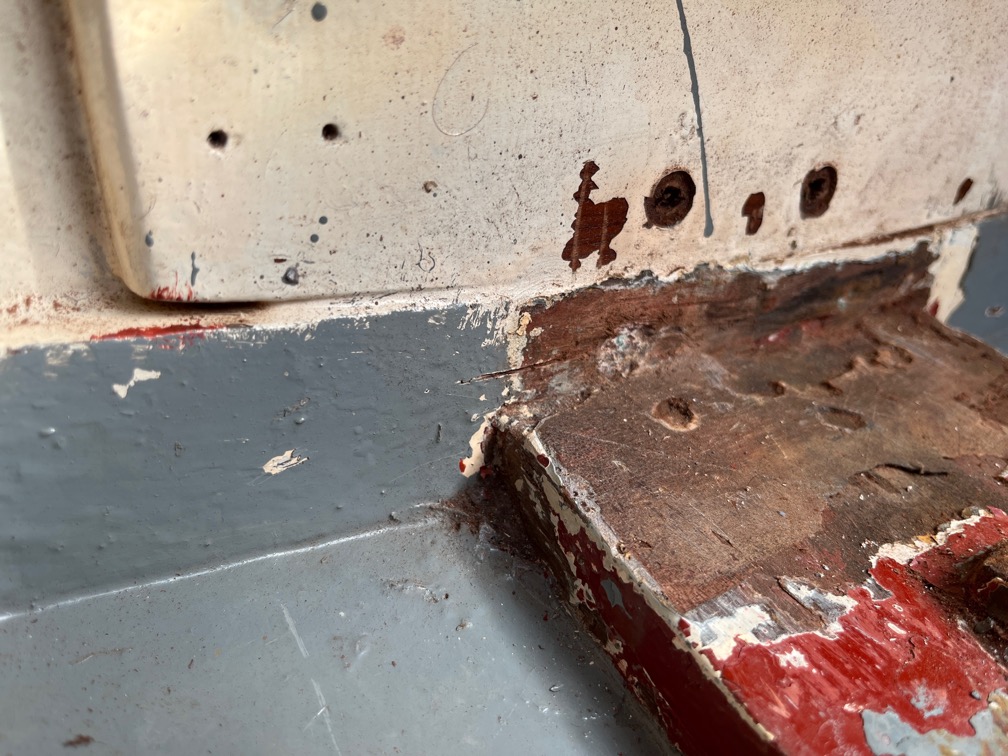
I noticed that the bilge runners were not in good shape as I worked on the keel.
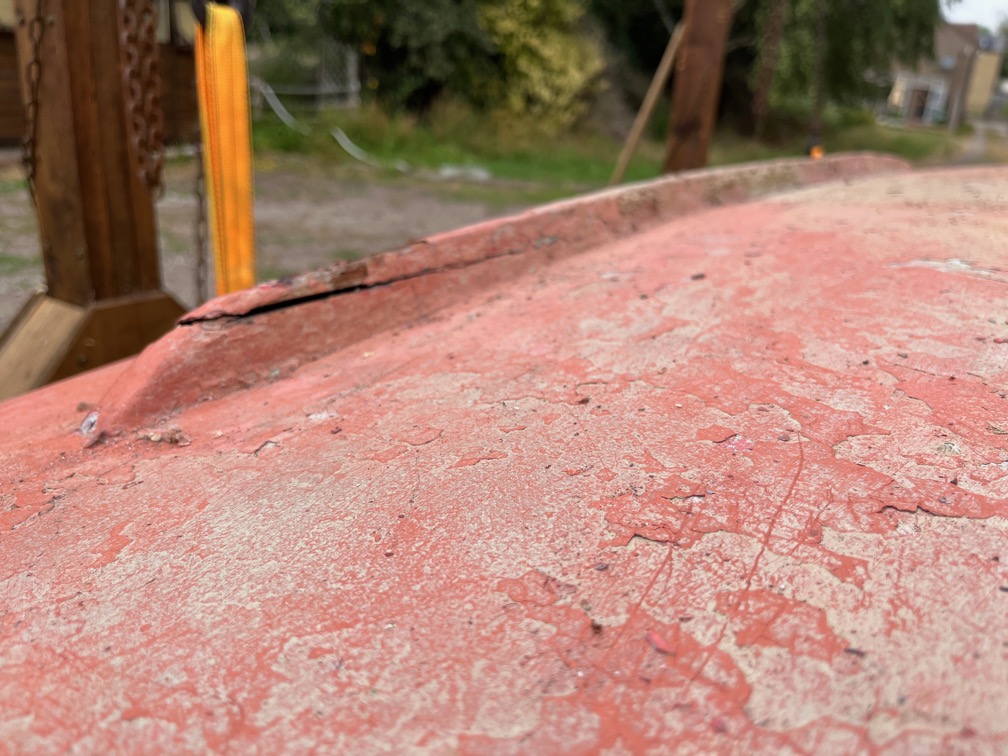
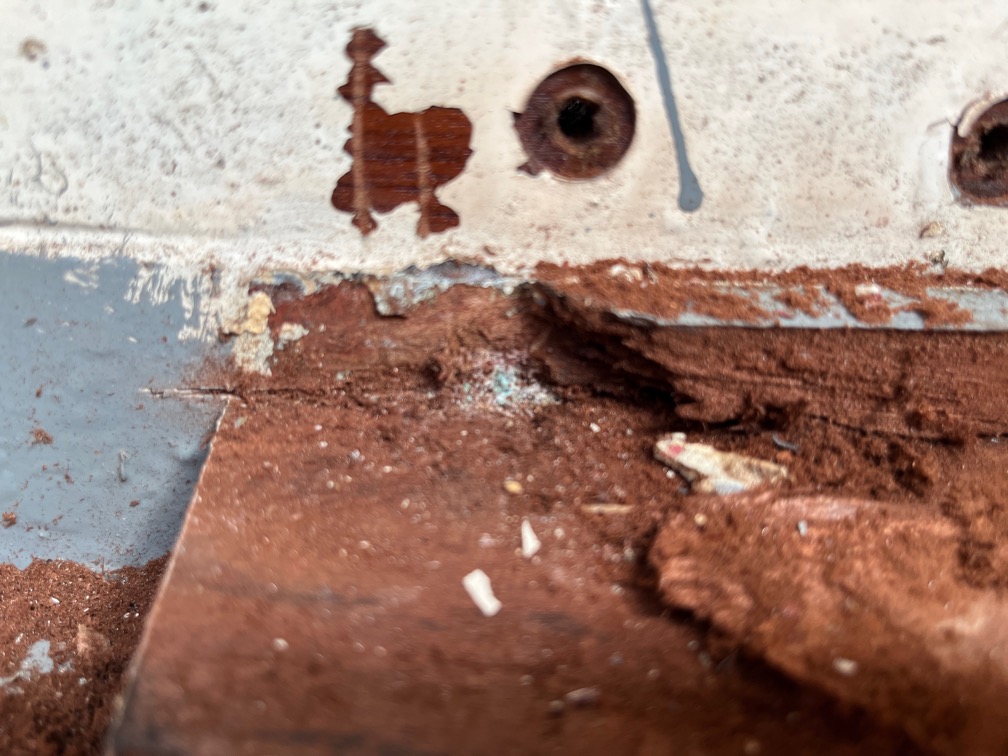
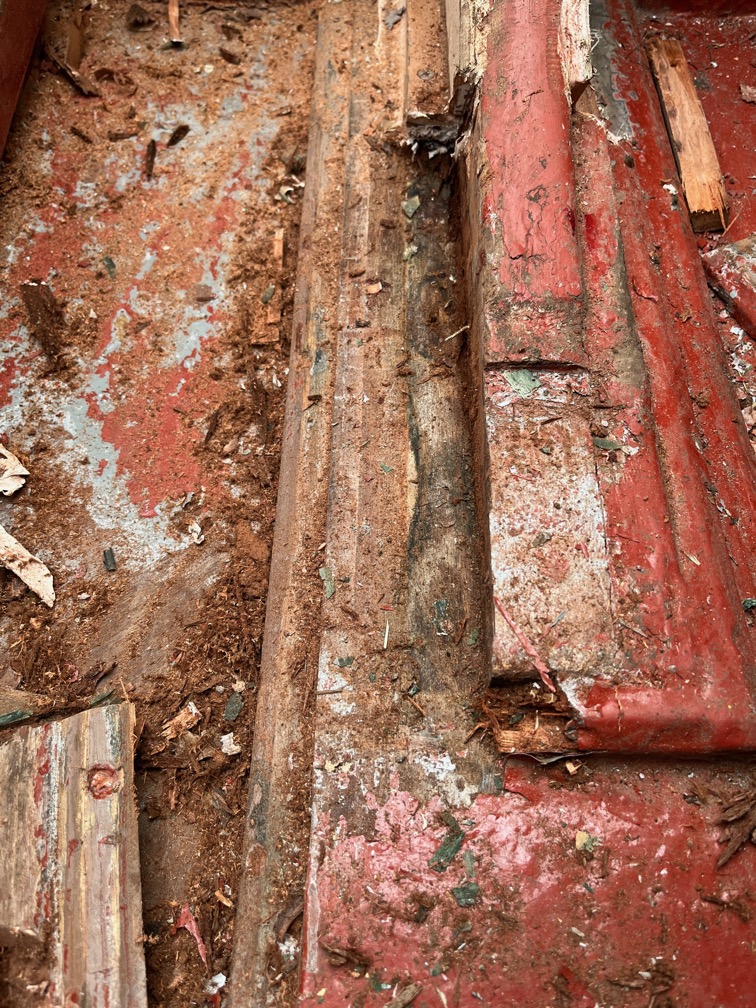
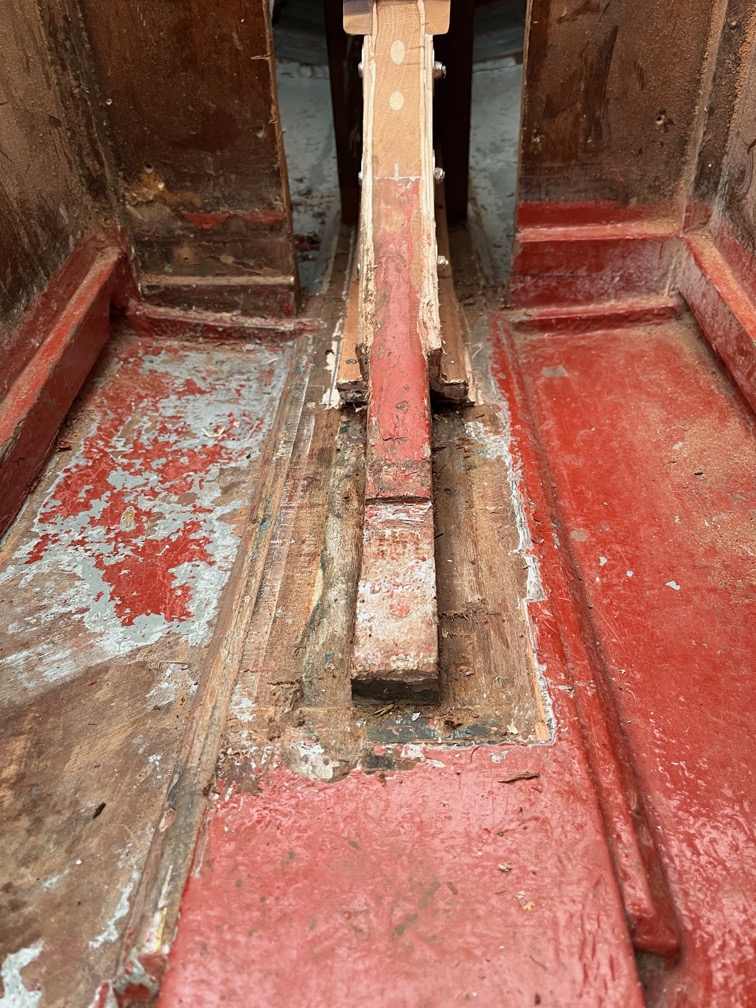
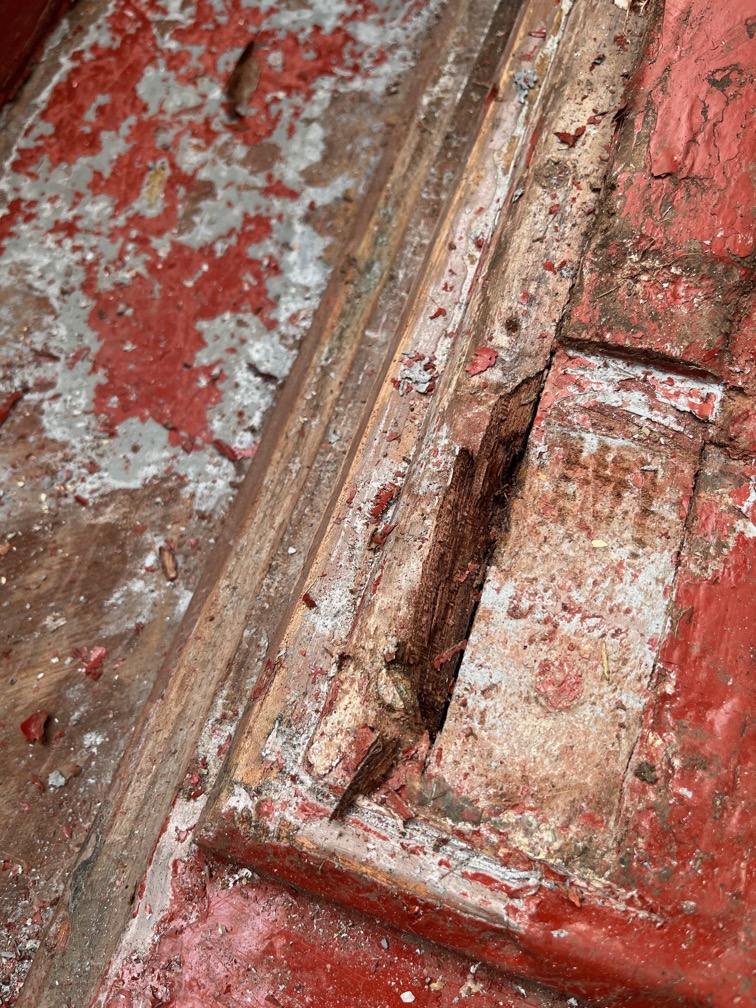
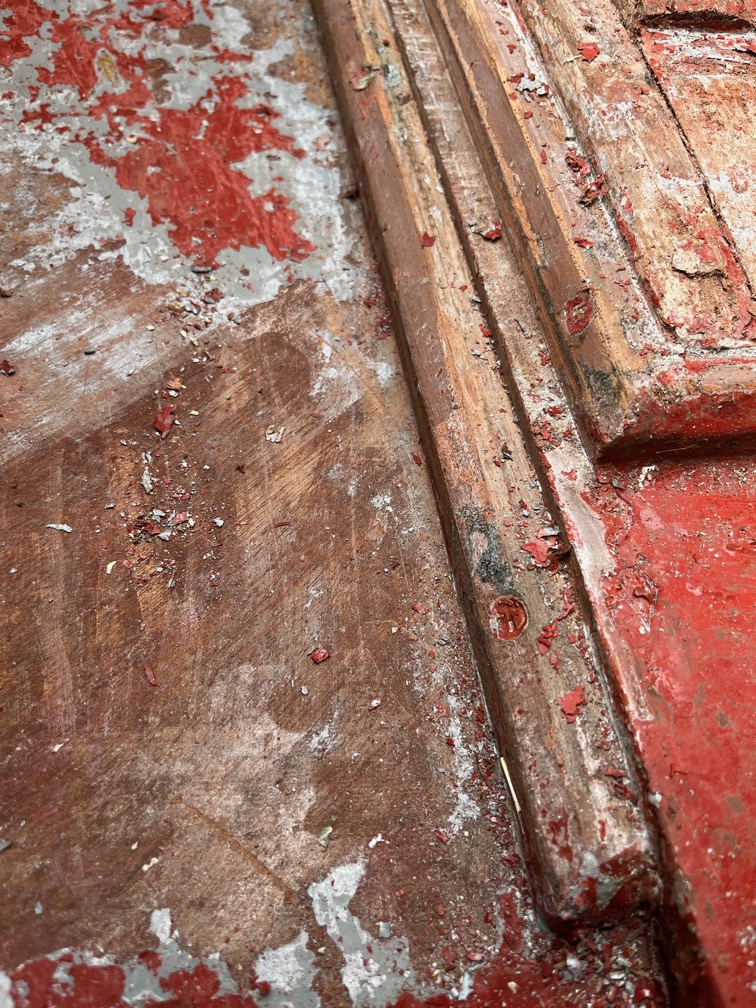
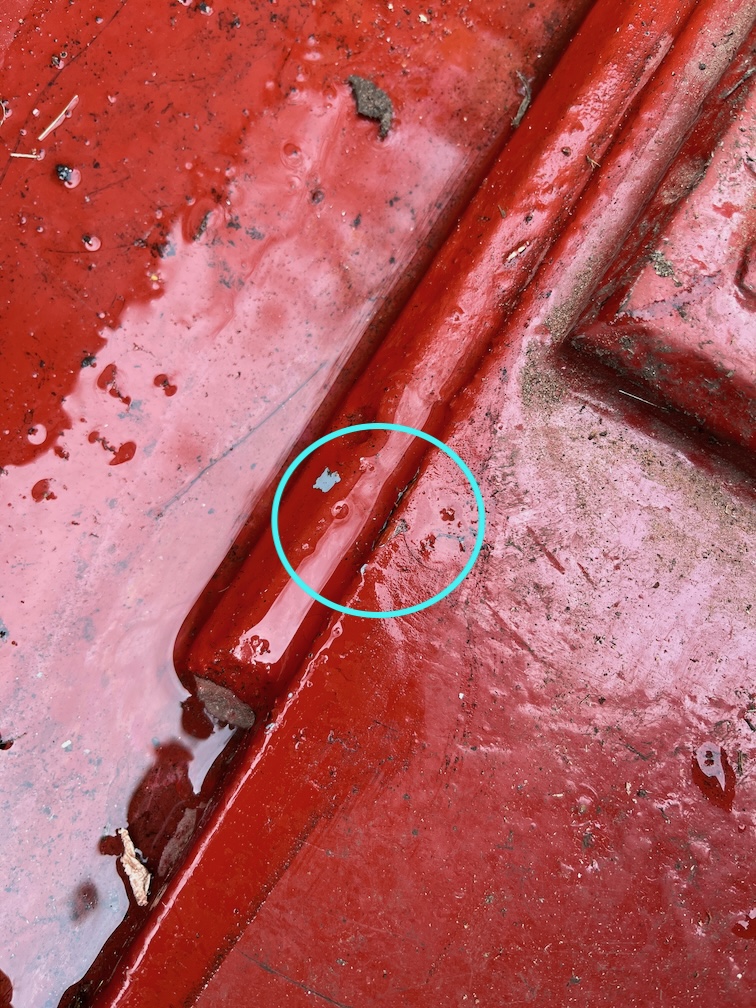
This is an example. Both runners have cracks and crushed sections and will need some serious remedial work. The damage to the keel, skeg, forefoot and bilge runners is not at all surprising when you consider that Shoal Waters spent most of her life to date on drying moorings where the ground consisted of shingle and mud.

Every time the tide went out, she would be deposited on the shingle and every time the tide rose, she would be lifted off the shingle. Now, in calm weather that would not be a problem, but even in a moderate slop, the waves would bounce the boat on the ground for a few minutes until she was firmly aground, or floating.

And that is when the majority of the damage occured.

Nothing major, it just looks bad,

Time for a cup of tea.
2026-04-03 – More Work on the Transom

Before I turn Shoal Waters over for her hull work, I need to finish a few things first, primarily the backing board for the pintle.

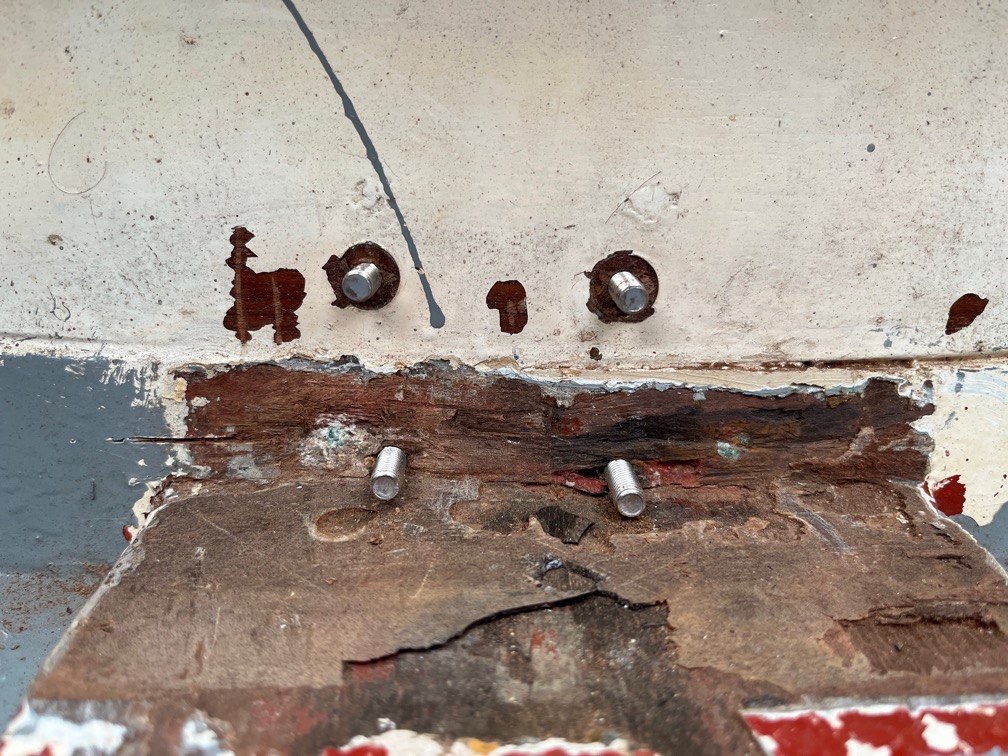
I’m fairly sure that the screws in the two lower holes in the pintle come out above the keel timber, or would if they were longer. I can see the remains of two prior screws that have been degraded.

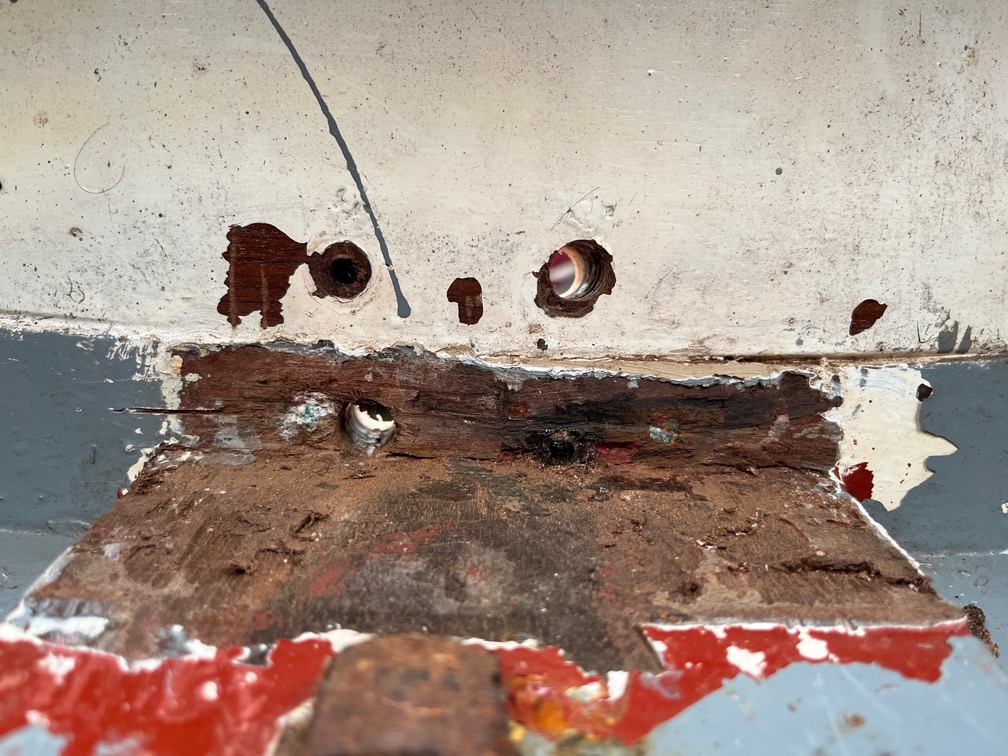
I drilled the holes right through the transom, and sure enough, they were above the keel, although not by a lot in the case of the one one the port side. I found two 6mm bolts of a suitable length as you can see here.

This is good news since these two holes are below the waterline and I don’t like using screws since they are difficult to get and maintain a good seal. The intention is to open out the holes to 13mm, fill them with thickened epoxy and then drill the correct 6mm hole through the centre of the epoxy. This ensures a very good seal between the wood and the epoxy and allows the use of butyl tape to make a good seal between the pintle, bolt and the epoxy.

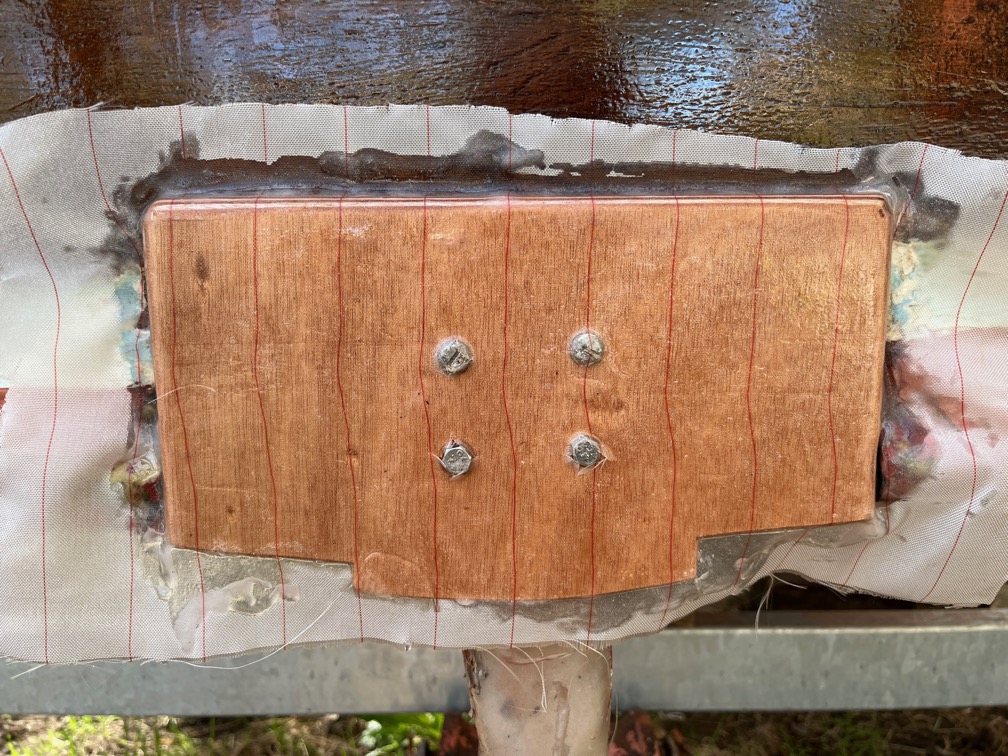
On to the backing pad itself. A template for this was constructed out of low quality plywood and from this two pieces cut out of the 6mm marine plywood and glued together. The mounting holes were transferred to the new pad by holding up the pad to the transom in the correct place and wedging it there with a post. A crosspoint screwdriver with a diameter of 6mm was pushed firmly through one of the holes from the inside, marking the plywood.

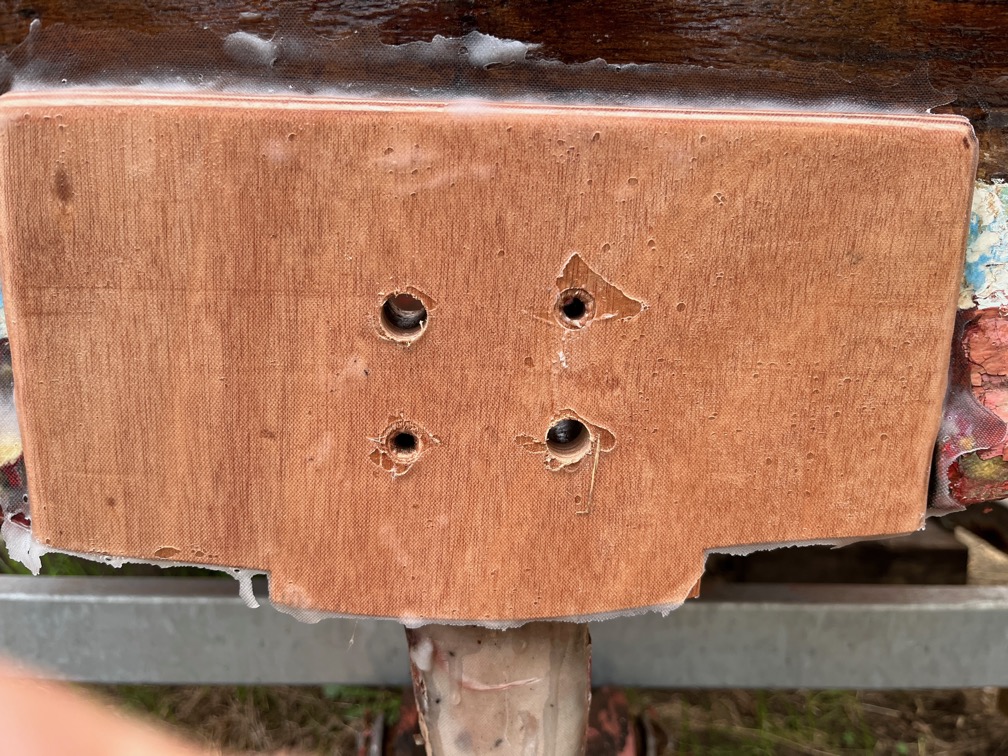
After that holes was drilled the pad was bolted in place os that the other holes could be marked. The bare transom was coated with neat epoxy, as was the outer face of the pad and lots of thickened epoxy spread on the pack of the pad. And by lots I really do mean lots of thickened epoxy. The bolts were put in place and tightened up squeezing out about half of the epoxy. This was deliberate as the transom was not entirely flat and having an excess of epoxy that squeezed out meant that there would be not gaps or voids between the transom and the pad. Finally, peel ply was put onto the pad and neat epoxy used to thorughly wet it out.

After a few hours, when the epoxy was sufficiently cured to stay in place without the bolts, they were removed through holes that I’d cut in the peel ply before laying it on.

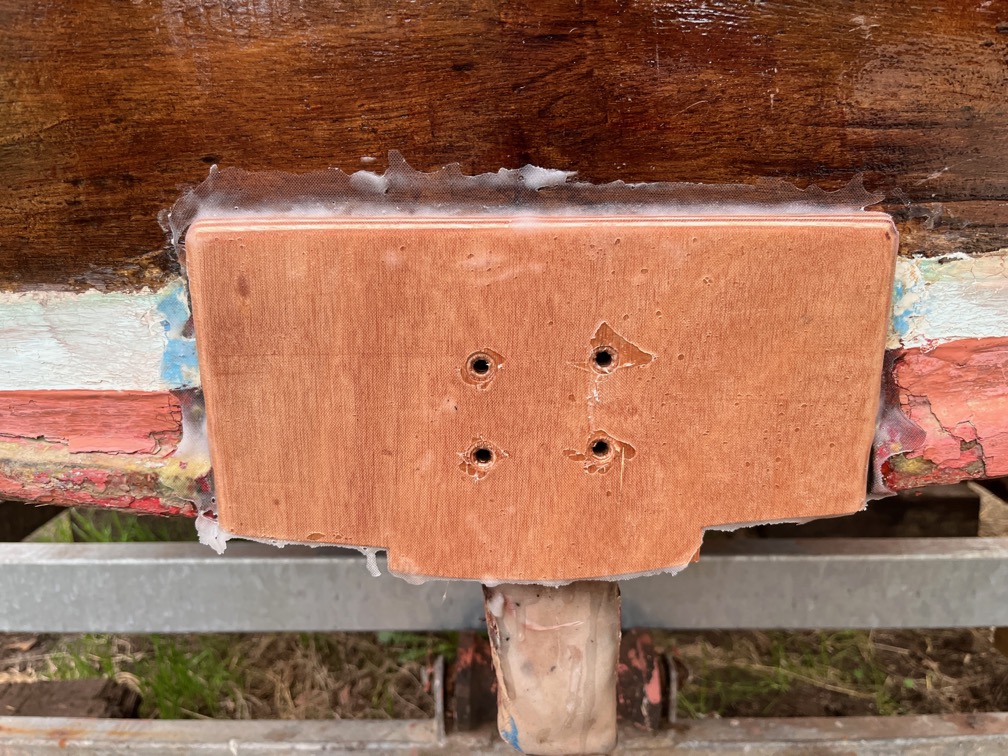
The following day the peel ply was removed. The excess will be tidied up after the epoxy work is completed, which is not now.

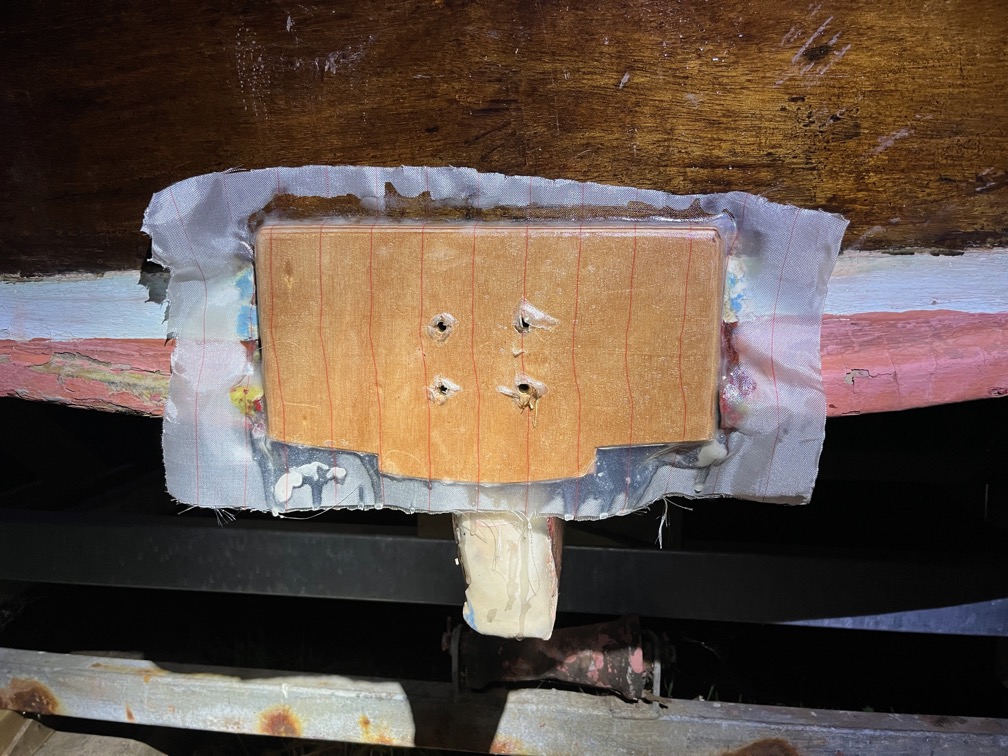
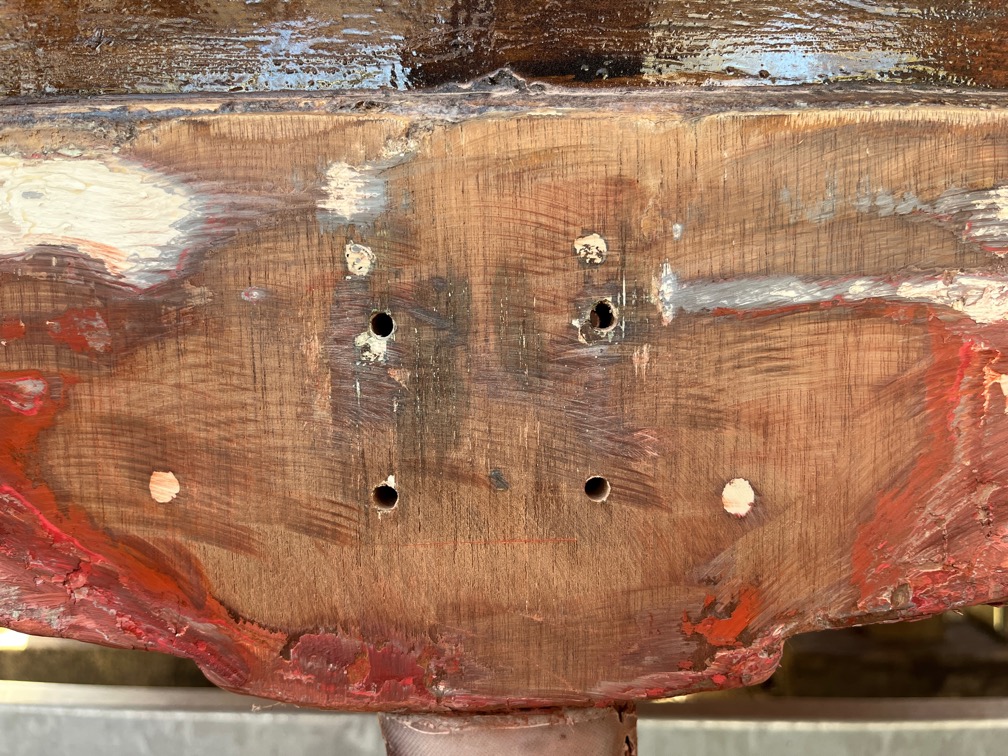
Two of the holes, one upper and one lower, were drilled out to 13mm, firstly using a stepped bit to 10mm and then by drilling successively larger bits through the holes.

This is the view from the inside. Now you may be asking yourselves why only two of the holes? The answer is so that I can use the other two to fit the pintle and mark the correct position of the new holes in the epoxy. Once these two holes are done the other two holes will be similarly treated.

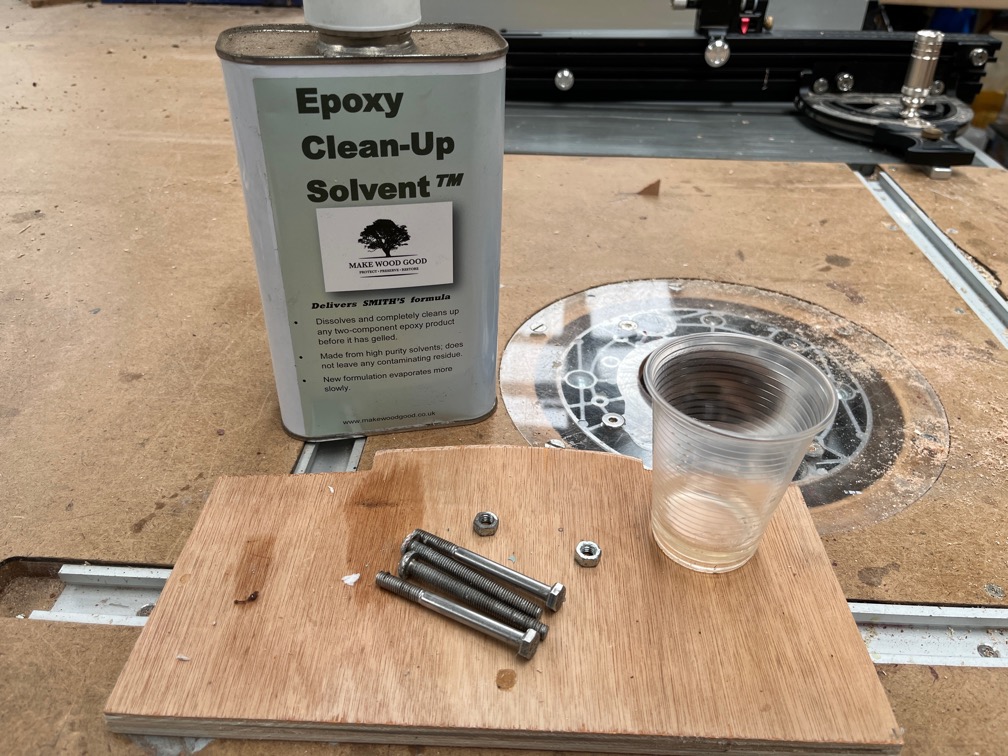
I did, however, have to spend some time cleaning the curing epoxy off the bolts.

I have an epoxy solvent that does the job fairly well but only on epoxy that is still soft. Once it is hard you need to use heat to soften the epoxy enough to scrape it off. The bolts cleaned up well, ready to be used once the rest of the epoxy work is done.

Time for a cup of tea.
2026-03-28 – Change of Direction

I’ve not been able to carry out any work on either of the boats, or anything else for that matter, in the last 11 days. Primarily due to having sprained my right wrist which has prevented me from carrying out anything that requires rotating the wrist unless I wear a rigid support. Wearing the support then prevents me from holding tools properly and that prevents work!

The sprain was caused by using a cordless driver on low-speed, high torque setting and having the bit jam in the wood. That wrenched my hand around and sprained my wrist. I should have been holding the driver with both hands with the workpiece clamped in a vice. But I took a shortcut and held the wood with one hand and used the driver with the other. I did know better, but was rushing. Stupid me!

Still, the sprain is nearly at the stage of being healed, but not quite. It is at the stage of being unnoticeable enough that you forget that you still need to be carefull until you over use it and ouch !!!

There has also been a change in the direction that the work on Shoal Waters has taken in that she will not be put into the water this season. Instead, Naiad will be launched and moored at the sailing club. Shoal Waters will have the work that was scheduled to be carried out next year, done this instead.

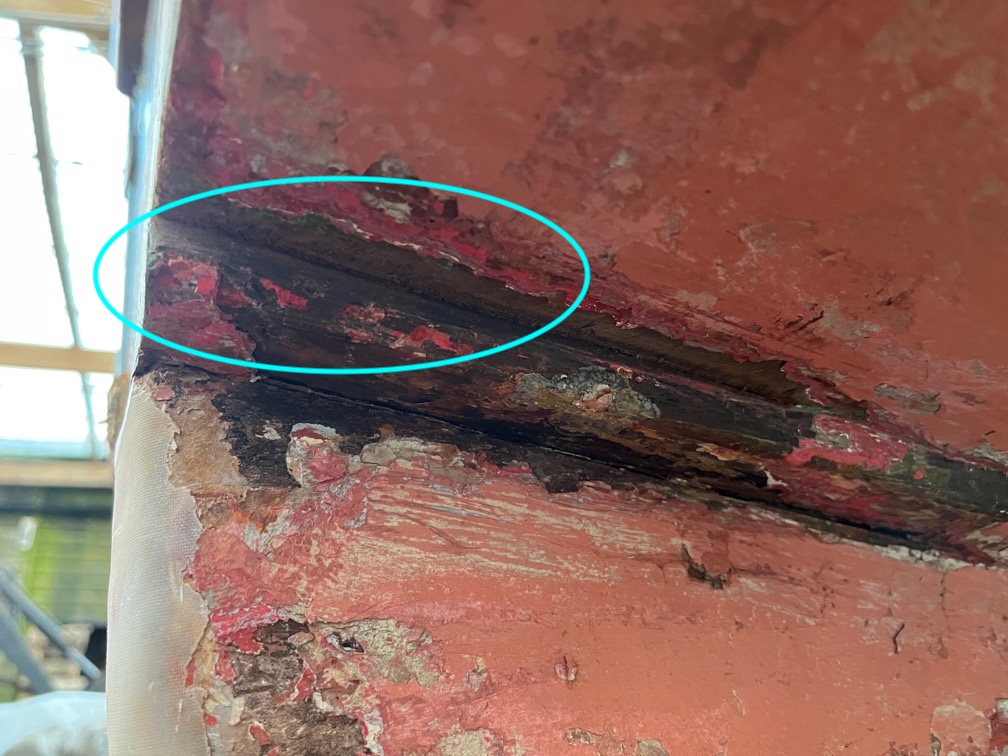
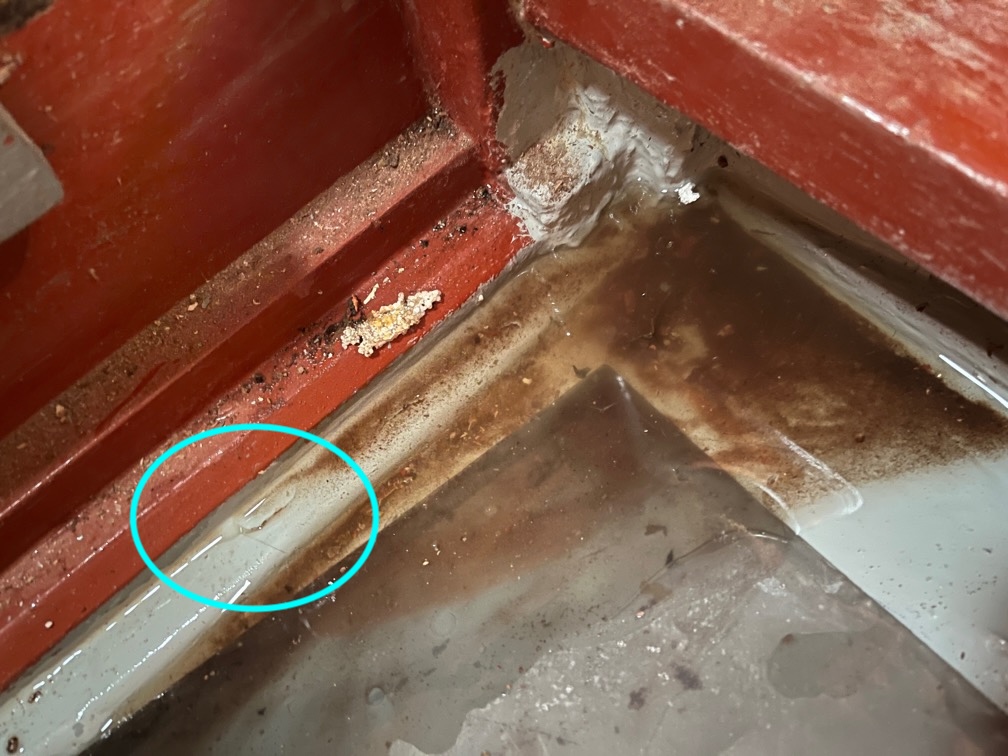
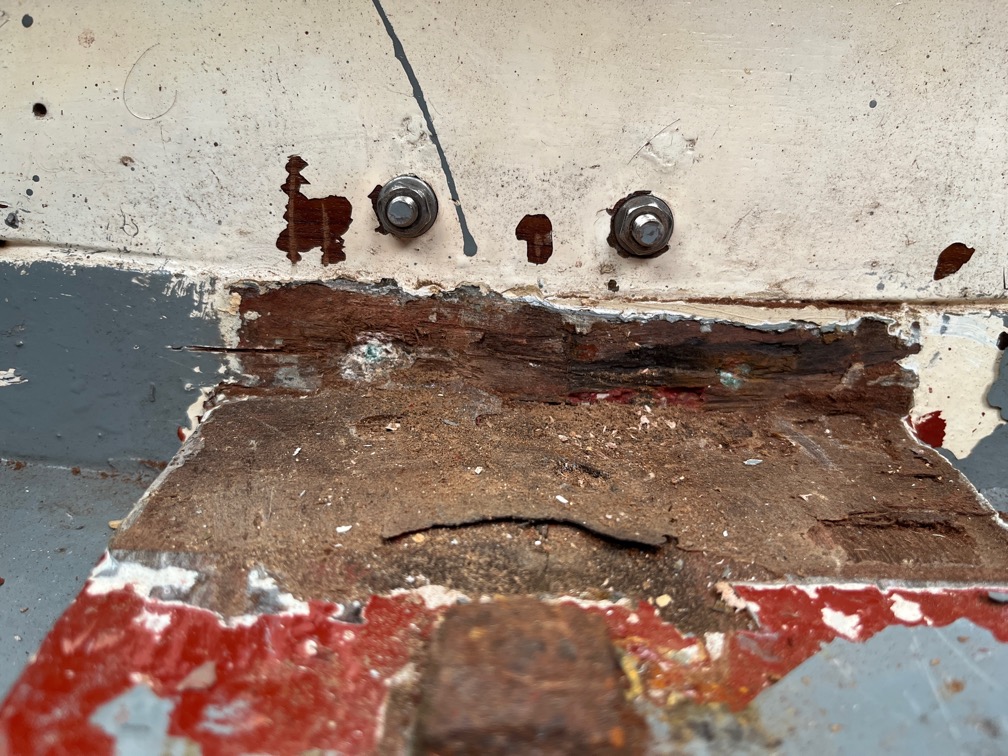
The reason for the change is that having found the crack in the glue line between the hull and the keel at the stern (highlighted above), I am no longer confident about the tightness and strength of the hull. Although I can see the crack here, I do not know its extent. Does it continue forward and this is the only bit that is open to the outside? It is deeper than it appears here?

That and the fact that I cannot locate the leak in the hull on the port side that I know is there, just not where it starts.

So, during this season, Shoal Waters will be inverted, the paint and antifouling scrapped off the hull and sanded back to the wood, any dings and scratches filled, the right angle edges smoothed off and then sheathed in epoxy and glass fibre. This will certainly fix the leaks in the bottom and also provide a great deal of additional strength to the hull. Then she will be repainted ready to be launched next season whilst Naiad is brought ashore to have her maintenance done.

After that, we shall see what happens.

So, for now the plan is to get Naiad ready to launch and then invert Shoal Waters and make a start on her sheathing. As a side note, Naiad’s hull was sheathed more than thirty years ago by her previous owner and has not suffered leaks of loss of strength as a result, so this is not an unusual thing to be doing.

The launch of Naiad and the inversion of Shoal Waters will require the use of the gantry cranes and these need to be coated in preservative before that hapens.

Recently the legs and gantries were taken apart and stowed in the hay barn out of the weather. The legs are sufficiently tight in the feet as to require two people and a crowbar to remove, so that had to be fixed before the coating.

All the bolt holes also needed to be opened out to 13mm as the wood had expanded due to the moisture in the air and the bolts, although a loose(ish) fit originally, had become a tight fit requiring the use of a hammer and drift to get them out. The feet and legs were separated…

… a thin layer of wood sanded off the lower part of the legs to make them less of a tight fit in the feet and then coated with a replacement for the creosote that we used to use but is now banned. Shame, since the alternatives are not as good.

The cross beams have yet to be taken apart as space is limited. They will be treated once the legs and feet are done.

Once the cranes have been coated and reassembled, Naiad will lifted up off the blocks so that I can scrape the hull.

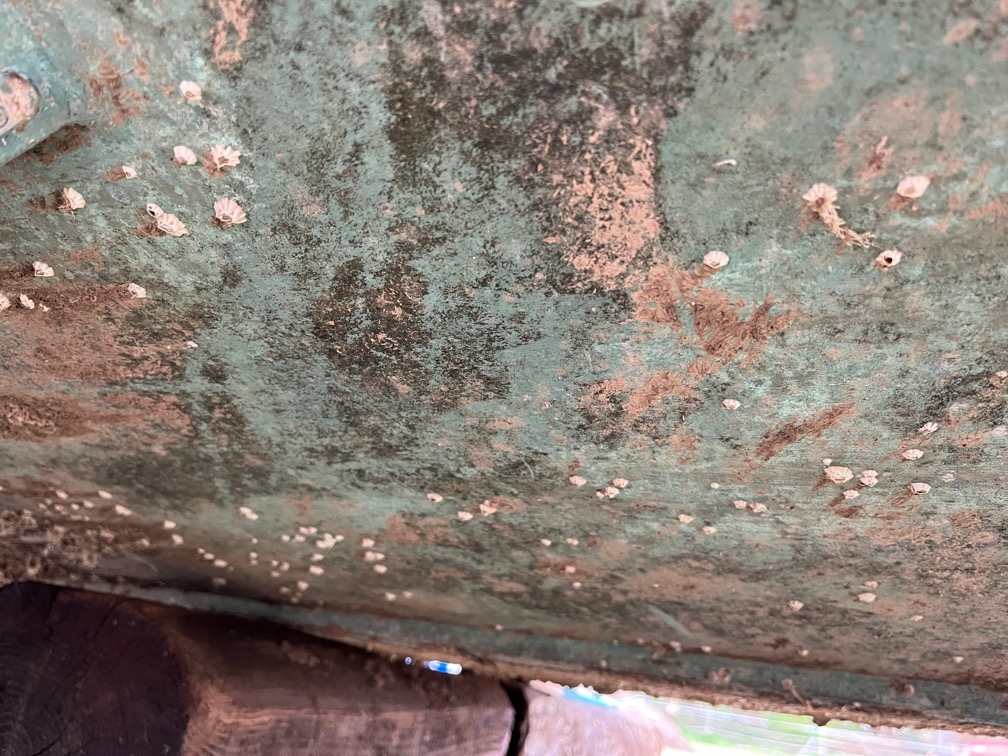
This is what she looks like right now with a fair number of dead barnacles as well as the dried mud I was not able to get off when she was on the travelling trailer.

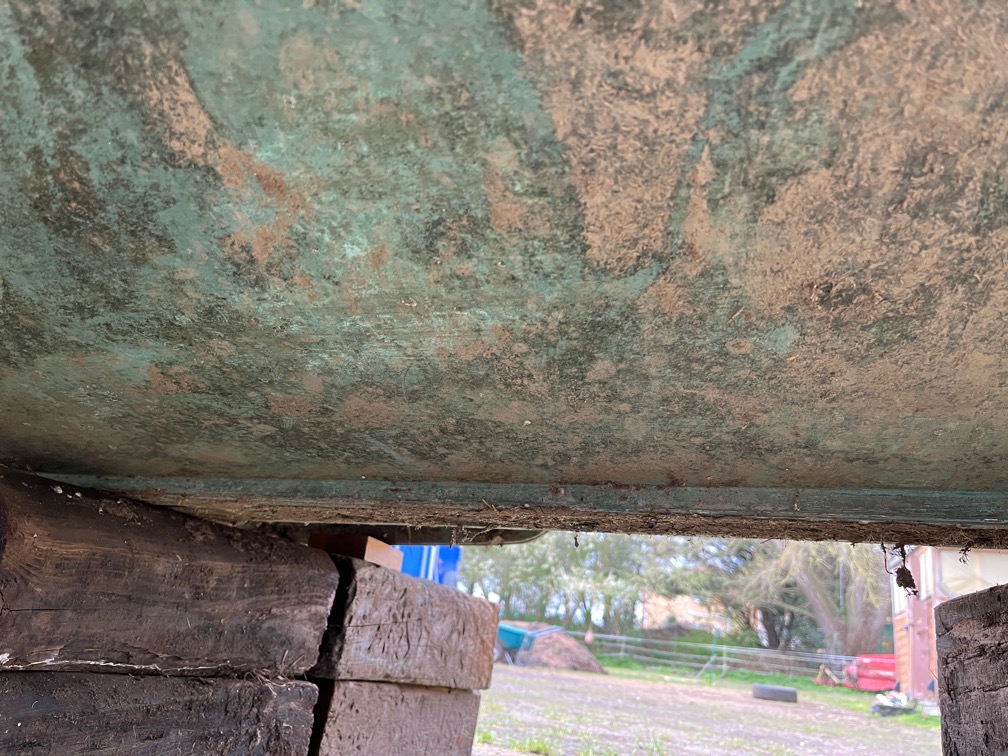
This is after a couple of minutes work with a scraper. The dried mud and dead barnacles come off very easily.

Then Naiad will be put onto the travelling trailer and Shoal Waters moved to the hard standing and inverted. I can’t put her into the har barn inverted as the cranes are too high for that and the working trailer is not set up for an inverted boat.

Instead, I’ll use the cranes to support a plastic tarpaulin as a temporary working space whilst the hull work is done.

Unless I can figure out a way to get Shoal Waters onto the working trailer inverted.

Time for a cup of tea.
2026-03-18 – Transom Leak II

Since the source of the leak is not obvious, the next step was to remove the outer backing pad to see what was under it.

Firstly, I used a sanding disk to remove the antifouling paint from the pad. This revealed four fixings and the two old, plugged fixings.

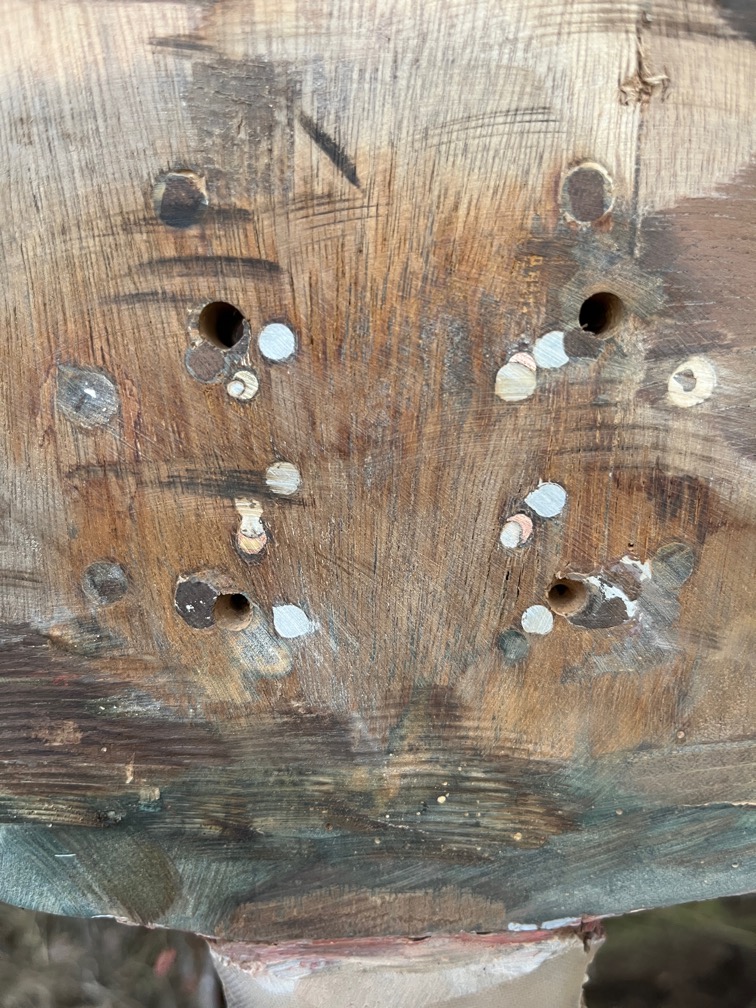
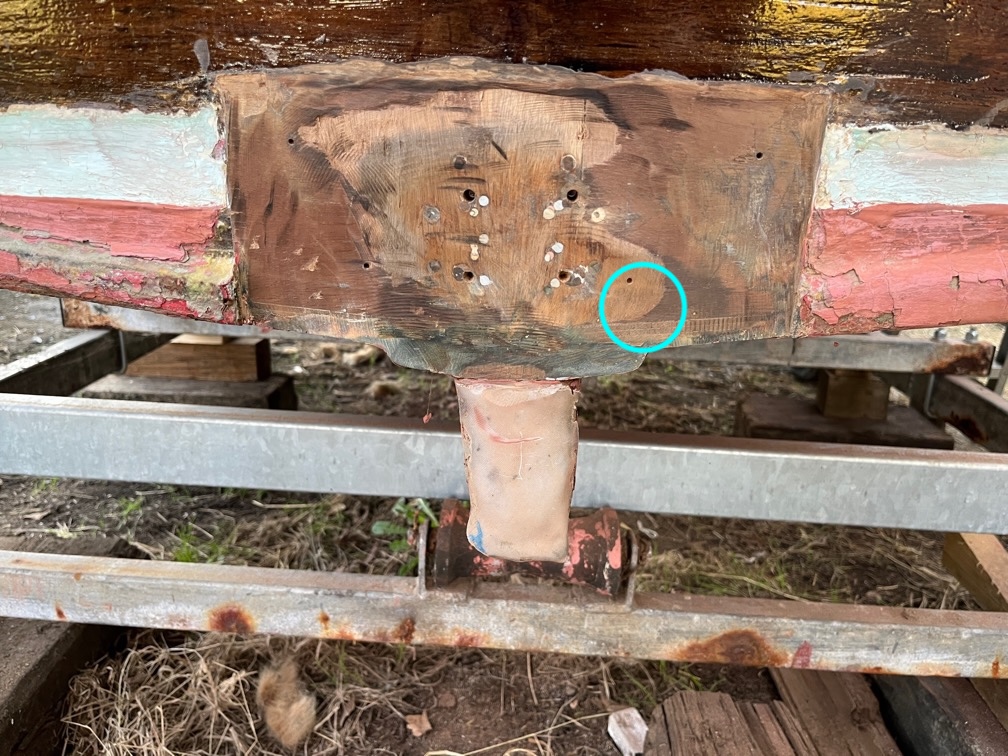
The screws, stainless ones, were removed and the pad removed in pieces using a chisel, followed by the sanding pad. Here it can be seen that the pintle has been positioned five separate times, there are 16 plugged holes and the four current ones . The old holes have been plugged and there is no obvious leak.

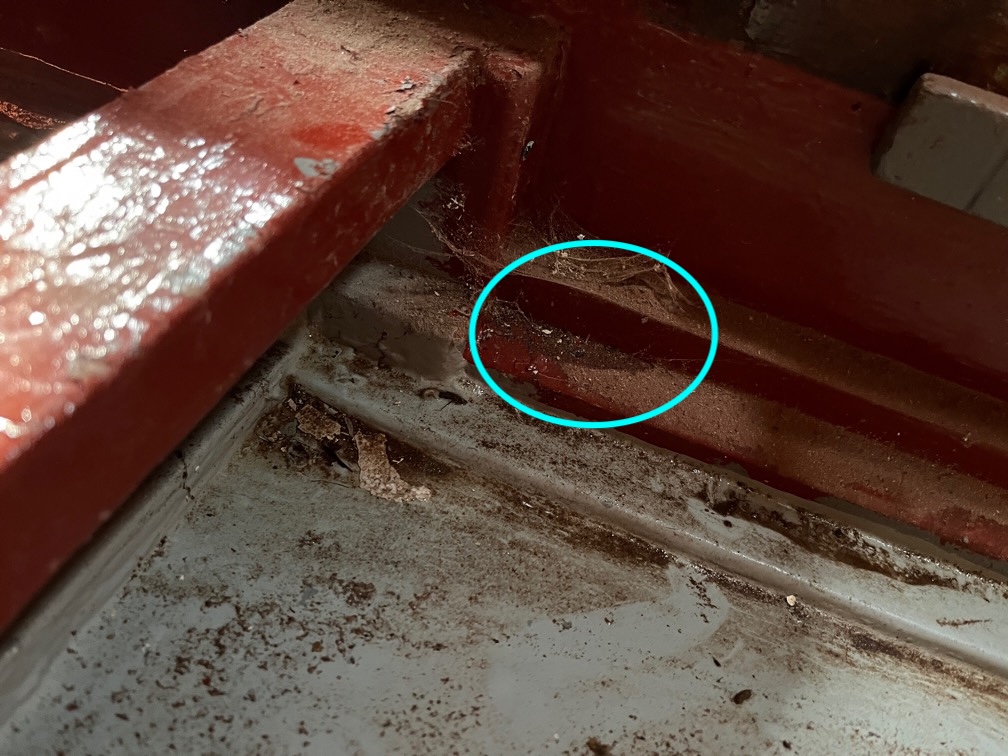
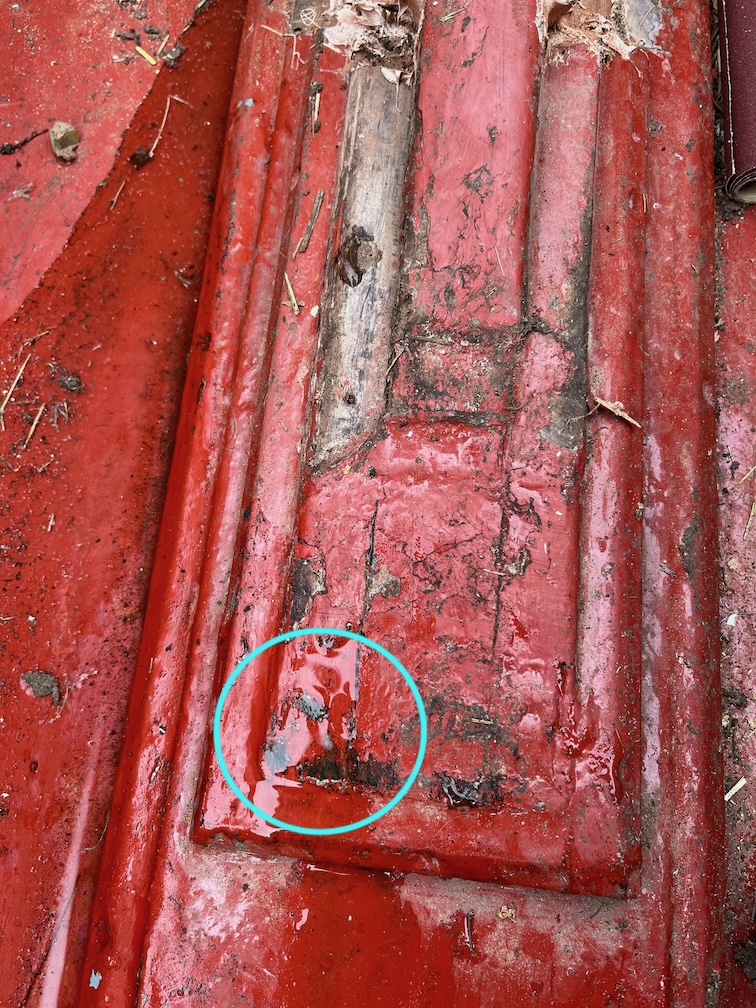
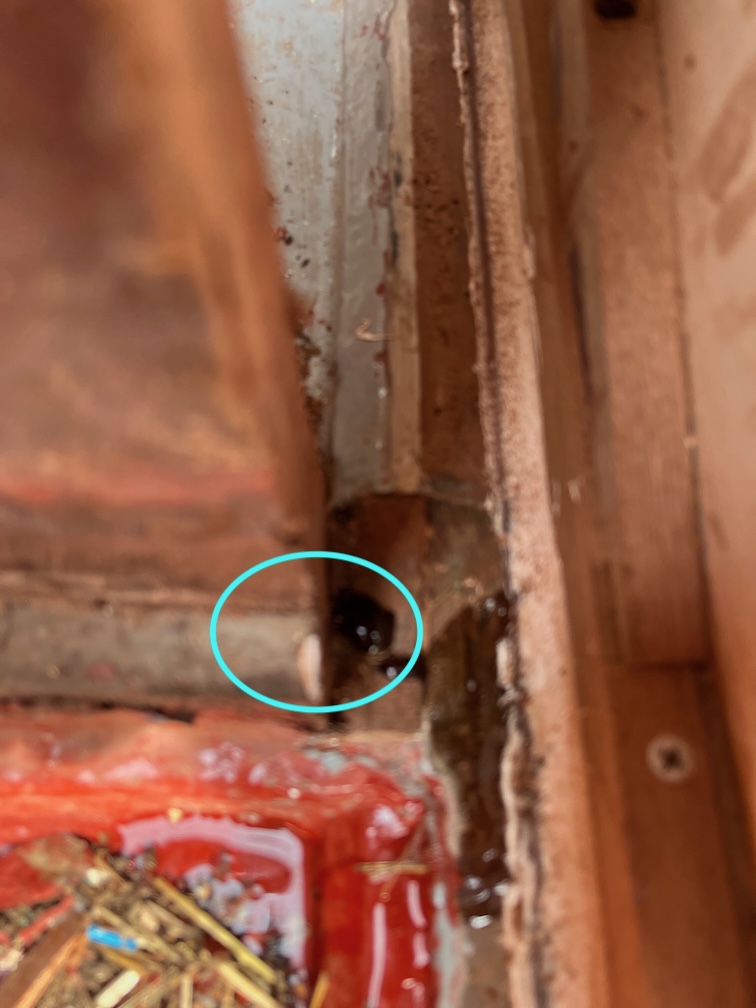
The leak on the inside is shown by the cyan circle on the image, and although there is a fixing hole within this area, it does not appear as though there is a leak here.

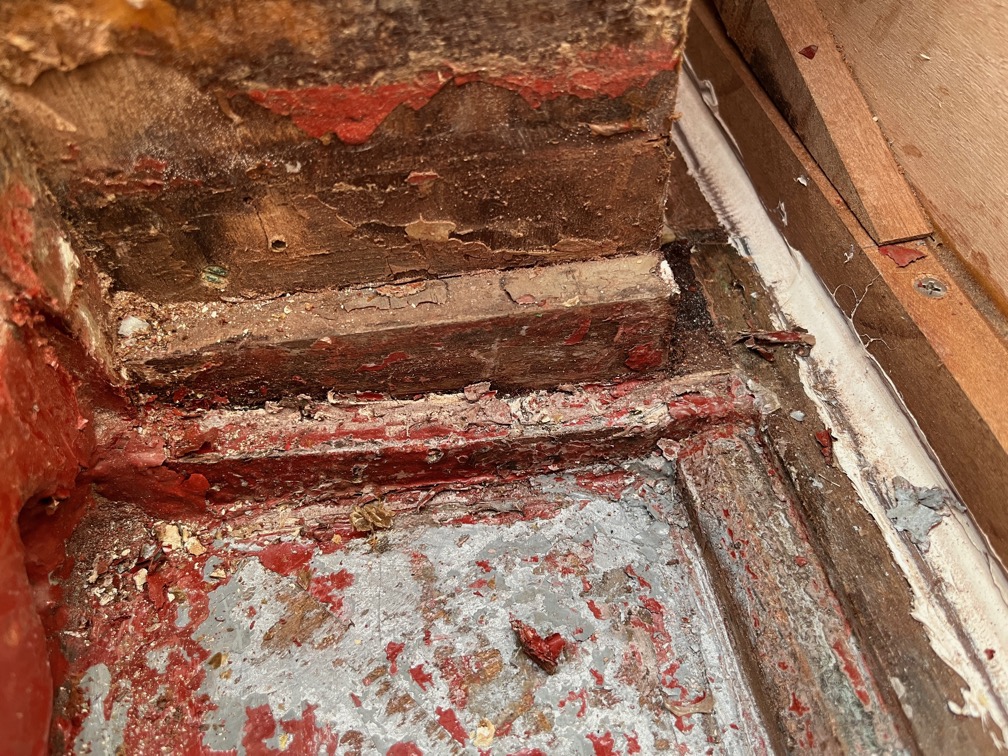
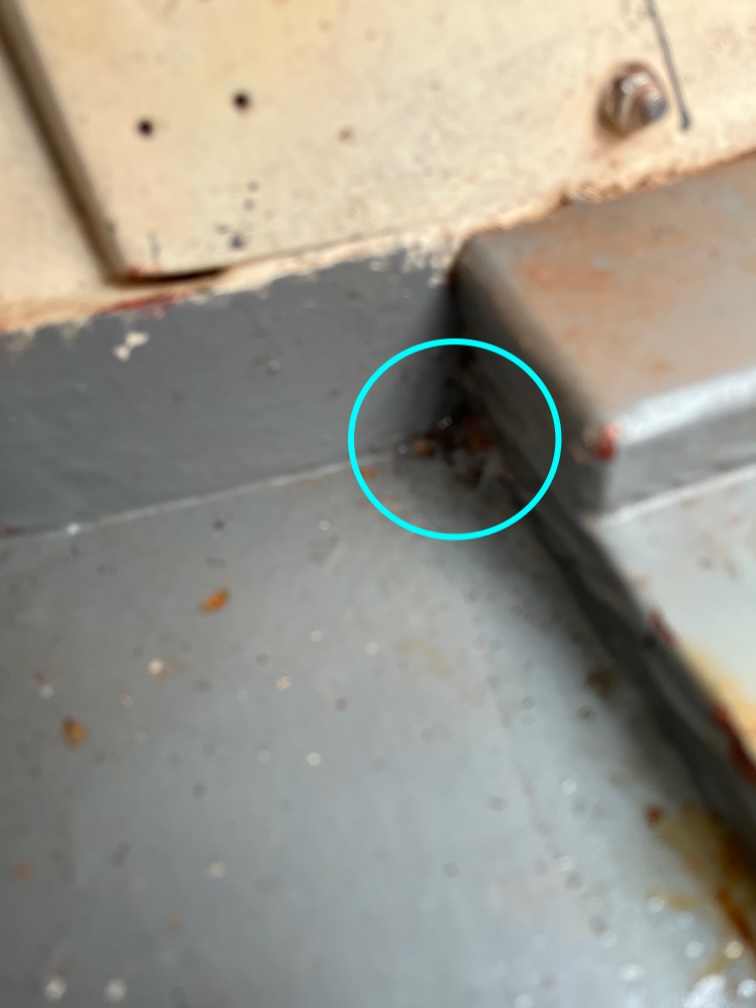
I took a scraper to the antifouling paint on the join between the hull planking and the keel and found that there is a definite gap that you can see highlighted in the image above. It does not appear to be on the other side of the keel and I will have to remove more of the antifouling along this seam to find the extent of the crack. However, there is a very good chance that this is the source of the leak.

If the crack does not extend any further, then the fix will be to open the crack slightly by cutting a chamfer on the keel and then paying this with SikaFlex. If the crack is longer, then it might require a glass fibre tape to be epoxied over the crack.

Whatever the method of the fix, the outer pad needs to be replaced and the pintle refitted. Given the various constraints it may not be possible to move the fitting up such that bolts can be used. If screws are used then they will need to be longer than the previous ones and well sealed.

Time for a cup of tea.
2026-03-17 – Transom Leak I

The next leak to investigate is the one at the bottom of the transom.

To remind you , this is where the water is seeping onto the hull.

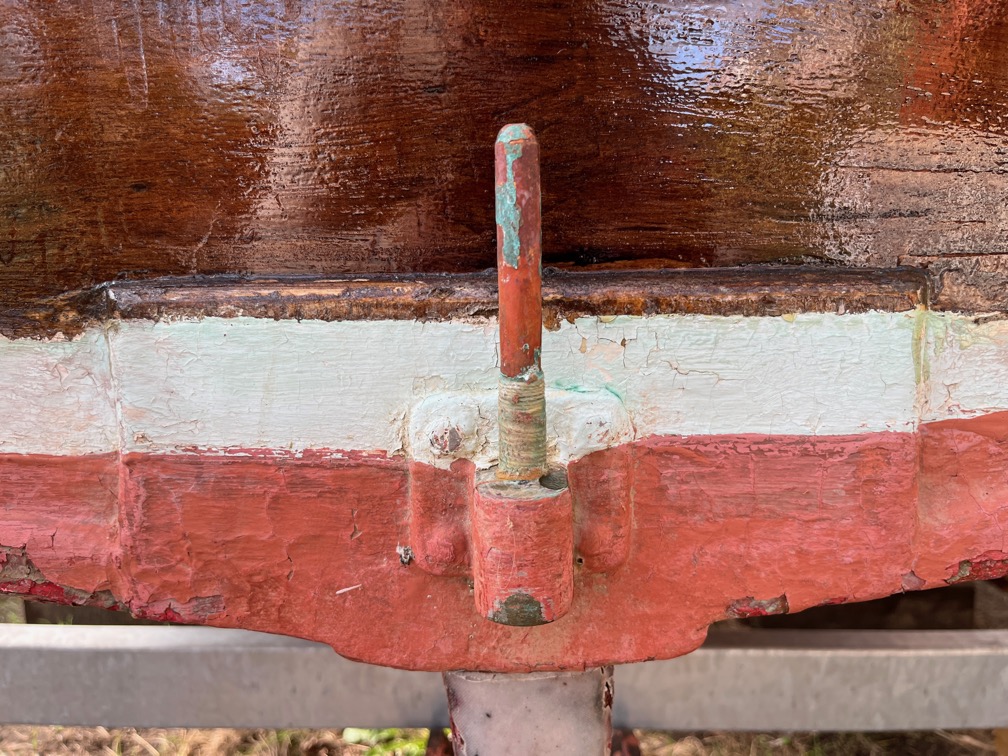
And the cause is probably something to do with this, the lower pintle. The first thing to do is to get the fixing removed so that the pintle itself can be removed from the transom. You’ll note that two lower fixings are below the water line.

On the inside, you can see that the two upper fixings are bolts, stainless steel by the looks of them and the lower two are probably screws as they cannot be seen.

Removing the layers of antifouling paint revealed the screw heads and these were easily unscrewed. Too easily if the truth be told, they were almost loose in the holes. Definitely not a good sign, although I expect that the holes would close up a little after immersion.

The screws were in good condition but to my eye quite a lot shorter that I would have used. Well, if I had used screws that is. Generally speaking it is a bad idea to use screws below the waterline. You rarely get a lasting good seal.

The upper two fixings came out easily and are also in good condition.

The multi-tool was then used to cut away the block on top of the keel. You’ll notice that I cut upwards at a slight angle so as not to cut into the keel itself.

Once the cut section had been removed, I carefully cut away the remaining portion and then used a chisel to clean up the top of the keel.

In the process of cutting away the block I noticed the remains of a brass screw coming through the transom. I presume that this was an old fixing for the pintle. I suspect that this is the main contributor to the the leak.

There was the remains of a second brass screw on the other side of the transom. This one seems to be in better condition that the first one to be found.

And this does not help. There is a channel in the wood starting by the old screw and going out to the side of the keel. Any water that made its way through the screw hole would then find its way along the channel and out from under the paint. This is exactly what I saw during the leak test.

So, how to fix this? The First thing to do is to locate the old fixings, remove them and plug the holes to make them watertight. After that I would say that the best thing would be to raise the pintle such that the lower fixings are not underwater and to use bolts here as well.

The problem with this solution is that the gudgeon on the rudder stock can only be raised by 20mm before it fouls the pivot bolt.

Now, the holes in the pintle are 38mm apart meaning that if the pintle is raised 20mm, the lower holes will be 18mm below the existing upper holes.

This may not be above the waterline, but it will be above the keel and that allows the use of bolts for the lower fixings. Bolts can be made watertight easily.

So the plan is to locate and remove the old fixings from the outside and plug those holes. You can see two old fixings above the current holes under the white paint. These probably need to be checked.

The existing upper bolt holes will also be plugged.

The gudgeon on the rudder stock needs to be raised as far as it will go and then the rudder stock can be hung on the upper fitting allowing the correct new position of the lower pintle to be marked.

The lower holes will be drilled through the transom and if necessary, a backing pad will be fitted on the inside. This will be sealed against the transom and keel to ensure a watertight joint. If necessary it will be made in the shape of an upside down ‘U’ such that it fits over the keel. Sealant will be used liberally to ensure a watertight joint between the transom, keel, hull and backing pad.

Finally, the pintle will be fitted in the new position making sure that all the bolts are watertight.

Time for a cup of tea.
2026-03-05 – Removing the Bottom Runners

I have to confess that it was very difficult to get started on anything Shoal Waters related today. In fact, I did not start anything until after lunch. But eventually I made the effort and continued the task of the leaks in the cockpit.

Again I chose small tasks to begin with and that meant hot air gun and scraper to remove some of the paint on the starboard side of the aft block. Not a complete scrape, just enough to locate the screws.

Then it was a case of using the multi-tool, hammer and chisel to remove the runners.

Once most of the thickness of the runners was taken away, the rest broke off the keel, splitting along the glue line. These are some of the pieces that just came off, indicating that the bond was not longer good.

This screw was interesting. The left image is what remained on the port side and the right image shows the large screw that it was originally.

I suppose it was the work of about an hour to clear the runners away and then sweep up the mess. The wood of the aft block is quite wet but it does not seem to have any rot. The plan for this part of the leak repairs is to cut new runners to replace the old ones and then leave the repair so that the wood has a chance to dry out.

Then the wood will be soaked in penetrating epoxy, allowing that to cure before fitting the new runners.

The two outer runners will start at the forward end of the centerplate case and run all the way back to the aft, seen here. This means that it will not be fitted until all the other centerline leaks have been dealt with. This runner will be glued in place and screwed with just enough screws to hold it in place as it will be curved to fit the keel.

The upper runner, originally the same width as the runner that came with the hull, will be cut wider than before such that the wood overlaps the join between the two lower runners, thus providing more “leak proofing”.

None of the keel leaks around the case are a problem. The two that will probably be a little more taxing are the transom leak and the leak under the port bulkhead that forms the front of the footwell.

Time for a cup of tea.
2026-03-14 – Investigating the Leaks

Something that is easy to do and requires little thought is scraping off paint. Armed with hot air gun and scrapers I set to in the cockpit well on the port side where the leaks appeared.

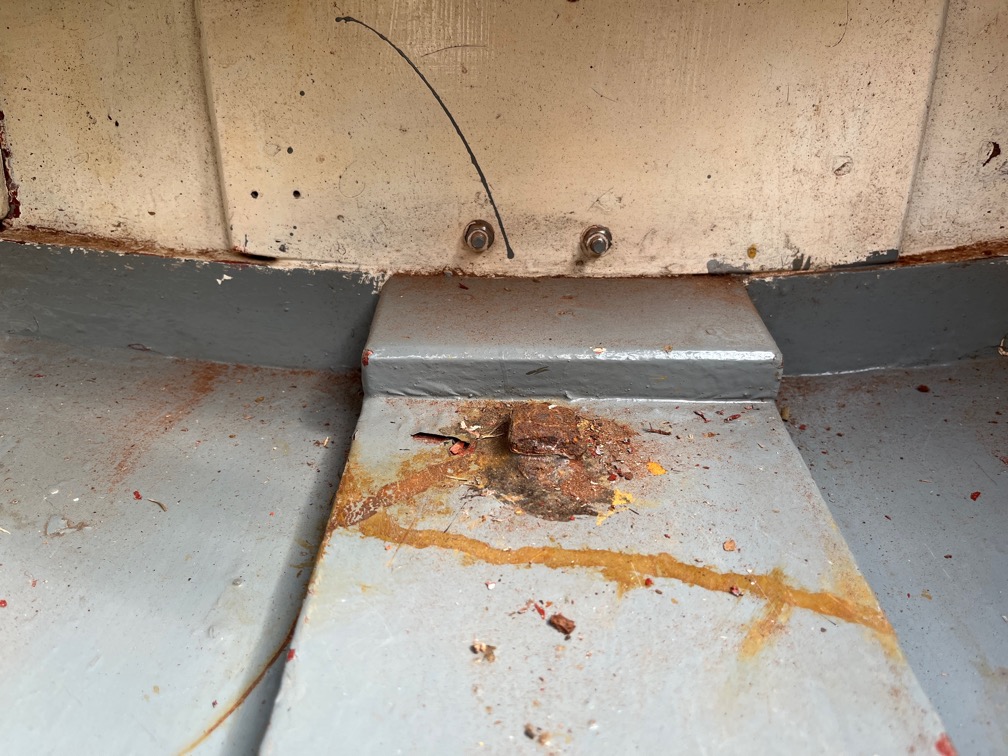
Some of the paint came off really easily and in this photo you can see the gap between the aft end of the aft centerplate block and one of the extra pieces put in by the original owner. This is the source of one of the leaks and fairly obvious.

I poked at the extra batten with the sharp point of the paint scraper and it came away easily and the wood underneath is wet. The conclusion is that the leak starts further forward where the slot in the hull begins and the crack allow water to seep along until it find a point where it can get through the point.

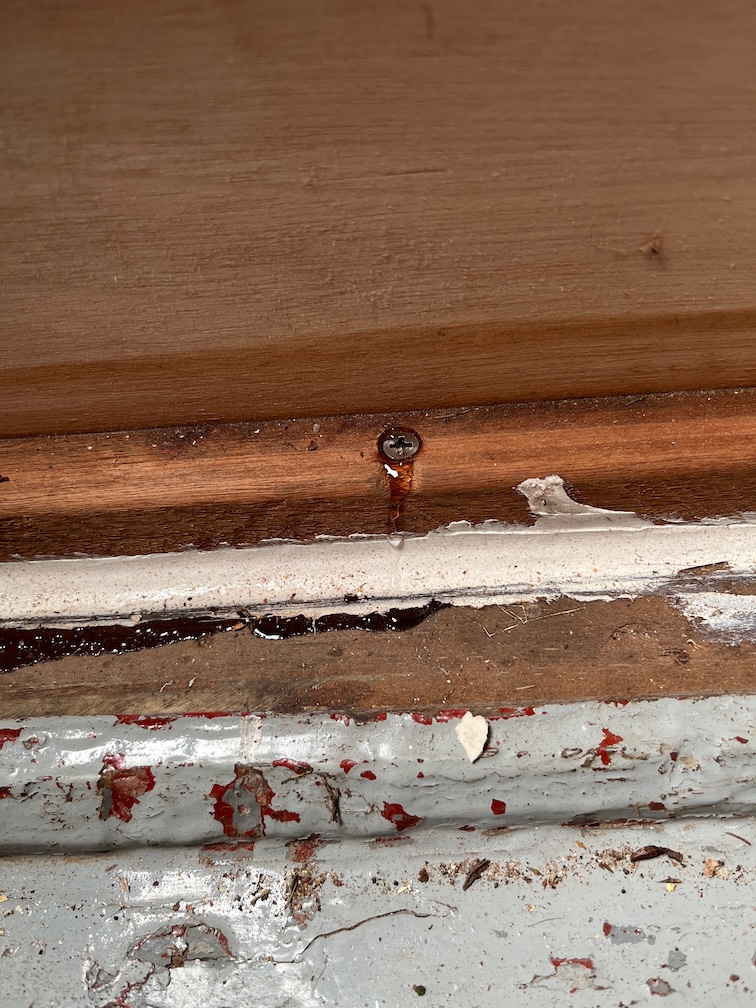
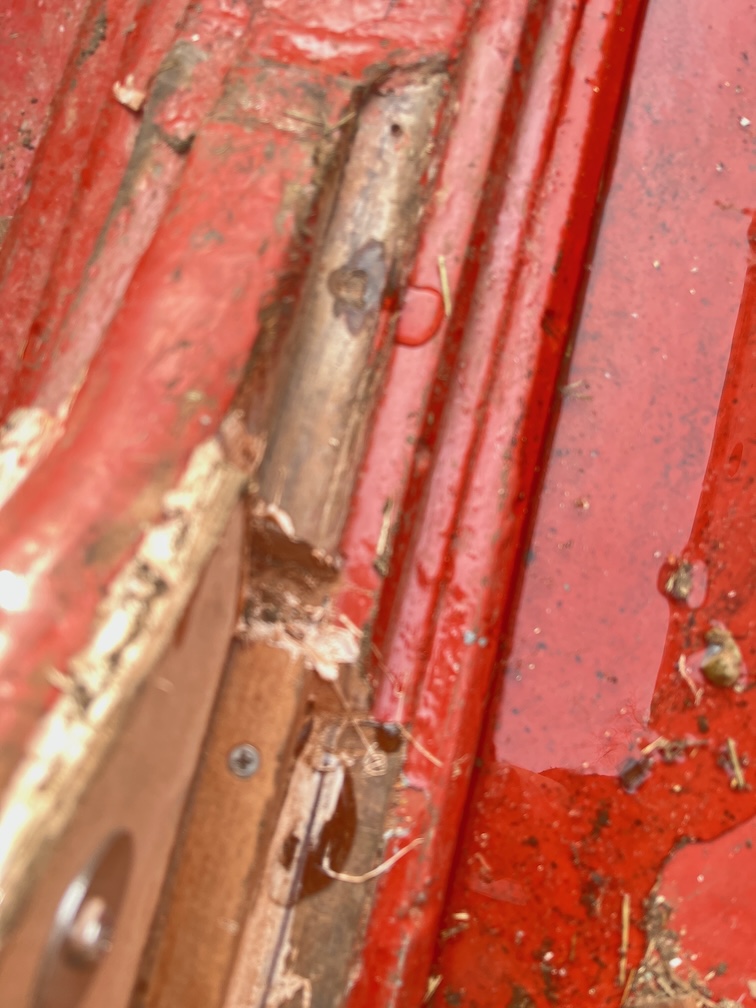
I’ve put two images together to show the next leak, the one highlighted by the cyan circle. This is just aft of a brass screw put in through the 45º angles face. You can see the screw in the left image and just see the indentation in the paint on the right image at about 11 o’clock on the circle. I would suspect that this is the source of the leak. I would suppose that over time the brass screw has degraded until it is no longer watertight and so the water gets it. It might be the case that after a few days in the water, the wood around the screw expands and makes it watertight again. That screw may even be at such an angle that it penetrates through the hull.

That has to come out and since this is suspect, I’ll take the entire batten out on both sides, carefully removing the brass screws in the process. The screw holes will be filled with a flexible sealant and a new batten put in place, held by SikaFlex as this remains flexible when cured.

The next area is a little more difficult since it appears to be under the battens. The whole shebang was covered in a thick layer of what looks like SikaFlex, indicating that the leak has been there for some time and attempts have been made to fix it. These battens and the bulkhead will need to be removed to investigate and I would not be surprised if there is another degraded brass screw or two through the battens, and possibly through the hull, that are no longer watertight.

So, more deconstruction required and some careful investigation of the hull that appears to be leaking.

That’s all for today, I burnt my hand on the hot air gun and need to go and attend to it.

Time for a cup of tea.
2026-03-13 – Demoralised !

I don’t know about you but I know myself very well and after such a day as yesterday the last thing I need is more failure. The boat was just one part of a bad day, we had to scrap the car and that’s a story all by itself.

Suffice it to say that for the next few days I shall be working on small, easy tasks that have practically no realistic possibility of failure.

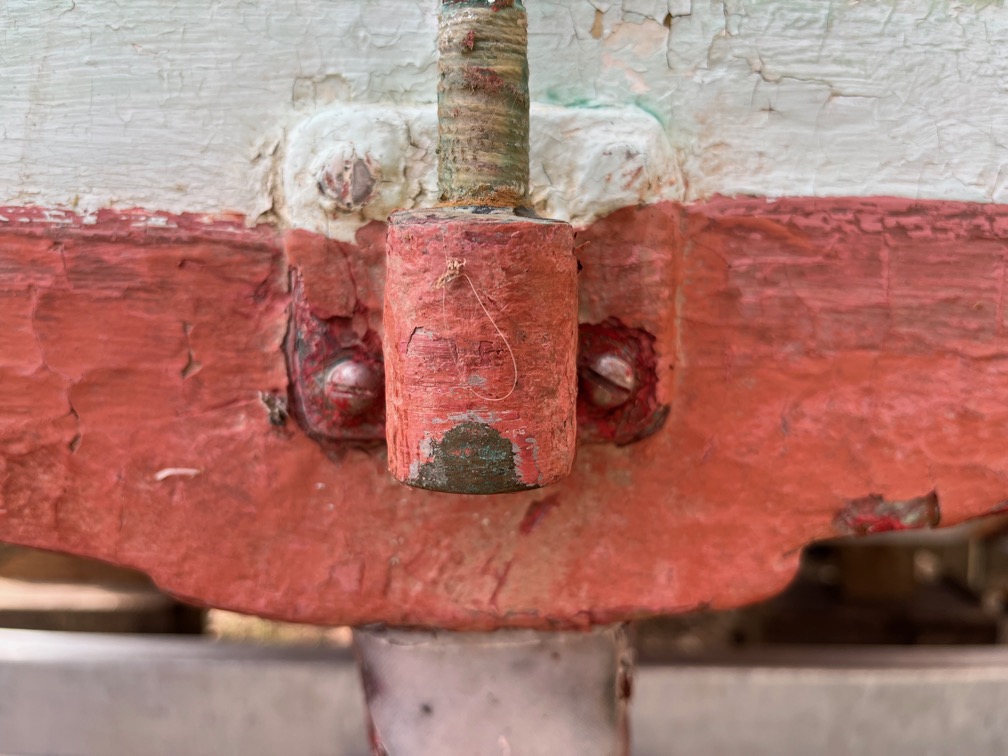
The first task after propping up the boat, was to bail out the water in the bilge. In doing so I found another leak forward of the mast, shown above.

And another one on the opposite side of the keel. Both of these are easy to deal with, but without having to bail out the boat after the leak test I would not have seen these ones.

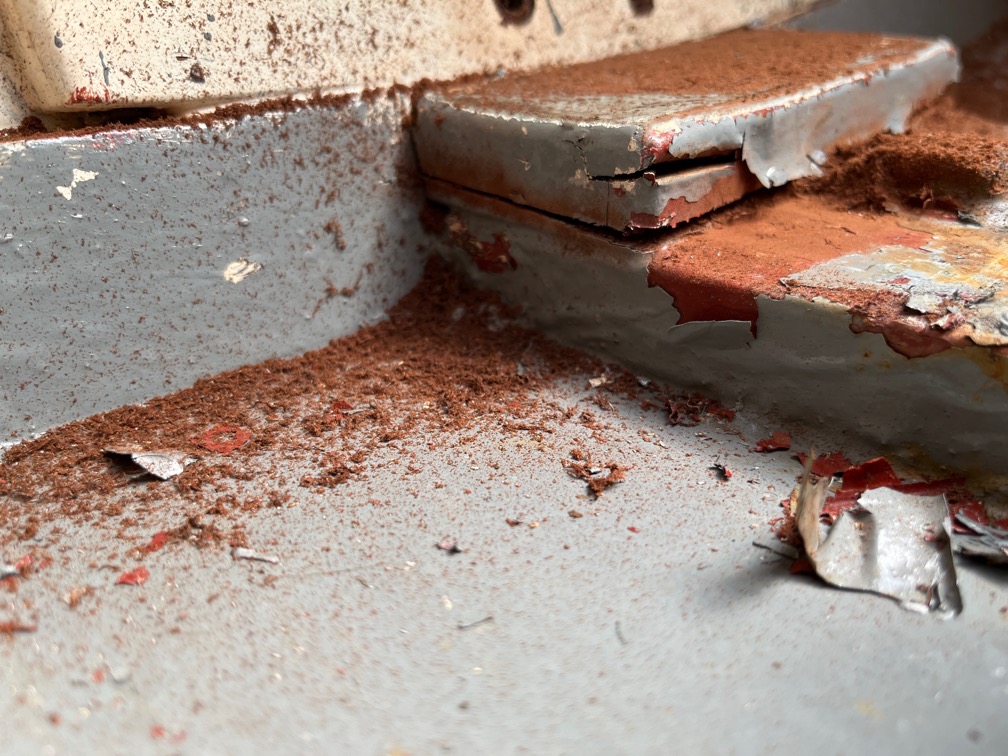
One good thing about bailing out the boat is that it has removed a lot of the dust and grime that had accumulated during the works.

The same in the cockpit foot well…

Except here where it all ended up. I’ll deal with that once it has dried.

The next small task was to open out the holes in the chain hoist mounts to accept the black iron pipe that are the pins.

This was fairly easy to achieve although the wood splintered a bit as it was a bit damp from having been outside. I also cut section from the old anchor chain and used that to hang the hoists upon. These were made over long and shackled together to get the correct length for the job.

The next task was to put Shoal Waters back on the working trailer since the travelling trailer is too short to be good for working and then to level up the trailer.

I used a spirit level to get the trailer level, but I think that the boat is still slightly down on the port side. The next task, therefore, will be to adjust the side supports such that the boat is also level.

Time for a cup of tea.
2026-03-12 – Leak Testing

I had prepared the boat for the trip to Ely last night and this morning we drove over to the boatyard.

Ready for the trip.

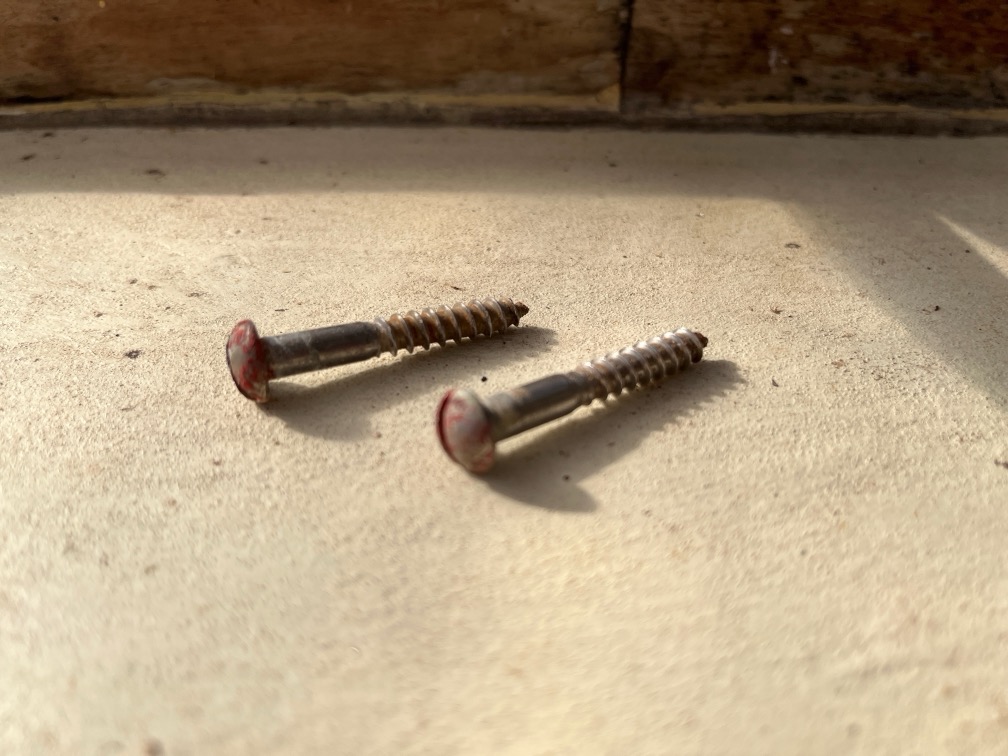
The leak test failed. Several of the screws leaked…

…but only on the starboard side.

This is not a difficult fix.

And I noticed that one of the screws I have not touched is also leaking.

As I said, these are not difficult to fix.

However, there were several other leaks that are in area that I have not touched. This one, for example, is at the aft end of the centerplate case aft block, specifically long the glue line.

This one, however, is in the hull beside the keel and I will need to explore where the water is getting in. Egress does not mean ingress.

Likewise, this one is also in the hull planking right next to the keel.

This one is right at the bottom of the transom on the starboard side and I have a pretty good idea what is causing this since Naiad had a leak in the same place but on the port side.

To be honest whilst most of the leaks will be easily solved, the ones in the hull and transom may require a little more effort, but the whole thing is a little demoralising.

Still we brought the boat nae home and I will begin the investigations and repairs another day.

Time for a cup of tea.
2026-03-11 – Gantry Crane V

The pins for the cranes did not arrive yesterday, so the first thing I did this morning was to look for alternatives that will do until they do arrive.
Rummaging through my sundry metal bits bin I found these. They should be good enough.

During my first break I put the pins into the mounts and hooked on the chain hoists.

There we are, two gantry cranes completed and ready to go.

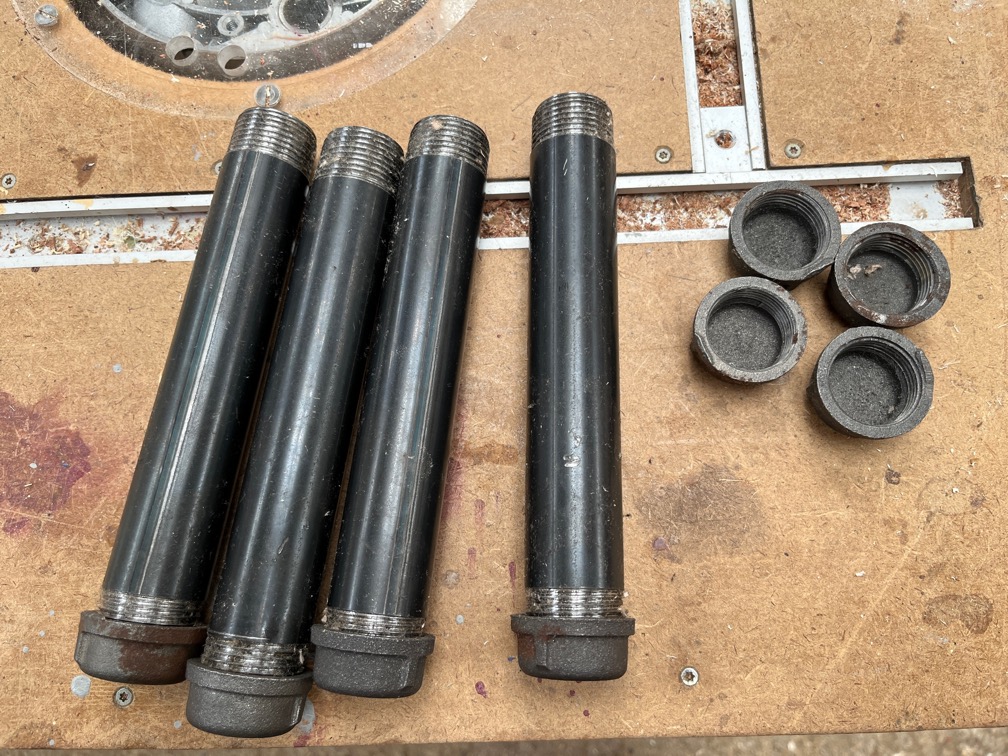
The pins arrived at lunchtime, so I will replace the alternatives with these later. These are 25mm diameter black iron pipe, threaded at both ends with caps.

However, I noticed, just by eye, that these are not 25mm in diameter, that measurement is the inside diameter. So I went and measured them and I need to open out the holes to 35mm. Wide enough for the pipe to go through but not the cap. Oh well. I’ll use the alternate pins for today and open out the holes later. I don’t have the time to do that before needing to use the cranes.

Instead I started to prepare Shoal Waters for the move to the other trailer and that meant removing all the blocks from under the trailer. Here she is now sitting just on the trailer and she is canted over to one side slightly due to the slope on the ground.

I took a moment to check the pressure in the tyres of both trailers and to add more air where necessary. I also need to check the wheel bearings for grease on the travelling trailer before putting Shoal Waters on.

The blocks that were under Shoal Waters ready to put under Naiad.

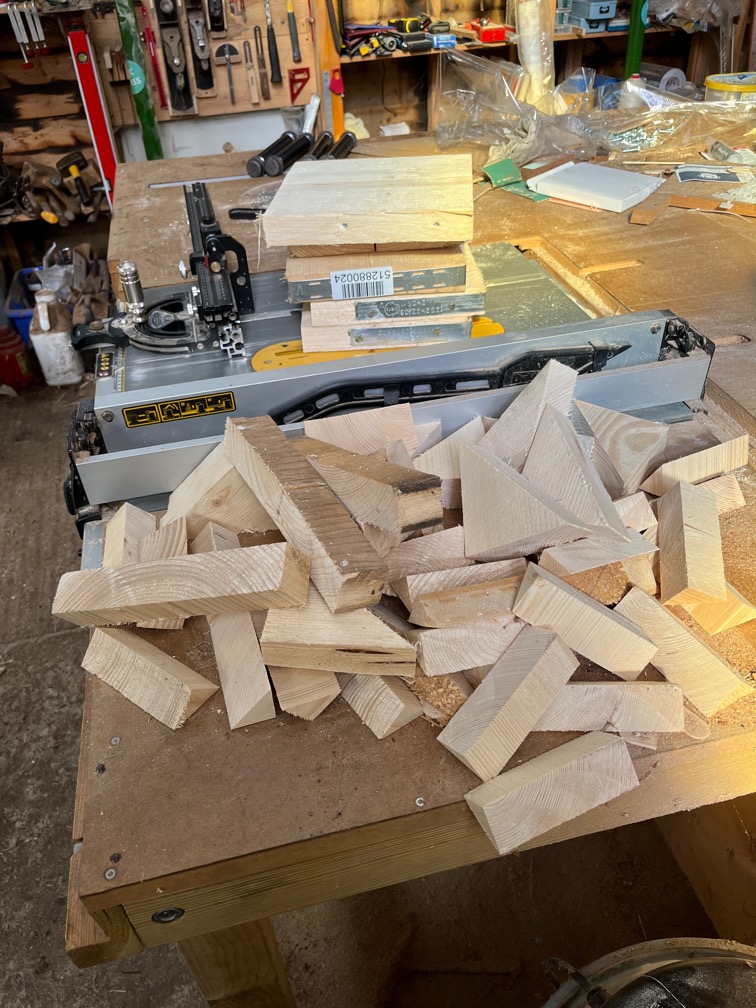
Now that the construction of the gantry cranes is completed I gathered up all the offcuts.

This is all that I have left of 12 scaffold boards. Not at all bad. I’m not sure whether to put these in the offcuts bin or the burn pile !

To get Naiad ready first required me to lower the mast since the forestay would get in the way of one of the cranes. This did not take long, it’s an easy and simple process.

Then the blocks under the trailer were removed and put aside except for the one aft of the transom since they will not be in the way there and were close to where they were needed.

After work we began the process of getting Shoal Waters onto the traveling trailer.

The cranes were positioned around Naiad and the strops put in place.

She was lifted off the trailer, the trailer moved out of the way…

…and blocks out under her to rest on. Having lowered her onto the blocks, the cranes were moved and Shoal Waters placed under them.

She was lifted up, the trailer moved out from under her…

…the travelling trailer put under her and she was lowered onto the trailer. The cranes were then moved well out of the way.

Shoal Waters was tied down to the trailer using ratchet straps and ropes as required. With the trailer board lashed to the stern and the correct registration plate put in, she is ready to be taken to the boatyard tomorrow.

Time for a cup of tea.