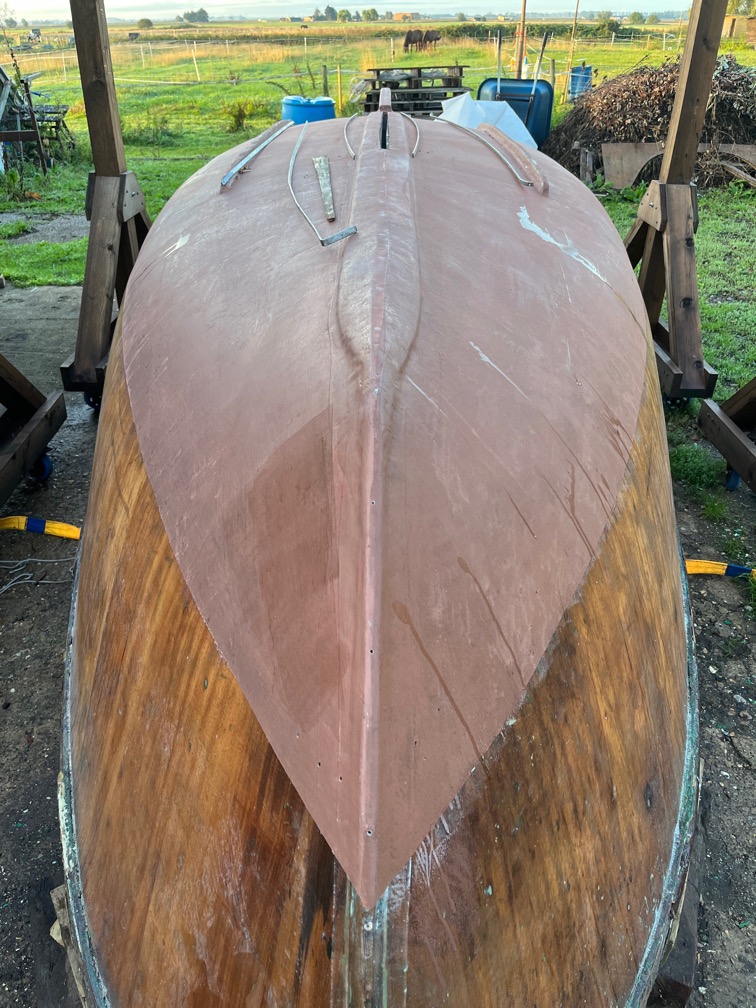
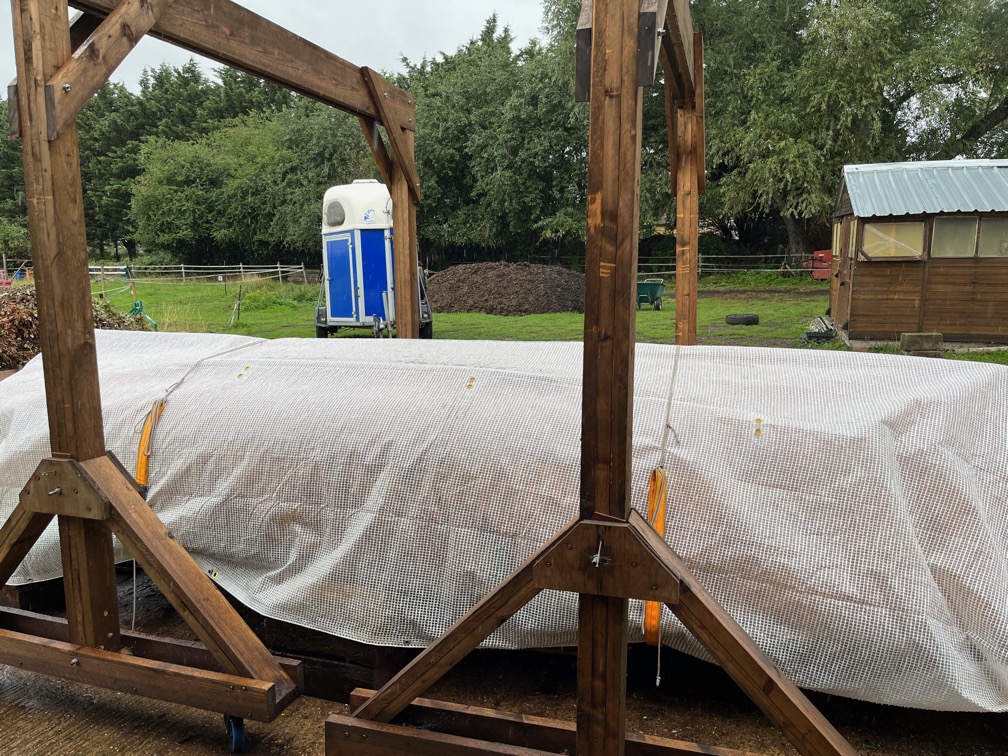
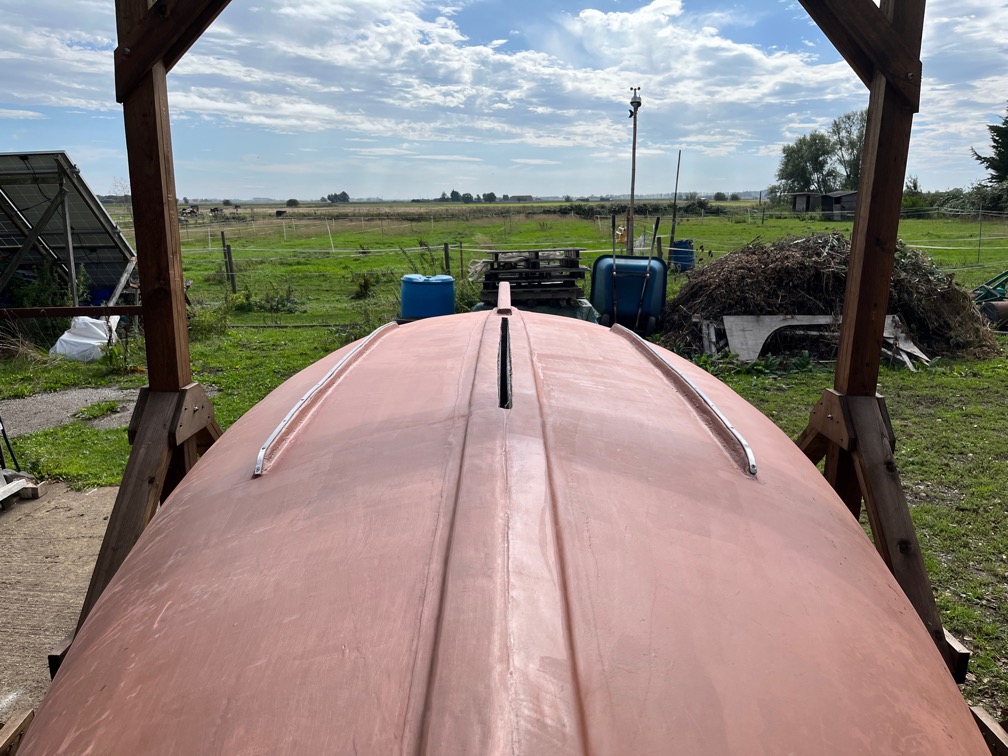
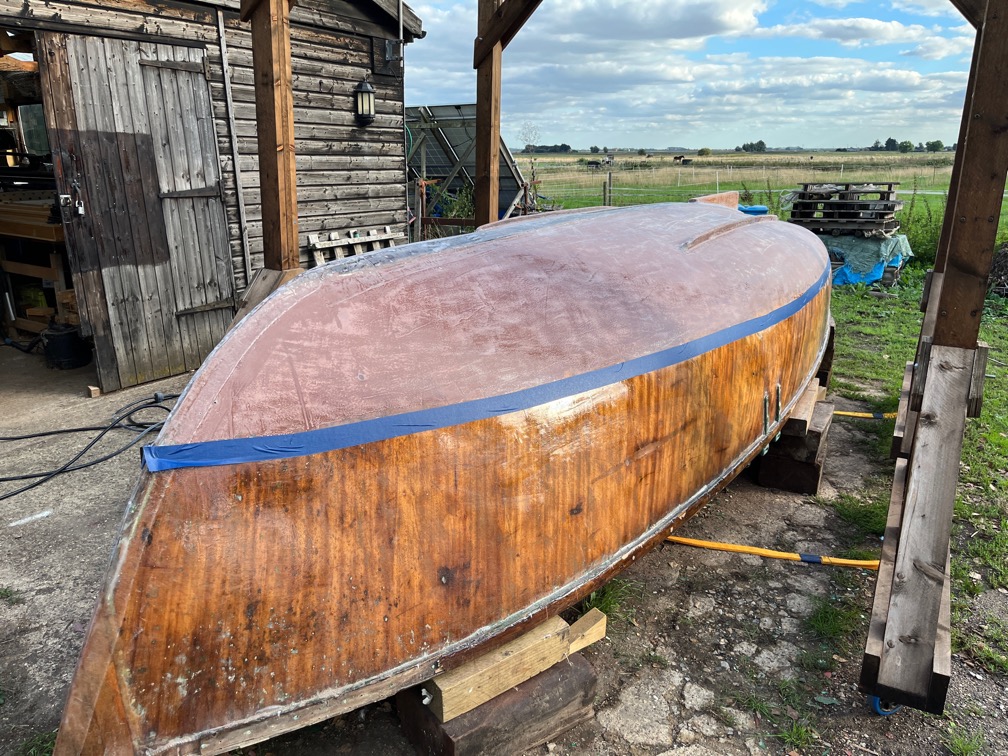
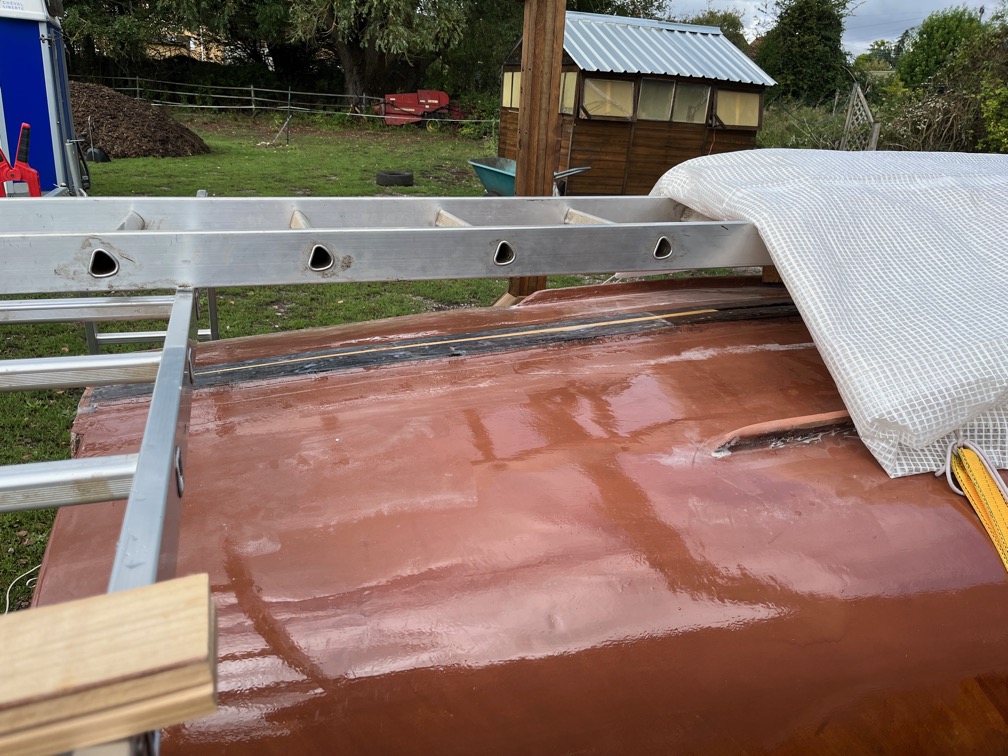
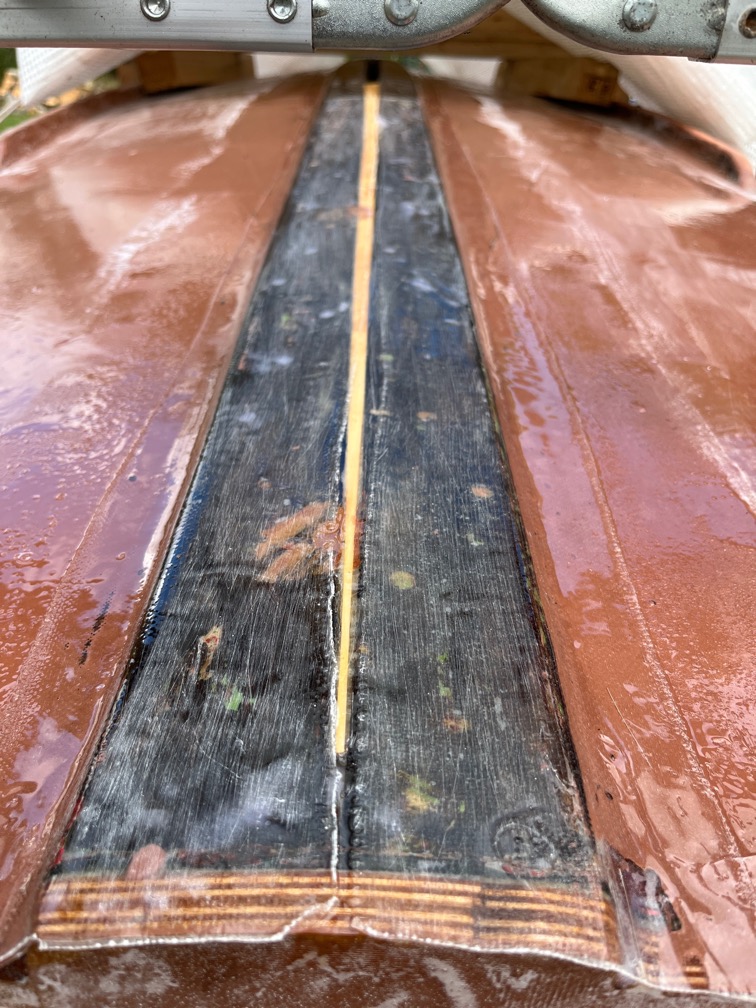
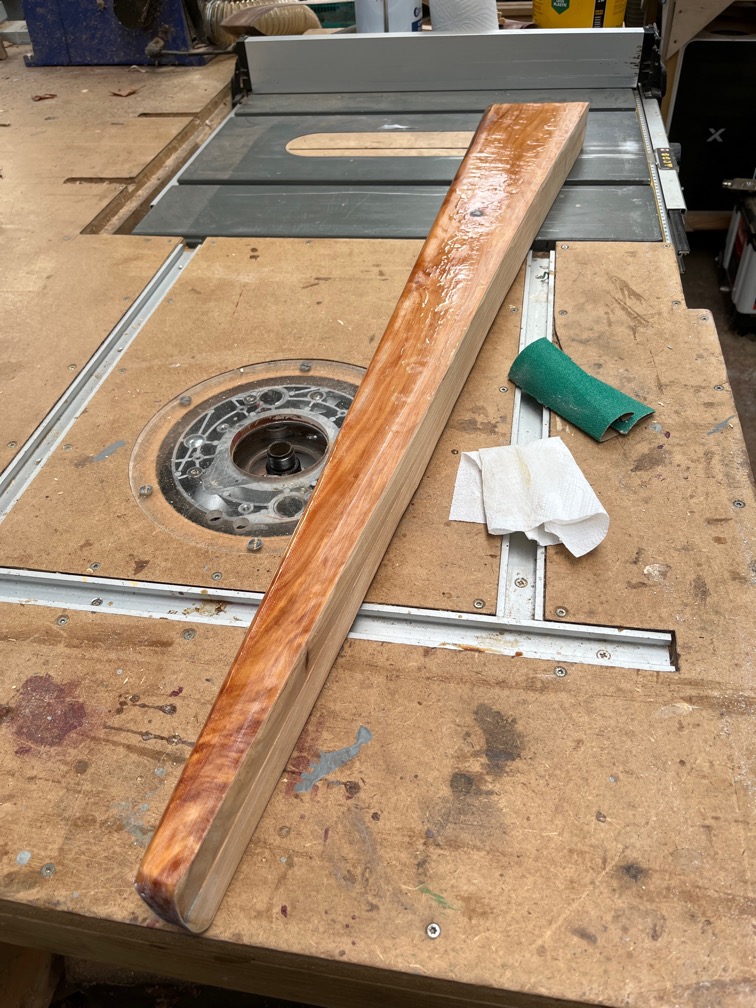
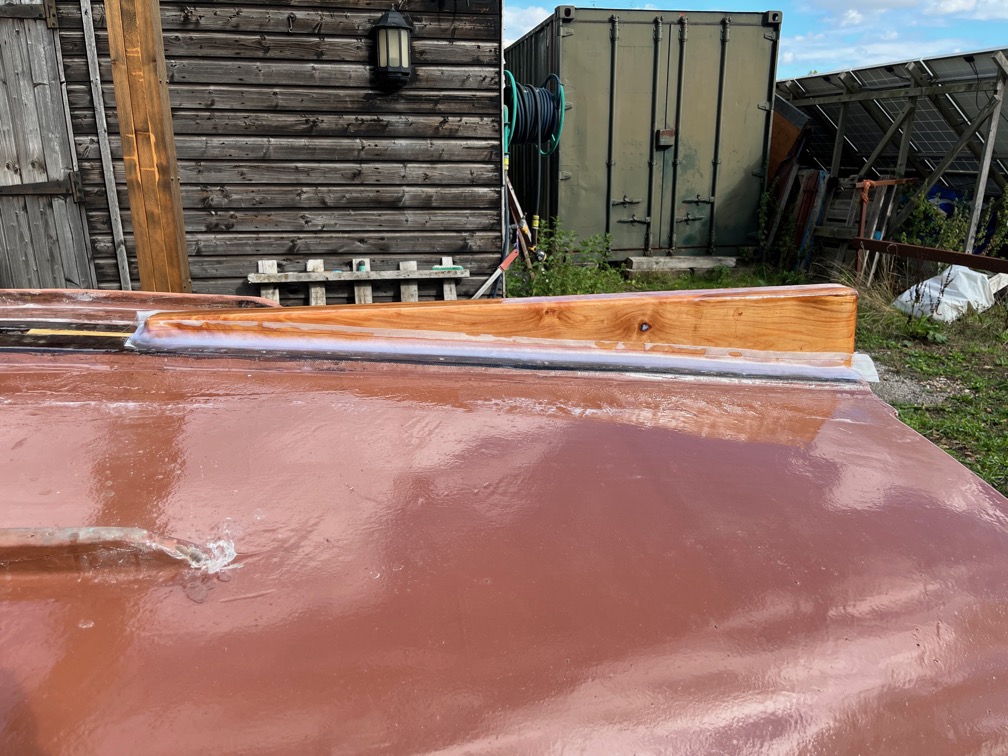
This morning started warm and very, very humid. Most uncomfortable. I took the cover off the boat and found that despite the cover, some of the hull was damp and especially in those areas where the dew that had collected on the top of the cover spilt as I removed it!
The first task after that was to remove all the screws from yesterday and then let the hull stil in the warm air to dry.
Later in the day I took a lunch break and worked on the keel bands again.
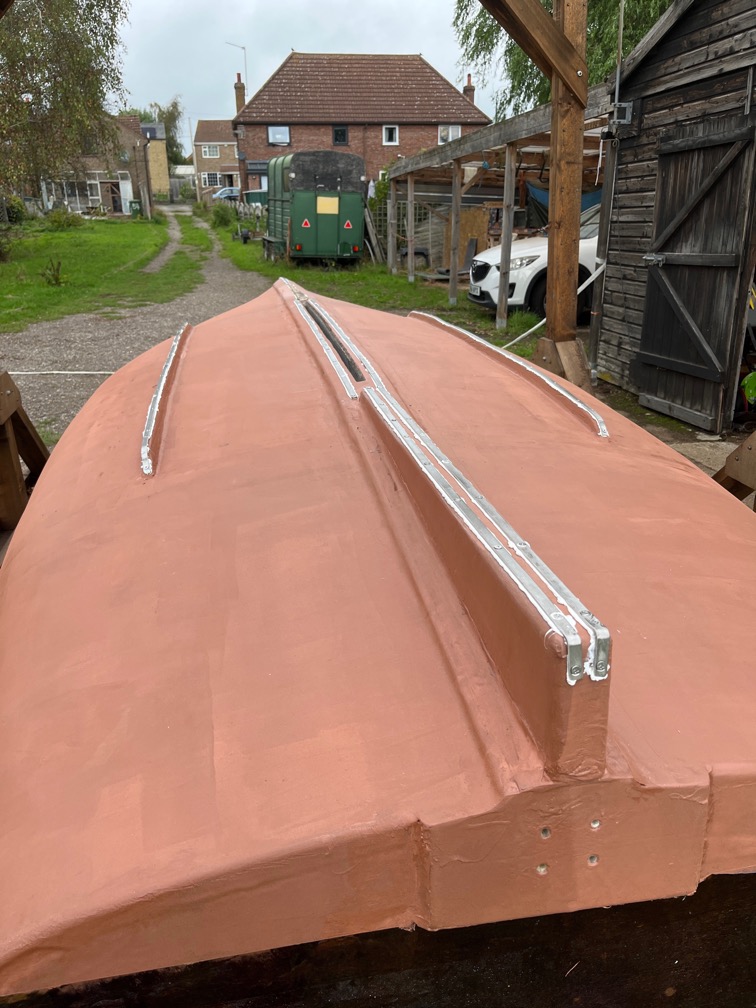
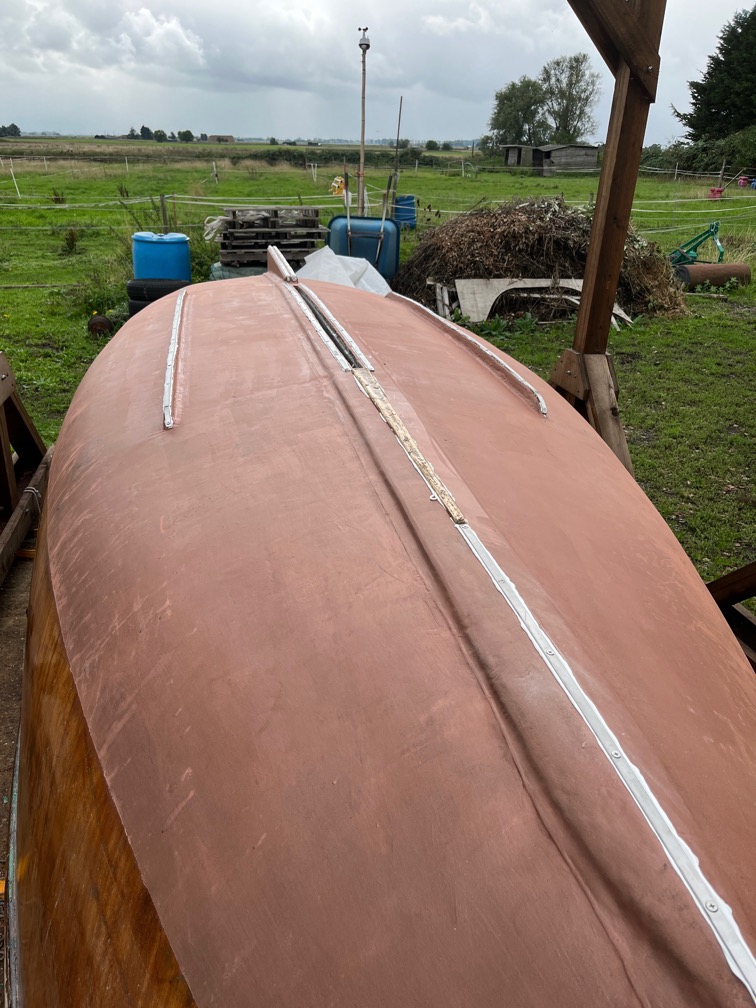
Each of the bands is now bedded in Sikaflex 291i and held in place with the correct number of correctly sized screws.
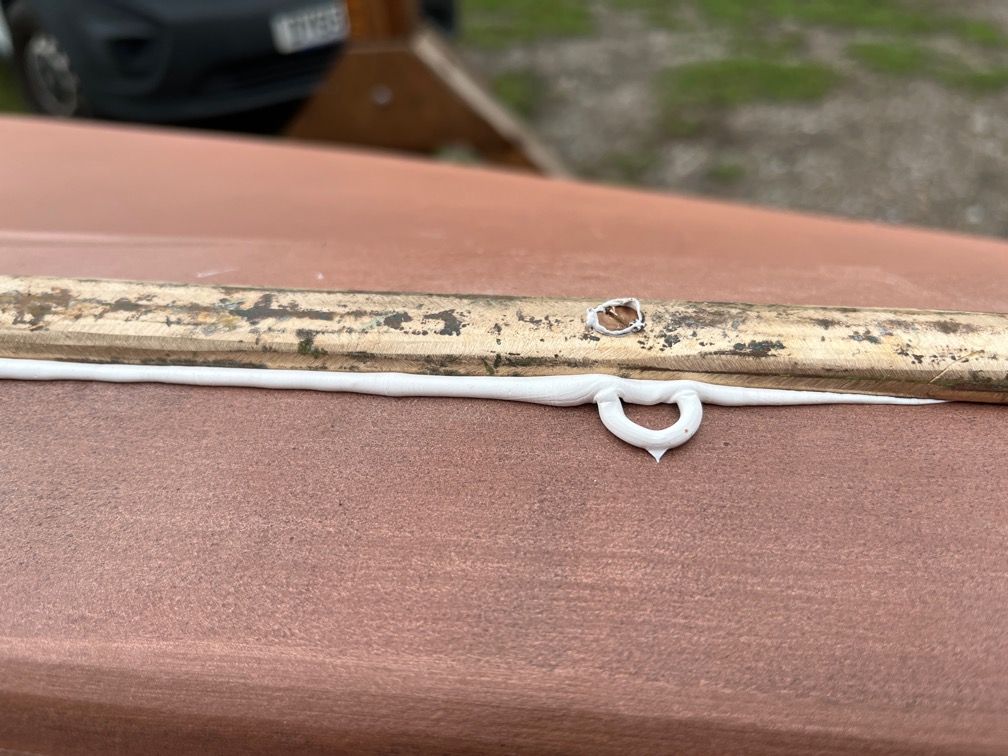
The trick with this stuff is to wear nitrile gloves and boiler suit, the sealant gets everywhere, apply the sealant as a thin bead moving slowly long the length of the section and never, never attempt to correct mistakes.
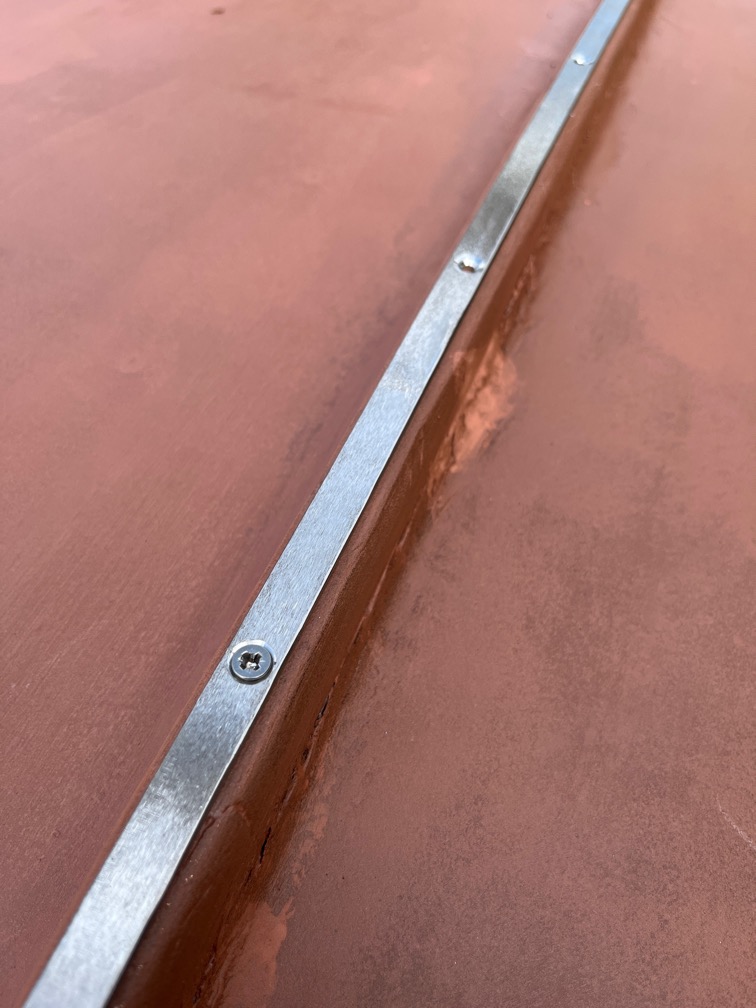
Like this. Trying to fix this will just smear the sealant all over everywhere and make a mess and won’t get the stuff off.
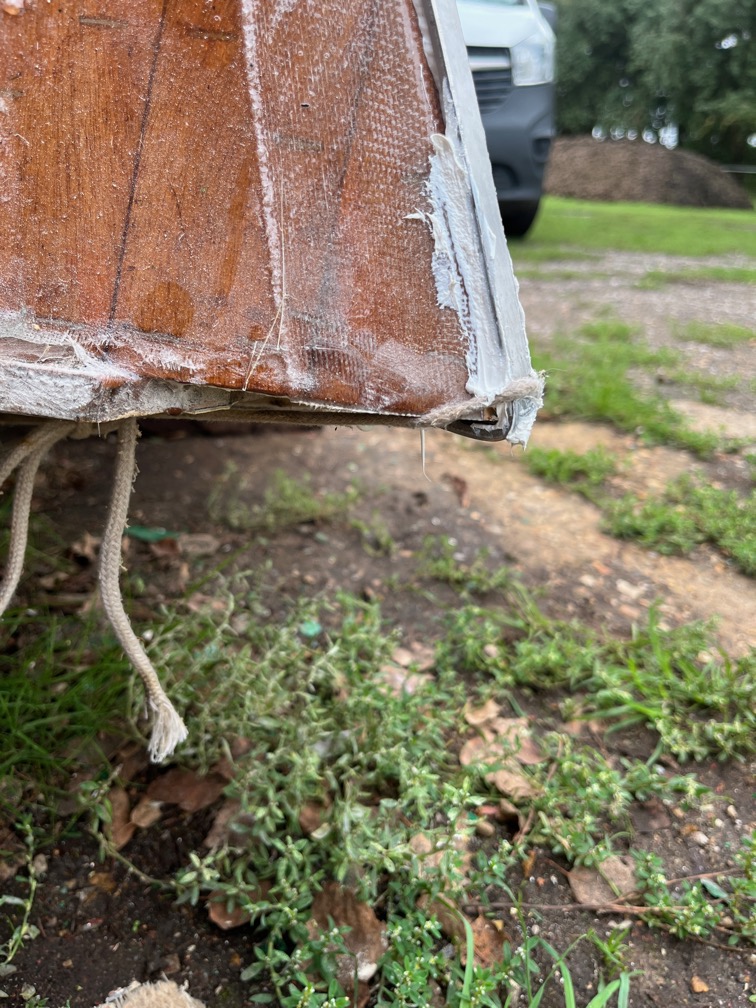
This is an example of where I had no choice. There was a significant gap between the bead and the stem that no amount of bending could fix, so I had to fill that gap with sealant applied with a mixing stick. As you can see, it smeared even though I was being ultra careful.
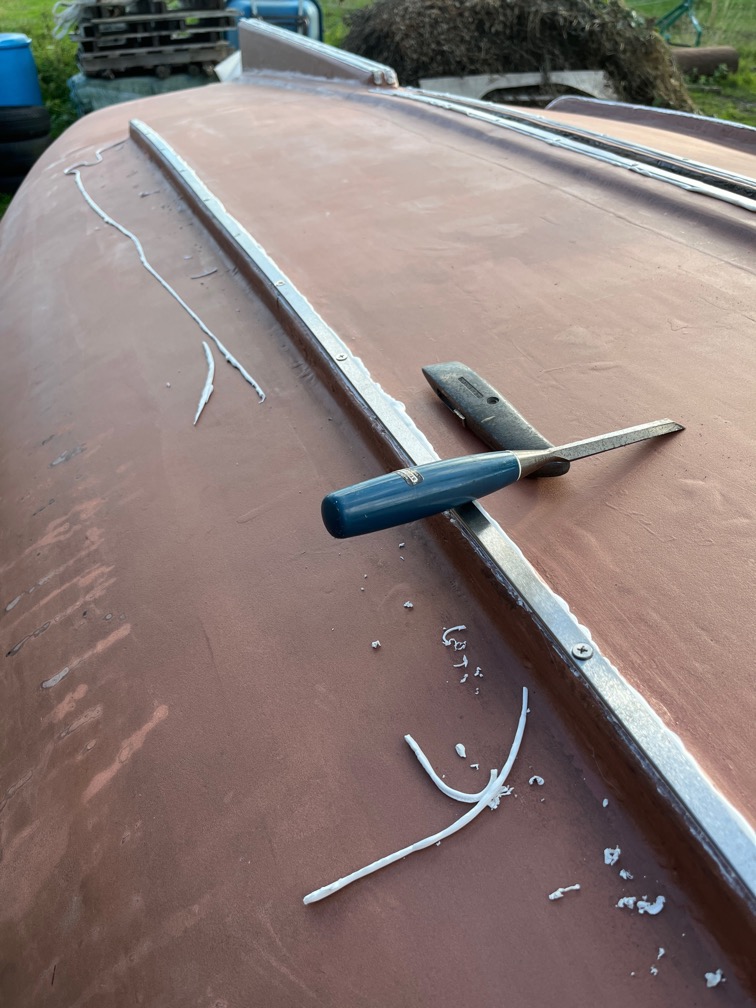
Later in the evening I set about removing the excess sealant. A sharp utility knife is run alongside the keel band cutting down, but not too hard as to damage the surface . Then a sharp chisel is run along the top of the surface to peel away the cured sealant in strips.
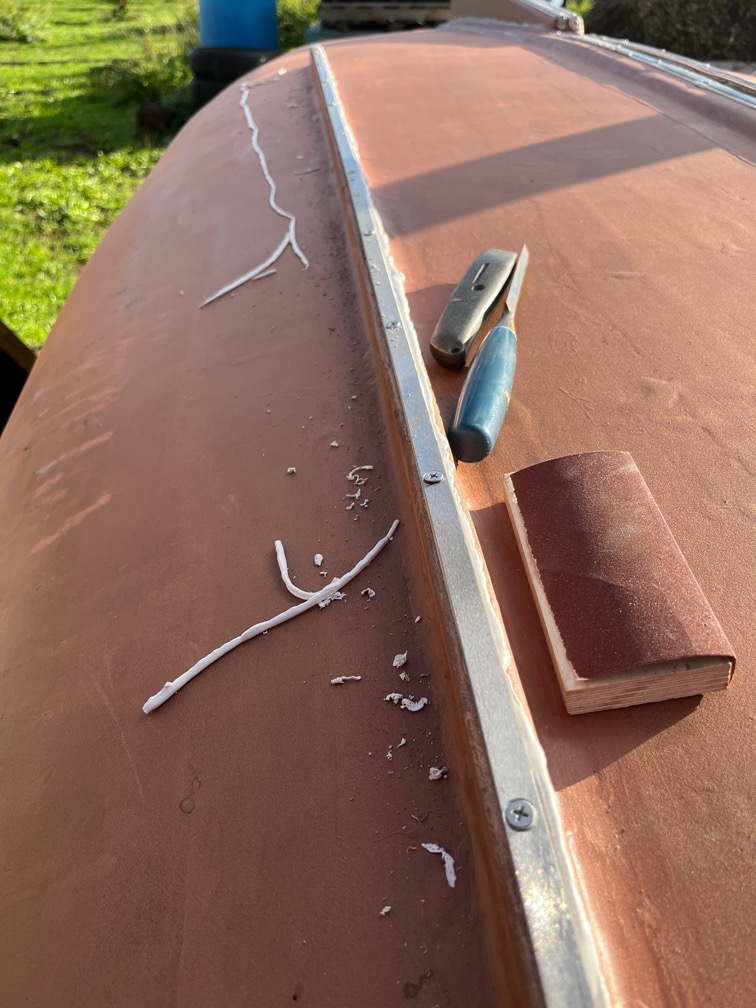
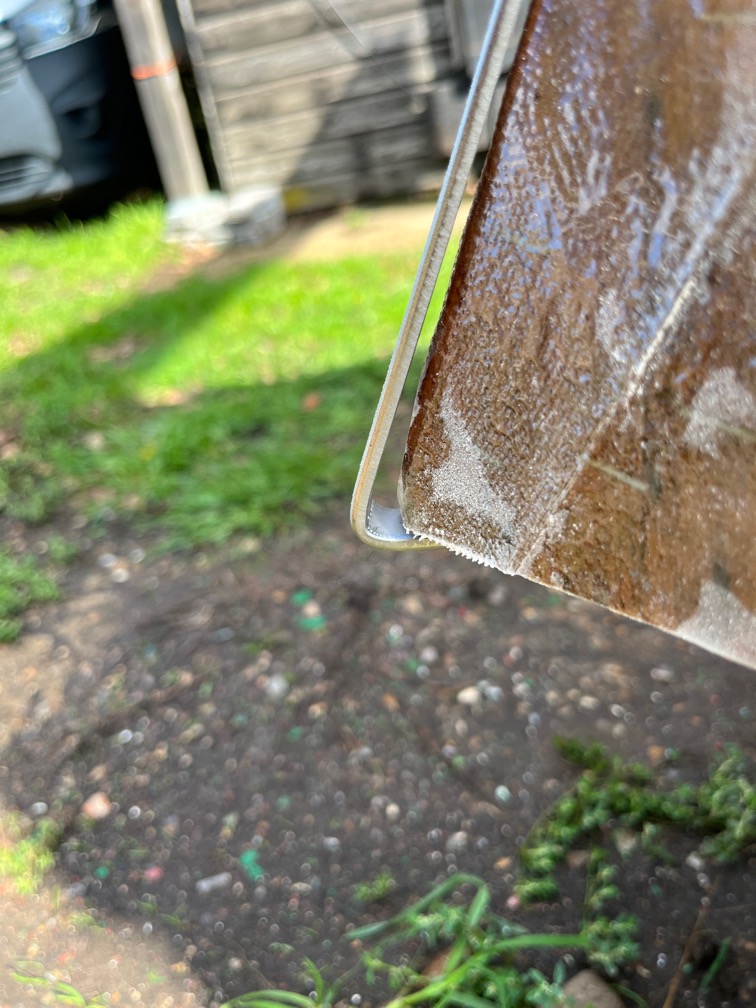
Finally, any remaining pieces of sealant are sanded away. Here I used 240 grit. As you can see, the result is very good. Far better than you would get if you tried to clean this stuff up when it was still sticky.
Having said that, the sealant was still a little too soft, so I stopped doing that and will carry on tomorrow.
I awoke to the sound of steady rain this morning and by the time had gotten up and done the necessary, there was no sign of the rain letting up. It was warm enough, just wet. Not that a decent soaking rain, which this was, was not welcome in a general sense, it just meant that the plans for the day had to be changed.
Work moved inside the workshop instead of outside.
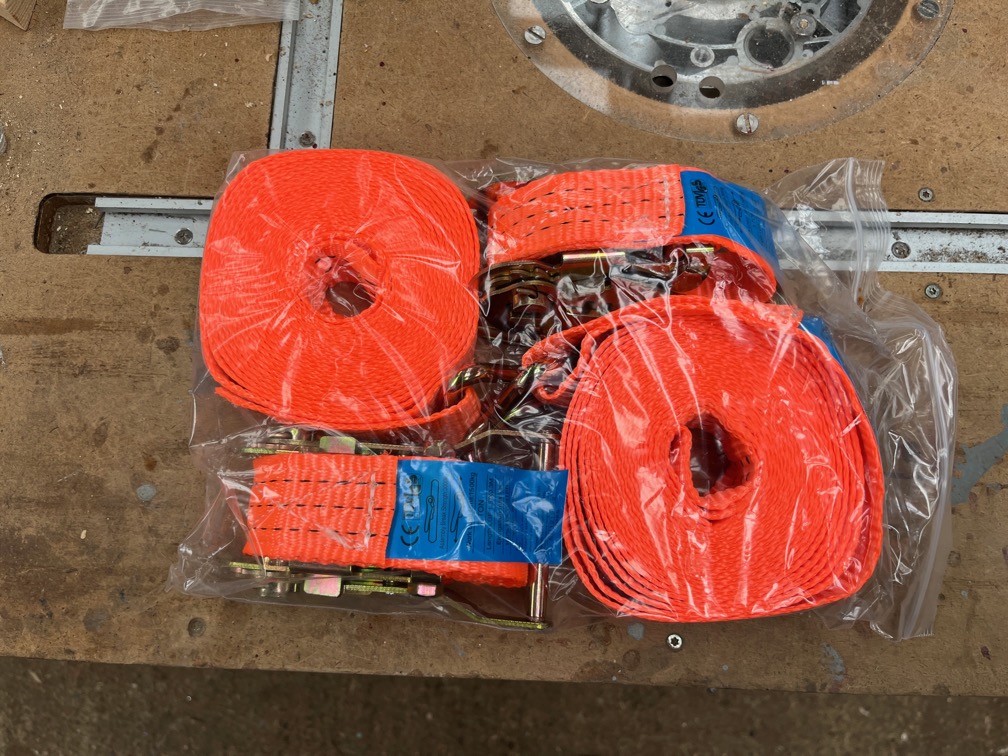
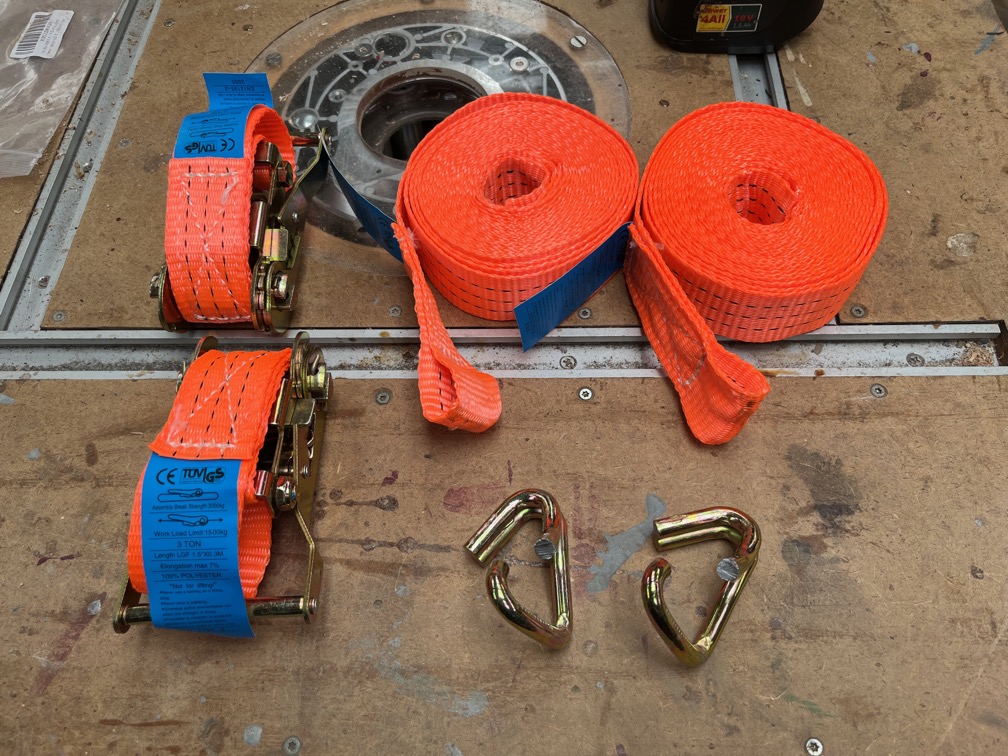
The first task was to convert the three remaining ratchet straps from hooked to non-hoked.
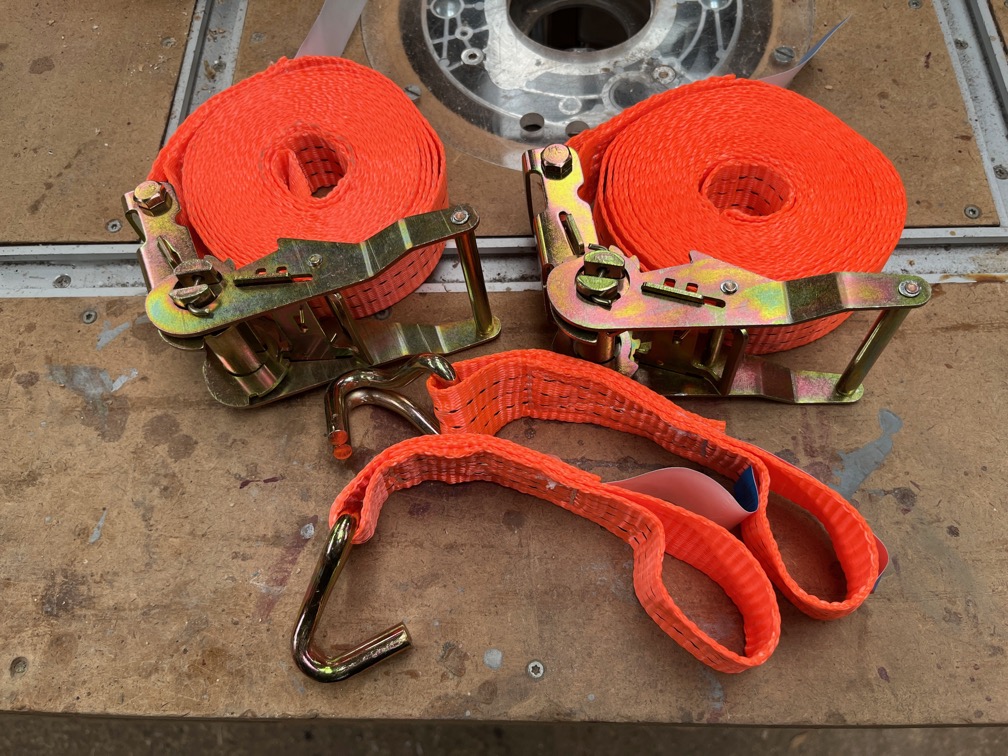
This isn’t difficult, you just use a hacksaw to cut the hook on the strop end and bend the hook so that you can remove it, as shown.
The strops are then put onto the ratchet replacing the short strop and hook st give the desired result.
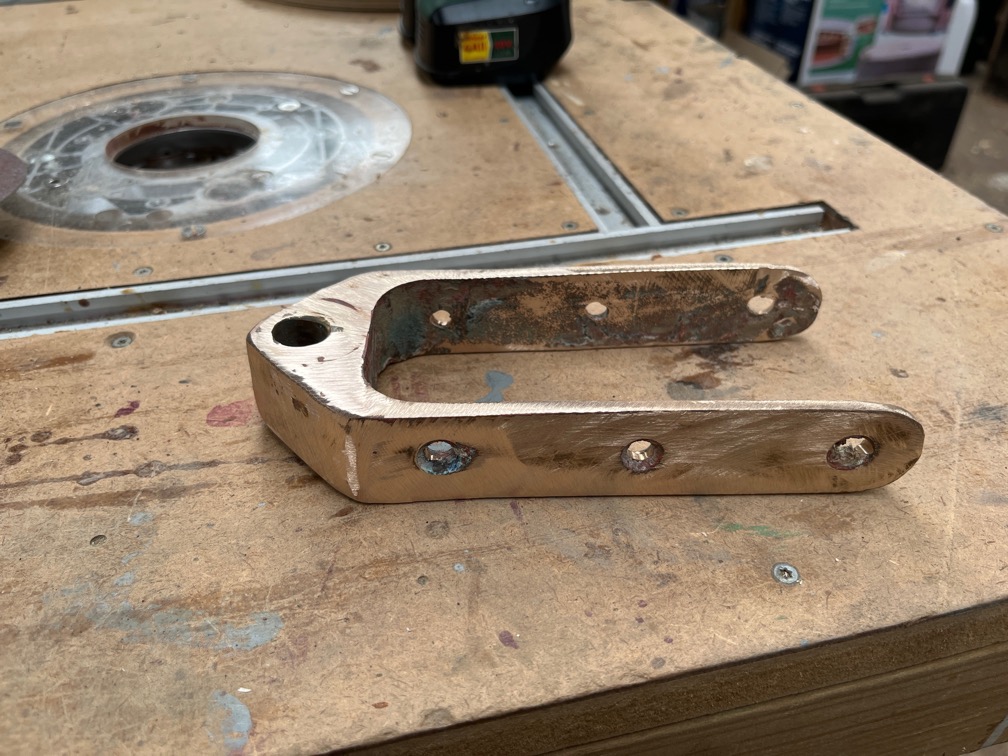
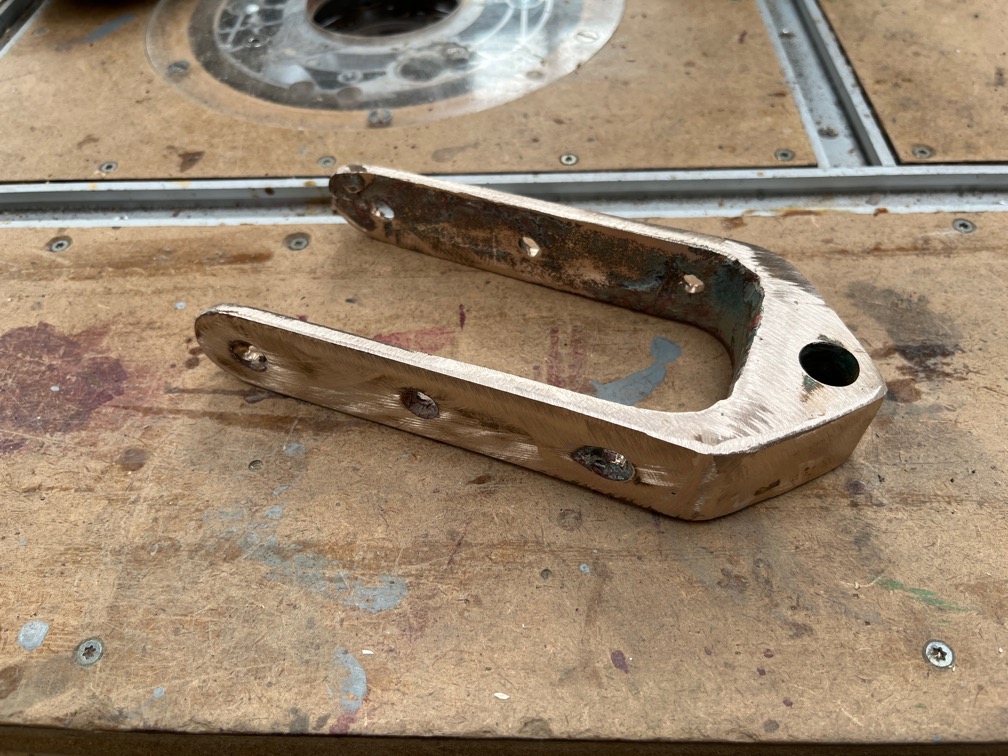
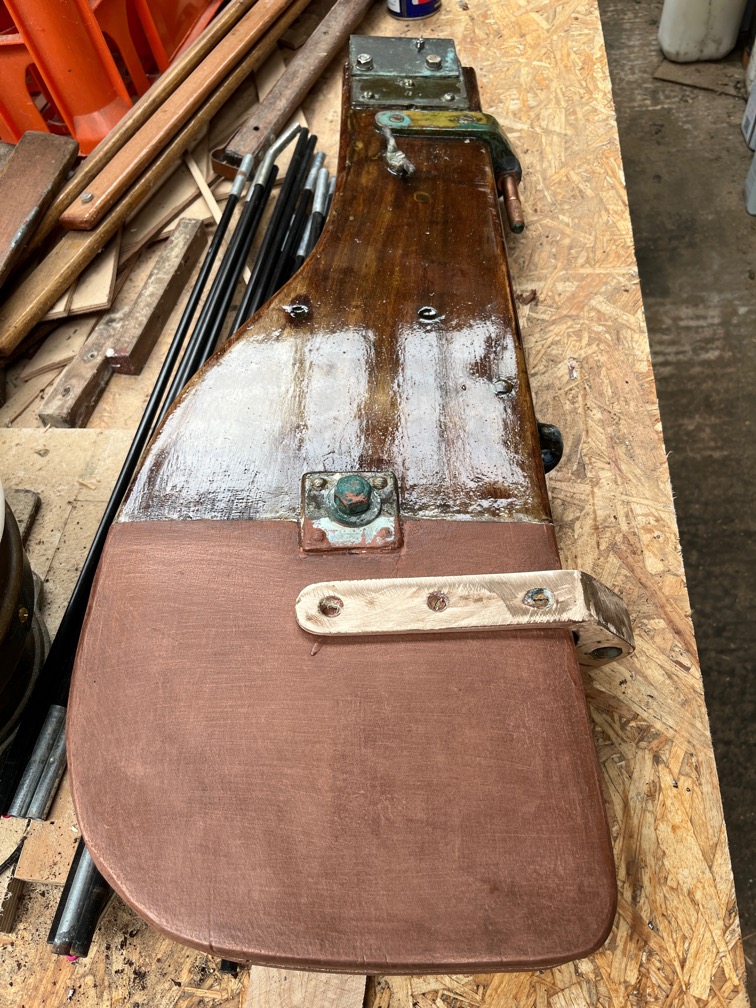
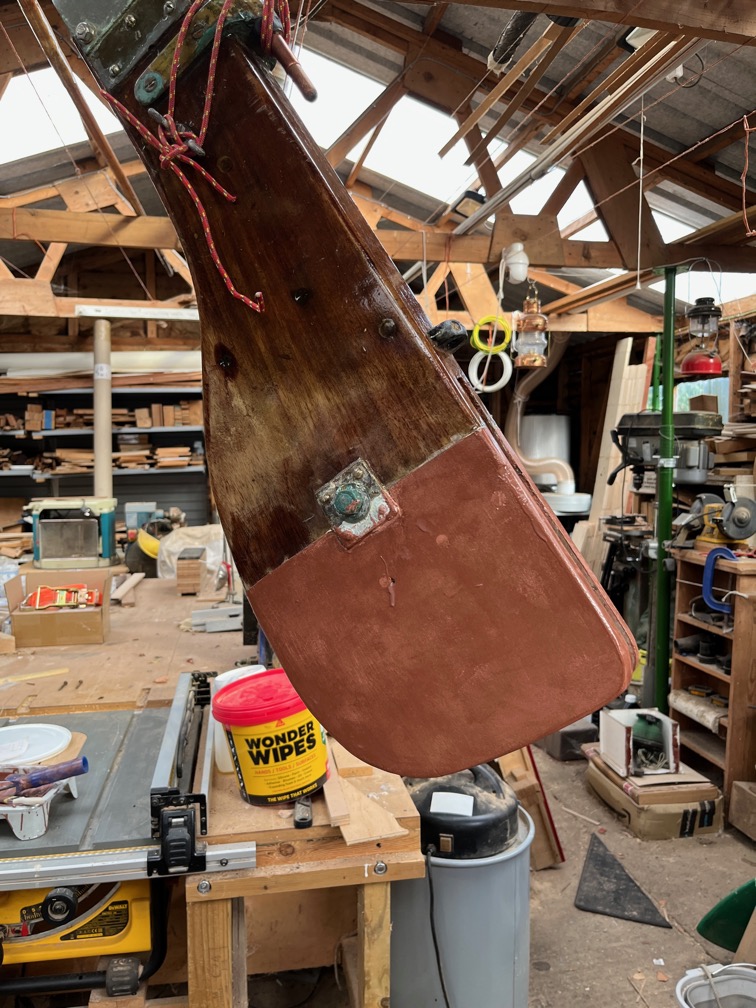
The next task I choose was to clean up the rudder gudgeon fitting prior to putting it back on the rudder stock.
I left a rough finish to give a key as this will be coated in copper epoxy.
The position of the fitting was marked by two notches in the rudder stock which made it fairly easy to get it back in the correct position.
The only issue was that I didn’t have the correct sized bronze screws to fit it together. So I put two smaller screws in to hold the fitting in place for the moment and ordered a pack of ten No.10 1″ screws. Once these had arrived I can fix the fitting in place more securely.
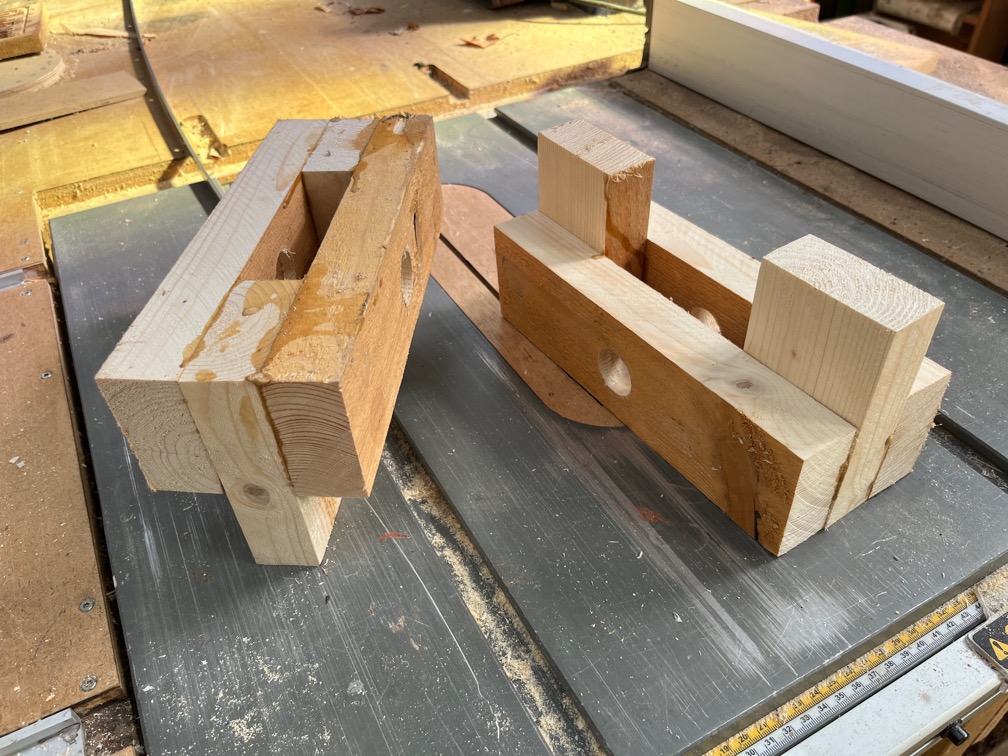
After that I cut up a piece of scaffold plank to make two fittings for the inversion blocks. Then I took a break.
The rain has stopped and the dark gray clouds are being slowly replaced by ones that do not look like they will drop rain everywhere.
Time for a cup of tea.
Sure enough, the weather did improve and the sun came out, so it was back to work.
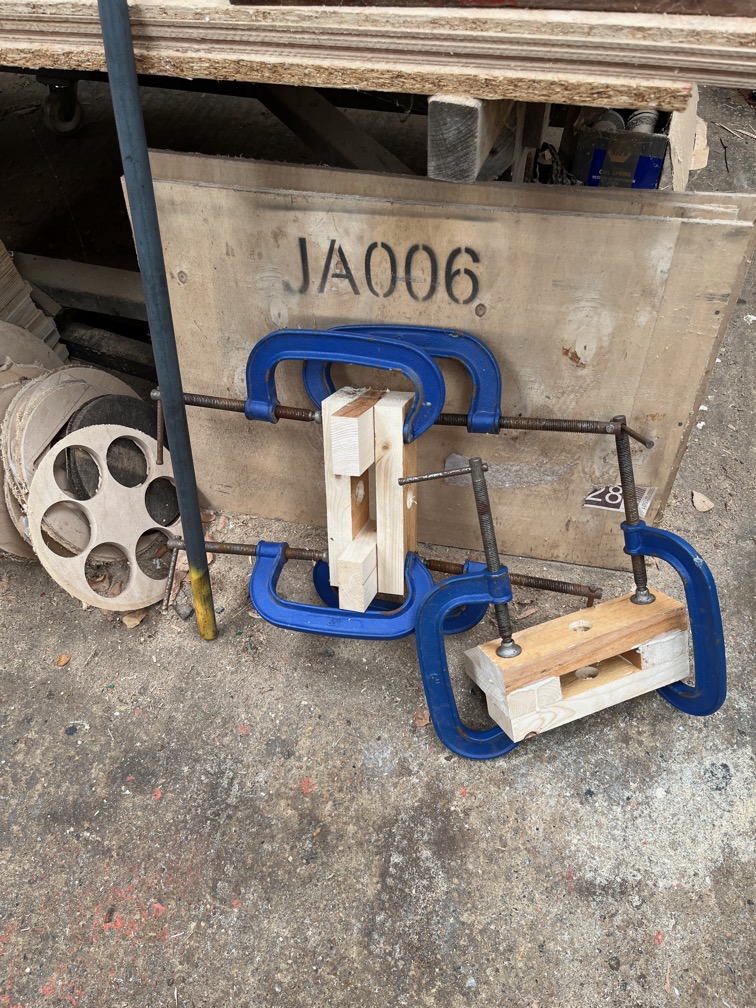
The supports for the inversion blocks were taken out of the cramps and put aside until needed.
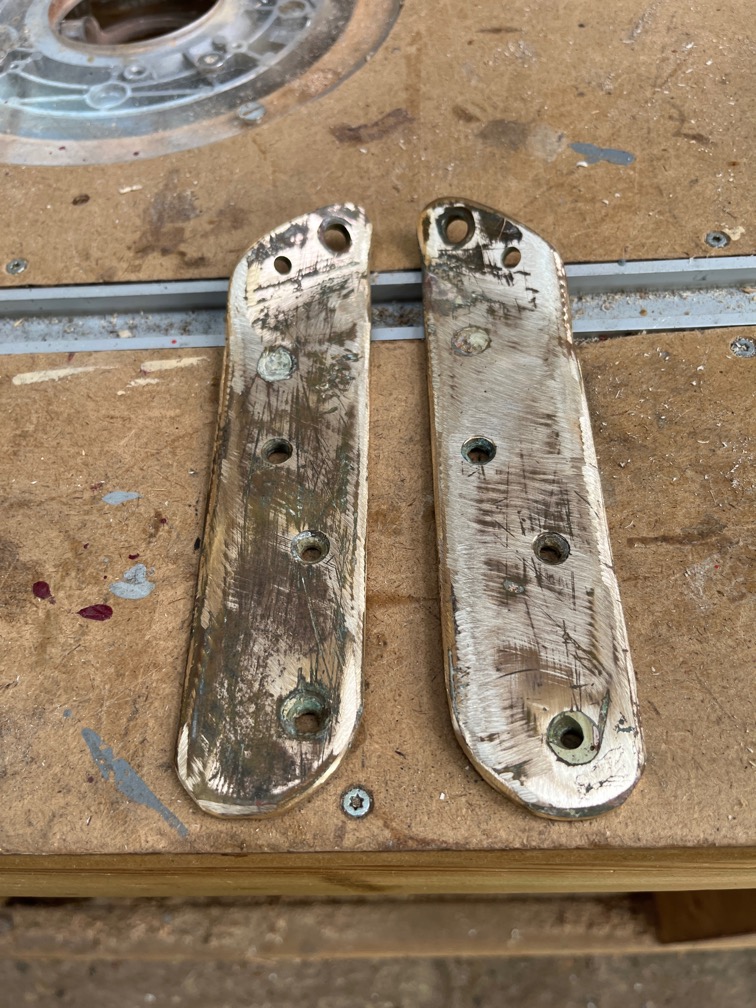
The two halves of the bobstay stem fitting were cleaned up ready to be re-attached.
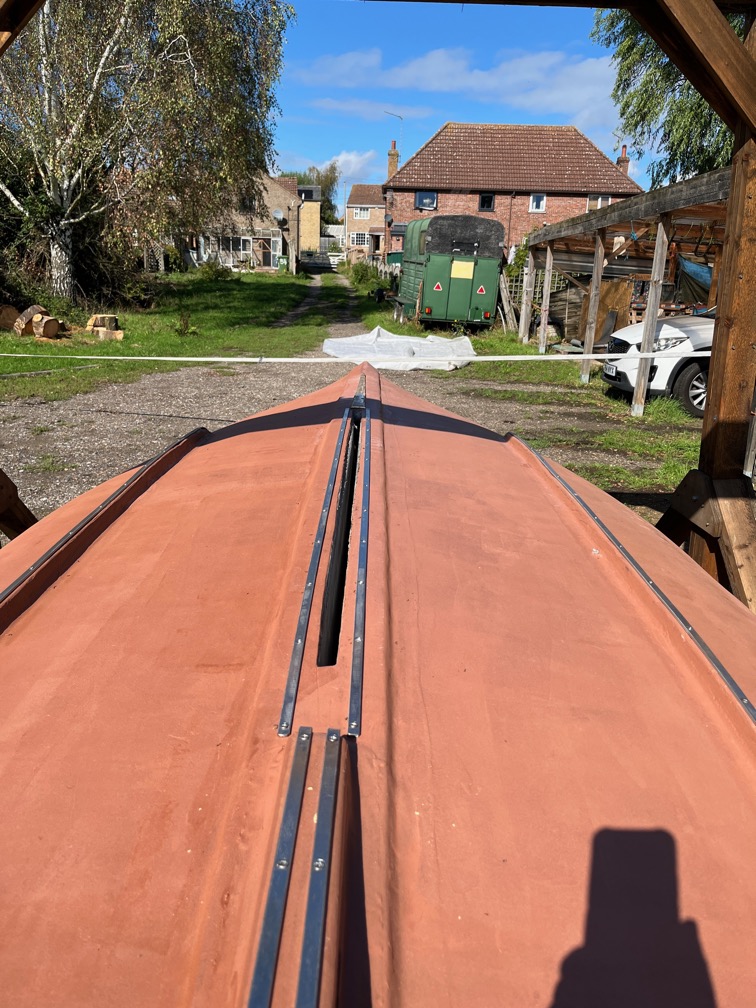
The two keel bands either side of the centerplace slot were made and dry fit.
The final keel band, for the ste, was also made and dry fit.
This was a little awkward as the end was designed to fit over the top of the stem which made for a very acute angle. The band will be pulled against the stem with a line or pressed with a wooden batten but for now, we wait for the correct screws to arrive. At which point all the bands will be removed, sealant applied and squirted down the screw holes and the band refitted with all the screws, not just half of them !
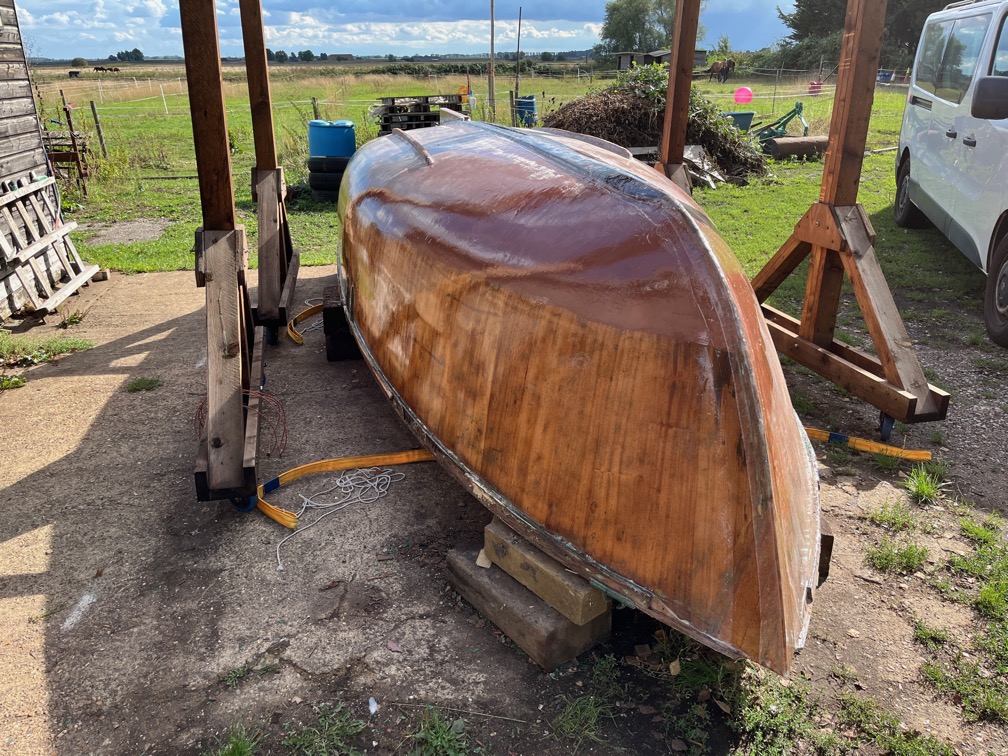
With the warm and dry weather continuing to hold for the last week and for the next few days, according to the forecast, I could continue with the final underwater hull work before Shoal Waters could be turned back the right way up and put back into the hay barn.
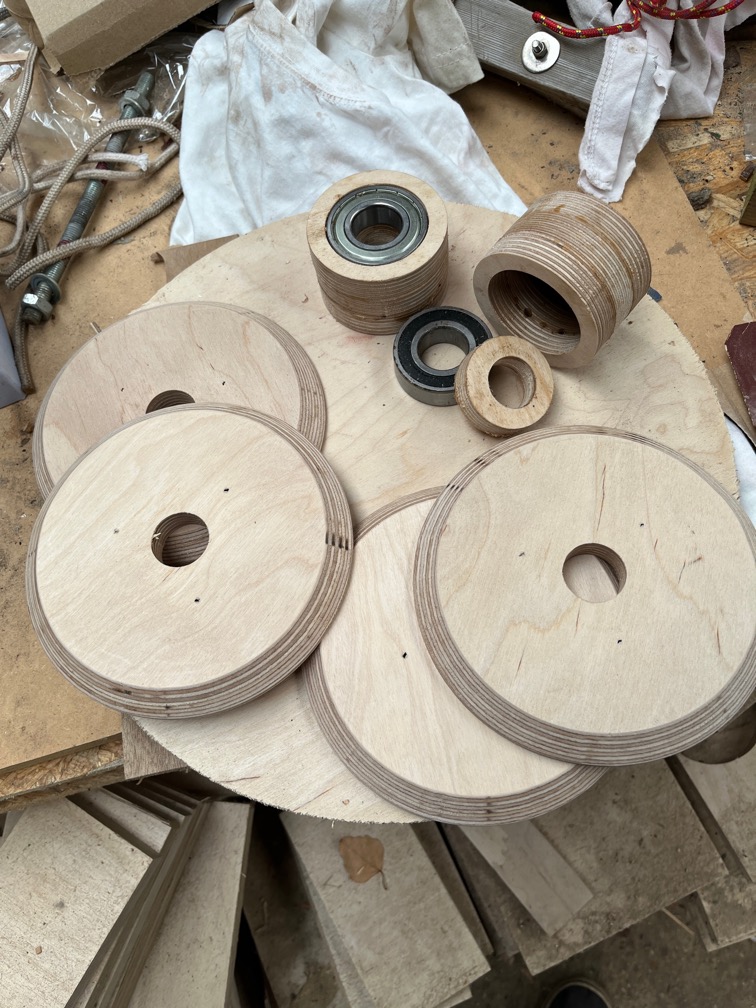
I spent a few days during the week using the CNC Router to make these. Once assembled these will form two large bearings over which a open ended ratchet strap will run that will make the task of turning the hulls over a much easier process than is it now. More on that in a later post when the inversion is carried out. Today’s task for these bearings took a couple of hours, so..
Time for a cup of tea.
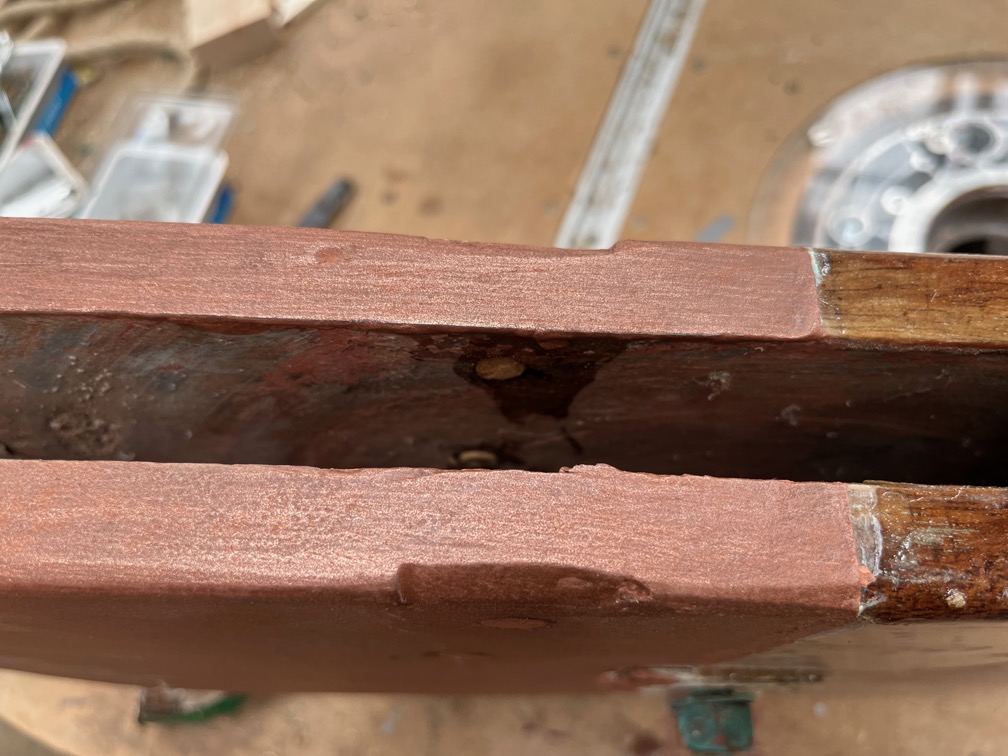
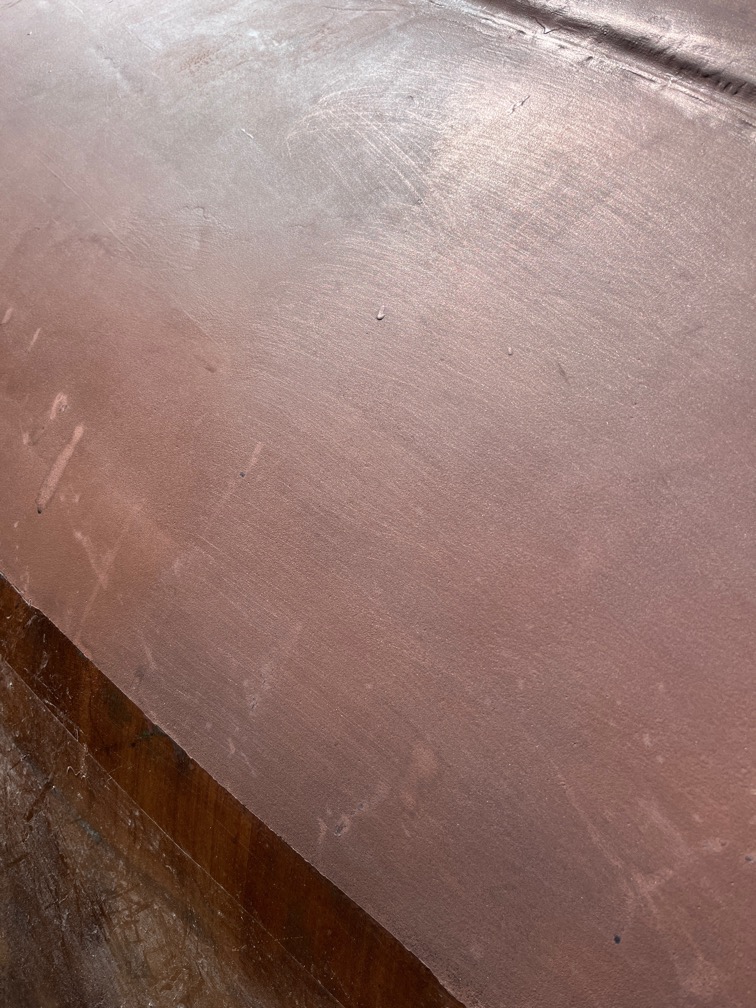
I took the stainless steel scrubbing pad to part of the copper epoxy scraping off the top layer of the epoxy and exposing some of the copper particles embedded within it. It’s not easy to see here but the slightly lighter and more metallic looking surface on the right hand side of the image is the scrubbed bit. Thankfully it is not difficult as the scrubbing pad acts like a lot of small, sharp scrapers made of stainless steel.
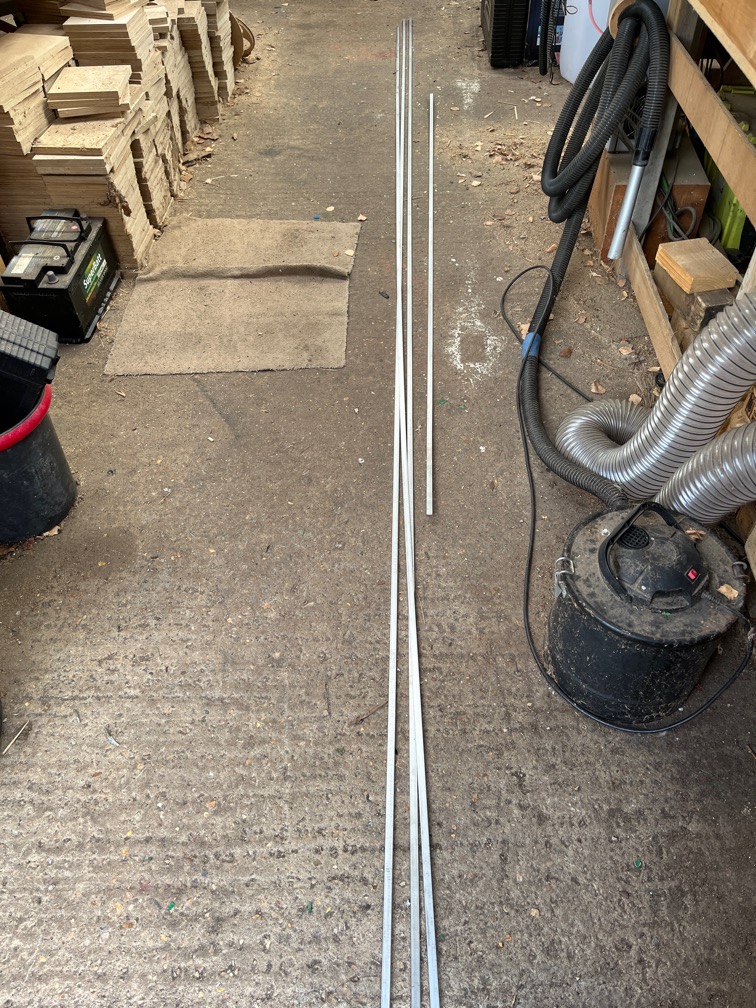
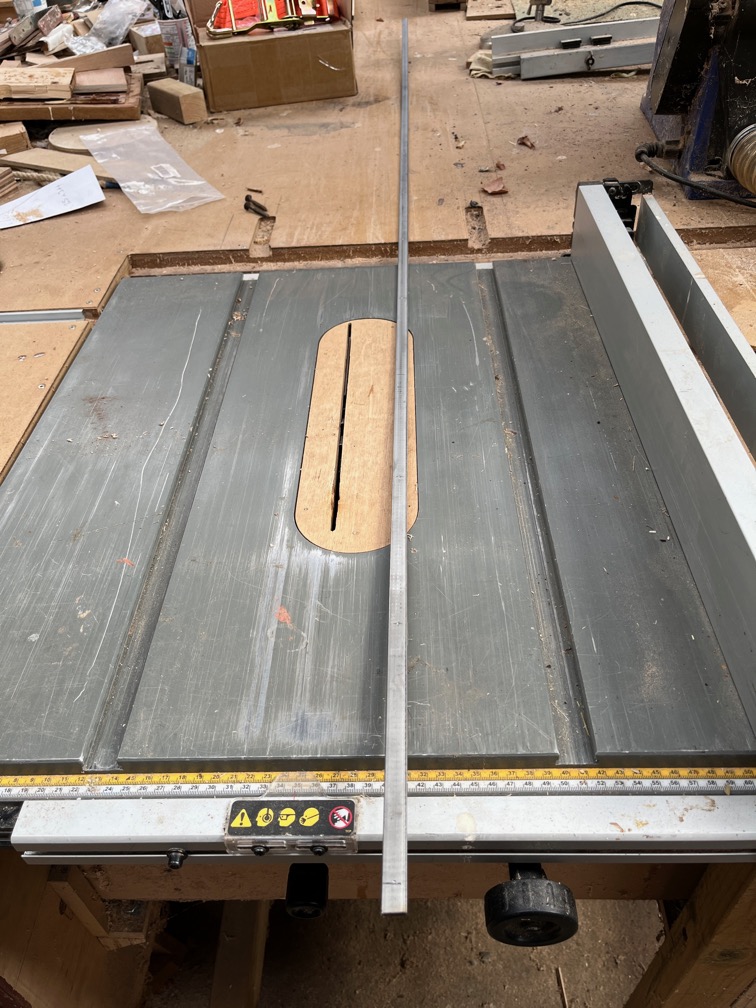
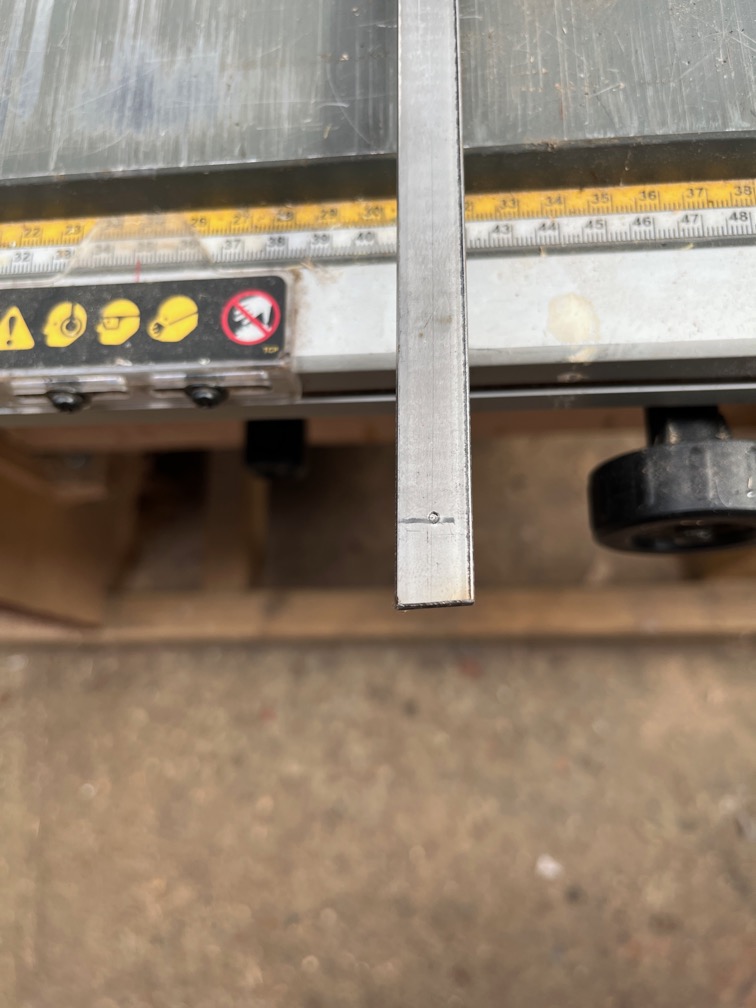
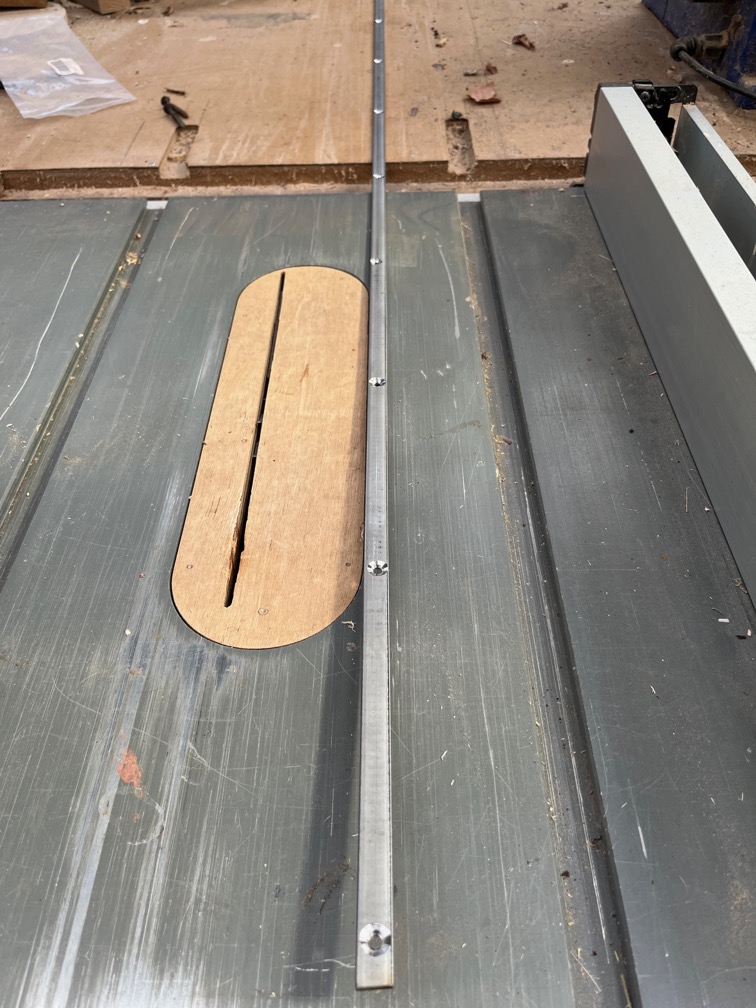
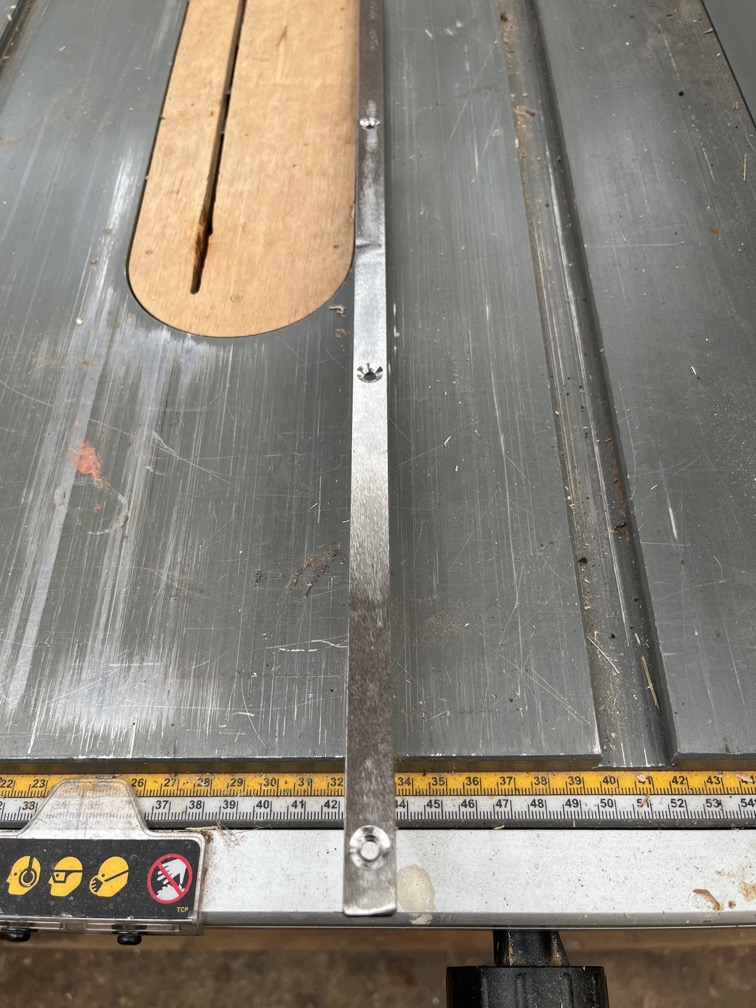
These are the 316 stainless steel flat bars from which the keel bands will be formed. Stainless steel, as mentioned in a previous post, instead of the expected bronze because of the staggering cost of making the bands out of bronze.
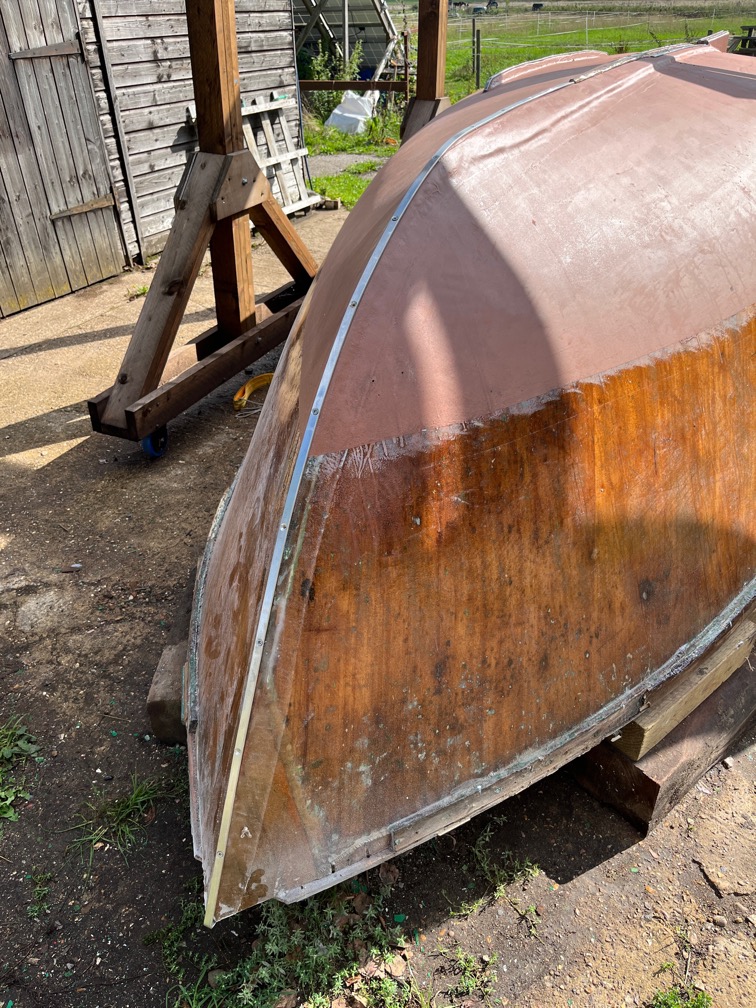
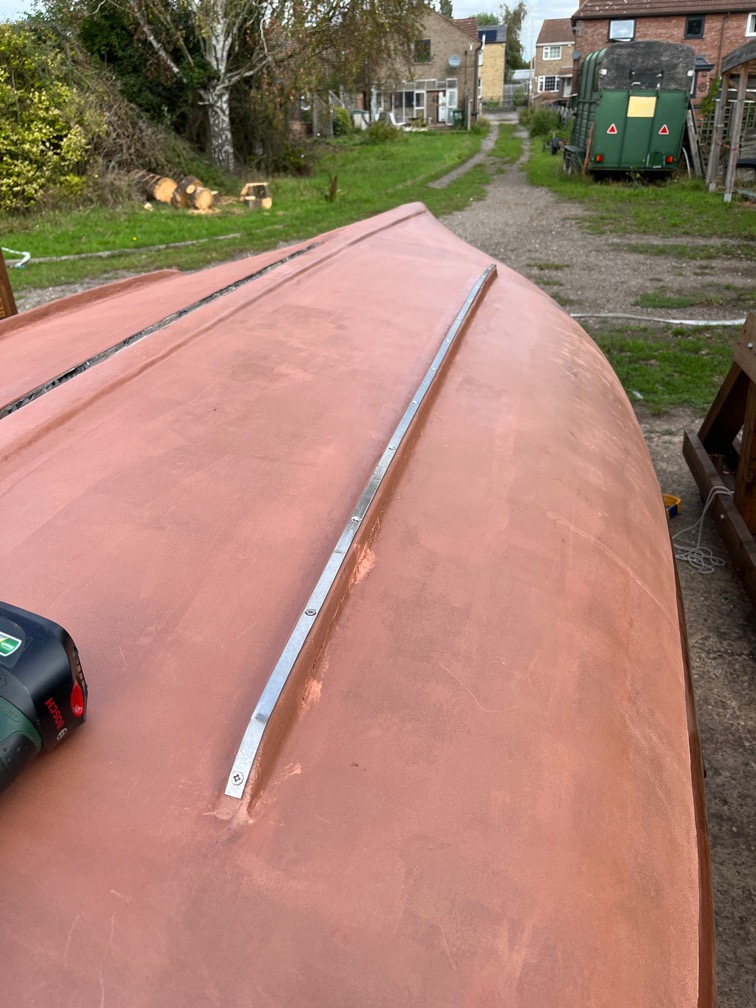
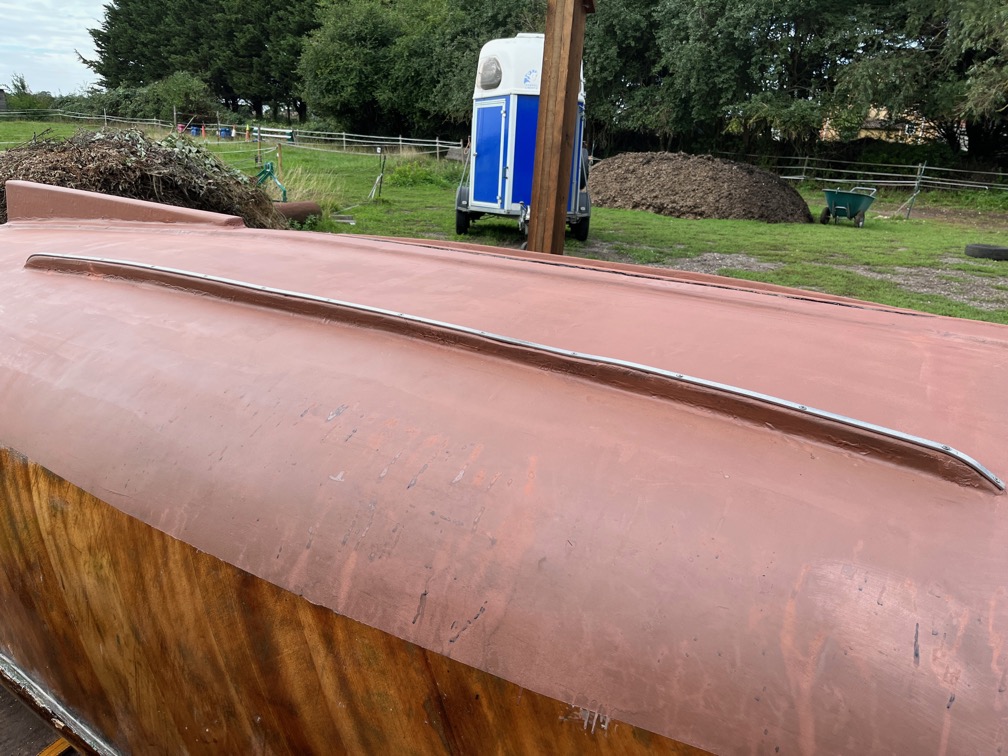
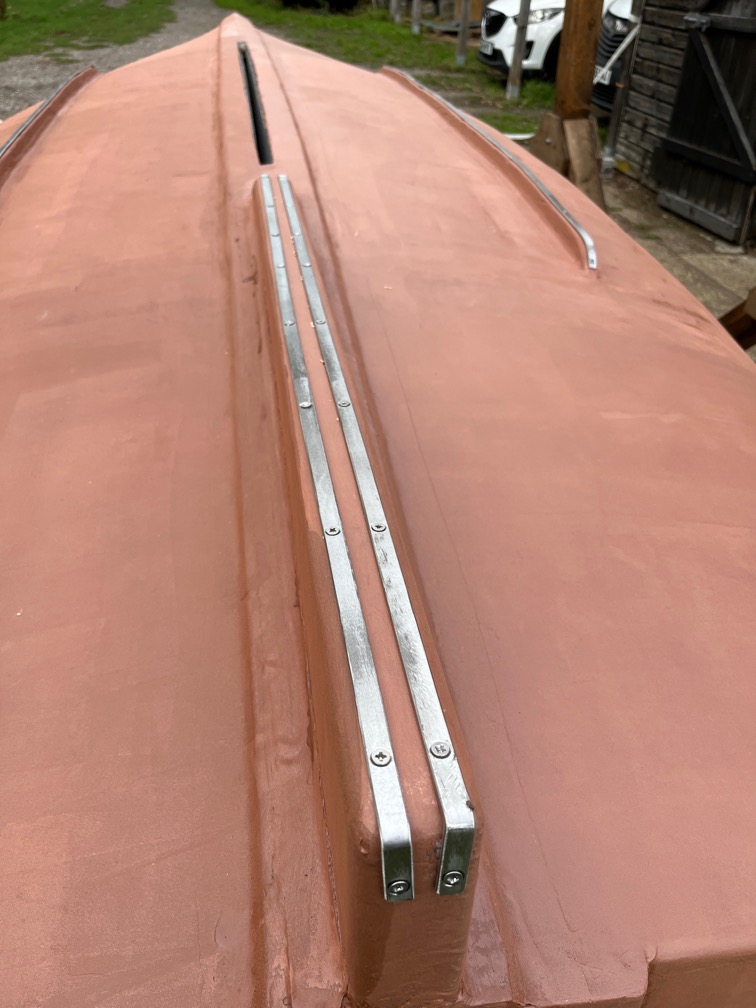
This is one completed and dry fit to one of the bilge runners. Dry fit as I don’t have the 316 stainless screws to hold the bands to the hull and have used what I do have until the proper one arrive. Hopefully that will be tomorrow.
I have only used as many screws in each band is required to hold it in place since my stock of correct length and diameter screws is limited.
That is still a lot of screws as the runner is not an even surface as you can see.
This first one took another hour and a half and, guess what?
Time for a cup of tea.
The process of making each band is tedious but straightforward. A length of stainless steel is cut, having carefully measured at least twice.
The band is marked where the screws will be places, every 150mm or 6″ more or less, and a punch used to make a small dent in the steel to guide the drill bit.
The holes are drilled and counterbored and the top “corners” of the bar chamfered using a bench grinder.
Both the top and bottom faces were abraded on the belt sander to give a good key.
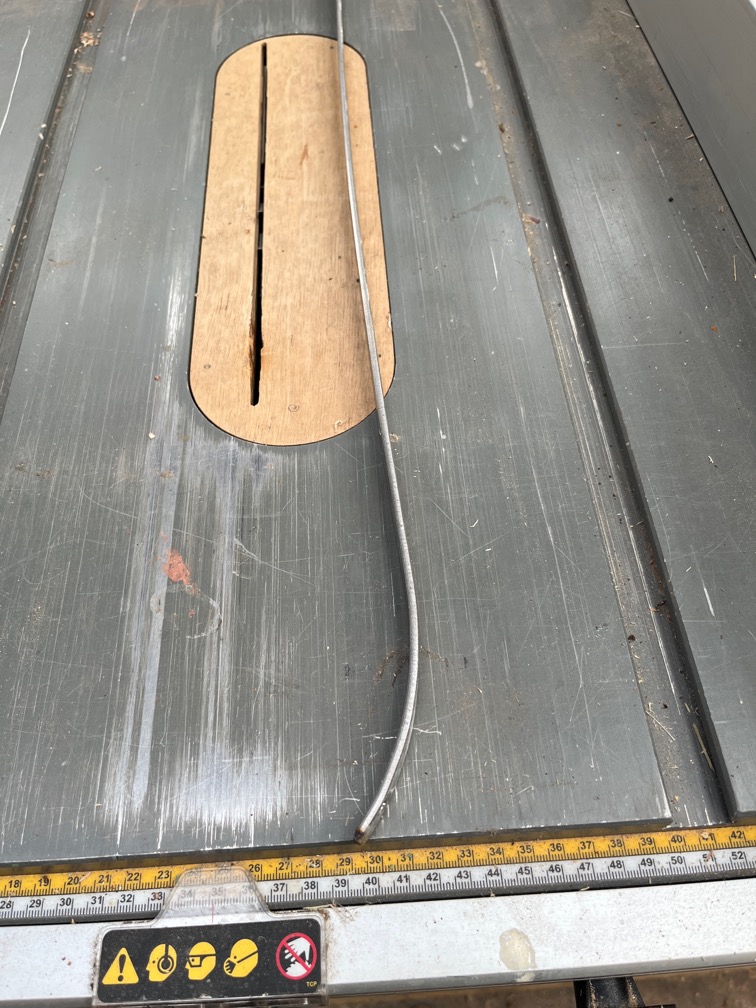
All but two of the bands needed to be shaped, like the one above. This was a case of hammering the band over the horn of the anvil until the correct curve was obtained.
Then the band was dry fit.
Time for a cup of tea.
Rinse and repeat for the two bands on the skeg. Including the cup of tea.
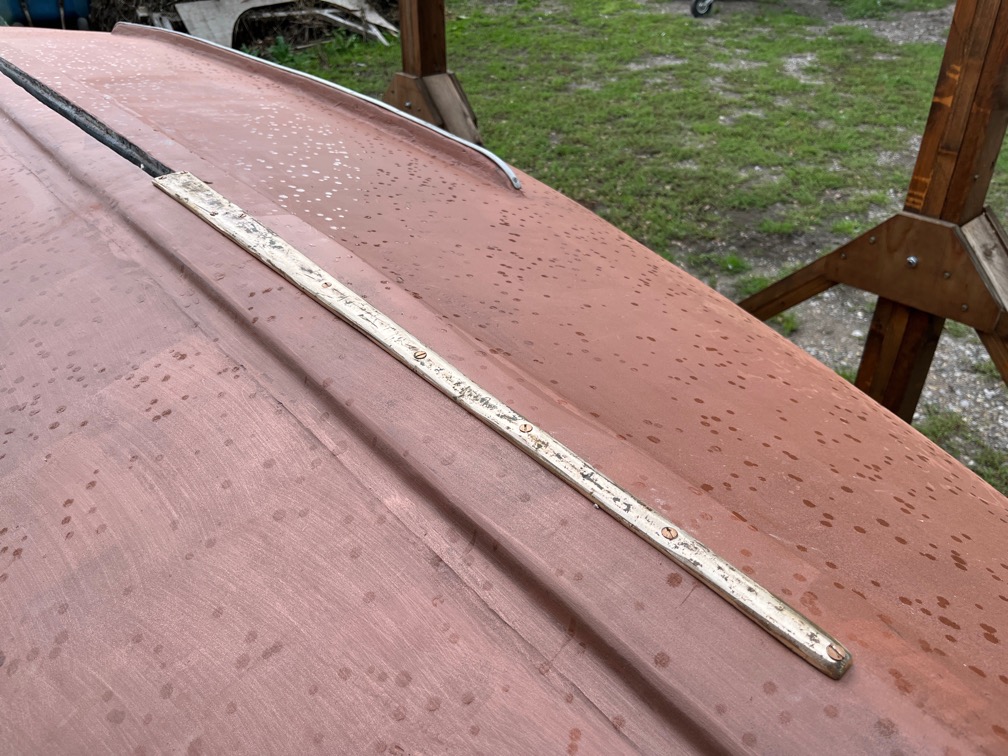
I sanded the old bronze keel band, or what remained of it and used bronze screws to fix this to the keel.
At this point, as you can see but the spots of water on the hull, it started to rain, so work stopped until the morrow when the remaining pieces will be done. Two either side of the centerplate slot and one from the bronze above forward and up the stem to the deck.
The forecast for today was in dry with a high of around 26º C, so I decided that today was the day the final copper epoxy would be applied to the hull. Firstly I went around the hull under the waterline and had another go at hand sanding the spots that I missed previously. The aim is for there to be no glossy, shiny bits. Impossible to do in practice, well it is for me, but I gave it a good go.
Then I mixed up 1.5 kg of the C-Guard Liquid Copper that I have used on Naiad previously and set to. This is a great product but it takes some getting used to since the first coat does not seem to cover particularly well. Hardly at all in fact. It even mentions this in the data sheet, but you should not go over and over the application trying to get a good coverage the first time. After about 15 minutes it looks a lot better.
The is the first coat about 30 minutes after application. As you can see, it looks quite good, but you can see through the coat in places. This is normal. You should also go round the hull with a brush and fill in the bits that the roller could not get to.
You could just do the whole thing with a brush, but that takes a long time, also meaning that you need to mix up small batches. The epoxy has a pot life of around an hour, but that is only just enough time with a roller. As it was I mixed up too much really and should have used two batches of 750g.
Still I did manage to get everything coated before the epoxy started to gel.
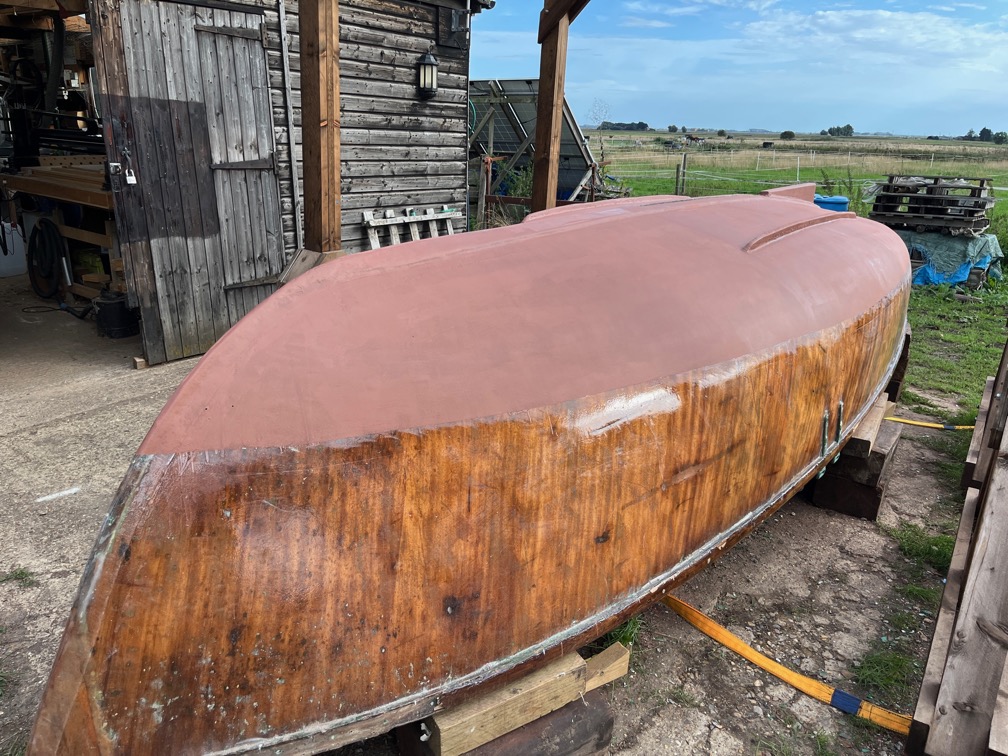
From a different angle with the sun shining on the hull from a different angle and hence the vastly different colour.
It was whilst I was having my cup of tea after cleaning up that I remembered the rudder stock. That has antifouling on the lower part, so that needed to be scraped away, sanded and then coated with copper epoxy.
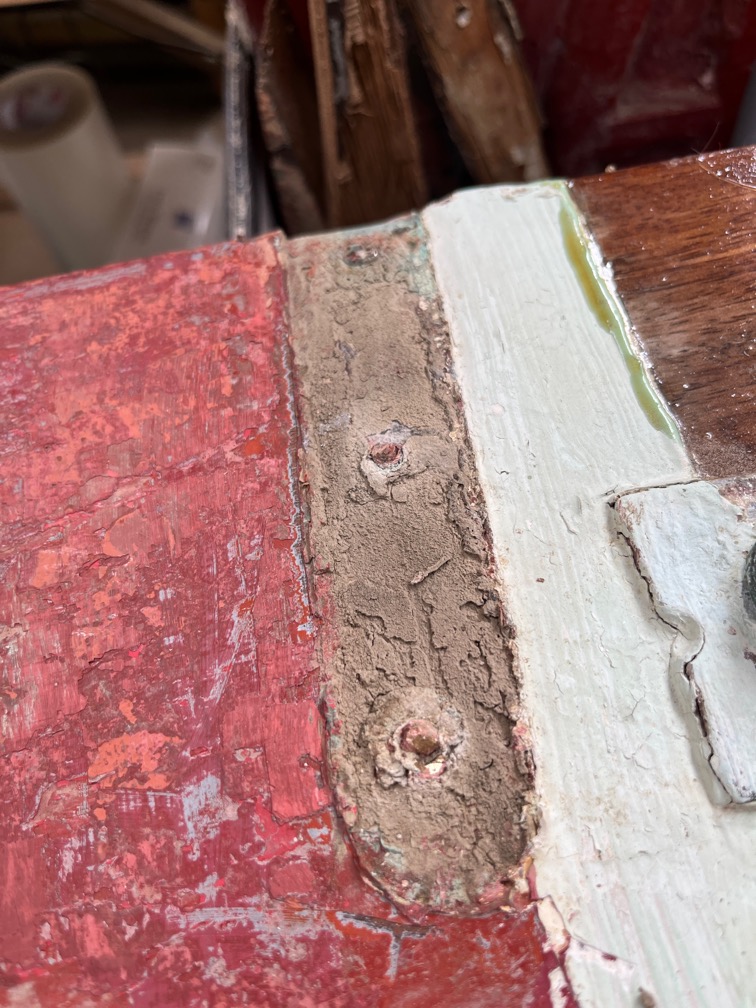
I had done no work on this part of the stock at all, so scraped off the loose and flaky paint before realising that I needed to remove the gudgeon fitting. One of the six screws came out easily, the rest did not. Four of the remaining had been brass and one was stainless steel. I had to resort to drilling them out as none of those five could be removed using a screwdriver. Still, it all came apart eventually and I was able to sand off the remaining antifouling paint.
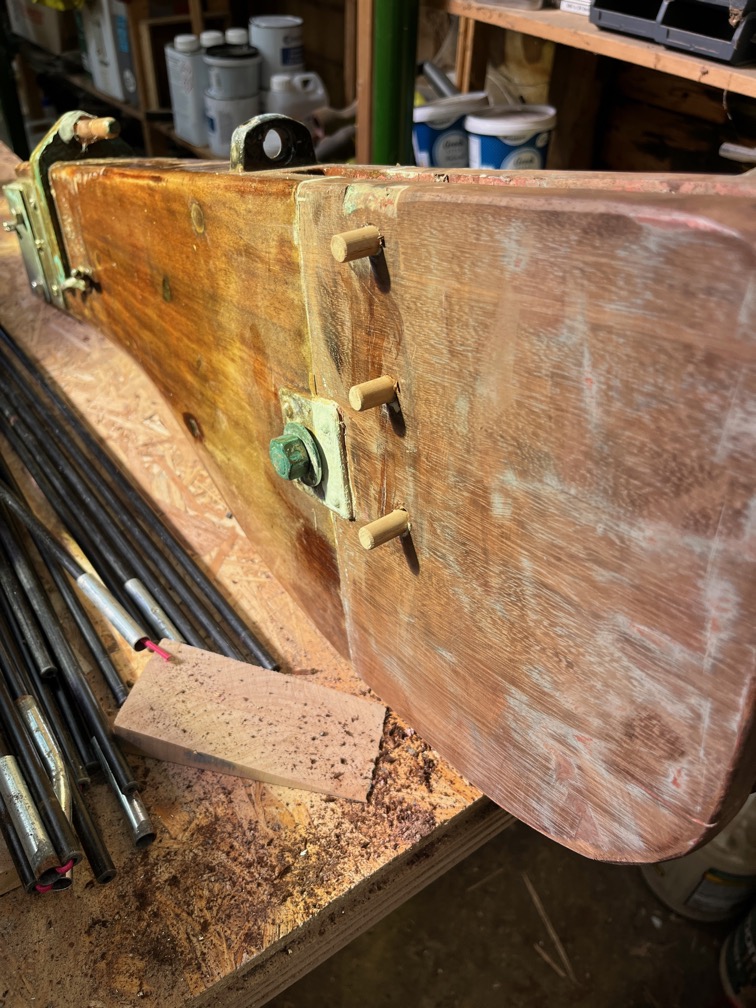
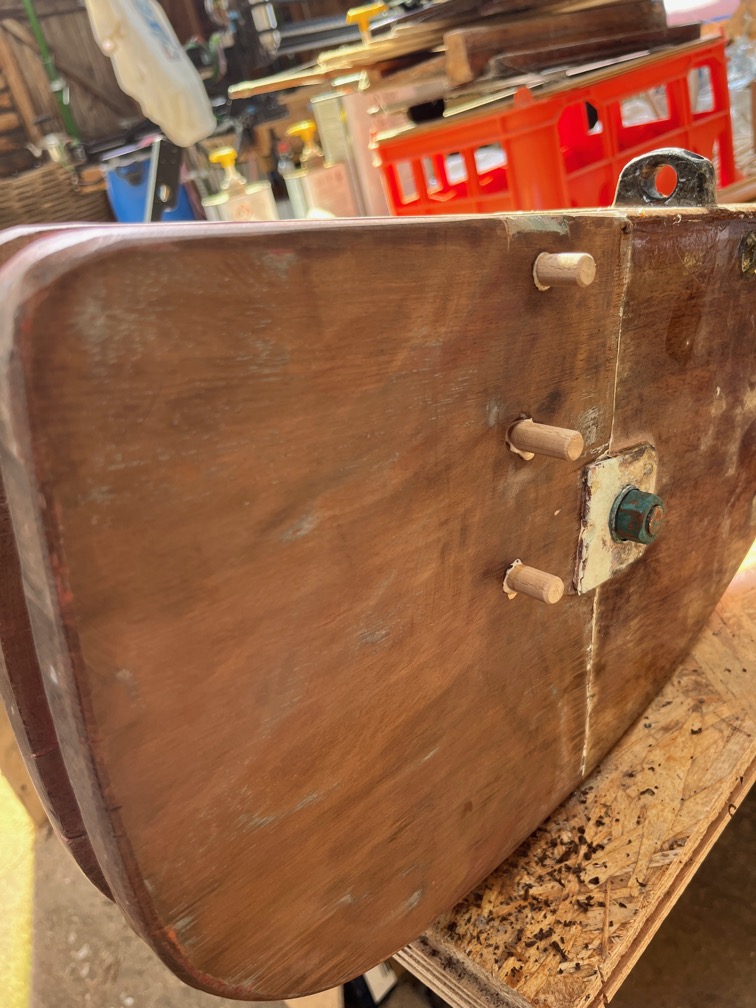
Since the fitting has to go back in the same place, I needed to plug the holes such that new screws could be put in to hold the fitting in place. I opened the holes out to 10mm and them plugged them with pieces of Ash arrow shafts that I have.
These are three of the recalcitrant screws and, as you can see they did not want to come out easily at all.
This is how the rudder stock looks right now with three wooden plugs being glued in on one side…
…and three on the other.
I’ll give these plugs about an hour to set, cut them off flush with the stock and then coat them with the copper epoxy.
Time for a cup of tea.
Actually, whilst I drink my tea I need to mention something about the C-Guard Liquid Copper product. When I first purchased this stuff back in 2018, it came in a pack that contained the resin, hardeners, copper powder, plastic gloves mixing sticks, stainless steel scrubbing pad and instructions. You can’t get it like this right now as the price of copper powder varies pretty much from day to day. But the very kind Gentleman that runs the company, Tony Grimes, will sell you everything else and leave you to source the copper powder. He even suggested where to get it at the best price.
This was ideal for me since I had nearly 3 kg of copper powder already and this meant that I did not end up with a whole lot more and was able to purchase just the extra that I needed.
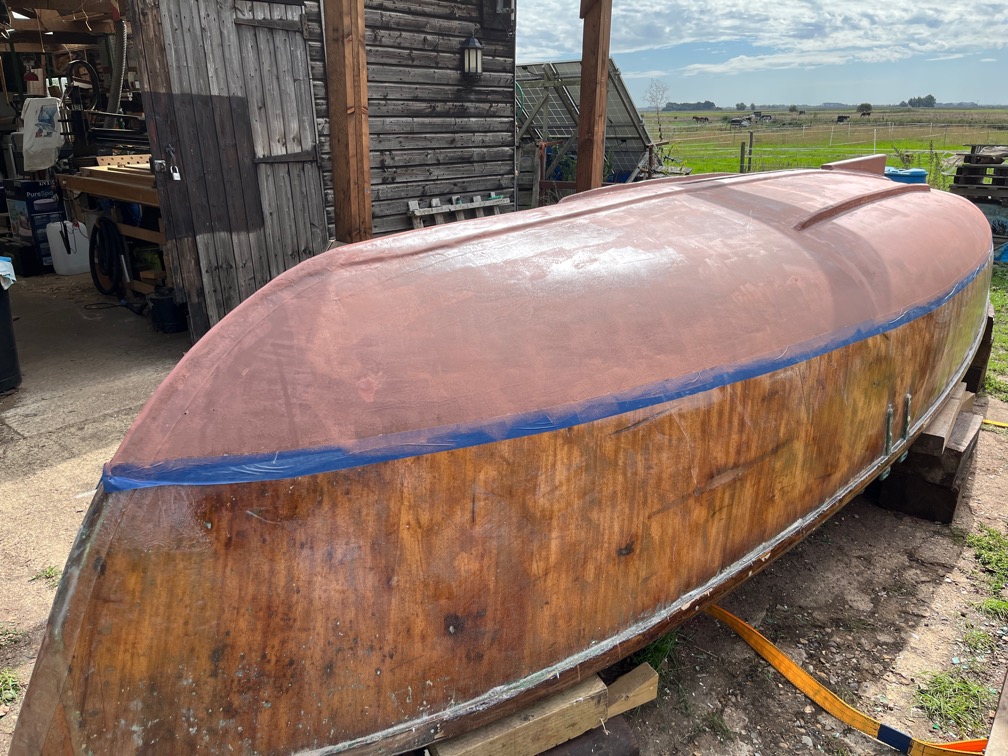
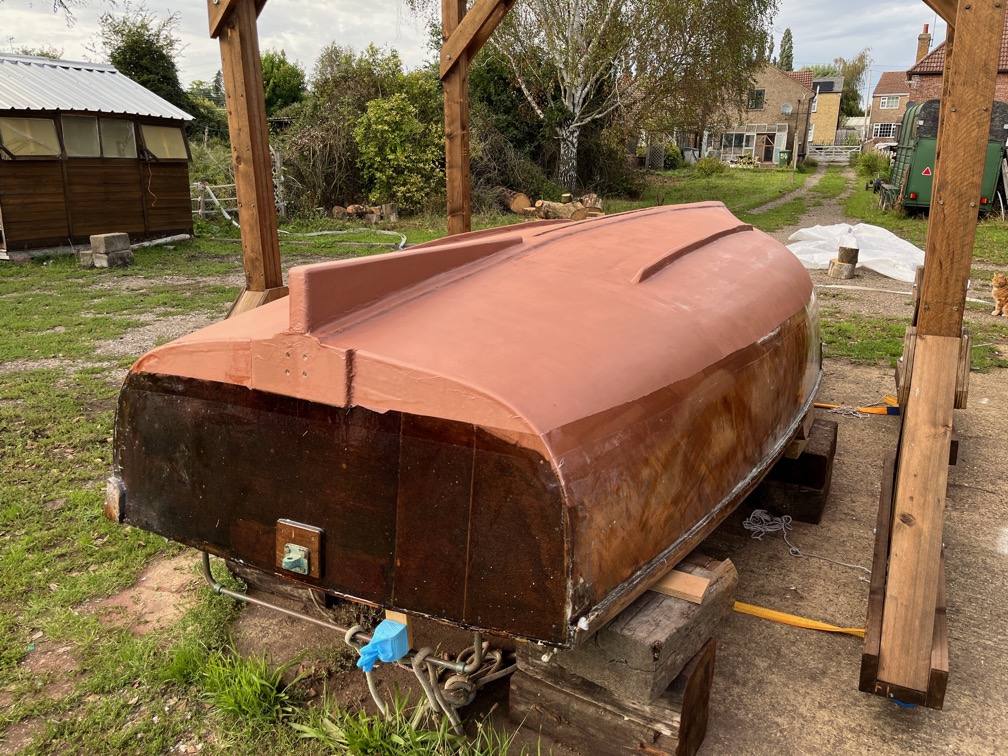
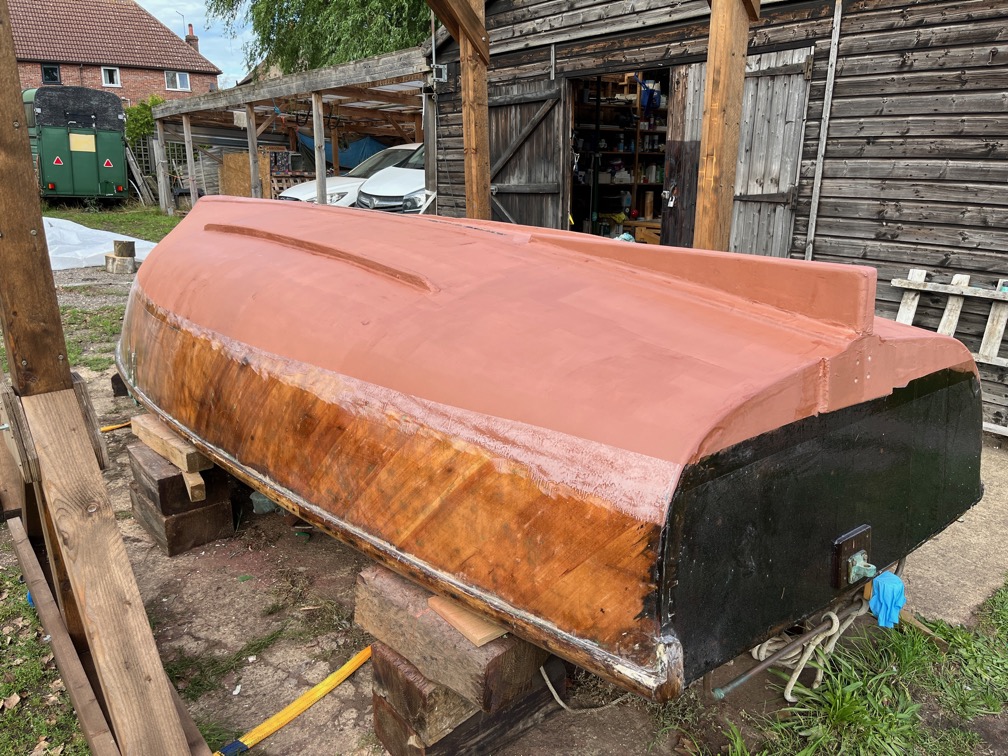
Here is the second and last coat and with the masking tape removed.
It doesn’t stay this colour. Once this has hardened properly, at least 24 hours, then you use the stainless steel scouring pad to remove the very top layer of the epoxy exposing the copper to the air and, eventually, the water. At this point it goes green.
I’m not finished with the underside of the hull yet, there’s the keel band to put in place and I also need to do some tidying up in the keel slot which will have to wait until I have the boat on its side so that I can access the slot.
However, I have the last of the major epoxy work done.
The rudder stock also has two coats, so once that has hardened i can complete the remaining work on that.
I am not a fan of sanding, never have been but I realise that it is a necessary part of making just about anything in wood. This is a common sentiment amongst makers although I do know one or two who quite enjoy it.
Before the hull is turned back up the right way, I have to sand the hull under the waterline and complete the copper epoxy work.
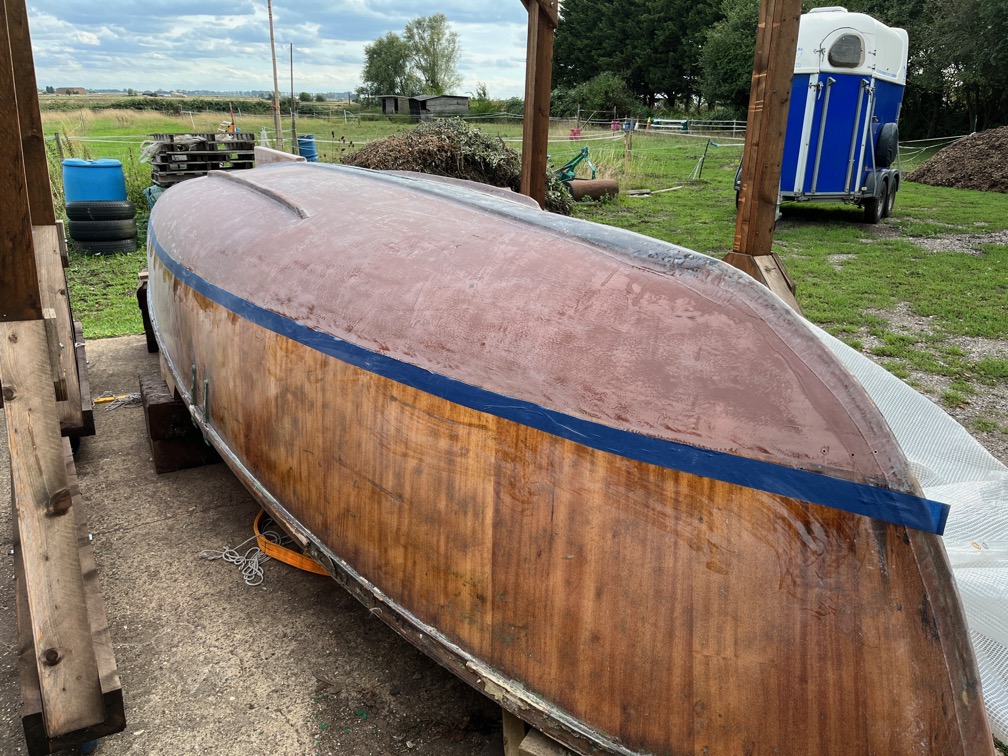
I won’t bore you with the details, suffice it to say that this is not a difficult or time consuming task as this is just to provide a key for the next coat. So, lightly sanding is the requirement, not removal of material. Mind you there were one or two places that needed to be sanded away a little harder, but on the whole this one side took two or three hours to get to the stage you see here. Sanded, swept, air blasted and wiped with a cloth soaked in Acetone. I will need to go over a few spots where the epoxy is still shiny by hand but I’ll do that after I’ve sanded the other side.
Next task, the transom.
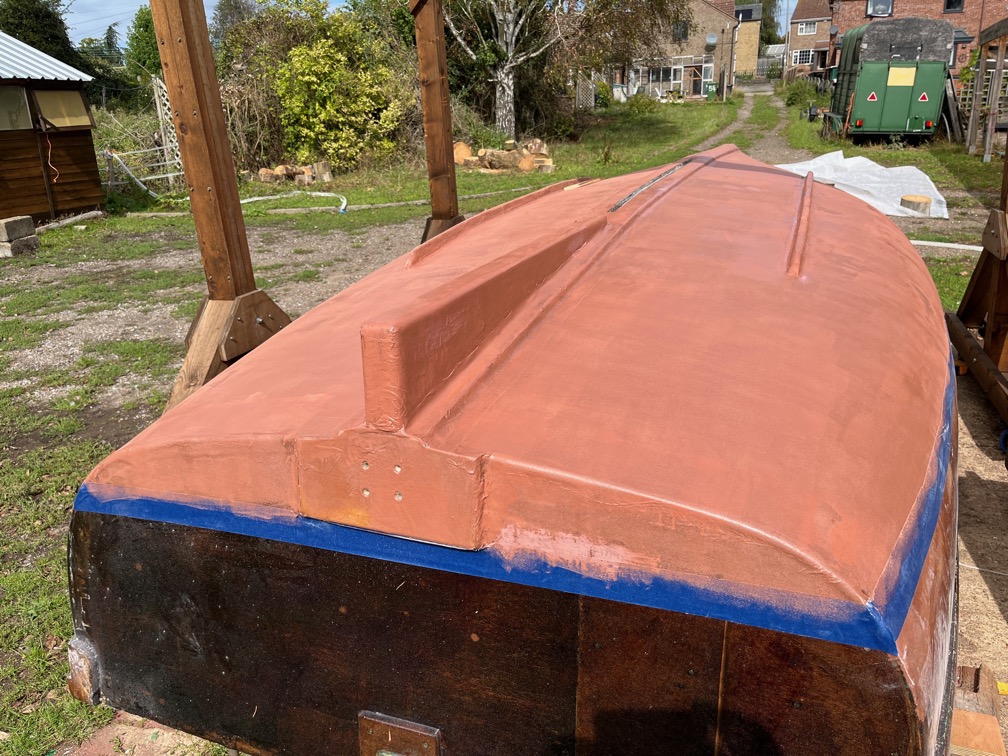
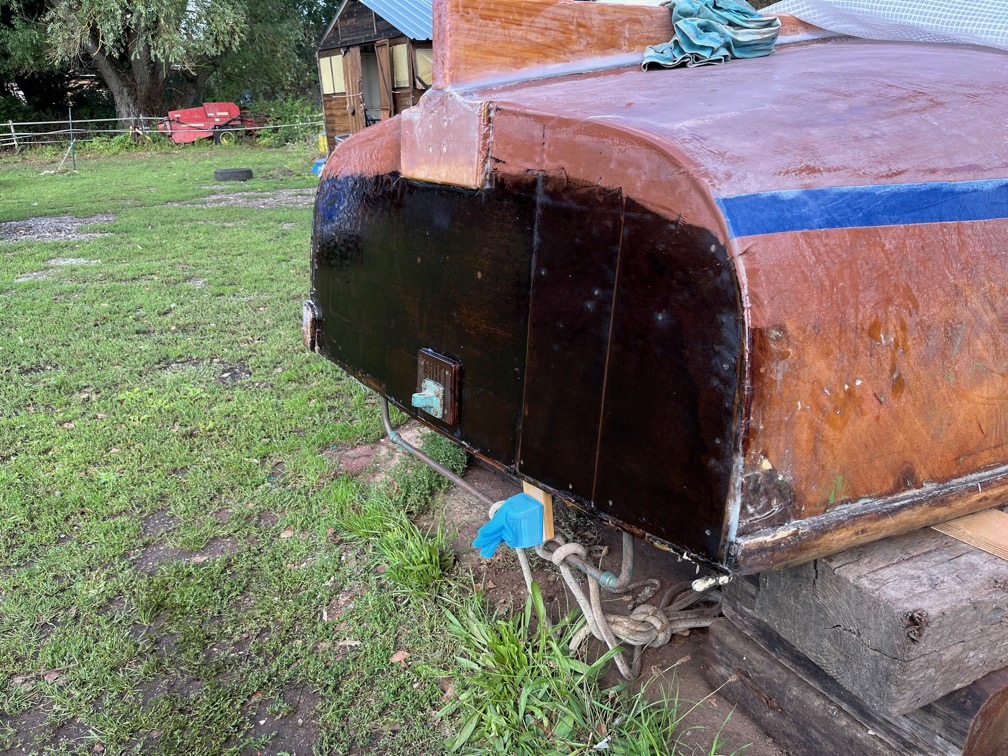
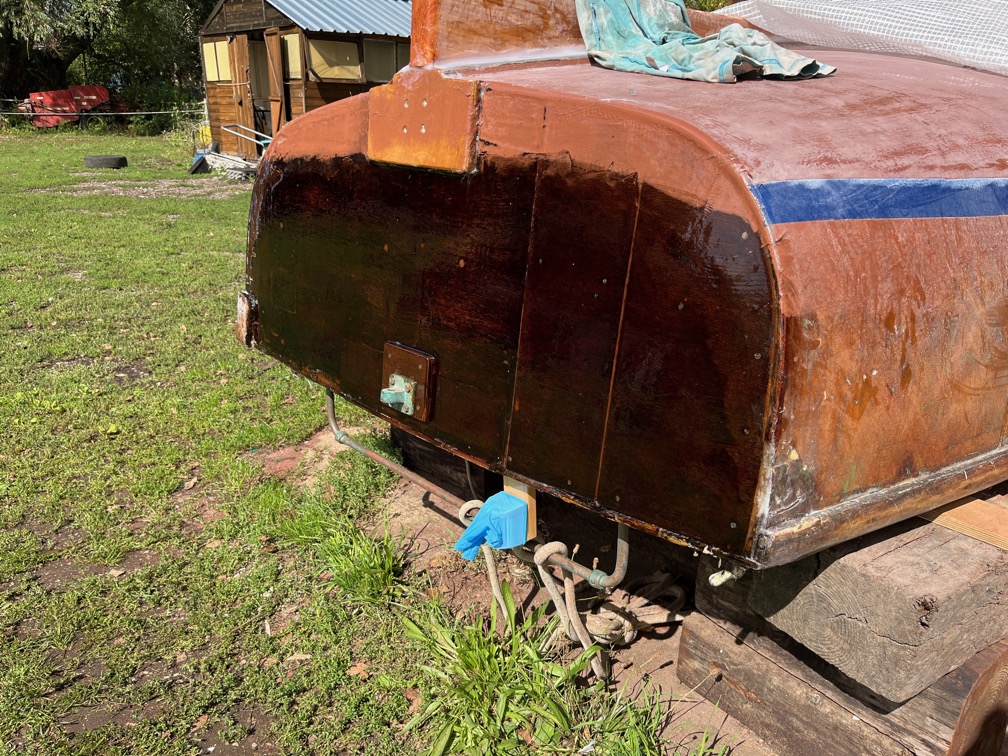
Sanded, coated with neat epoxy, fibreglass laid on and then coated with epoxy. I didn’t get the sanding quite right on the far side, the copper epoxy will protrude above the white boot top, but I’m not going to try and fix what is a cosmetic error now.
Second coat, applied with a brush and not a roller so that I don’t need to mix up as much epoxy. Although the rollers are only 4″ long, they really soak up a lot of epoxy which is then wasted.
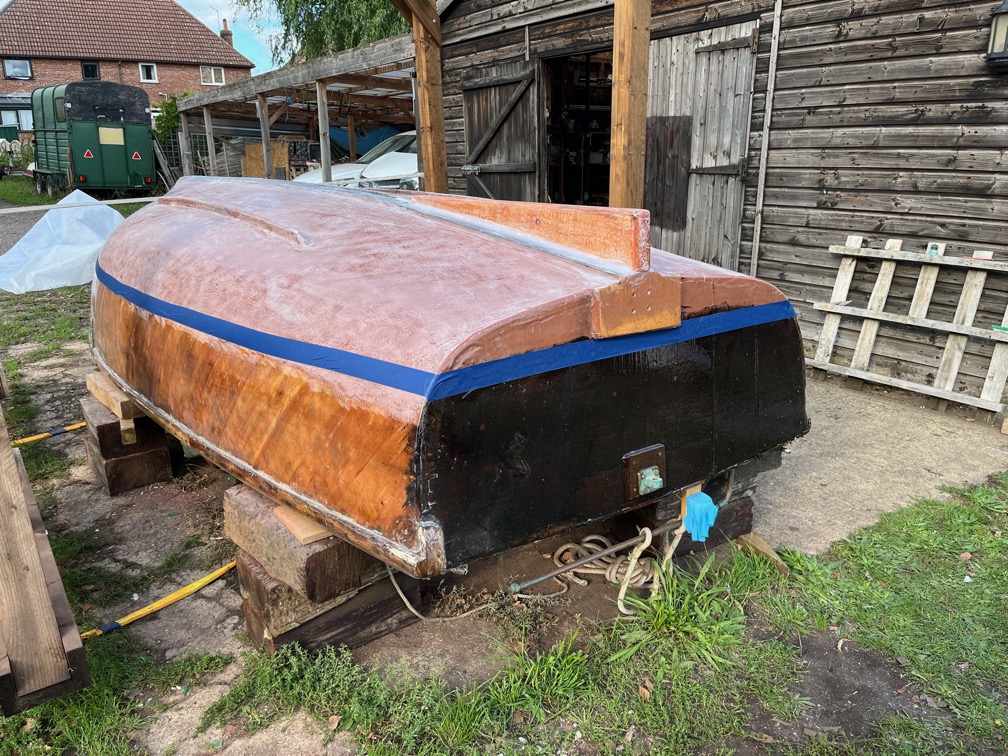
Note the rubber glove over the stern navigation light to stop drops of epoxy dripping on it !!
Time for a cup of tea.
Having taken a break I started sanding the second side of the hull and was surprised to find that it took around half the time for the first side. Not sure why.
I marked the location of the upper edge of the boot top and then taped it.
This was carried around the transom.
The remainder of the touching up sanding I’ll do tomorrow and then decided whether or not to add the final two copper epoxy coats to the underwater hull or wait until next weekend.
The next task on the list is to put the skeg in place, which is a little more difficult since it needs to be held in place whilst the epoxy cures. The new cover arrangement suits this quite well for two reasons.
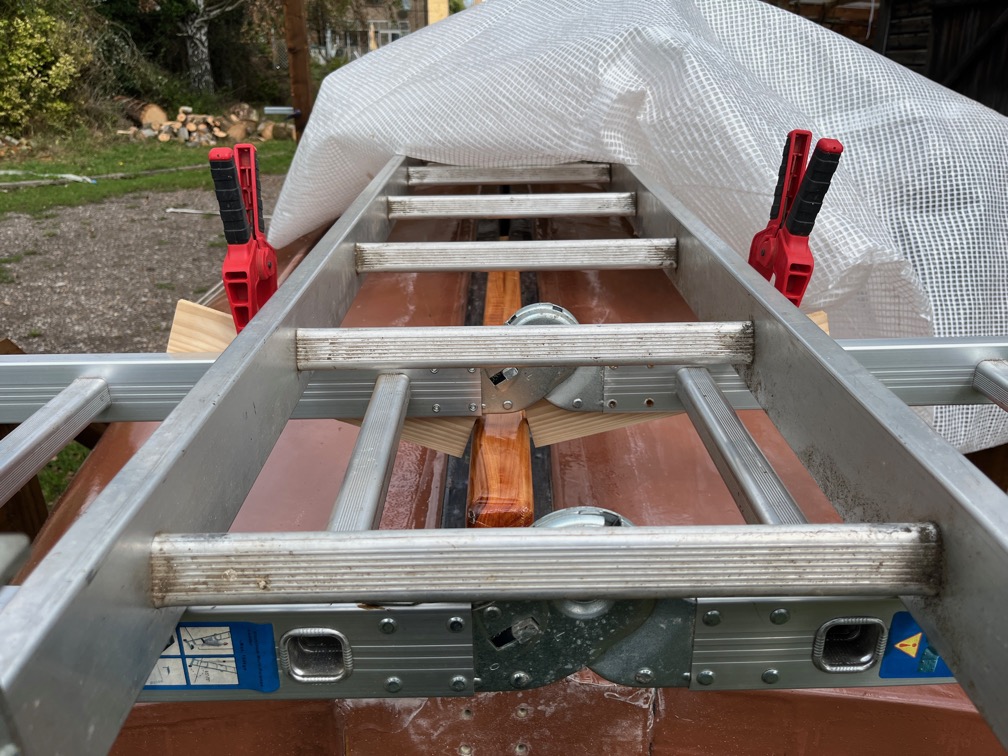
Firstly, the cover is kept away from the centreline far enough that the skeg does not touch either the cover or the ladder that is holding it up and the second it that I can use the ladder to hold braces for the skeg.
The recently applied epoxy was sanded to give a good key.
As was the epoxy around the bottom of the skeg, for the same reason.
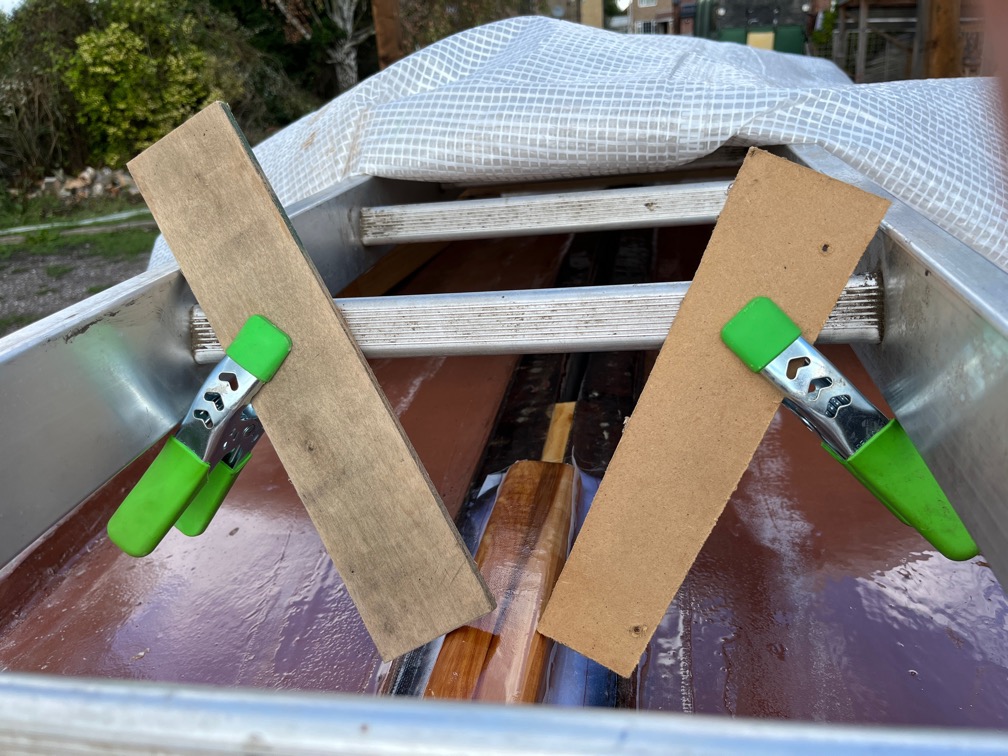
Just resting the skeg in place shows that it is slightly canted over to the left looking at it from behind and that meant I had to brace it to place it upright.
Two cramps and two pieces of wood did the trick. The wood was clamped to the ladder as can be seen here.
Now the skeg is vertical.
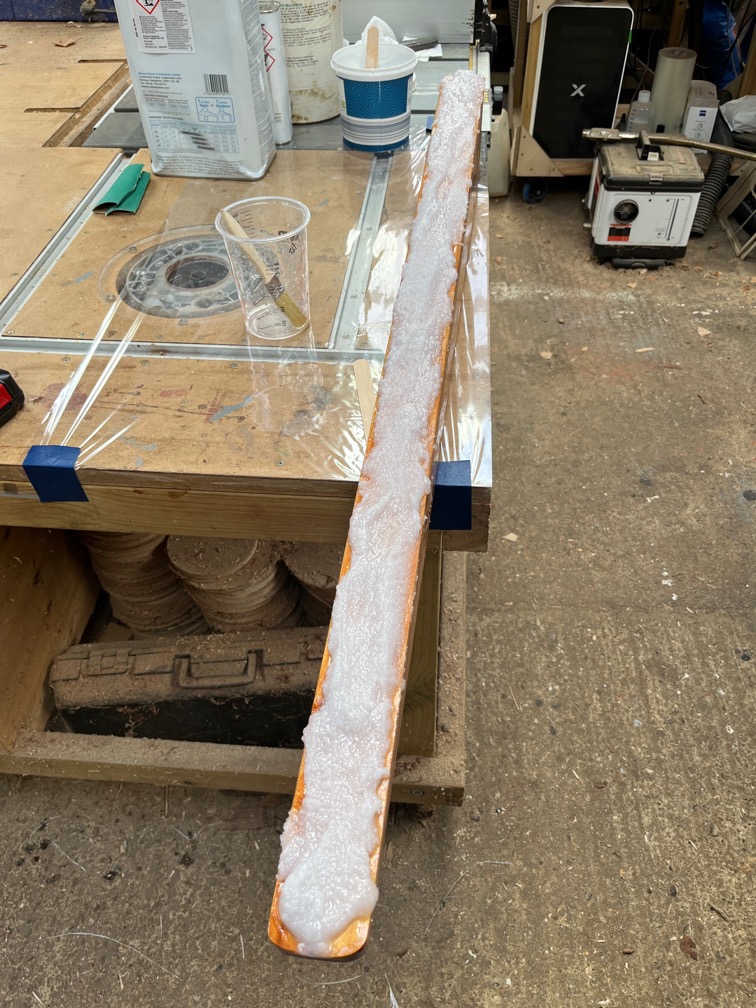
The underside of the skeg was given a coat of neat epoxy…
…before being slathered with a lot of thickened epoxy.
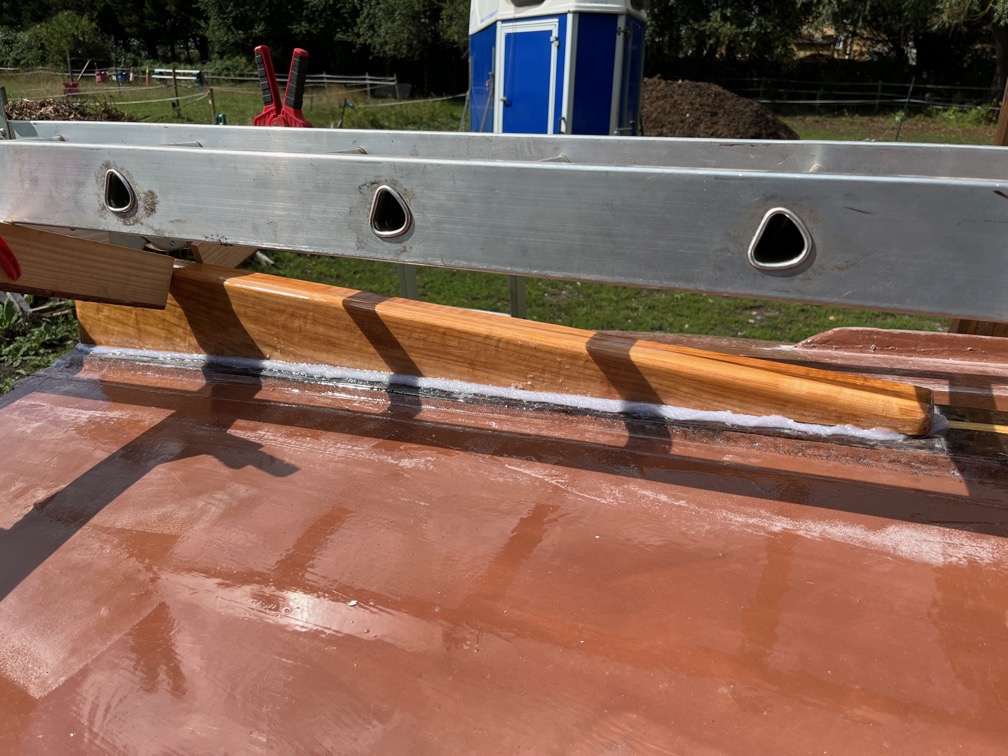
The skeg was pressed down onto the keel in the correct place and the braces adjusted to make it vertical again. One of them had to be removed temporarily so that I could get the skeg into the correct position.
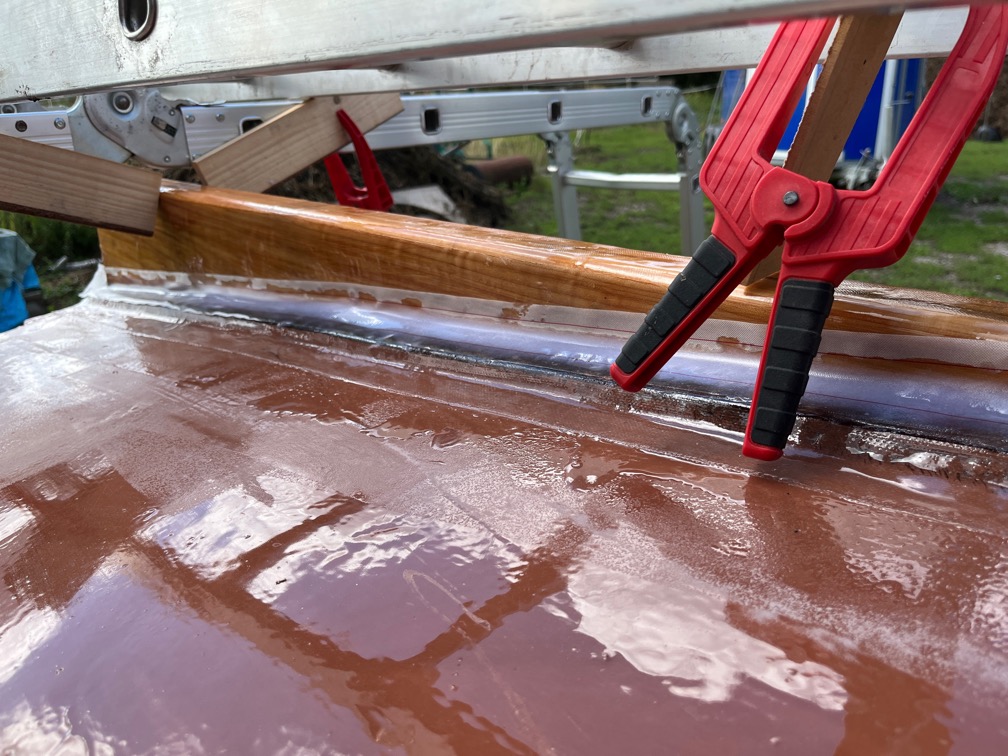
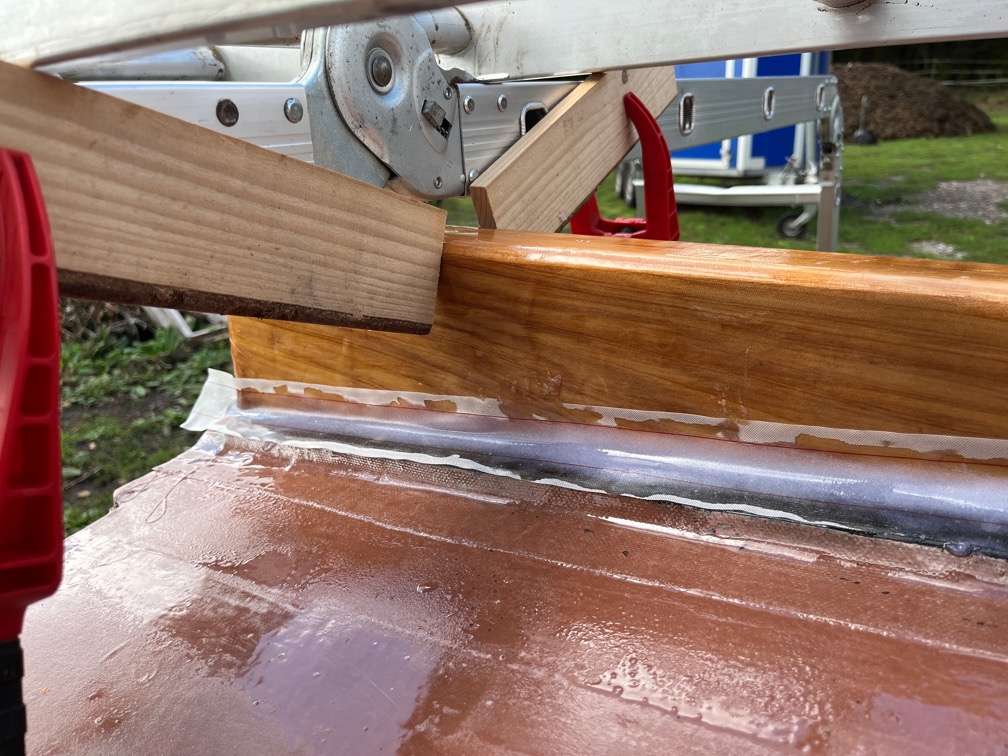
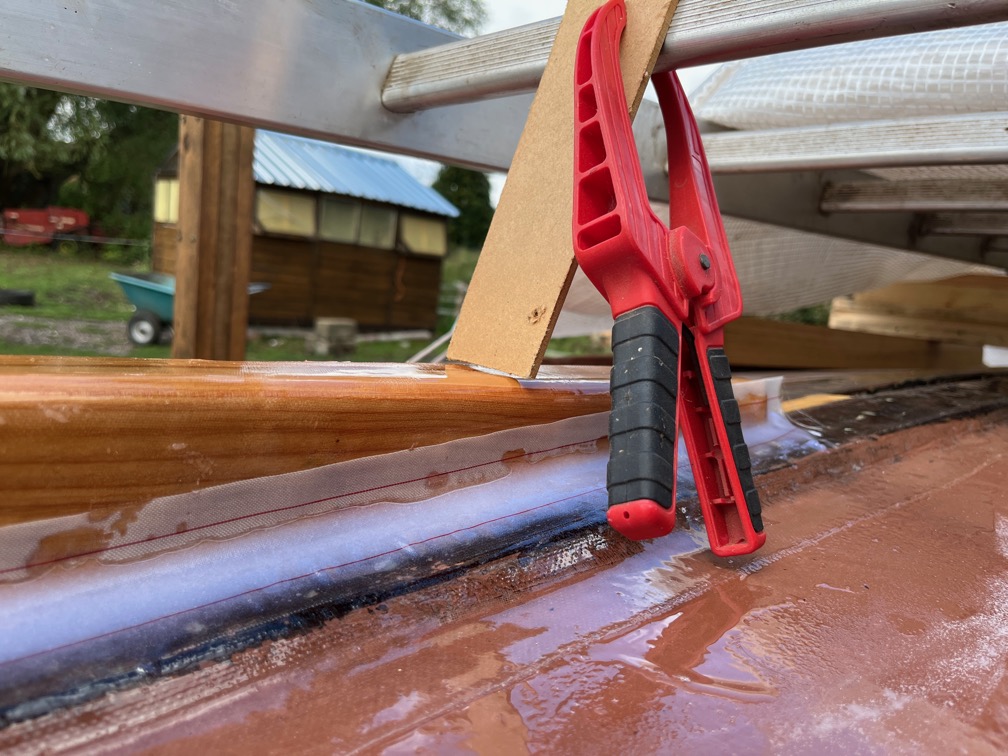
Peel ply was applied over the squeeze out to form a nice fillet.
I used my fingers to shape the fillet, suitably covered in nitrile gloves I hasten to add.
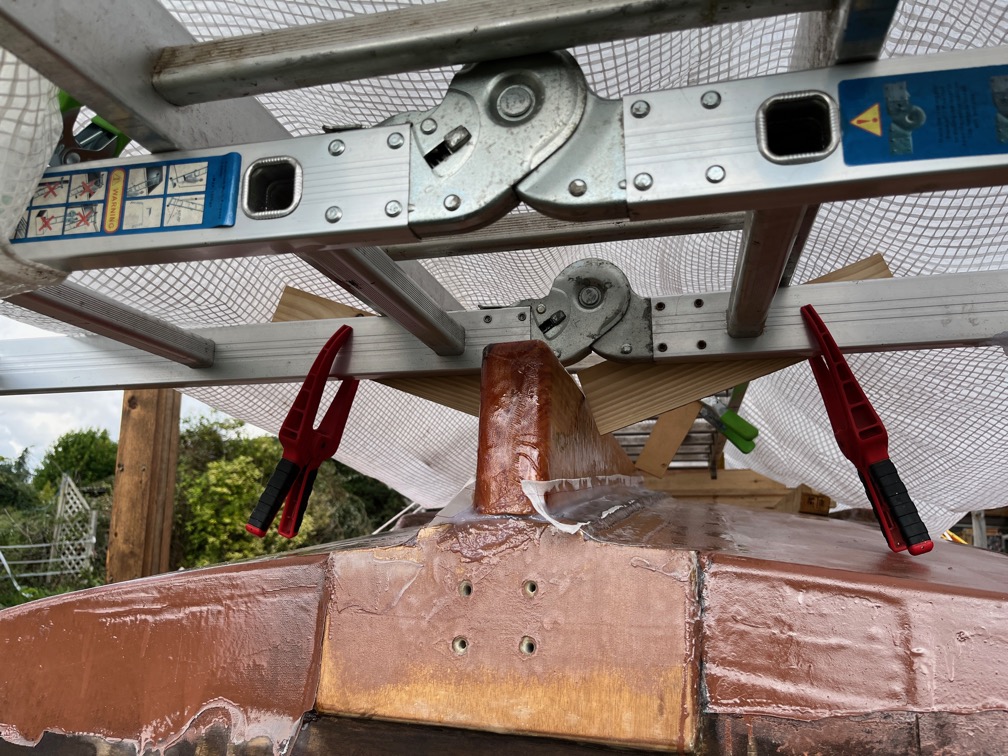
The forward end was pressed down and another piece of wood used to stop it from lifting.
But it didn’t stop the front end of the skeg from slipping sideways, so I used two pieces to keep it in the right place.
I spent some time sighting along the length of the skeg to ensure that it was aligned correctly. The grain of the wood did make this a little awkward since that made it look as though the skeg were pointing a little to one side, but when viewed from the front of the boat it was seen to be correct.
A few hours later the weather stopped being inclement and I removed the cover and the makeshift supports.
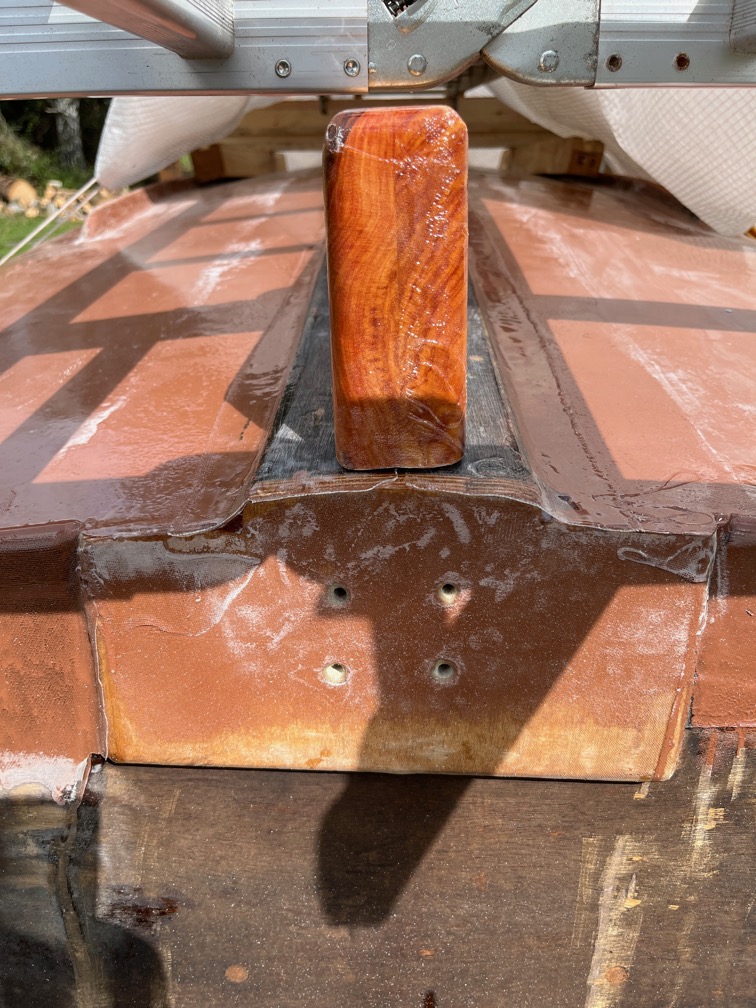
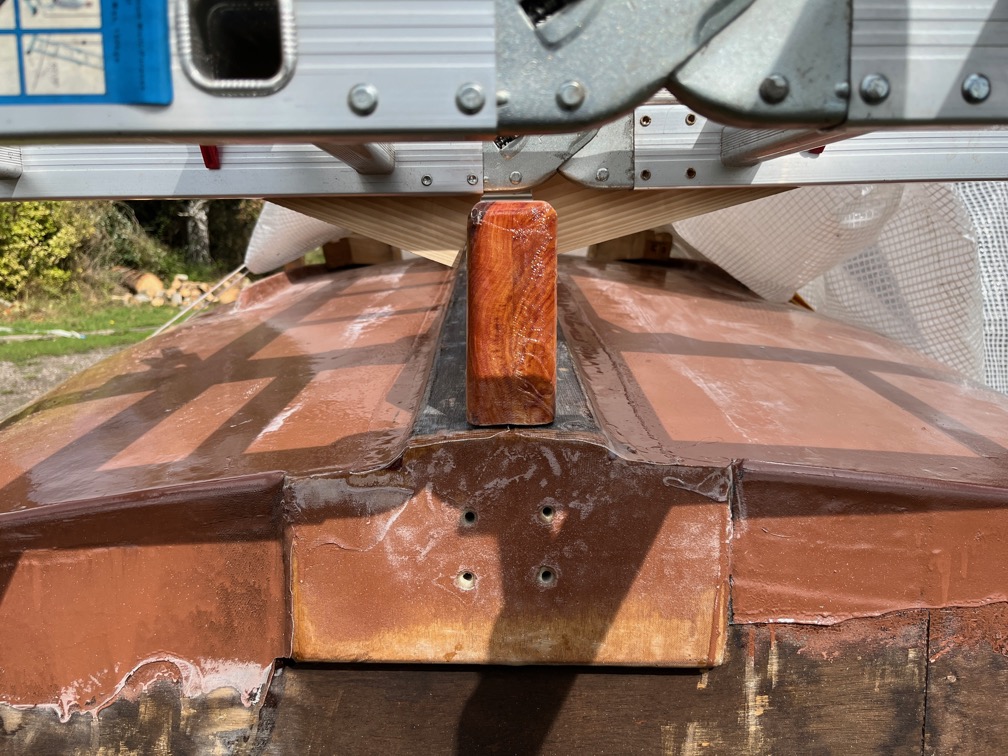
Here is the skeg pretty well fixed in place. The epoxy is hard enough that I can’t score it with a fingernail, the usual way to see if the epoxy is still green, but I won’t remove the peel ply until tomorrow.