
Work on Shoal Waters has progressed slowly over the past two weeks and for two reasons. Firstly, I have been preparing her for the next leak test and secondly because we went down to the sailing club and hauled Naiad out of the water and brought her back home for the Winter over one weekend,
I also carried out a few non-leak test tasks while I awaited the arrival of various small parts, such as no.12 silicon bronze screws and M4 stainless screws.
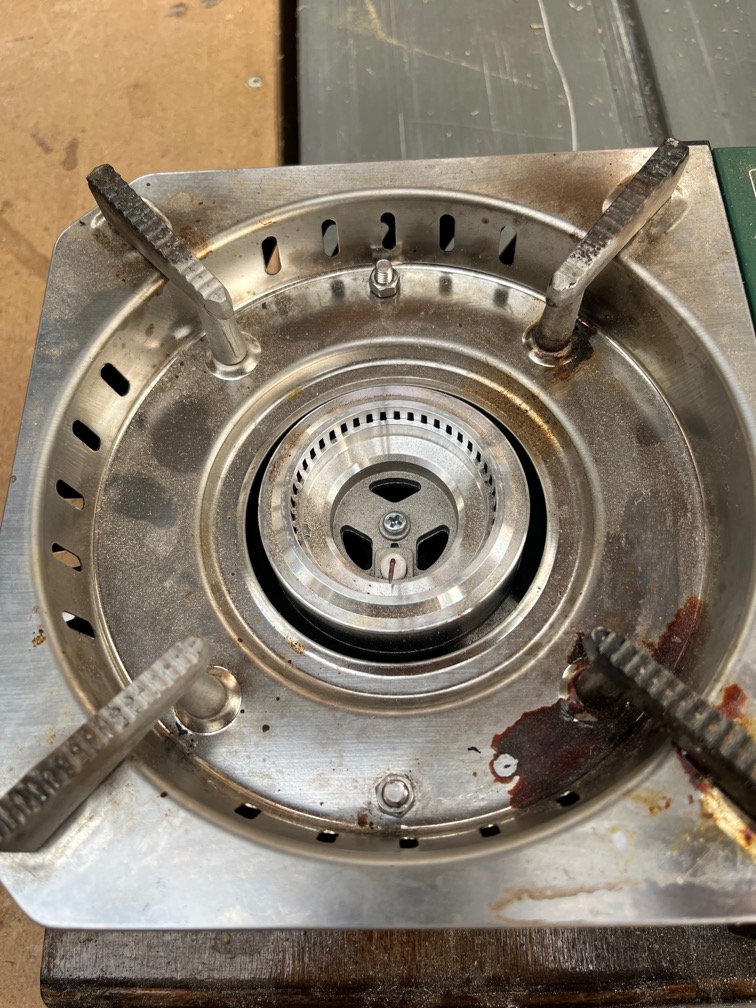
The gas stove was one of the tasks. The upper part, normally unsecured, was very difficult to clean when bolted to the stove as I had done. This meant rearranging the bolts such that the nuts were at the top.
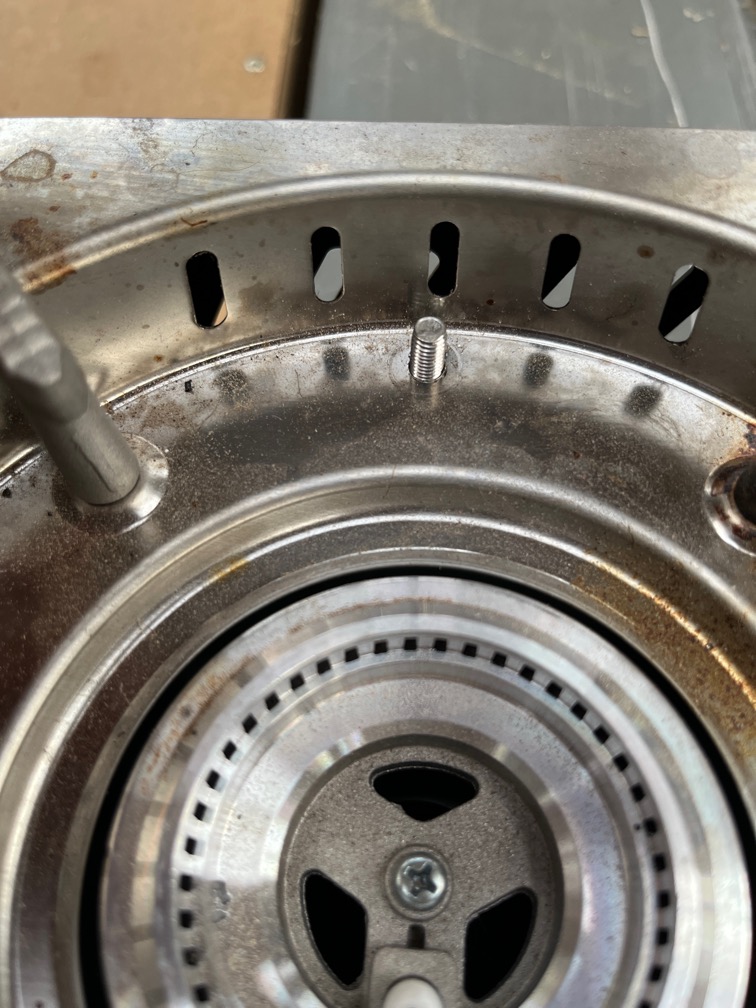
I had wanted to use wing nuts here, but there isn’t enough room.
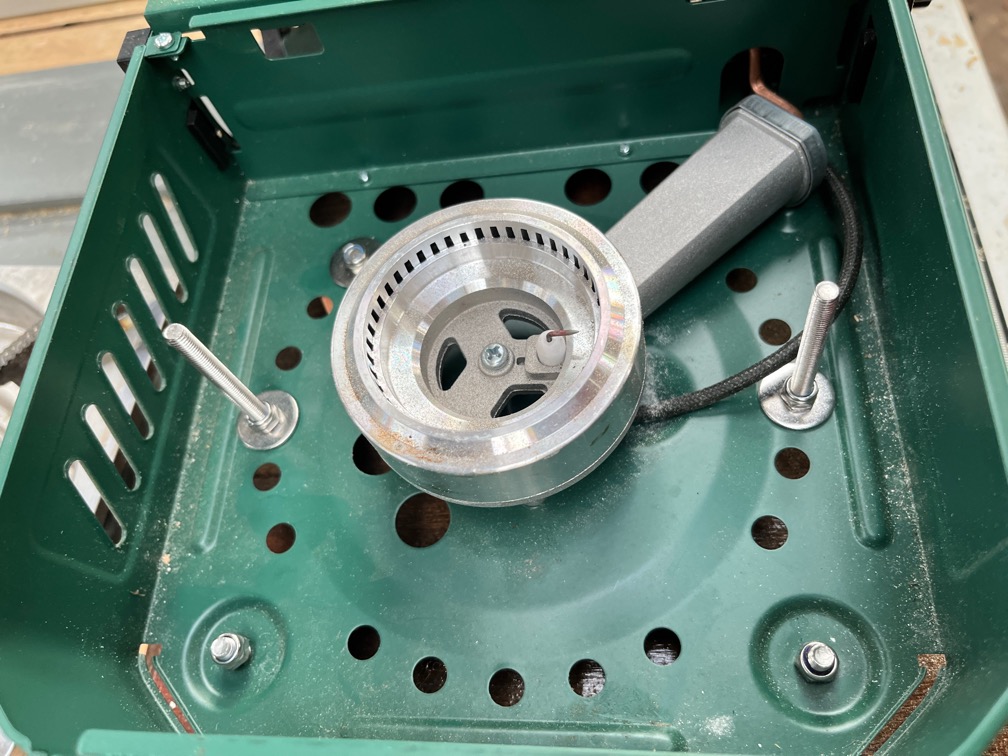
Underneath the bolts are fixed to the bottom of the stove as shown and it is a more satisfactory arrangement. I will try to find a way to use the wing nuts as they do not require me to use a spanner to get the top of the stove off.
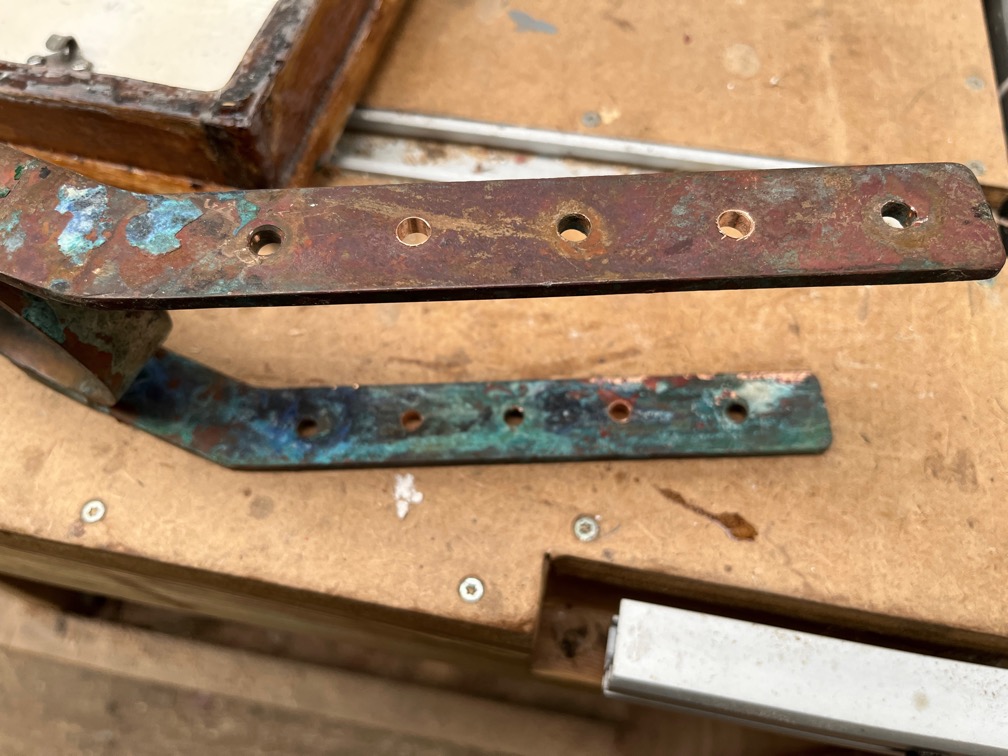
I decided that I would add two extra screws to the gammon iron on either leg, midway between the lower three holes. I also decided that 2″ no.12 silicon bronze wood screws were needed and ordered those.
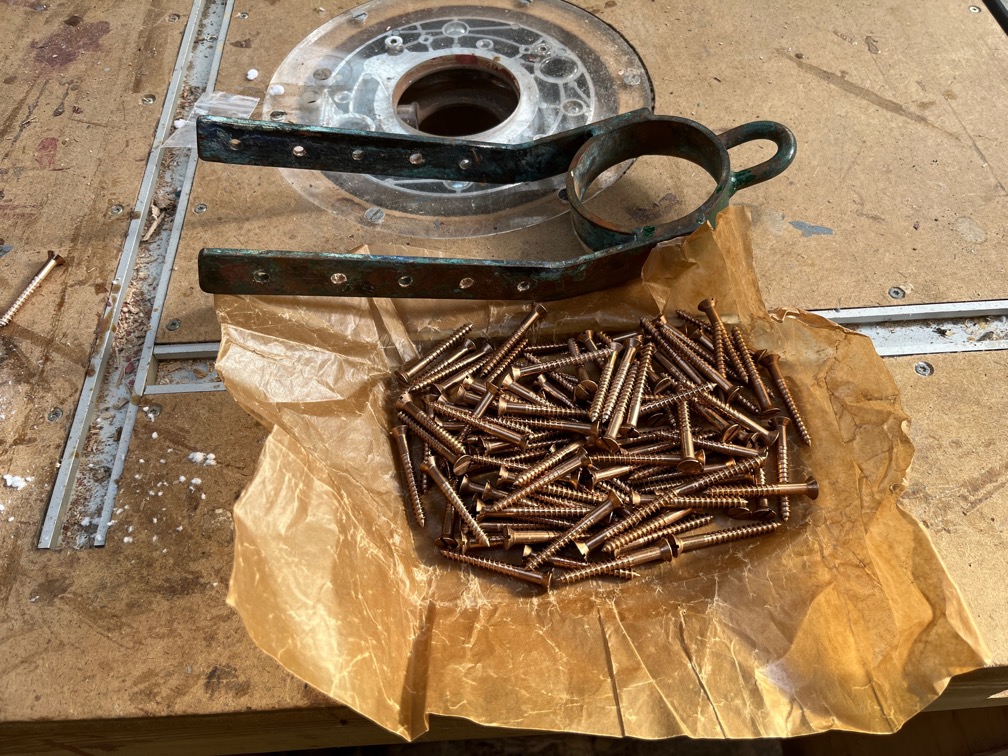
These arrived a few days later.
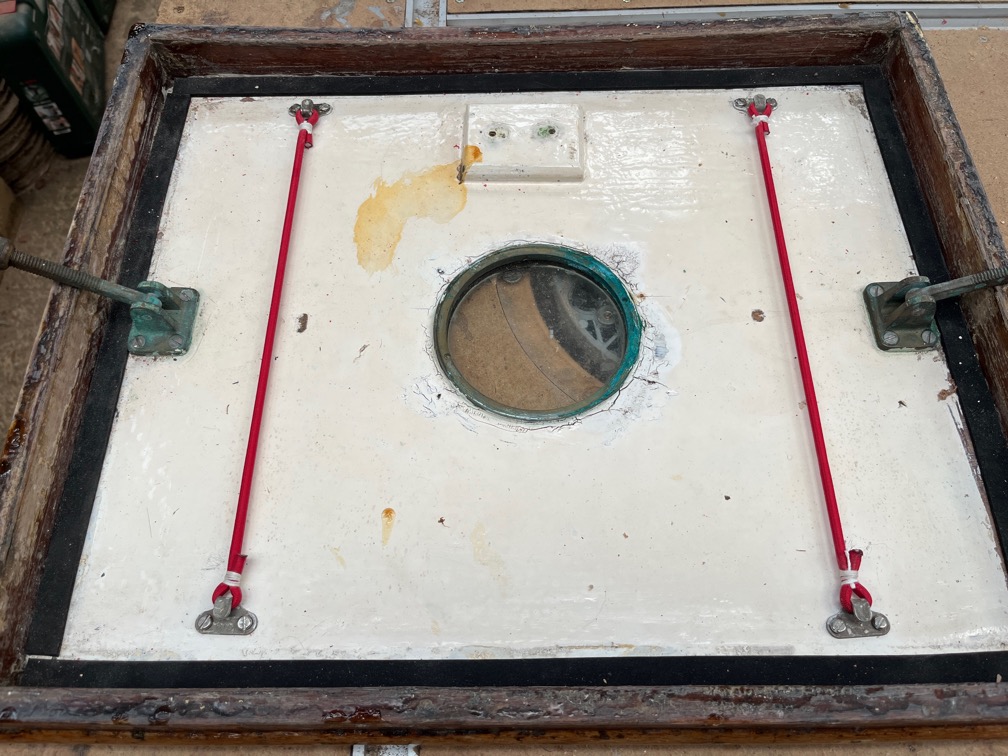
The curtain bungees were put onto the underside of the forehatch. Much easier to do it with the hatch off.
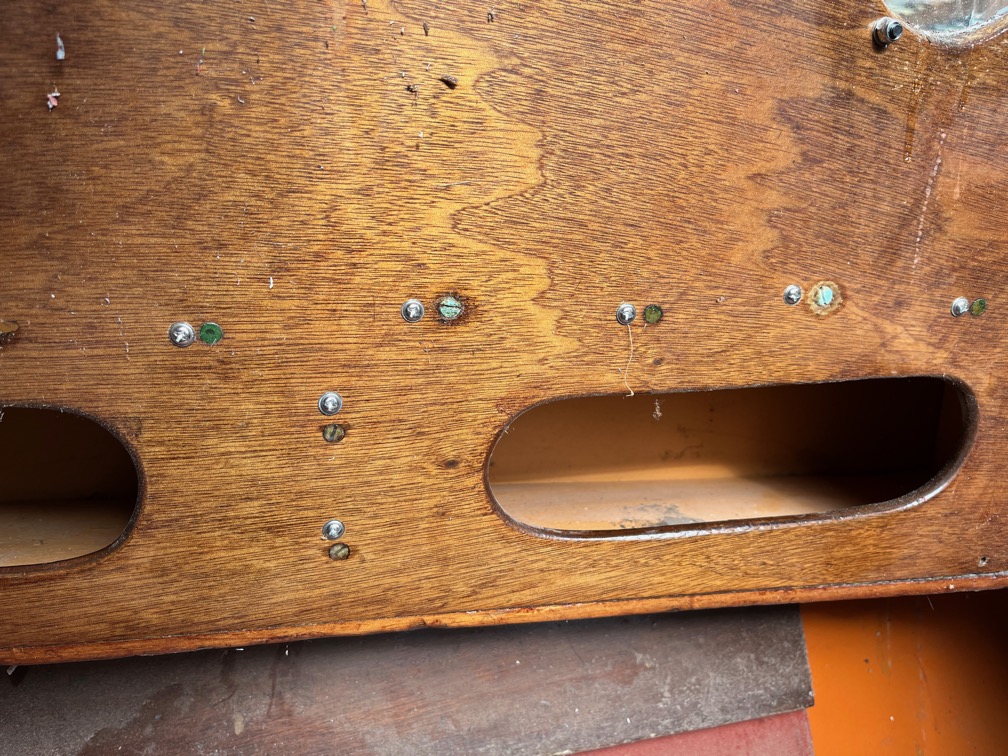
The two major problems that Shoal Waters has is that most, if not all, of the original screws were brass and the glue used as part of the glued and screwed construction was one that was not flexible. The brass has degraded in the marine environment and the glue has become brittle over the years and cracks easily.
For this reason I decided to double up each of the brass screws and the gripfast nail with M4 x 25mm 304 stainless steel screws with a modified Truss head, which looks a little like an integrated washer. These are a few. The reason for using these screws and not countersunk ones is that with the extra wide, flat head there is more gripping power when the screw is fully home and will not wedge the wood fibres apart as happens with the countersunk screws.
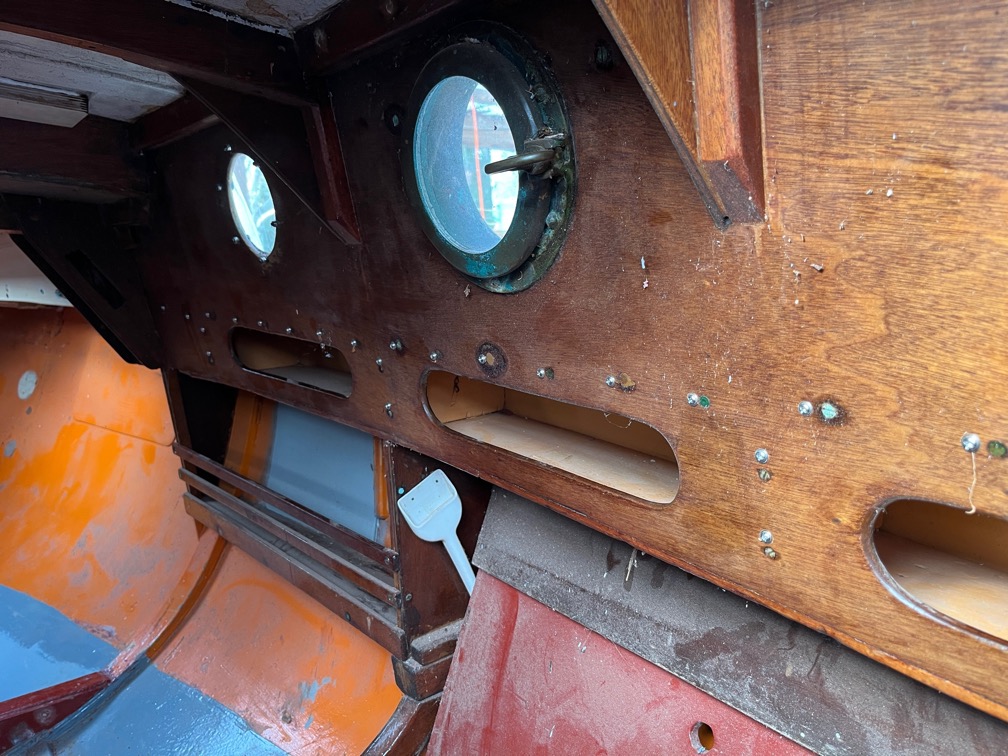
I bought 100 of these screws and found that this was not nearly enough. The main cabin took 50 for both sides and the ones in the cockpit used 80 more. I had to buy a lot more of the screws. I’ve used 130 so far and I still have the forecabin to do, probably another 50 and as many again to complete the cockpit.
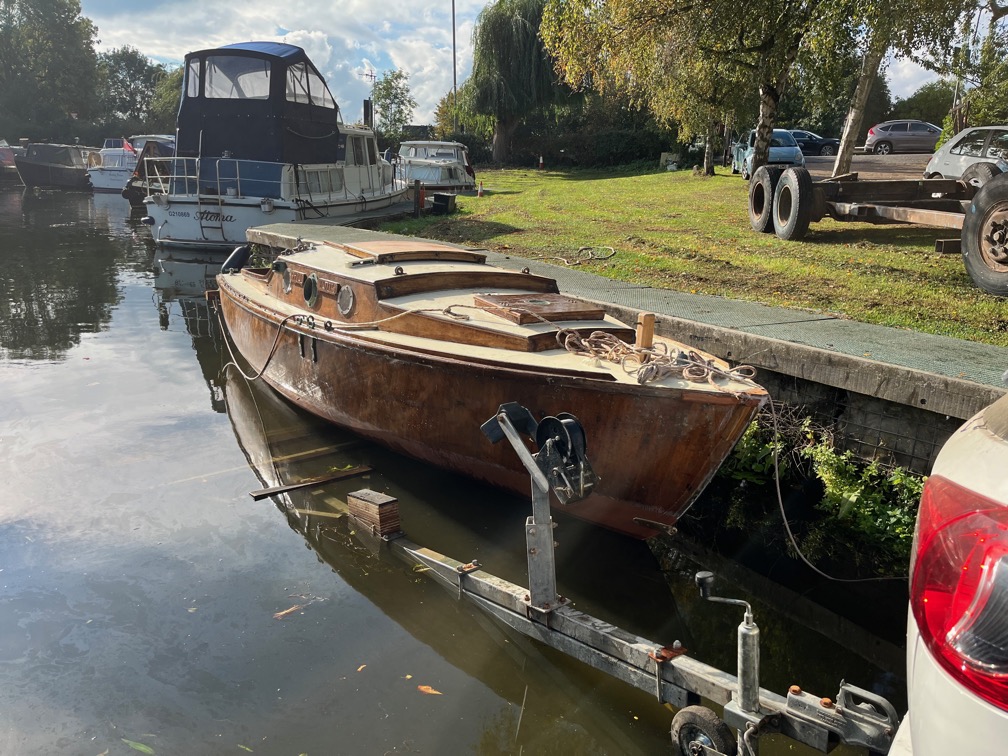
Today it was time for Leak Test 2. I took Shoal Waters to one of the local boatyards and used their ramp to put her in the water. For a charge, of course.
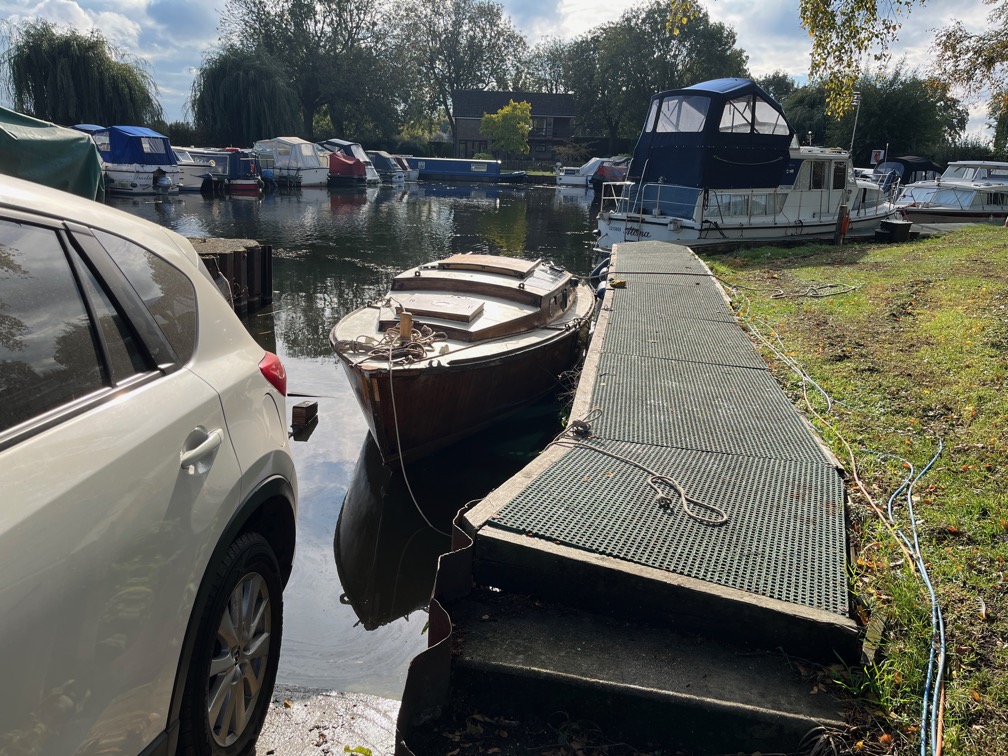
The ramp is very steep which means that launching is very quick and the rear tires of the car do not even touch the water. Getting the boat out solo is another matter entirely. Took me the better part of two hours.
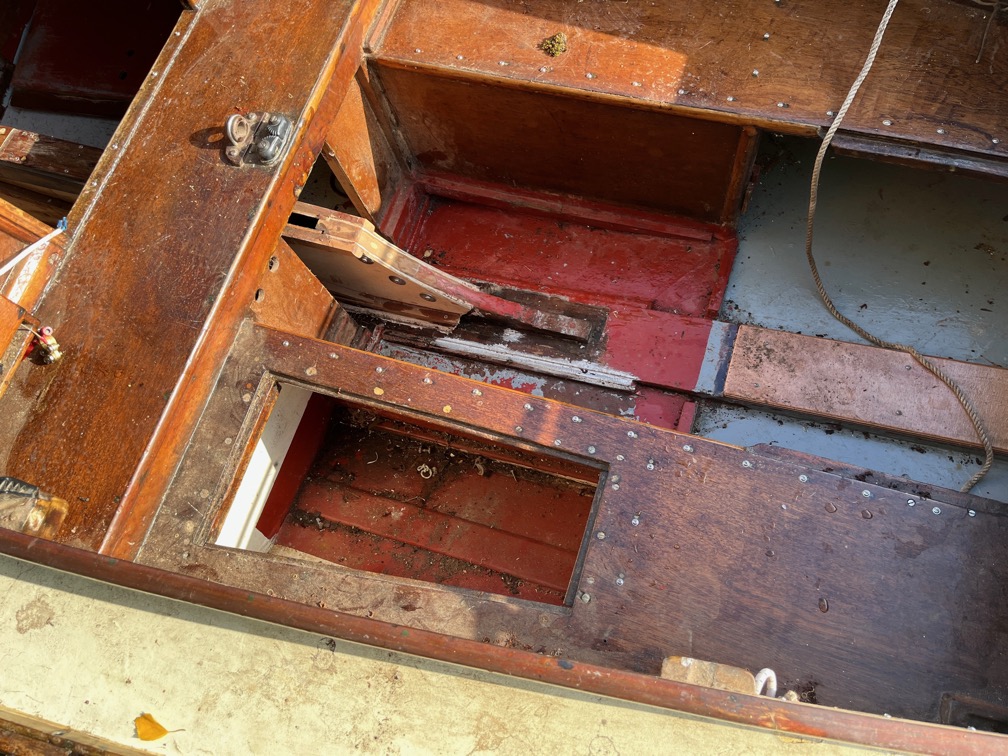
Cockpit dry. Well, no leaks. It was a little wet from the rain last night.
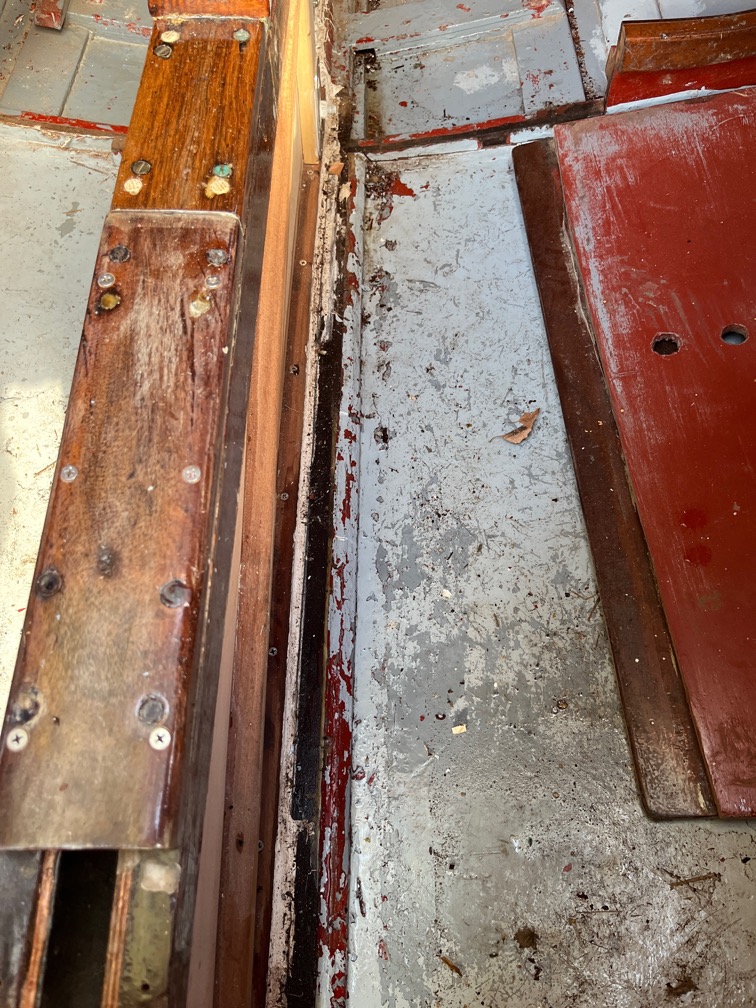
Main cabin, starboard side, no leaks. This was the side that leaked the most last time.
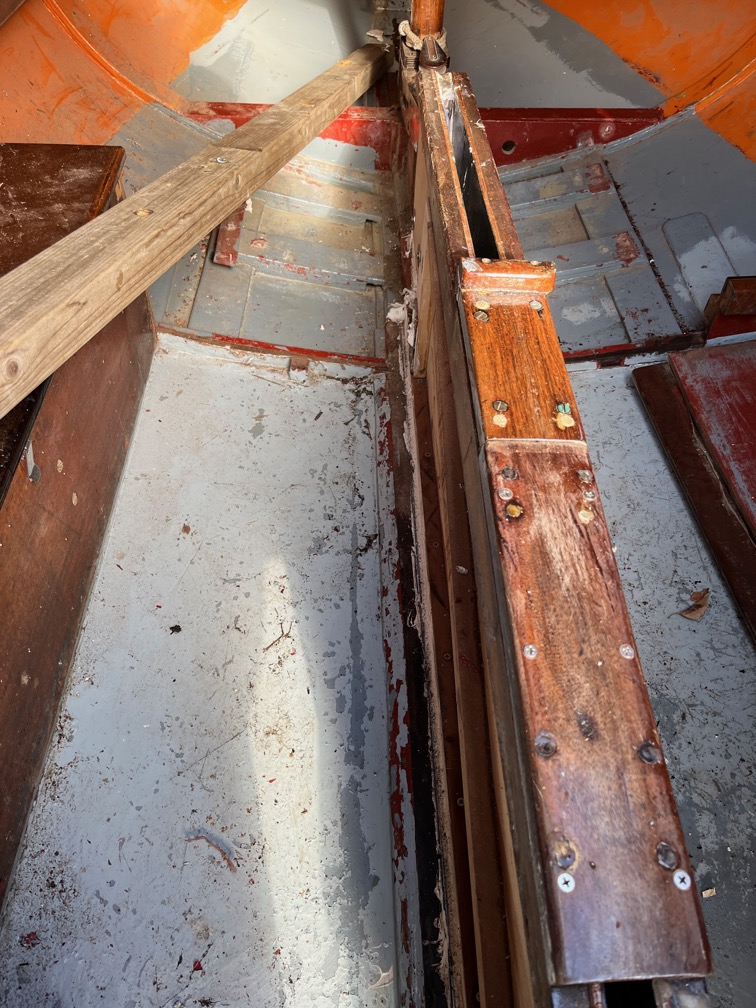
Main cabin, prt side. No leaks. There were no leaks in the forepeak nor in the aft locker.
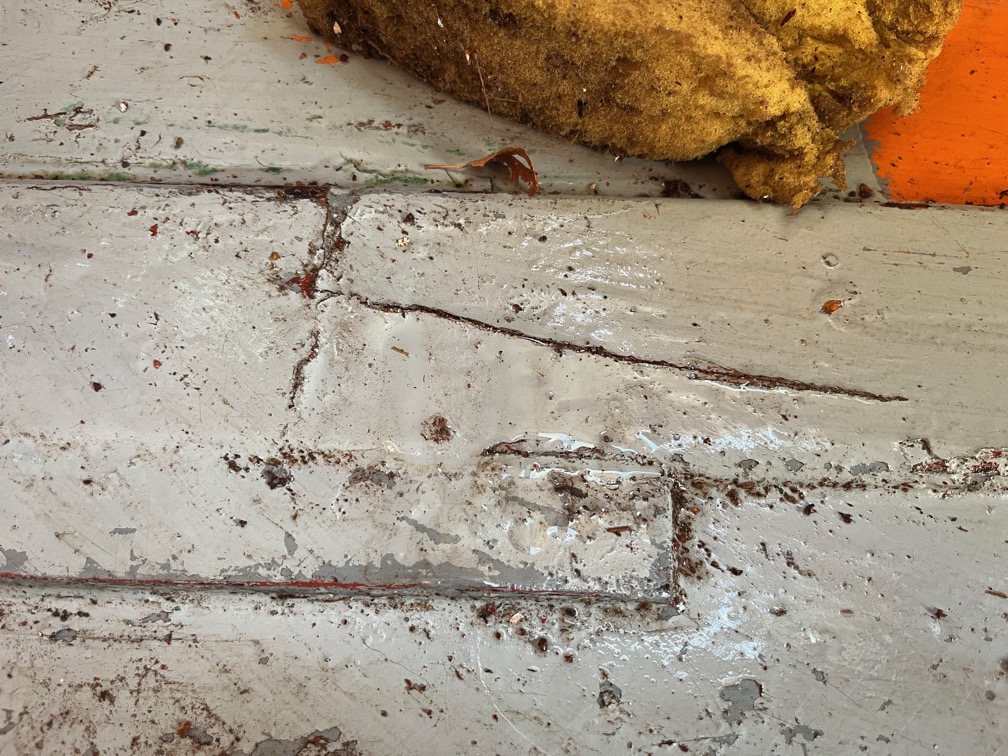
But there was one small leak here. This is a reinforcing pad for the bilge runner and as you can see, the wood is cracked.
Now, the bilge runner on the outside of the boat at this position is the place where there was significant damage to the runner, enough to split the wood on the inside.
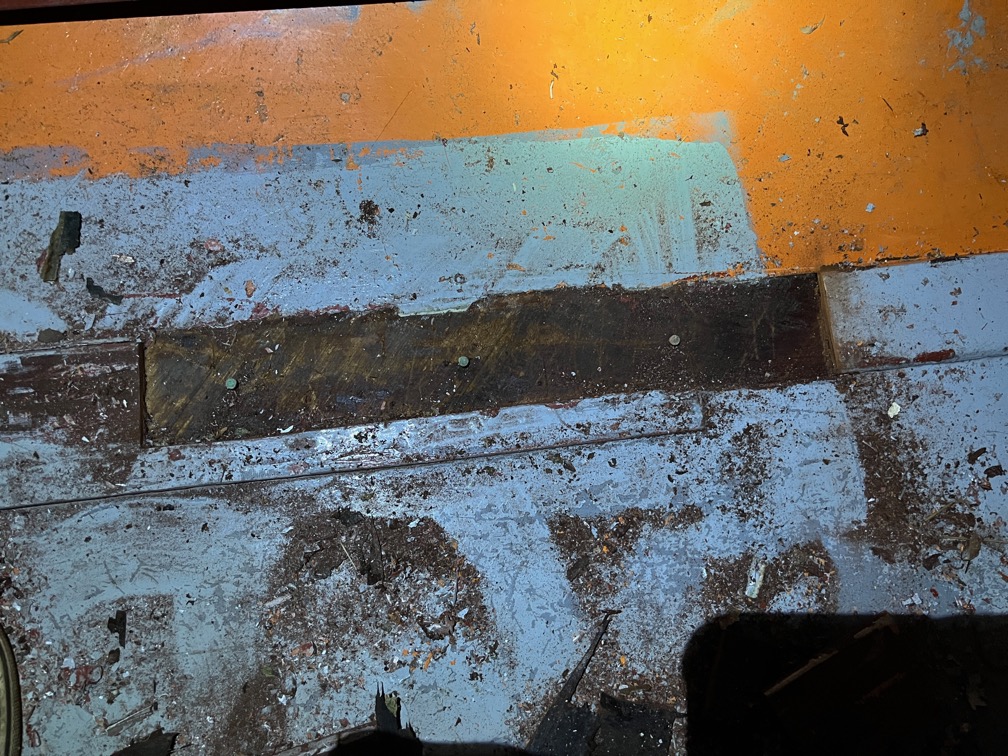
I needed the hull to dry out, so cut away the broken part of the reinforcing batten and was relieved to see that the hull is undamaged. The batten was fixed to the runner through the hull using gripfast nails and it looks like these are now no longer gripping fast and leaking. Once the hull has dried out I shall repair this and stop the leak.
Time for a cup of tea.