
I have to say that, although it was satisfying getting the sheathing done, by the time I finished I was pretty sick of mixing up and applying epoxy. Yet there is still more to do. Just not so much.
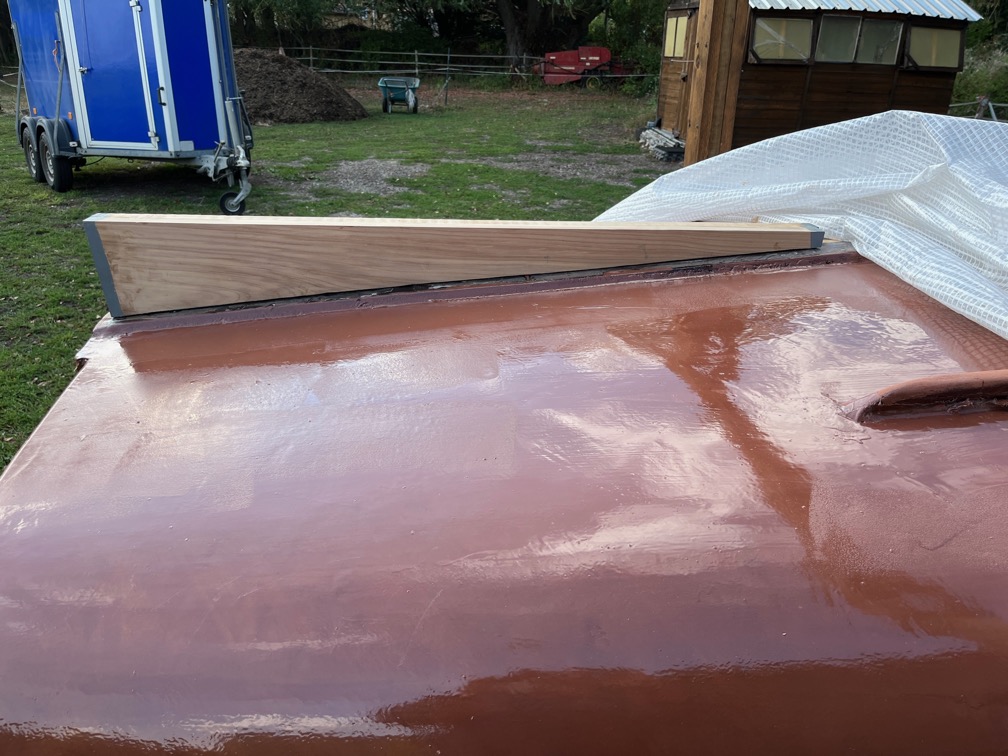
After a few days of rest from the fairly exhaustive effort of the last five and a half weeks, and since work could not continue on Shoal Waters herself due to the rain, I decided that the next task was the skeg. This is small enough to be done in the workshop and it is still warm enough to use the special epoxy. The first part of this task was to cut the concave curve into the bottom of the skeg to match that of the keel. It doesn’t have to be an exact fit since it will be secured in place with thickened epoxy which will fill any gaps. It just needs to be stable on the keel and upright.
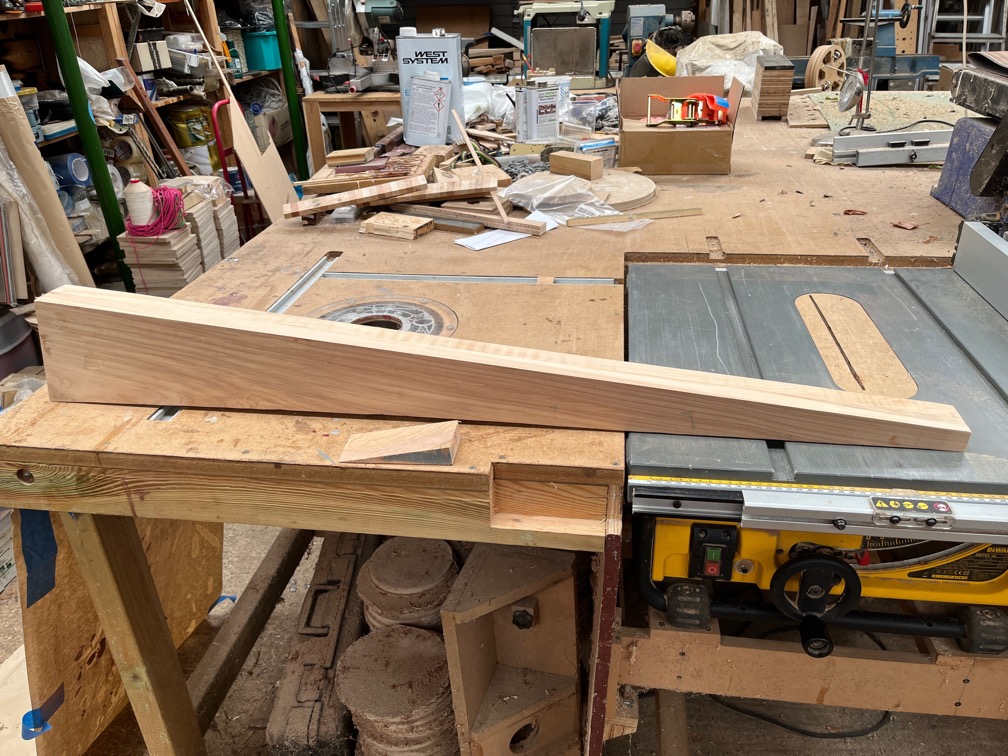
Both ends were cut to an angle of about 4º, that being the angle between the keel and the transom.
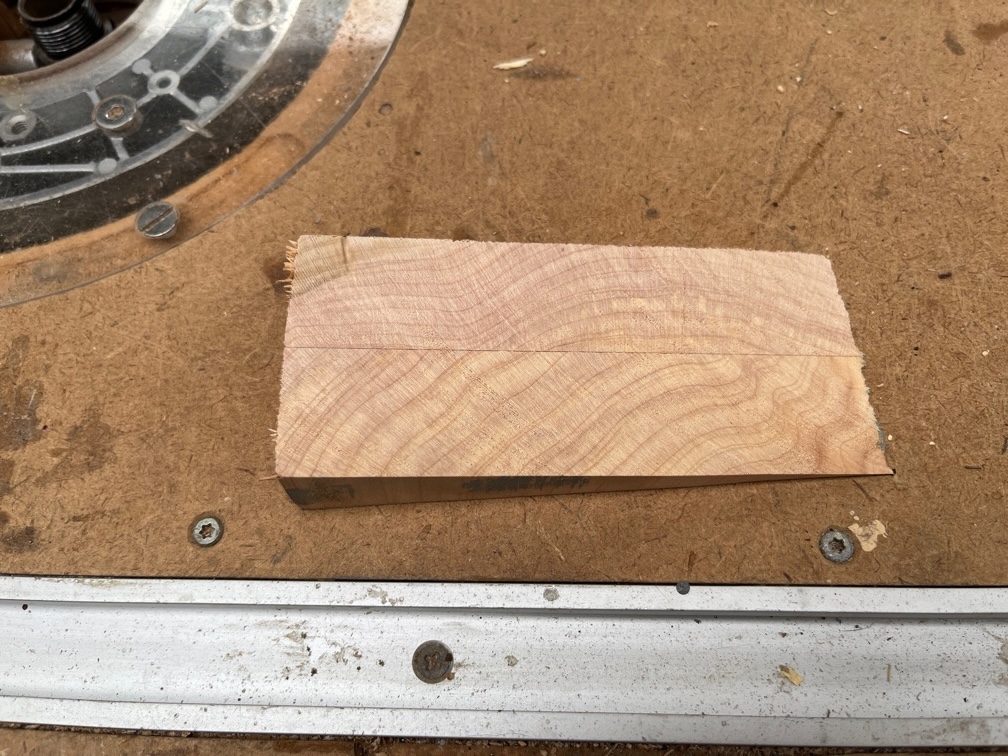
The offcut from the aft end of the skeg shows how well the two pieces were laminated together showing no signs of voids along the glue line.
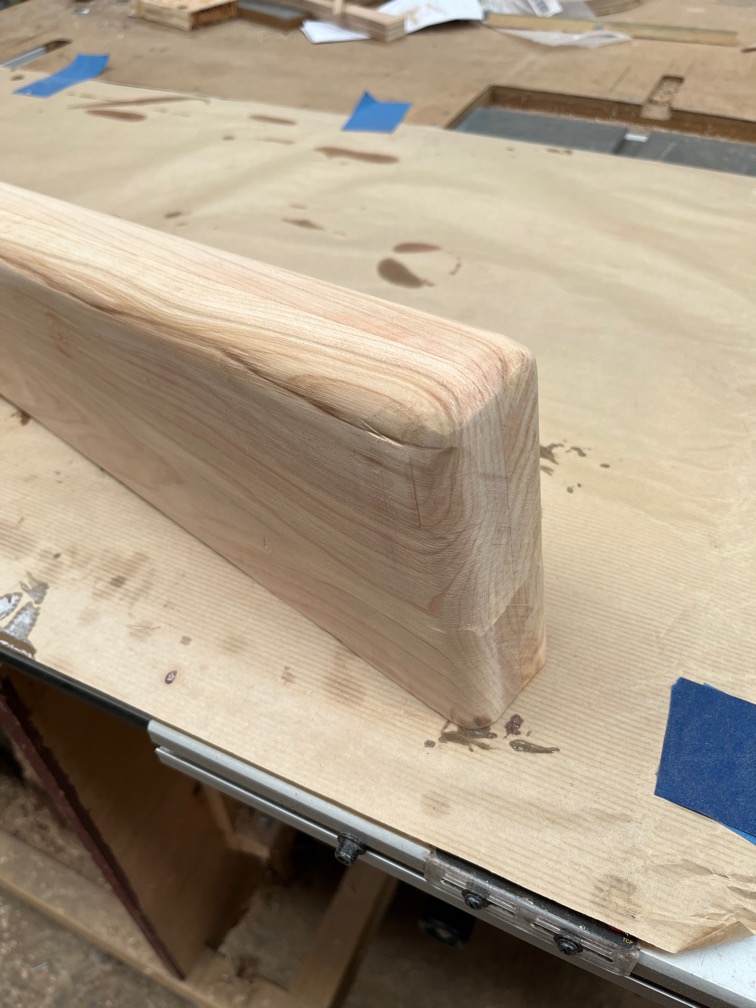
All the edges bar those touching the keel were rounded over, on the bench router, using the largest roundover router bit I have and then sanded.
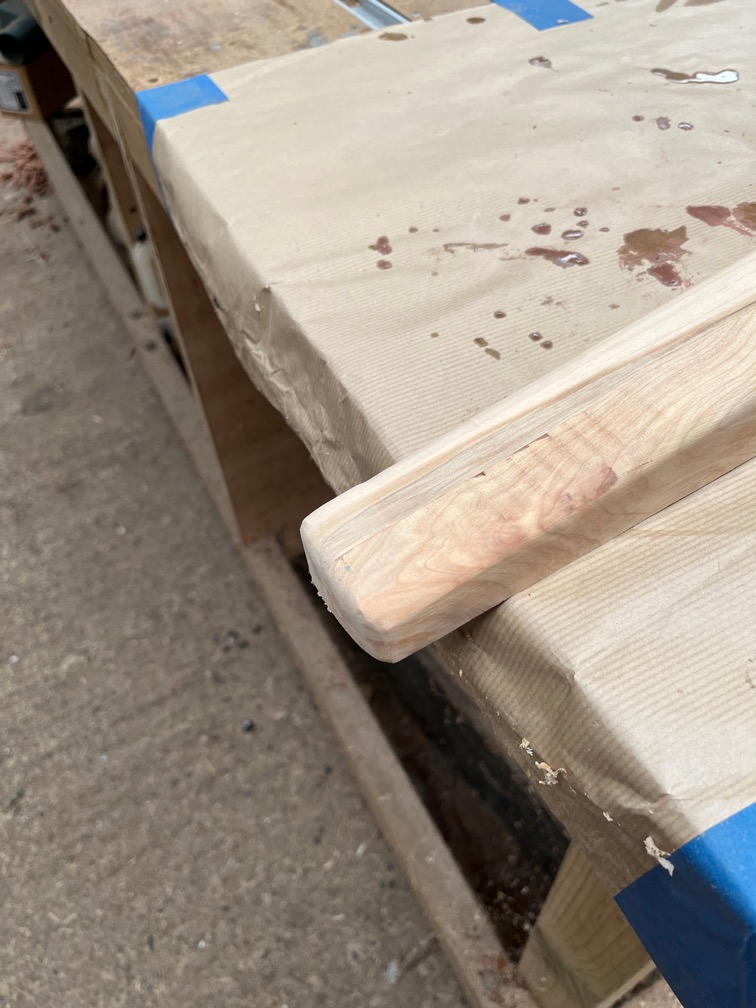
The result is good enough to allow the fibreglass cloth to sit flat on the wood and not lift as it goes over the edges.
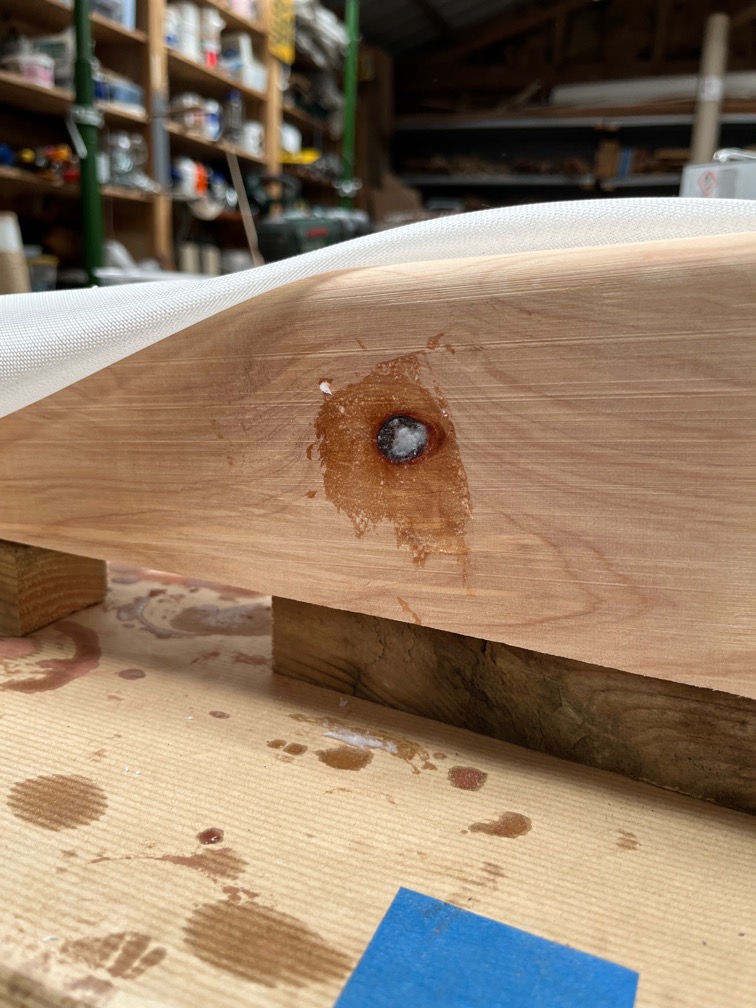
I mixed up the 105/207 epoxy mix but before applying it I took a small amount, added some thickener and used that to fill in the small knot on one side of the skeg.
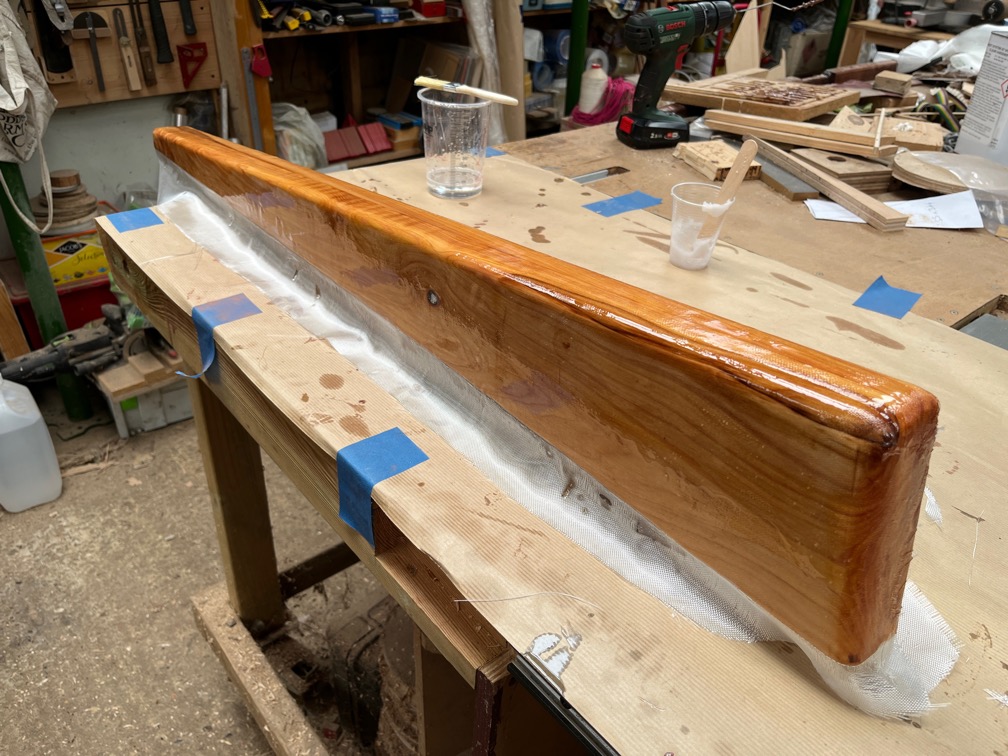
Then it was back to applying epoxy, this time with a brush, not a roller. Once this has become tacky I shall apply a second coat which will complete this stage of the skeg work.
The next task will be fiberglassing the surface of the keel using a heavier weight cloth. I have a small roll of 200gsm weight that is100mm wide for this purpose.
But only when the rain stops !
Time for a cup of tea.