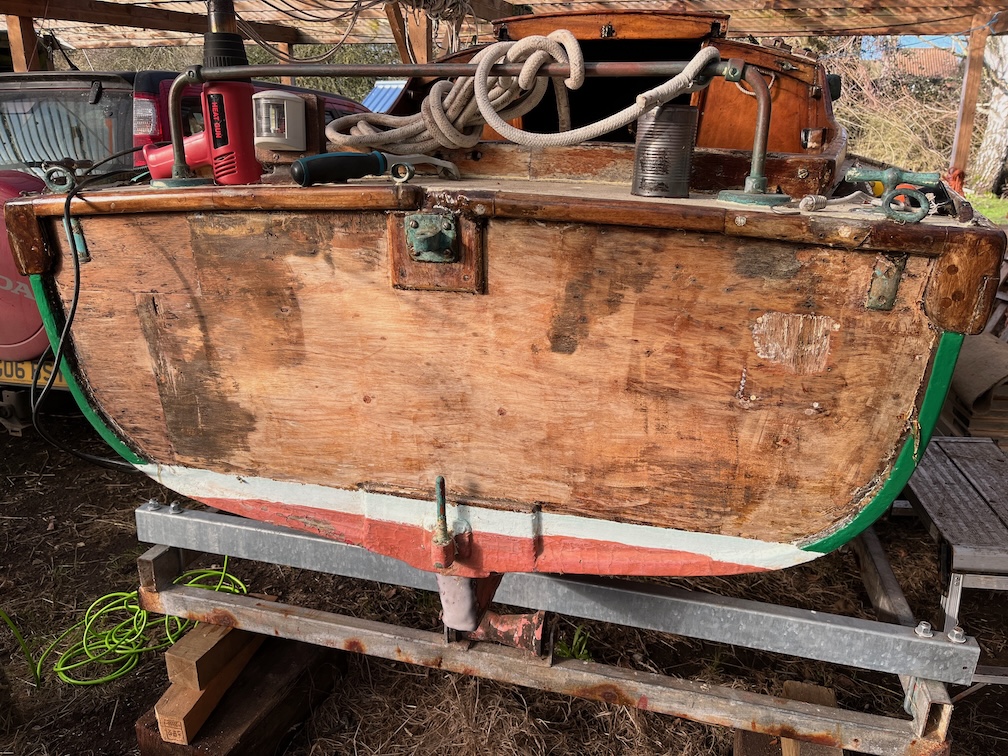
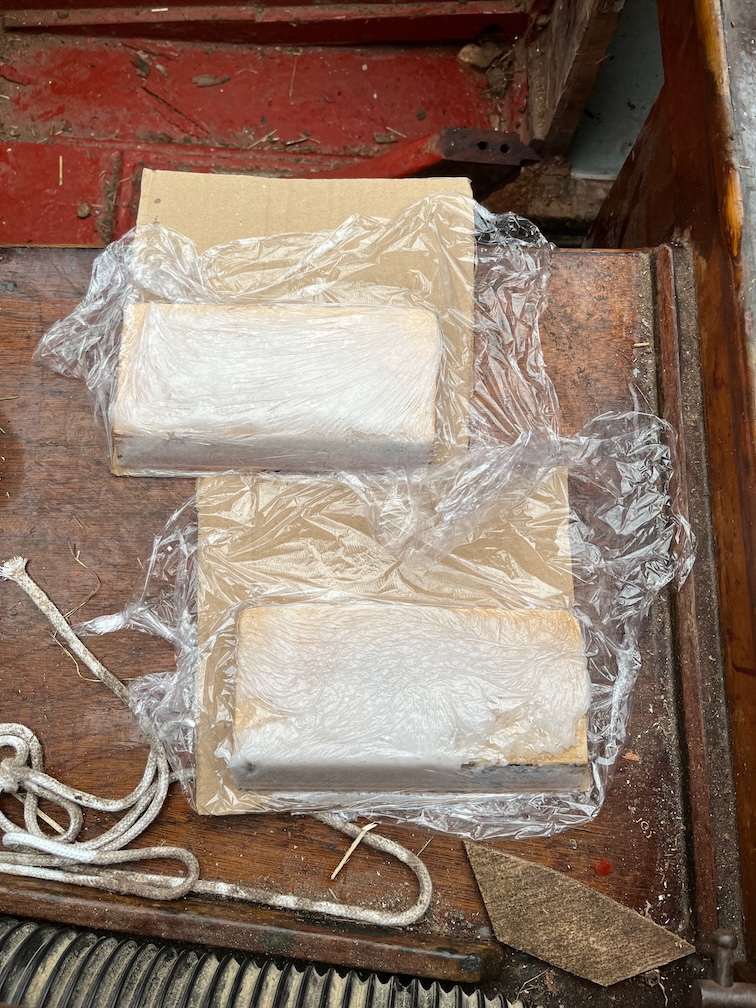
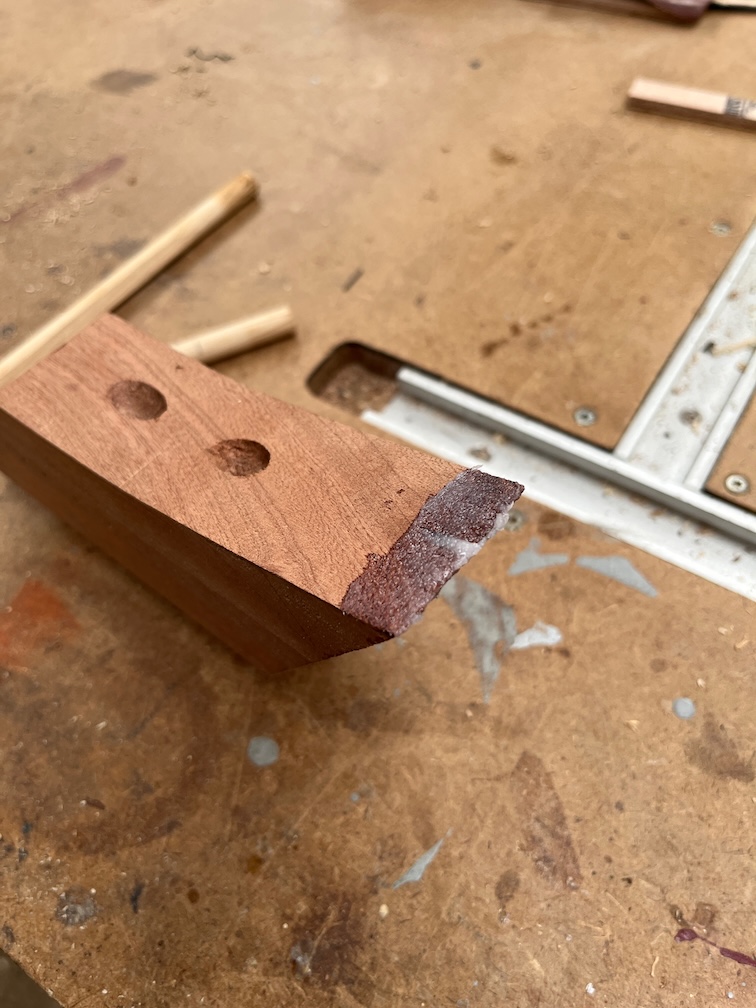
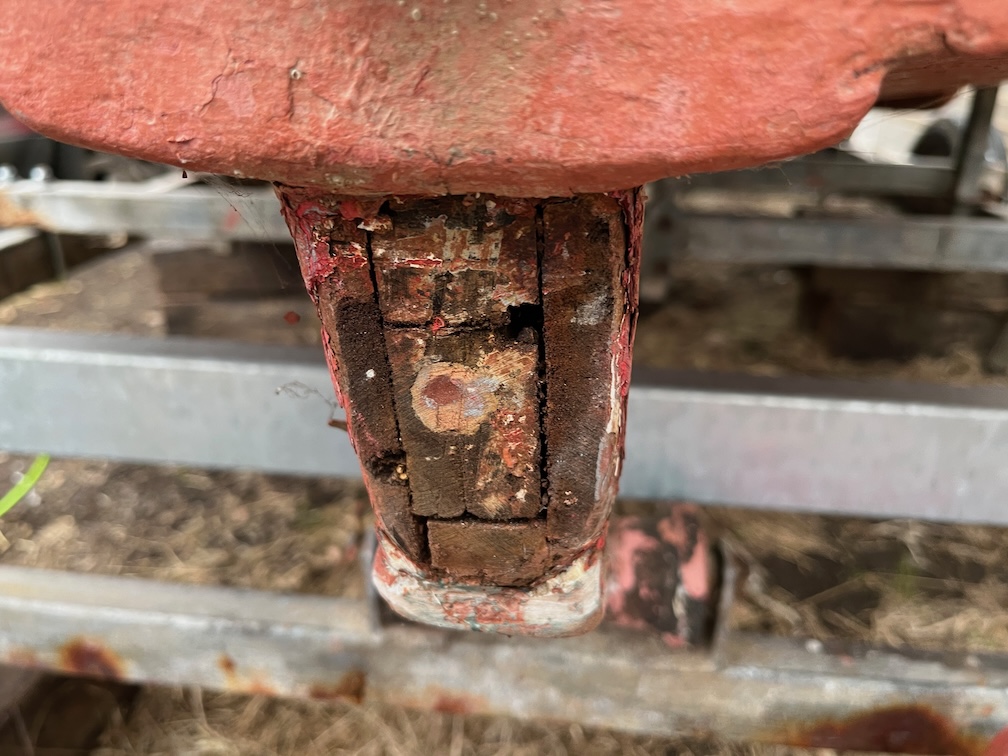
2026-01-30 – Second Major Issue

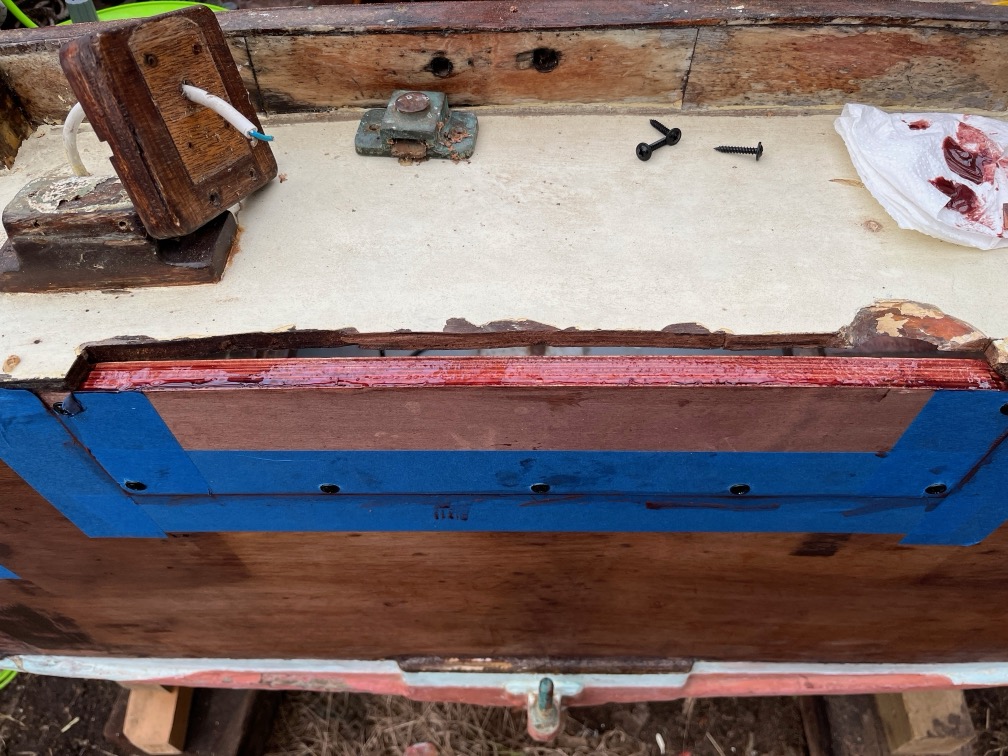
The aim of the next few days and the weekend is to complete the build of the port side of the centerplate case and, if time allows, cut the aft block below the soft section.

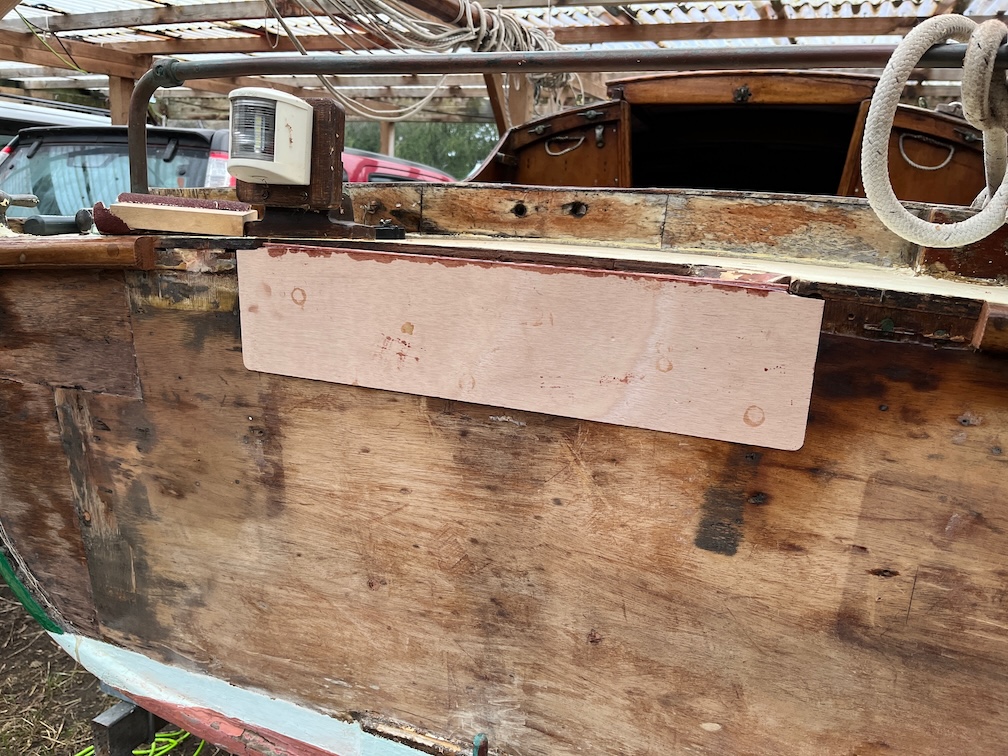
The remaining part of the case side is the forward end and this needs to match the case side that has already been built.

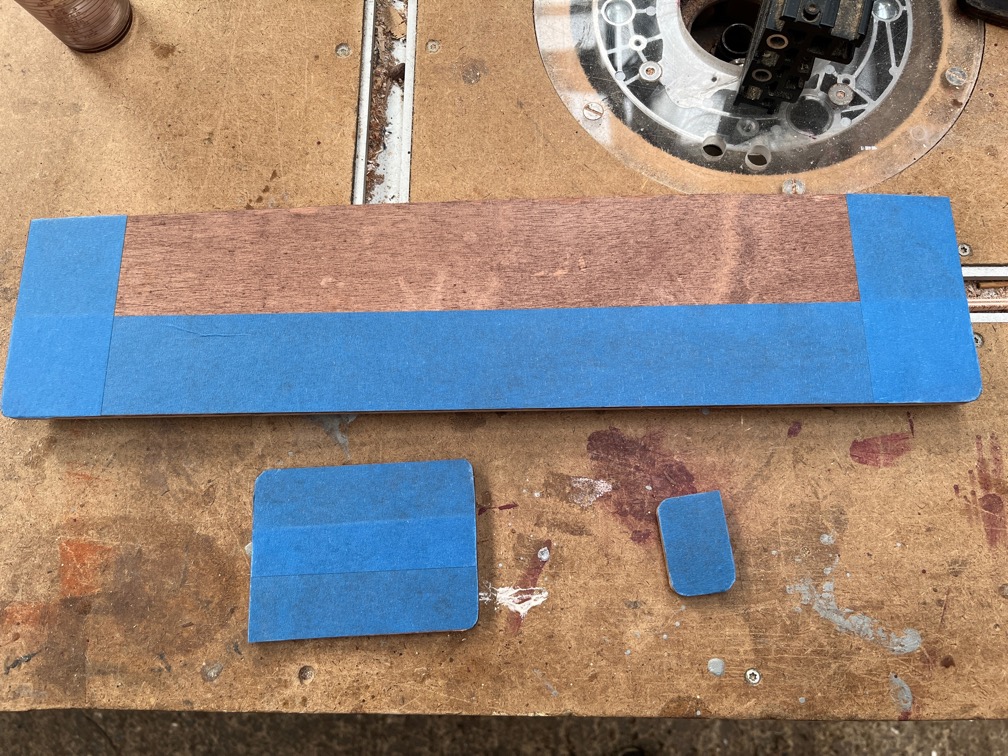
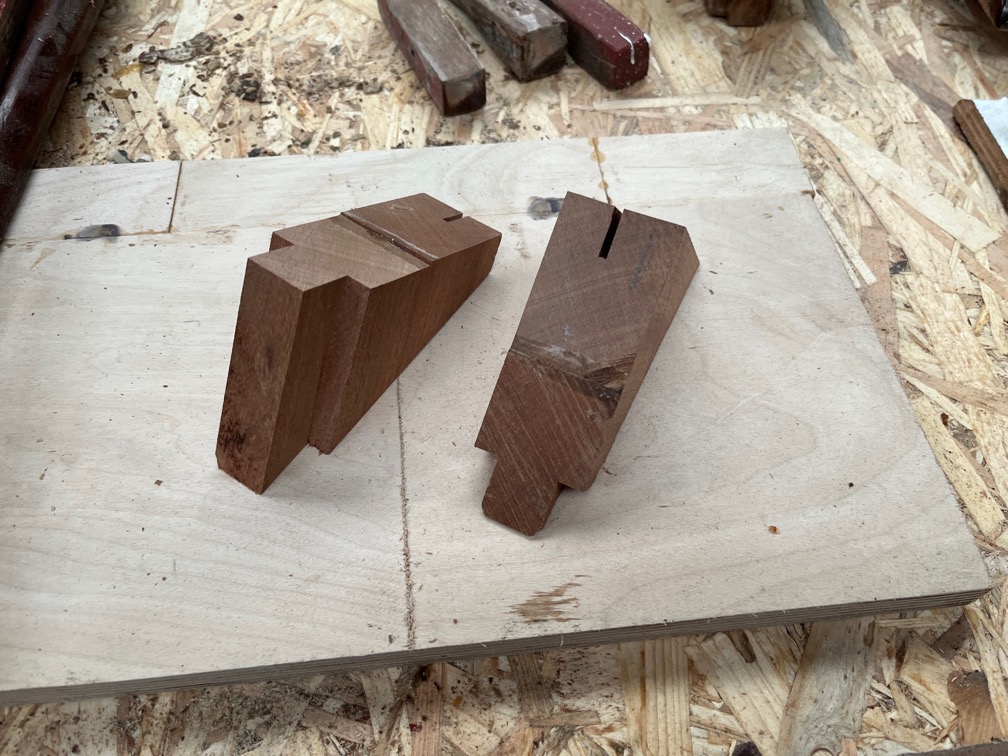
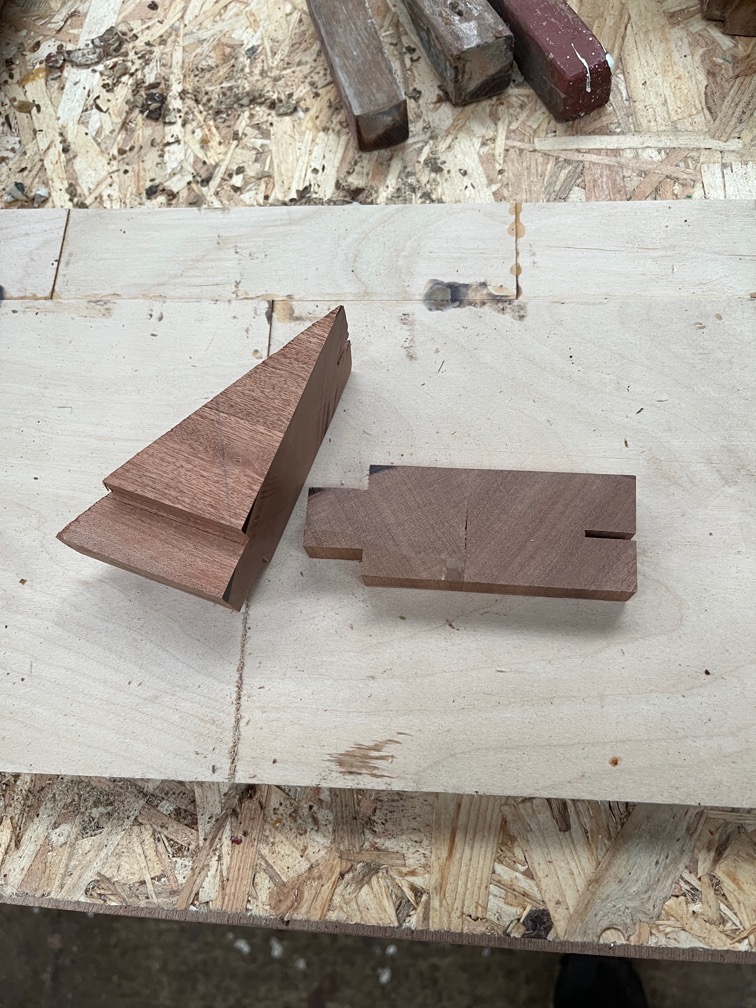
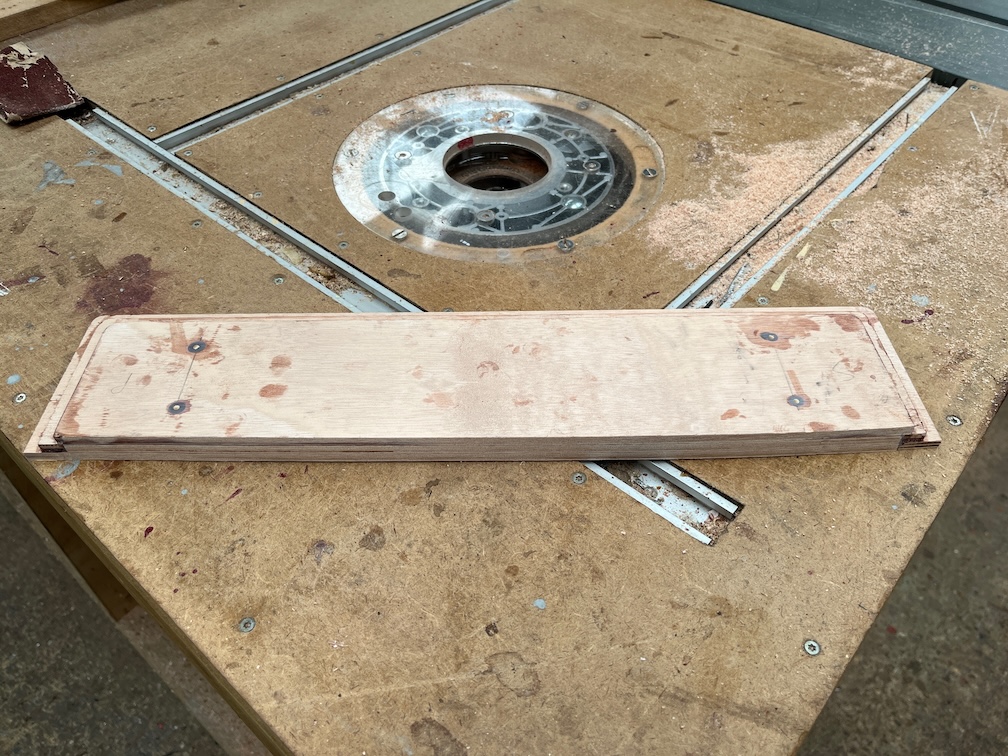
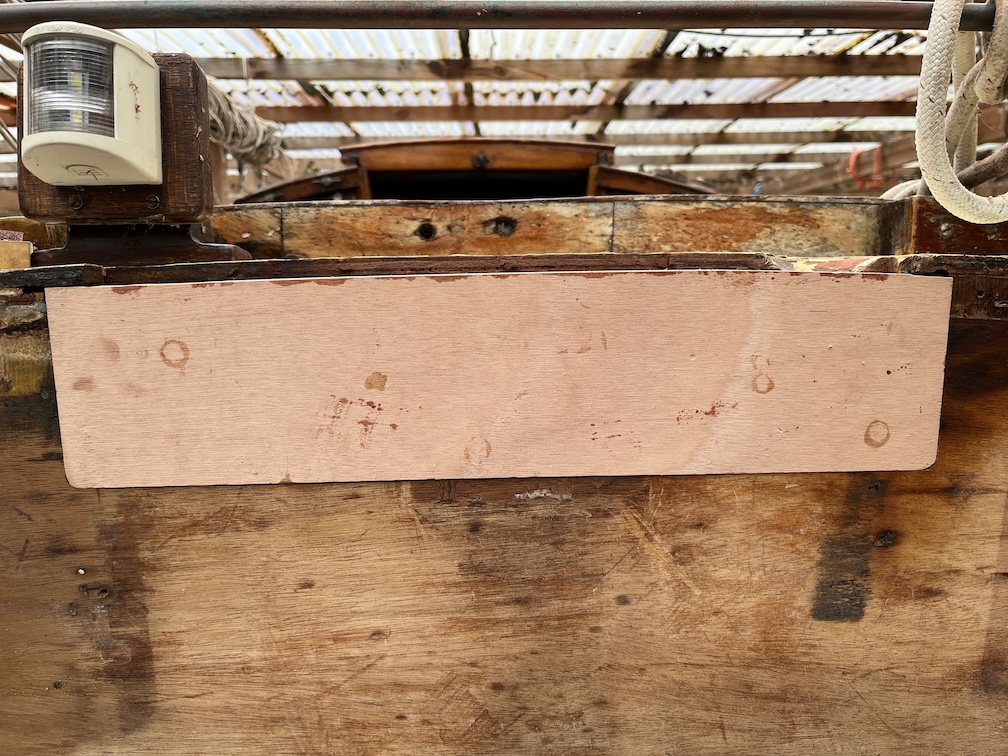
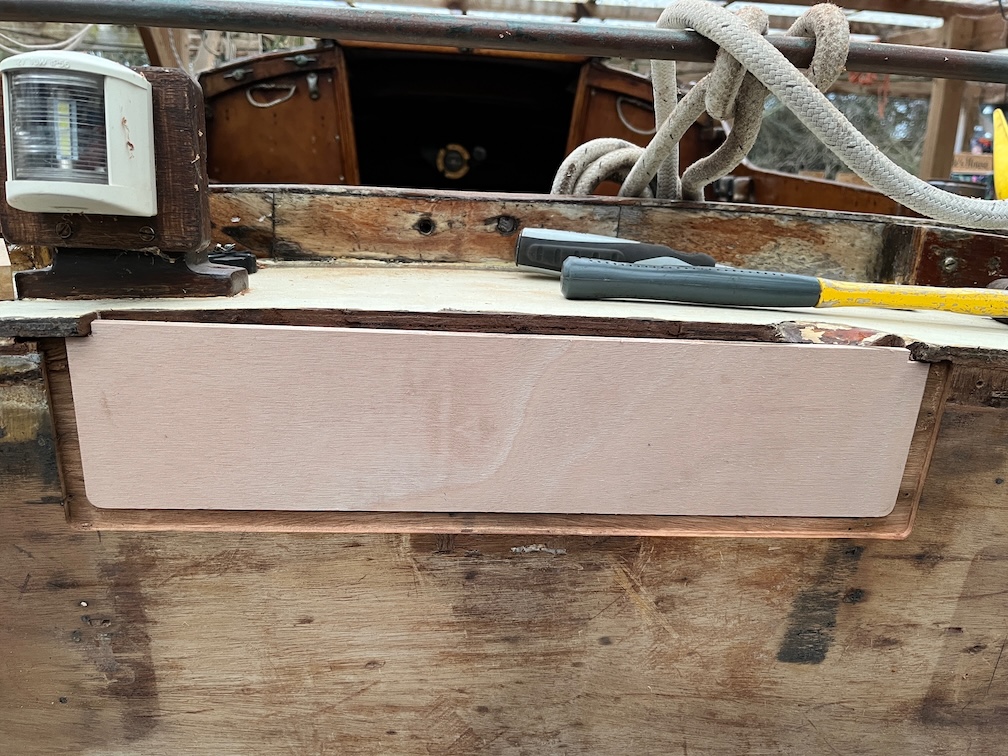
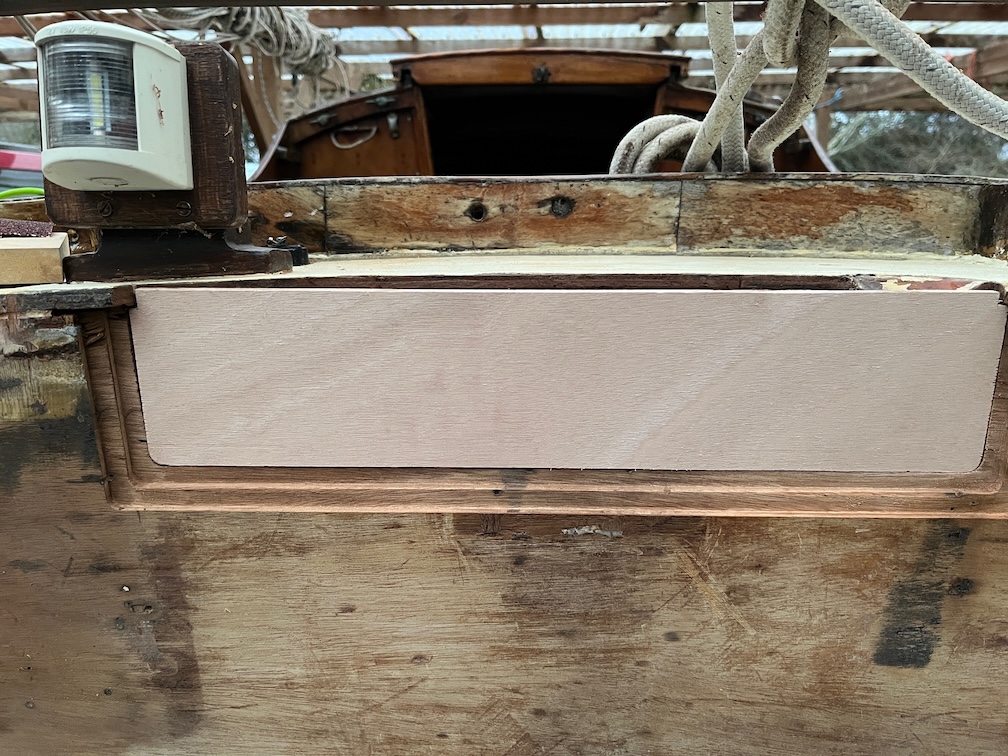
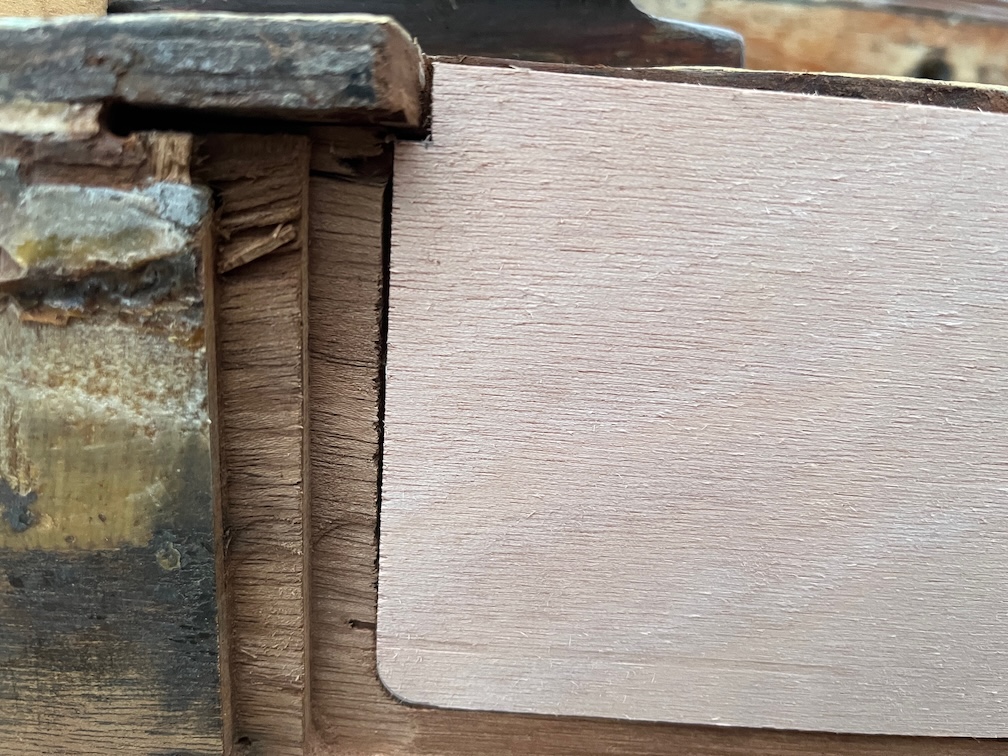
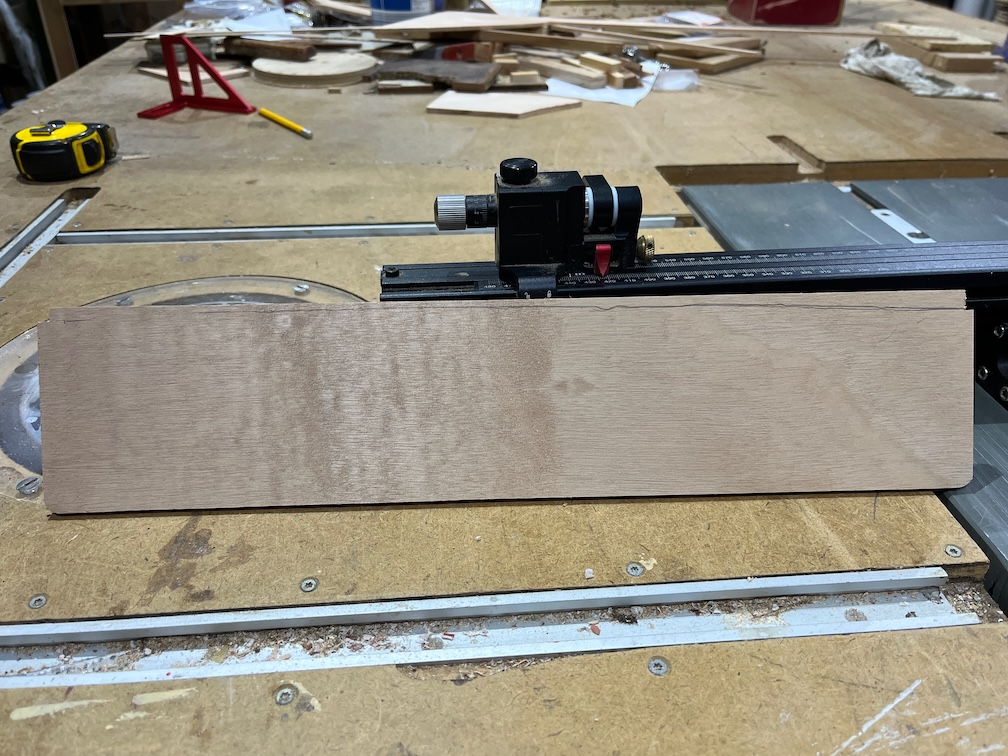
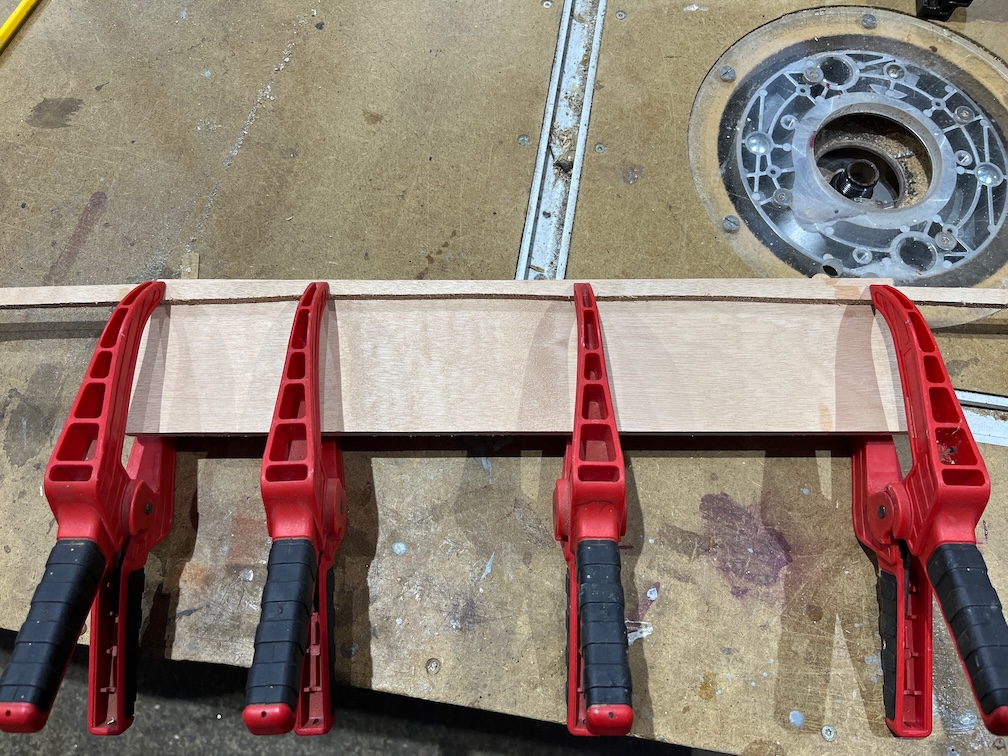
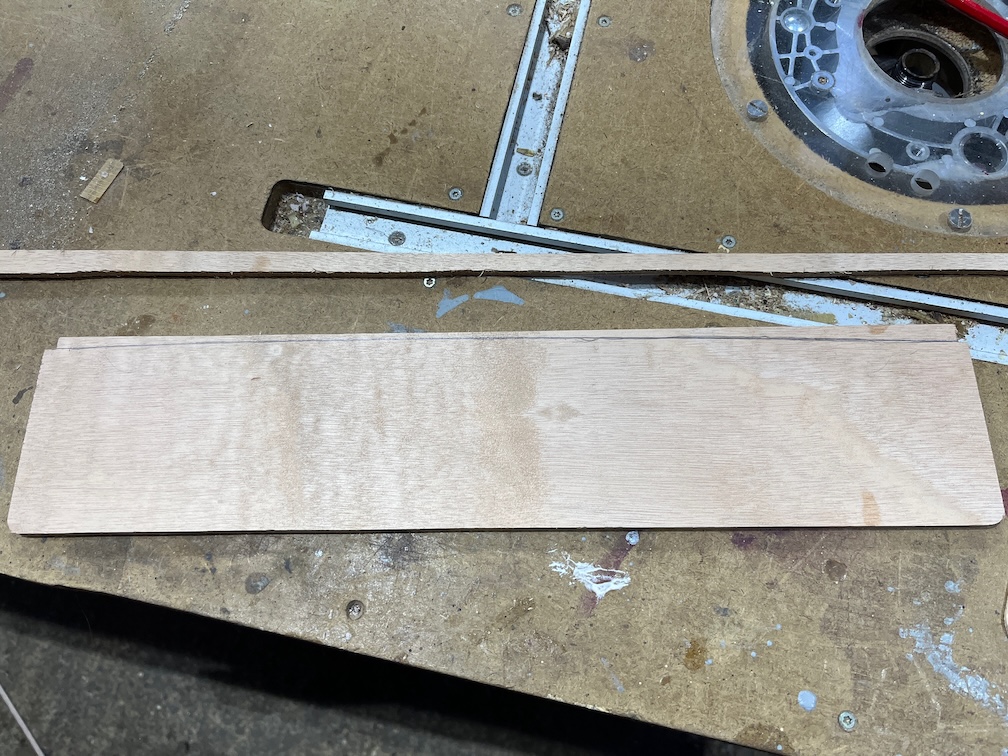
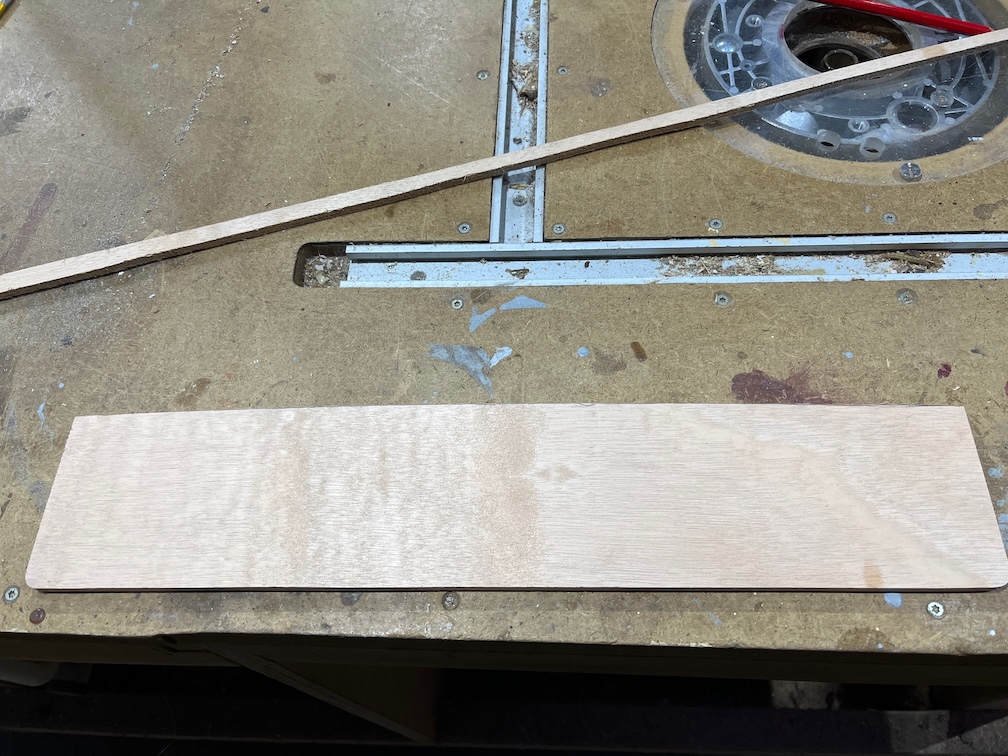
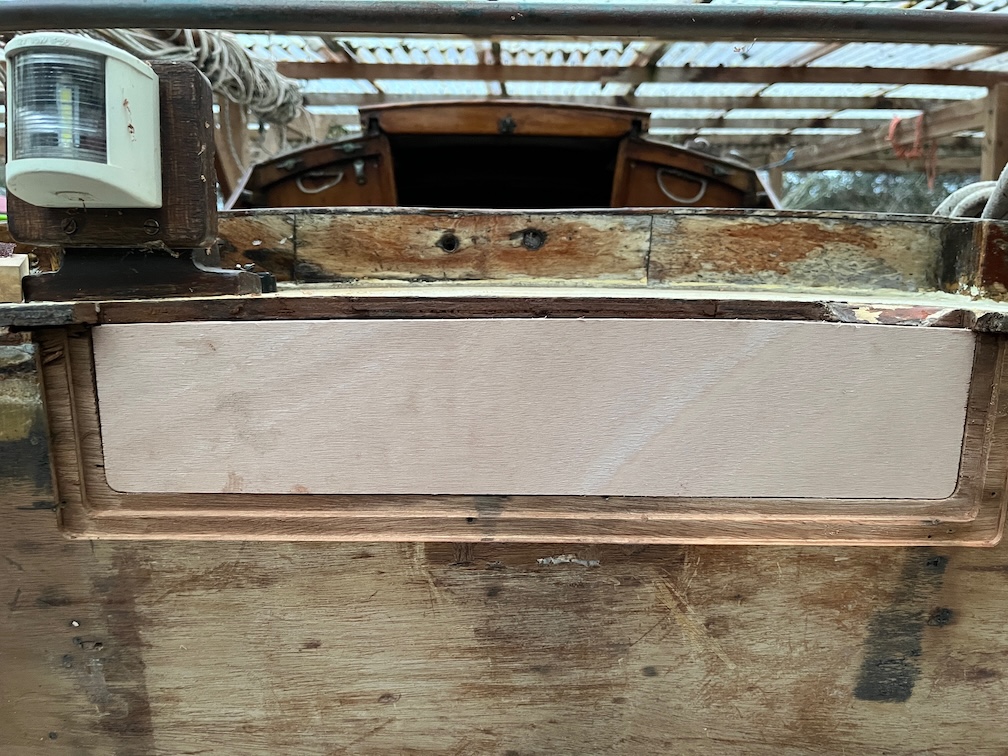
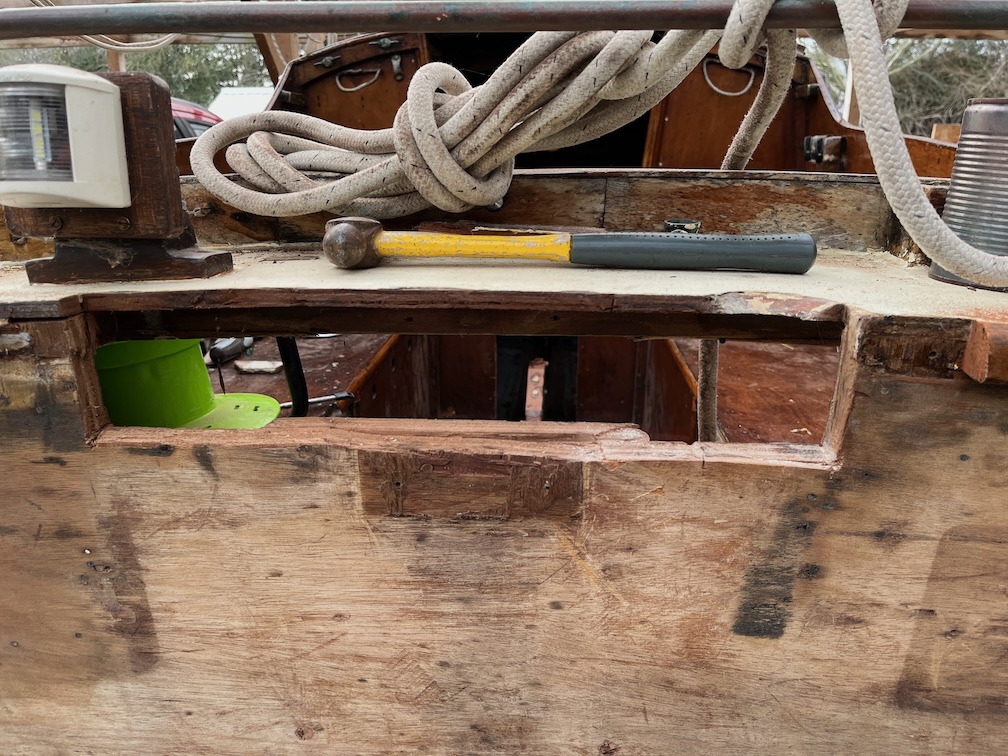
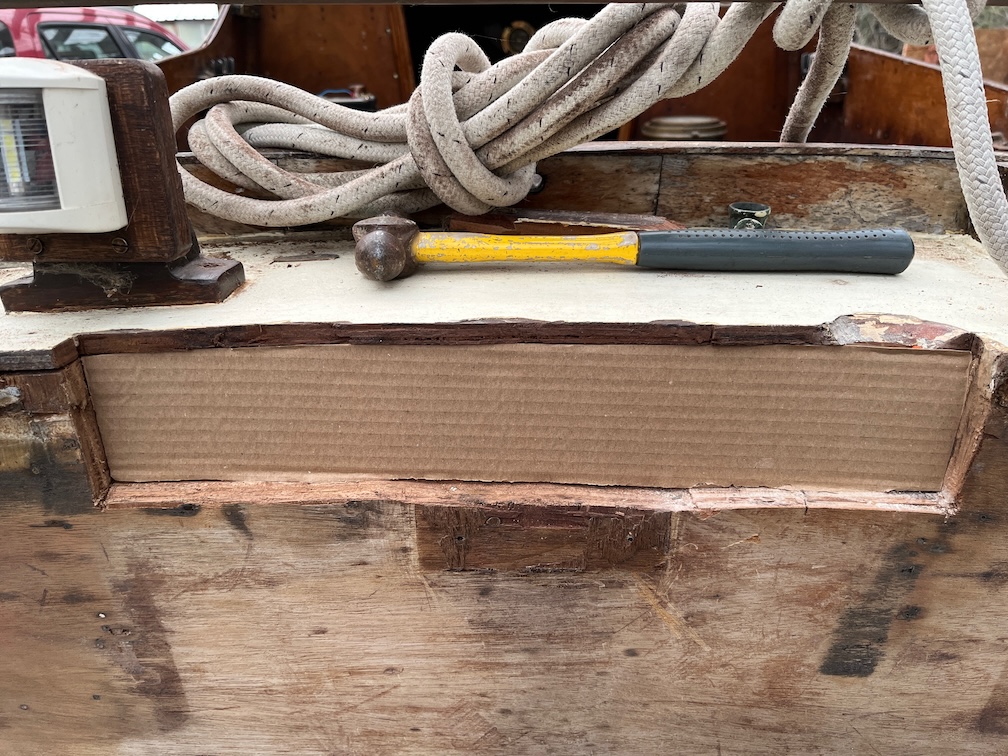
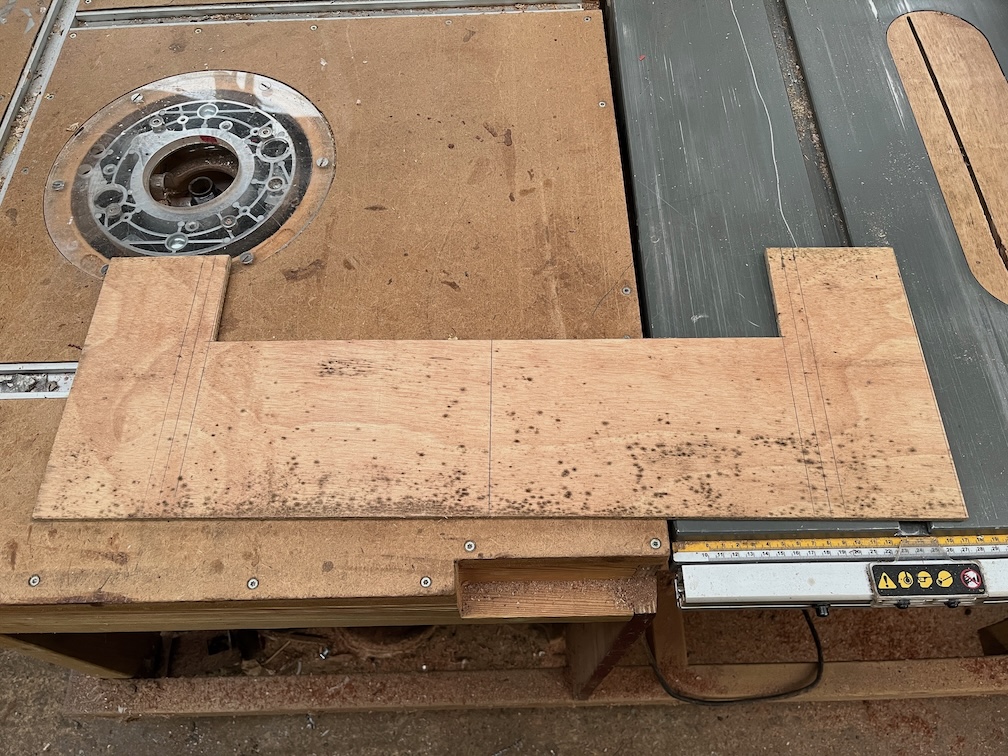
I cut a matching end out of a scrap of plywood so that I can offer this up to the slot and block in the hull and make sure that it fits.

The it was a case of cut and chisel off, rinse and repeat.

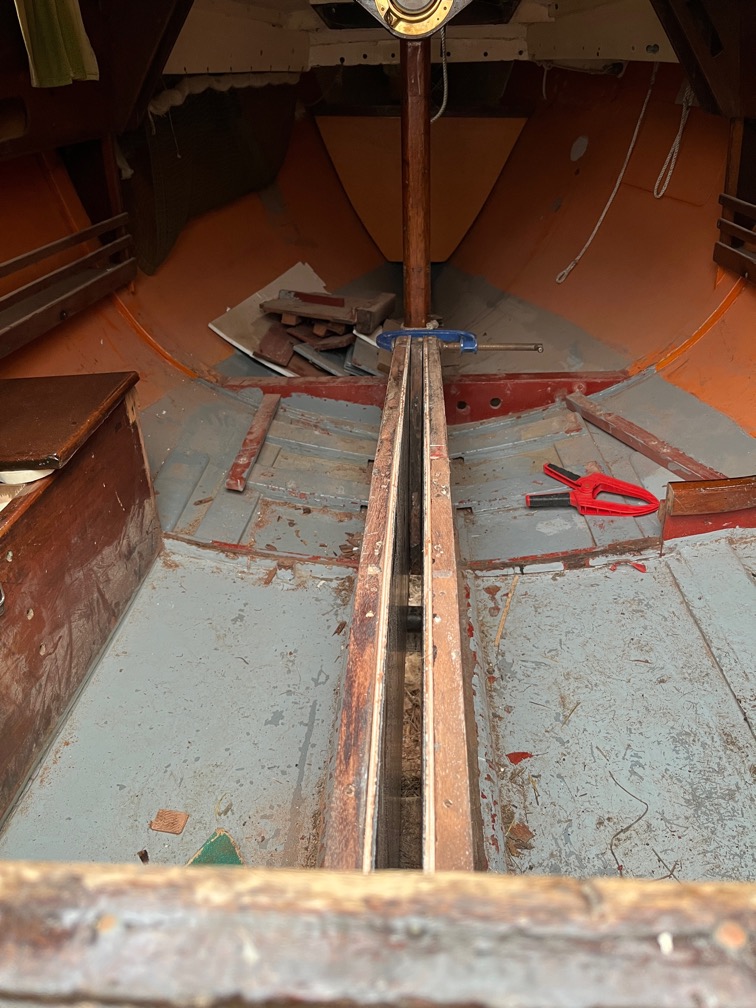
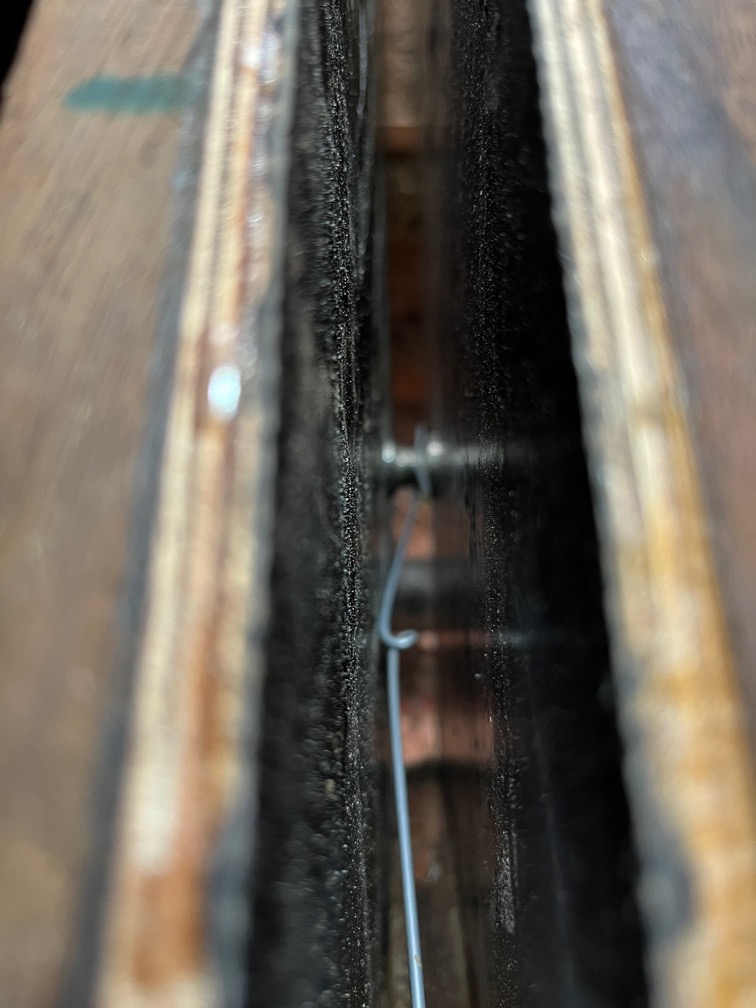
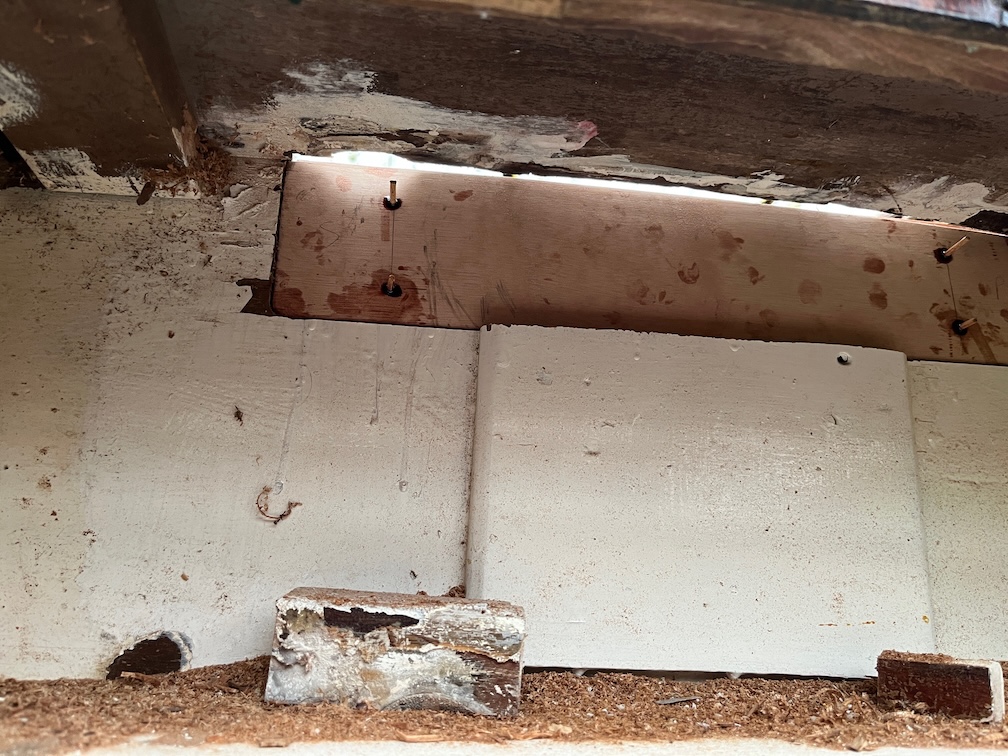
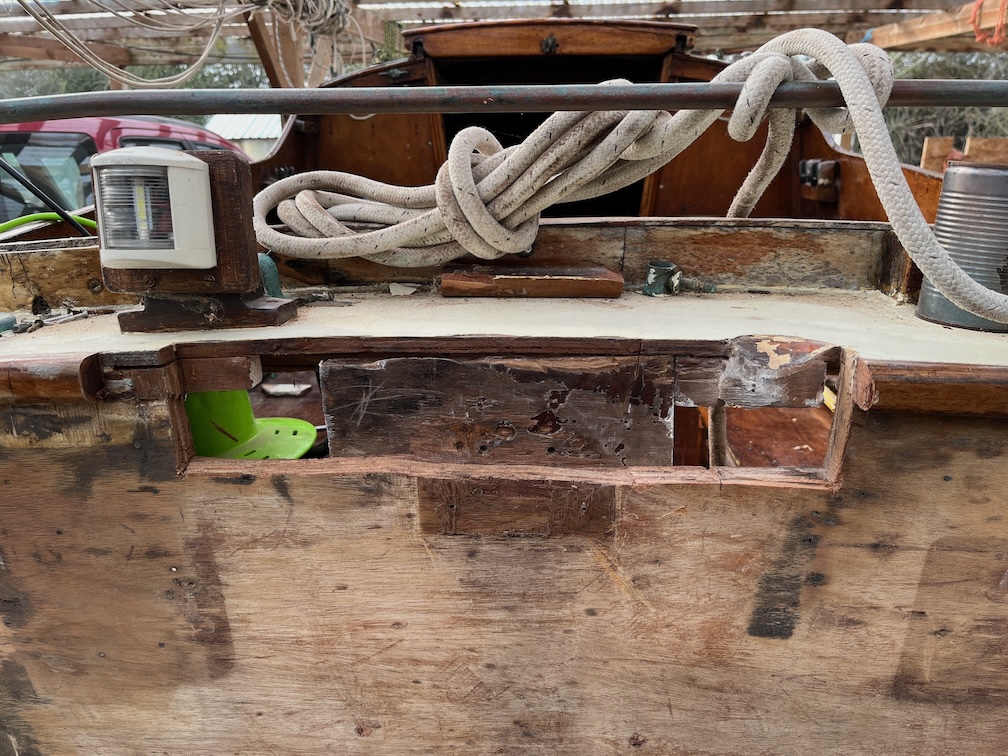
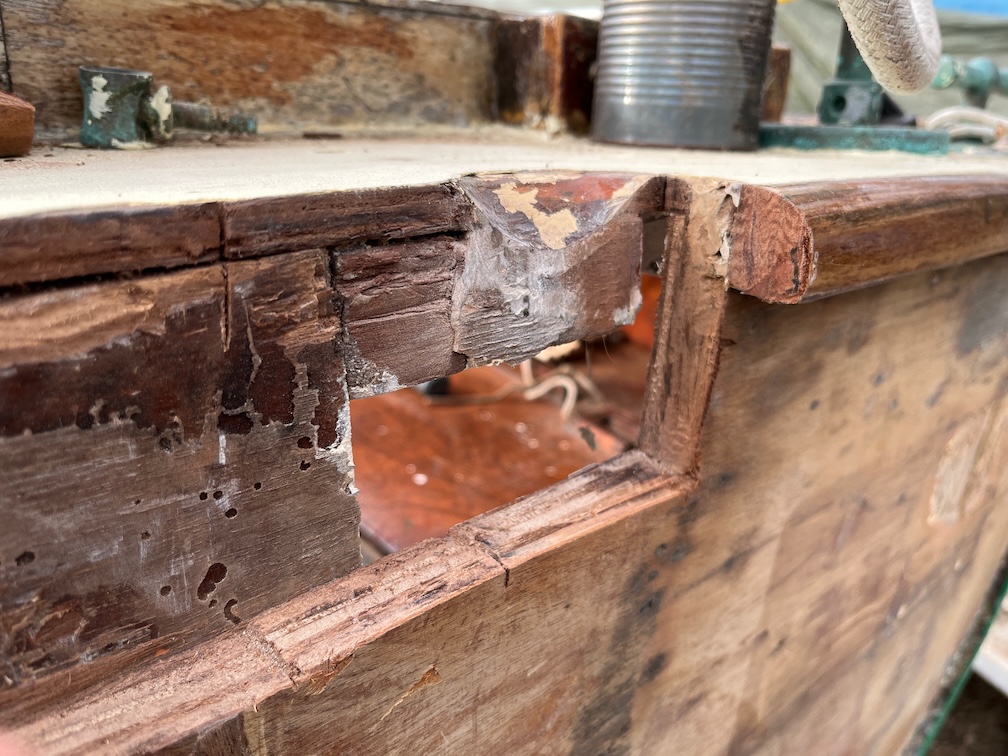
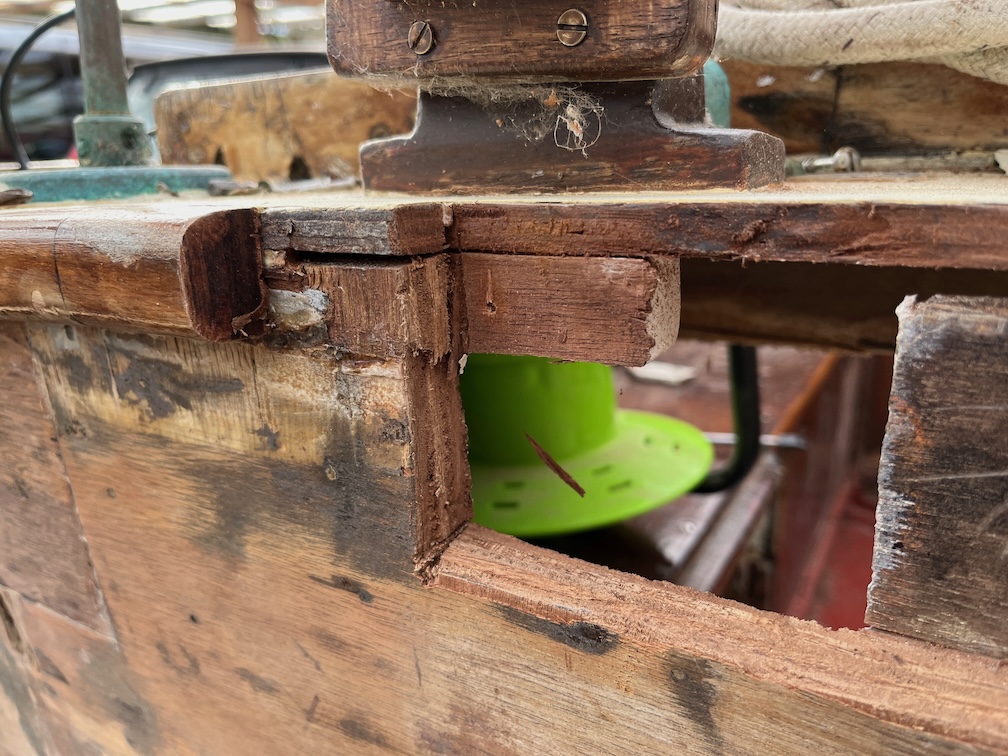
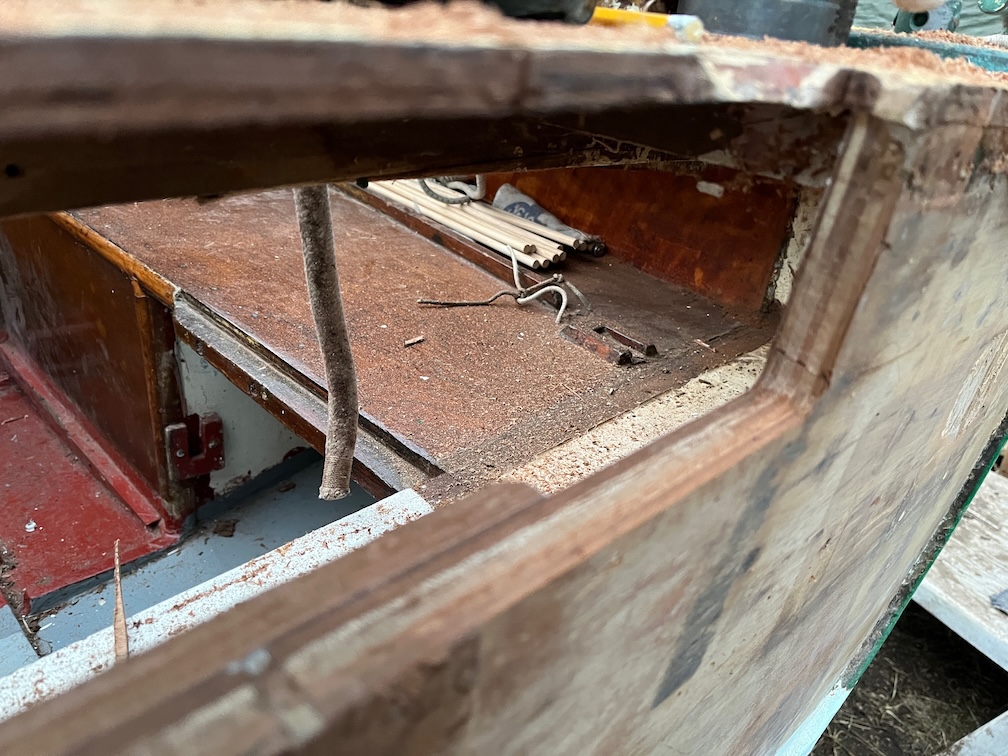
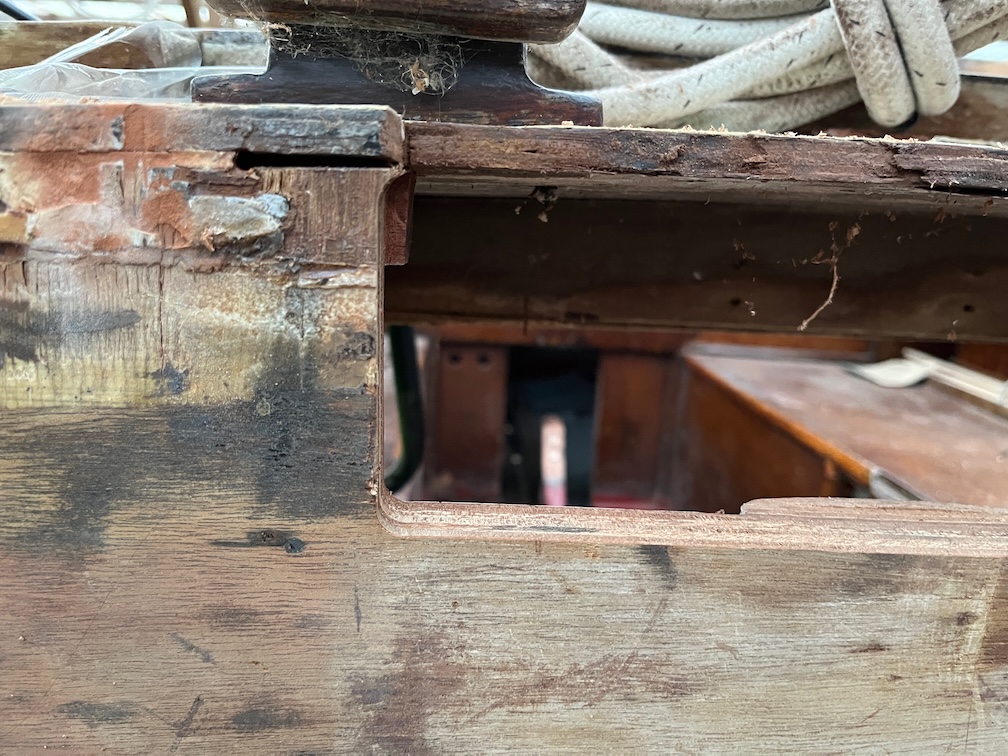
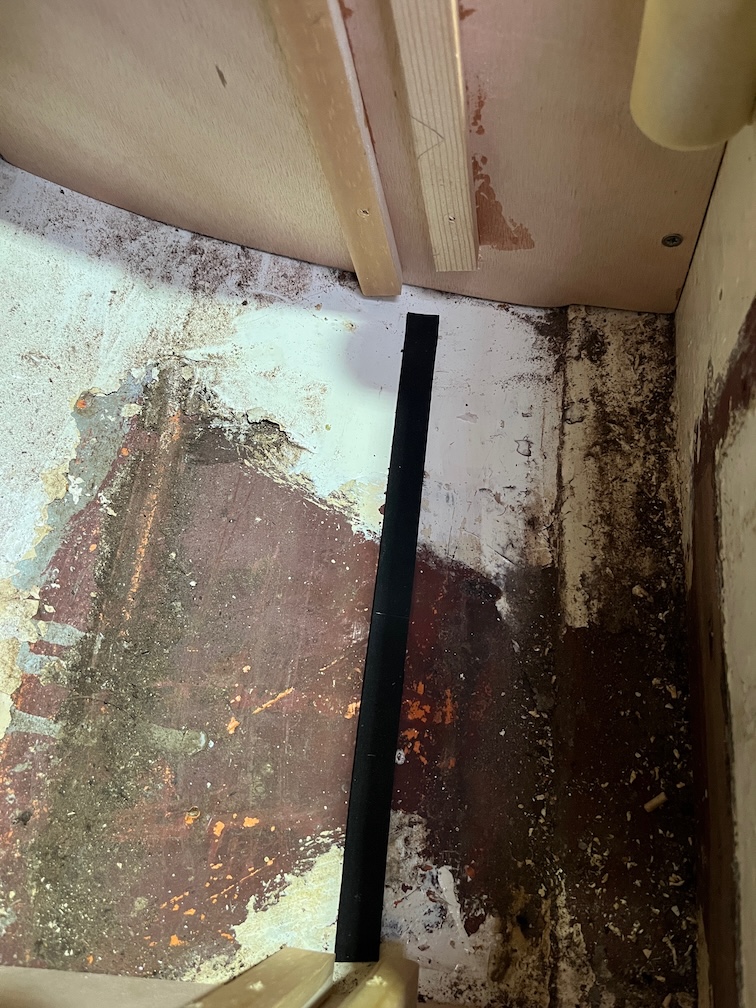
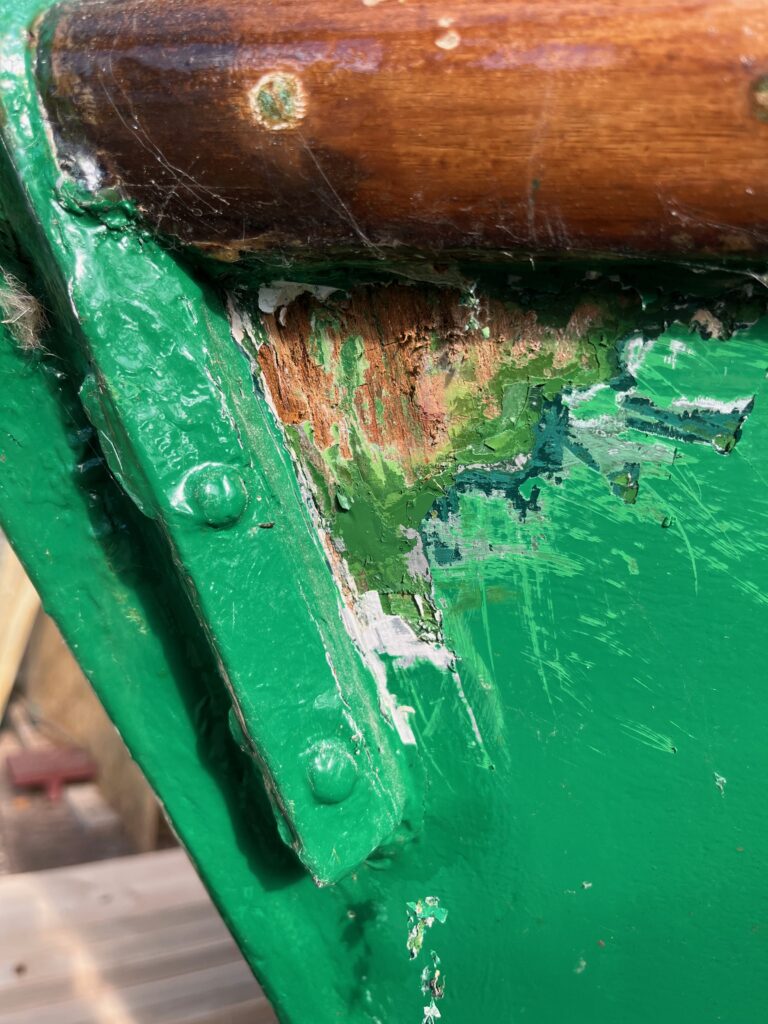
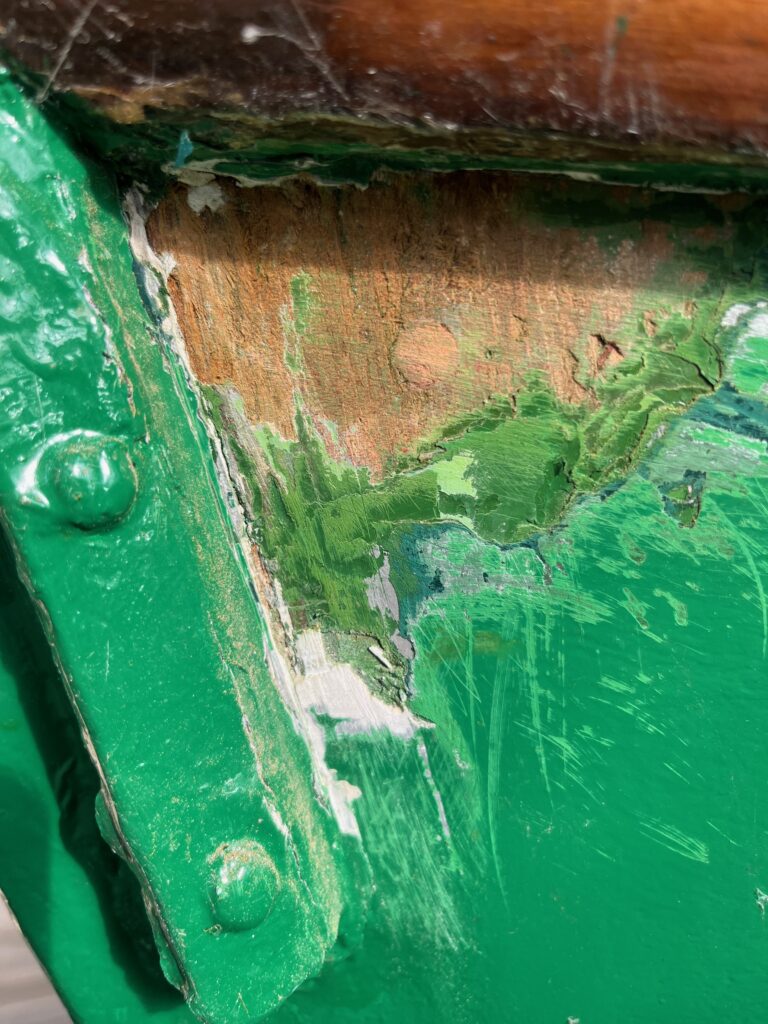
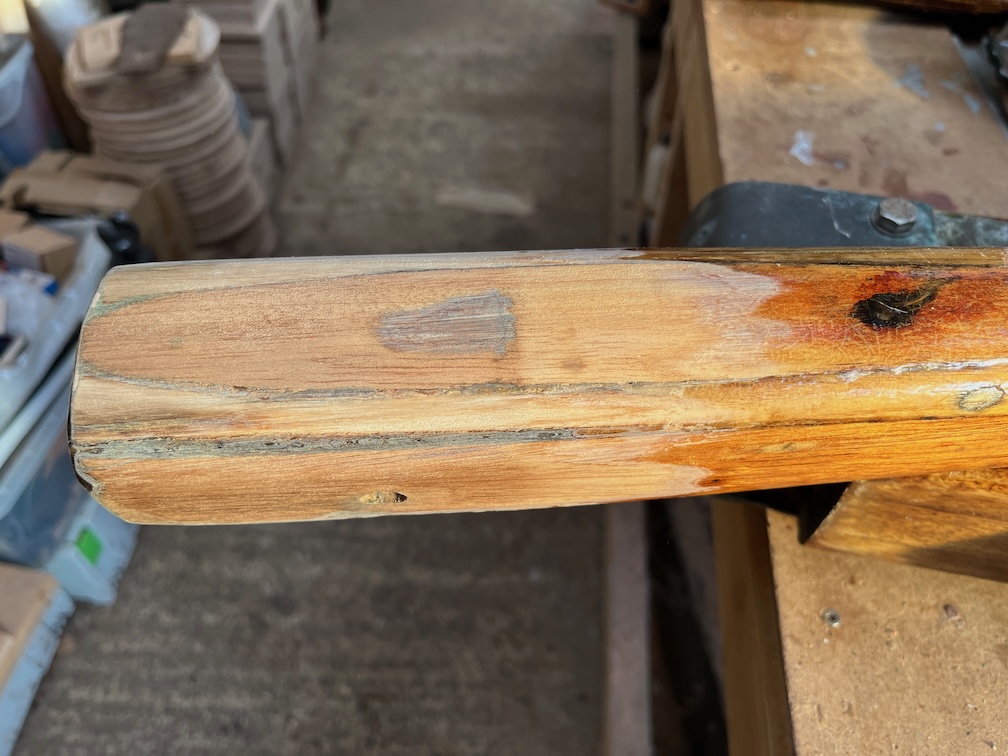
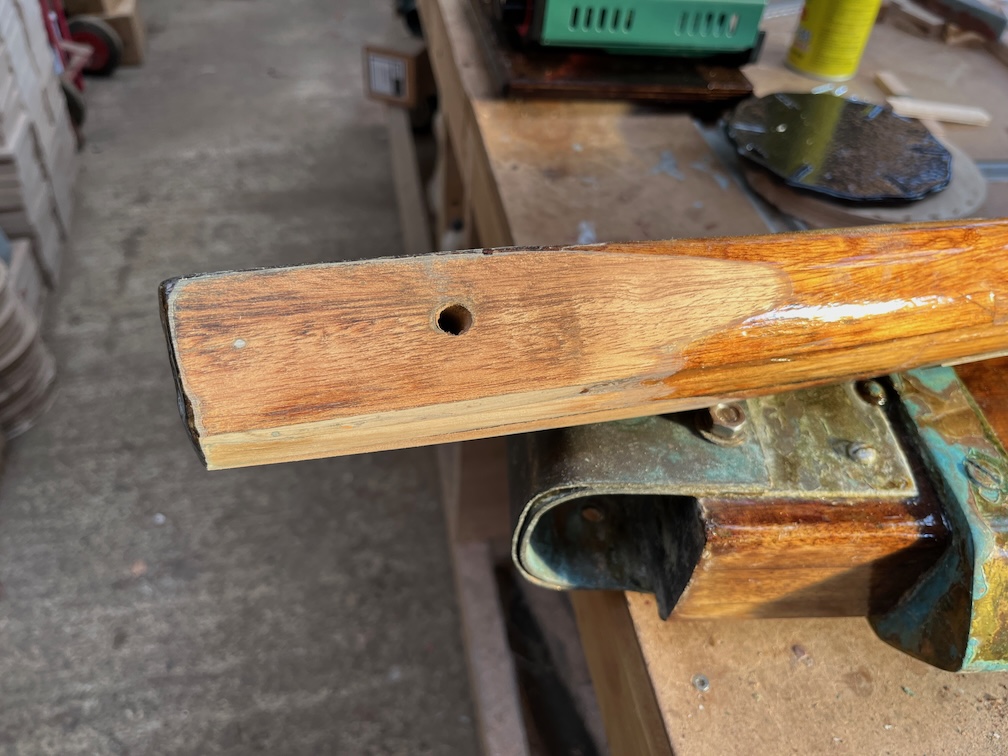
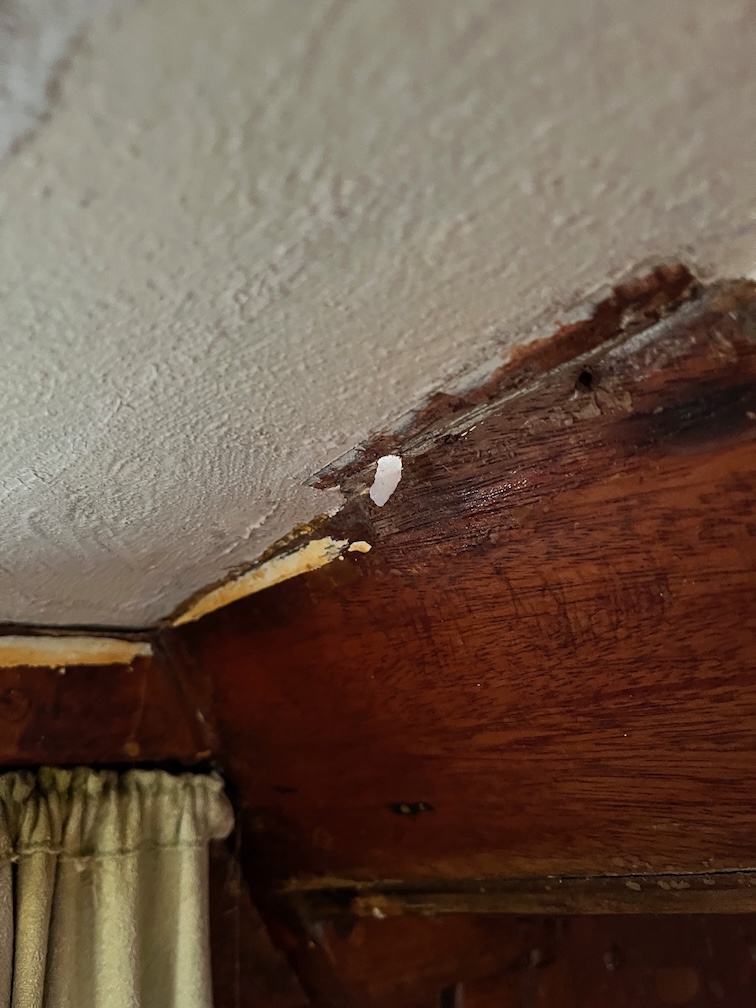
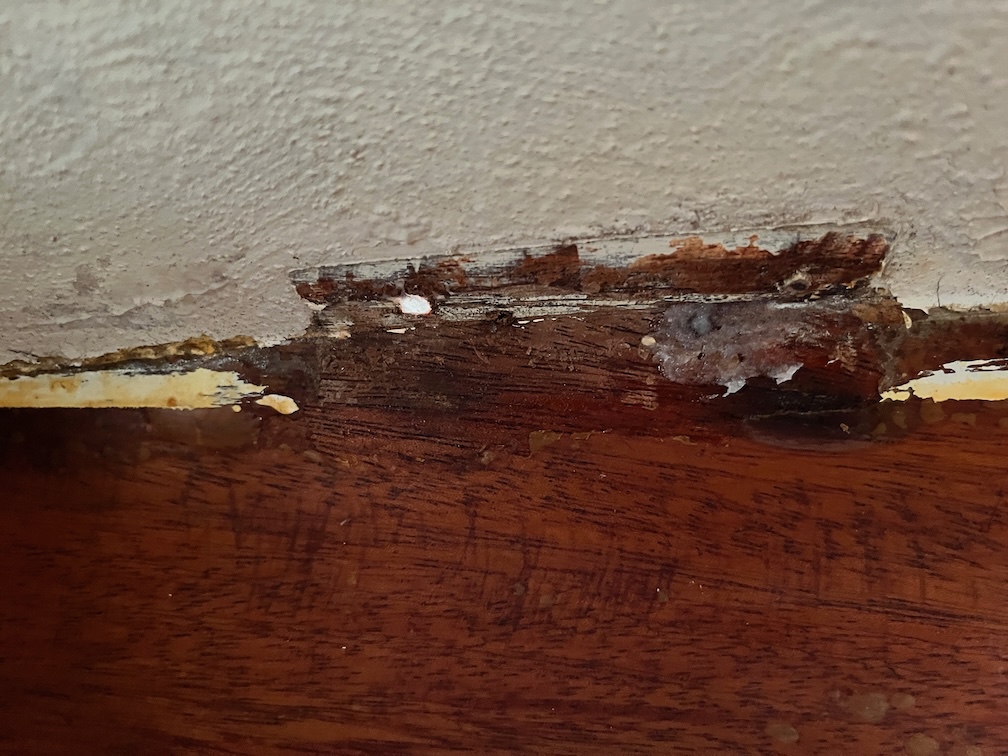
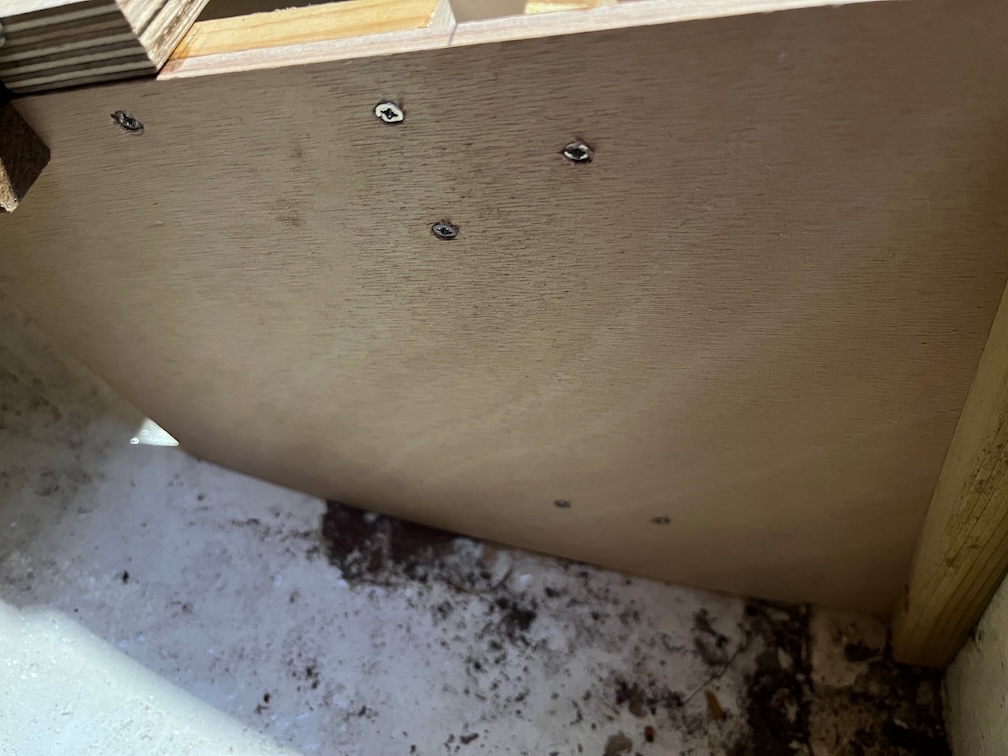
However, when I reached the forward part of the section to be removed I found that the plywood was still quite soft and fibrous, or the middle veneer was. The outer veneers remained hard.

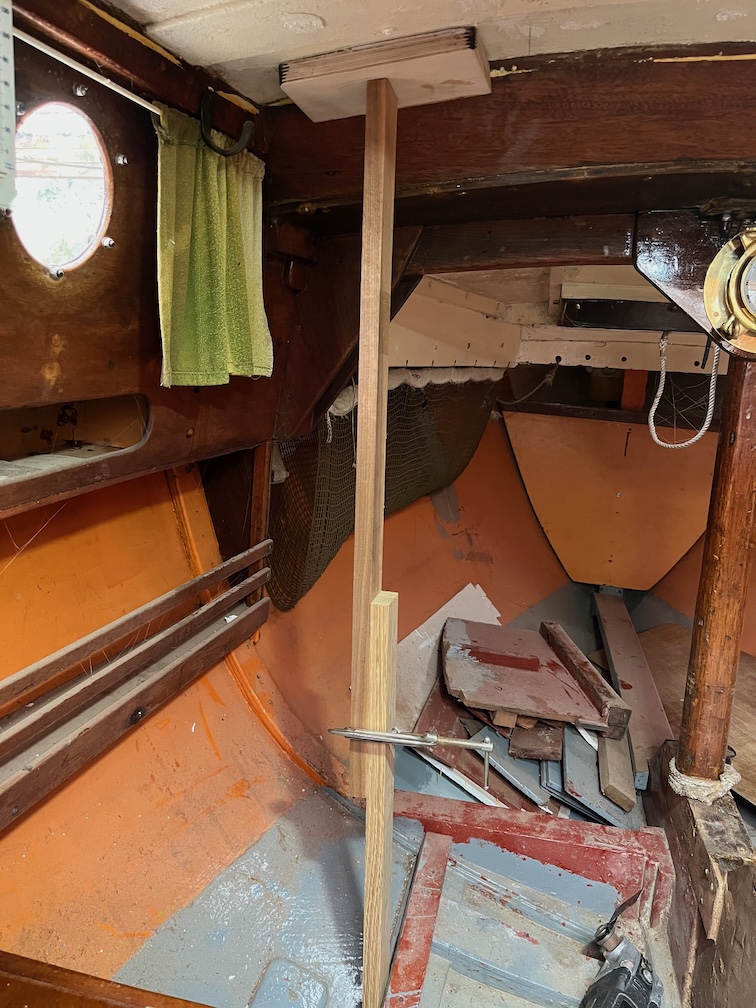
So I cut some more off until I reached plywood whose middle veneer was not soft. However, the problem, the second major issue, is that the plywood under the mast step part is soft and that means that the curved section of the step will need to be removed to see how far that soft plywood extends.

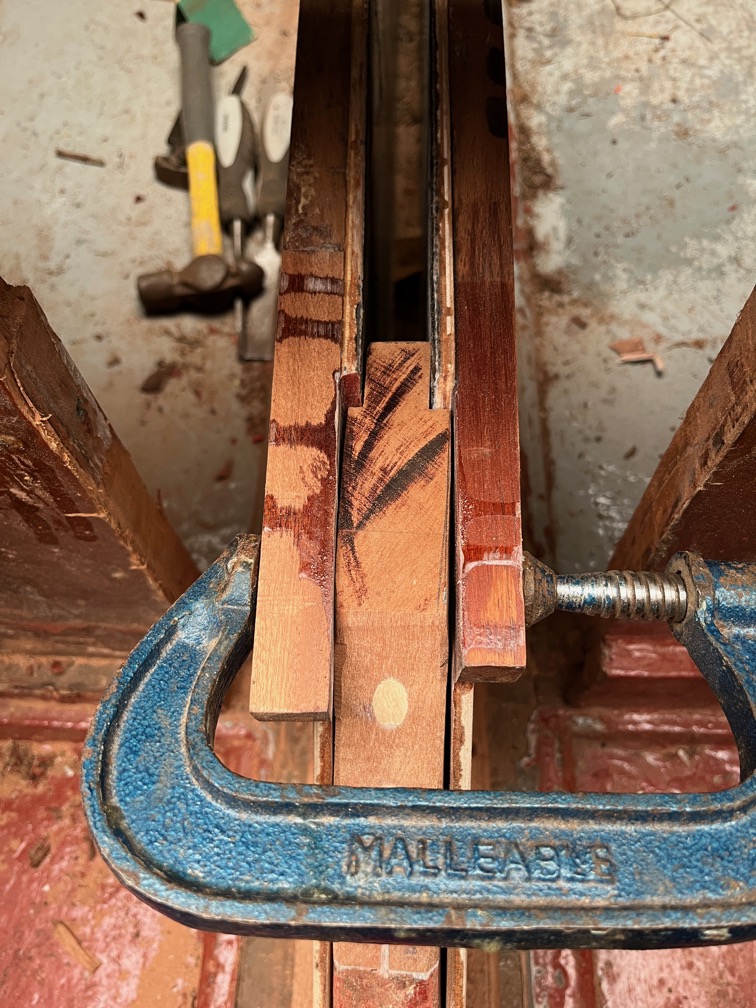
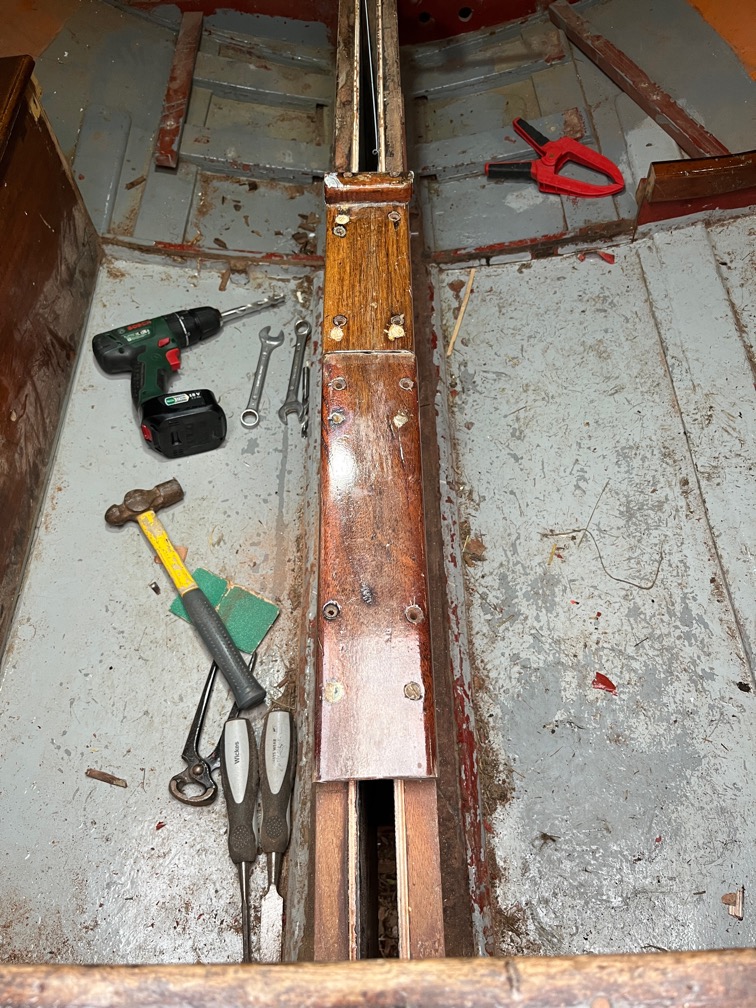
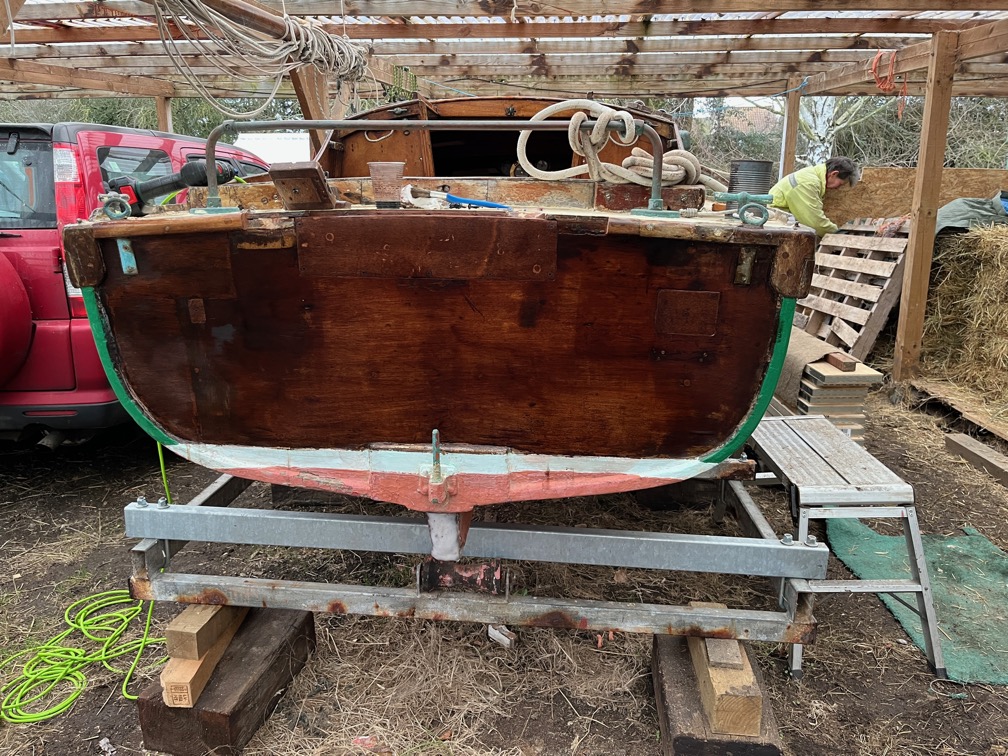
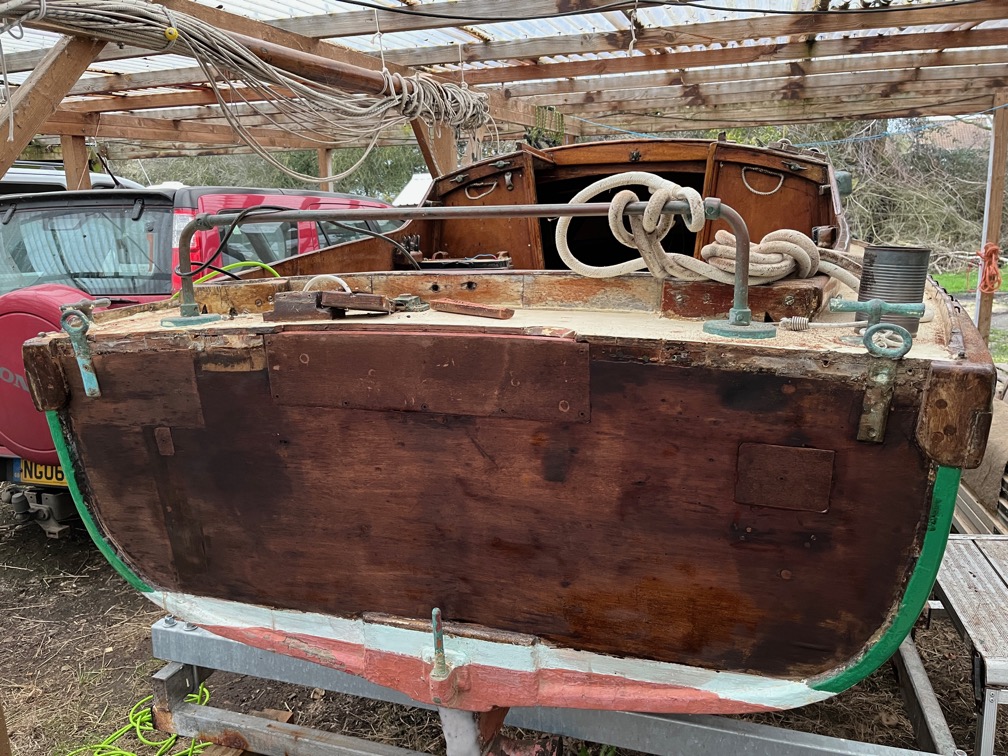
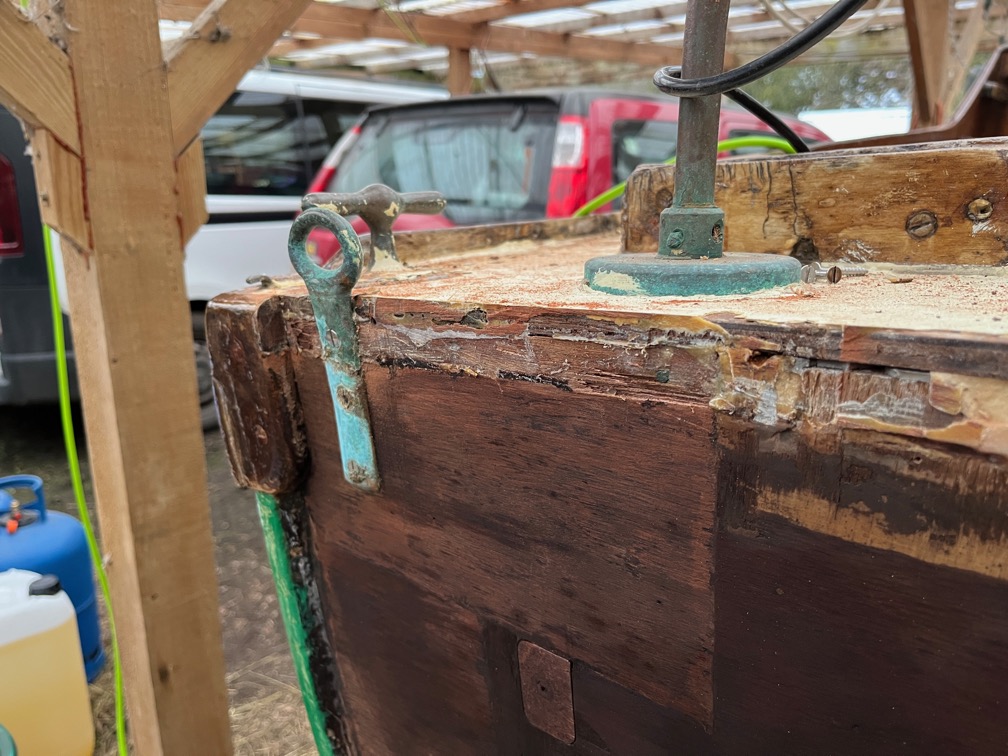
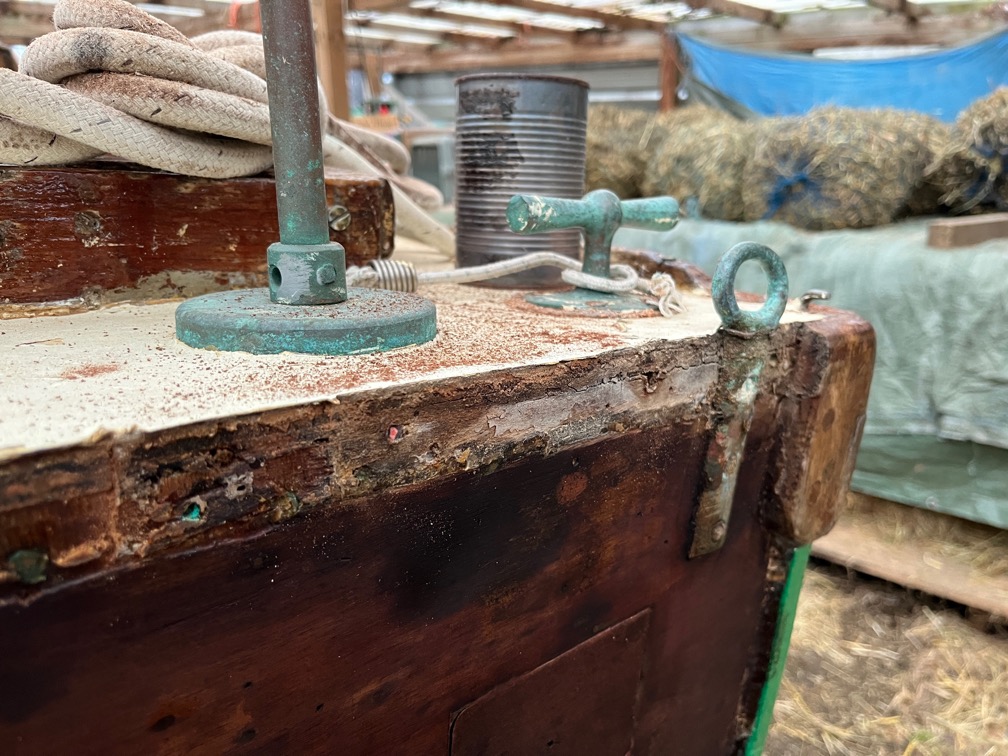
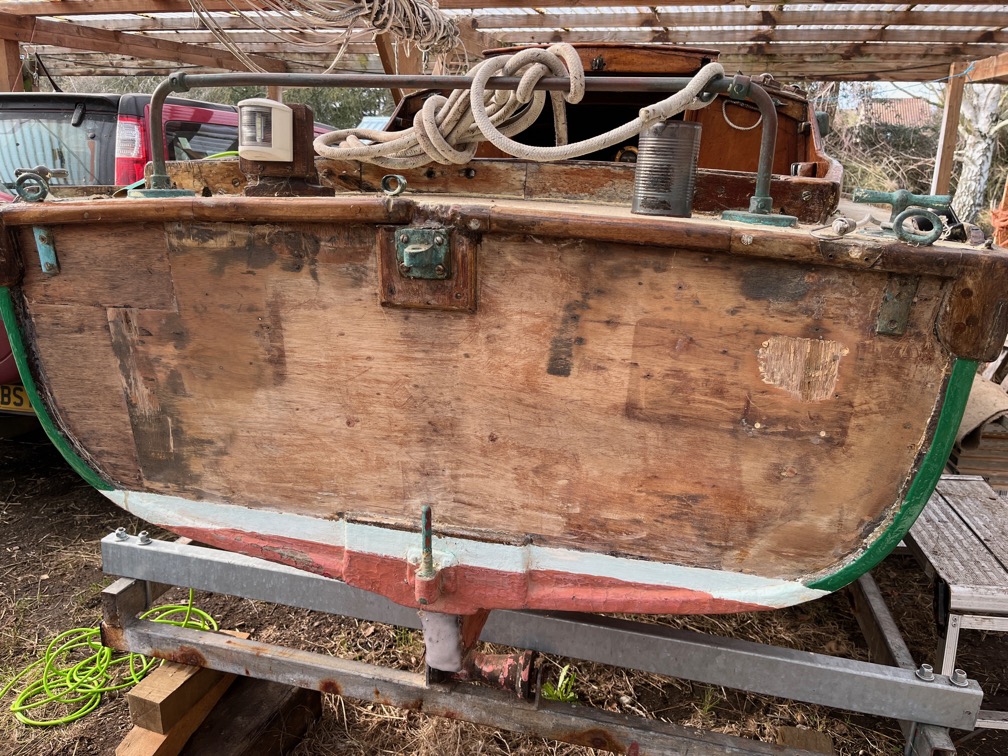
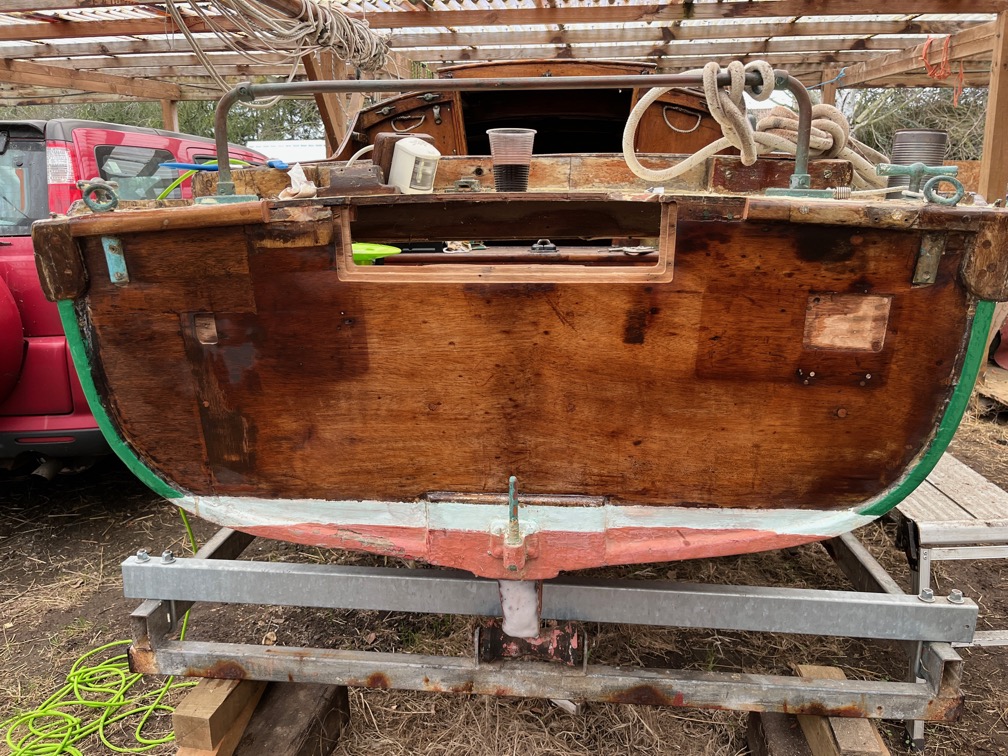
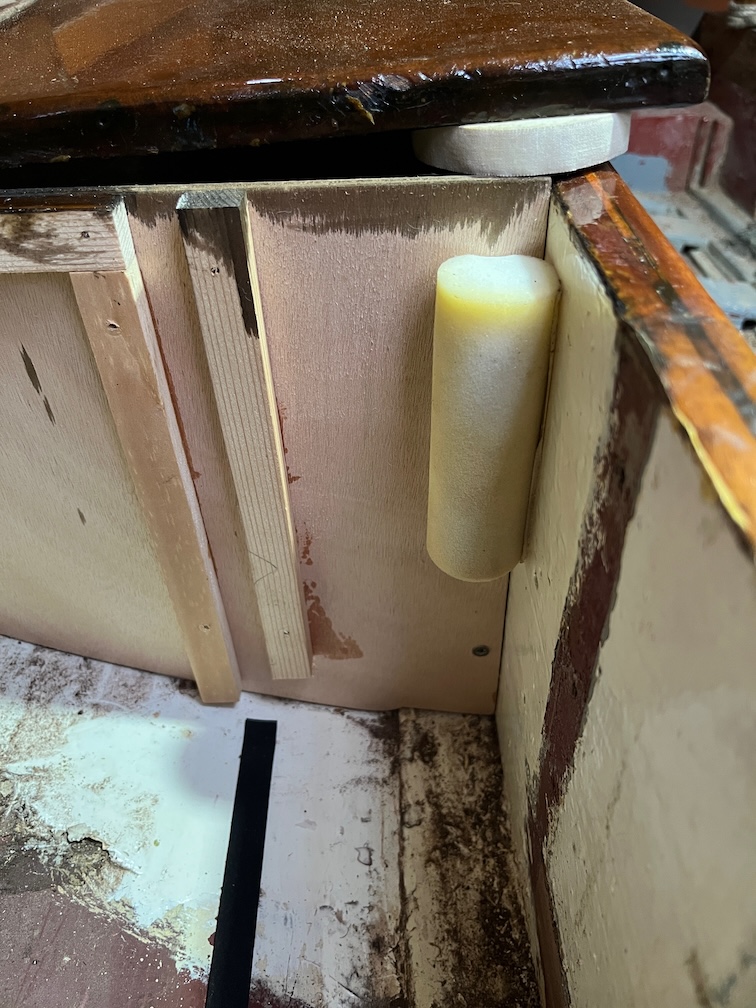
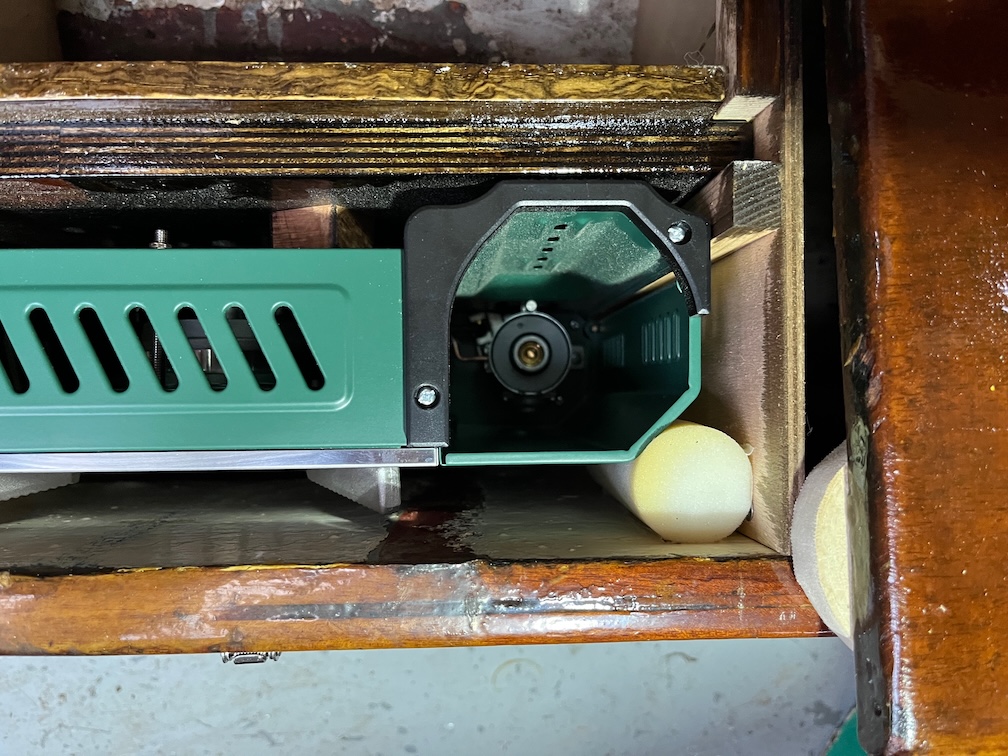
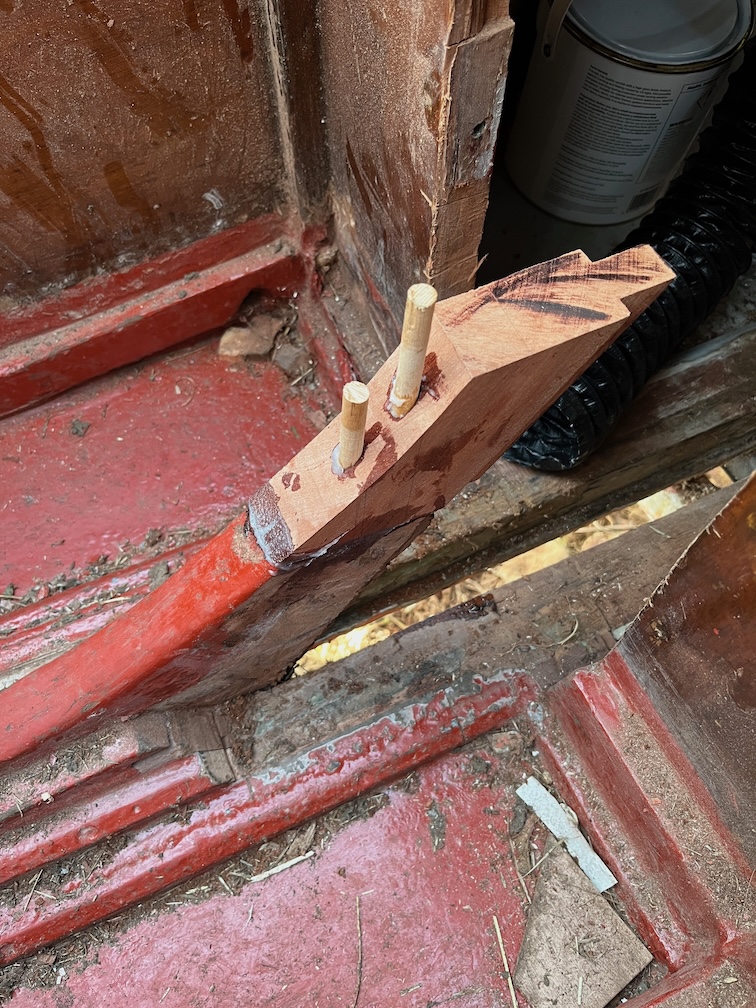
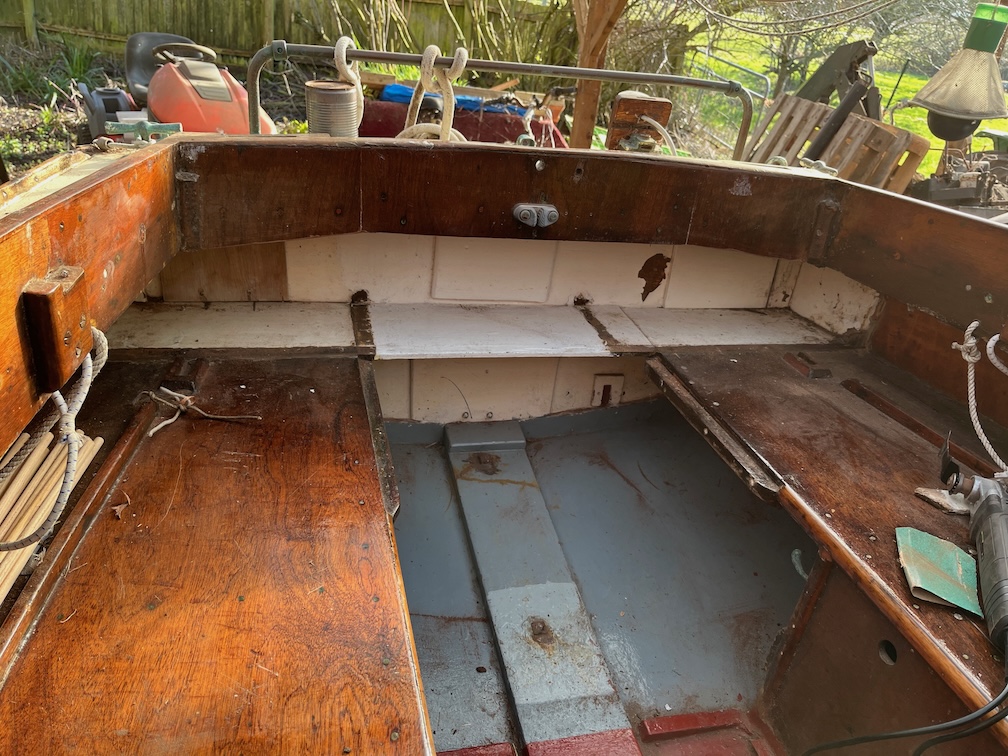
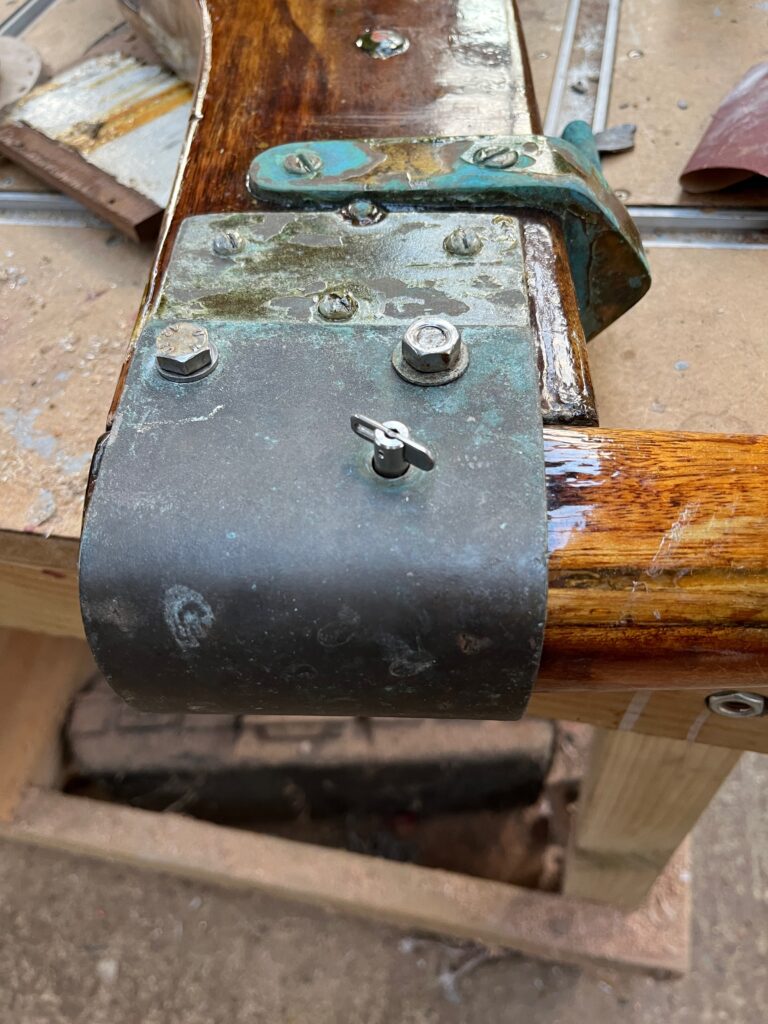
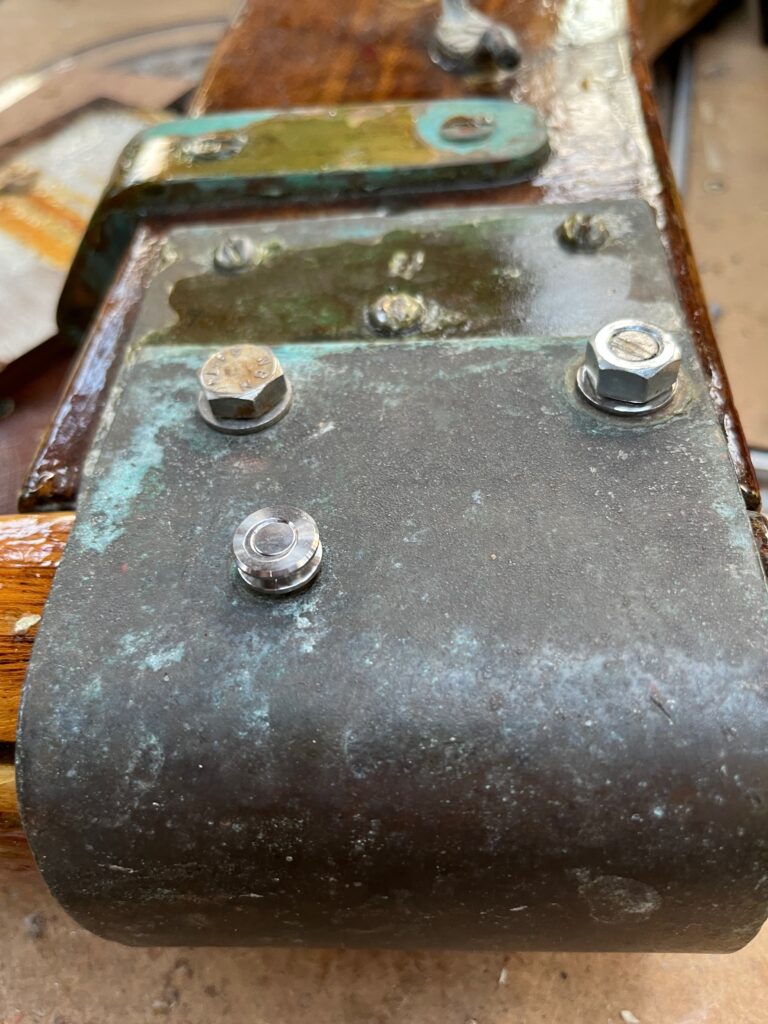
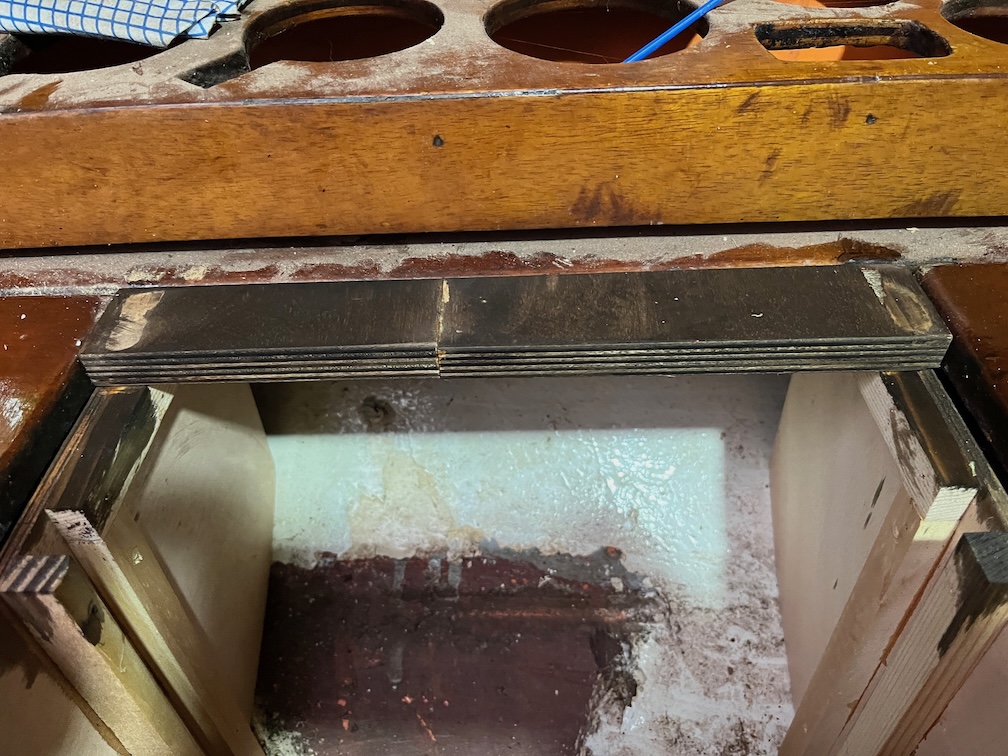
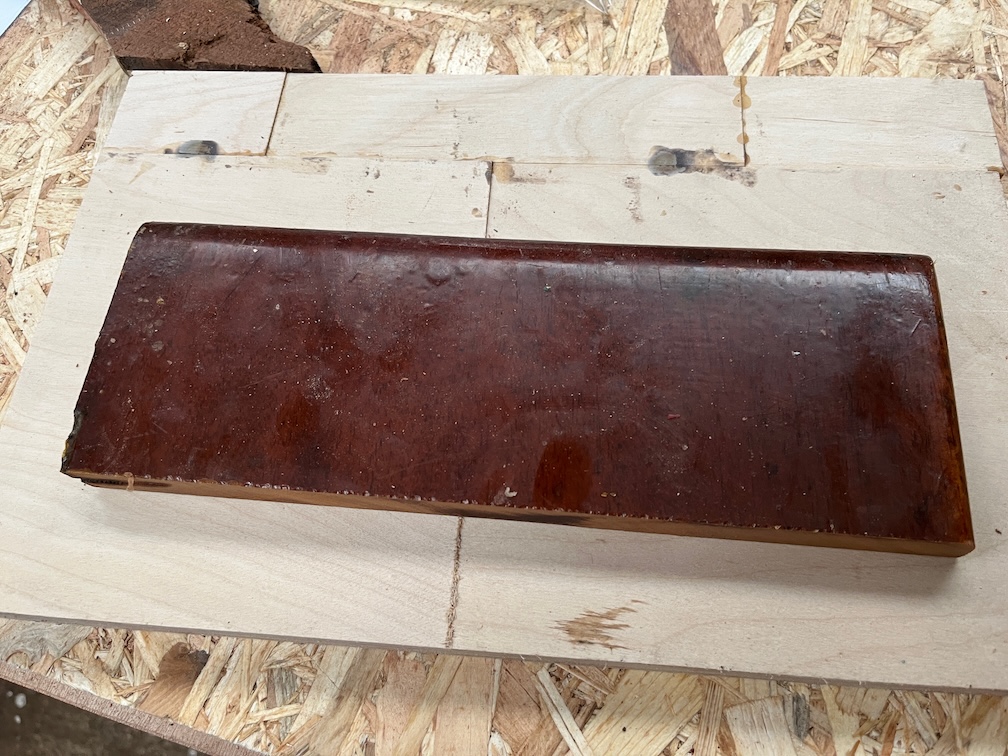
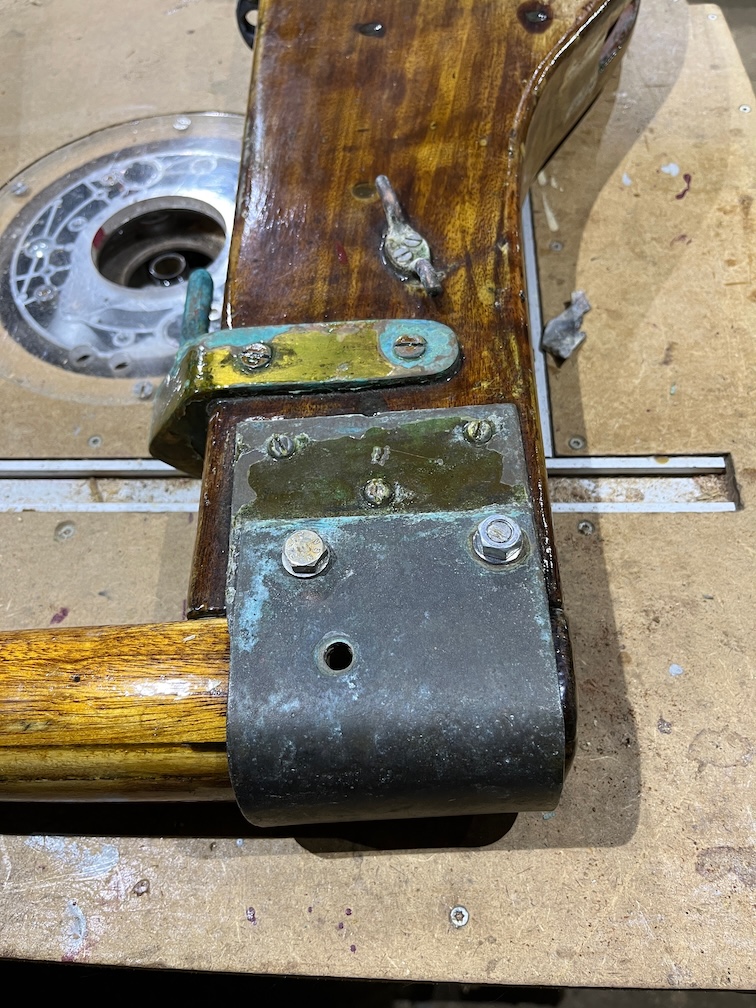
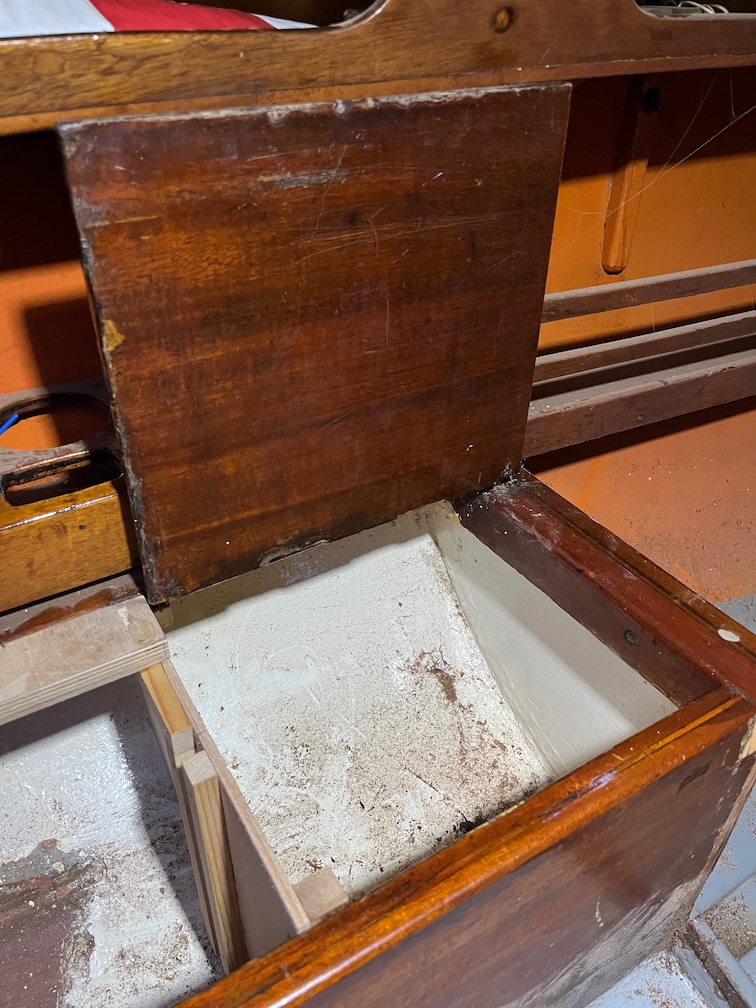
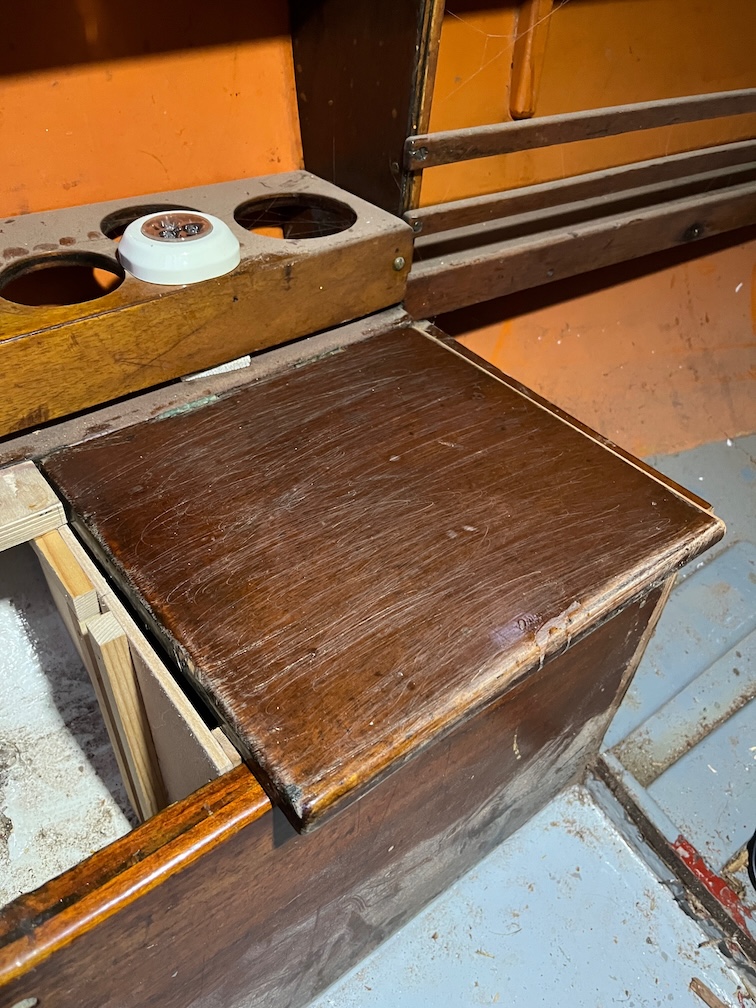
The curved section, seen here in Naiad, is not a single piece on top of the forward block, but two curved pieces screwed and probably glued to the sides of the block, so the removal should just be a matter of getting the brass screws out and cracking the joint along the glue line.

Should be. It remains to be seen if this is really the case.

The problem will be if the compression post is fixed to the mast step with screws. There is a stop block aft of the post to stop it from being pulled aft by the centerplate uphaul and I expect that this will need to be removed and it looks like the screws holding it in place may go into the curved pieces.

Once that is done then I’ll be able to take a closer look at how the compression post is fixed. The forepeak light is not installed yet so this will mean using a head torch to illuminate the area. It is also quite cramped up there, so working in that area will be restricted to short times so as to avoid cramps.

Time for a cup of tea.

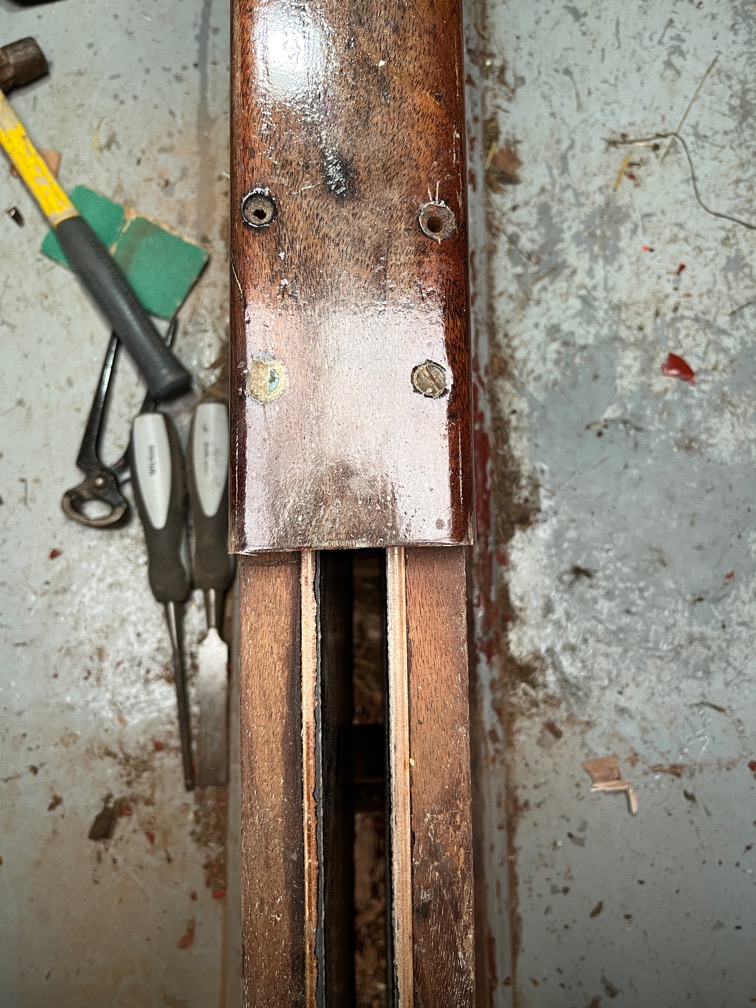
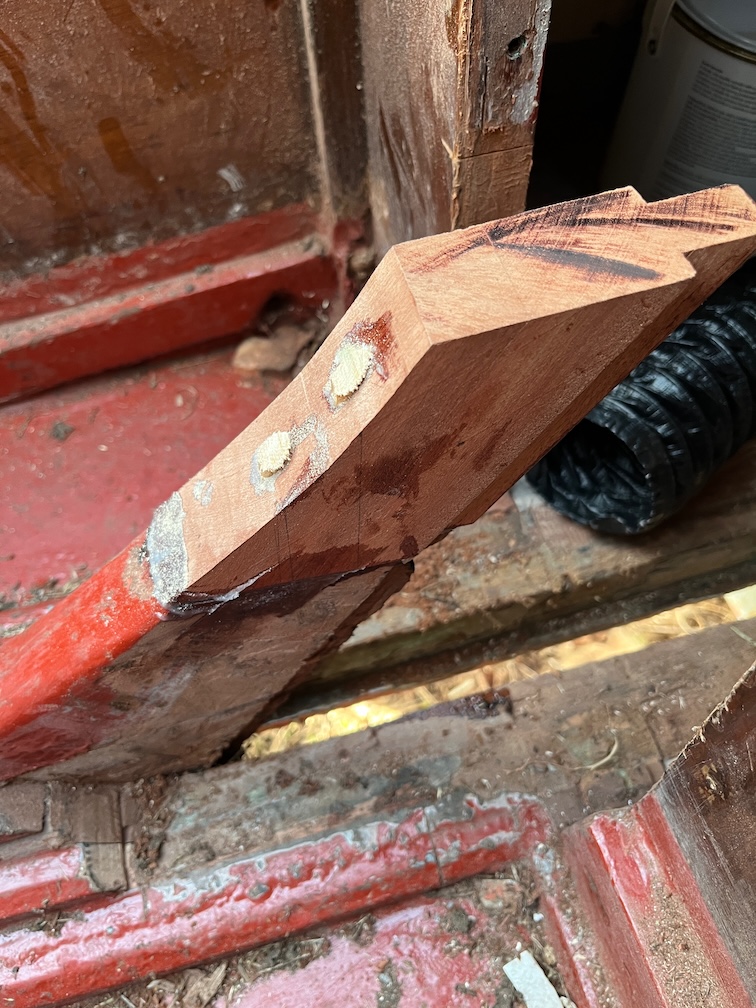
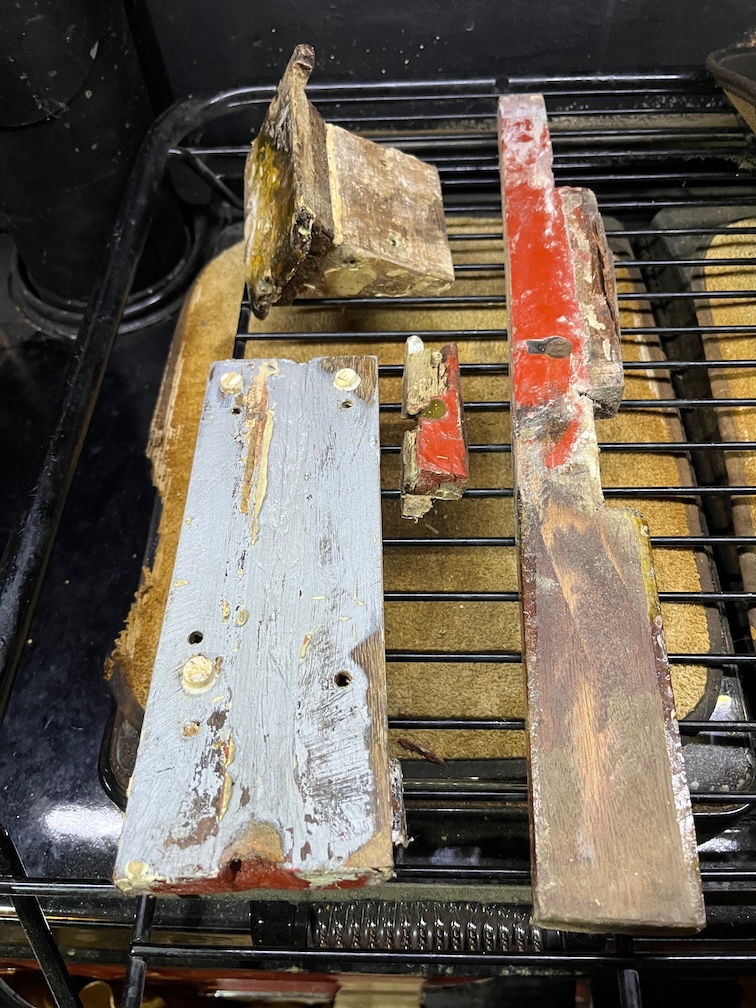
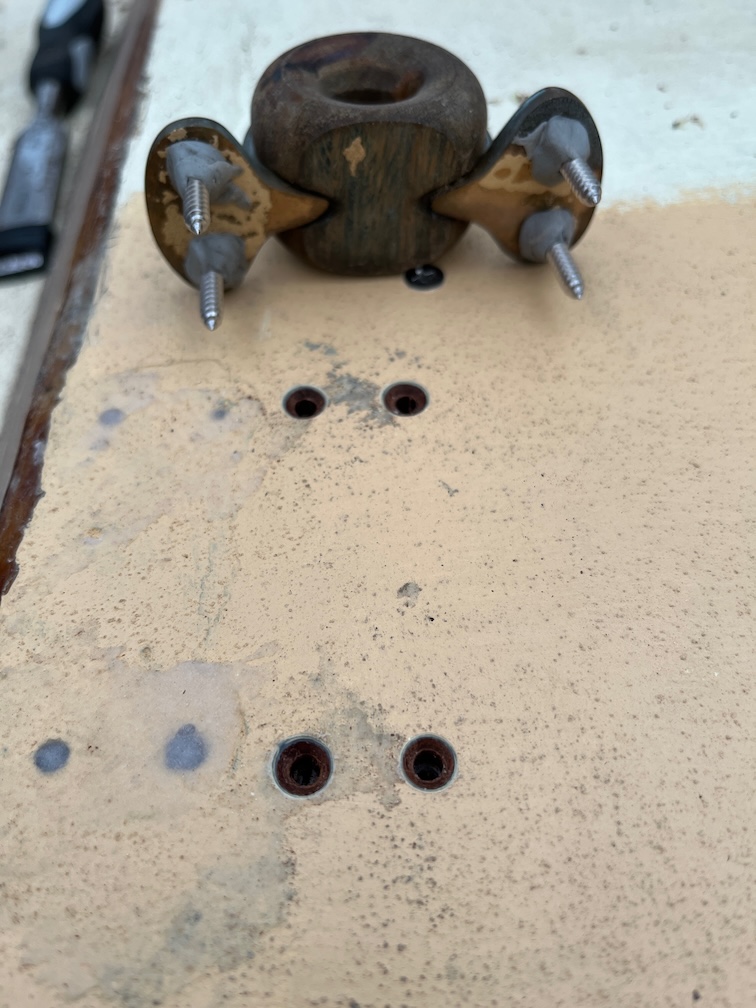
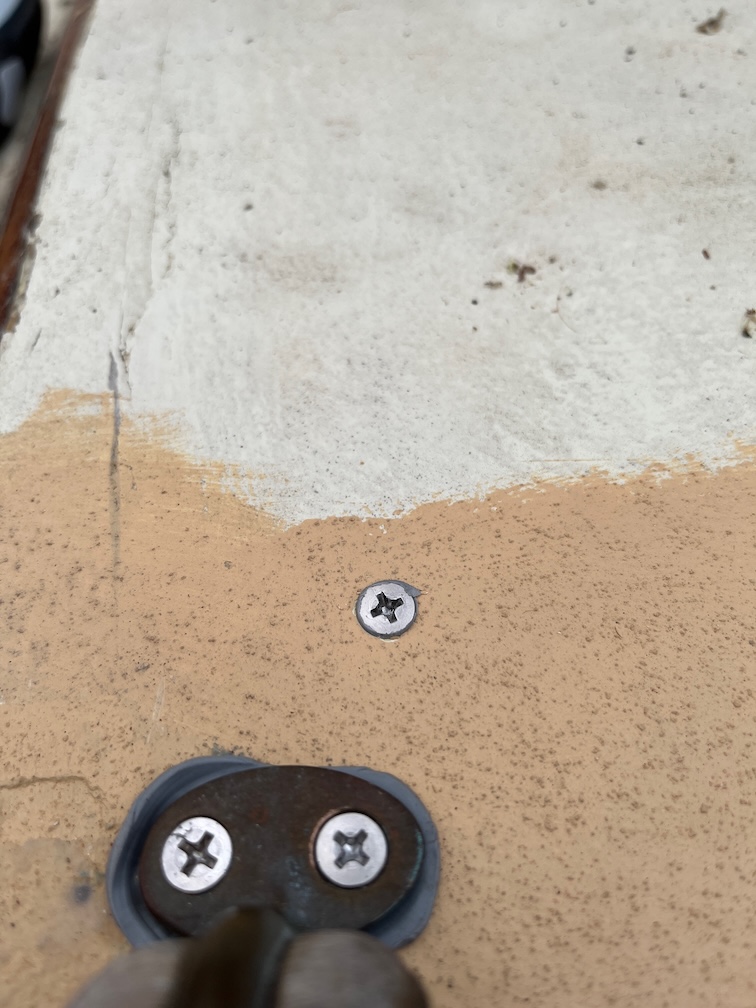
Both the stop block and the port curved piece came off fairly easily. The brass screws in the top piece snapped off as did the ones in the curved piece but that also had four stainless screws that had to be unscrewed first. I took a look at the starboard side and that has the same four stainless screws. I presume that one of the previous owners noticed that the brass screws had disintegrated and added the new ones.

Three of the brass screw stayed in the centre block with just the heads snapping off on removal.

The brass screws in the stop block were punched out a little with a drift and then pulled out with pliers.

I needed to use a thinner drift for the screws in the curved piece, but they all came out without problems.

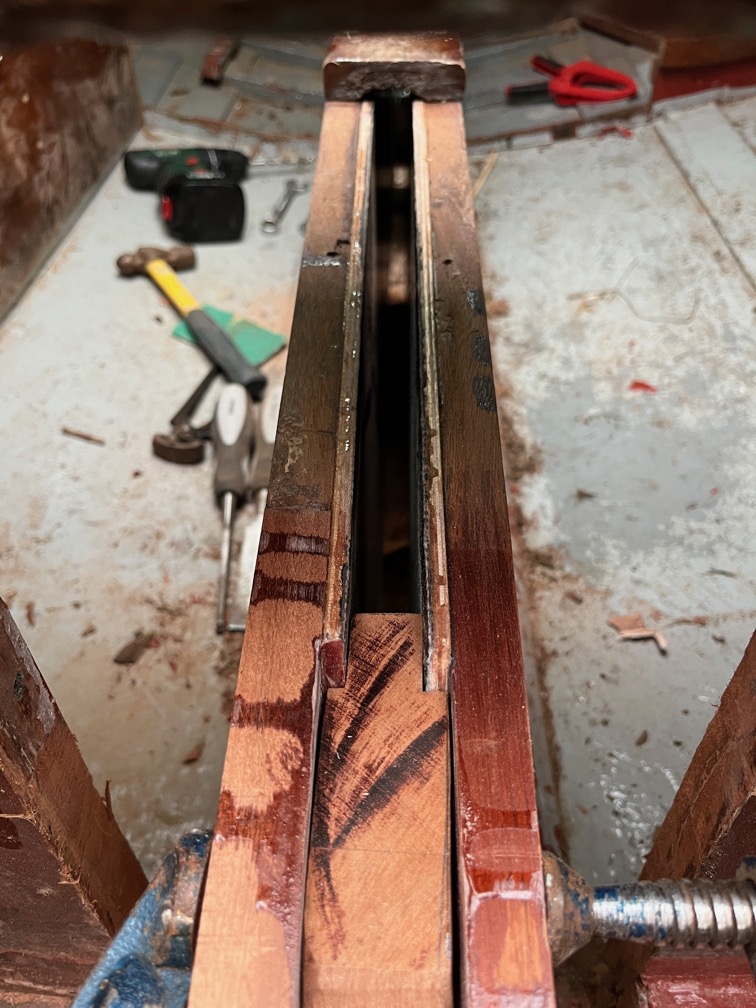
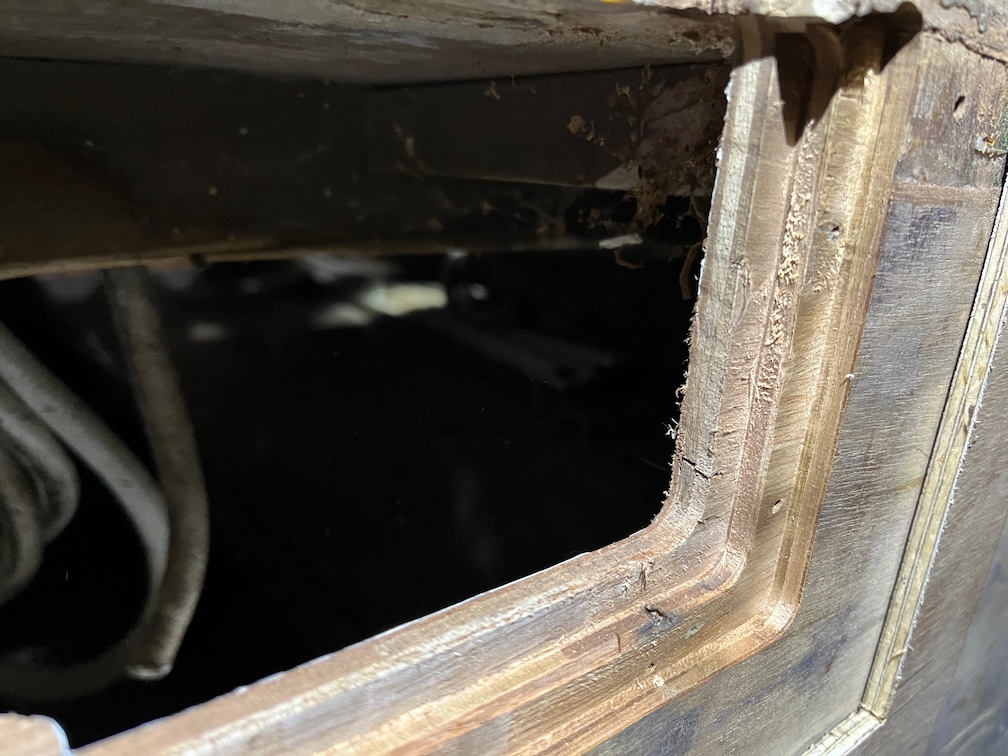
After that I carefully cut back the original plywood until I found a good inner veneer.

Given how easily the curved piece came off on the port side, I think I shall do the same for the starboard side and check the plywood under that. In both cases any gap between the new case sides and the original plywood will be filled in with marine plywood although I think I shall soak the edges of the original plywood with Clear Penetrating Epoxy Sealer, just to be on the safe side.

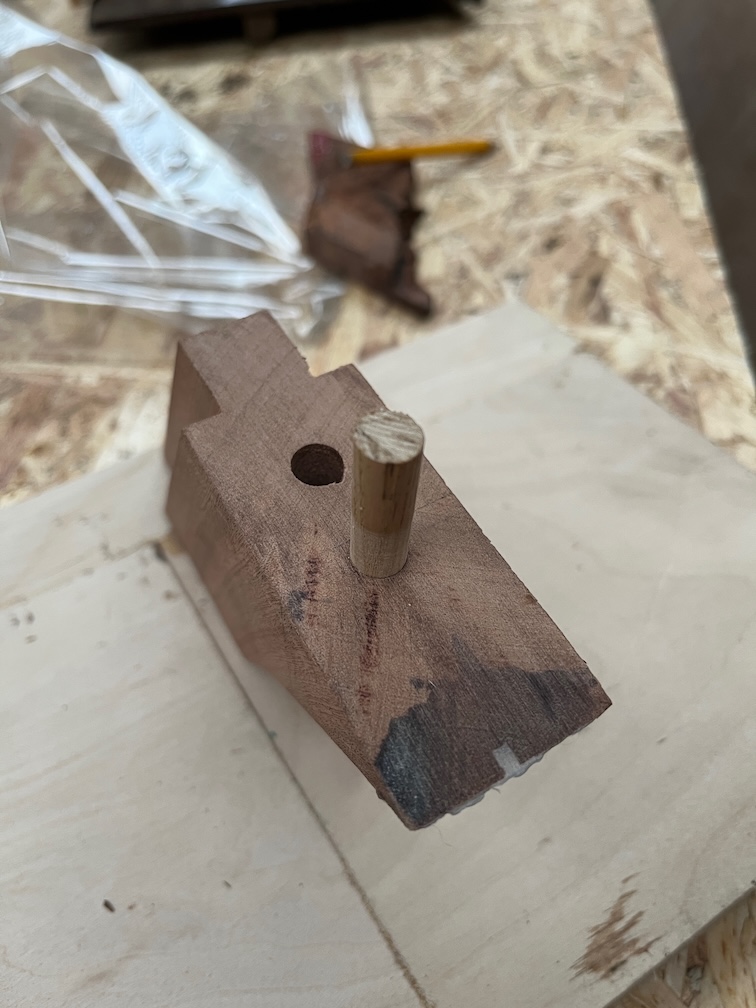
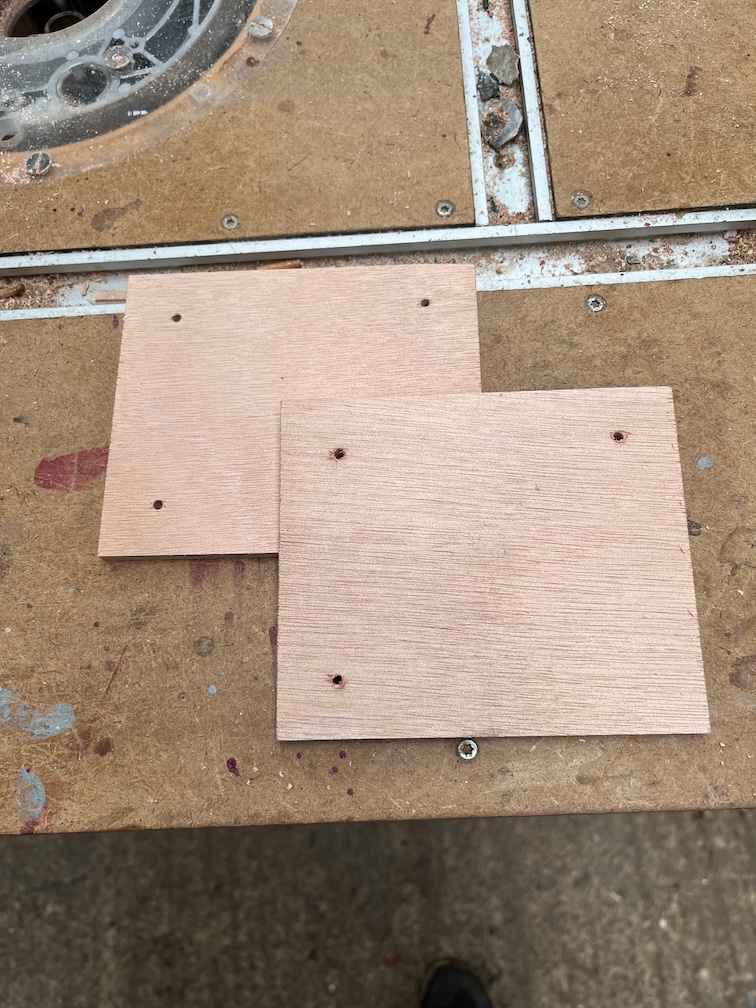
I will sand down the removed pieces, fill in the holes and drill new ones for the new screws as they will need to be in different locations so as not to foul the bits of the brass screws that remain in the block. I’ll probably just use thickened epoxy to fill the old screw holes rather than drill out the holes and plug them. It will not look as good but that part is rarely seen, so it will not matter.

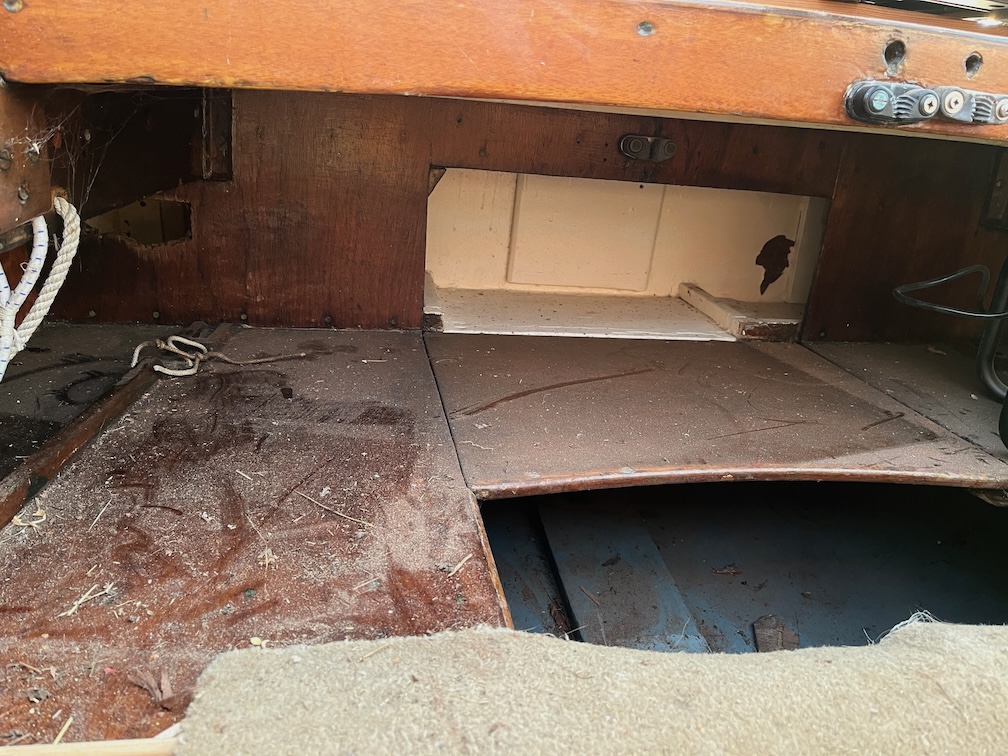
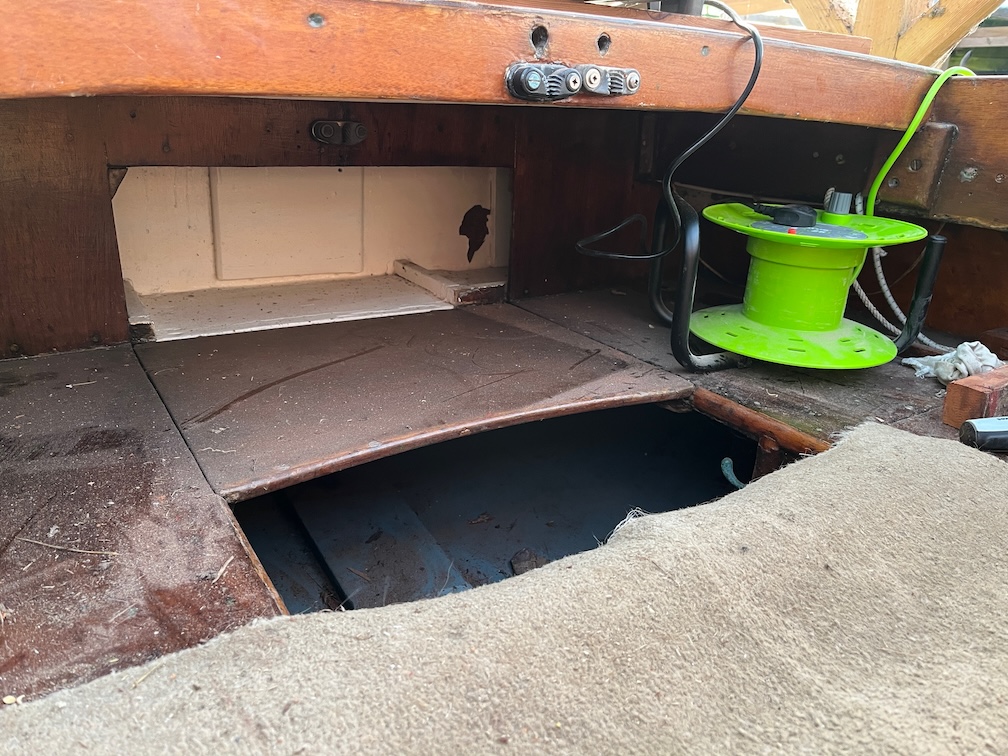
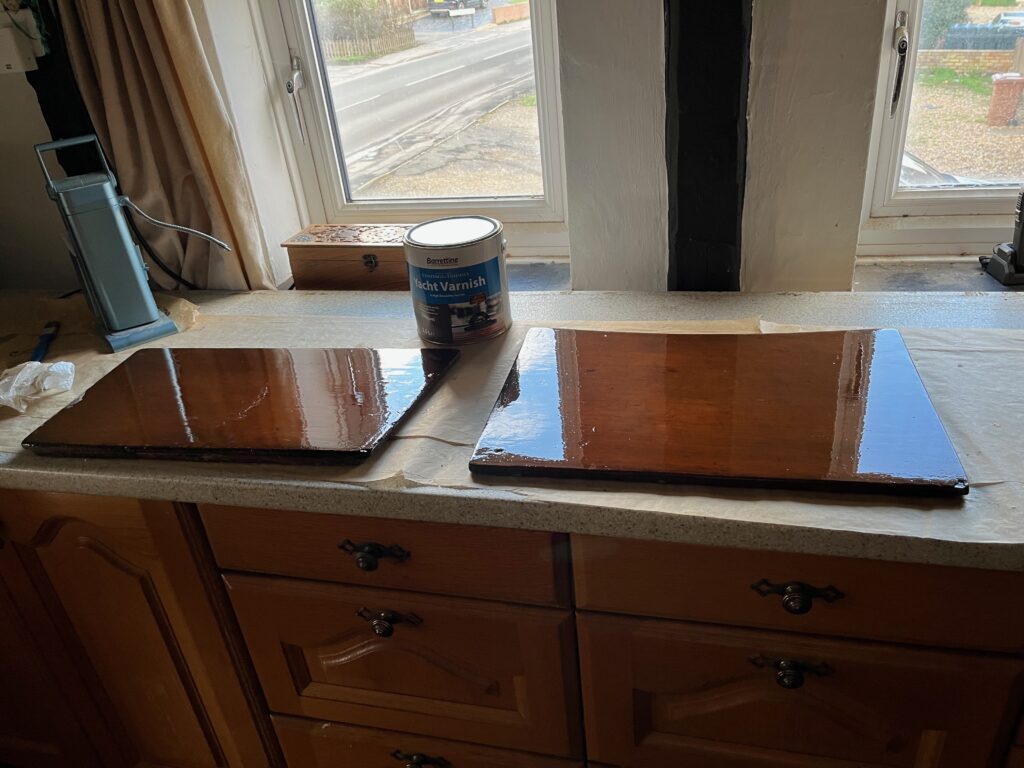
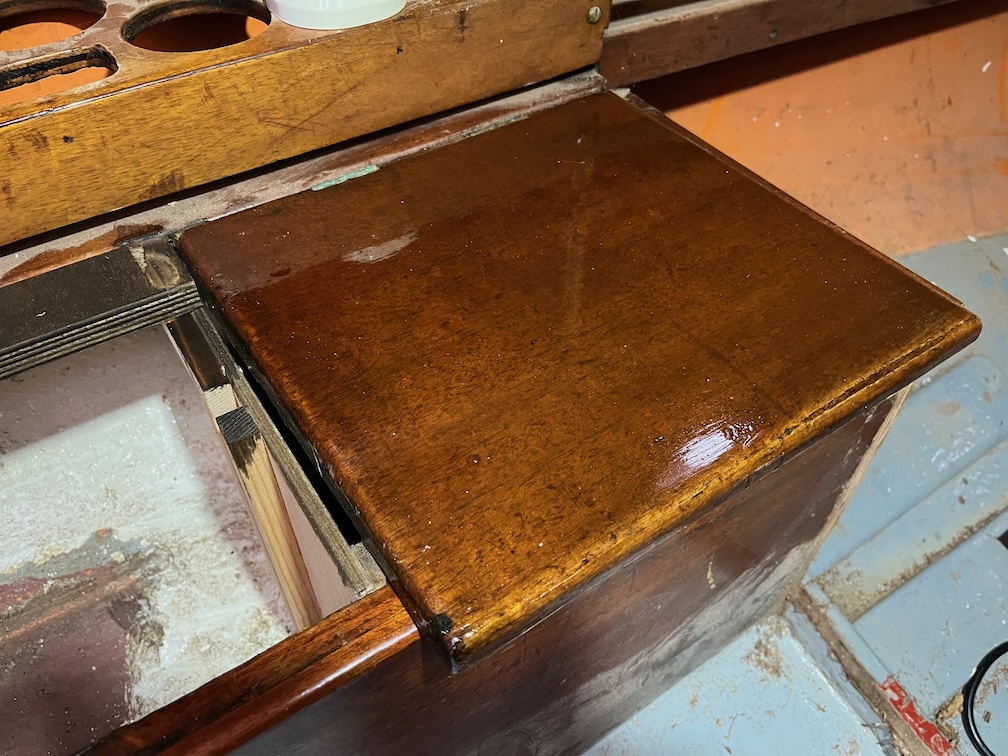
That was it for the outside work for today, inside I turned the hatch over, which has been coated with four coats of varnish on the top and sides, sanded and varnished the bottoms of the sides. To prevent the new top surface from being marked I put a towel under the baking sheet which also serves to stop the hatch from rocking as I varnish.

All in all, a good day’s work and not so much of a major issue after all.

Time for a cup of tea.
2026-01-28 – Continuing Small Tasks

The weather has been just a tad cold this last week and I have been hard pressed to spend more than a few minutes outside before needing to warm fingers up again. I have concentrated on getting a few small, but necessary, tasks worked on, things that take less time than my fingers to get too cold.

The companionway hatch needs to be finished off. Firstly, the almost correctly sized machine screws arrived and I was able to trim these to the correct length. Unfortunately, these all ended up being slightly different sizes due to the irregularities in the slot. This is only a problem when the hatches is removed as the screws need to be labelled to make sure that they go back in the right place.

Which is immediately!

So, four machine screws carefully labelled.

The hatch was taken off the boat, sanded with 80 grit, then 120 grit sandpaper, using a paint scraper when necessary and then taken inside along with the can of varnish, warmed up by the Rayburn for a while, before being supported on a milk crate in the workroom to be varnished.

The top and sides were given a coat of varnish and the result is quite good.

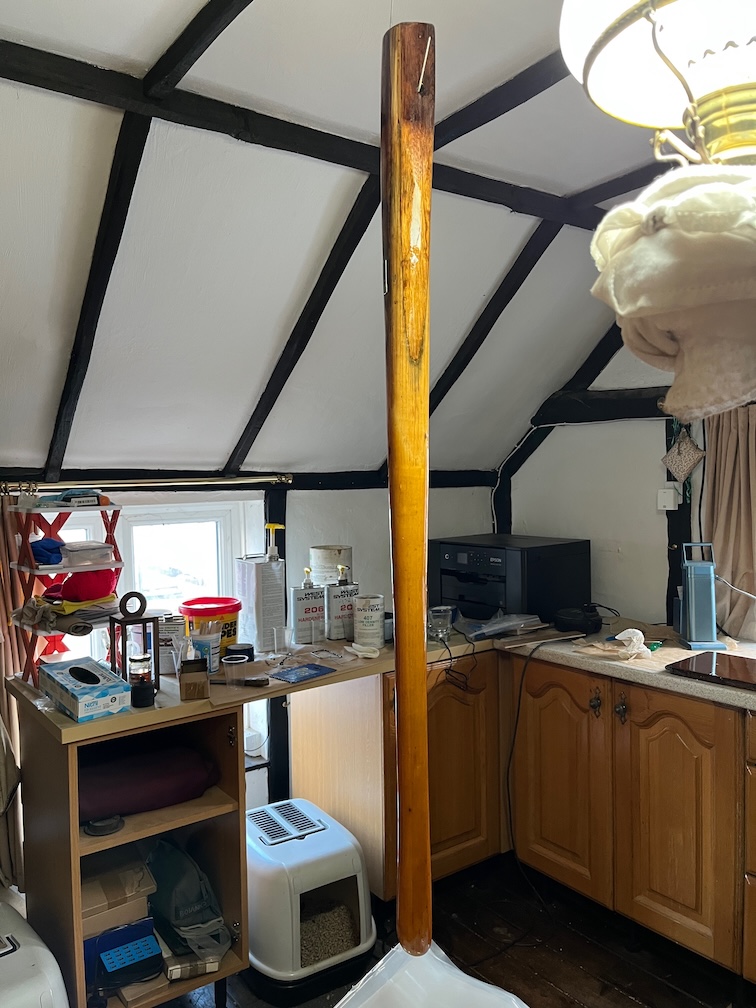
I’ll put on three or four coats, lightly sanding between the coats before turning it over and putting three or four coats of varnish to the underside of the sides. One side is almost devoid of varnish and I may apply a couple more coats to this area. Once done I shall leave in in the workroom until I need the space to epoxy the centerplate case sides when I will take it down to the workshop and suspend it by the padlock staple from the rafters well out of the way.

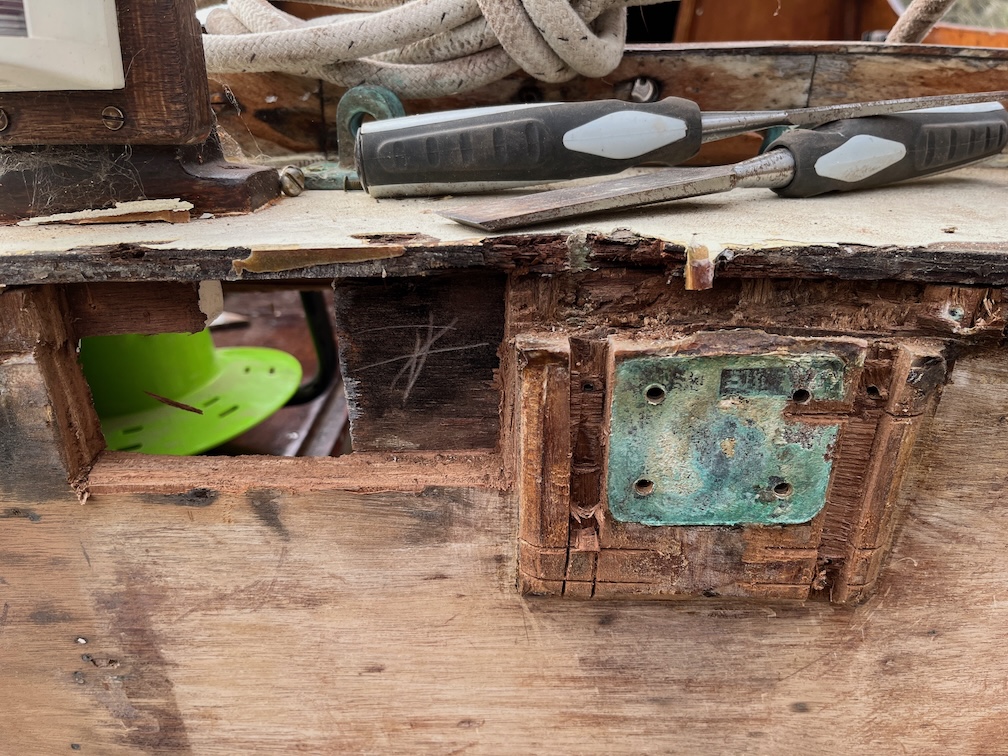
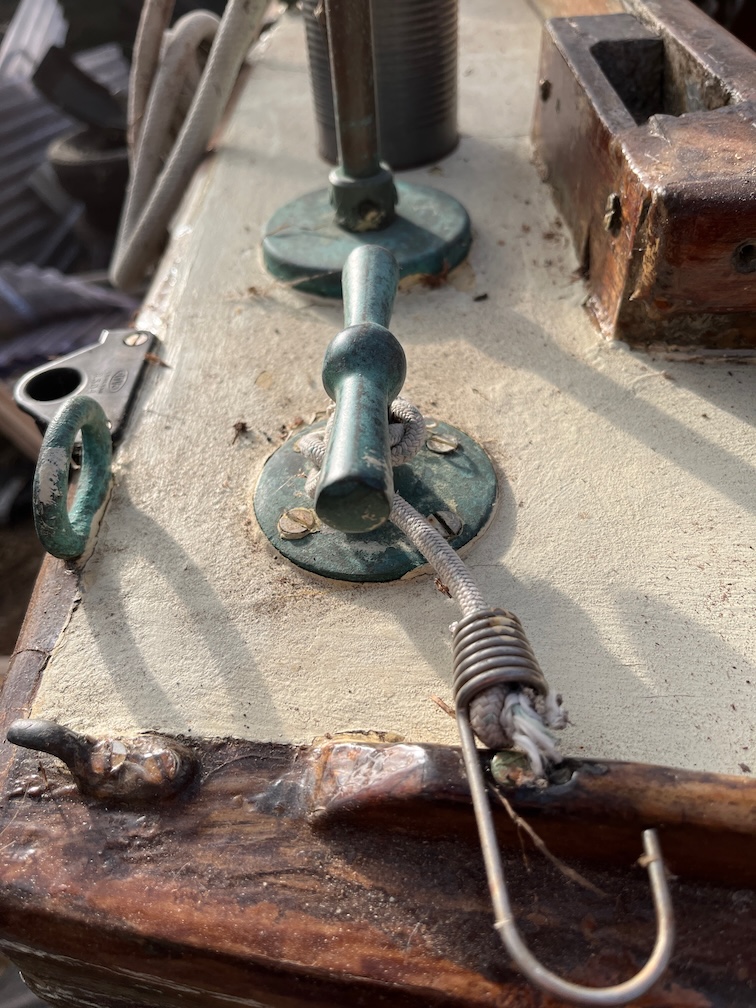
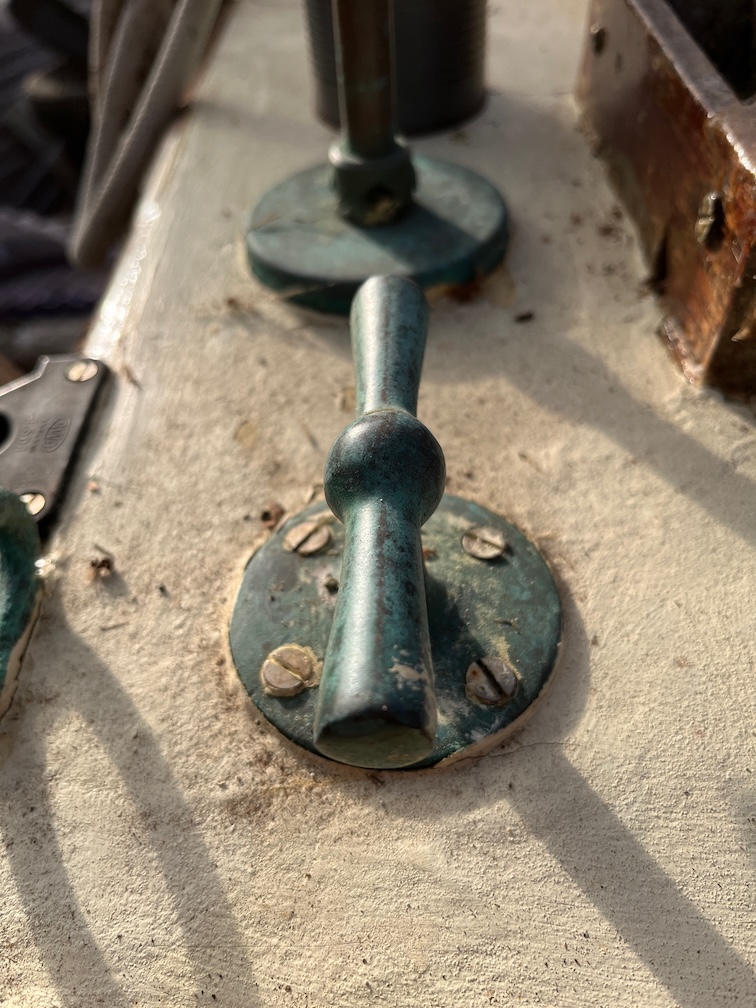
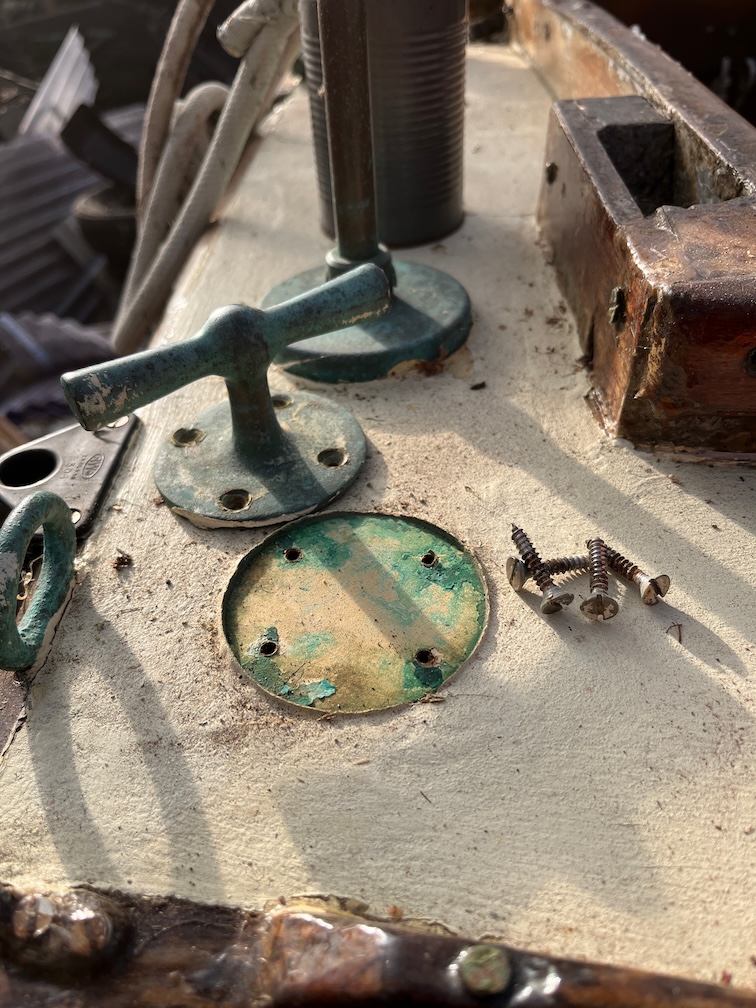
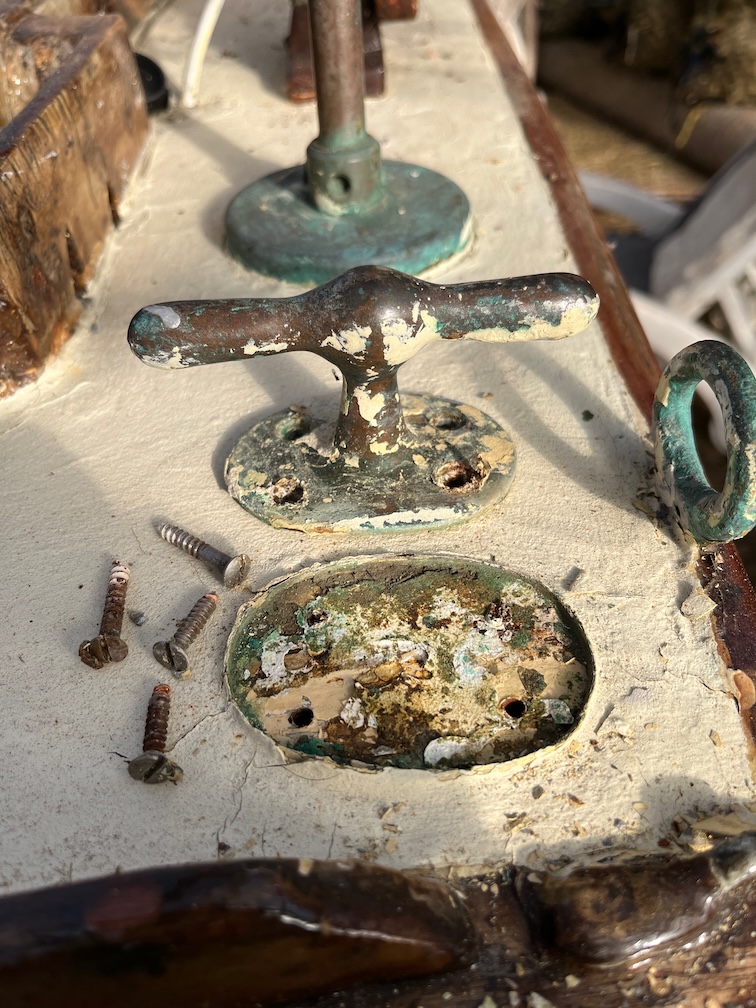
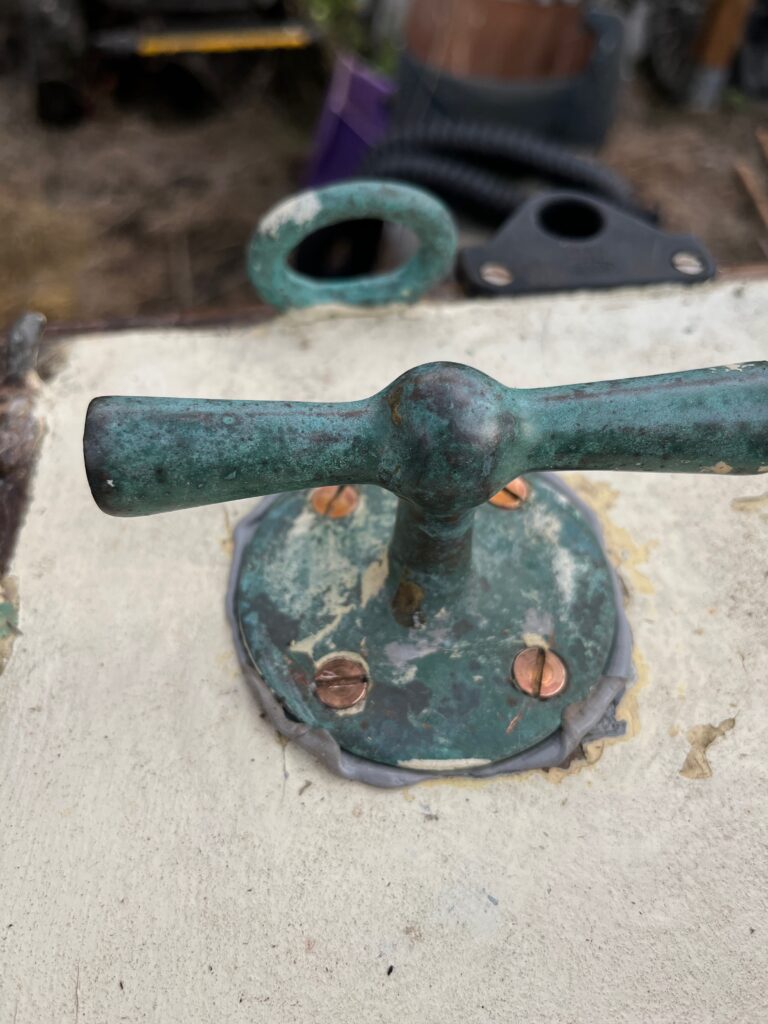
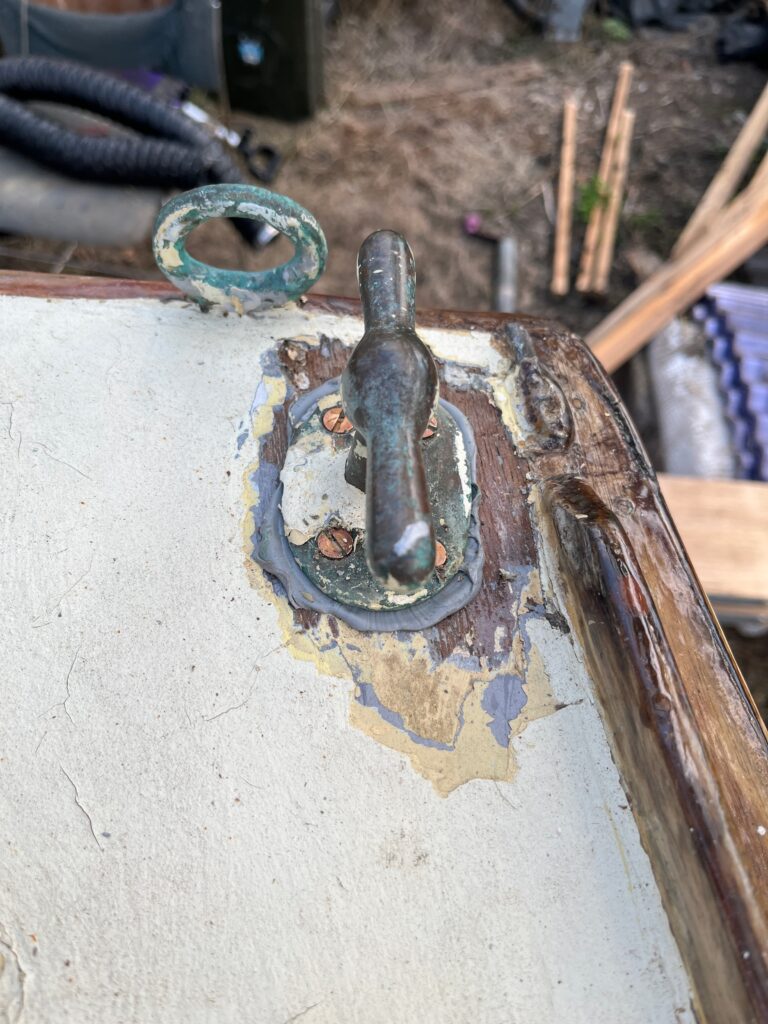
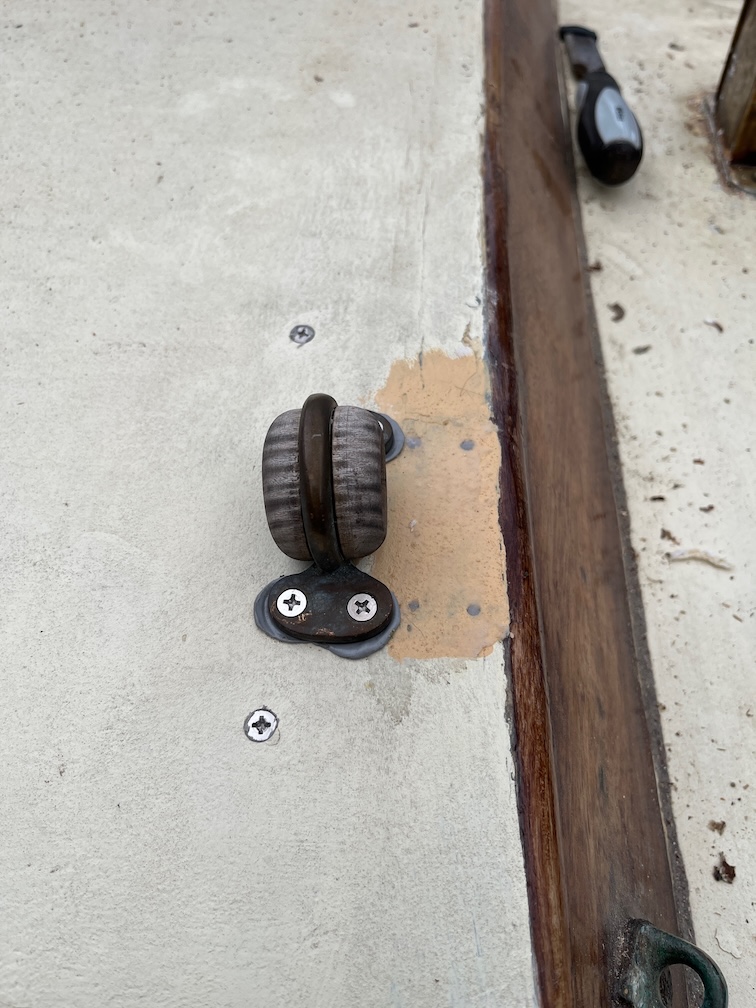
The longer bronze screws for the port coachroof cleat also arrived and these were also trimmed to length and screwed in place.

The original screws protruded slightly from the backing pad but the replacements were trimmed so that they do not.

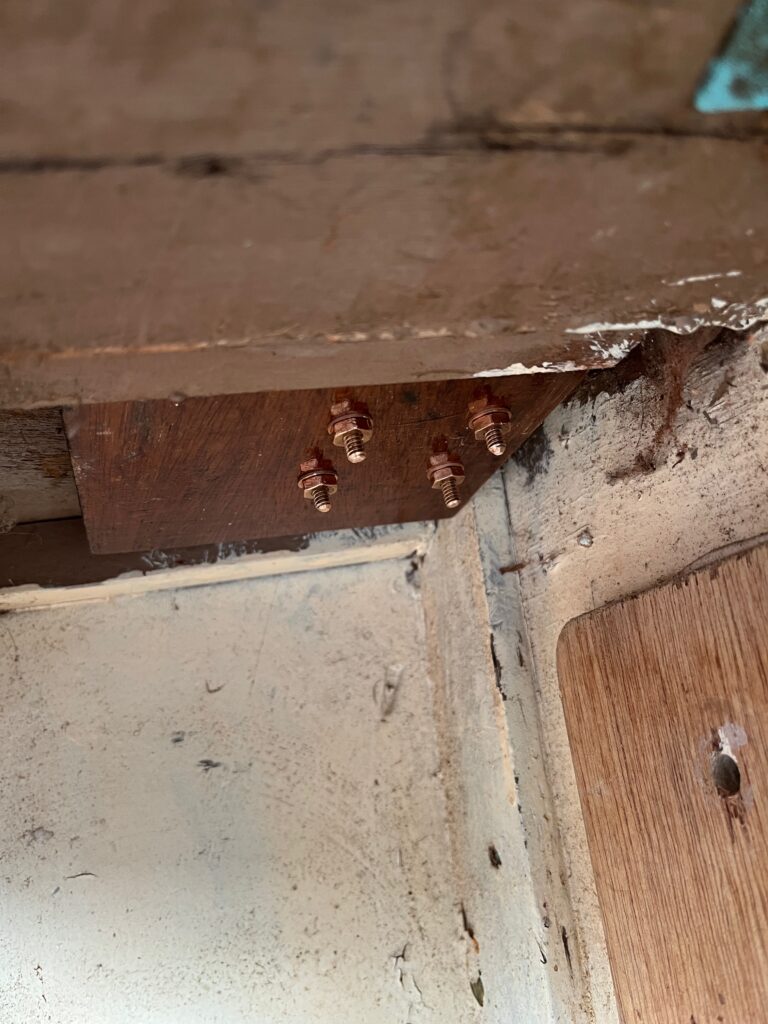
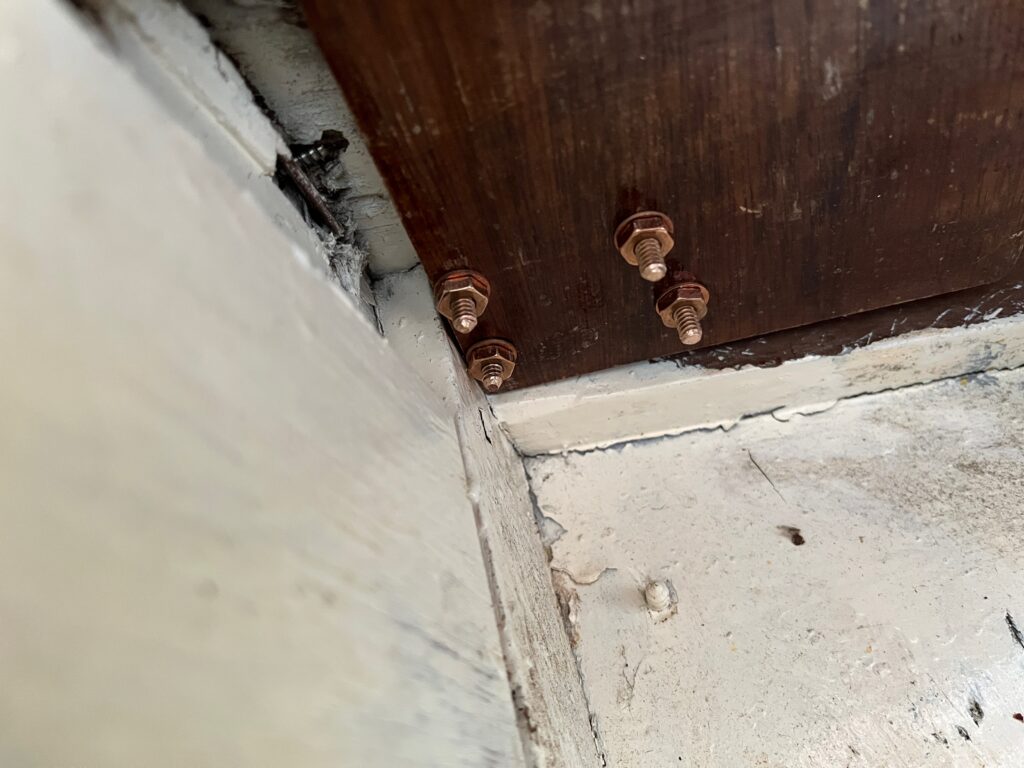
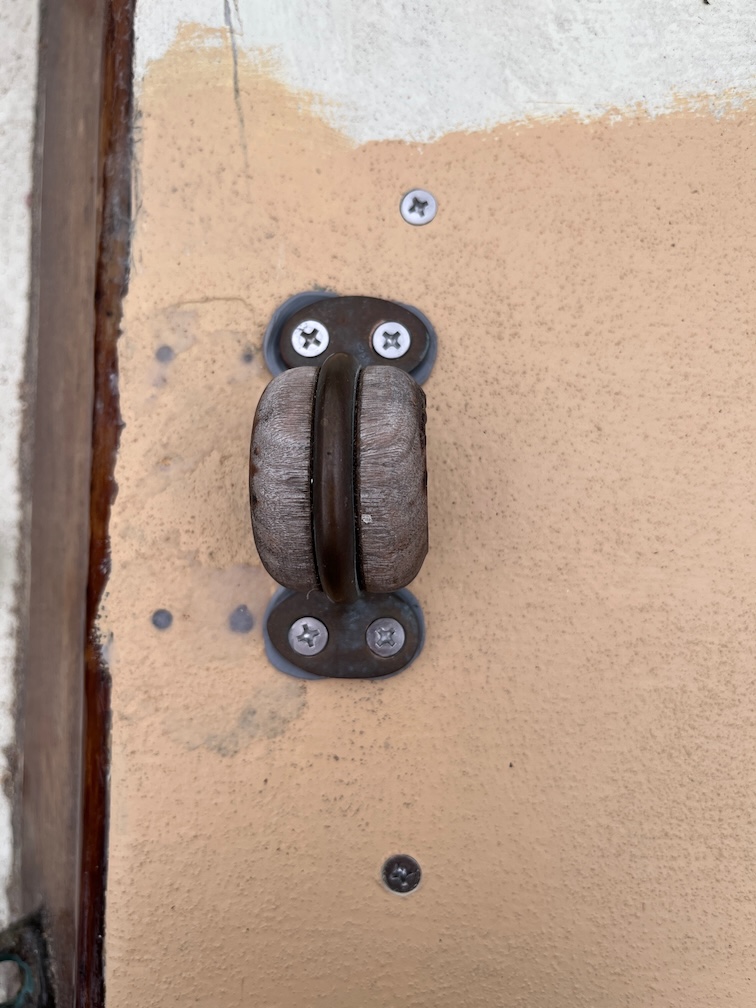
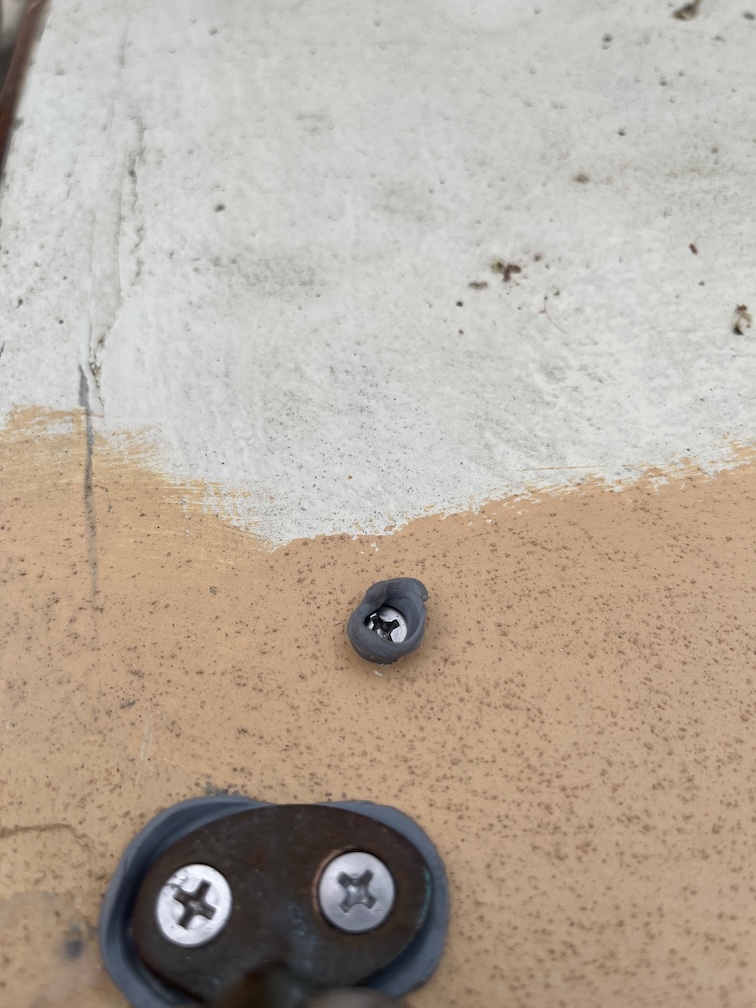
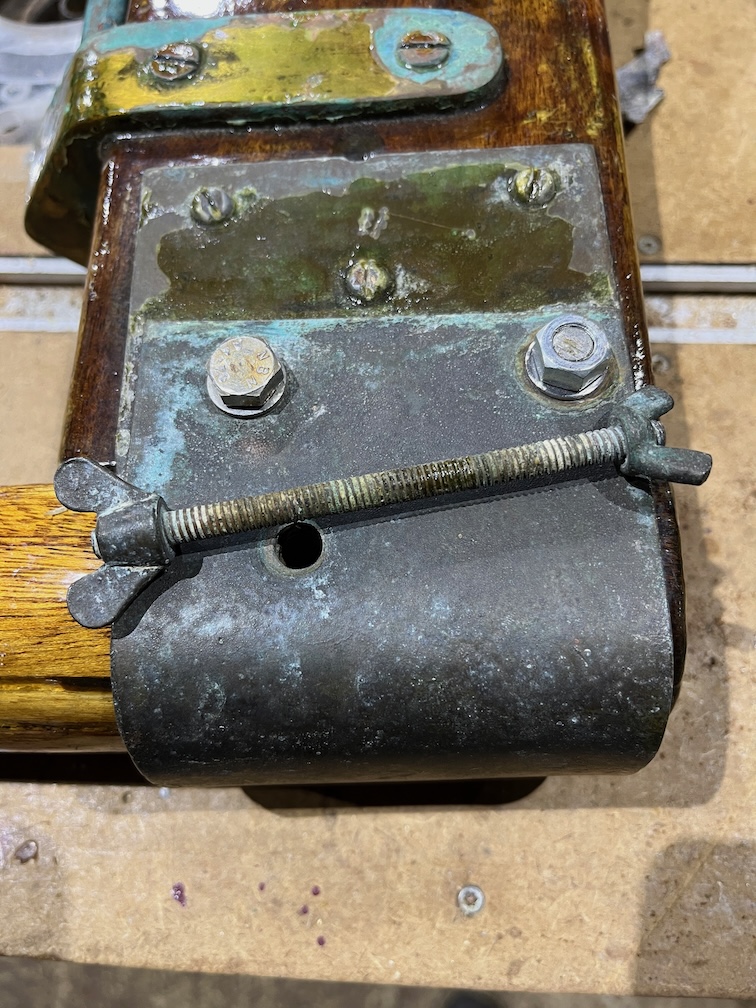
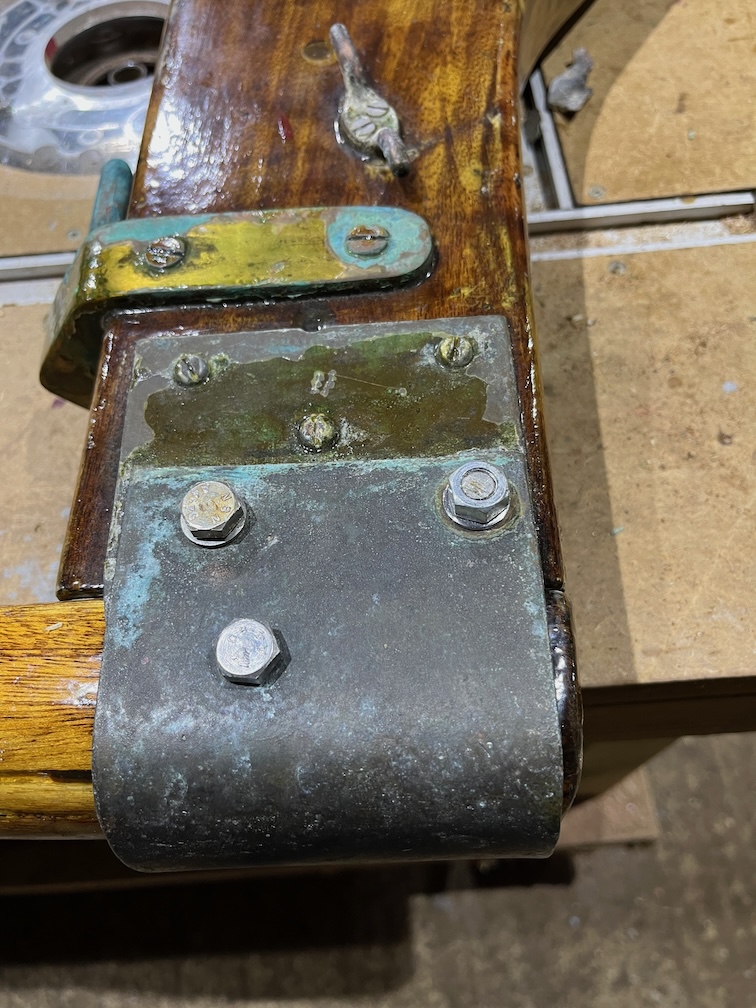
This is the pad before the update and you can just see the tips of the stainless screws protruding from the backing pad and whilst these are not in an easily accessible place, if you were to put your had up there you would risk getting you hand scratch as the points were quite sharp. The long black screw you can see in the photo was one of the temporary screws holding the solar panel in place. These have been removed and replaced with bolts, washers and self-locking nuts.

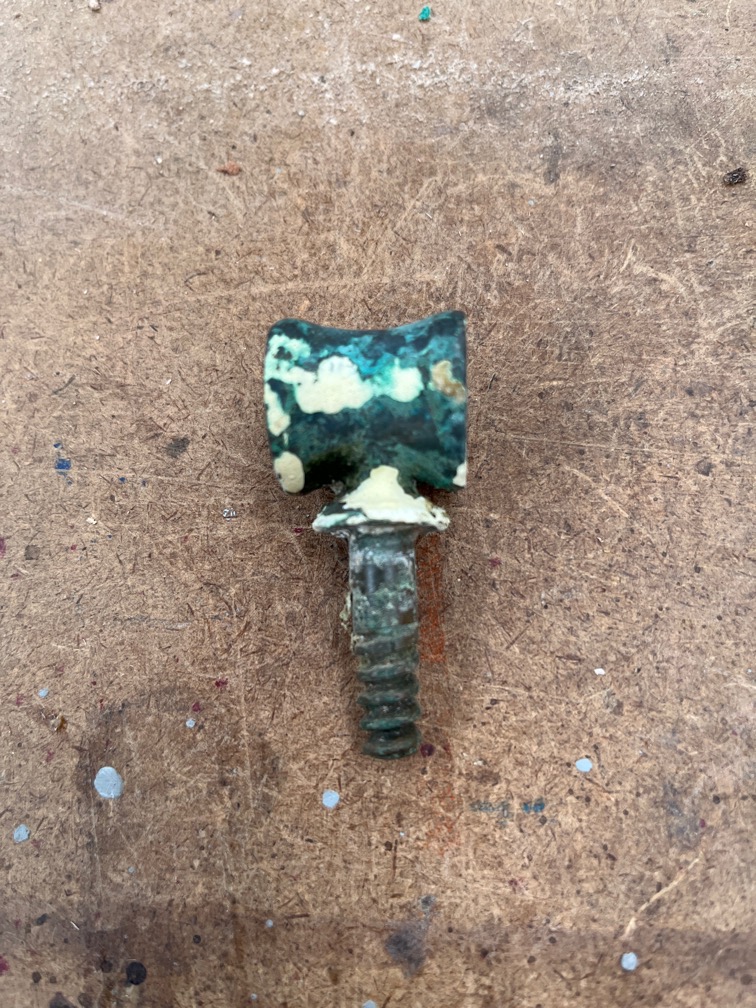
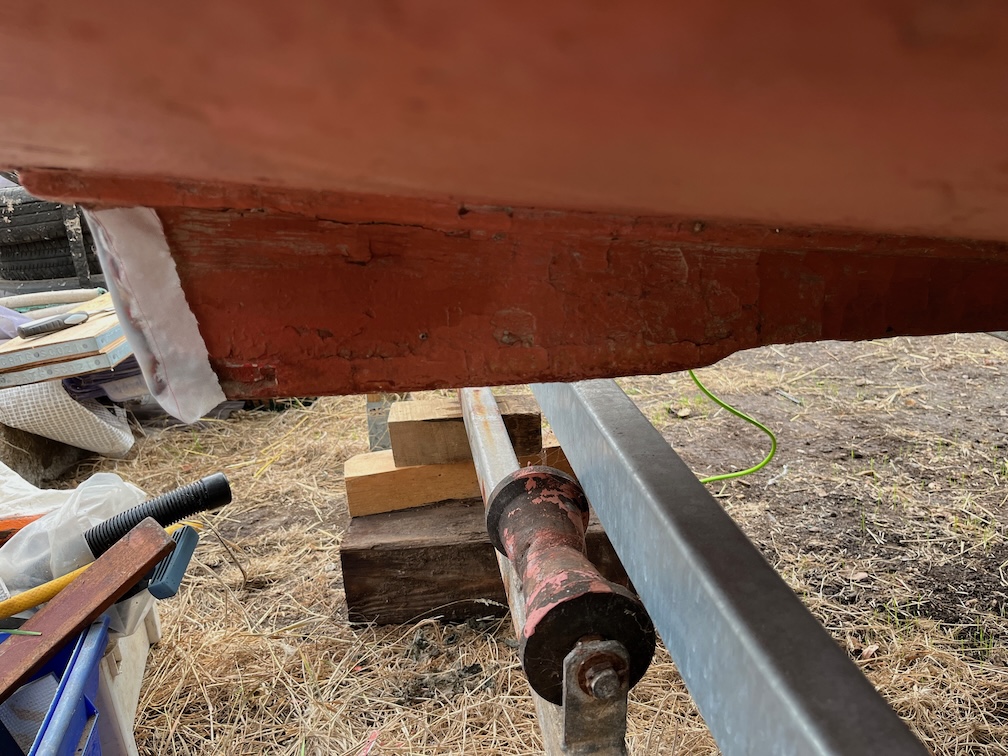
Whilst cleaning out some of the mess in the part of the keel slot that is on the long support I noticed that one of the screws through the original bottom runner that has been cut off extends out of the side of the slot. You can see the yellow brass top of the screw where it has been cut off and the threaded end of the screw in the side of the slot. This needs to be removed. There is another one on the other side of the slot a bit further aft which will also need to be removed.

The removal might be a bit tricky since I need to make sure that the side of the slot is not damaged in the process and I think that the best solution will be to cut off the part of the screw that protrudes through the slot sides.

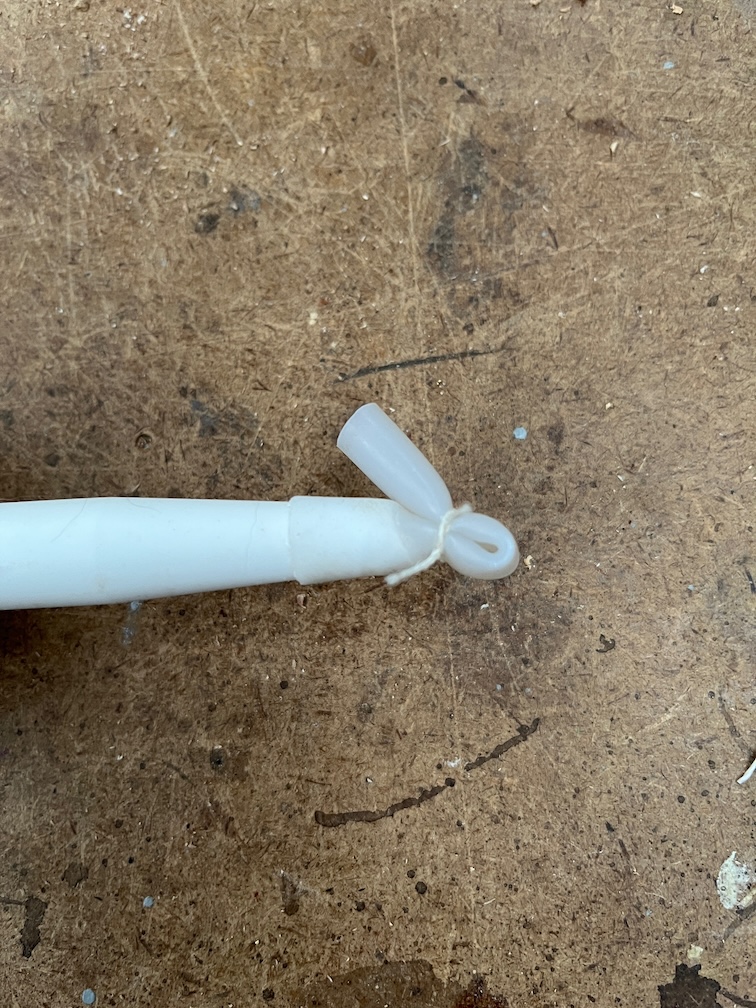
I have a plastic handle device that holds a hacksaw blade that can be used in situations like this. One of the protruding screws cut off without problem but the other did not. Instead, as I pushed down with the saw to cut the screw, it started coming out of the hole downwards. After a few strokes I was able to pull it out completely with my fingers.

The best part is that I did not damage the side of the slot.

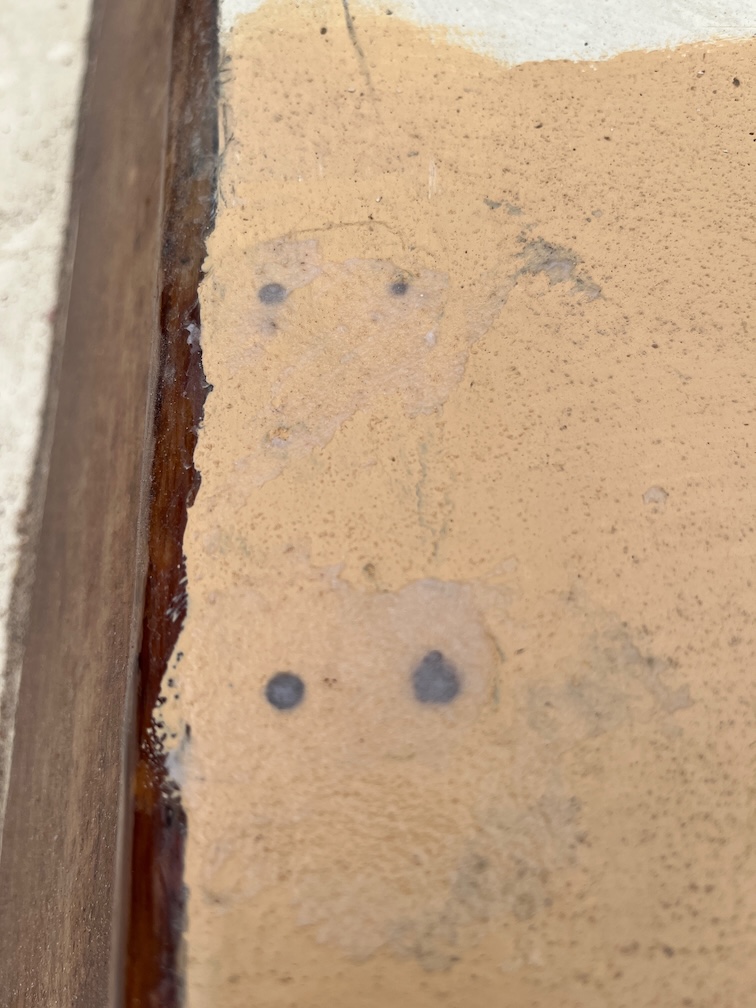
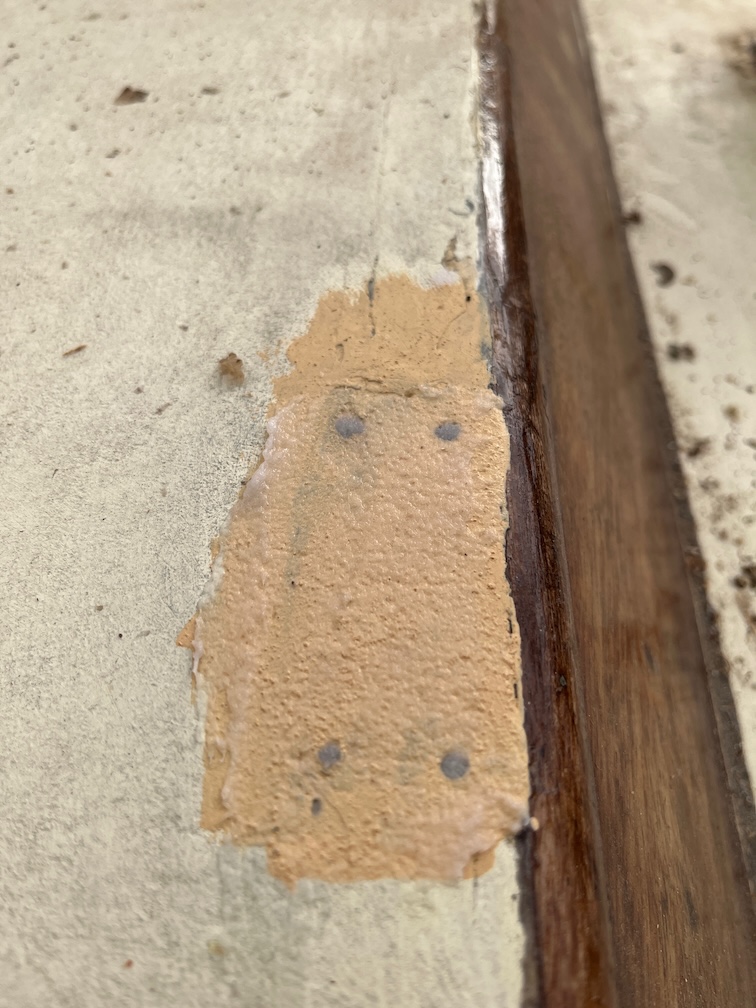
But, I have to fill the hole before I assemble that side of the centerplate case.

After I had finished work and whilst there was still a bit of daylight, I took a chisel and then 40 grit sandpaper to the top of the keel which is still looking a bit rough.

The easily removed pieces of the top runner have been removed and I’ve given it a rough sand with the 40 grit paper to remove any loose bits. I’ll dig out my belt sander and run that over the top to try and remove the stubborn pieces of glue and old runner. This top edge and the inside of the slot need to be free of old glue and wood so that the new case sides and runner can be bonded together securely.

I still have the forward section of the case to remove and also the aft block to deal with, but I am getting close to the point where I can finish the port case side at which point I can get on with the epoxy work for the inside of the case.

Time for a cup of tea.
2026-01-24 – Continuing the Case Side Removal

The weather continues to be reasonable for the time of the year, the temperature is currently 8º C, there is only a little wind and for a change the sun is shining. The main task of the day is to complete the removal of the old centerplate case side, hopefully this will not be an arduous task, but we shall see.

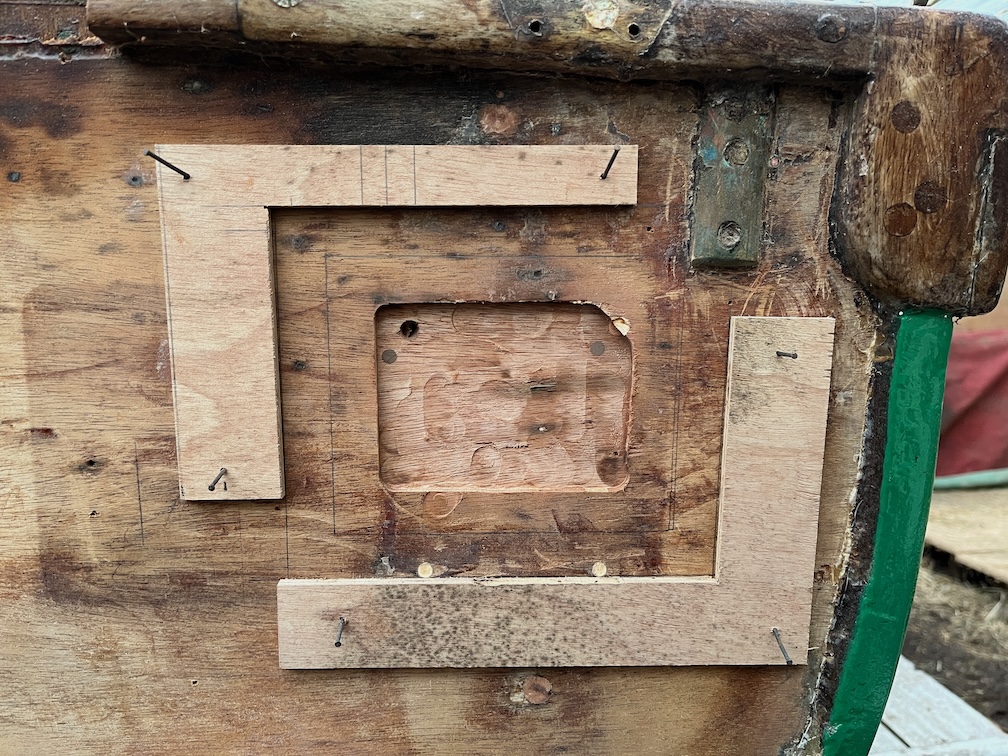
The first part of this task is to remove the screws from the outer runner. These are fairly easily found since they are set quite deep and have some sort of glue plug over the head. The procedure is to locate where the plug is, cut into the wood either side and inboard and then lever out the wood with a screwdriver. Thie wood tends to break at the screw head as shown here and thereafter it is just a case of clean out the slot and unscrew.

I bought some longer multi-tool blades to try and make the removal quicker and these are around 20 mm longer that the cheap ones I bought, which are perfectly good, just not long enough making the job a three cut process. With these longer blades that should be just a one cut processes.

With the stainless steel screws removed and using the longer blades, it did not take all that long to cut under the runners and remove the offcut.

There were some old brass screws holding the runner runner to the keel but these were sufficiently soft that the blade cut through them.

This is the result after cleaning up the mess. I still have the section around the forward case block to work on, and to remove the parts of the runner still glued to the keel as these were cut just above the glue line in order to avoid cutting into the keel at any point.

I decided to take a break at this point and checked out the wooden pad I made last night and painted first thing this morning. It should be good for a second coat later on today.

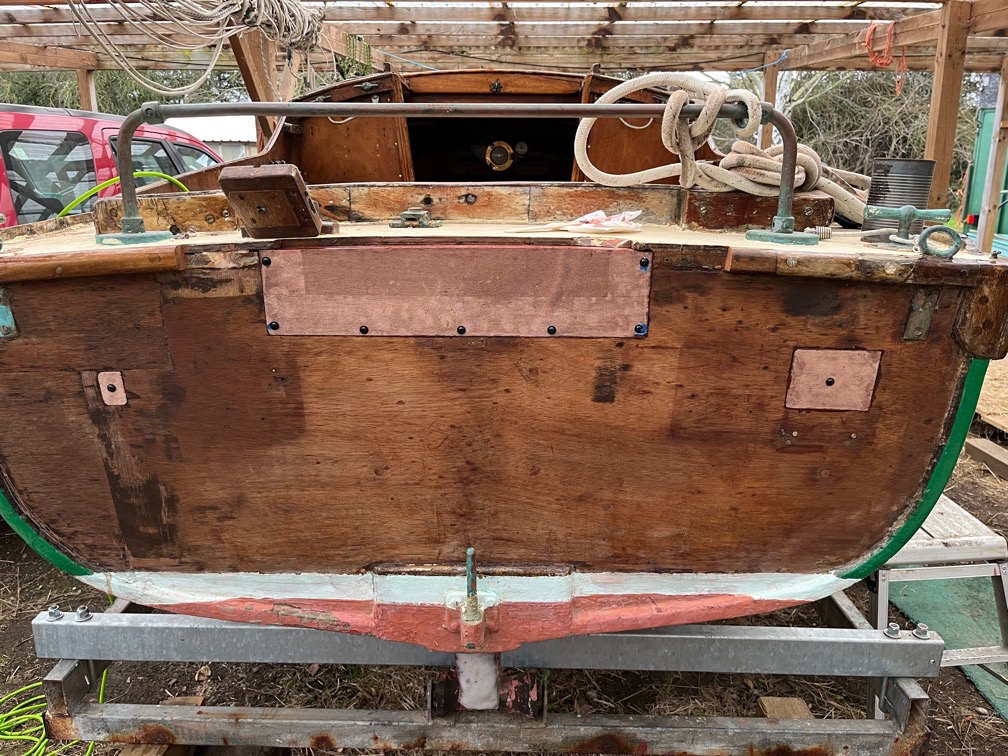
This pad will sit under the bronze cleat on the port side of the coachroof as the solar panel now sits quite close and this cleat needs to be a little higher than before.

It isn’t the solar panel, per se, but the plastic block that houses the connections. I will also need to make three risers just aft of the two through deck fittings and also in front of the cleat so that the furling lines do not chafe the fittings when in use. If I have enough copper plate then I shall cover the top of these risers so that they are also protected from chafe.

Time for a cup of tea.
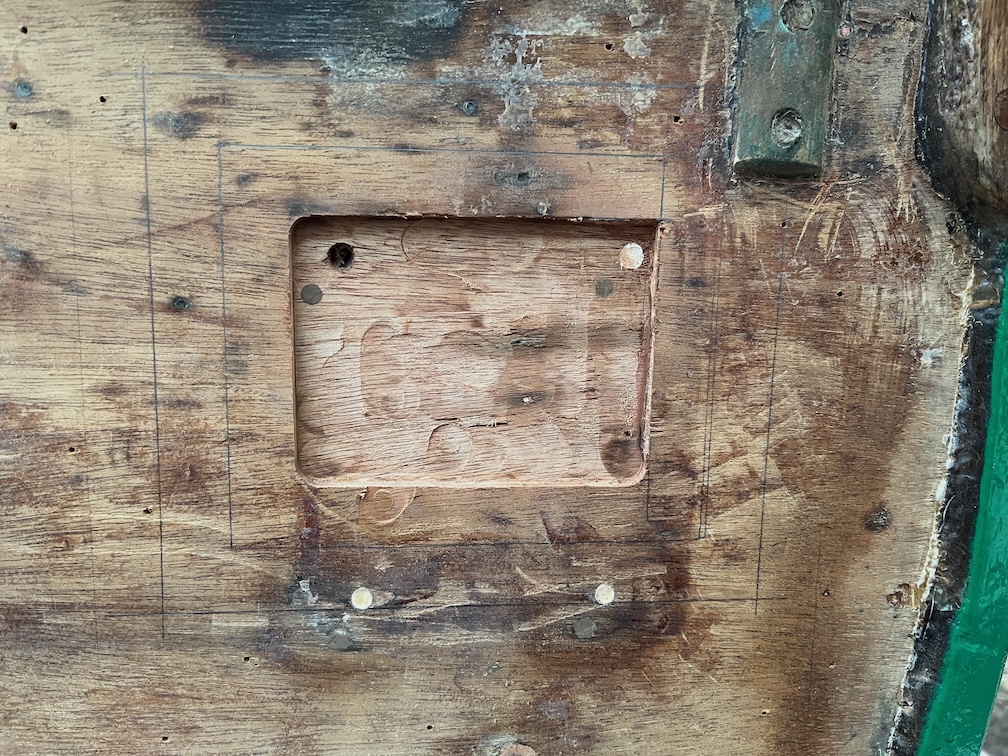
I have to say that I gave up on the case side removal for the moment as my knees are complaining. I should have bought a pair of knee pads years ago but never did and now my knees are suggesting that now would be a good time.

So, instead I worked on the main hatch which just needs to be fitted before it is ready for sanding and varnishing, which can be done in the workshop and will not get in the way of work in the boat.

This task involved drilling four holes in the sides of the hatch, threading them, inserting the machine screws that will retain the hatch and testing for the fit. Sounds easy but the process took over two hours to complete.

The machine screws that were in the hatch before are Imperial, not metric and I do not have a tap of the correct size. Nor do I have the metric equivalent tap of M6, so I opted for M5 screws for which I do have the tap. Unfortunately, I do not have the correctly. sized machine screws. So I used M5 x 50mm to get the fit correct which will then tell me the correct length of screw to buy.

I put the hatch in place and marked the top and bottom of the slot in the runners at each of the four corners of the hatch. I used a thin line around the side of the hatch to transfer the centre of the marks from the inside to the outside, one side of the hatch at a time. The first hole I drilled I did from the outside and it was far too high. After this I drilled the hole again but this time from the inside and the screw came out in exactly the correct position. Having drilled the hole I tapped it and put in the over-long bolt. The hatch was put in place and the bolt carefully screwed in whilst I squinted down the slot.

This was repeated for the other three holes and each one, drilled from the outside, came out correctly. I put the hatch in place and carefully screwed in all the bolts until I found the place where the first one started to bind in the slot. I measured the length of the bolt sticking out of the hatch and set the other three to the same length and checked that the hatch not only slid freely but did not come off.

Having measured the length of the bolt and done some simple maths I need to buy M5 x 27.5mm machine screws….which do not exist.. That means I’ll buy 30mm instead and grind them down to the correct length.

Bolts protruding one side…

And the other side.

Time for a cup of tea.
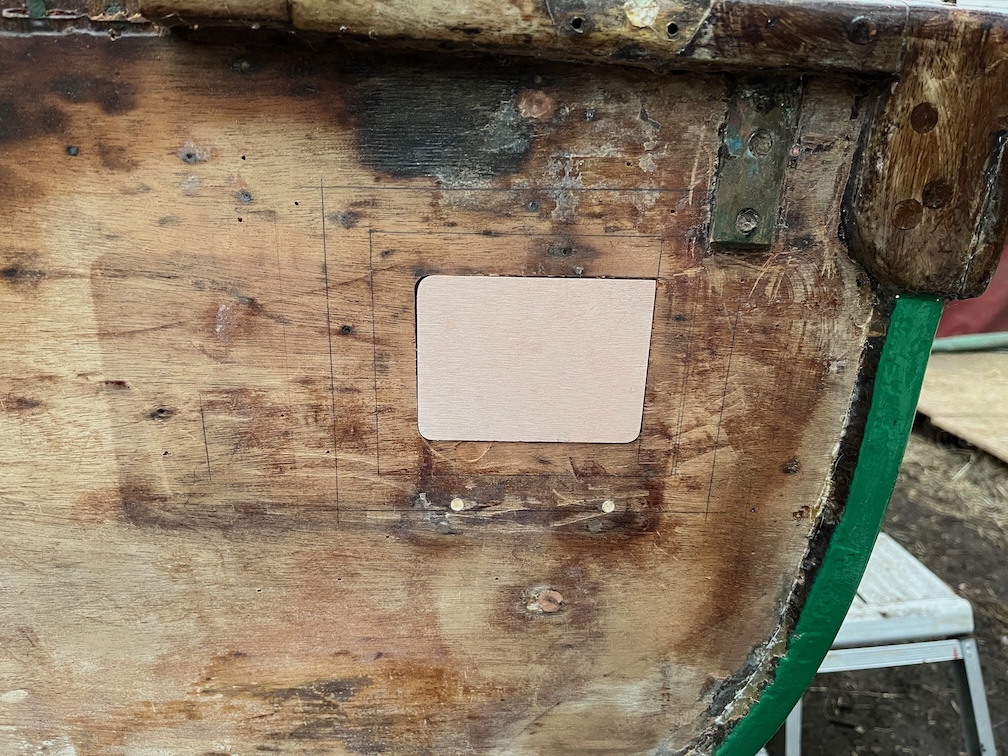
Since there was still some useable light, even though the sun was low in the sky, I decided to get another task off the list, if possible.

The solar panel is now properly fixed and the deck glands are also done. Not only is this another task off the list but I don’t need to charge the battery with the battery charger any more. Even though the solar panel is under the perspex roof, it generates enough power to charge the battery even in the Winter light levels. Mind you, this is an old battery and well past its useful life, so it will be replaced with a new one once we get closer to the launch date.

Time for a cup of tea.
2026-01-23 – First Major Issue

Things have been progressing well on Shoal Waters since we bought her last June and the repairs have been going well with no major problems.

That ended today.

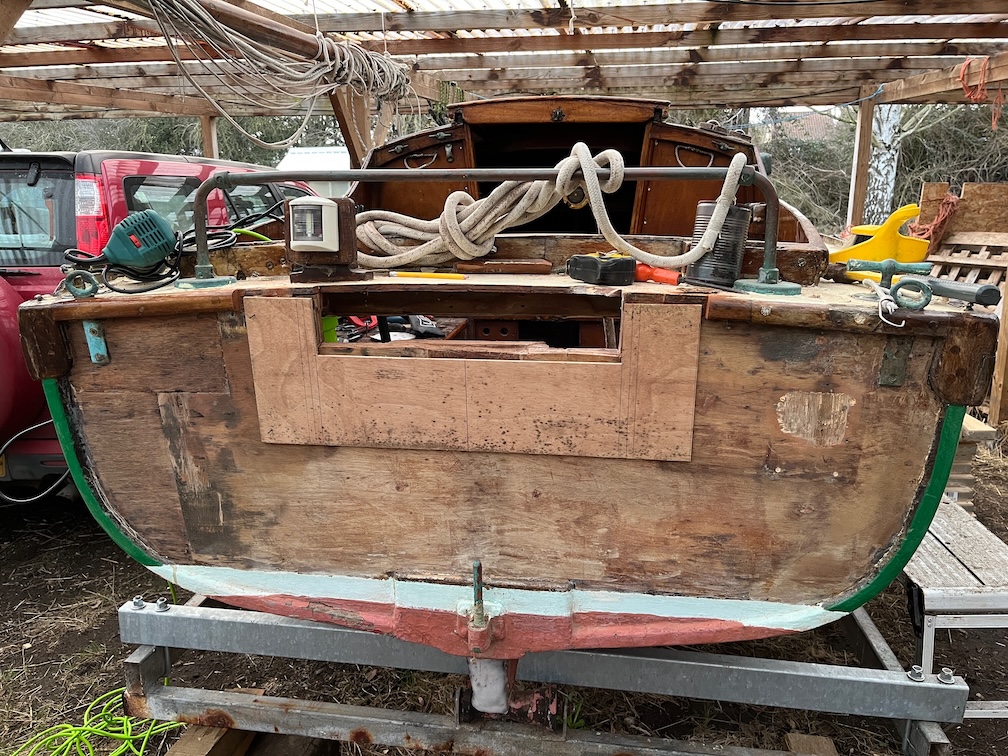
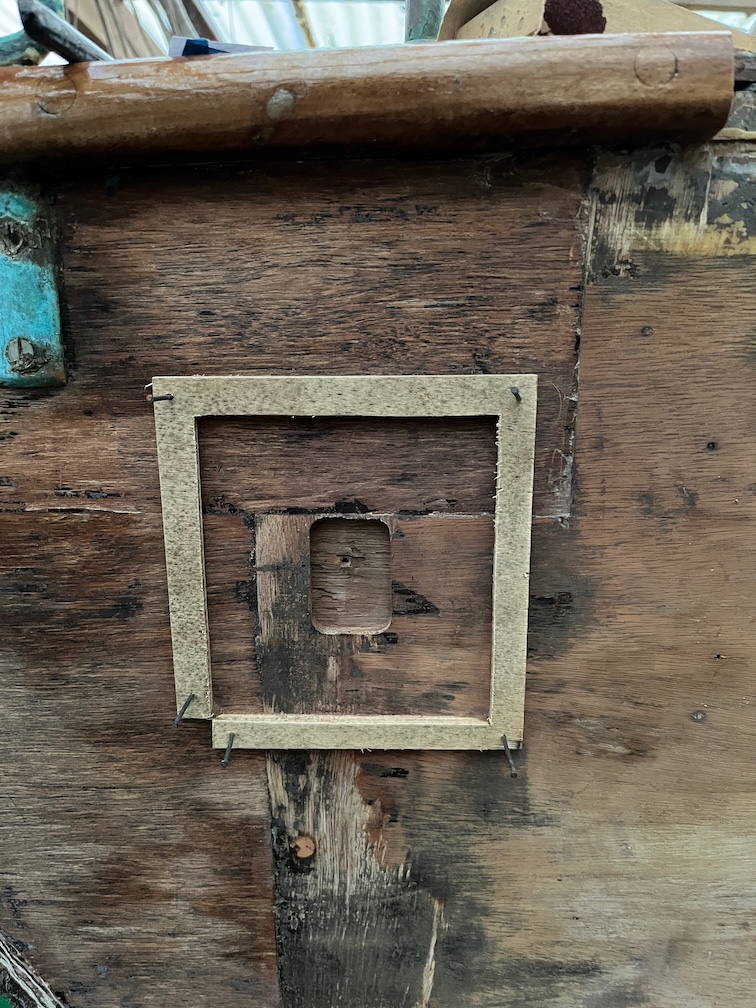
The rotary tool saw blades arrived late yesterday so first thing this morning I went down to the boat and used the smallest to cut into the area of the aft centerplate case block that could not be reached any other way without dismantling the cockpit.

This is what it looks like when attached to the extension and cordless drill.

And it worked quite well, although you do need to hold the tool very carefully since it can easily run away from the workpiece despite its small size.

Having cut “along the dotted line” so to speak, it did not take long to remove the old plywood and that is when I noticed the problem.

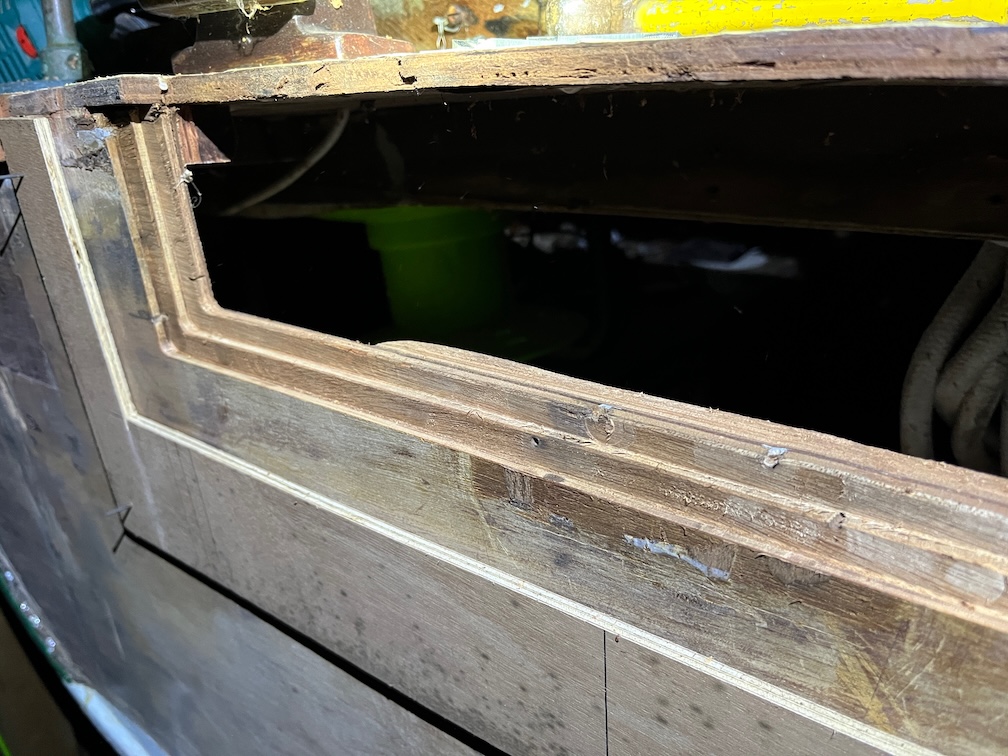
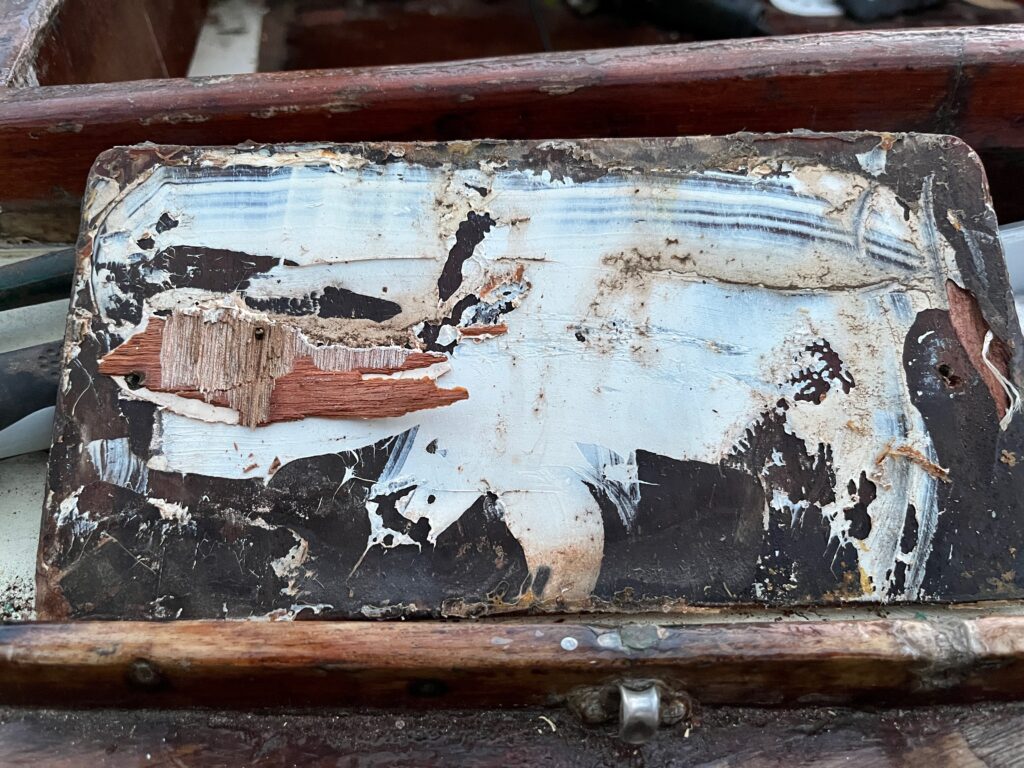
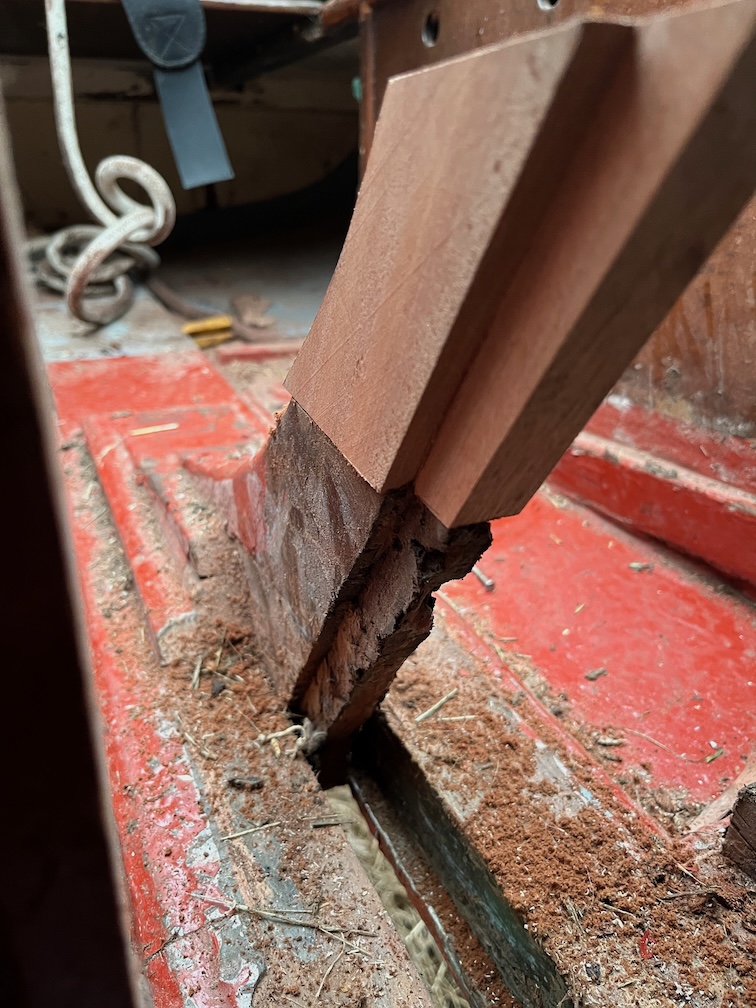
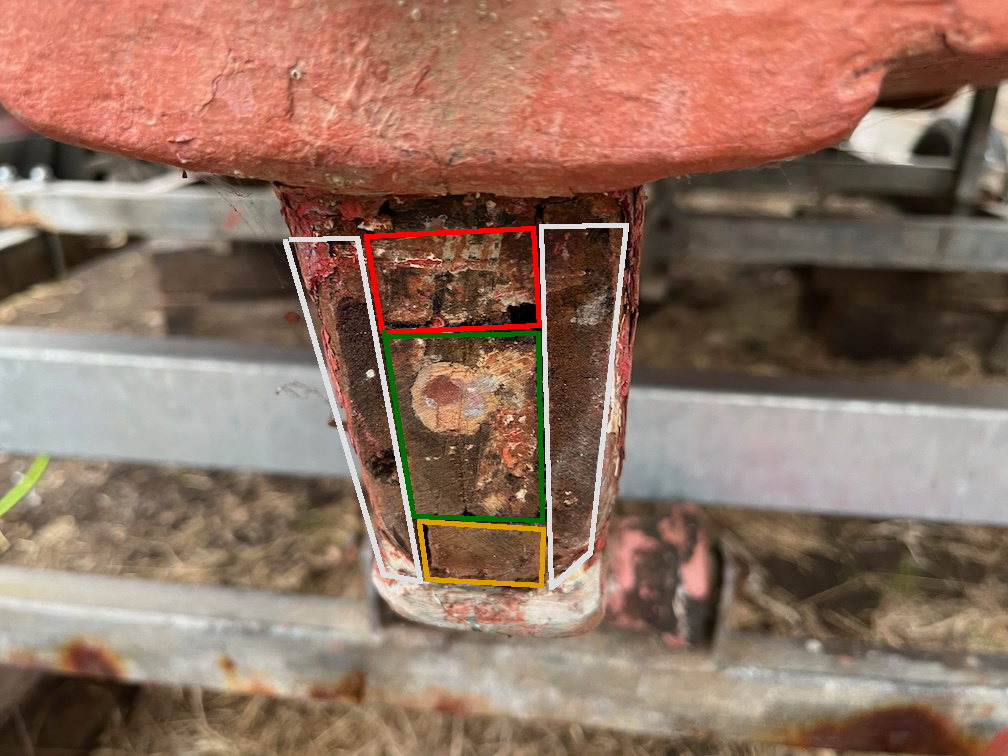
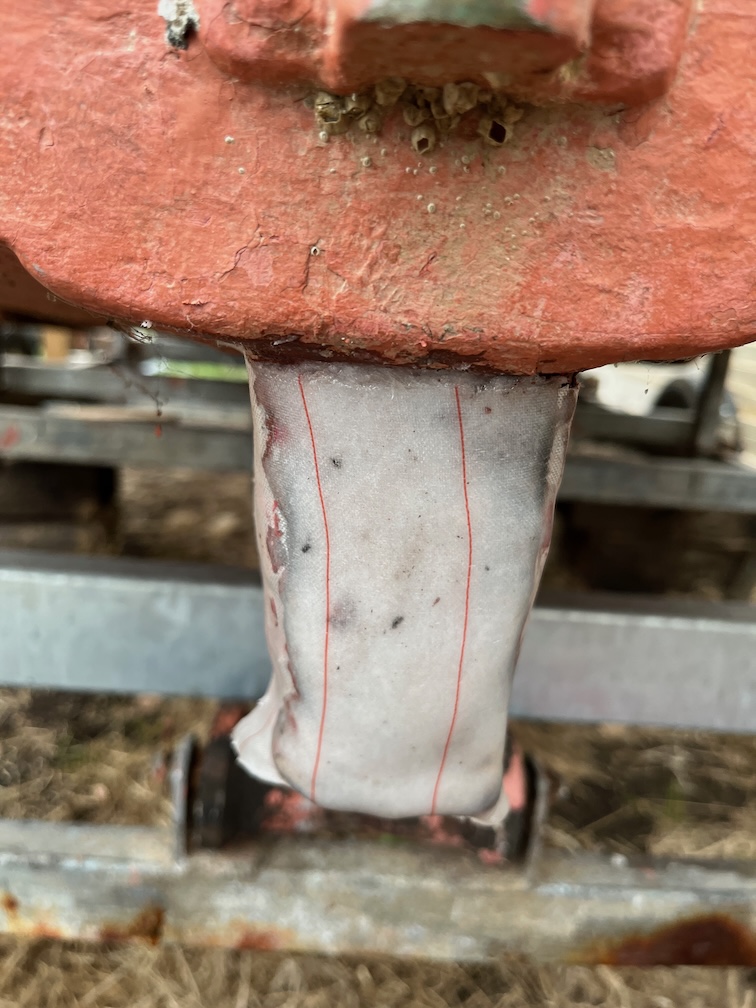
Here. This bit is soft and has no structural integrity. There is no way that I can install the new case sides with the aft block in this state and this has to be repaired or replaced.

The options are limited.

  1. Cut out the soft section leaving as much of the good wood as possible and fill in any gaps with a graving pieces.
  2. Cut off the top of block below the soft part and make a new top section.
  3. Remove the entire block and make a new one.

Option 1 is going to be difficult since the soft parts are not contiguous and that means cutting out several sections and replacing them.

Option 2 seems to be the best option if I can find out where the soft section ends.

Option 3 is the most drastic but has the issue that getting out the section that is recessed into the keel is not going to be at all easy.

I’ll leave this part for the moment and continue on with removing the remainder of the case side whilst I ponder on this some more. Hopefully the forward block will not suffer then same affliction.

My immediate thought is to make a template of the entire block above the keel and then cut the block just below where I know the soft section ends. If that is the end of the soft area then I can make a new top section and fit it to the old base part. If the soft area extends down further then I’ll cut off more and more until I reach good wood and make a new top section. If the soft wood extends below the level of the top of the keel then the whole thing will need to be removed and a new block made and fitted.

I really hope that the latter is not the case since it is possibly as much as a month of work to carry out. Still, if it needs to be done, then it needs to be done.

During my lunch break I took a sharpish pokey thing into Shoal Waters and prodded the aft block.

The soft section that I can easily detect is quite high up on the block, so it may be that the repair will not be quite so drastic as I first thought. Still, I’ll find out more once the top of the block has been removed.

Now, some people might say that the wood sounds soft all the way down as it is giving a muffled return all the way down. To which I would say that you need to remember that the top of the block is unsupported and that allows the whole thing to vibrate like a tuning fork and for that reason I would expect the return to be a bit muffled. However, the soft section certainly gives a much clearer soft return.

I have also been chopping away at the bottom of the block with a chisel and that showed that the bottom of the block is still quite solid.

So, the way forward from here is to cut off the top section below where the soft returns are being heard and see what the wood looks like inside.

Time for a cup of tea.
2026-01-22 – Continuing Small Tasks

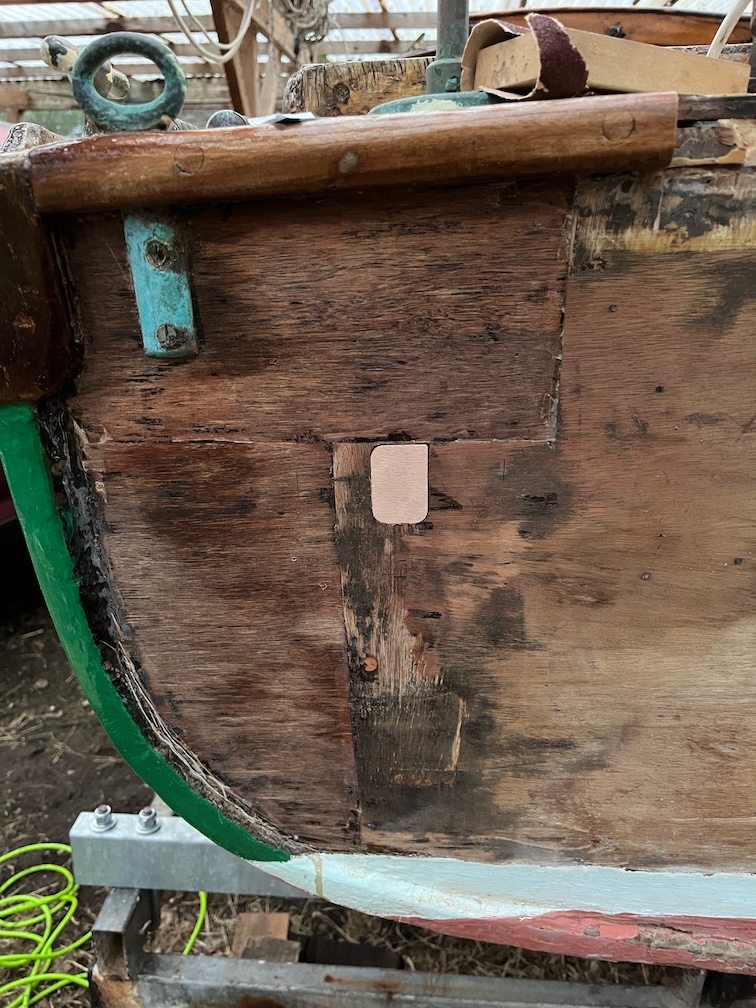
With the forecast set to be wet but not cold for the next two or three days, I decided that one of the things that I needed to get done was the painting of the coachroof where the solar panel is sited. Without this being done, the panel and through deck fittings cannot be fitted. But the paint needs temperatures that are not close to freezing, which is forecast for next week.

I removed a cleat from the coachrood , scraped off loose paint and sanded, then cleaned the surface before masking the edges and slapping on a coat of anti-slip deck paint. I’m in the last 20% of the last tin I have of this paint which I use on Naiad as well and will be using on Shoal Waters, so ordering some more of this has become necessary.

Shoal Waters will need at least two coats all over as the current coating is flaking off and well worn in places. Following Charles’ methodology I’ll scrape off the loose bits, sand and then paint over what stays stuck on.

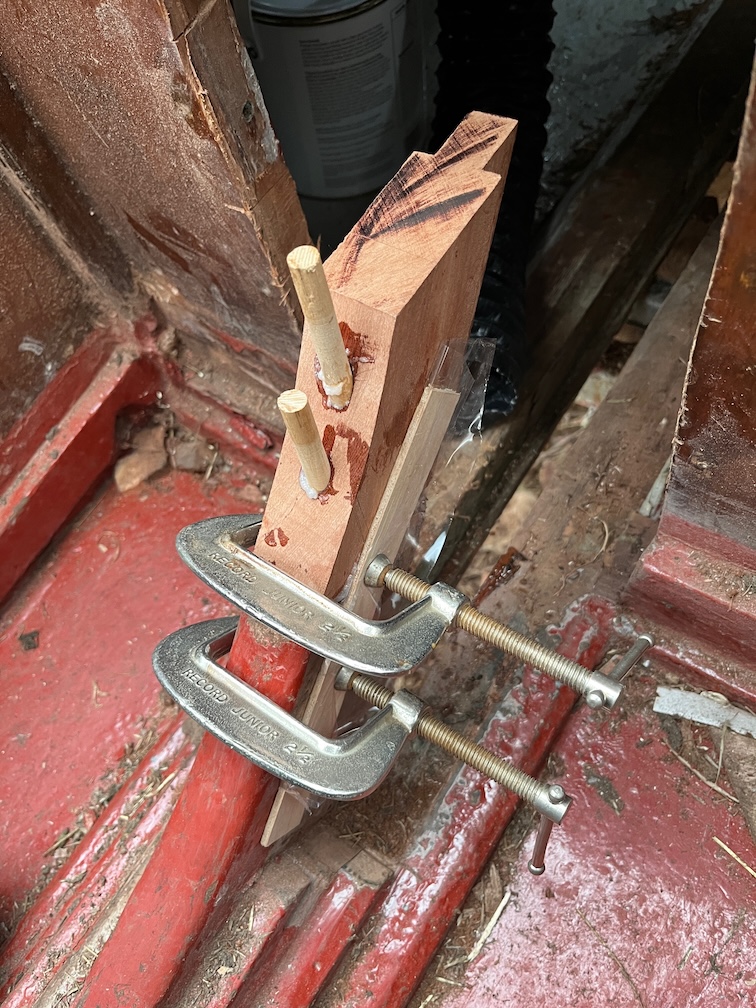
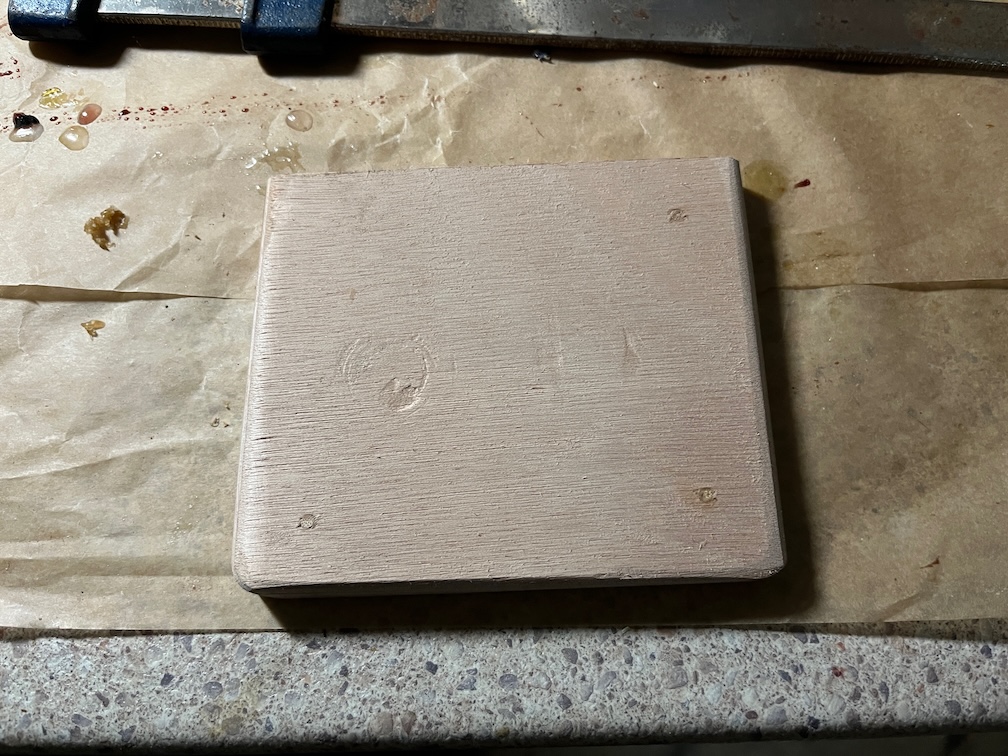
Last night I drilled the pilot holes for the screws in the top runner and one of the ends split when I screwed it to the case side, requiring some glueing and screwing to repair. You can just about see the thin line of the split from the edge of the runner along the grain to the screw hole. At this point I have squeezed wood glue down the split from both sides and screwed it together and cleaned up the squeeze out. Once the runner is glued to the case side I’ll remove the screw. I could have used a cramp for this, but clamping on a curved wedge-shaped surface is not ideal.

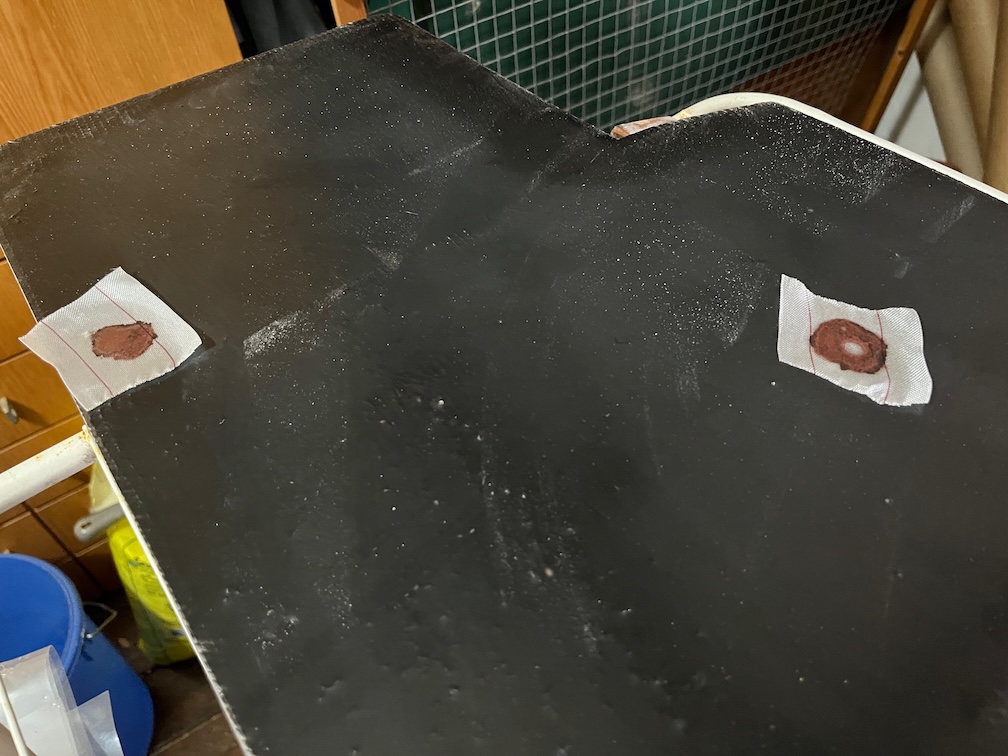
This is the screw from the top. It will be necessary for remove it since it will prevent sanding in the future and the glue will make it unnecessary. The hole will be filled with an epoxy filler.

Later, after work, I put a second coat of anti-slip deck paint on the port side of the coachroof, the prior coat having dried nicely, and then attacked the remaining portion of the case side and runner that are still in situ.

I removed the first 30 cm or so to start with. The two runners that are left on the keel are too wide for the multitool blades I have to penetrate so I had to cut them off one at a time. Here you can see the plywood that protrudes into the keel slot coming away from the keel.

I had time to do some more and this is as far as I reached before deciding that it was time to stop. At this point I need to clean up the mess, remove the remaining sliver of runner from the keel, and then turn around and work on the remainder of the runners from the aft. So, a good place to halt for the day.

The long, narrow piece to the left of the keel by the multi-tool is the plywood from the slot. It came away fairly cleanly and the slot will only need a little cleaning up to remove any glue that stayed on the slot rather than come off with the plywood.

Time for a cup of tea.
2026-01-21 – More Small Tasks

With the current wet and windy weather, I can not say that I am particularly enthused to work on Shoal Waters today, but given my target of working on something for Shoal Waters every day, no matter how small, I resolved to get out there and do something.

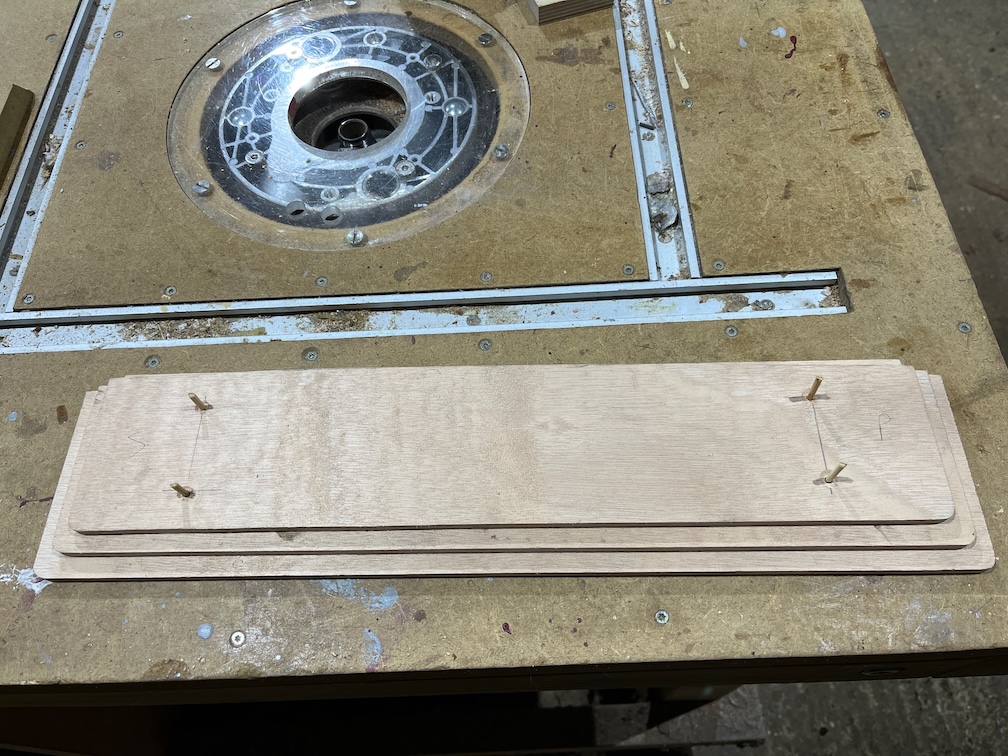
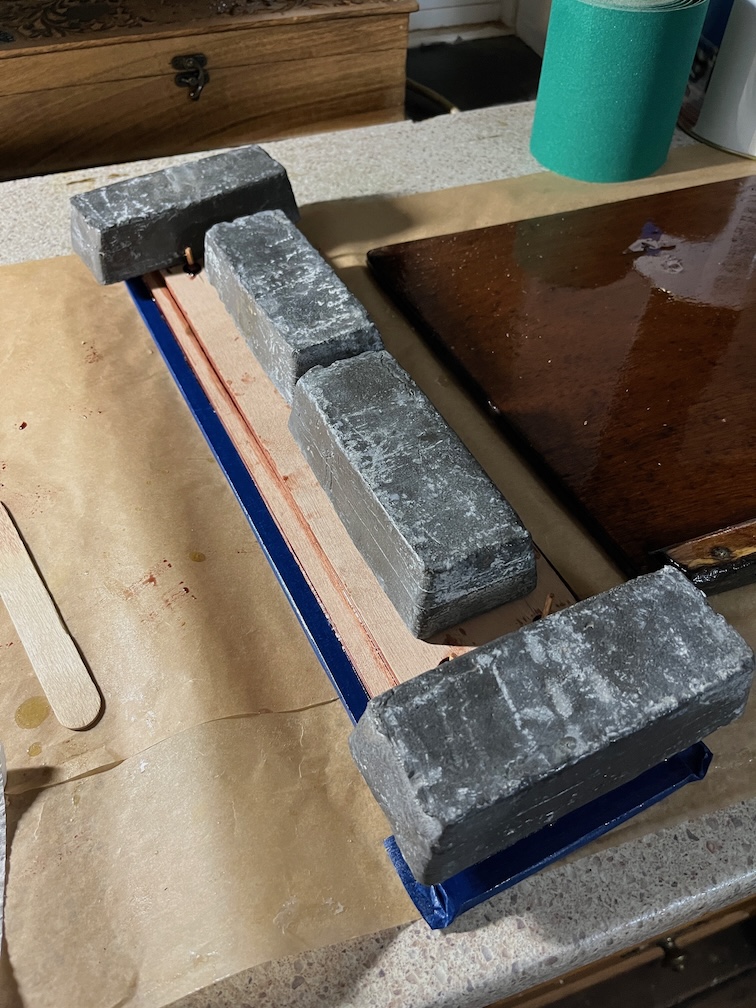
This was the first something, the top runner. I unclamped it, removed the wooden batten and the baking paper and cleaned up the edges where the meniscus had formed. The result is pretty good.

The next small task was to mount the clock and barometer. This was a little fiddly as the bronze screws are 3/4″ and I had to hold them with a pair of long-nosed pliers to be able to screw them in the pilot holes which needed to be drilled with a bit extension. Still, the job got done and the result is very nice.

The barometer seems to be working quite well, it tracked the pressure shown on the weather station and that is good enough. When sailing you are mostly concerned with the rate of change of pressure and how high or low it was before the change started rather than the absolute pressure value.

Time for a cup of tea.
2026-01-20 – Some Small Tasks

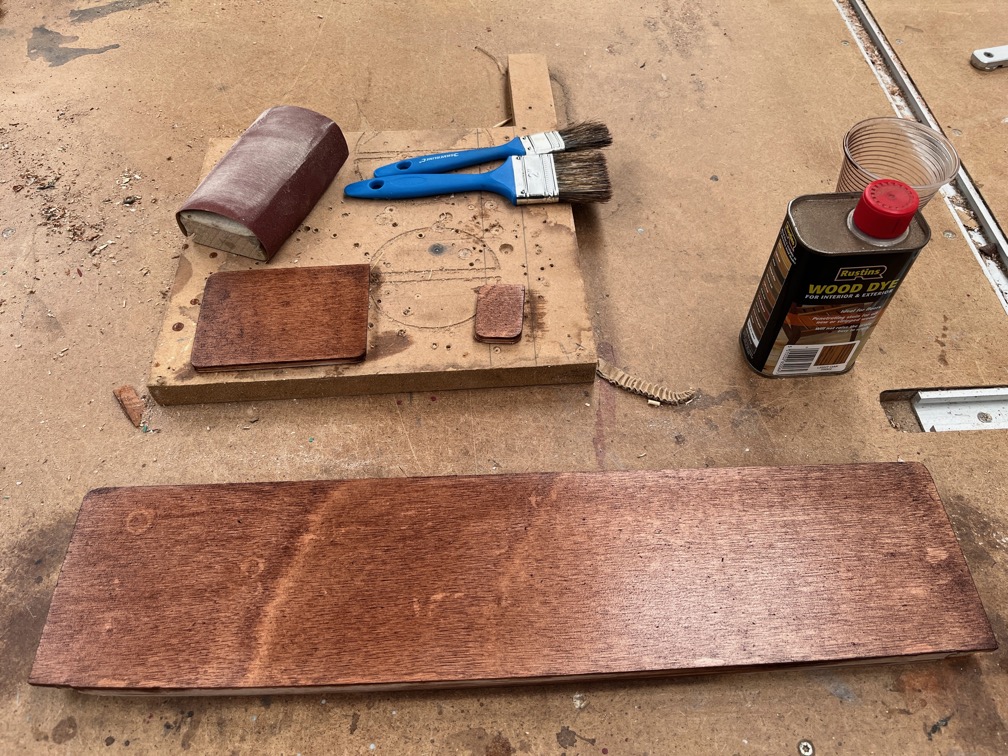
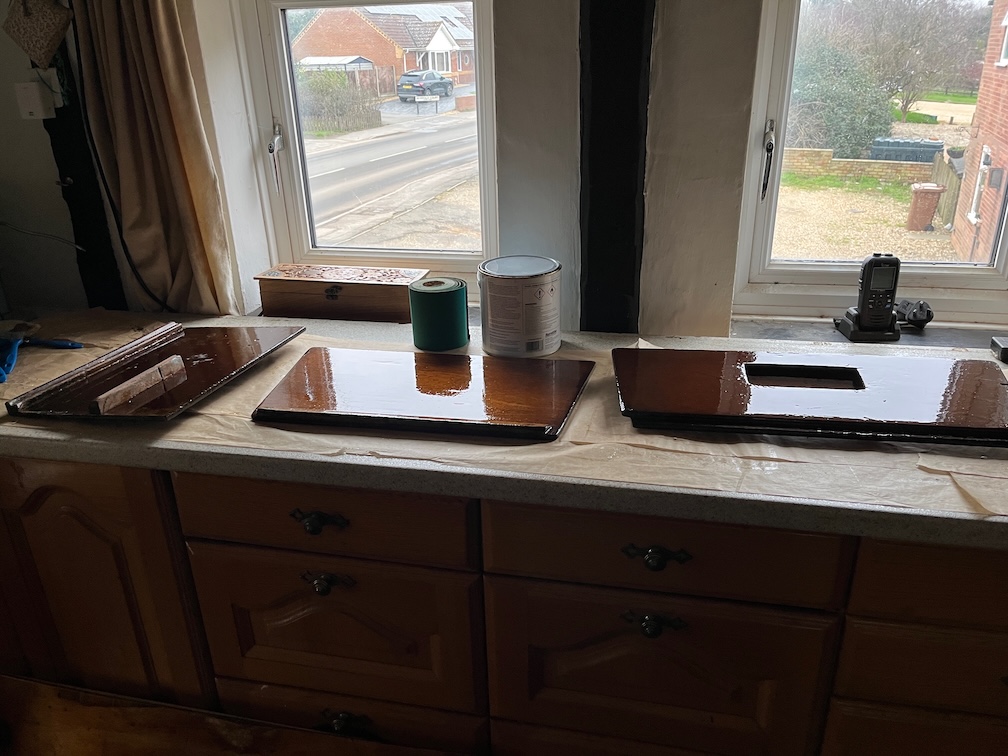
As we are having warmish weather currently, around 10º Celsius, I decided that one of the day’s tasks would be the sanding and varnishing of the mounting board in the cabin, the one upon which the clock and barometer will be mounted. I decided this yesterday after hearing the weather forecast and this morning set to with sandpaper and varnish to get the job done. The board already had two coats of new varnish but the last one didn’t go on very well. It’s a condition known as Crawling Varnish and I’ve come across it before when varnishing Naiad.

The solution is simple. Sand it well and try again.

Prevention in this case is also simple. Sand between coats, making sure that the surface is not too shiny and is free from grease.

It was that last one that got me. I thought that since the varnish had been applied less than 24 hours earlier, it would still be chemically active and the new coat would bond to the previous coat. I was wrong ! It was too shiny and smooth.

I also worked on the top runner. One of the sides of the runner, the one that will be glued and screwed to the case side, has been scraped and sanded away to remove the soft wood. If left as is this would form a potential water trap, something I am very keen to avoid, so I need to fill the wood so that it will fit flush against the side.

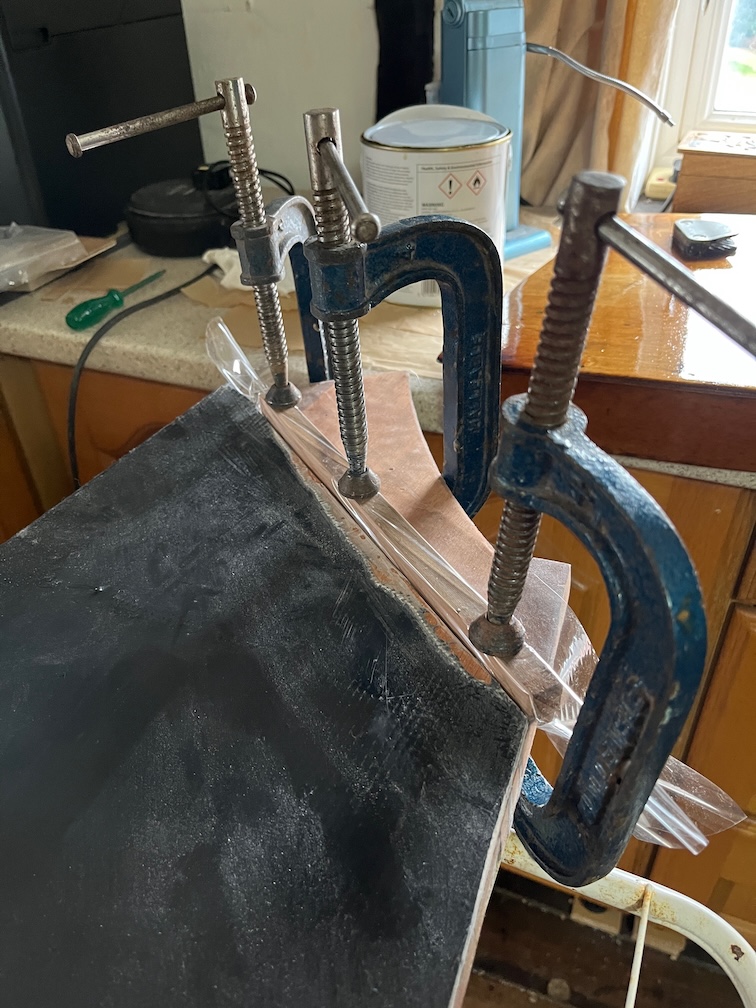
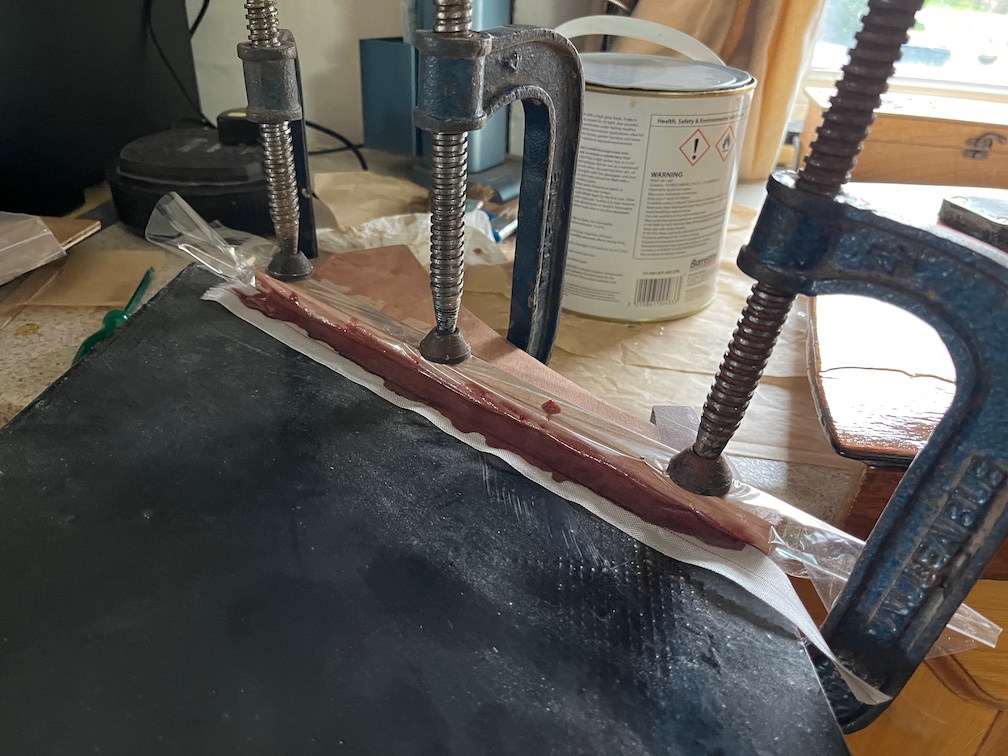
I clamped a long flat piece of wood to the side of the runner with a length of baking paper between the two to prevent unwanted adhesion. The gaps left by the wood removal were then filled epoxy slightly thickened with low density filler. The epoxy was intentionally quite runny despite the filler such that it flowed into the gaps.

Once the epoxy has cured I shall remove the clamps, wood and baking paper, tidy up any splotches and the runner should be ready at that point to be fixed to the case side without fear of trapping any water in the future. This is probably taking things to an extreme, but it isn’t going to hurt.

The next small task I undertook was to start work on removing the remains of the port side of the centerplate case from the stern block. This was only a small area but the access is from the cockpit in which it is too cramped to kneel. The work has to be done whilst half sitting on the thwart and half crouching down to reach the work area.

This is not completed yet, there is still some plywood attached to the aft block but I cannot get at the plywood using the multi-tool and have to use a sharp chisel. Even then it is not an easy job.

However, I did manage to get all three runners removed to the port of the block almost down to top of the keel. I say almost since there seems to be a thin piece of wood laid on top of the keel and under at least one of the runners. This will have to be removed with some careful chisel work as well, so I’ll leave it for the moment and make the remainder of the removal a separate task.

Once again, most of the wood removed was damp and lacked much structural integrity, however, from what I can see of the keel it has not extended to that timber.

Time for a cup of tea.
2026-01-19 – Reseating the Tabernacle

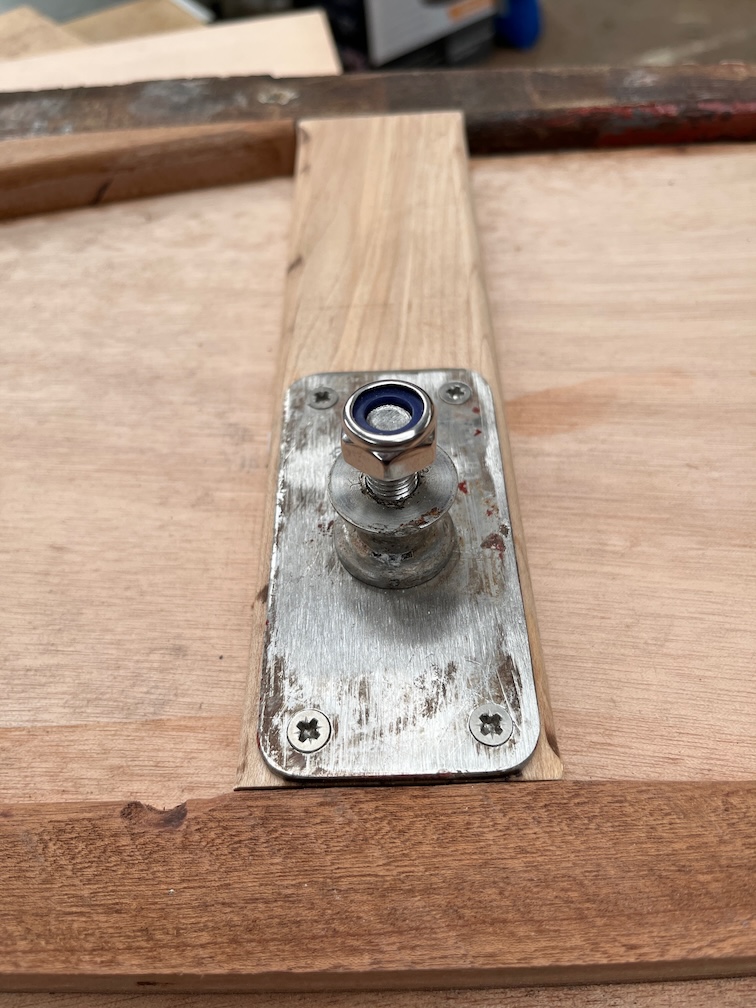
Today’s task was to put the tabernacle back into position with sufficient sealant to prevent water from getting down the bolt holes.

The first part of this exercise was to chamfer the bolt holes a little so as to allow the butyl tape to squeeze into the hole.

The tape itself was wound around the thread on the bolt as shown. As the nuts are tightened up the tape is pushed down into the chamfer creating a very tight seal.

I also used an exterior grade sealant on the deck so that the entire thing is sealed. It is important not to use an adhesive sealant here as that would make getting the tabernacle off again very difficult. The purpose of the sealant here is just to prevent water ingress. As for the spots of sealant splattered on the deck, I’ll pull those off once the sealant has dried.

From the inside the bolts and nuts are easily tightened up with the larger recesses allowing better access to the nuts.

It is very important when using butyl tape in this manner that once the bolts are located in the holes that they are not rotated as this has the unwanted effect of stripping the tape away from the thread. Instead the bolts must be drawn directly down into the hole by tightening the nuts, even it this is the more difficult option, as it was in this case. It would have been easier to attach a vice grip to each nut in turn and then tighten the bolt from the outside.

I’ll need to sand the backing board a little and then add another coat of varnish as the last coat of varnish has not covered very well, but since it is now dark outside, that is a task for tomorrow. Once that has been done and the varnish has dried, I’ll put the clock and barometer onto the board.

Time for a cup of tea.
2026-01-18 – Runners and Case Side

The first task of the day was to get the top runner underway since that needs to be left alone for several hours. So I made a start before breakfast.

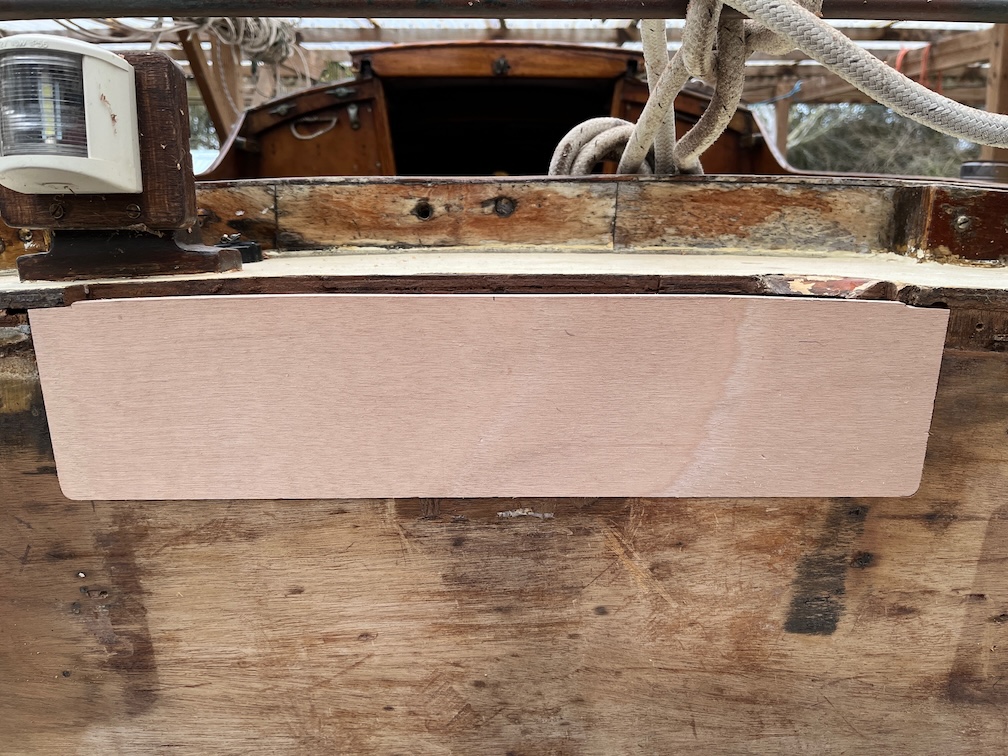
I marked the line that followed the slope of the runner on the new pieces, cutting off the excess with the bandsaw making sure to stay on the waste side of the pencil line. Then I used the belt sander to sand down to the line. The other three sides were also sanded such that the extension piece is fair with the old wood.

The next task for the runner was to remove all the soft wood which I did using a scraper to start followed with 80 grit sandpaper. In the image above the edge of the runner shown should be square and as you can see, it is not. I presume that this is rot in the wood but since there doesn’t seem to be any organic matter other than the wood, I’m not sure. Still, all the loose wood had to go.

What came off after the scraping and sanding can only be described as wood dust, a very dry powder.

I mixed up 30ml of Clear Penetrating Epoxy Sealer (CPES) and flooded the damaged surface of the runner until the sealer stopped being readily absorbed. The sanded areas absorbed the sealer like a sponge and sat on the surface of the rest of the wood, soaking in slowly. After a few applications the damaged areas stopped soaking up the sealer quickly and I left the runner on the baking paper to left the remaining sealer soak in as much as possible.

I had a little of the mixed sealer left and some of that was used to seal the wooden strip under the tabernacle as this was just bare wood after the deck had been scraped of old sealant and sanded.

I still had some CPES left and put that on the sampson post, just to use it up. There’s no real need to seal the sampson post, but it will not hurt it and it uses up the CPES that would otherwise be wasted.

After an hour or so the runner was placed on the Rayburn such that the warmth would aid the CPES cure process

Next up is the removal of the remainder of the port centerplate case side. The majority of the side and the easiest has been removed and what remains is the three bottom runners and the plywood that protrudes into the keel.

The Fairey Falcon comes with one runner on each side that is glued to the plywood case sides and the keel and Charles Stock added a second on alongside this, and a third on top. The top one was screwed and glued to the first and the second was glued to the side of the first and also glued and screwed into the keel. The width of the two lower runners is more than the length of the multi-tool blades so the top one was removed first allowing me to remove the two lower ones one at a time.

The uppermost runner was a bit more difficult than the starboard side as there are more screws holding the it to the lower runner and they are a little more deeply set making them not so easy to spot. The quickest way is to run the multi-tool blade under the uppermost runner, cutting in about 10 mm along the glue line, and note where is doesn’t cut into the wood. A chisel is used to remove the wood around this spot revealing the screw which is then removed.

The drawback of this is that the multi-tool blade becomes blunted very quickly! It’s a blade for wood, not metal.

This looks like a right mess at first glance. It is the remains of the uppermost runner at the stern of the case which seems to be made of Mahogany whereas the rest of that runner seems to be Ash. You can see the colour difference at the bottom of the photo. There is a dark section of wood with two lighter brown pieces beside it and below those in the photo the wood turns a light brown, almost beige. This is the Ash.

All the Mahogany in this area with the exception of the two mid-brown pieces, is wet and fibrous indicating that this has been wet for a long time, like the plywood of the case sides. It is still wet as there is nowhere for the water to get out. Paint on the outer parts and glued plywood on the inner sides.

I noted that this was also the case for the starboard side.

This is the starboard side cleaned up and from the cockpit, but you can see that the wood is a dark brown and I noted in the post at the time that it was wet.

Now, the question in my mind at this time is whether the water has got in from the inside of the centerplate case as is it has for the damaged plywood, or whether the water has got in from the outside, namely the cockpit. The footwell does collect water, mostly fresh from rain, so this is not so strange as it might sound.

A couple of hours of work and the port side looks like this. I was pretty tired at this point and just left everything as it was, I didn’t have the energy to clean it all up. I’ll do that later. Still, the uppermost of the runners has been removed in the cabin area leaving just the section that is in the cockpit. After cleaning up the mess removing the remainder of the uppermost runner will be the next task.

After that, the lower runners will be removed and the top of the keel cleaned up. Finally, the areas around the forward and aft centerplate case blocks will be worked on and the inside faces of the slot sanded.

I shall also use the new heater to warm the cabin up with warm/hot air and block the companionway hatch so that the only way out for the warm air is under the bridge deck and into the cockpit and through the slot in the keel. This will help dry out the wet sections of the keel and aft block in preparation for the new case sides to be glued in place.

But that’s a few weeks away yet.

Time for a cup of tea.
2026-01-17 – Oops !

I had big plans for today, get the case top runner done, mount the tabernacle, fit the retaining bolts for the hatch…I figured that these would take me most of the day and if I had any time left over, then I still have many items on my to do list.
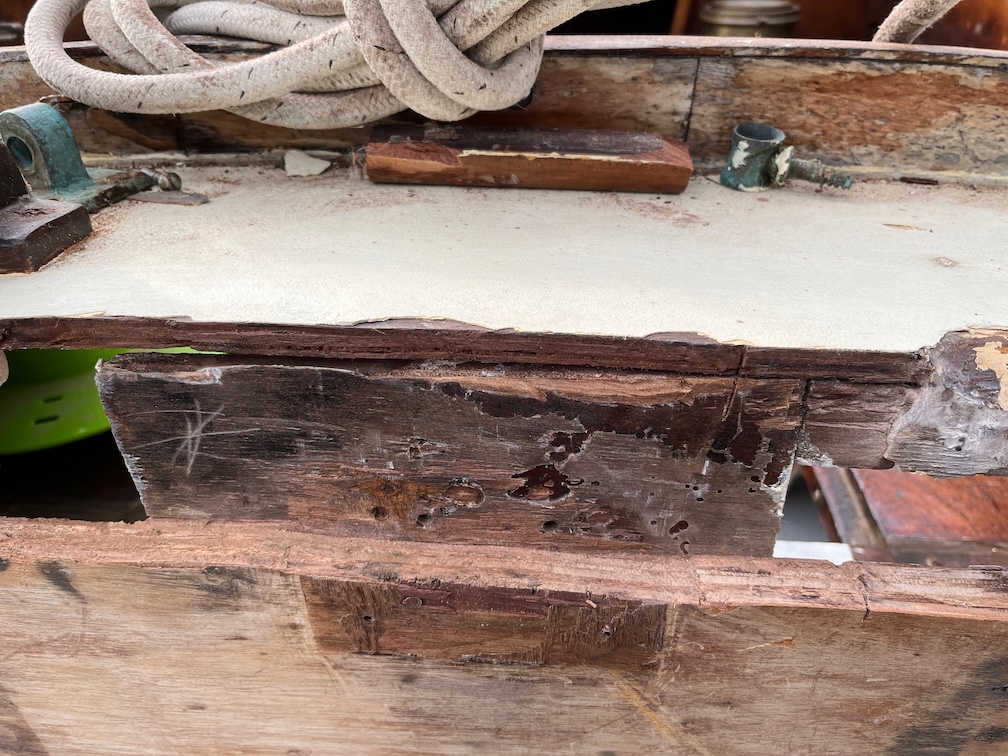
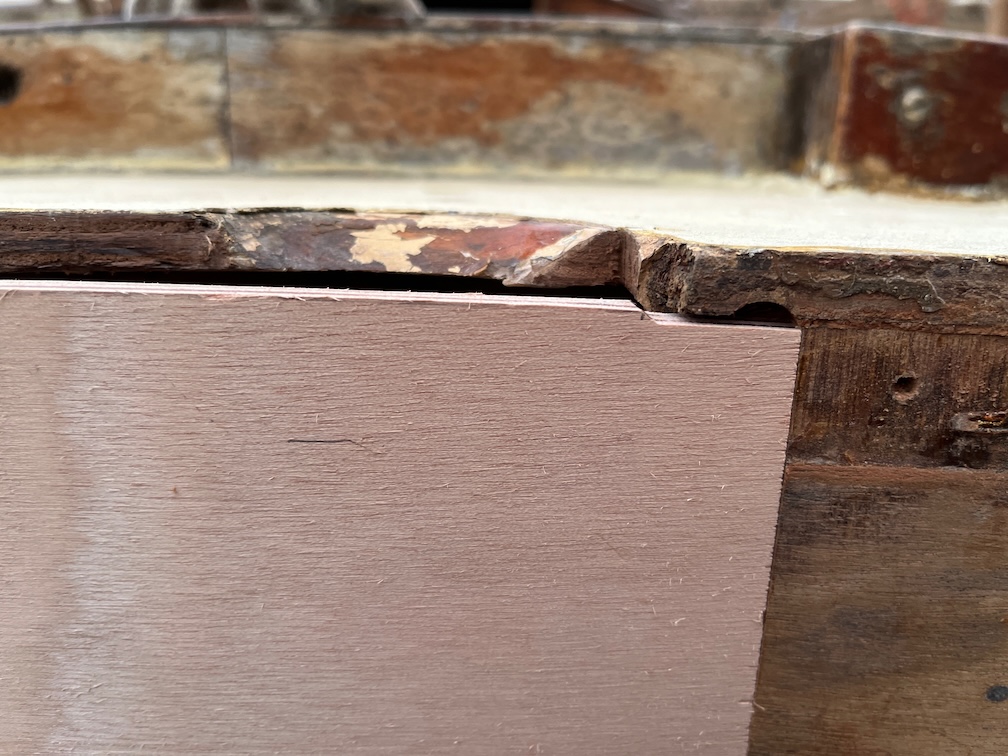
First up was the top runner which needs to be extended like the other. This took longer than I wanted, I messed up the first one by making it too narrow, but I got it right on the second try, took the runner into the workroom and epoxied the two pieces together.
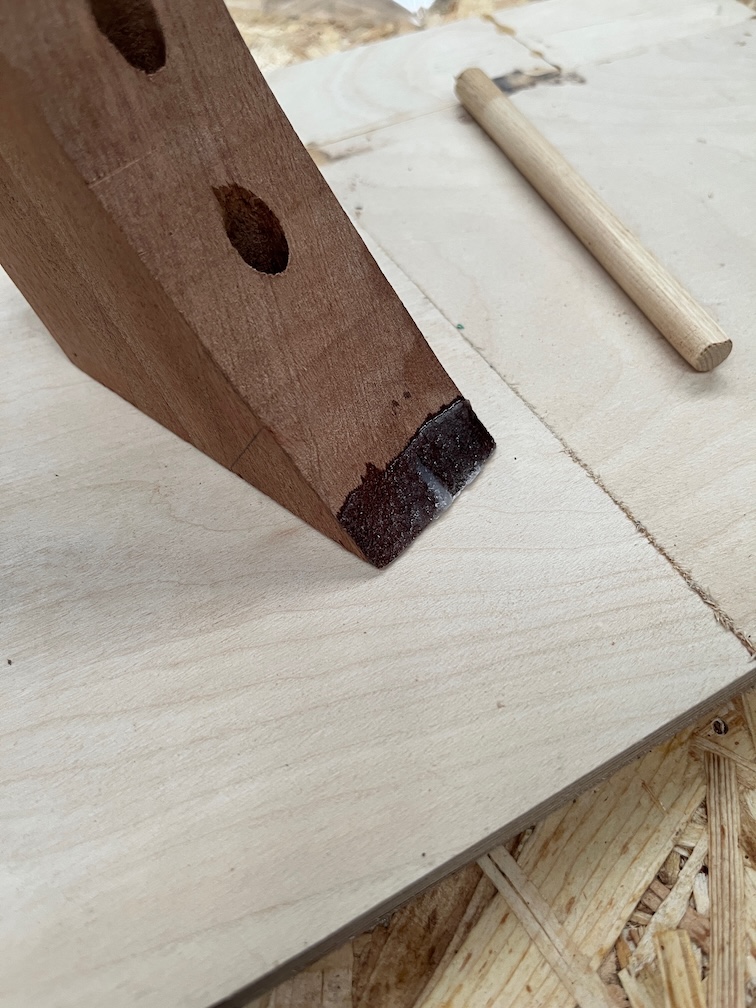
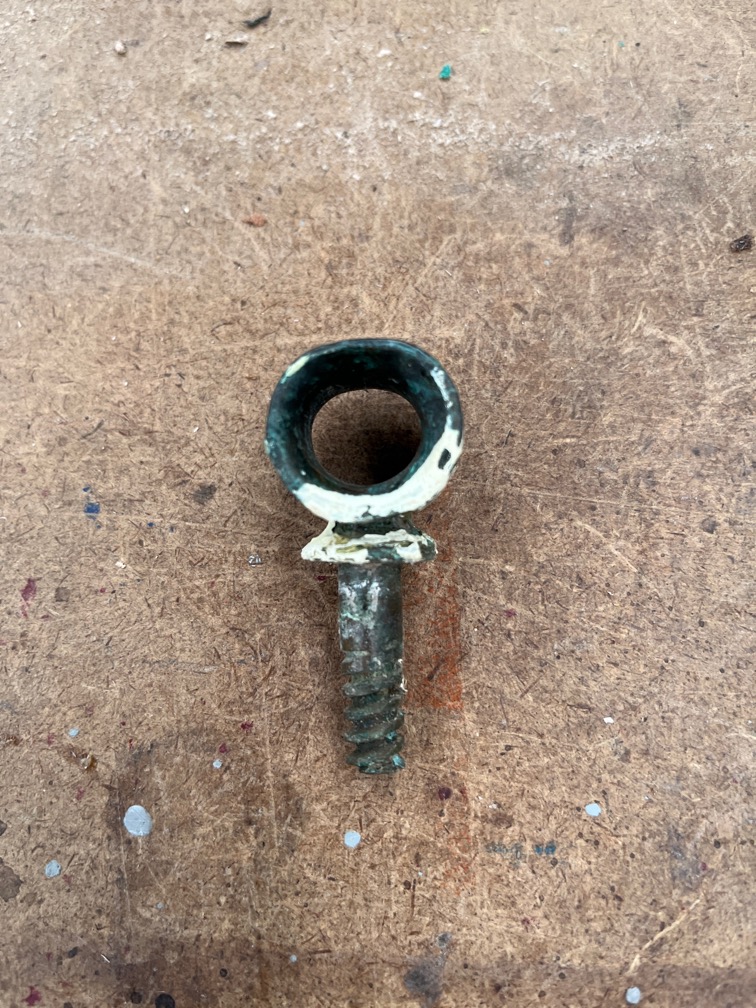
This left a fair bit of thickened epoxy left so I used some of it to fill in the block restraining holes in the previously broken upright as I want to use a stainless eye-bolt here instead as the wood that was holding the shackle in place is getting weak.

These two pieces were out into the Rayburn to keep warm. I used the fast hardener for this job, but even so, raising the temperature will make the epoxy cure faster.

I had some epoxy left over so I went out to the boat and filled in a few holes and gaps that I had marked for this very purpose and that used up most of the remaining epoxy.

So far, so good.

The next task, the tabernacle had to be put aside for the moment as I need some wider washers for the bolts. Not a problem as this is not on the critical path.

On to the next task, the bolts on the sliding hatch and here’s where I messed up. Some of the gaps that now had epoxy filling them were on the hatch runners and I couldn’t do the bolts on the hatch.

Oops!

I had a cup of tea and a think and decided that I would spend some time cleaning up the workshop, emptying the sawdust traps, and cleaning out the mess in Shoal Waters, all of which needed to be done.

So, not what I had expected to do today, but necessary tasks all the same.

Time for a cup of tea.