
Before I turn Shoal Waters over for her hull work, I need to finish a few things first, primarily the backing board for the pintle.
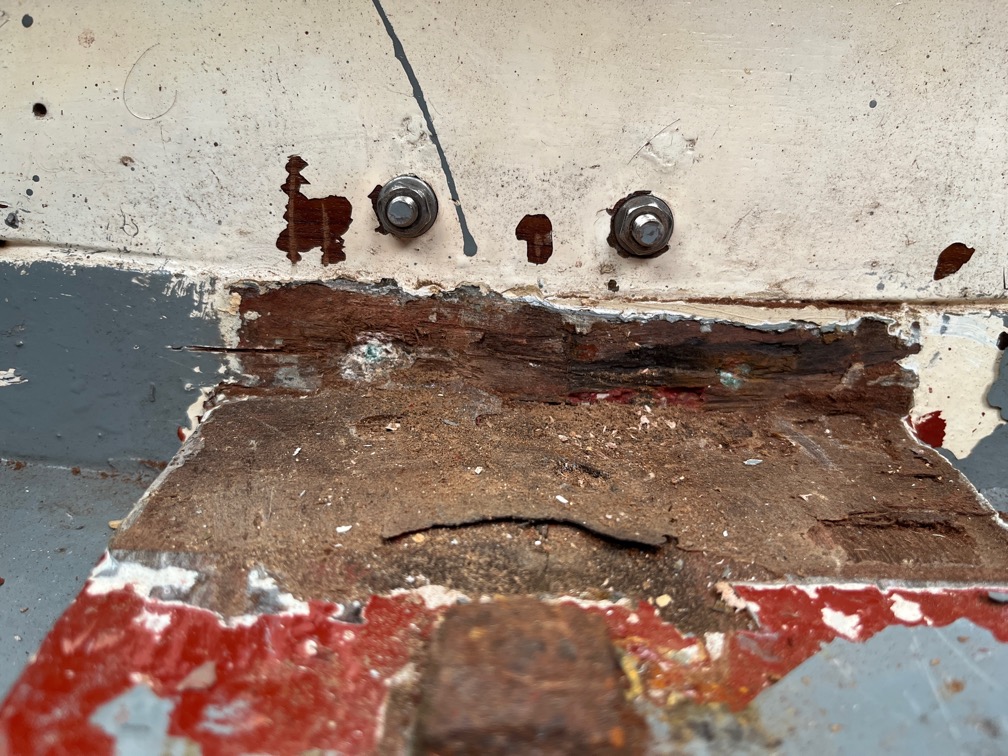
I’m fairly sure that the screws in the two lower holes in the pintle come out above the keel timber, or would if they were longer. I can see the remains of two prior screws that have been degraded.
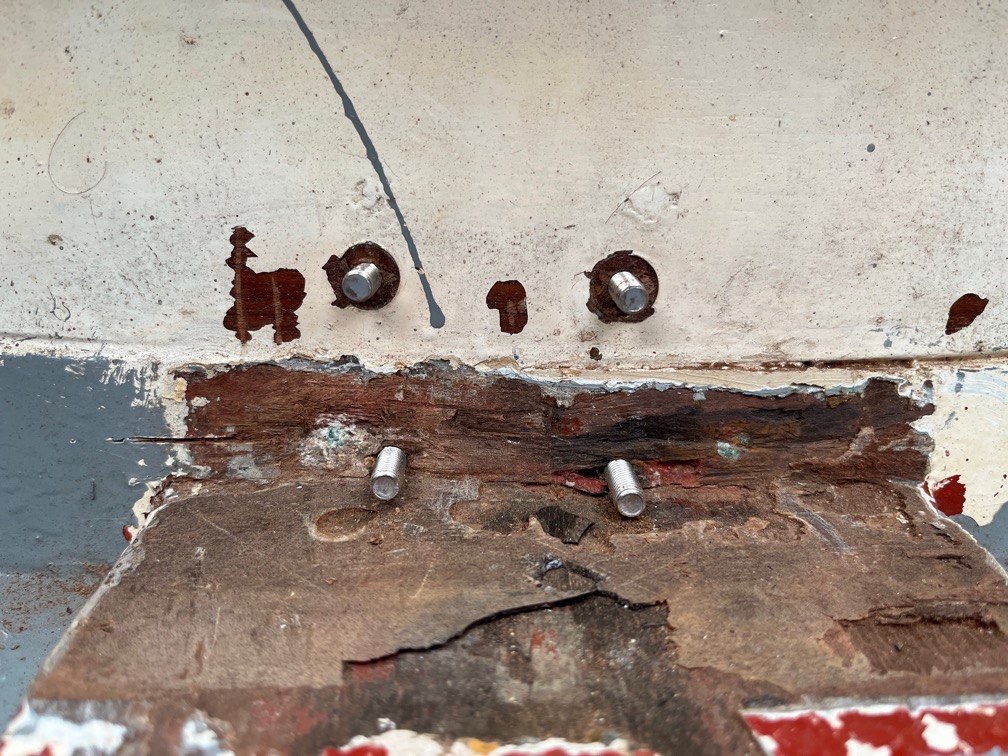
I drilled the holes right through the transom, and sure enough, they were above the keel, although not by a lot in the case of the one one the port side. I found two 6mm bolts of a suitable length as you can see here.
This is good news since these two holes are below the waterline and I don’t like using screws since they are difficult to get and maintain a good seal. The intention is to open out the holes to 13mm, fill them with thickened epoxy and then drill the correct 6mm hole through the centre of the epoxy. This ensures a very good seal between the wood and the epoxy and allows the use of butyl tape to make a good seal between the pintle, bolt and the epoxy.
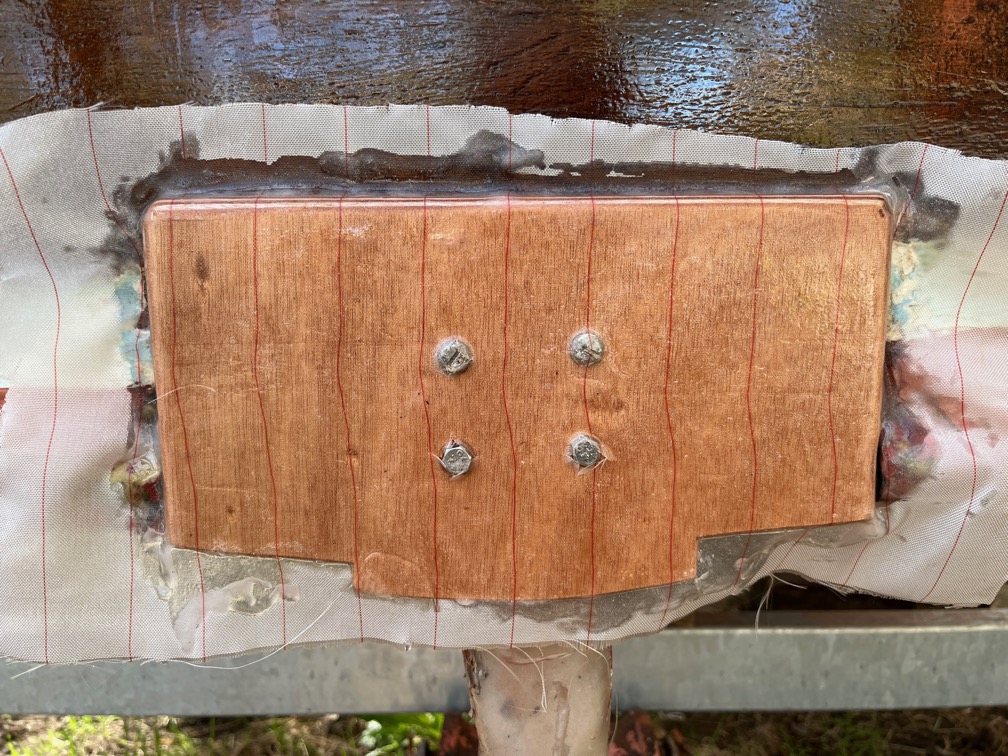
On to the backing pad itself. A template for this was constructed out of low quality plywood and from this two pieces cut out of the 6mm marine plywood and glued together. The mounting holes were transferred to the new pad by holding up the pad to the transom in the correct place and wedging it there with a post. A crosspoint screwdriver with a diameter of 6mm was pushed firmly through one of the holes from the inside, marking the plywood.
After that holes was drilled the pad was bolted in place os that the other holes could be marked. The bare transom was coated with neat epoxy, as was the outer face of the pad and lots of thickened epoxy spread on the pack of the pad. And by lots I really do mean lots of thickened epoxy. The bolts were put in place and tightened up squeezing out about half of the epoxy. This was deliberate as the transom was not entirely flat and having an excess of epoxy that squeezed out meant that there would be not gaps or voids between the transom and the pad. Finally, peel ply was put onto the pad and neat epoxy used to thorughly wet it out.
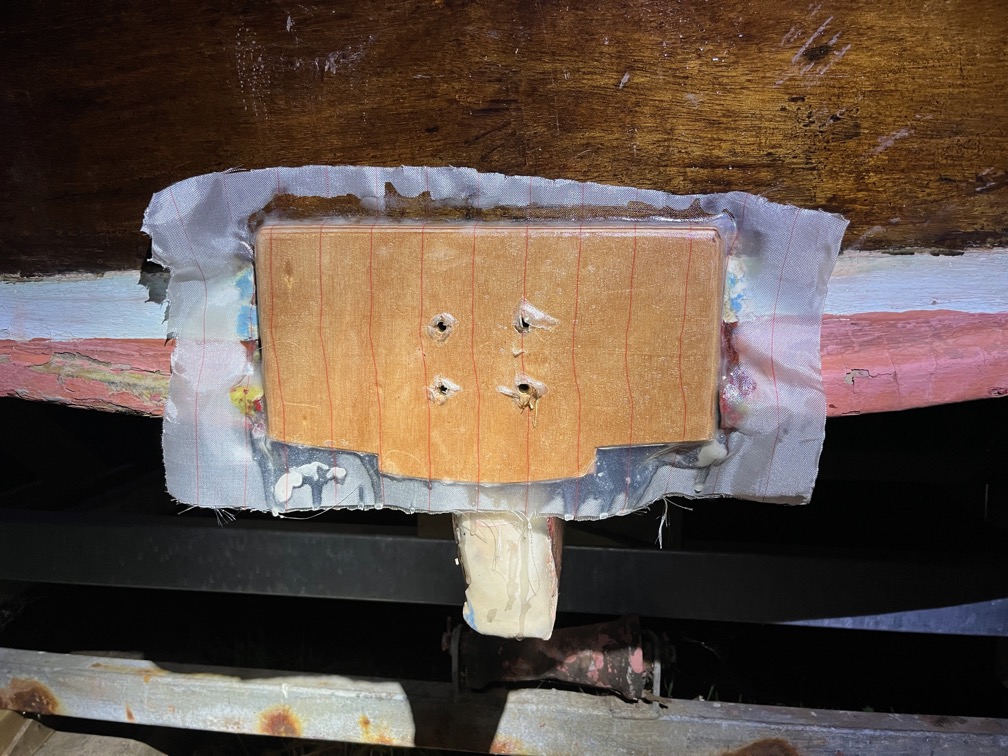
After a few hours, when the epoxy was sufficiently cured to stay in place without the bolts, they were removed through holes that I’d cut in the peel ply before laying it on.
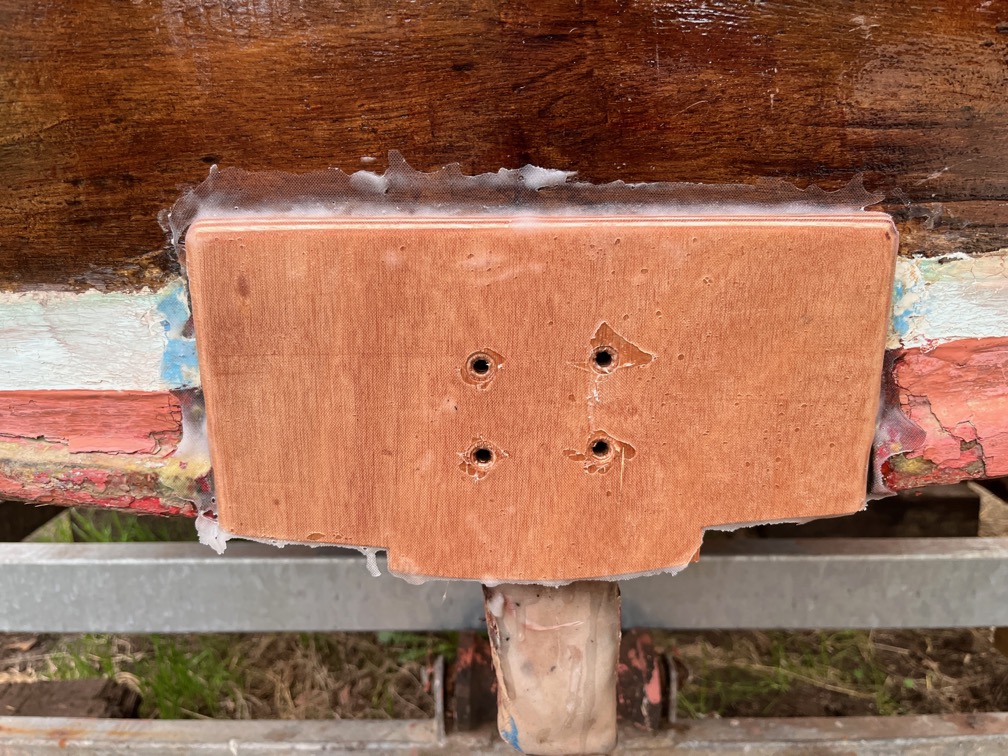
The following day the peel ply was removed. The excess will be tidied up after the epoxy work is completed, which is not now.
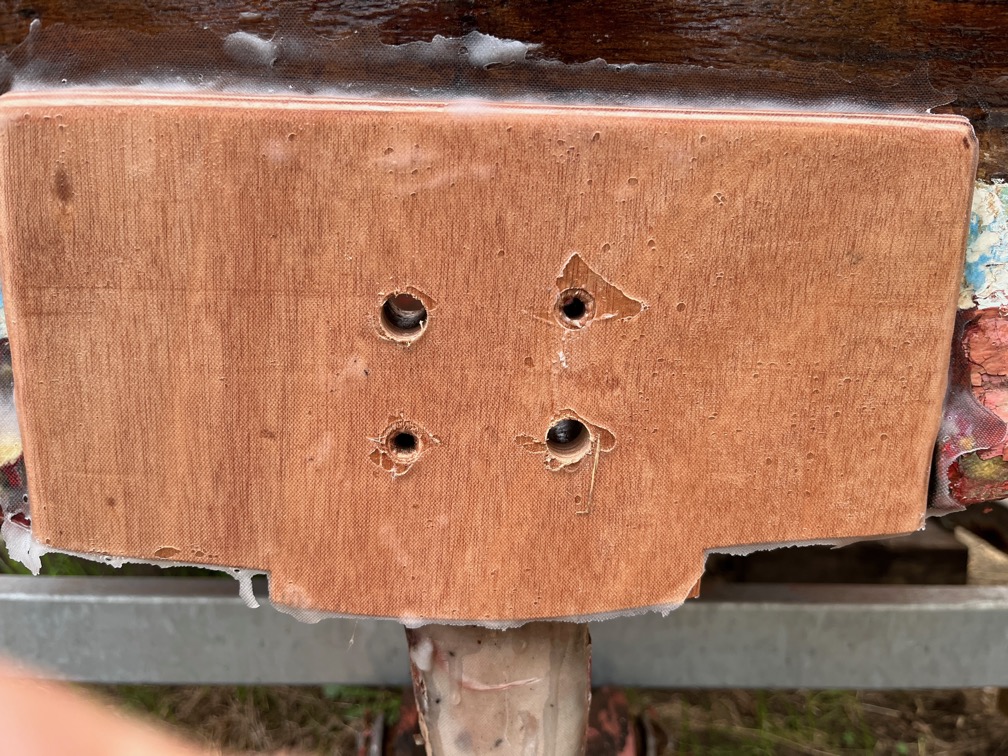
Two of the holes, one upper and one lower, were drilled out to 13mm, firstly using a stepped bit to 10mm and then by drilling successively larger bits through the holes.
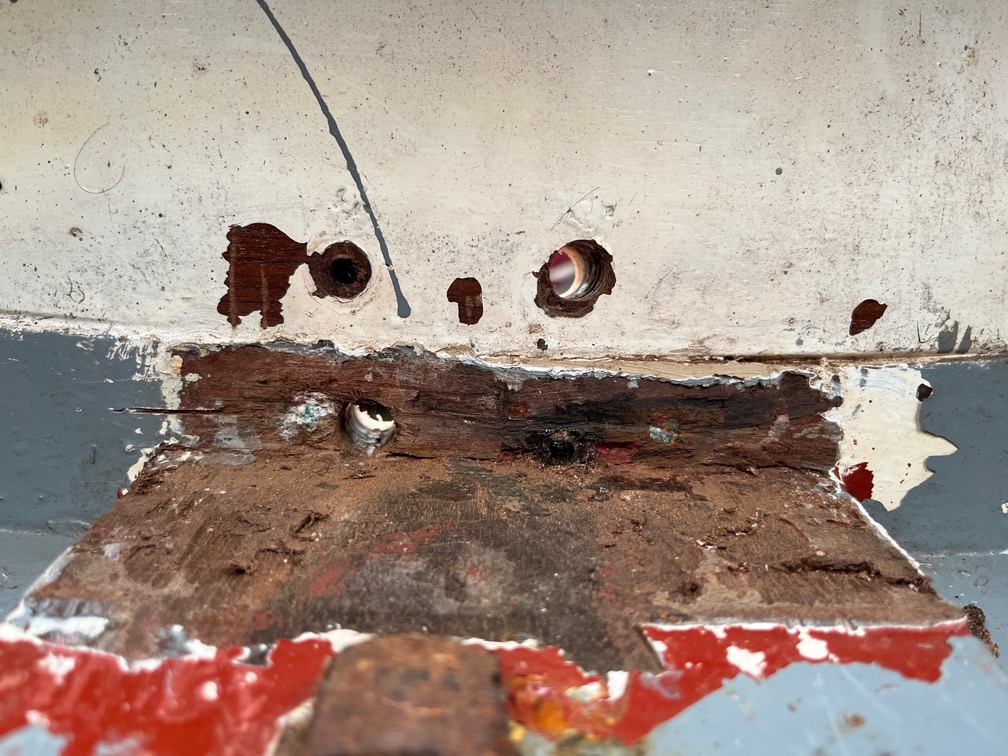
This is the view from the inside. Now you may be asking yourselves why only two of the holes? The answer is so that I can use the other two to fit the pintle and mark the correct position of the new holes in the epoxy. Once these two holes are done the other two holes will be similarly treated.
I did, however, have to spend some time cleaning the curing epoxy off the bolts.
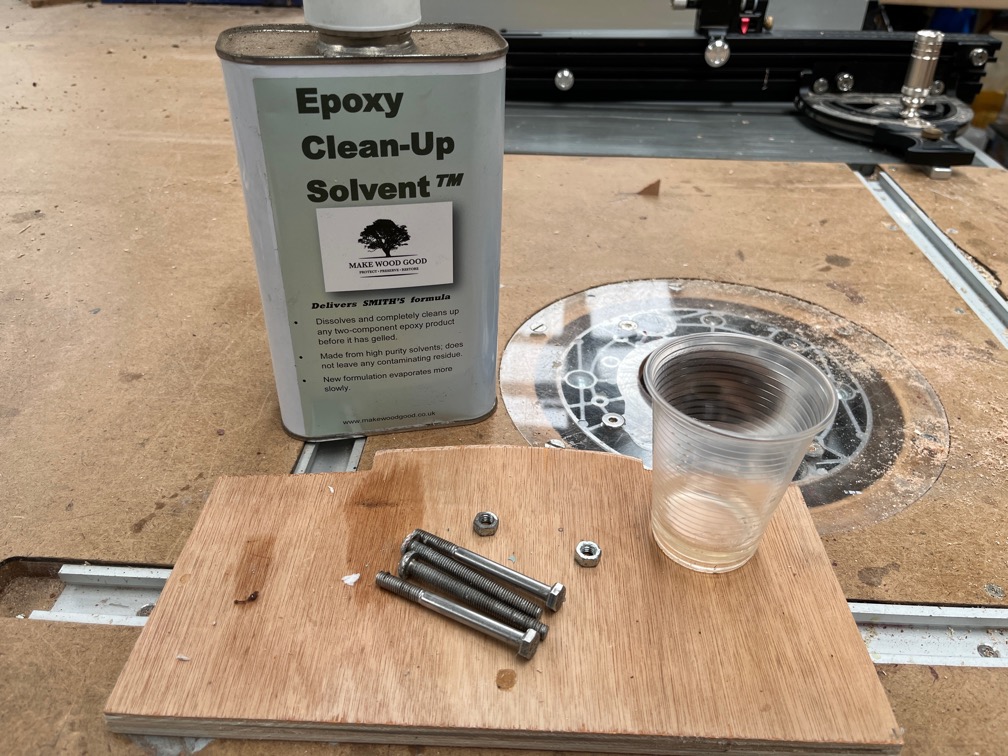
I have an epoxy solvent that does the job fairly well but only on epoxy that is still soft. Once it is hard you need to use heat to soften the epoxy enough to scrape it off. The bolts cleaned up well, ready to be used once the rest of the epoxy work is done.
Time for a cup of tea.