2026-03-11 – Gantry Crane V

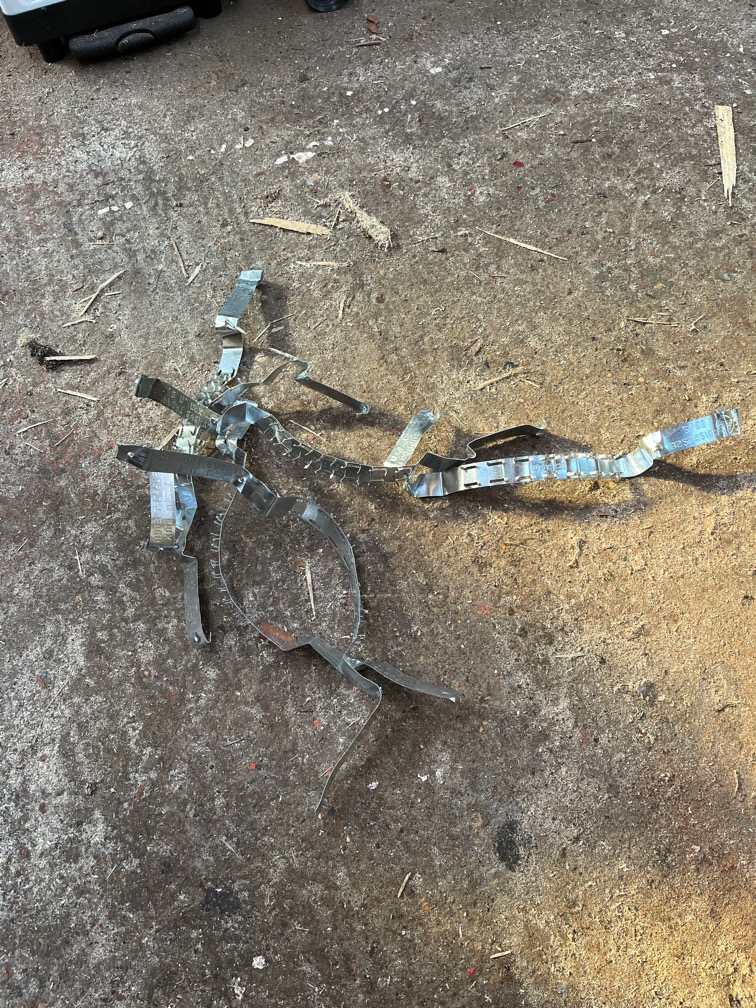
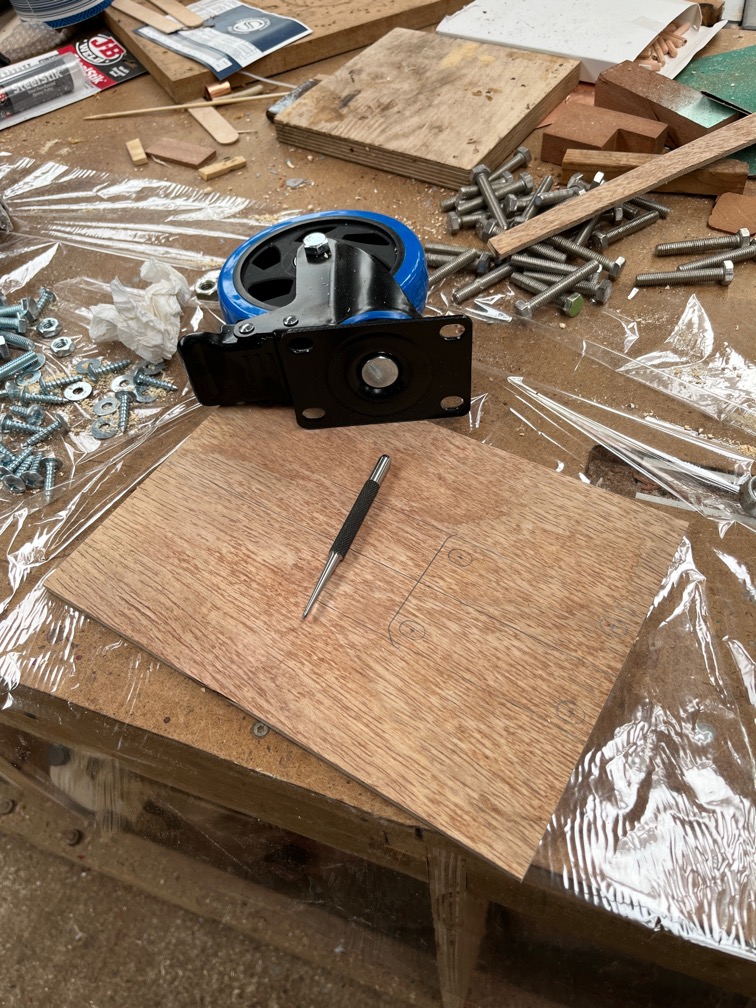
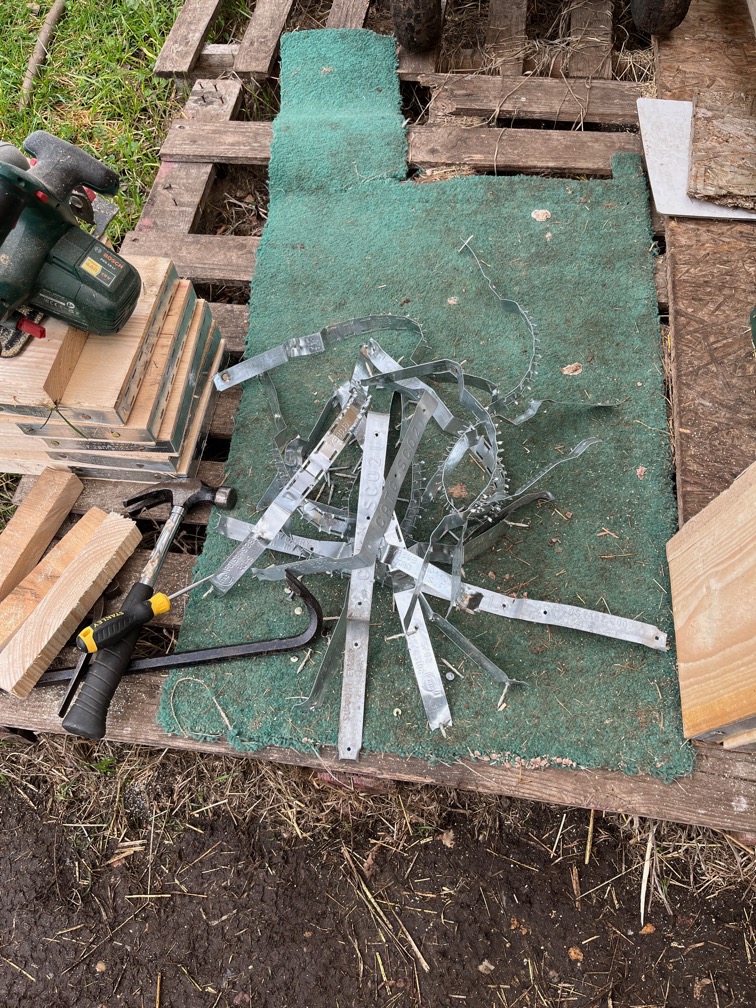
The pins for the cranes did not arrive yesterday, so the first thing I did this morning was to look for alternatives that will do until they do arrive.

Rummaging through my sundry metal bits bin I found these. They should be good enough.

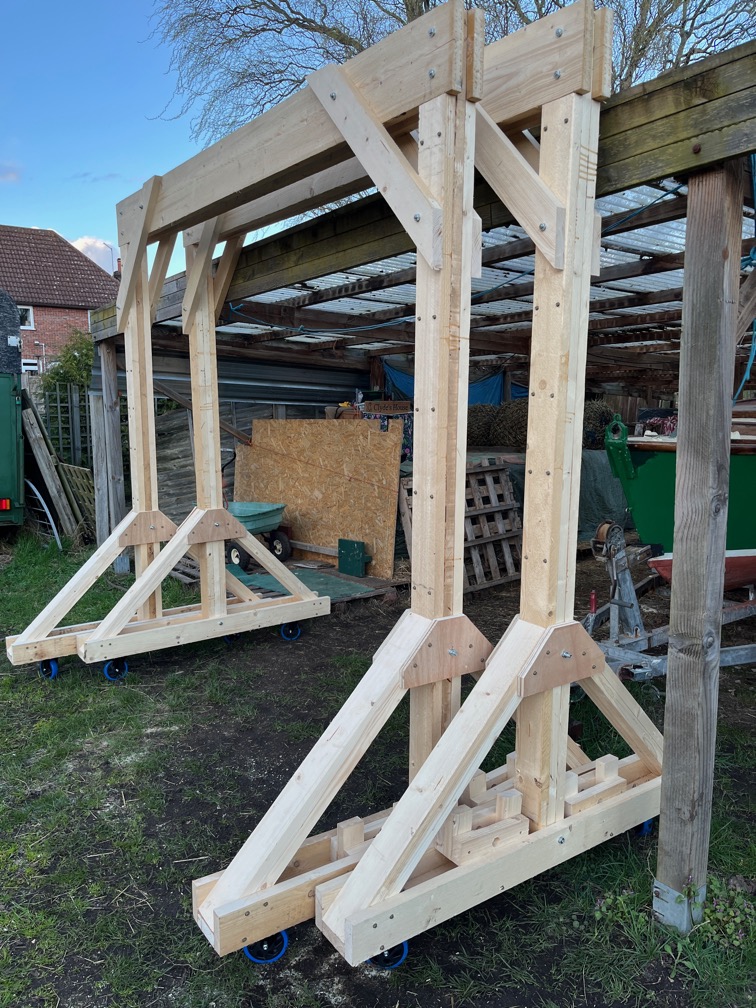
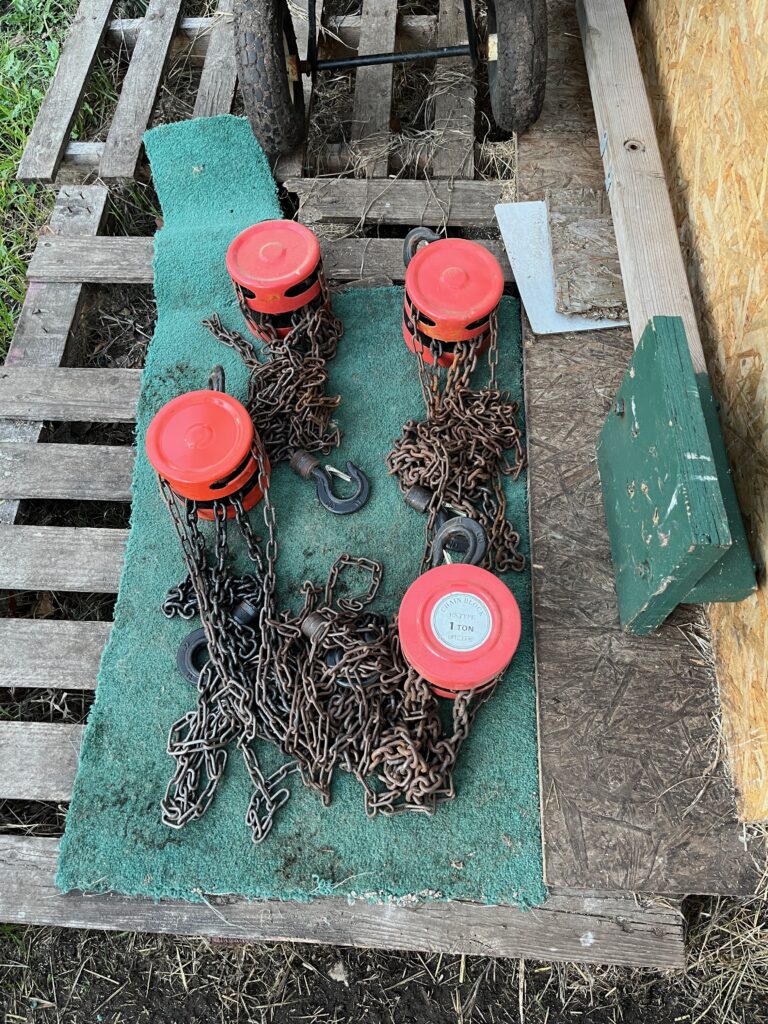
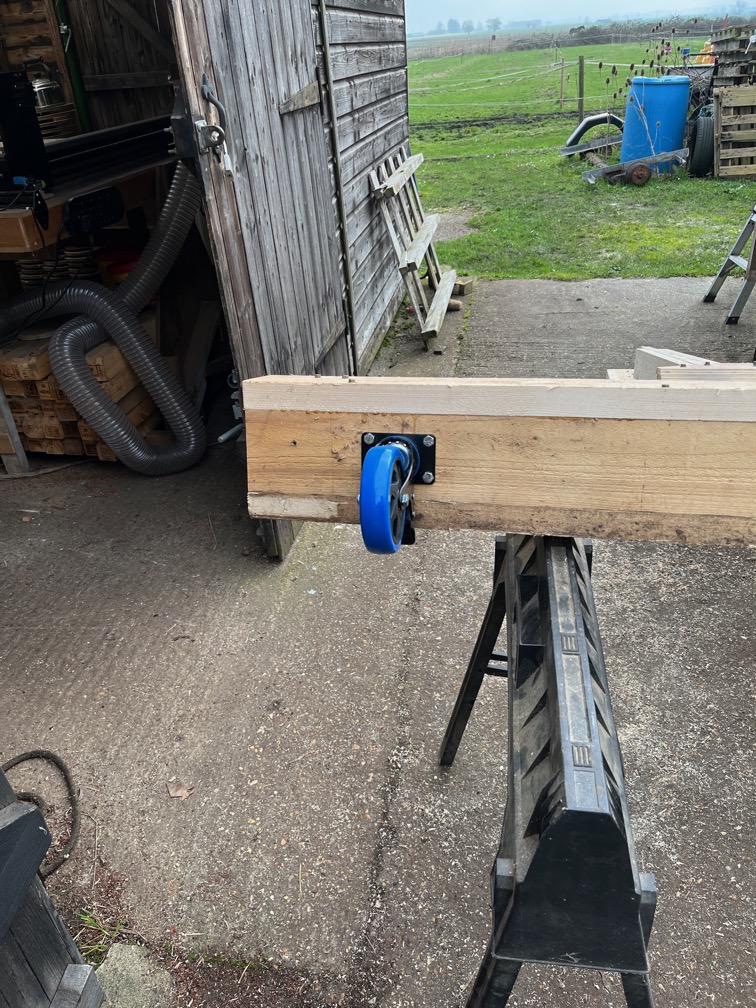
During my first break I put the pins into the mounts and hooked on the chain hoists.

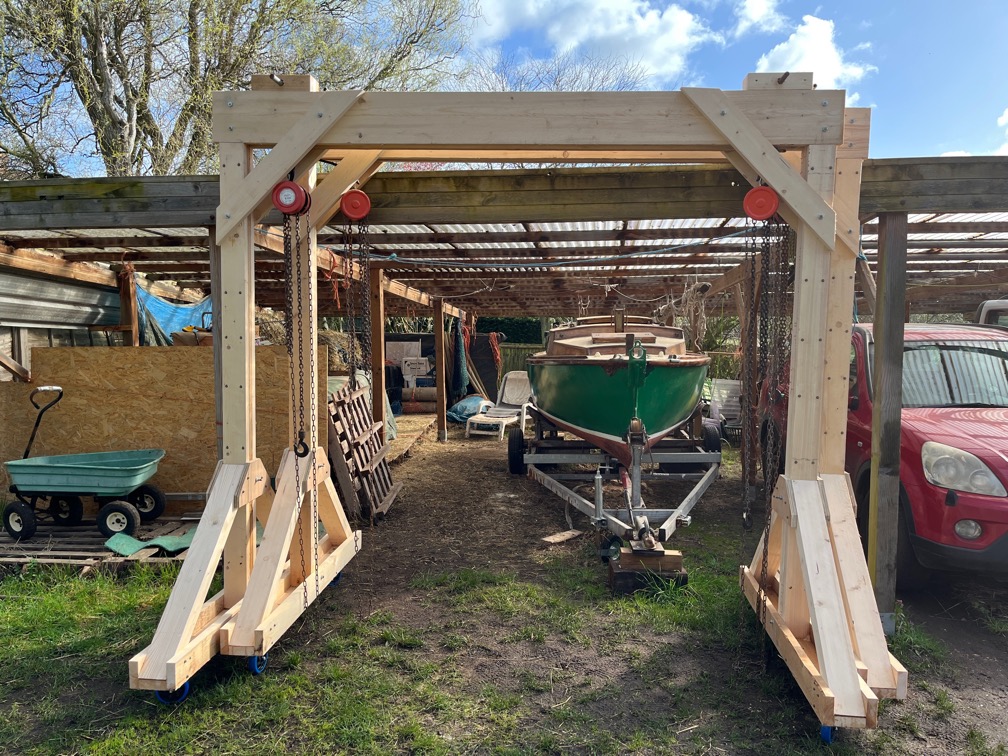
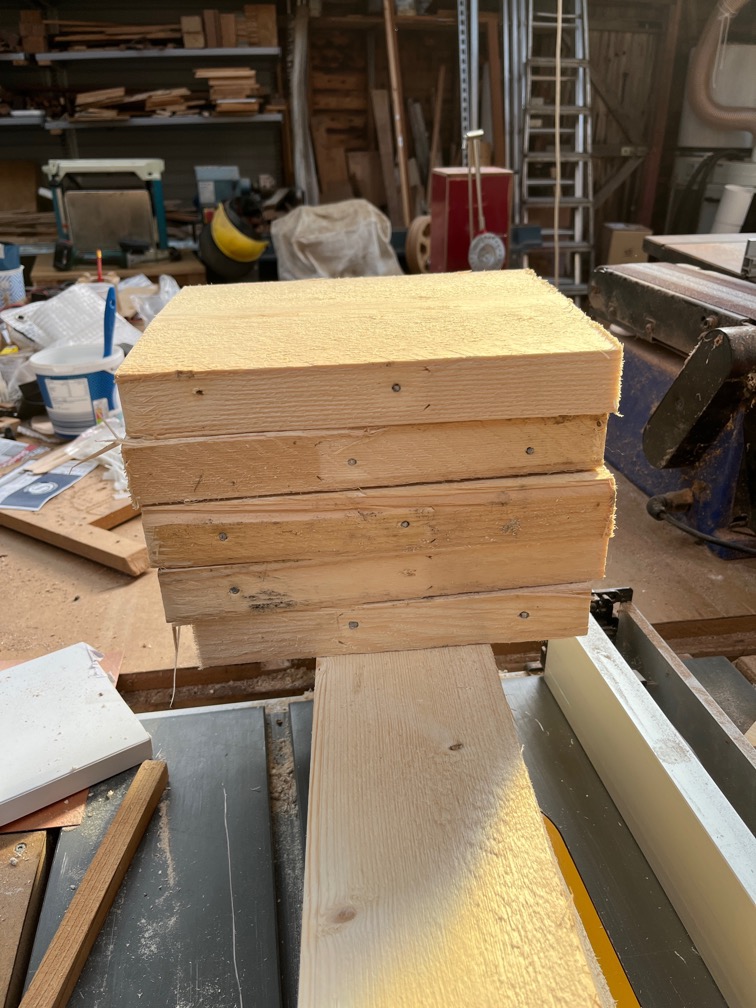
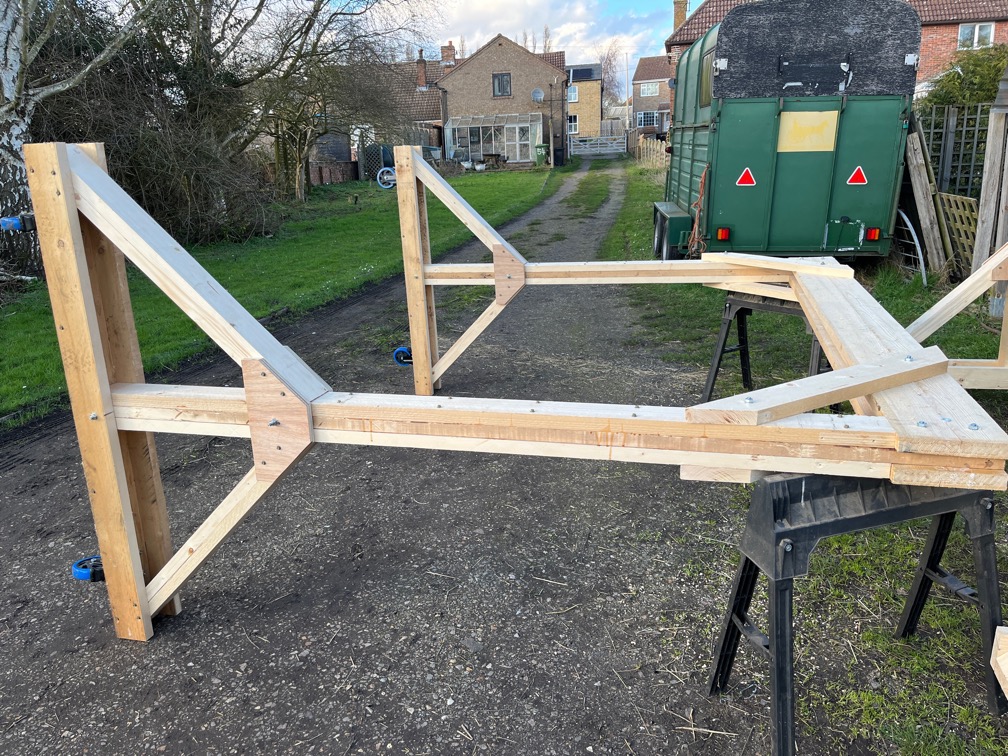
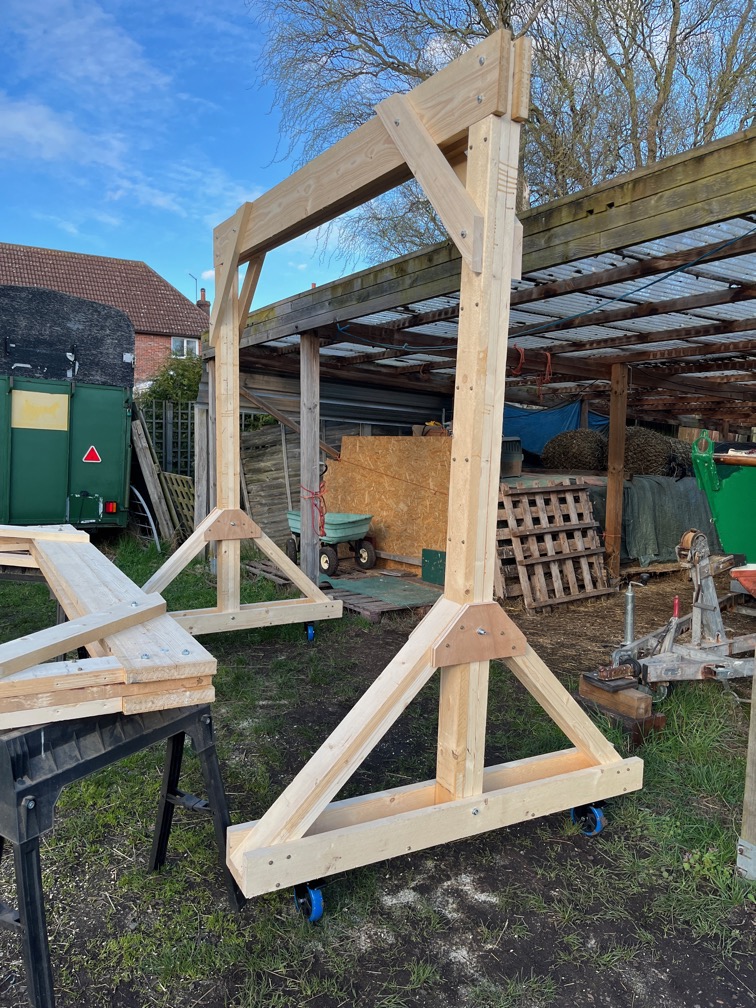
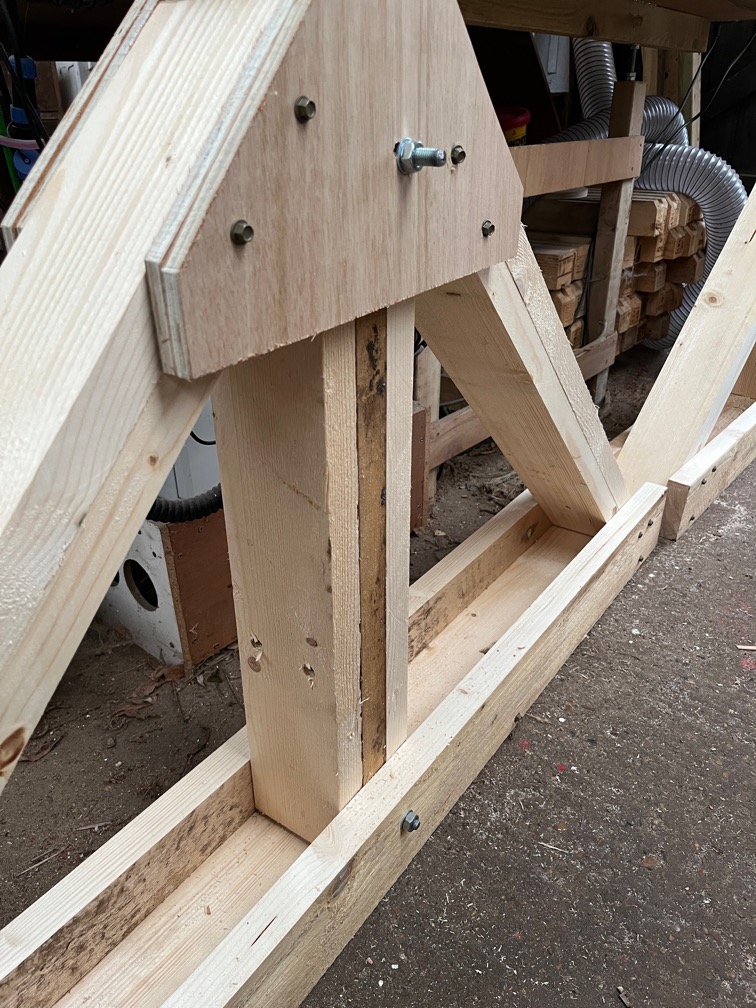
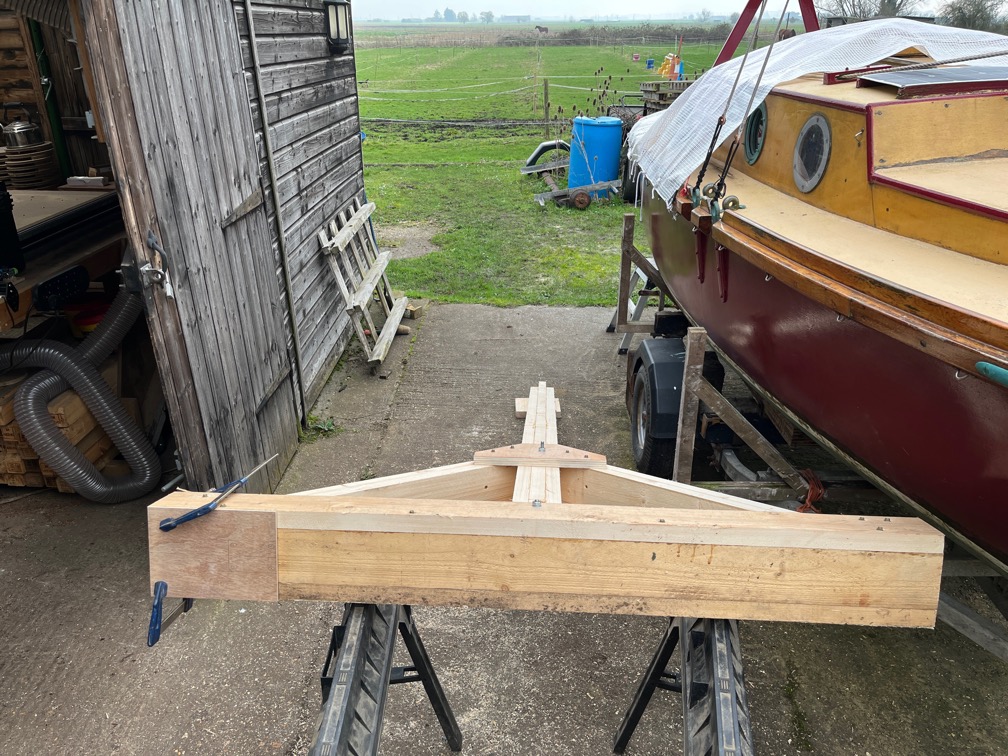
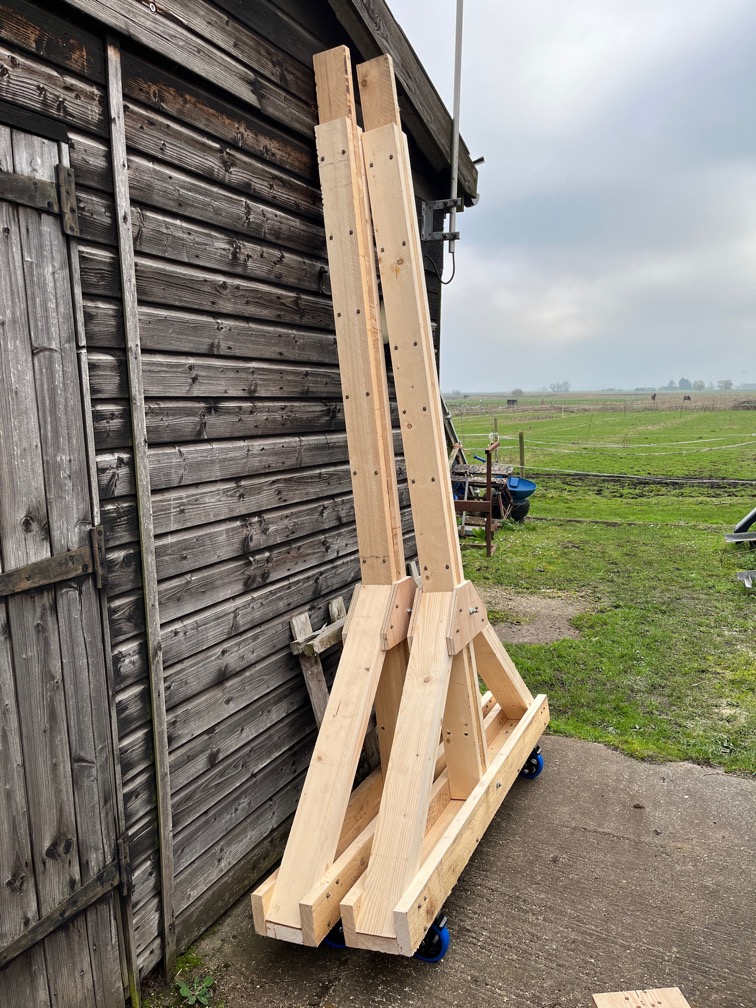
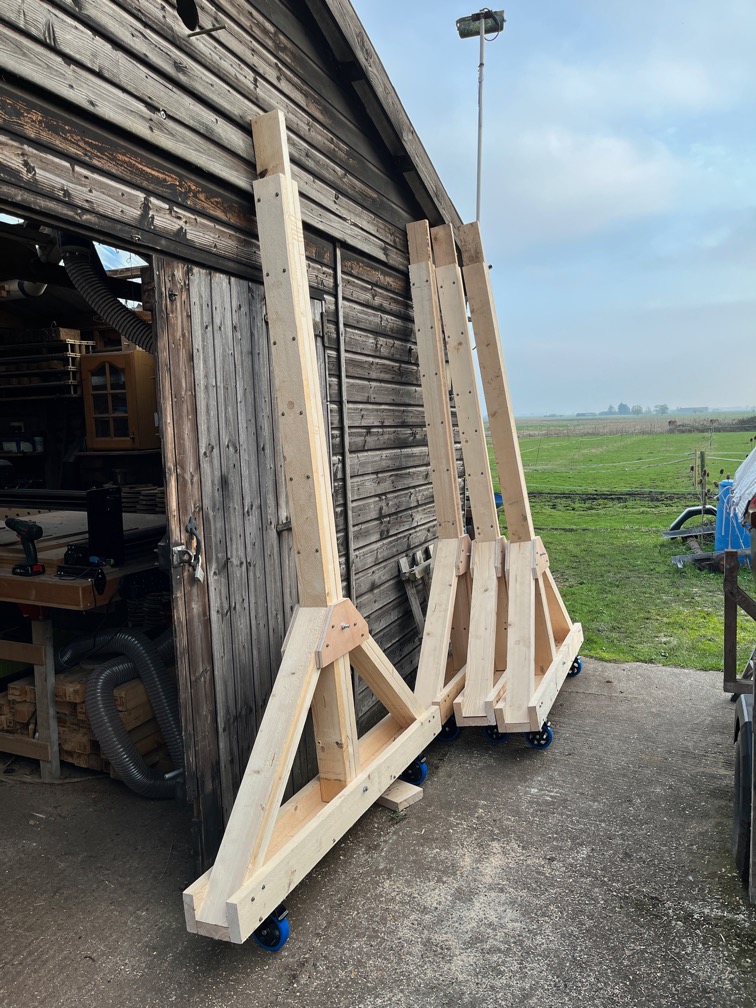
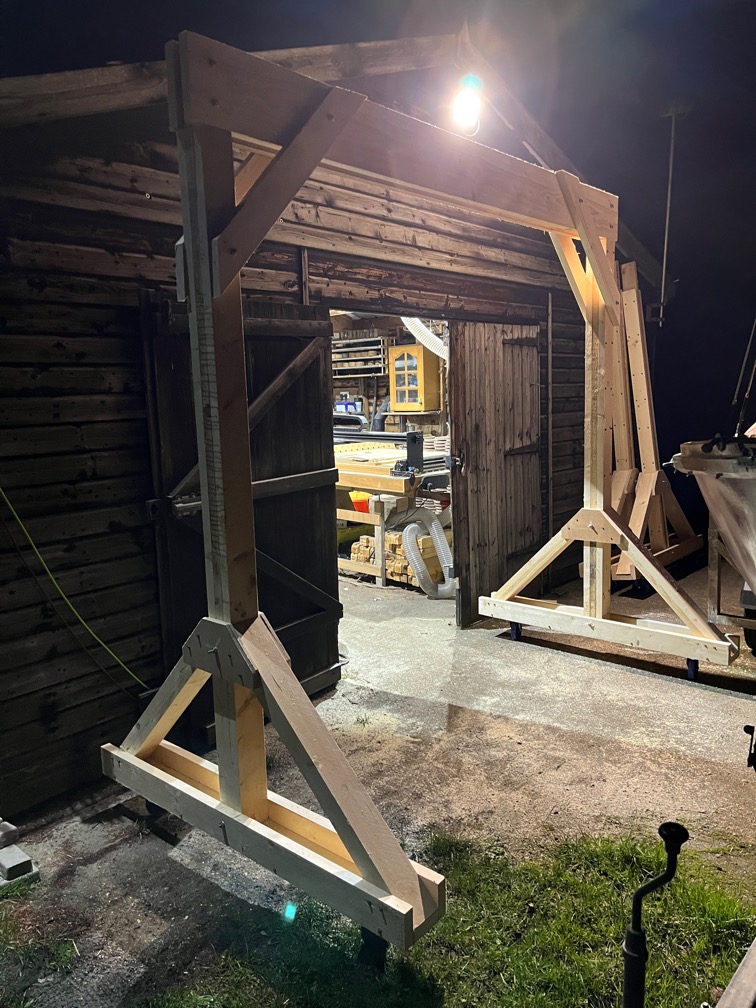
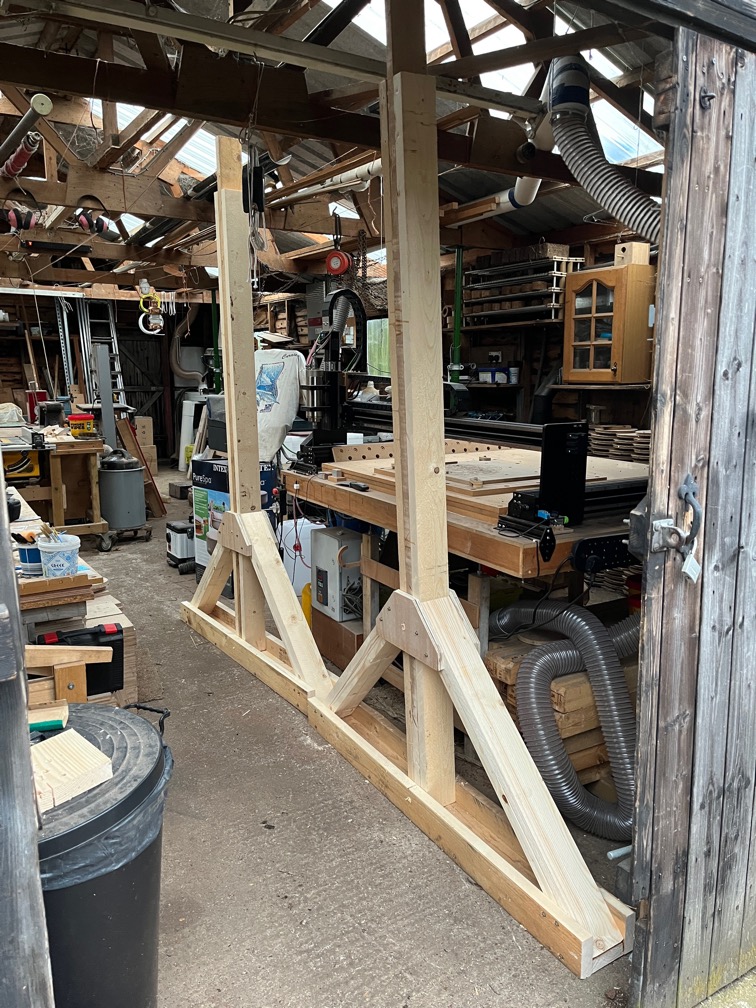
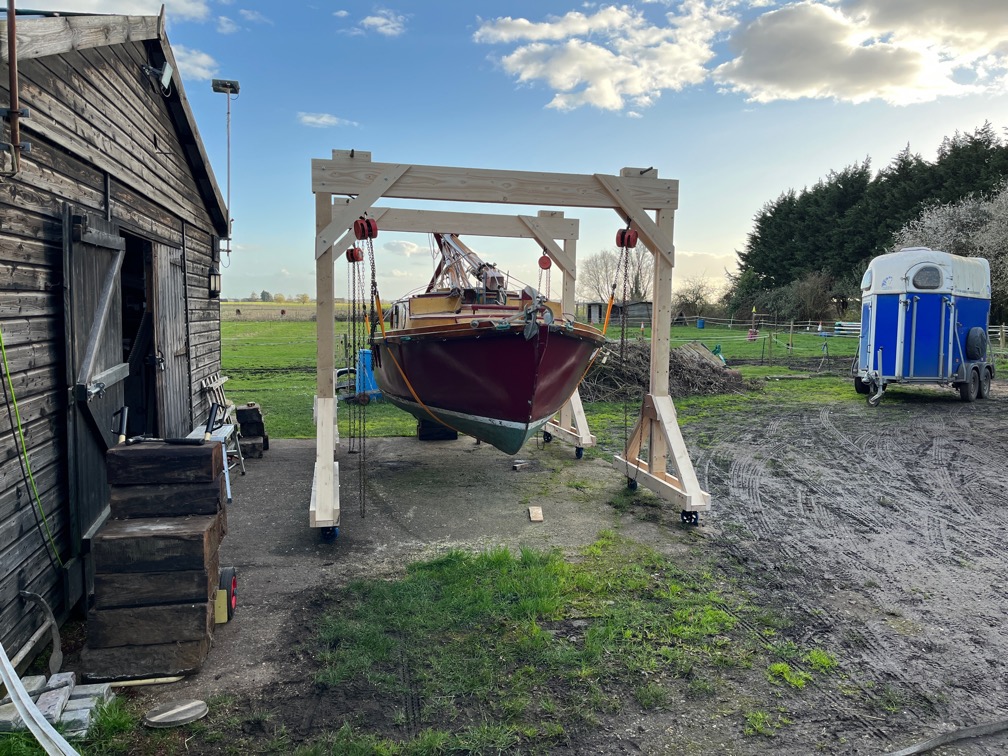
There we are, two gantry cranes completed and ready to go.

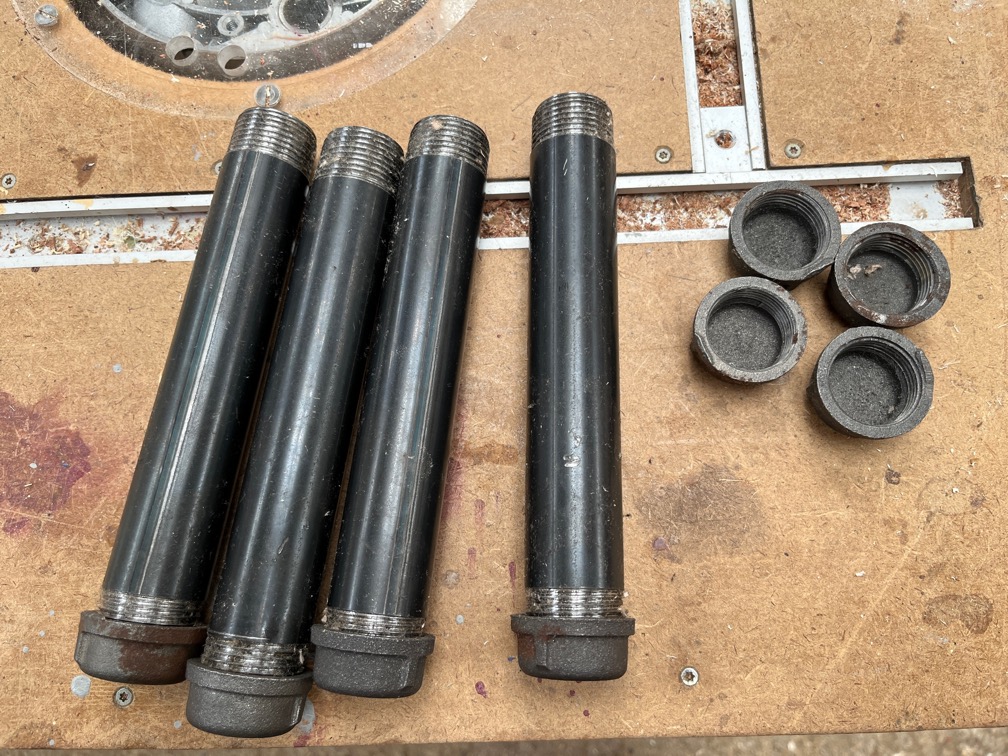
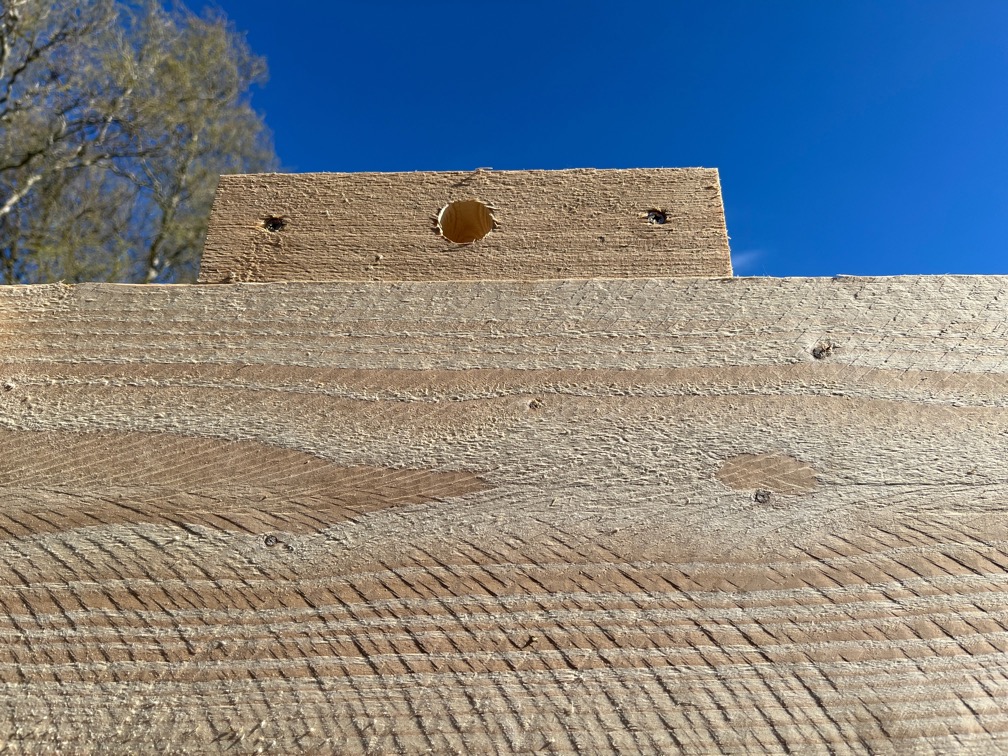
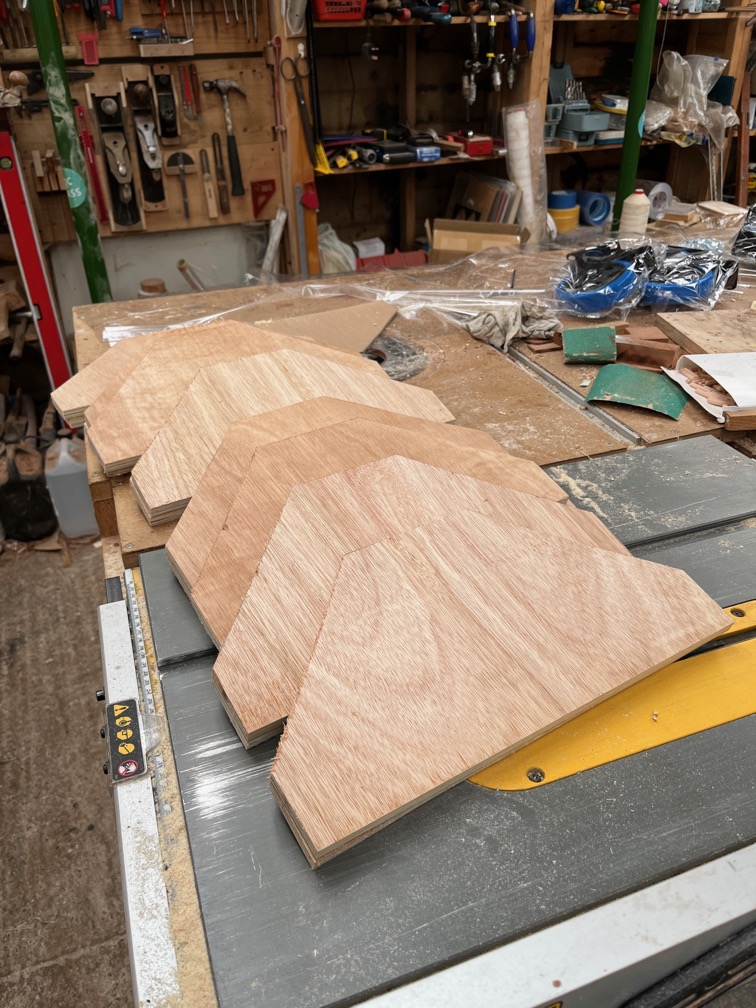
The pins arrived at lunchtime, so I will replace the alternatives with these later. These are 25mm diameter black iron pipe, threaded at both ends with caps.

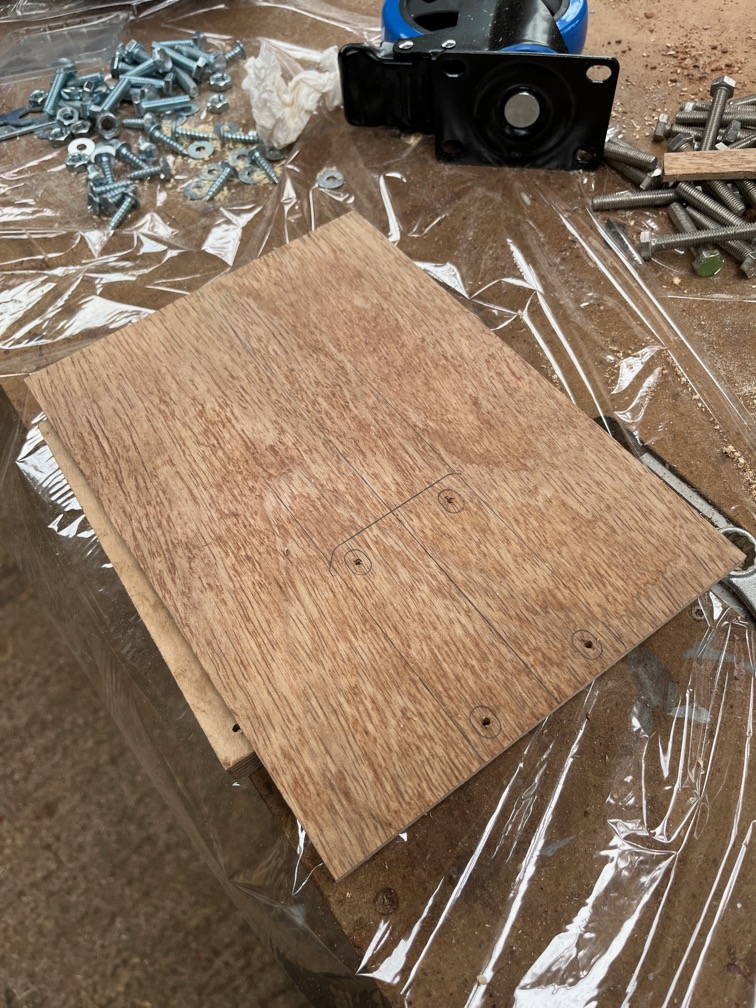
However, I noticed, just by eye, that these are not 25mm in diameter, that measurement is the inside diameter. So I went and measured them and I need to open out the holes to 35mm. Wide enough for the pipe to go through but not the cap. Oh well. I’ll use the alternate pins for today and open out the holes later. I don’t have the time to do that before needing to use the cranes.

Instead I started to prepare Shoal Waters for the move to the other trailer and that meant removing all the blocks from under the trailer. Here she is now sitting just on the trailer and she is canted over to one side slightly due to the slope on the ground.

I took a moment to check the pressure in the tyres of both trailers and to add more air where necessary. I also need to check the wheel bearings for grease on the travelling trailer before putting Shoal Waters on.

The blocks that were under Shoal Waters ready to put under Naiad.

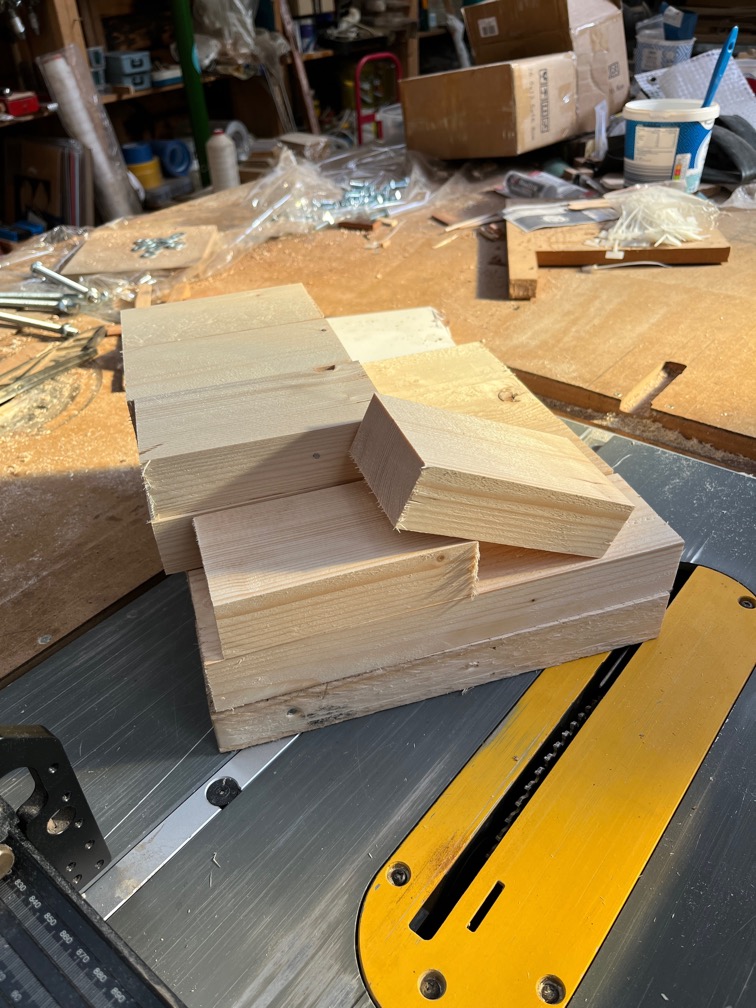
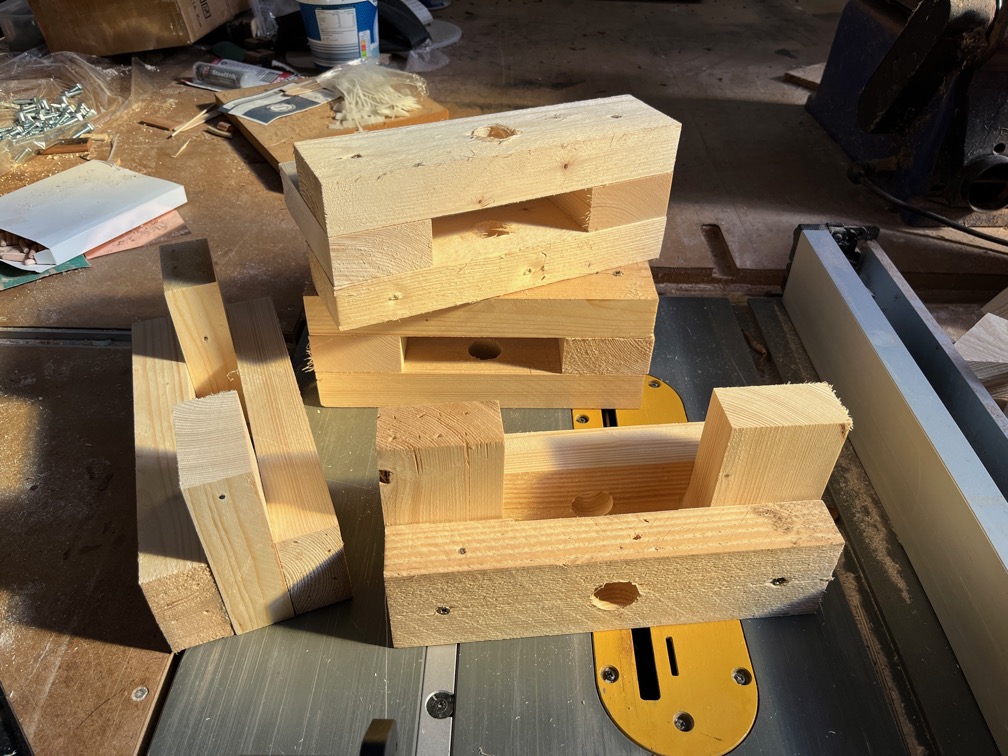
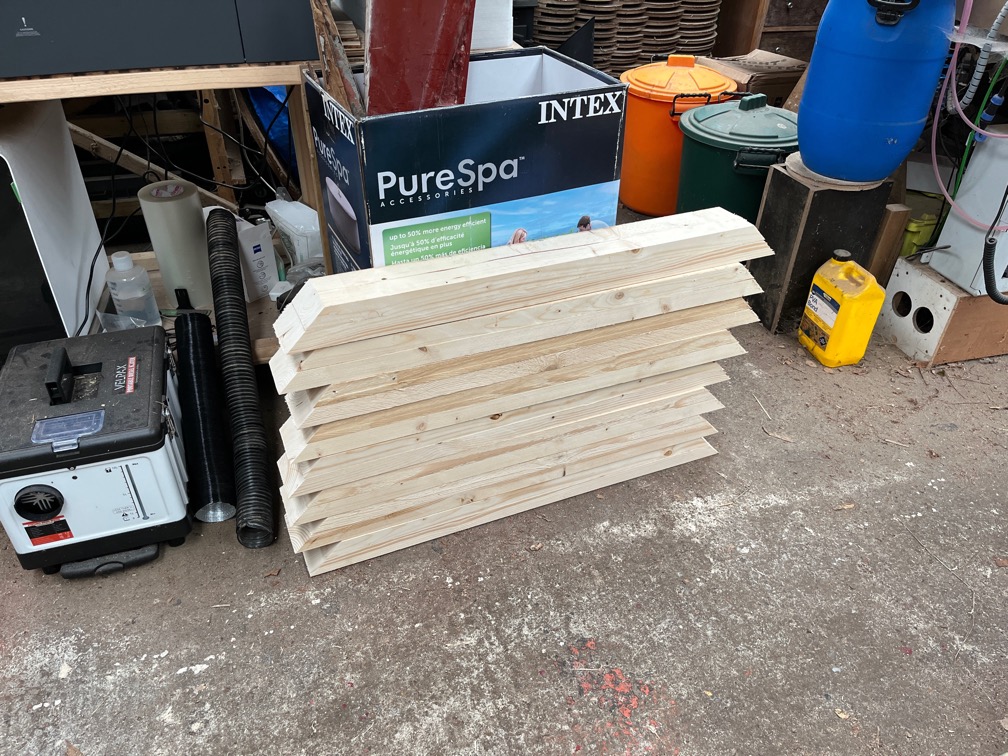
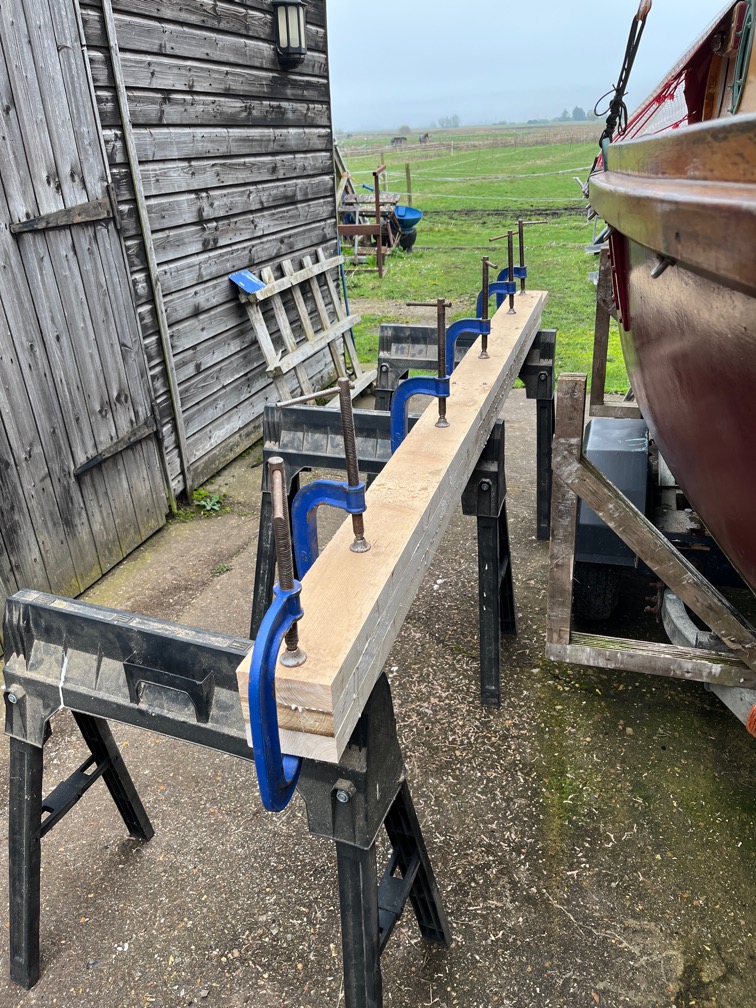
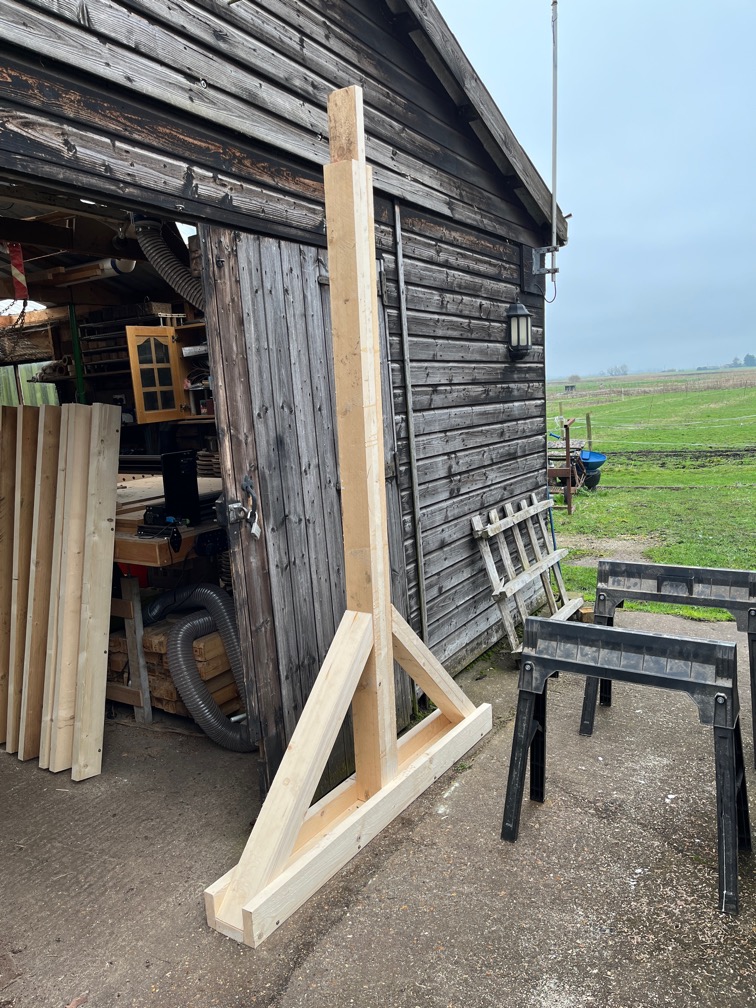
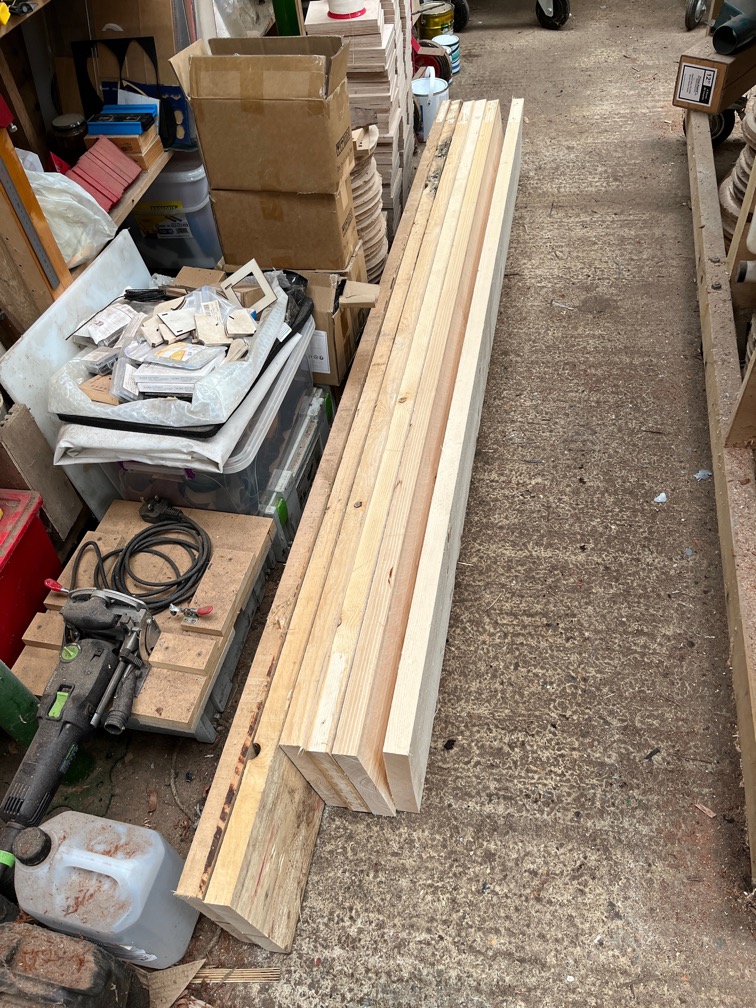
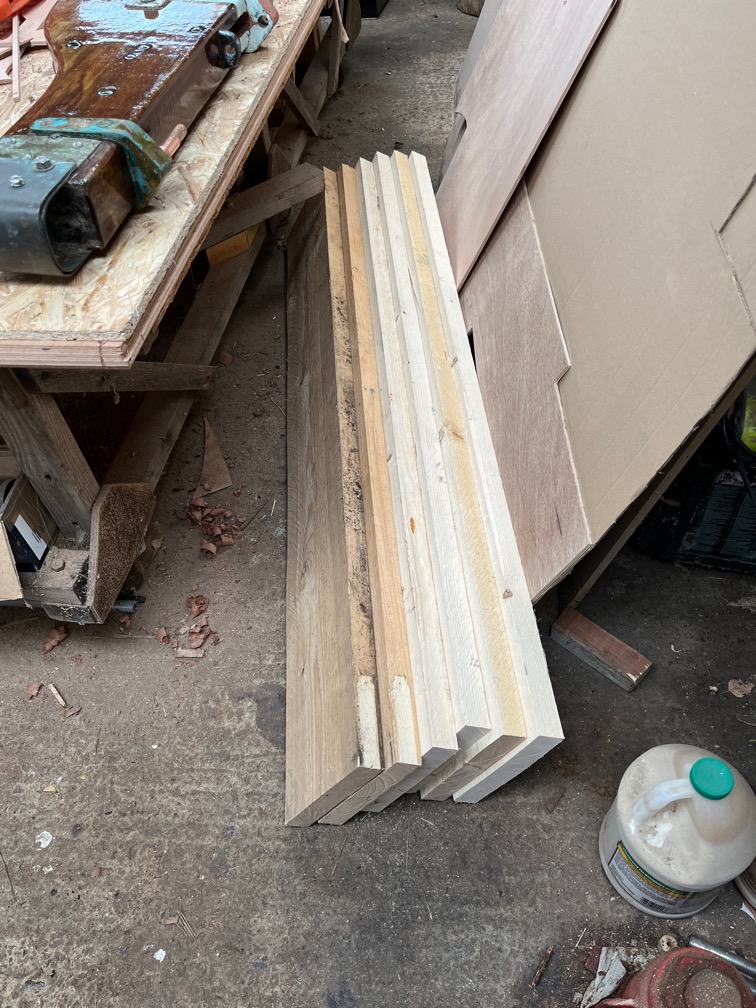
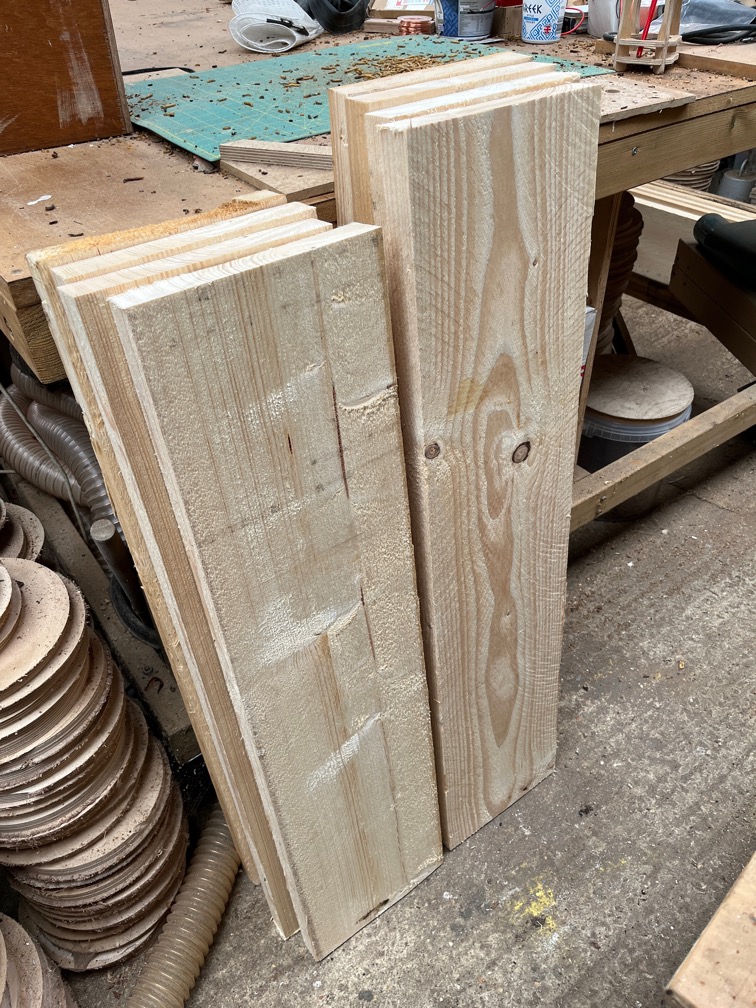
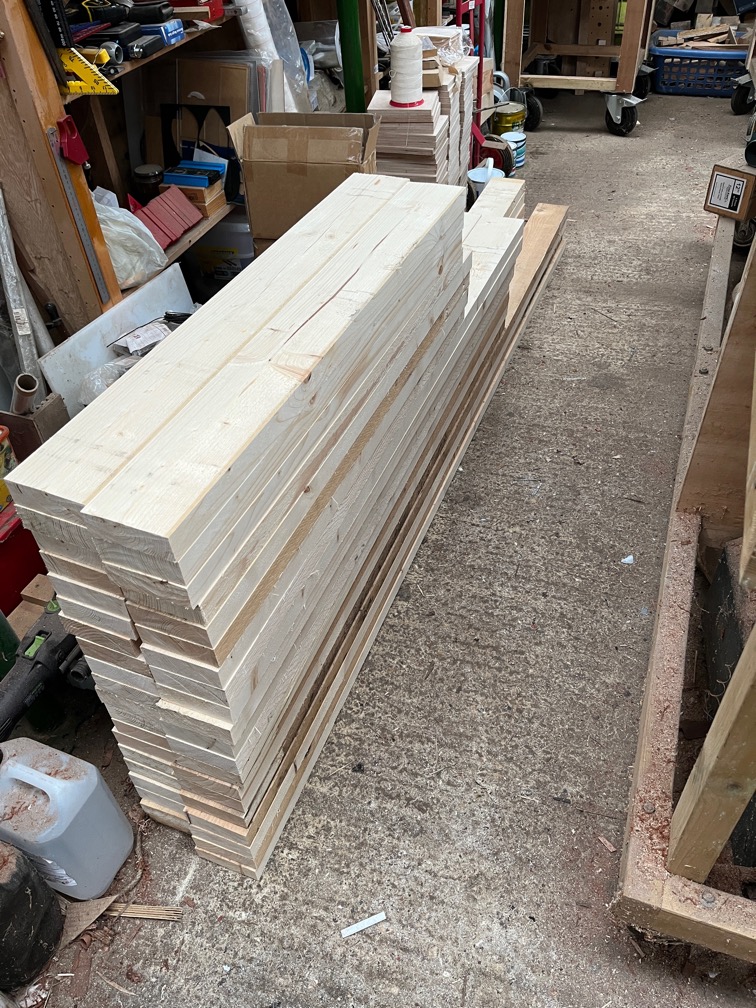
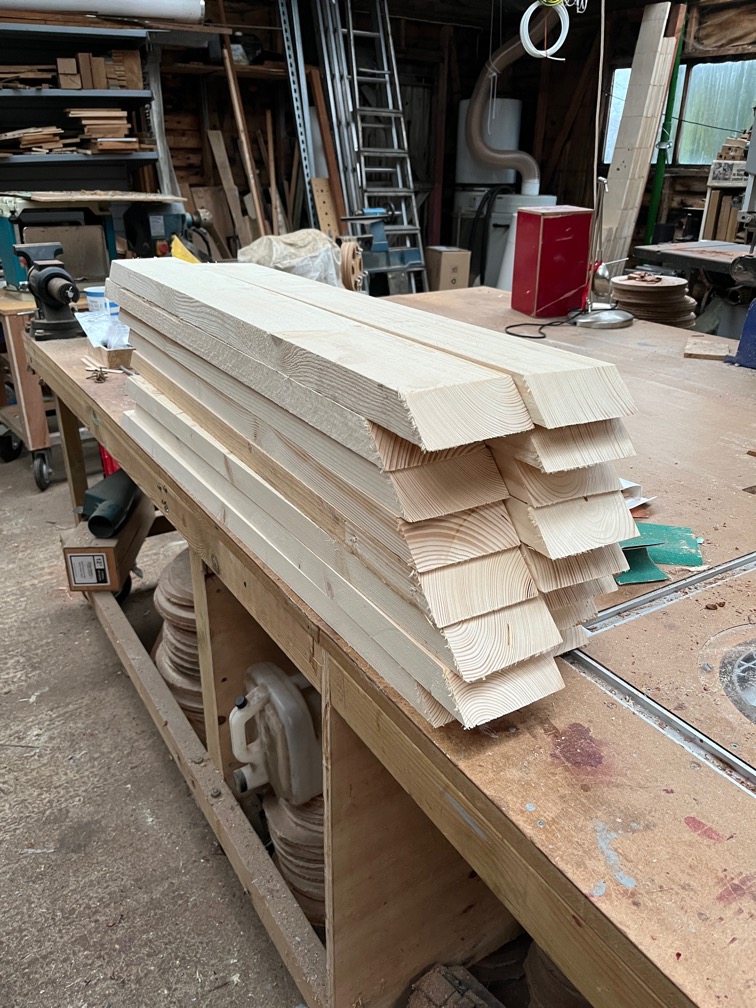
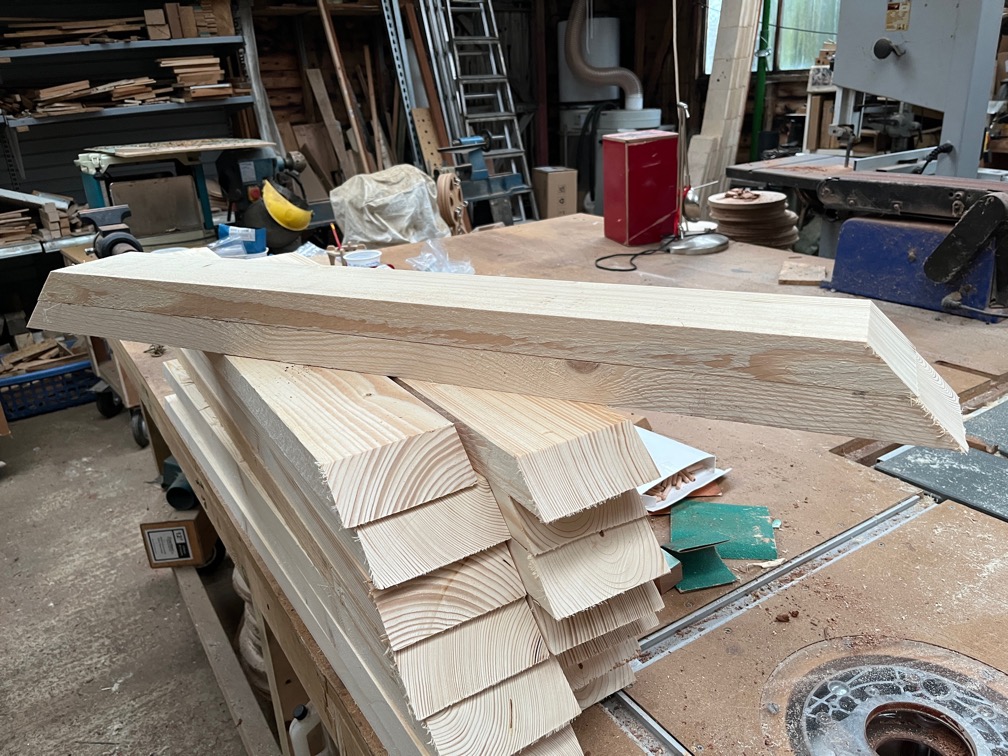
Now that the construction of the gantry cranes is completed I gathered up all the offcuts.

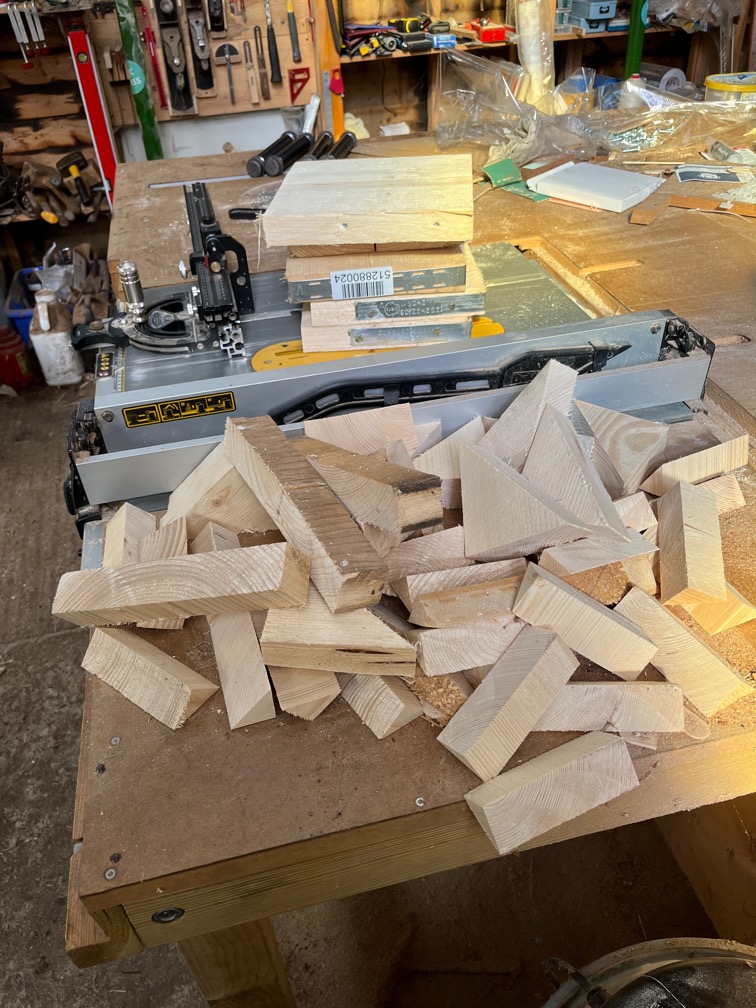
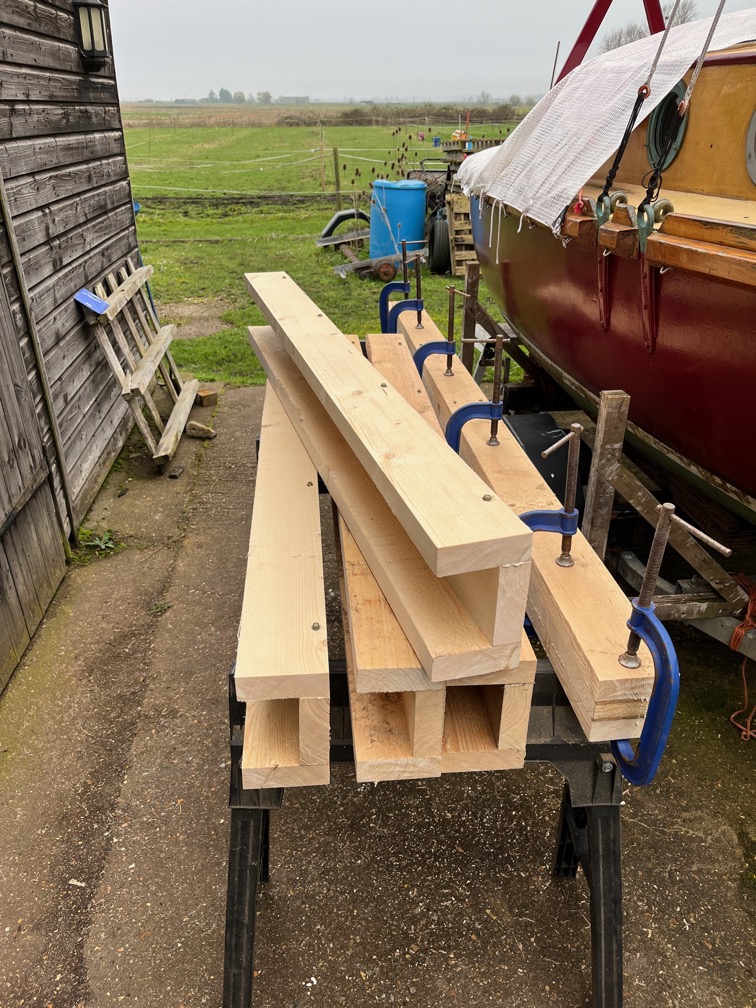
This is all that I have left of 12 scaffold boards. Not at all bad. I’m not sure whether to put these in the offcuts bin or the burn pile !

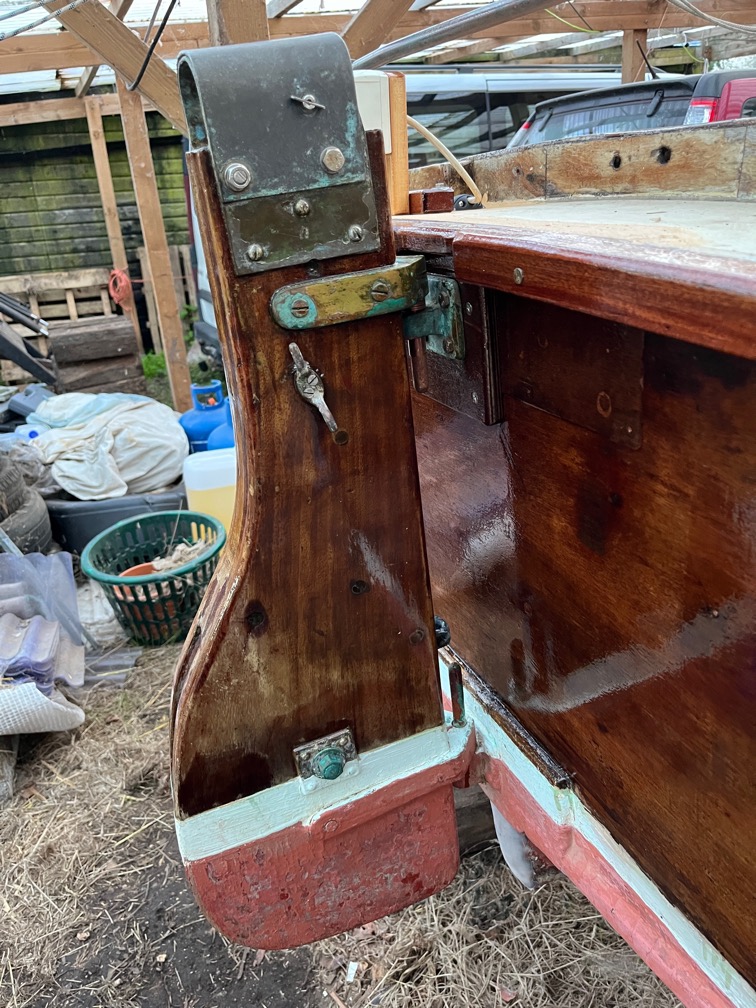
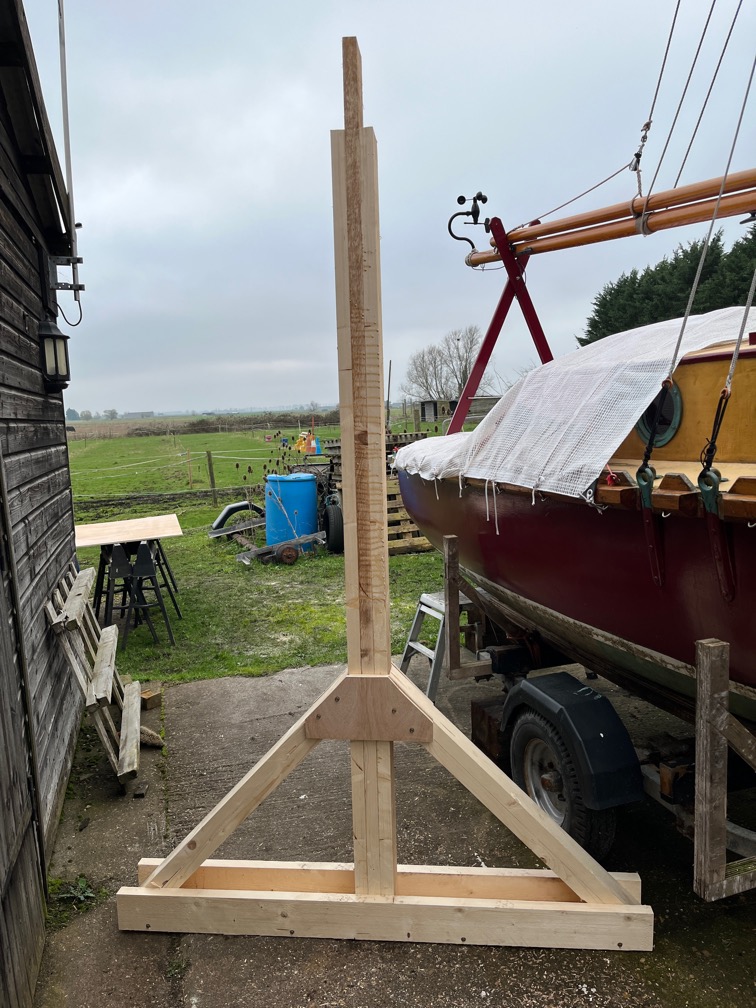
To get Naiad ready first required me to lower the mast since the forestay would get in the way of one of the cranes. This did not take long, it’s an easy and simple process.

Then the blocks under the trailer were removed and put aside except for the one aft of the transom since they will not be in the way there and were close to where they were needed.

After work we began the process of getting Shoal Waters onto the traveling trailer.

The cranes were positioned around Naiad and the strops put in place.

She was lifted off the trailer, the trailer moved out of the way…

…and blocks out under her to rest on. Having lowered her onto the blocks, the cranes were moved and Shoal Waters placed under them.

She was lifted up, the trailer moved out from under her…

…the travelling trailer put under her and she was lowered onto the trailer. The cranes were then moved well out of the way.

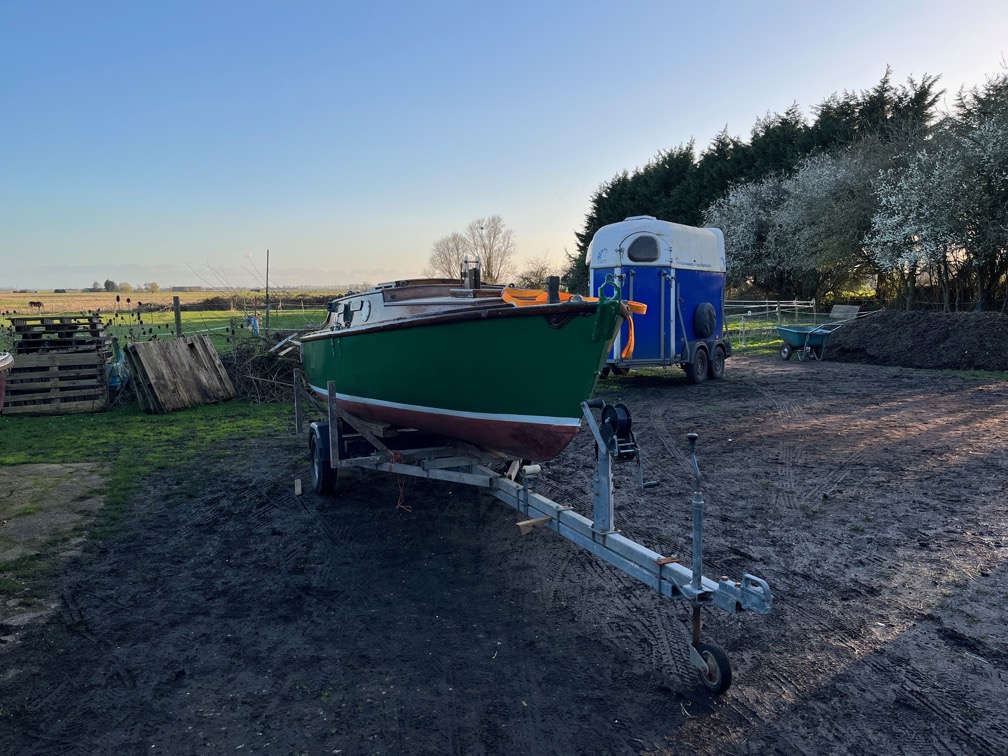
Shoal Waters was tied down to the trailer using ratchet straps and ropes as required. With the trailer board lashed to the stern and the correct registration plate put in, she is ready to be taken to the boatyard tomorrow.

Time for a cup of tea.

2026-03-10 – Gantry Crane IV

I would have liked to have started on the construction of the second gantry this morning, but I needed to keep the drive clear of obstructions until this afternoon. Instead I started work on the chain hoist mounts.

To start with, this meant removing the strapping from some of the offcuts.

A tangled mess of strapping. This stuff is no use to me, so rather than keep it, just in case, it went straight into the bin.

Four of the offcuts were cut into three equal width pieces, one of each three was faced slightly to make it thinner than the other two and then cut in half.

These pieces formed the mounts for the four hoists.

Time for a cup of tea.

During my next break I assembled the hoist mounts.

This consisted of boring a 28mm hole through the centre of the long pieces then glueing and screwing the two short pieces as locating legs between the pieces with the hole. The result is as shown.

These mount sit on top of the gantry with the locating legs of the mount down between the two cross beams. The hole is for the attachment point, due to arrive later in the afternoon.

Now all that remained was to construct the second gantry and mount the choin hoists.

Time for a cup of tea.

After work it was time to finish up the second gantry.

This did not take much time at all, as expected.

I chose to build the second gantry close to the first so that I could use the first one and a rope to haul the second upright.

And here we are, two gantry cranes.

These are the four chain hoists. They have lived in the rafters for the workshop for a number of years and now it is time to make good use of them.

While I await the arrival of some metal tubes I started tidying up the boat ready for her short journey on /thursday. One of those things was to fit the gudgeon to the transom in its new, slightly higher position. Having done that I needed to check that the rudder stock still fitted. It does, tso that is another thing that can be checked off the list.

Time for a cup of tea.

2026-03-09 – Gantry Crane III

With time running out the gantry crane needs to be completed today if possible and that meant an early start. So before breakfast I hied me down to the workshop and spend the next 45 minutes cutting eight lengths of 10mm studding, deburring the ends with an external deburring tool and putting the retaining bolts into the crane legs.

The bolts were all cut the same length to save time and if the upper ones, which are longer than required, cause problems from being too long, then I shall cut them down at a more convenient time.

The task during my morning break was to make a drilling jig for the wheels.

This is comprised of a single sheet of plywood with four holes drilled in it. The width of the sheet is the same as the width of the underside of the feet.

And the four holes mark the position of the base of the wheels.

Easy to make and easy to use.

During my lunch break I started on the task of putting the wheels on to the legs. The jig was clamped to the underside of the foot with one end level with the end of the foot as show. Four small holes were drilled through the holes in the jig. The jig was removed and the 8mm drill used to widen the holes to the correct diameter.

The wheel is then bolted to the bottom of the foot.

Two complete legs had the wheels added during my lunch break. The brake on these wheels not only locks the spin of the wheel but also the rotation on the mount.

Back to work and …

Time for a cup of tea.

During my afternoon break I put the wheels on the other two legs.

A simple and easy job and quite quick as well.

After work I set to an put the cross beams in place. This took nearly three hours and I was completing the task in the dark, hence the flood lights. The reason it took so long was because all the things that had to be made, the bolts, braces and so on I made for both gantries. This means that the second one will take a lot less time.

Hopefully !

For now, I’m done for the day.

Time for a cup of tea.

2026-03-08 – Gantry Crane II

The next part of the gantry cranes part is to make the various components from the timber that was cut yesterday.

I started with the leg braces. These were glued and screwed together to form eight braces and put to one side.

Next were the legs. I used three saw horses on level ground to ensure that I had enough flat space to construct the four legs.

The legs were also glued and screwed but I used 100mm long timber screws. Four of these need to be screwed in flush with the surface so that I can dismantle them form the feet for storage.

Even though I used screws, cramps were added in between the screws to hold the glueing surface together.

The top of the leg is stepped as shown so that the two cross beams can sit on the step for added rigidity.

The last component are the feet. Again, glued and screwed using the timber screws.

Now I wait a while until the glue has grabbed the wood sufficiently before assembling each leg.

Time for a cup of tea.

The first leg took quite a while to construct, mainly because it was the first one.

This the main parts of the leg fitted together and I need to make a bridge piece that covers the joint between the leg upright and the braces.

I made one then used that to mark out the rest.

This is how it fits on the leg.

After lunch I made a start on the other three legs and, as expected, I built the three in the same time that it took to build the first.

The weather forecast suggests that it is going to be foggy and misty tonight so I pulled the legs into the workshop.

This took a bit of doing because they are taller that the rafters and also heavy.

To complete the legs I have to put on the wheels, cut and fit the retaining bolts for the uprights. Once those tasks are done the cross beams will need to be fitted along with the top bracers.

However, for tonight I’m done.

Time for a cup of tea.

2026-03-07 – Gantry Crane I

Today I started the construction of the gantry crane, which is really two gantry cranes that will be used in tandem to lift the boats, one at a time.

Initially I started cutting on the pile of planks, putting two spacers under the plank being cut.

The jig I made last night worked very well and allowed me to make the cuts with ease.

The first two planks were cut like this, but I found that this was a bit too low for comfort and decided to use the work horses instead. The planks would only get lower as each one was cut.

A lot more comfortable.

At the end of the length cutting phase, these are the results:

These will form the four legs, consisting of three pieces, one long and two short.

These are the feet upon which the legs will rest, consisting of three pieces for each foot.

These will be the diagonal braces between the feet and the legs, each brace consists of two pieces, one long, one short and there are two braces per leg.

These are the cross beams at the top of the gantry, two on each gantry.

All of the pieces except the cross beams will be cut lengthwise in half, which will be the next task after a break.

The cutting was easy due to the circular saw jig.

This was the hardest part, getting the metal straps of the ends of the planks. It took as long to do that as it did to cut the planks. And there’s more to come !

Time for a cup of tea.

After a break I started on cutting the timber lengthwise.

An hour later I had a stack of cut timber almost ready for the construction. I say almost as the diagonal braces need the ends cutting to 45º. But I needed another break before I tackled that task.

Time for a cup of tea.

The foot braces were cut on the table saw with the blade set to 45º. Once set up this didn’t take very long to get through both ends of the sixteen pieces of timber.

All sixteen pieces cut.

This is how they will be when fitted. A pretty close fit. Good enough for this project.

Now I am ready for the construction which is tomorrows task.

Time for a(nother) cup of tea.