
The next leak to investigate is the one at the bottom of the transom.
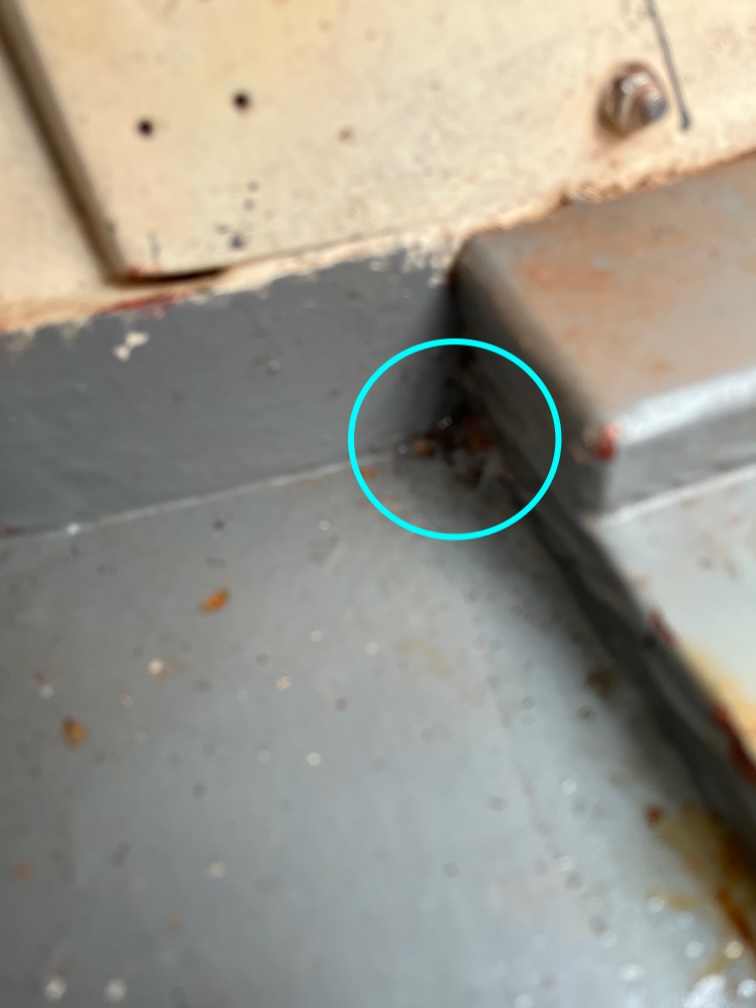
To remind you , this is where the water is seeping onto the hull.
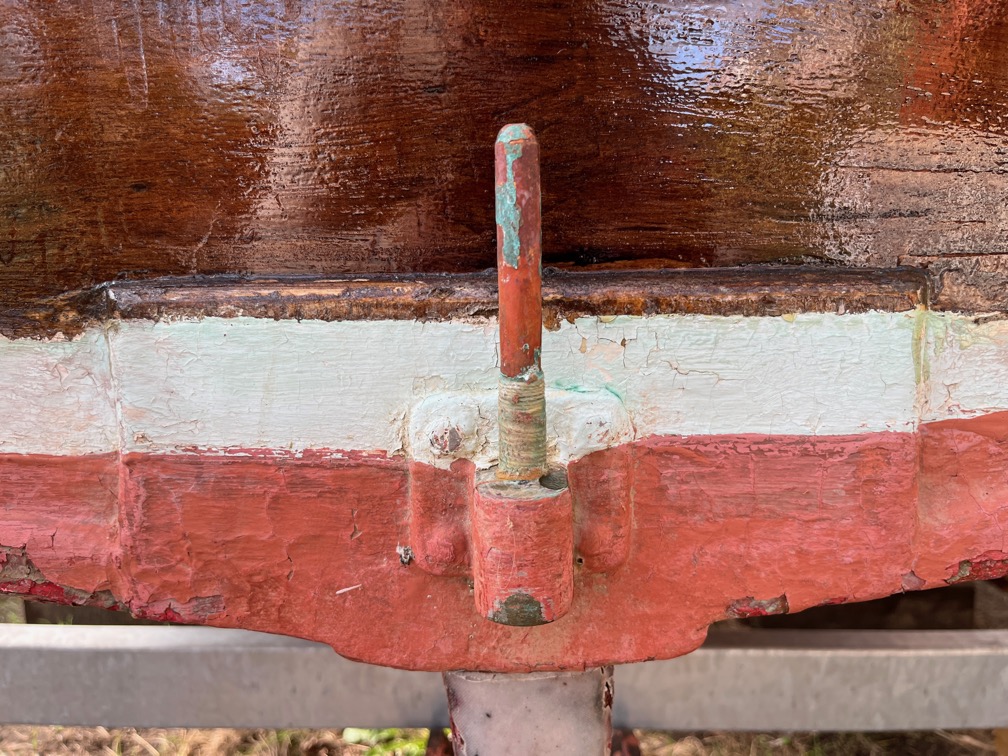
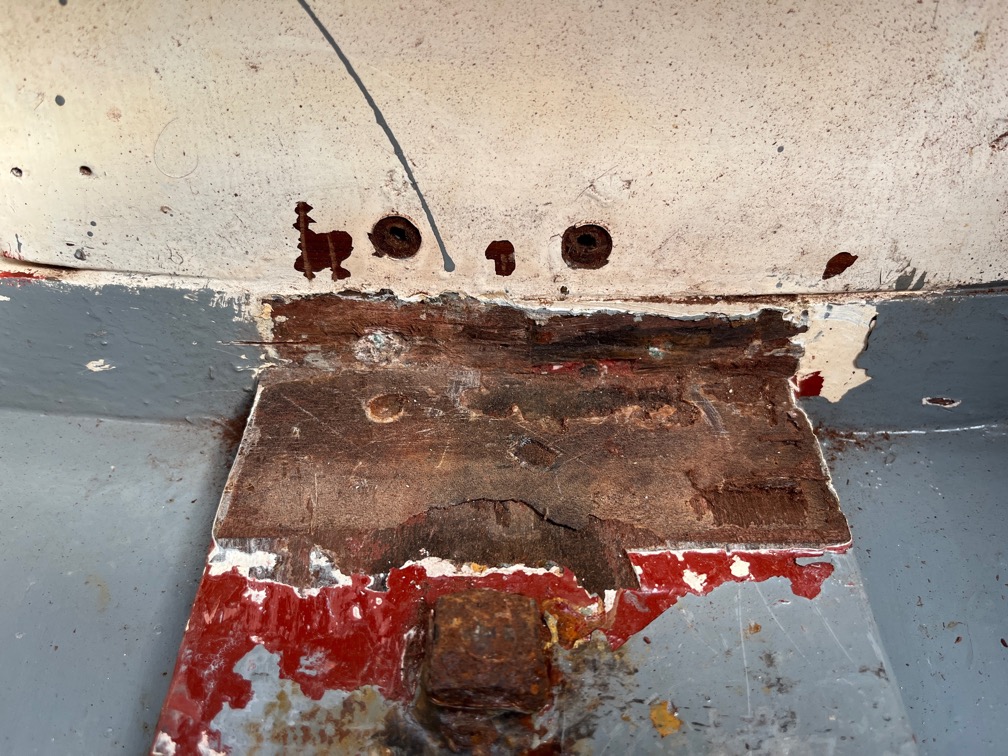
And the cause is probably something to do with this, the lower pintle. The first thing to do is to get the fixing removed so that the pintle itself can be removed from the transom. You’ll note that two lower fixings are below the water line.
On the inside, you can see that the two upper fixings are bolts, stainless steel by the looks of them and the lower two are probably screws as they cannot be seen.
Removing the layers of antifouling paint revealed the screw heads and these were easily unscrewed. Too easily if the truth be told, they were almost loose in the holes. Definitely not a good sign, although I expect that the holes would close up a little after immersion.
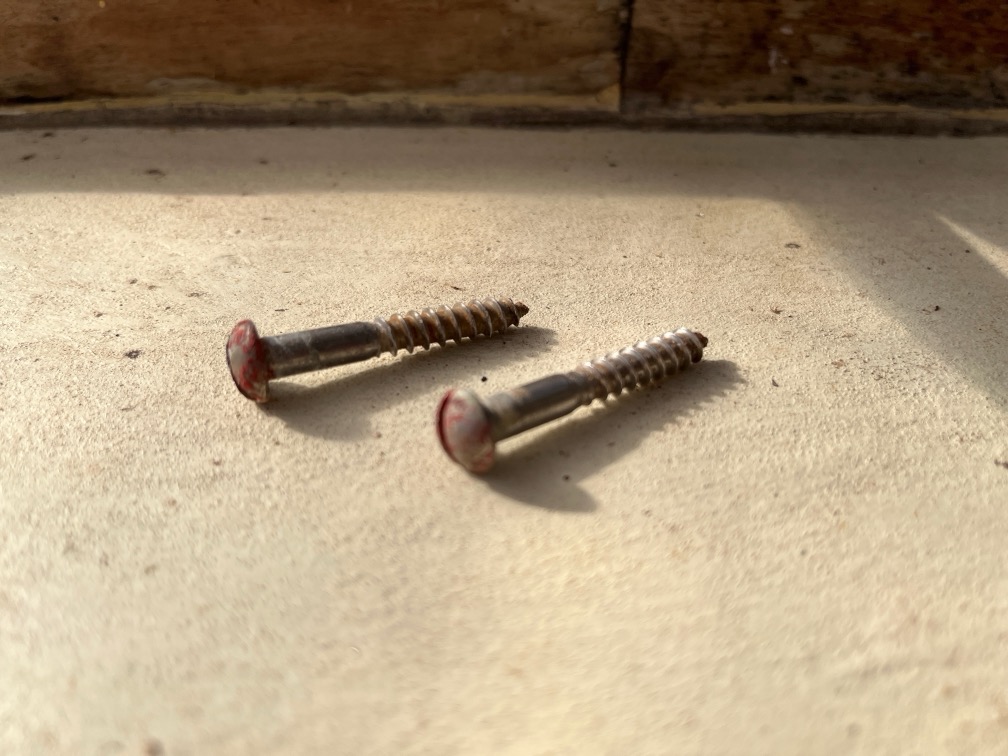
The screws were in good condition but to my eye quite a lot shorter that I would have used. Well, if I had used screws that is. Generally speaking it is a bad idea to use screws below the waterline. You rarely get a lasting good seal.
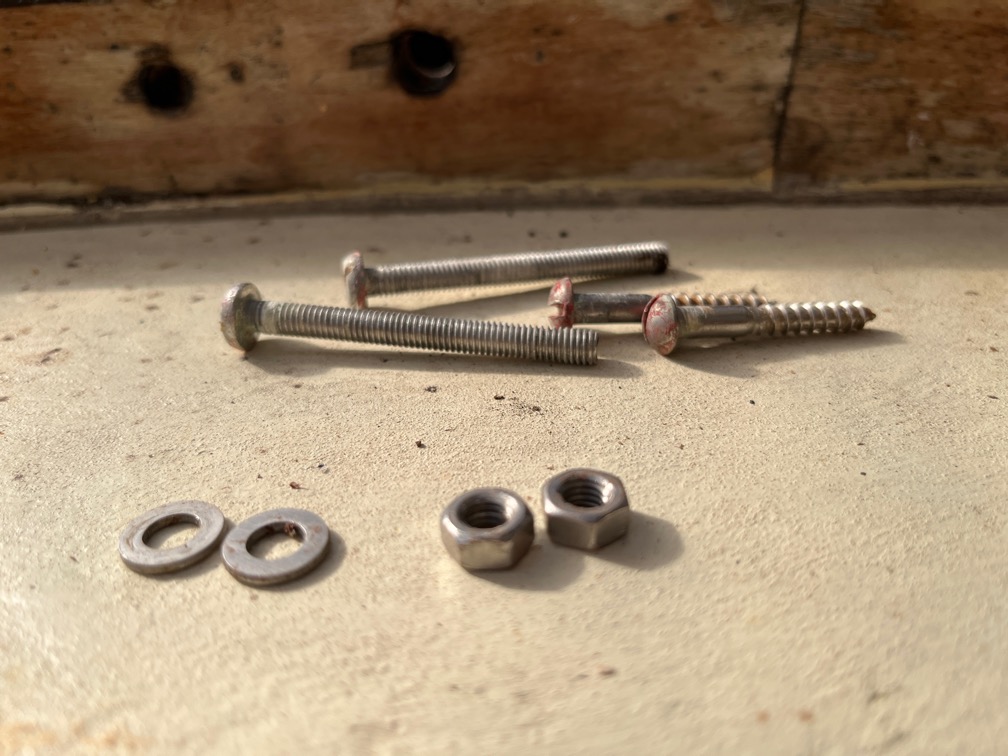
The upper two fixings came out easily and are also in good condition.
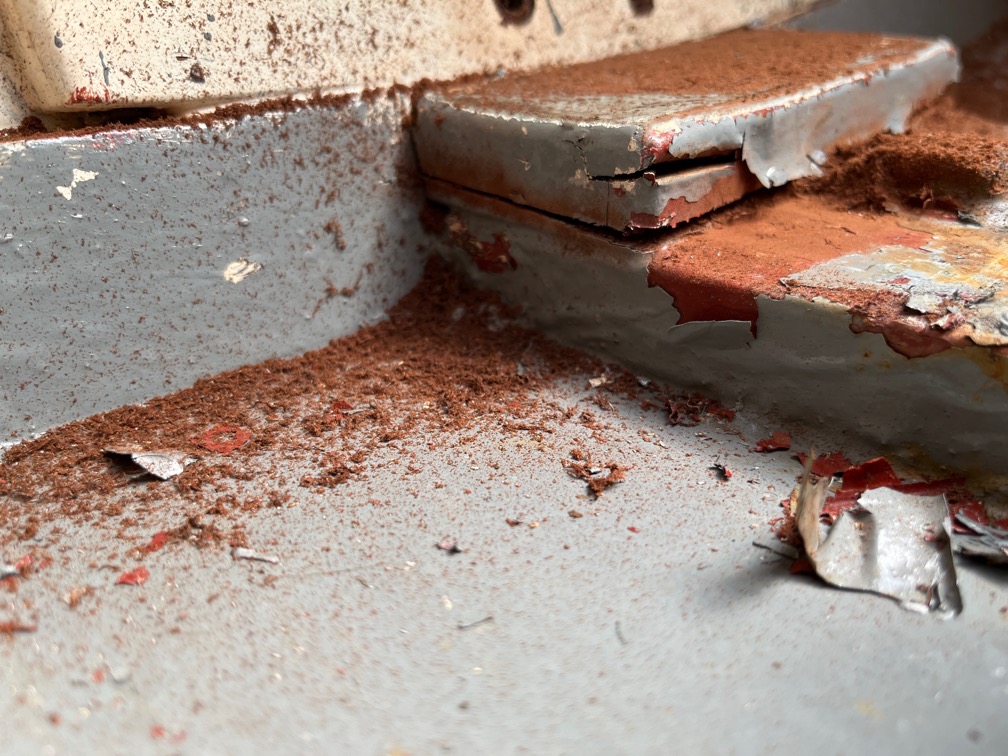
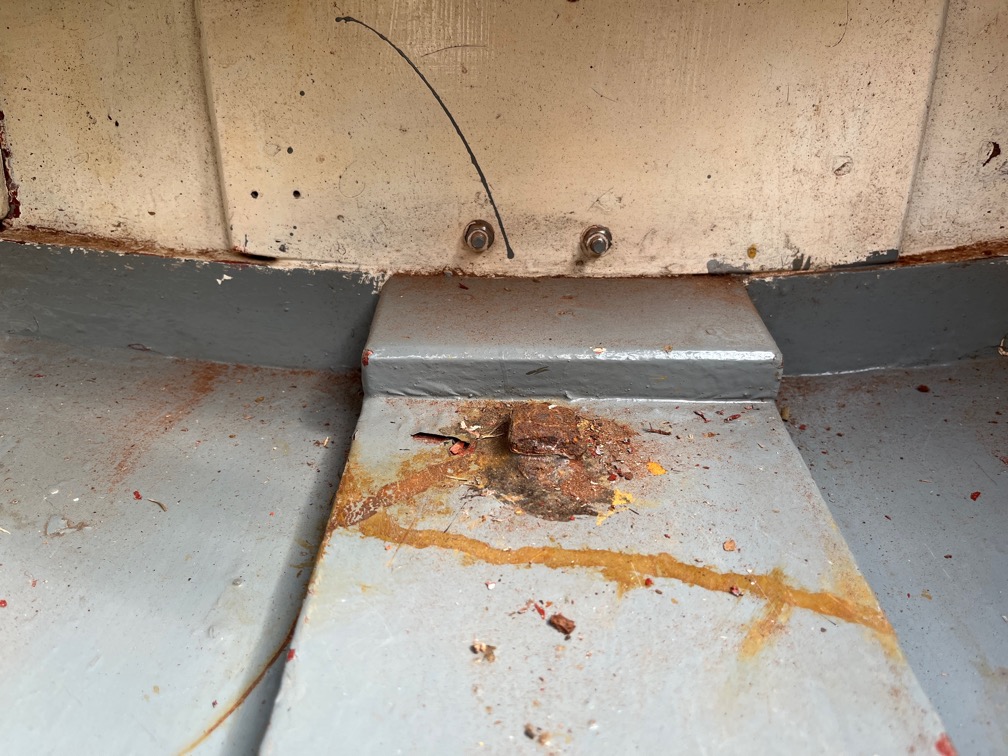
The multi-tool was then used to cut away the block on top of the keel. You’ll notice that I cut upwards at a slight angle so as not to cut into the keel itself.
Once the cut section had been removed, I carefully cut away the remaining portion and then used a chisel to clean up the top of the keel.

In the process of cutting away the block I noticed the remains of a brass screw coming through the transom. I presume that this was an old fixing for the pintle. I suspect that this is the main contributor to the the leak.
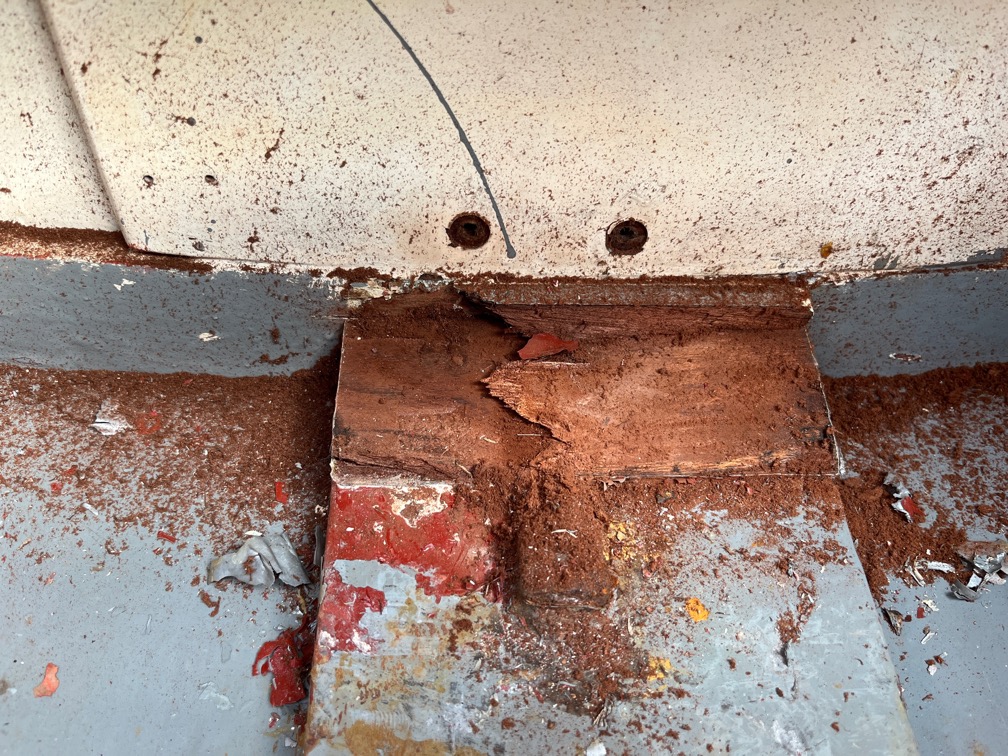
There was the remains of a second brass screw on the other side of the transom. This one seems to be in better condition that the first one to be found.
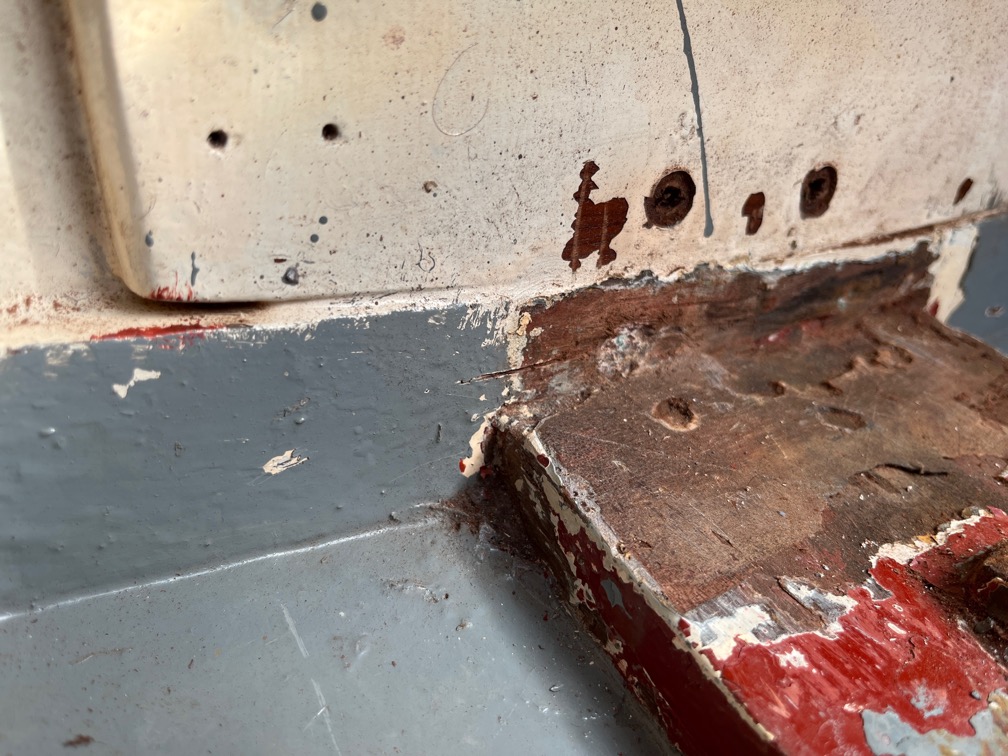
And this does not help. There is a channel in the wood starting by the old screw and going out to the side of the keel. Any water that made its way through the screw hole would then find its way along the channel and out from under the paint. This is exactly what I saw during the leak test.
So, how to fix this? The First thing to do is to locate the old fixings, remove them and plug the holes to make them watertight. After that I would say that the best thing would be to raise the pintle such that the lower fixings are not underwater and to use bolts here as well.
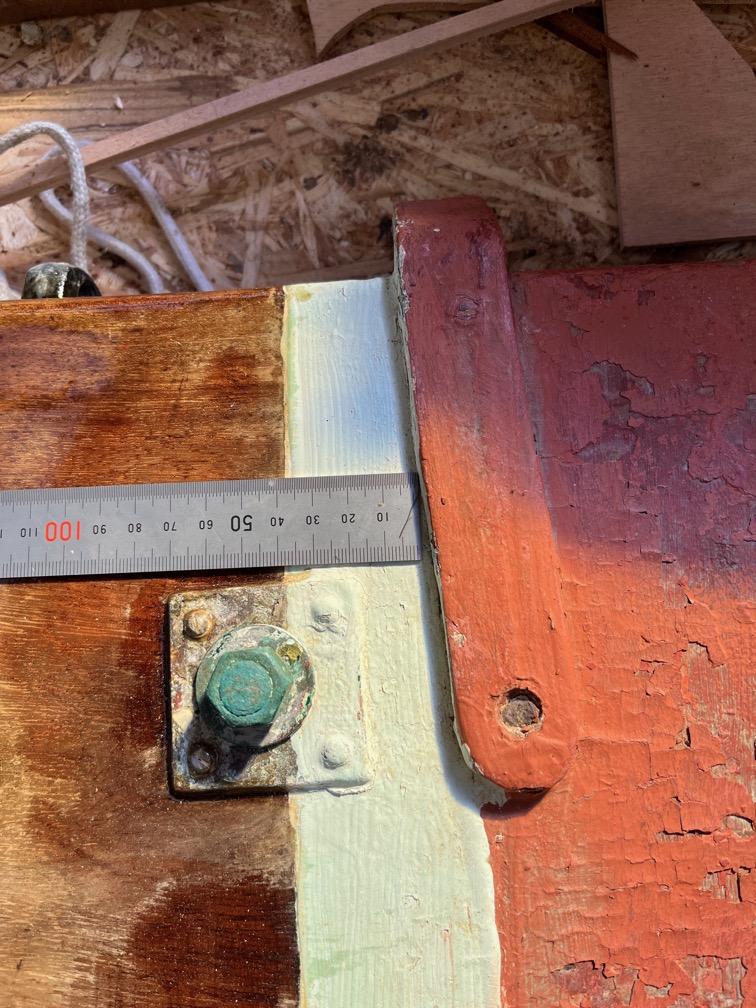
The problem with this solution is that the gudgeon on the rudder stock can only be raised by 20mm before it fouls the pivot bolt.
Now, the holes in the pintle are 38mm apart meaning that if the pintle is raised 20mm, the lower holes will be 18mm below the existing upper holes.
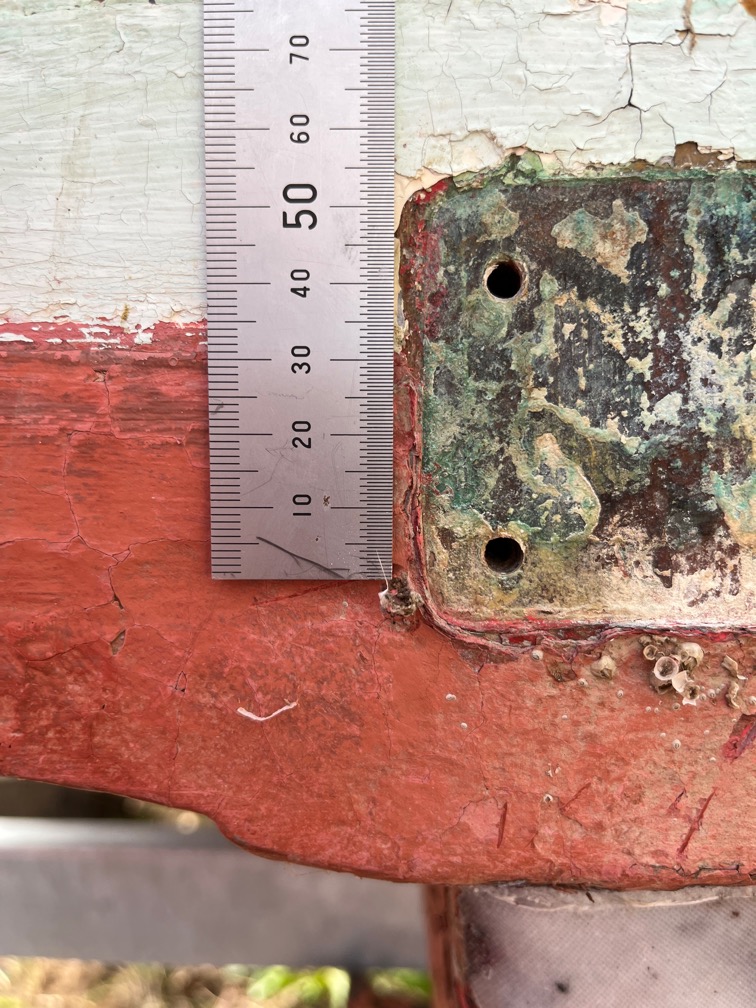
This may not be above the waterline, but it will be above the keel and that allows the use of bolts for the lower fixings. Bolts can be made watertight easily.
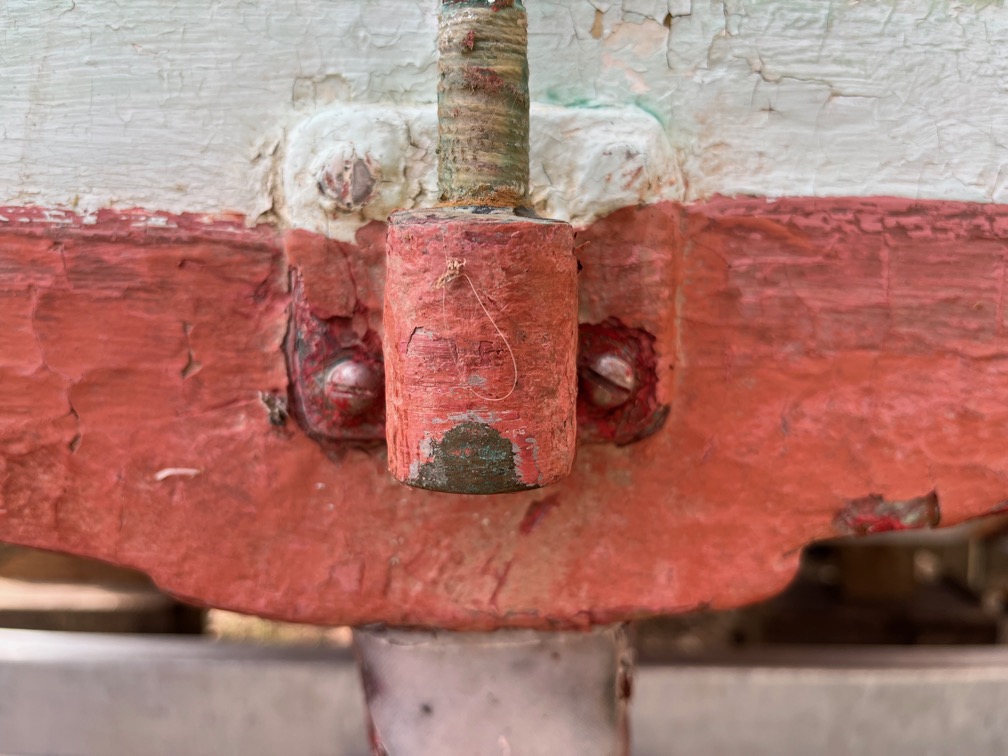
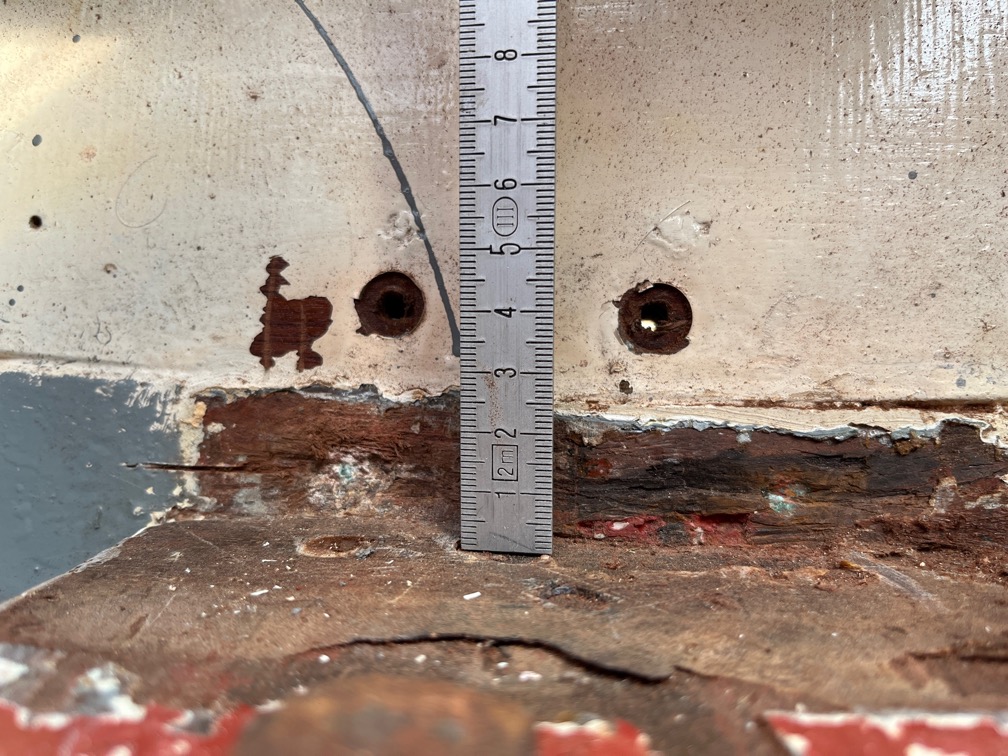
So the plan is to locate and remove the old fixings from the outside and plug those holes. You can see two old fixings above the current holes under the white paint. These probably need to be checked.
The existing upper bolt holes will also be plugged.
The gudgeon on the rudder stock needs to be raised as far as it will go and then the rudder stock can be hung on the upper fitting allowing the correct new position of the lower pintle to be marked.
The lower holes will be drilled through the transom and if necessary, a backing pad will be fitted on the inside. This will be sealed against the transom and keel to ensure a watertight joint. If necessary it will be made in the shape of an upside down ‘U’ such that it fits over the keel. Sealant will be used liberally to ensure a watertight joint between the transom, keel, hull and backing pad.
Finally, the pintle will be fitted in the new position making sure that all the bolts are watertight.
Time for a cup of tea.