
With only a week to go before the leak test, the tasks over the next week will be concentrated on getting the boat ready. The day started out fine and sunny with little wind but with condensation everywhere. The forecast was for around 16º C so as soon as the sun had driven off the dew, I took the varnish down to the workshop to make a start.
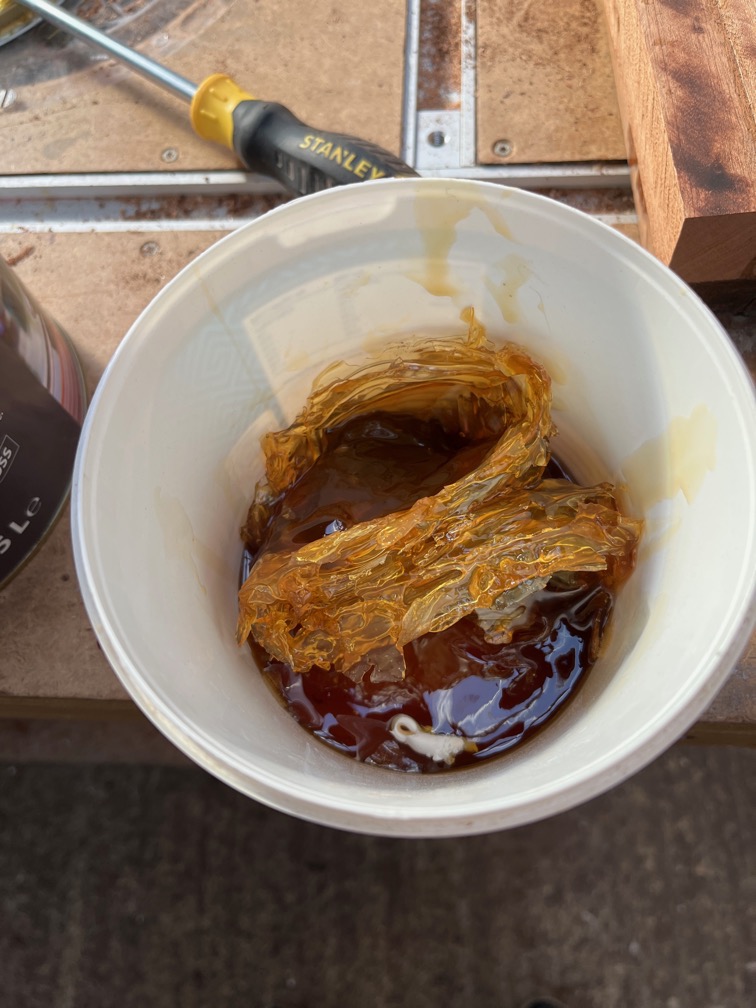
After cutting off the protruding ends of the plugs I glued into the redundant holes in the transom yesterday, the next task was to remove the skin that had formed on the surface of the varnish. Over the past few weeks I have just poked a hole in it each day and dipped a small brush in the hole. However, today I needed to use a large brush and that method would work no longer. I used a large screwdriver to detach the skin from the sides of the tin and lifted the whole skin out. I was wearing nitrile gloves, so it wasn’t that messy.
A few minutes later and Shoal Waters had a varnished transom. Well, one coat at least. The overcoat time for this varnish is 6 hours meaning that I should be able to get another coat on later this afternoon. It looks pretty good although I do seem to have made one mistake and that is to use a silicone based sealant. I read the small print on the cartridge after using it yesterday and it clearly states that this product cannot be over painted. I say clearly, the language is clear but the lettering is very small. So, I’ll put that aside and use it for something else and get a non-silicone based sealant for the rest of the job.
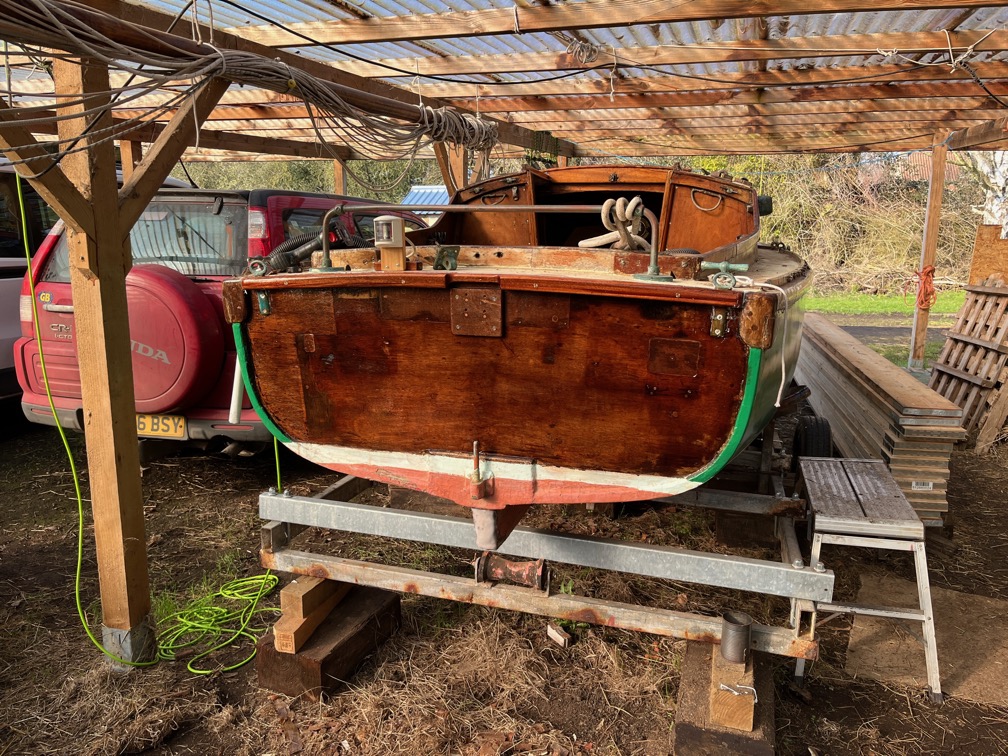
Still, the transom does look nice with the varnish. It will never cover over the dings, scratches, repairs and so on. The only way to do that would be to paint it. You have to remember that at this time, Shoal Waters is sixty-three years old and is not in pristine condition any more. The scars she carries eloquently show that she has not been sitting idle for those years but was a well-used and cared for boat and not a museum piece.
The next major task in the next week is to build the gantry crane. That stack of scaffold planks you can see next to the boat are for that purpose and the task at the weekend, come hell or high water, is to convert those planks into two gantry cranes. Which reminded me that I need to find the heavy duty wheels I bought for this purpose sometime last year !
Oh, and service the chain hoists.
And inspect the lifting strops.
Yet more tasks for the to-do list.
Of course, having thought that I needed to find the wheels and strops, I couldn’t concentrate on my work and had to take a break to find them !
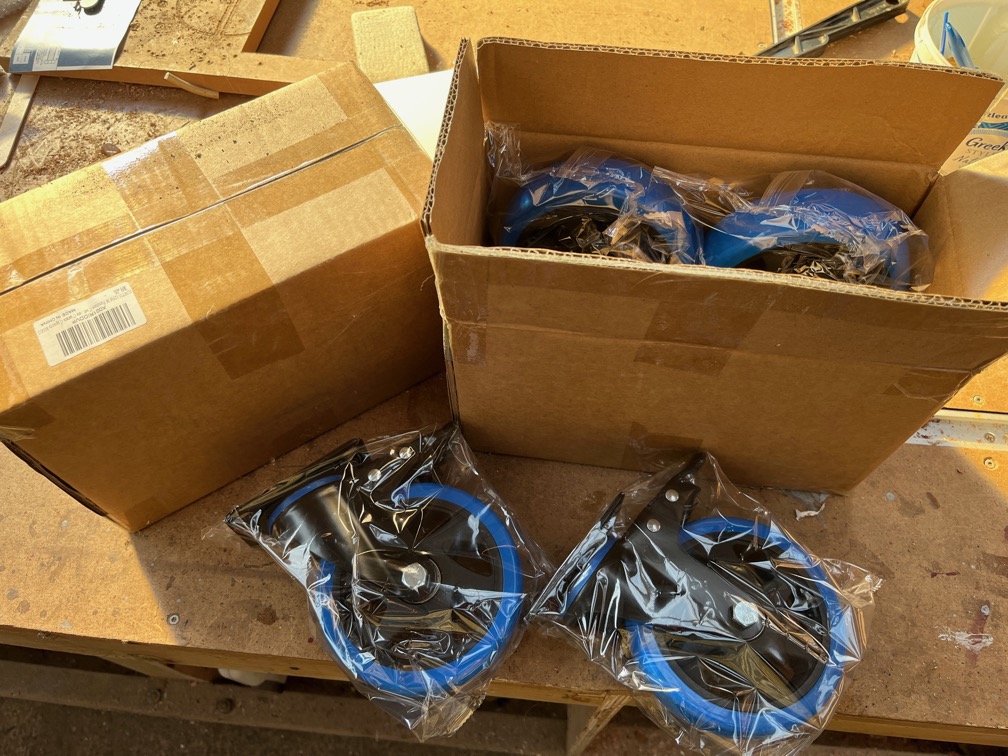
Fortunately, neither were hard to find. Eight heavy duty lockable wheels, each rated at 800 kg.
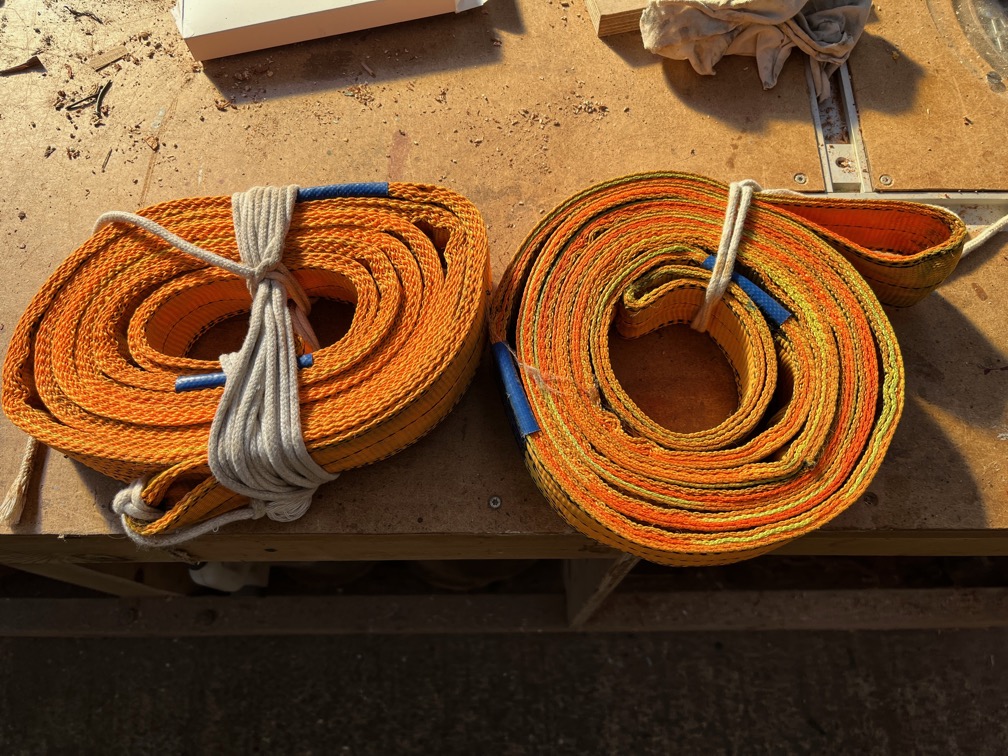
And the strops. Now that I’ve found them I shall inspect them later.
Oh, and another thing for the to-do list, buy new waders. I threw out my old ones after they developed a leak.
Since the weather is so good right now, there are a few painting tasks that need to get done and since they don’t take long, I decided to get on with it.
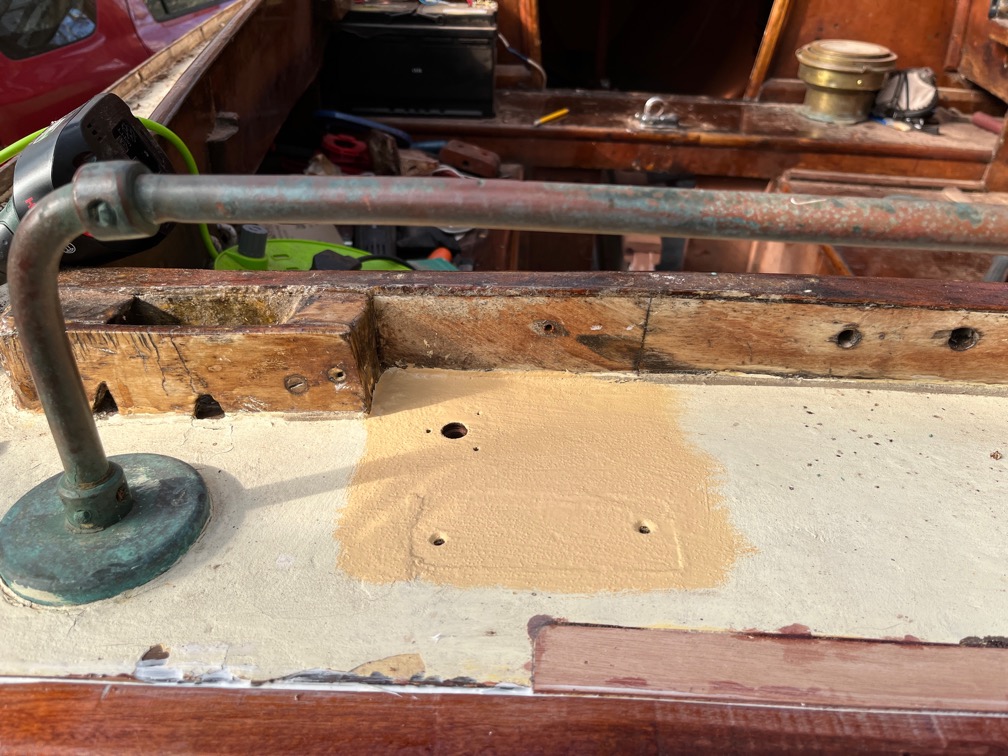
The patch on the aft deck so that I can finish the aft navigation light.
Time for a cup of tea.
I looked back at the photos and realised that I should have painted the new aft deck piece, so I went back to the boat.
That took very little time, but since I was out here and the weather is really nice…
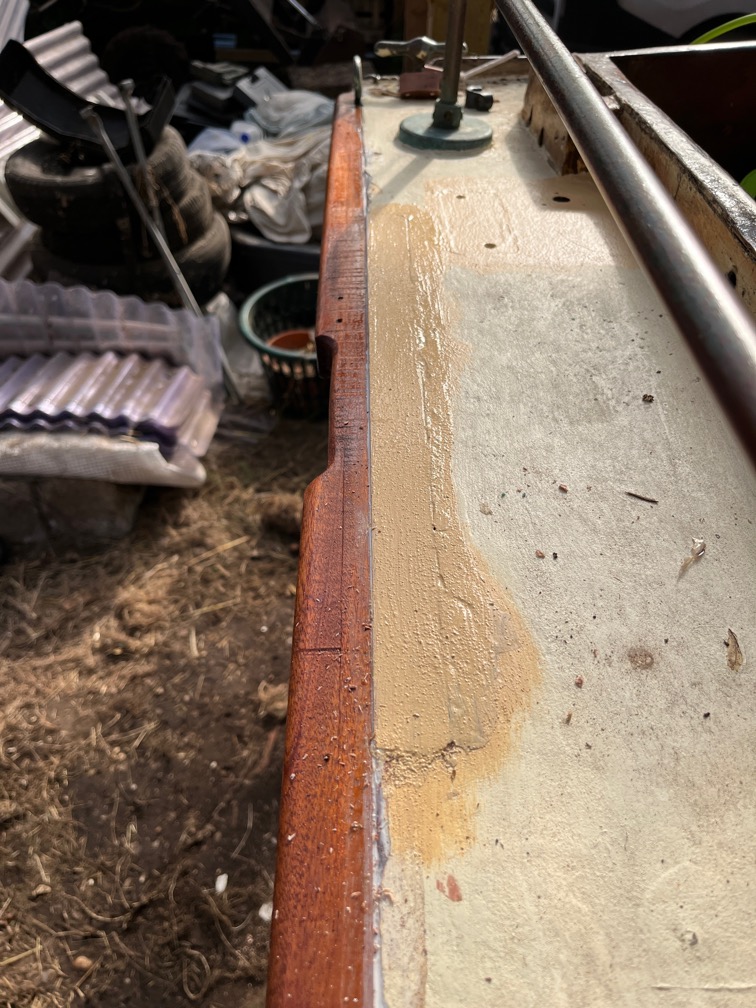
…I also painted the section on the port bow that was treated with epoxy.
You can see that the new paint is much darker than what she is currently wearing. The current colour is ‘Norfolk Green’ according to the old tin of paint that came with the boat and that colour is no longer available. The nearest colour and one that is likely to remain available for a long time to come is ‘British Racing Green’, affectionately known as BRG. So, Shoal Waters will be BRG and from what I can tell from older photos of the boat, she has been that colour before.
After work I continued the under bridge deck case supports. BUt not before putting another coat of varnish on the transom and a second coat of deck paint on the deck as previously.
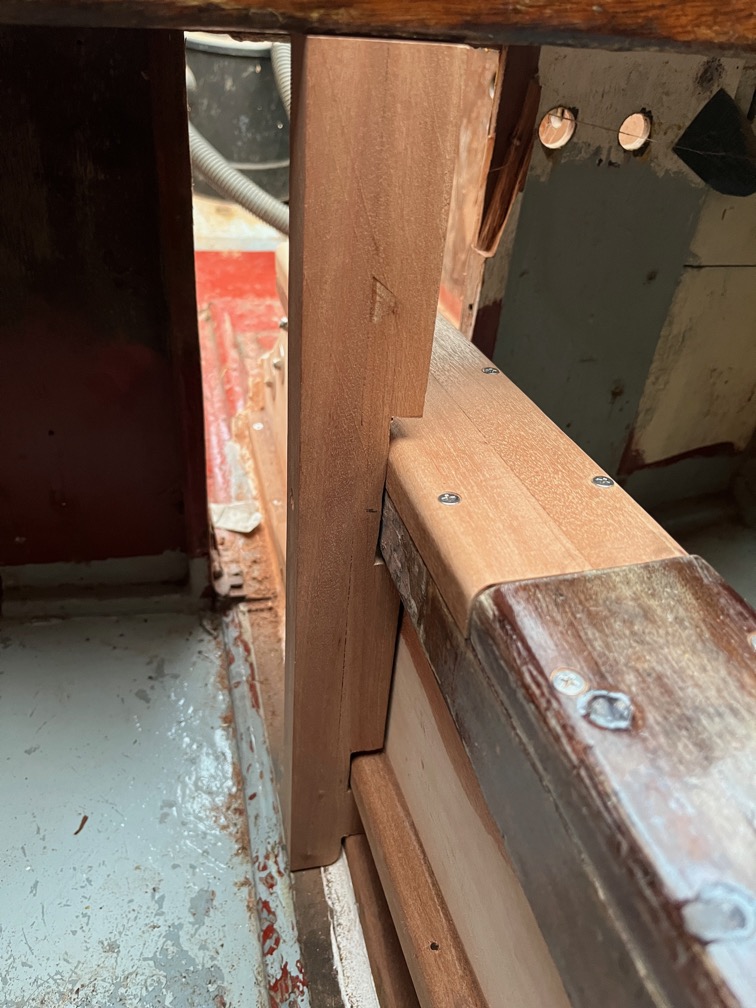
After some measuring and cutting this is the starboard side support, screwed into place but not permanently fixed.
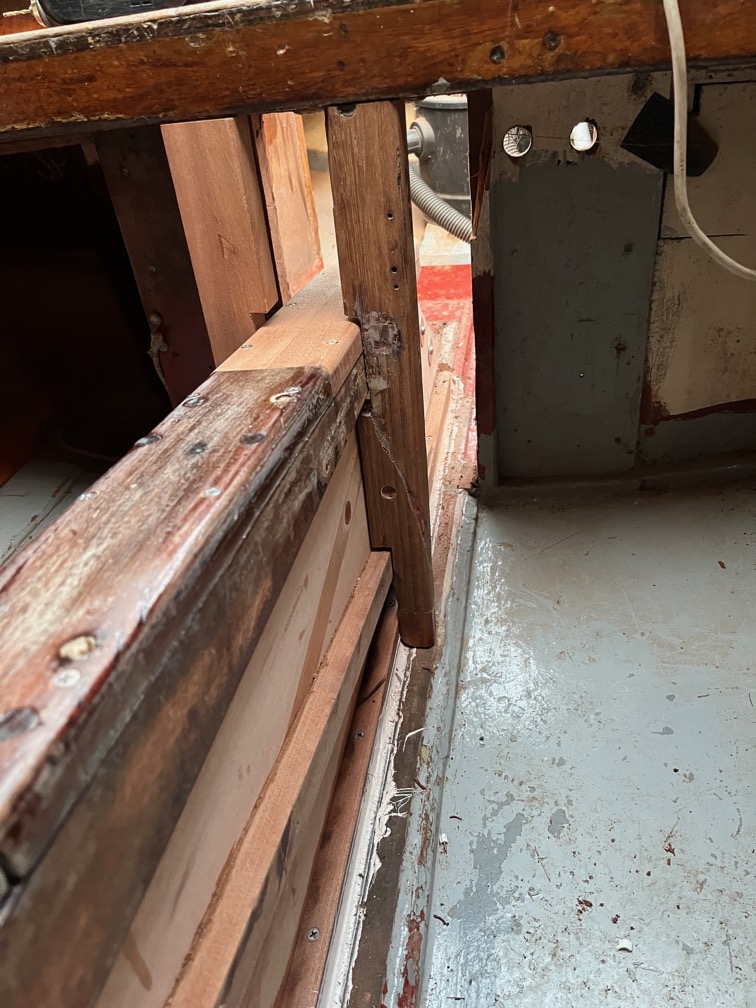
The is the port side support also screwed into place.
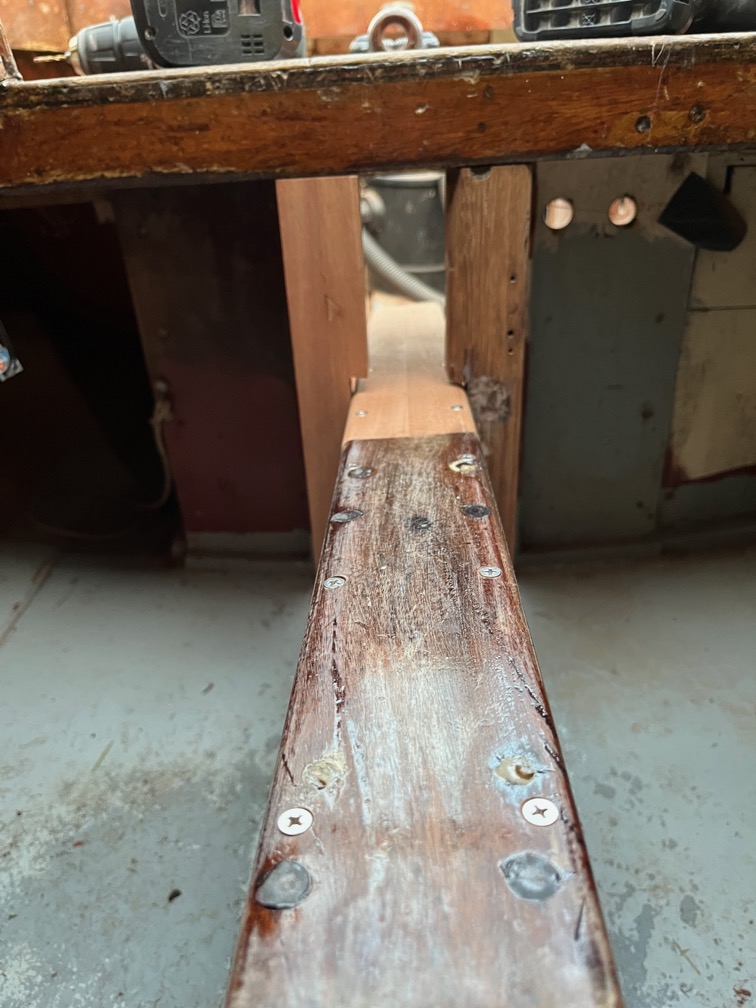
The gap above the case top allows it to be unscrewed and removed without first having to take off the supports. Hopefully it will never be needed.
After this I completely ran out of energy, so called it a day.
Time for a cup of tea.