
The first thing on my list of tasks for the day was the varnishing. There’s not much to it, takes about ten minutes, but it still needs to be done.
After that it was time to see how the aft deck is doing. With the clamping piece and baking paper removed, the result is looking slightly messy but good.
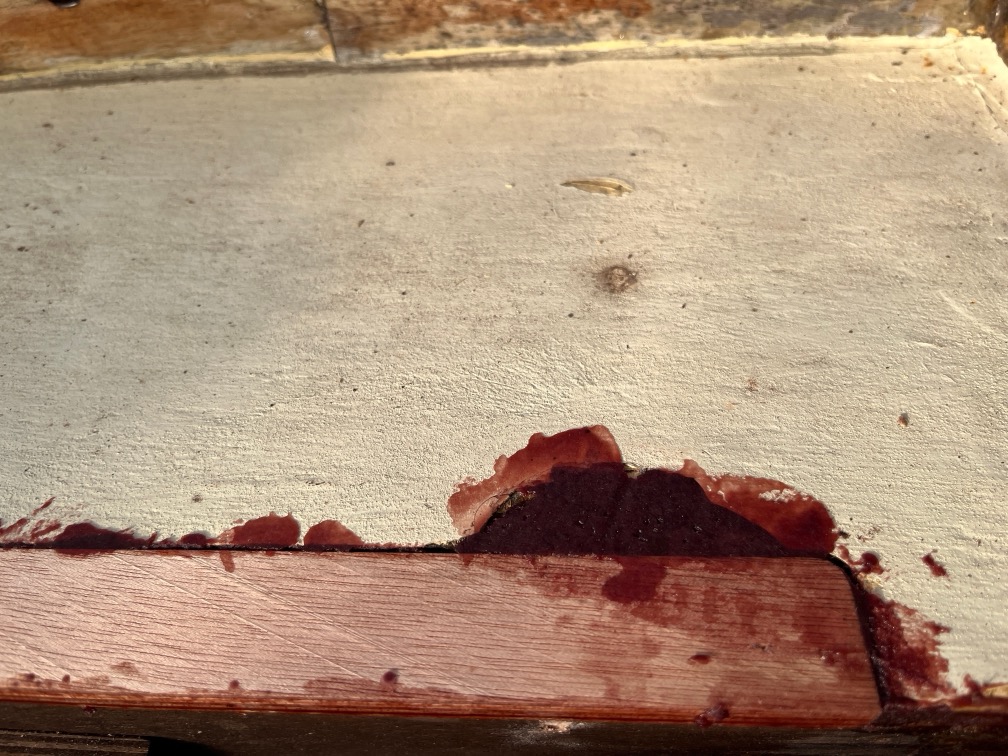
The major ding in the deck has filled well, but there are a few areas that need a little more epoxy to filling the parts where the epoxy has sagged down a little into the seams and left a void.
Nothing important, but needs to be filled. Tapping the area on and around the new piece gives a sound return, so it looks like that graving piece has worked.
The whole area and transom will be finished in the coming days.
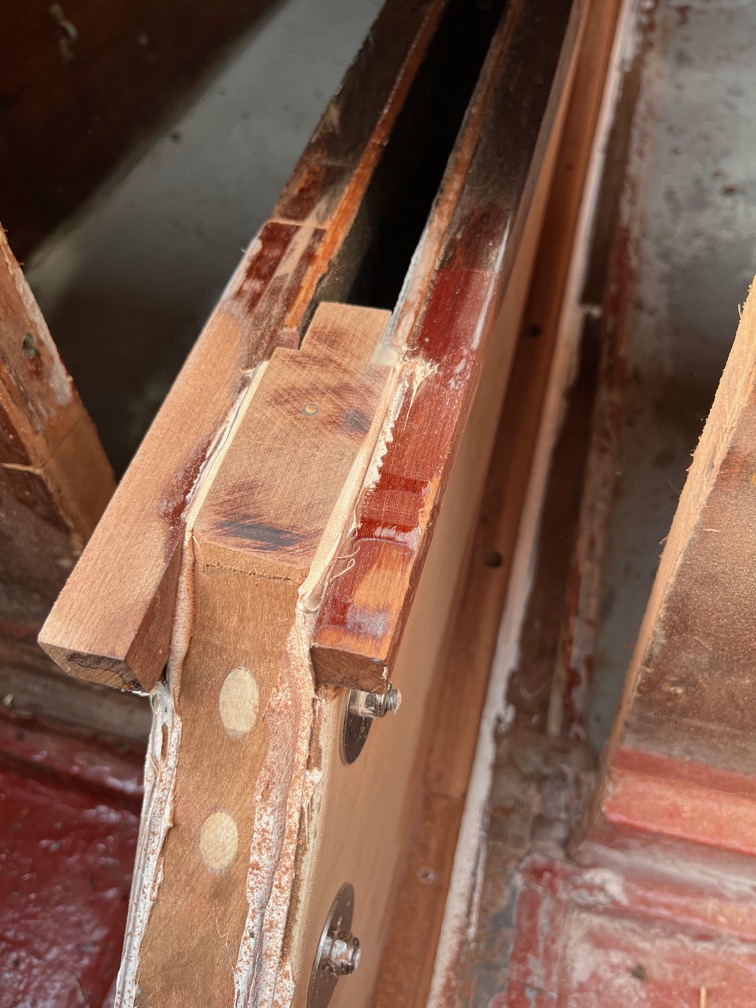
The next in a sequence of tasks is to shape the top of the new aft block.
This is the start of the centerplate case reinforcement, essential to keep the case from moving from side to side under the stress of the plate when sailing. There are three supports in Shoal Waters, one just in front of the pivot bolt consisting of two half-bulkheads and provide the main reinforcement. The pivot bolt is where the most lateral stress will be applied to the case.
The next support is at the forward edge of the bridge deck and the function of this support is three-fold. Firstly it provides support to the case. Secondly it provides support to the forward edge of the bridge deck and thirdly, it provides an anchor point for the plate uphaul.
The third support is found at the aft edge of the bridge deck. The primary purpose of the support is to provide an edge to the half bulkhead that forms the front of the cockpit well. It is sealed against the case such that any water that gets into the cockpit does not immediately drain into the cabin. As a secondary function, it also supports the case but is not really required at this point as only the tip of the plate reaches this far back in the boat and when the plate is raised up that high, the sideways force on the case is very small.
However, all three supports need to be put back but in such a way that they may be easily removed. They will not be permanently fixed until after the leak test.
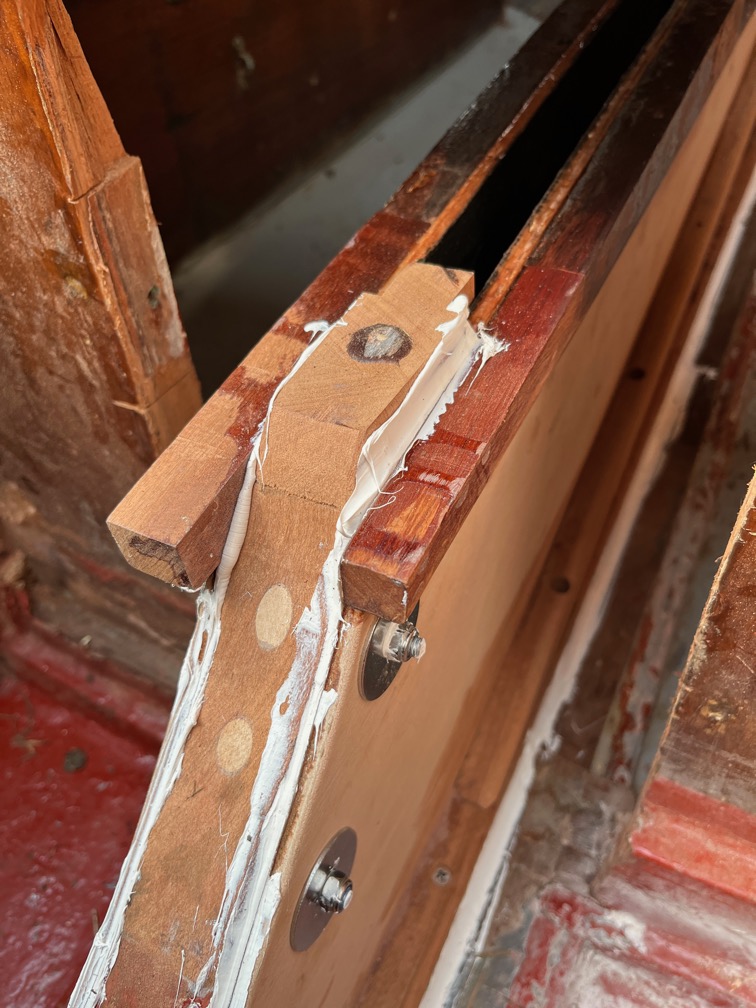
The sealant has dried well here so I can cut the top off with a pull-saw.
This did not take long and the is the result after a quick sand to remove any saw marks.
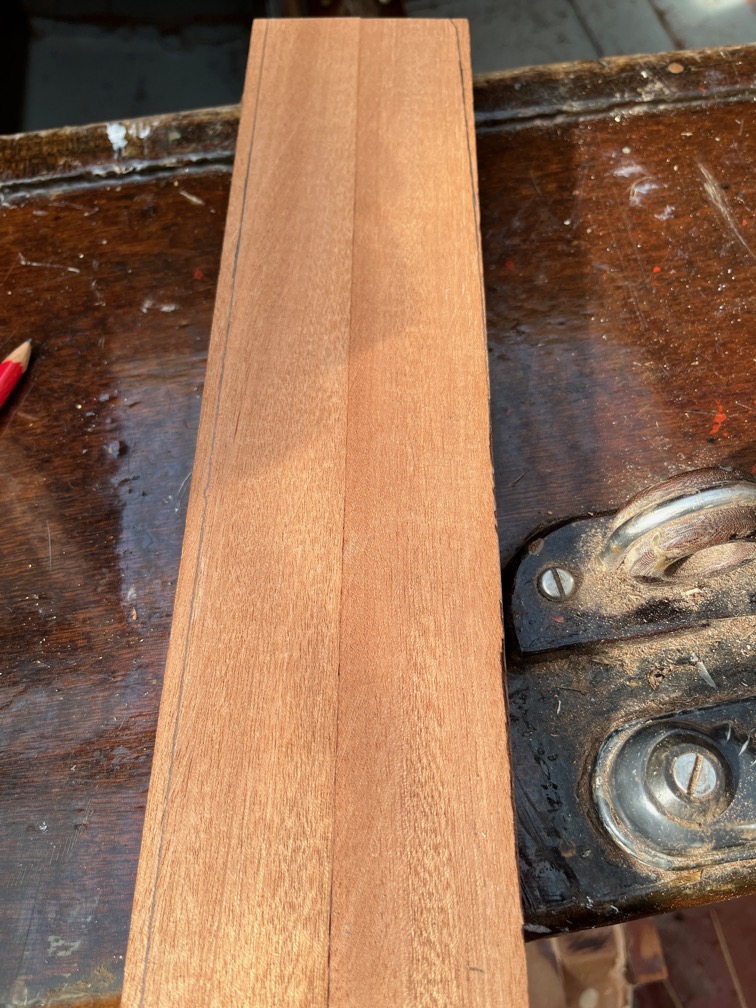
The piece of timber for the new top cover was placed into position after squaring off what will be the forward end and the shape of the underlying case drawn in pencil.
I shaped one side first using a bandsaw followed by the belt sander. I offered the workpiece up to the case again and checked that the pencil mark was still correct before shaping the other side.
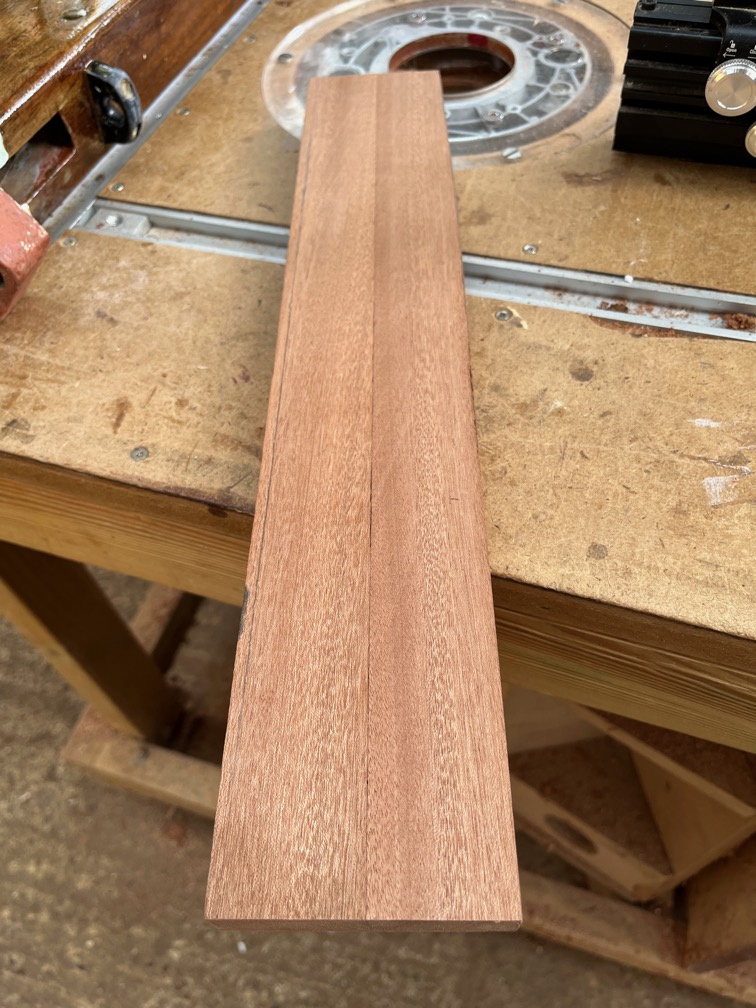
Having carried out the check I shaped the other side and gave the top side corners a round over.

The top was given a light sanding as this will be varnished, although not much of it will be seen.
At this point I decided that I would remove the piece to which this piece buts on the top of the case as it has gone on slightly skew. I knocked out as many of the old, broken screws as I could, taped the underside and filled the holes with neat epoxy.
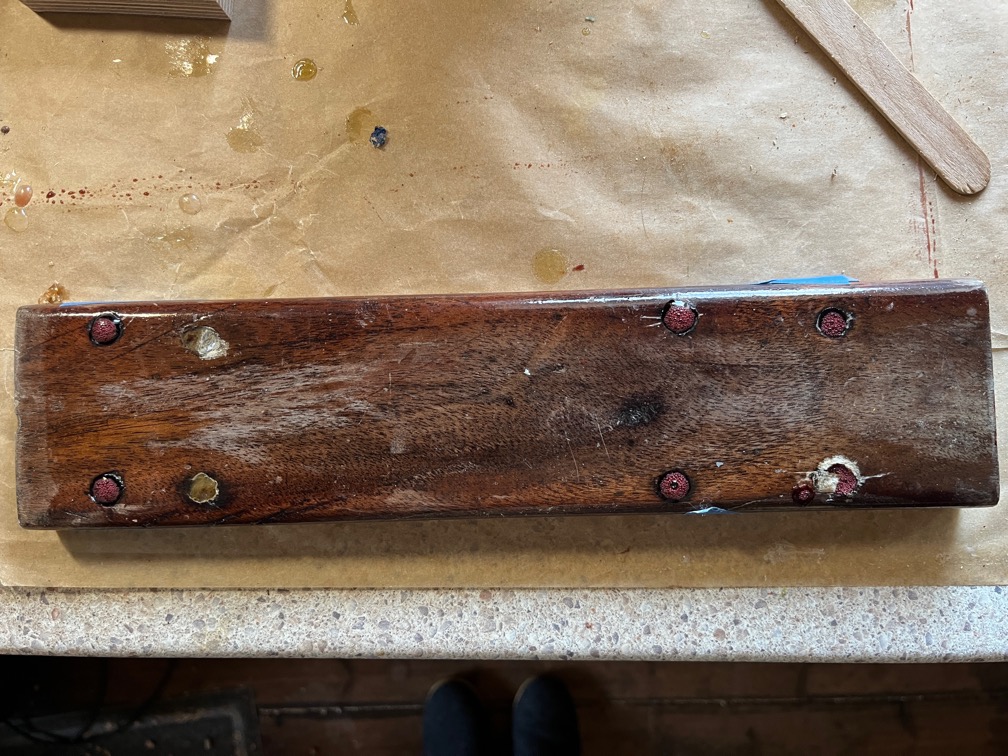
I didn’t thicken the epoxy as I wanted it to run down into the holes. The disadvantage of doing this is that the bubbles you get when mixing the epoxy rise to the surface as you can see here.
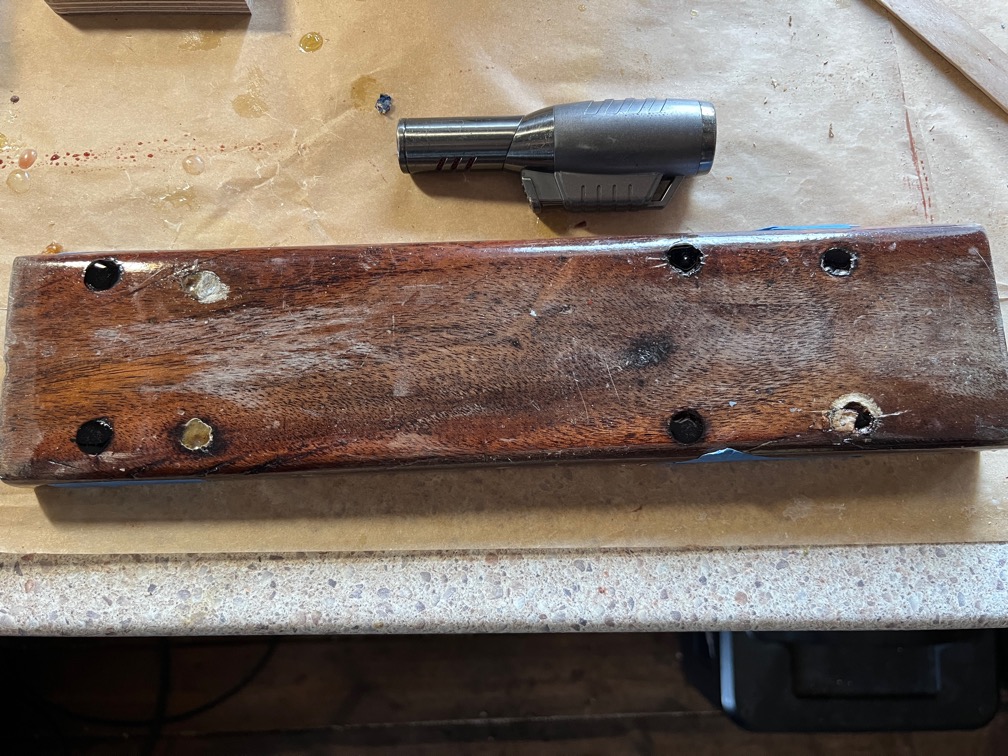
The solution to this is either to use a vacuum pot to suck out all the bubbles before you use the epoxy, or heat the surface of the epoxy with a hot air gun or a flame from a gas lighter. The result is pretty to watch but you do have to be careful not to burn the wood or varnish.
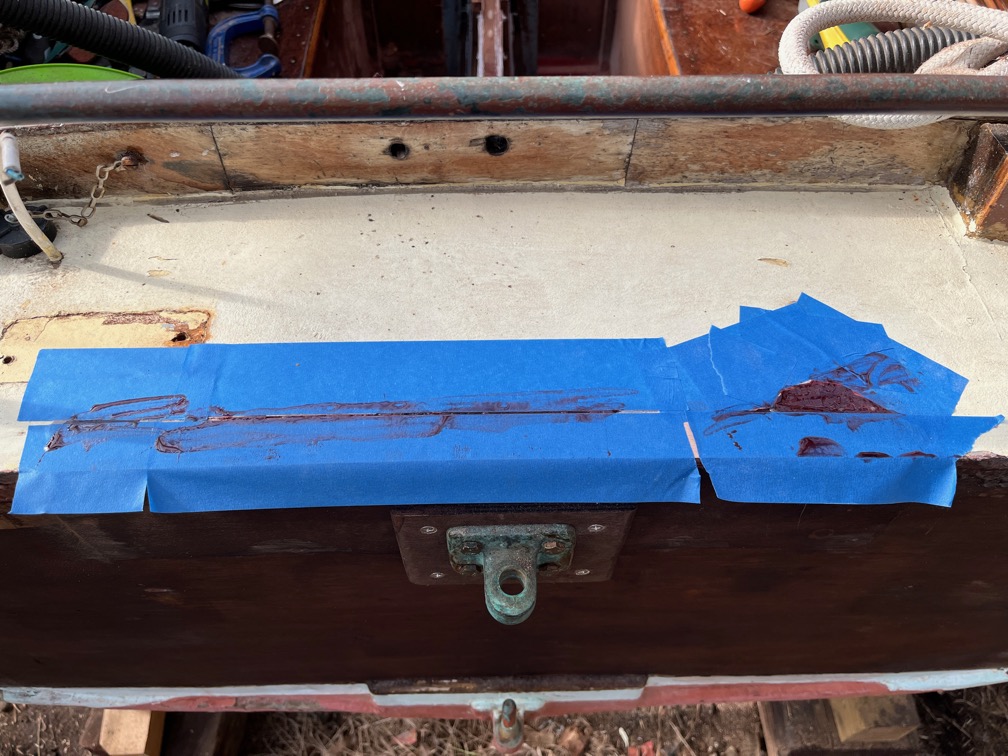
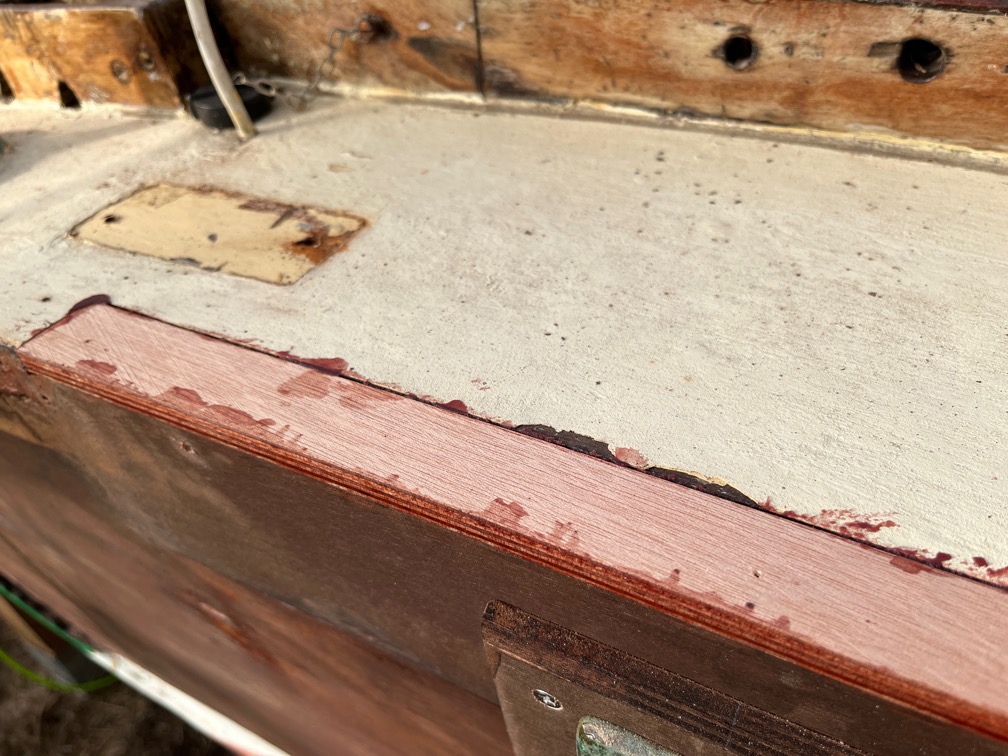
I had quite a lot of epoxy left over after filling the holes, so I taped up the aft deck and used some of it to fill in the gaps here. I noticed whilst doing this that the epoxy still left in the pot was getting very hot indicating that it had already kicked off. Hopefully that will mean that the epoxy work I’ve just done will cure quickly as well.
Since the epoxy looked as though it was curing quite rapidly, it was 16º C at the time, I went out during my afternoon tea break and pulled the tape off.

Removing the tape before the epoxy cures hard is fairly easy as long as you were nitrile gloves otherwise you get semi-cured epoxy all over your hands and if you are not careful, your clothes as well.
Messy!
Still, the result is quite good.
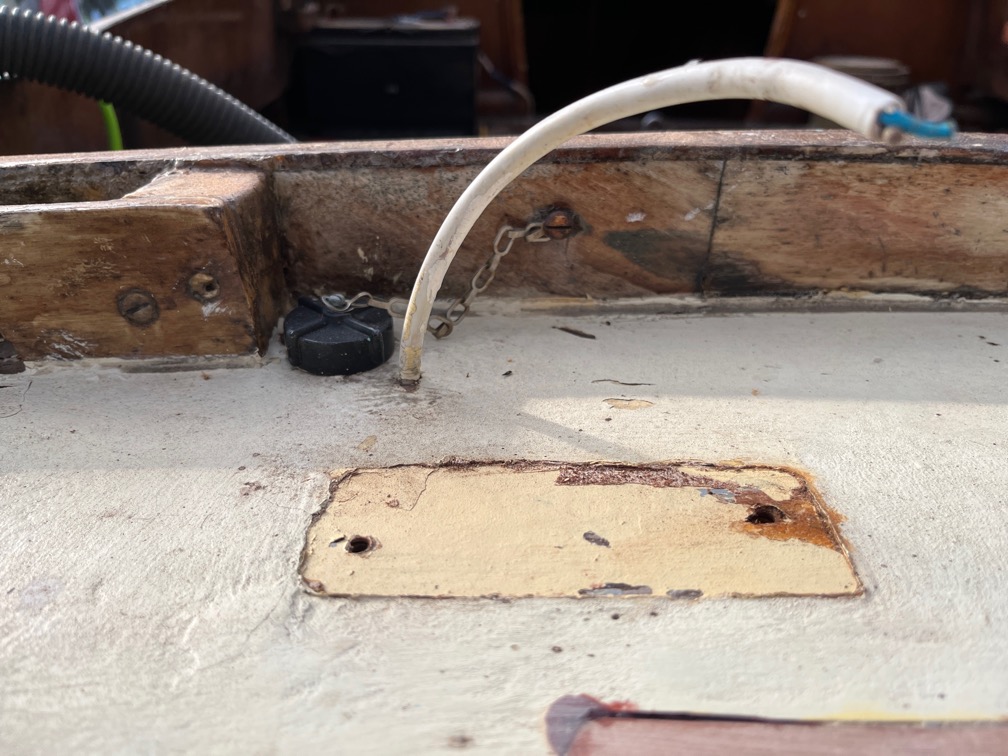
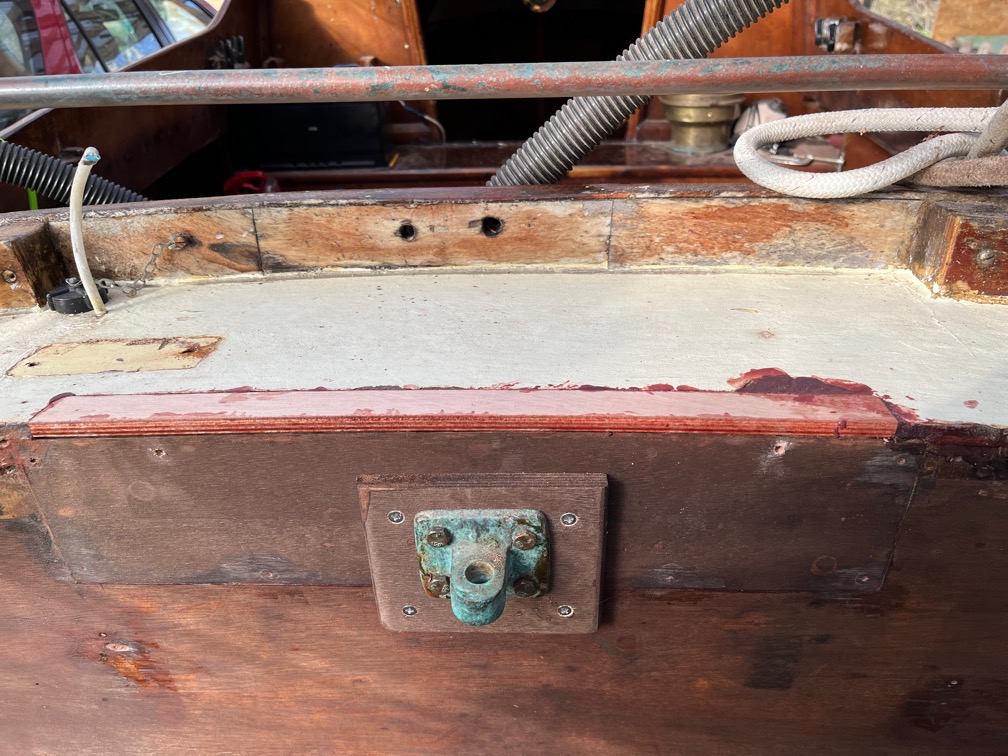
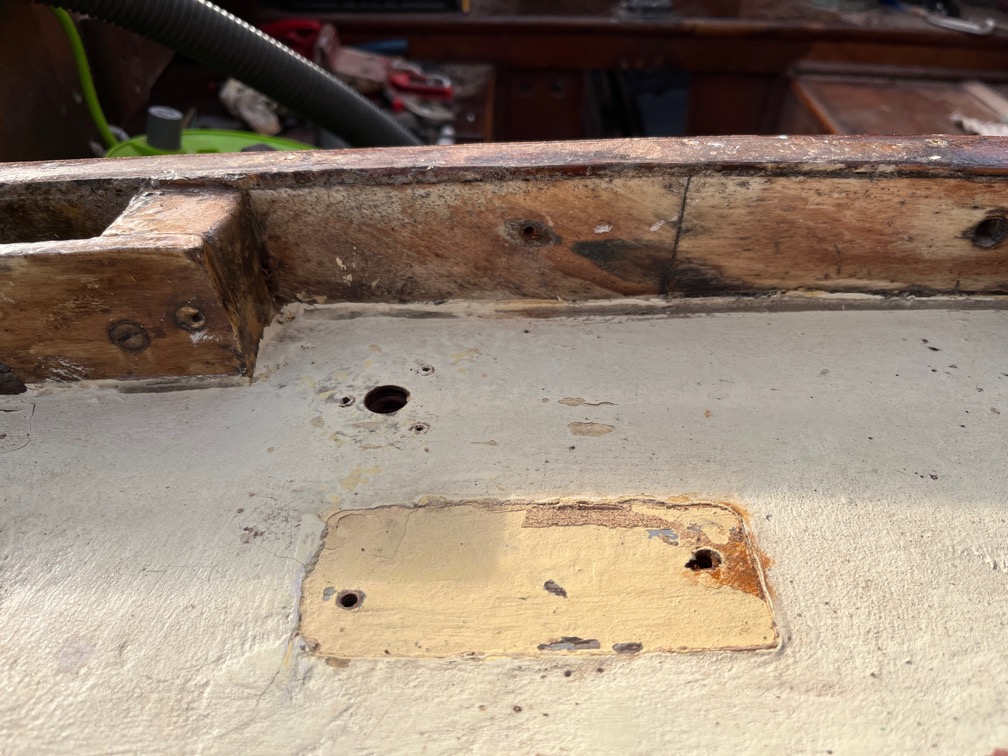
This is the place where the aft navigation light is mounted and I decided that I’d finish my tea break by cleaning the area up a little. The nav light used to have a through deck power fitting that was a socket in the deck and the plug on the end of the cable attached to the light. The deck fitting that was removed sometime ago, but the cap left behind, so that came off. The cable was pulled through from below, the hole drilled out to 14mm and the screw holes for the through deck fitting drilled.
That’s all I had time for, so I went back to work.
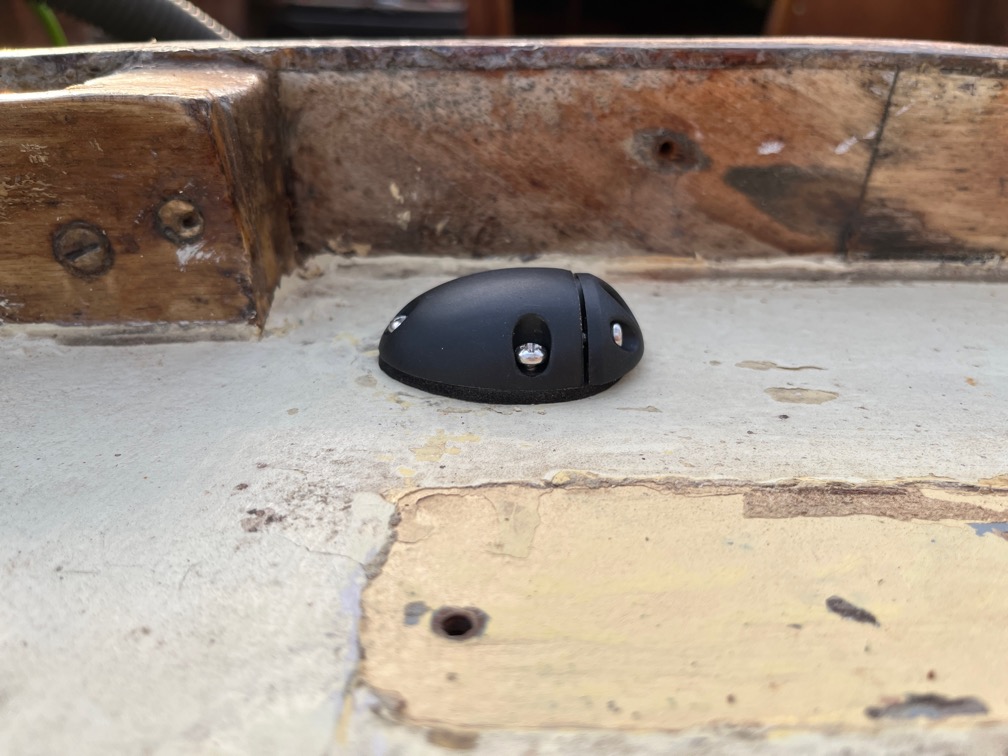
After work had finished for the day I put the deck gland on the aft deck. It is not screwed down completely since I need the light moung to be fitted first and that is still being varnished. It is, however, one less thing cluttering up the work table.

These gizmos arrive in the post, broken screw extractors. Basically a hollow 1/4″ drill bit. They are great but almost impossible to use unless guided. Try using these by hand as the tip goes all over the place.
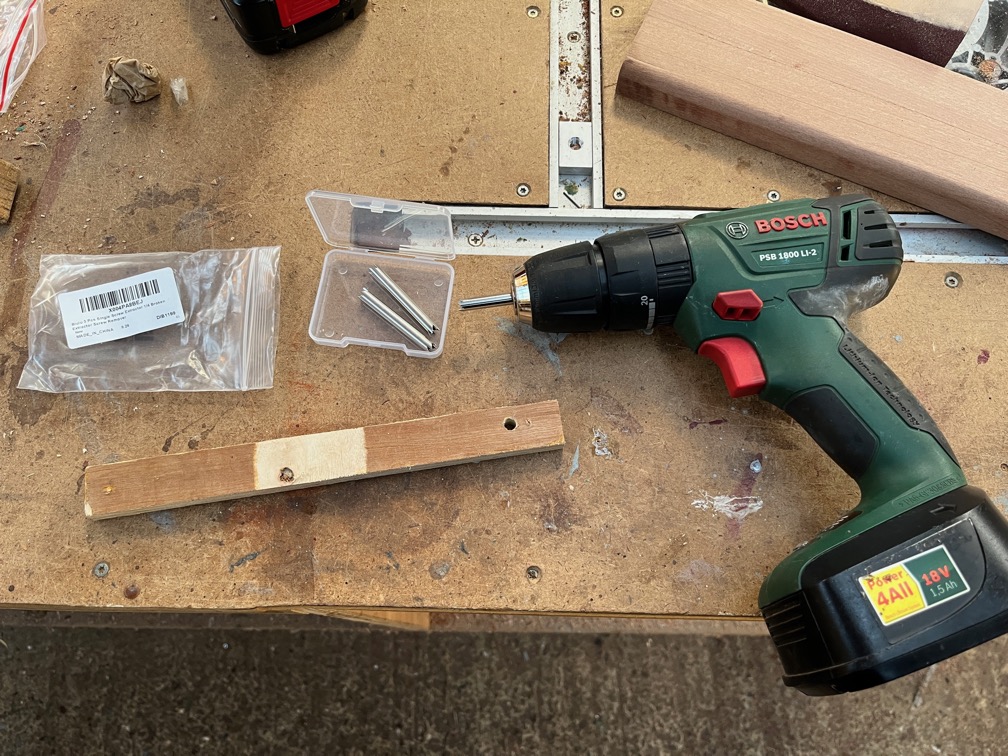
I drilled a suitable hole in an offcut which will act as mu guide.
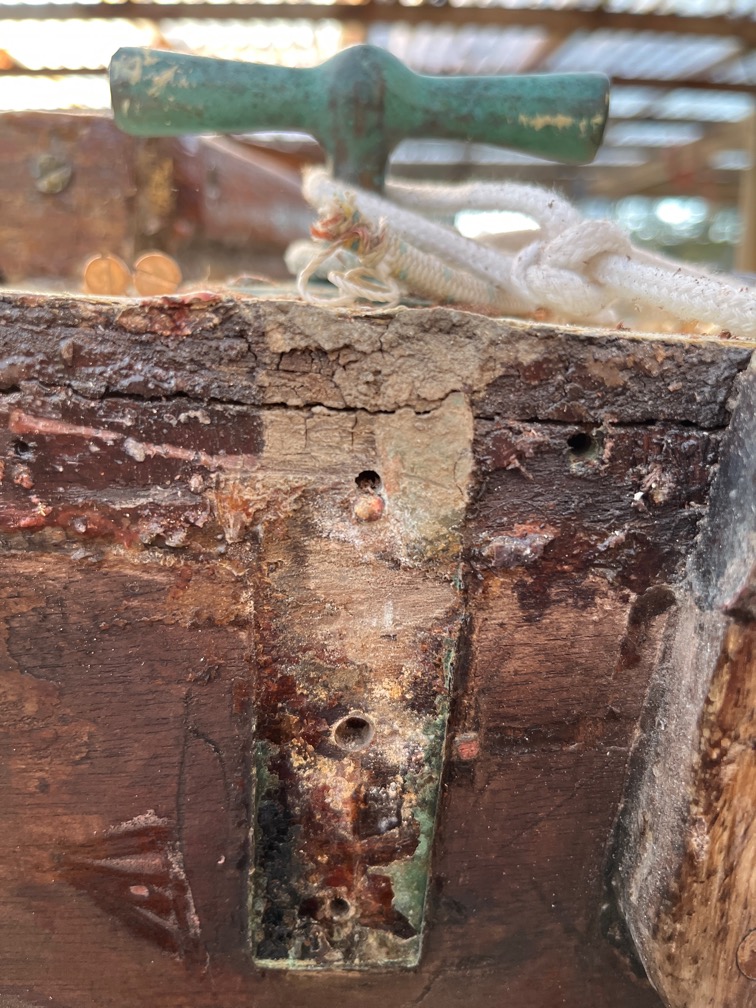
This is one of the screws that has broken off and I need it to be out of there.
Here I have started the hole, as you can see, and once you have the hole started, you no longer need the guide to stead the extractor.
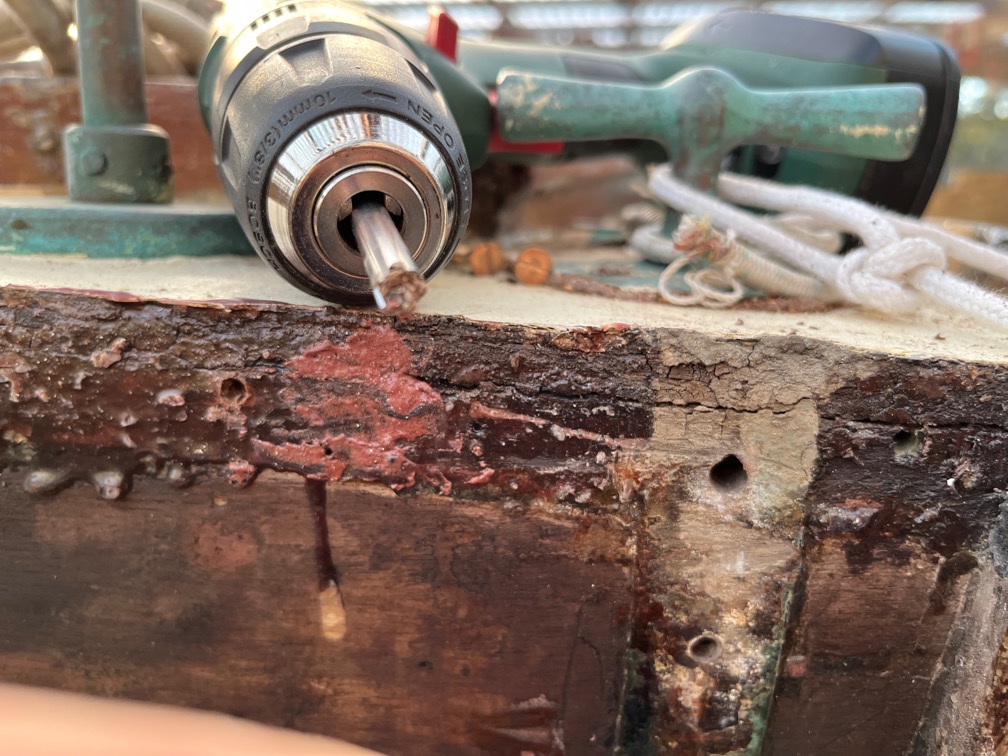
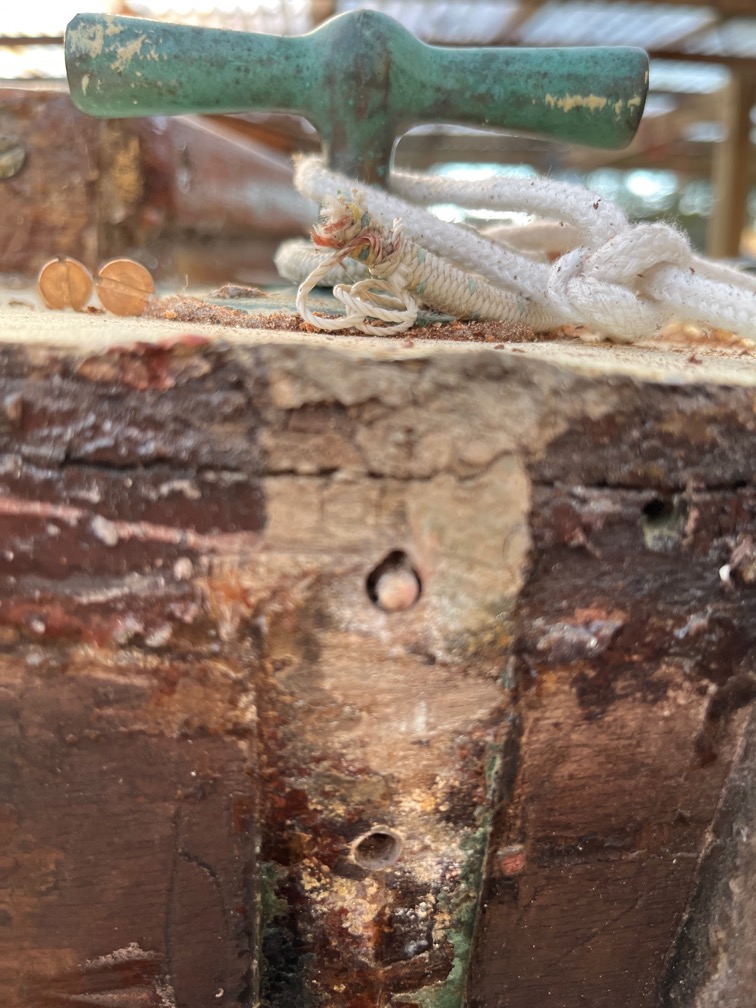
It doesn’t take long, just a few seconds, to drill out a core of wood in which the broken screw remains.
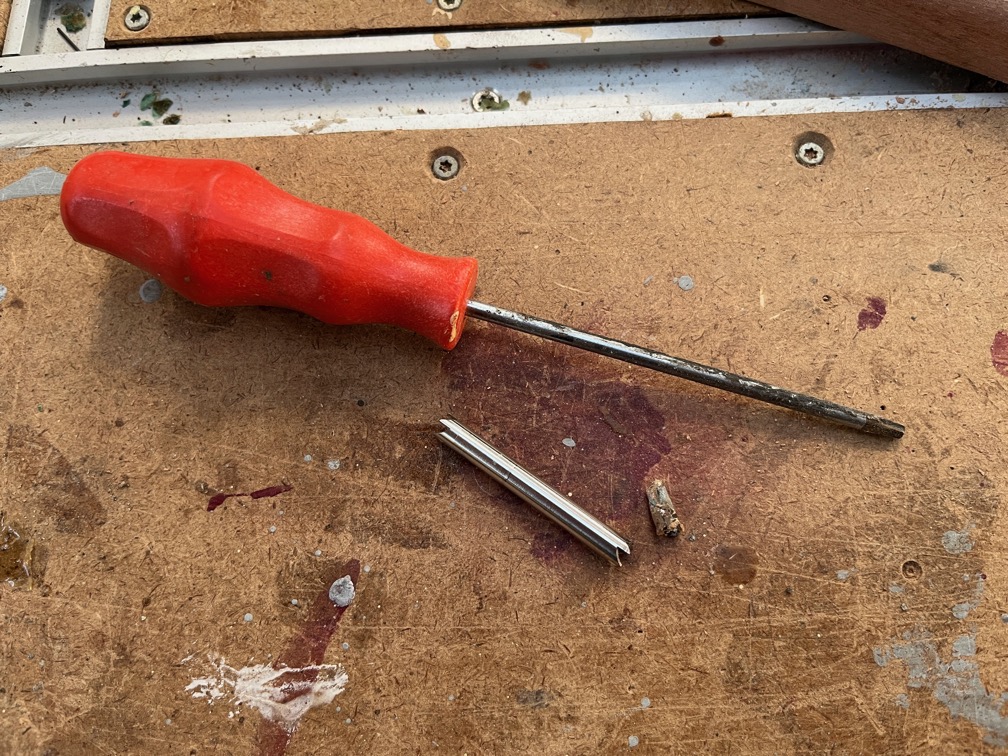
The extractor is cleared by pushing out the core with a suitable ram.
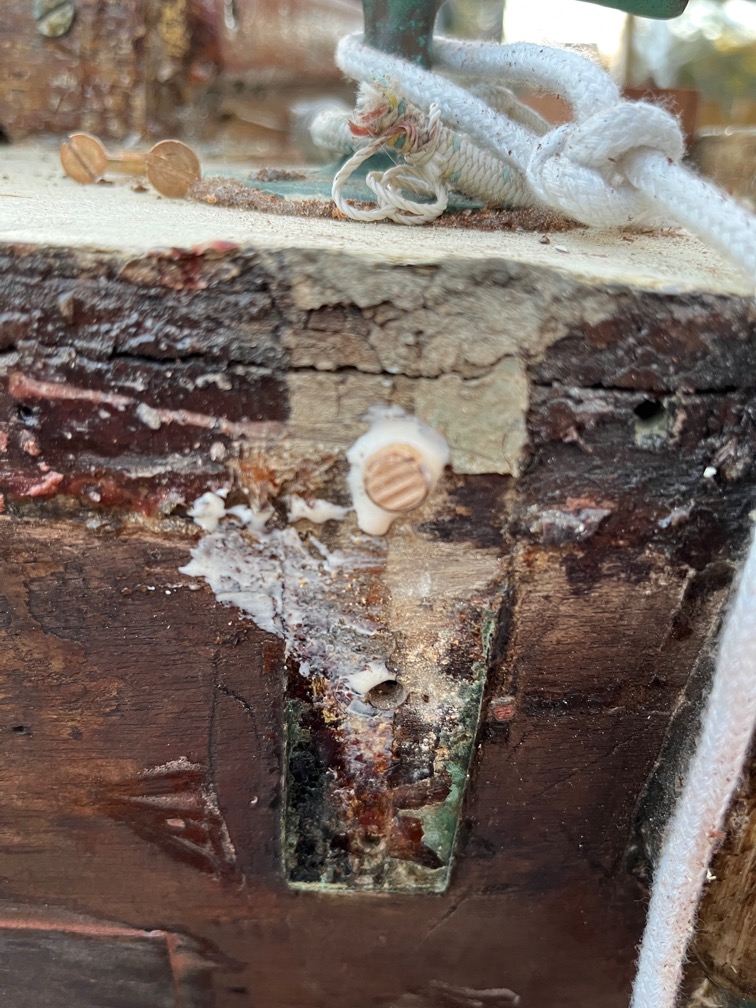
Then it was just a cse of opening up the hole and glueing in a dowel. Once the glue has fully dried I’ll cut off the end of the dowel flush with the transom and I will be in a position to mount the two bronze eyes and the rubbing strake.