
The first task of the day was to check that the new template I cut yesterday actually fitted the camber of the aft deck.

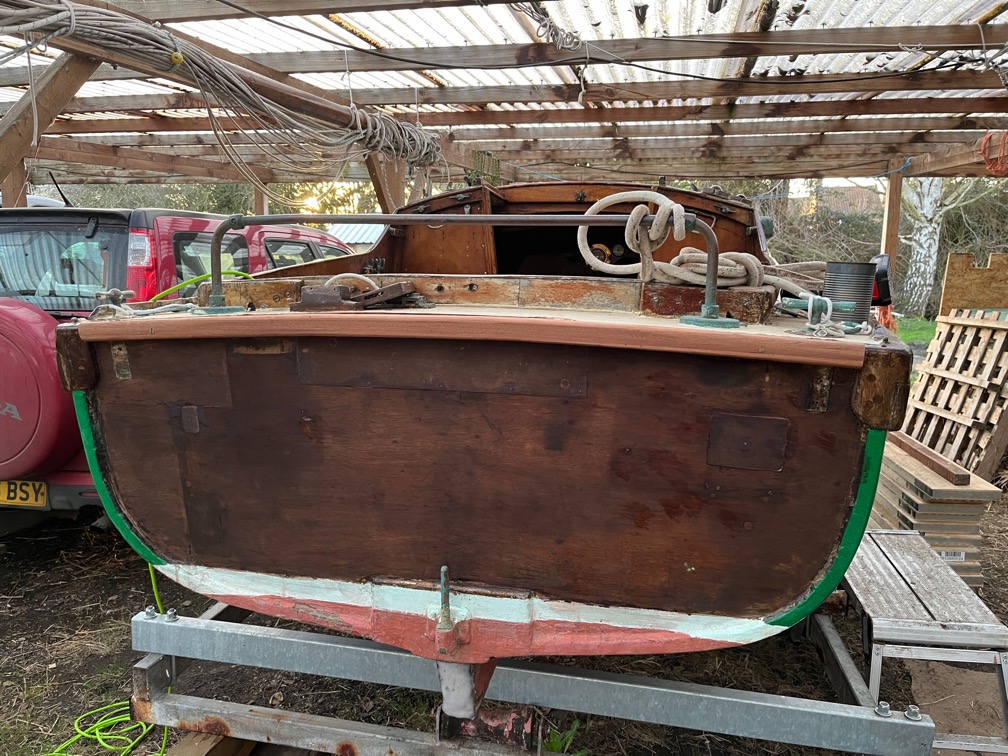
The template was nailed back onto the transom and checked. Thankfully, this time the fit was good. The next task for the template was to cut the same curve but on the bottom edge and concave. This will be used to cut the underside of the messed up strake.
Whilst I was working on this I was pondering the forthcoming centerplate case sides installation and the final preparations. The bit that concerned me was screwing the new sides into the old wood of the fore and aft blocks. Although the sides will be stuck to the blocks with SikaFlex 291i, having the screws as well means that there will not be a need to clamp this in position. But I’m not sure that screws in the old wood will afford sufficient holding power.
So i decided that I will use stainless steel bolts instead with large washers. The downside of this will be the bolts sticking out of the case sides with the possibility of scraping hands. I’ll have to make sure that the bolts are as short as possible and with no sharp ends. The upside is, of course, that no holding power in the old wood is required.
During my lunch break my task on the rubbing strake fix continued.
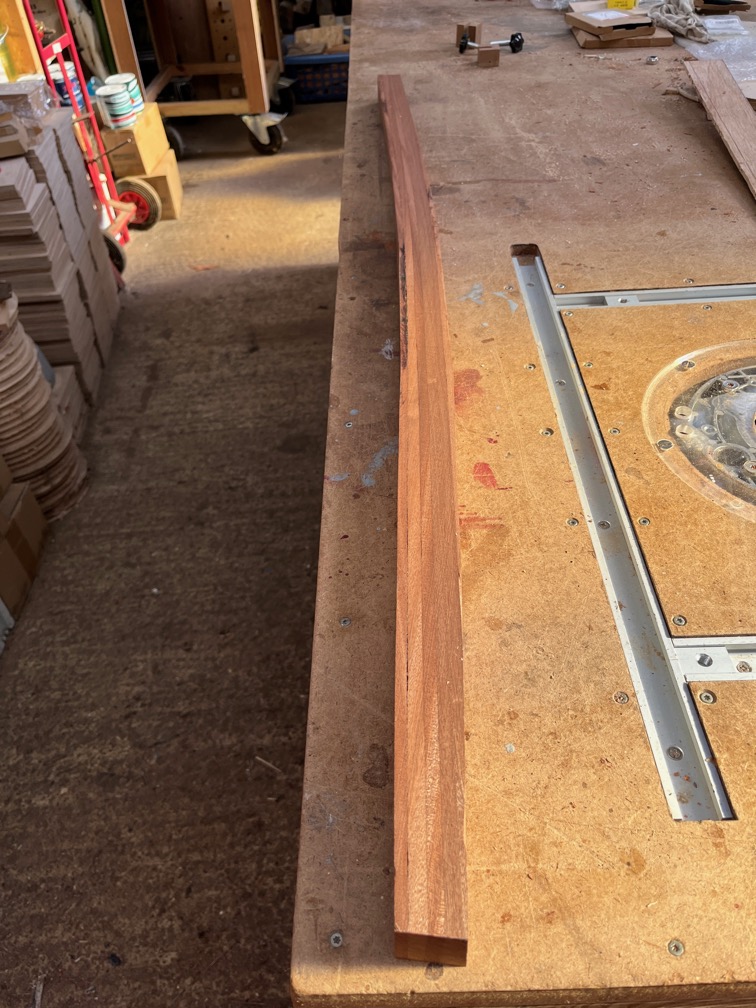
The template was nailed to the strake and used with a table router to cut the correct shape into the strake. It turned out fairly well.
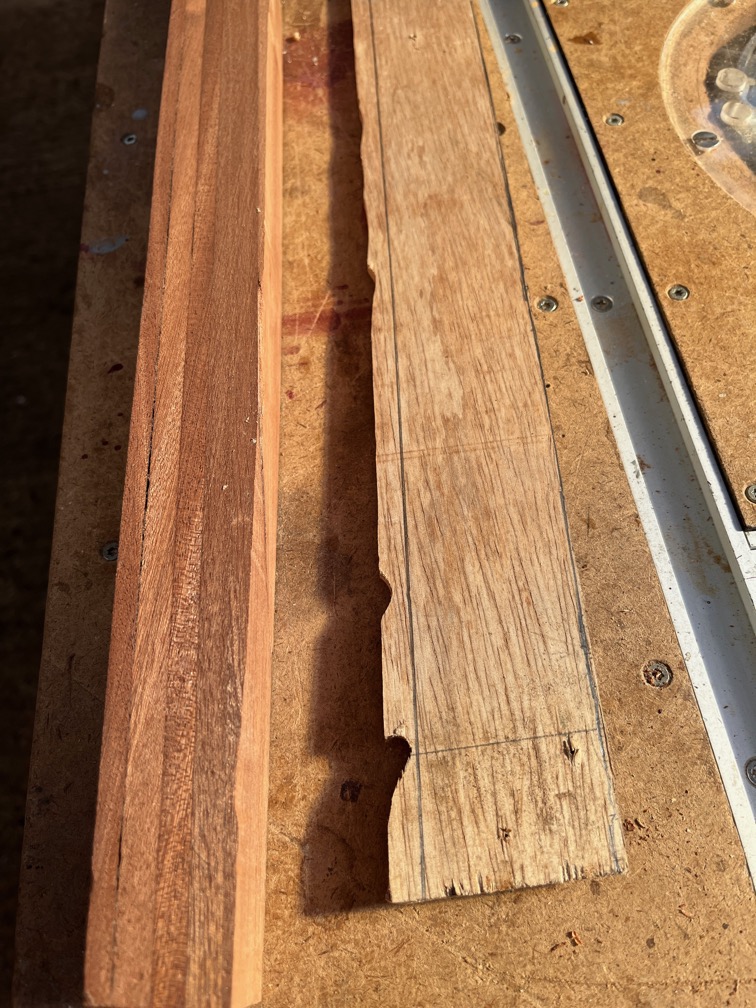
This cannot be said of my first attempt to cut the concave curve on the template.

As you can see, it is less than ideal. However, I used the newly cut curve on the strake to draw the line on the template and I’ll use a jigsaw to cut near the line and an oscillating sander to sand down to the line and then use that to cut the curve on the other side of the strake.
I noted that the temperature so far today has reached 15º C, so I will aim to get the centerplate case sides fitted tomorrow starting first thing and by that I mean as soon as it is light and before breakfast. The aim will be to get the first side, probably the port, installed with the other side in place but not glued. This is necessary as the pivot bolt needs to be in place with the spacer, drawing the two sides together.
Once the SikaFlex has cured sufficiently I’ll repeat the process with the starboard case side.
So, as soon as work is done for the day I shall carry out the final preparation work for the case sides fitting and if there is any time left, bearing in mind the things I have to do this evening, then I’ll continue with the rubbing strake.
Time for a cup of tea.
I was unable to carry out all the preparation tasks for the case sides due to the epoxy not really being cured enough, so I moved on.
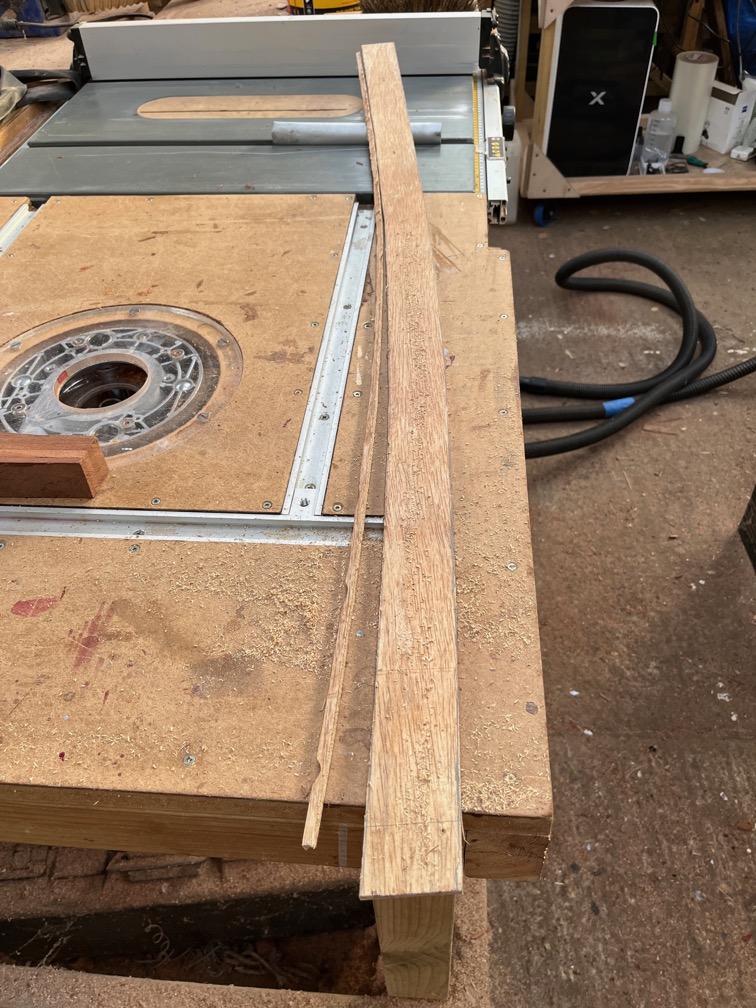
Careful use of the jigsaw saw the concave side of the template cut pretty close to the line.

The sander made short work of smoothing the curve right up to the line. It is nice having the correct tools for the job.
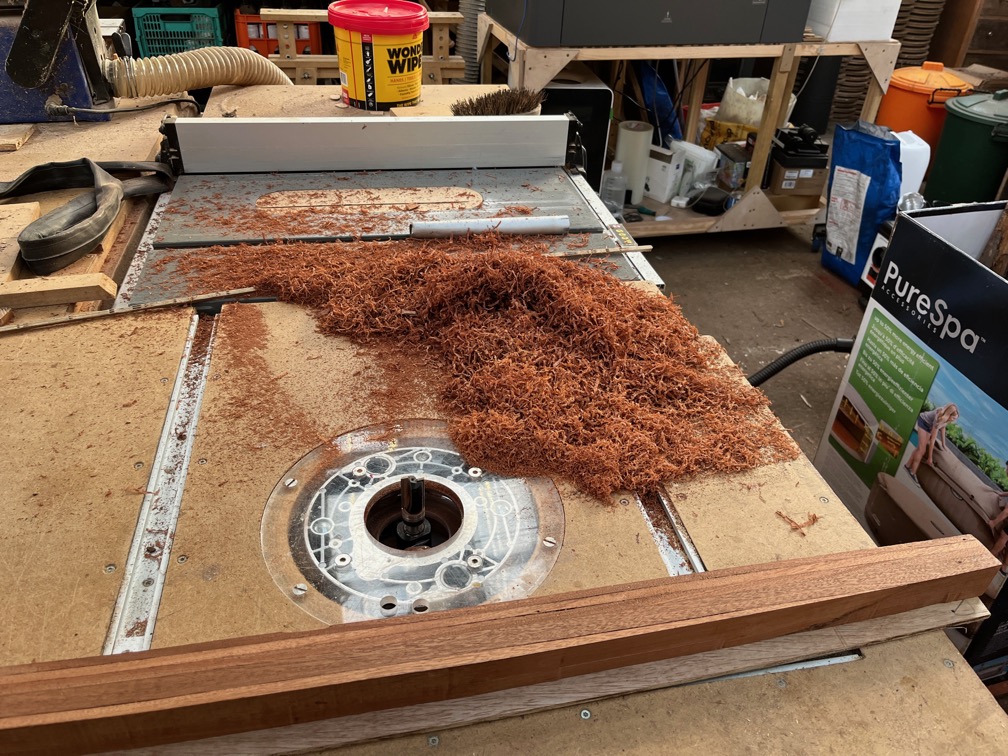
The template was nailed t o the strake and the excess removed with the router. Quite a lot of shavings, good for using as tinder !
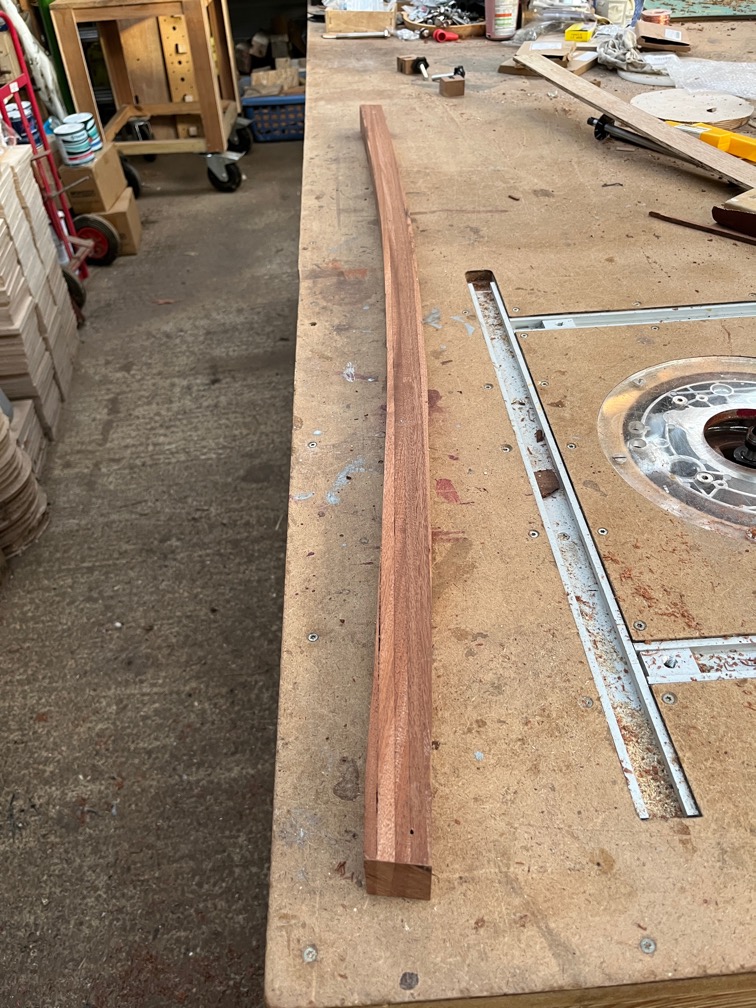
Here both sides are done.
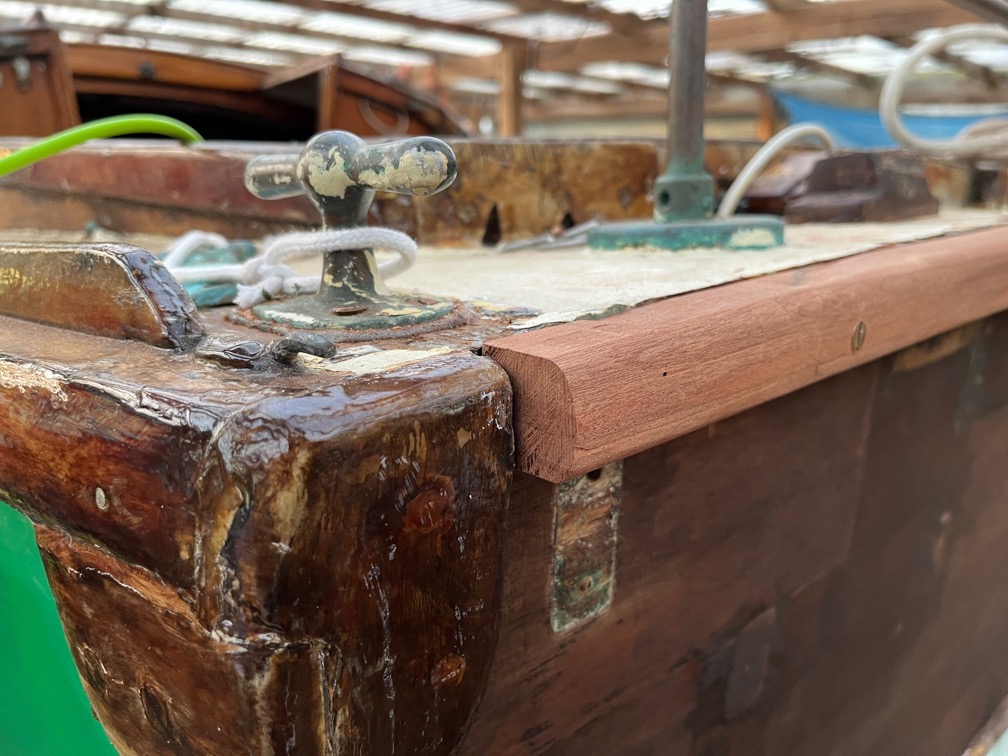
I rounded the aft facing corners and then screwed the strake to the boat with two 2″ No.10 bronze screws. I may put another screw in the centre of the strake but otherwise, it will be stuck to the transom and deck with an exterior grade non-adhesive sealant as I’ll want to get it off next off season to make the other transom repairs.
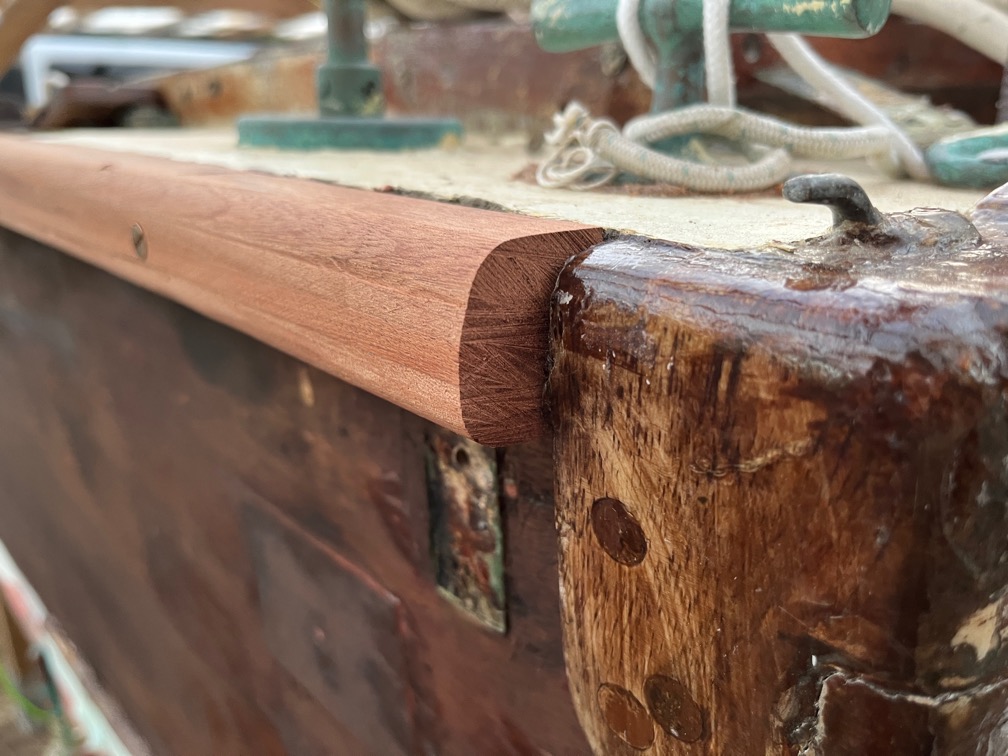
It is a bit thicker that the previous strake and I need to round the ends off a little.
Otherwise, I think it is looking pretty good.
That’s all on the boat for today, I’ve other tasks to do in the house this evening.
Time for a cup of tea.