
No varnishing today so I did nothing until my first tea break.
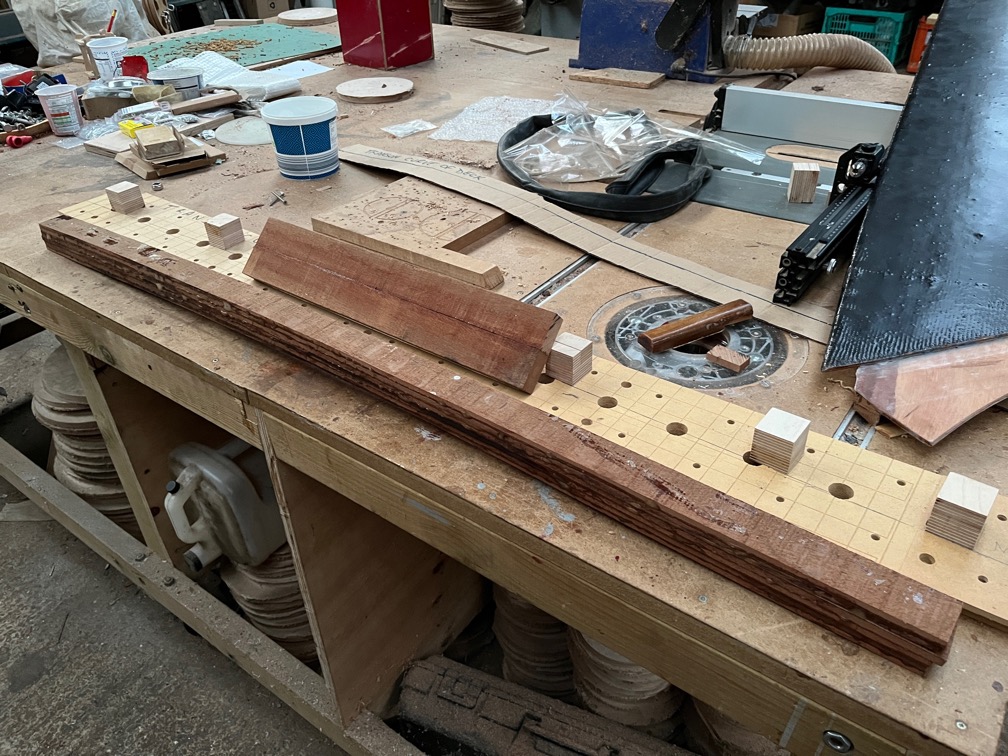
The first task was to remove all the cramps from the glue ups and see how they look. Not too bad and during my next break I’ll run them through the planer.
The case top looks good. It is a little thinner that the original pieces, but since most of it is under the bridge deck, I doubt that this will matter much.
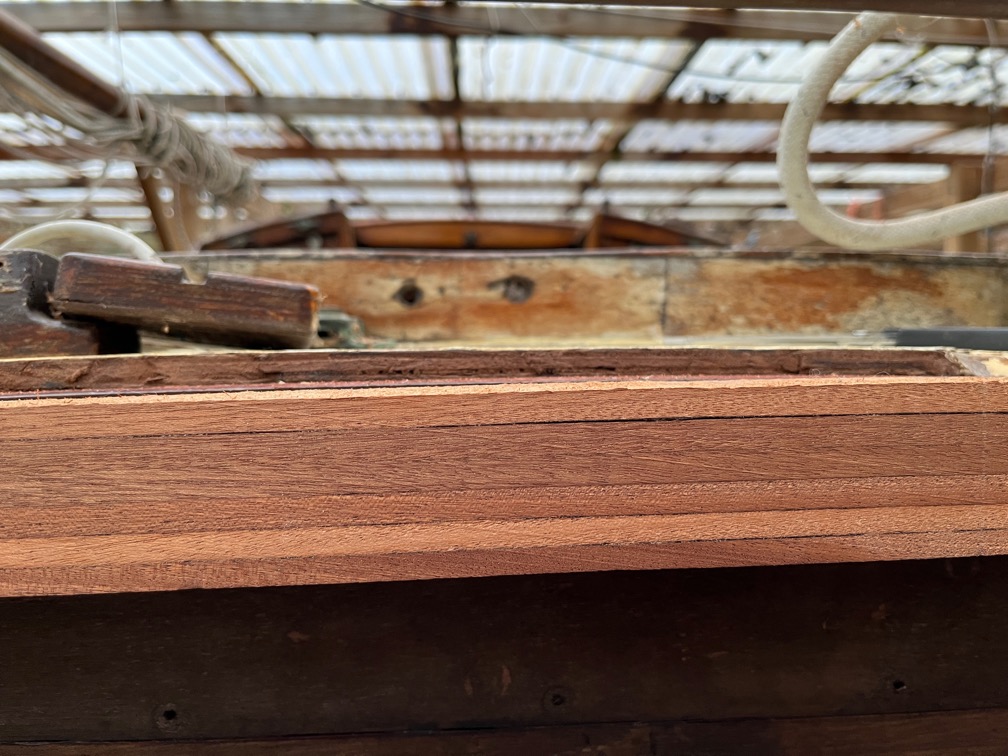
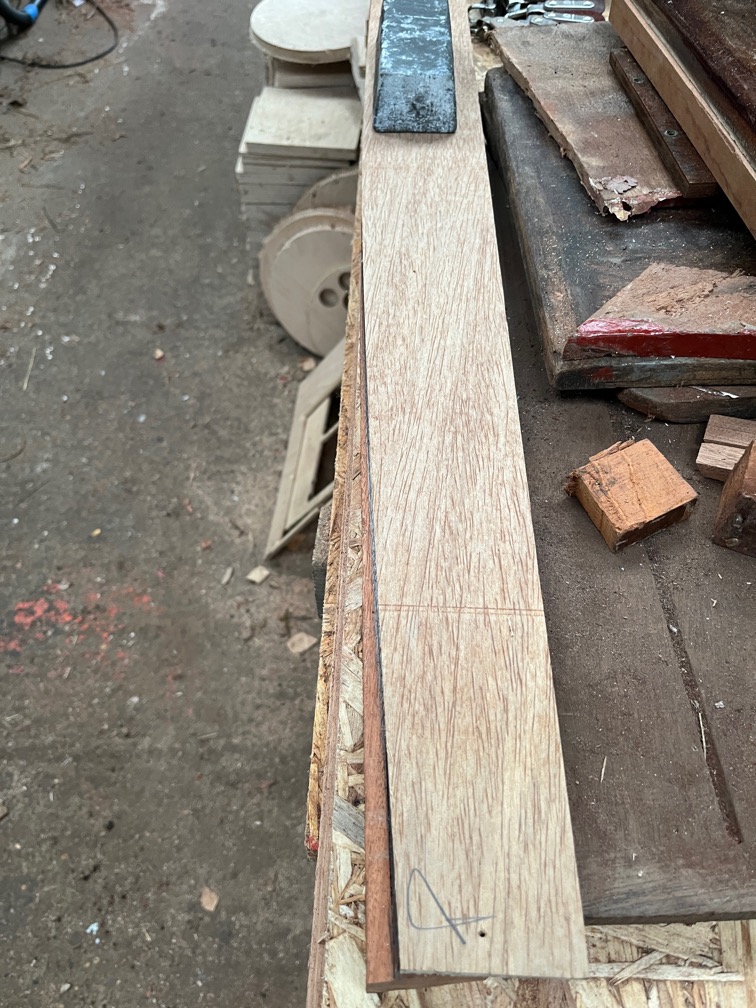
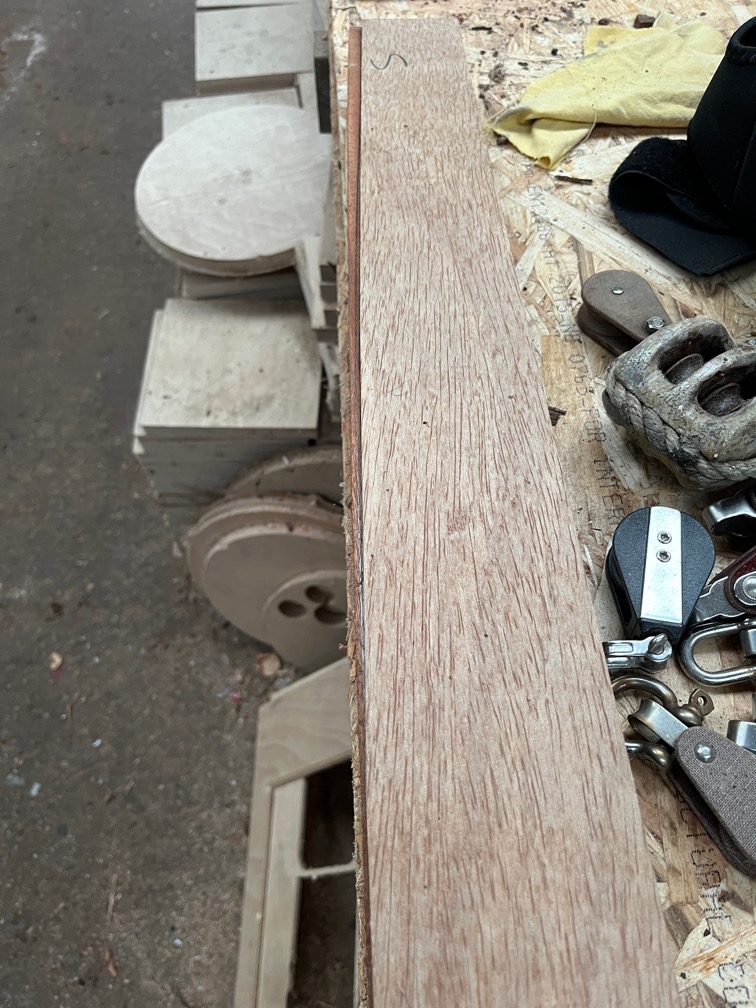
The rubbing strake look fairly good too.
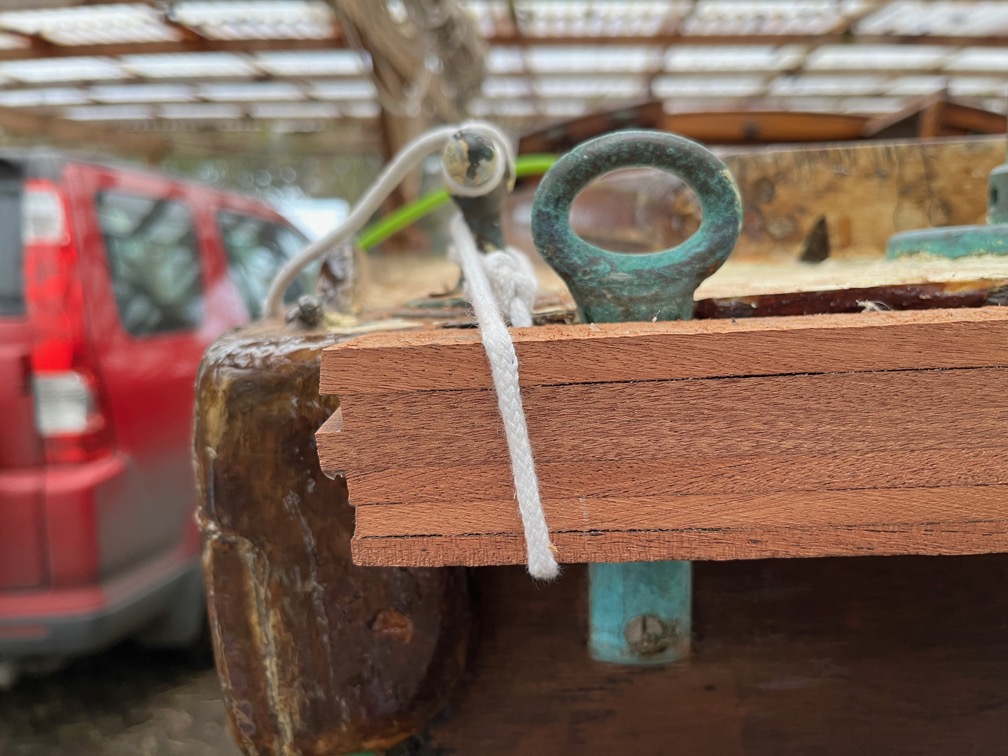
There’s a little section that I left unplanned since the strake will be shaped and the slightly lower part will mostly be removed.
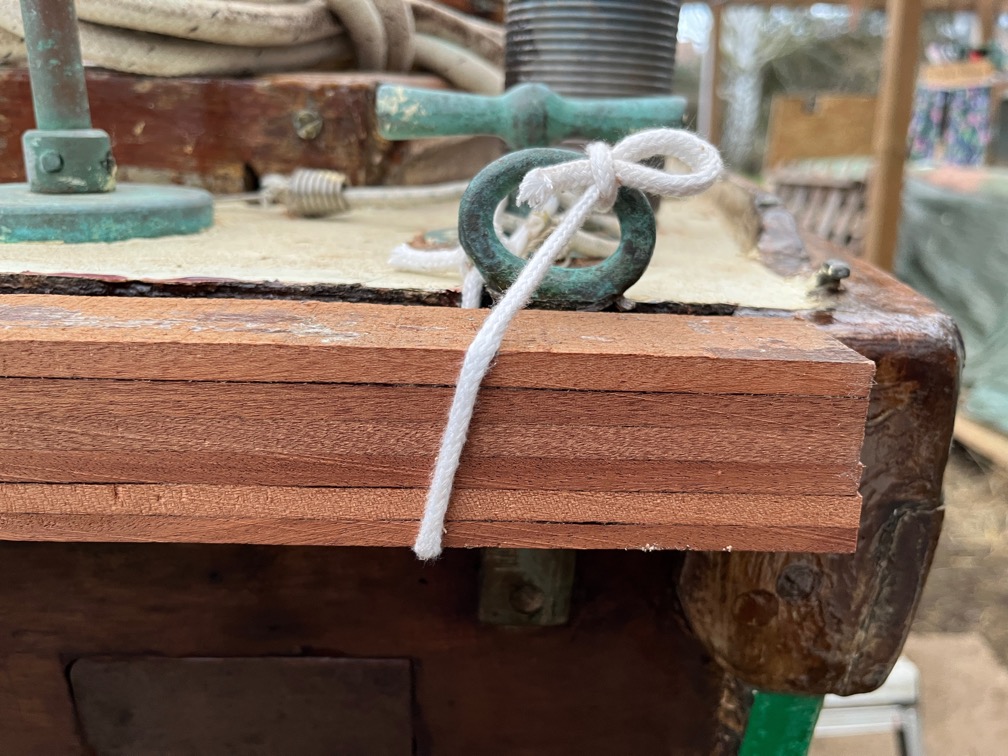
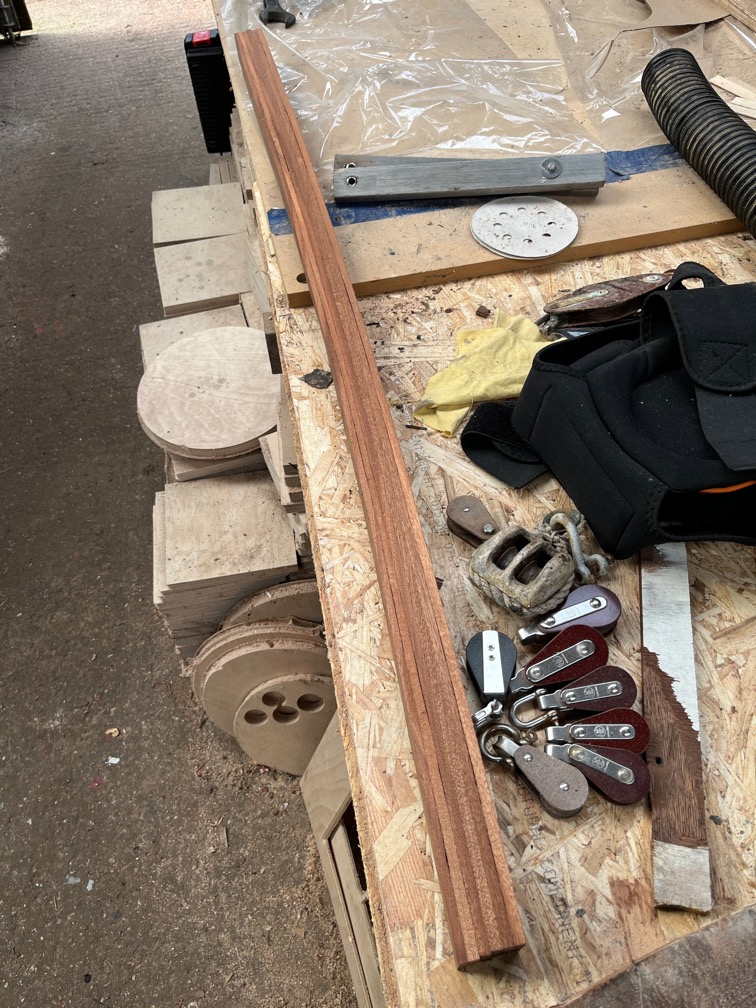
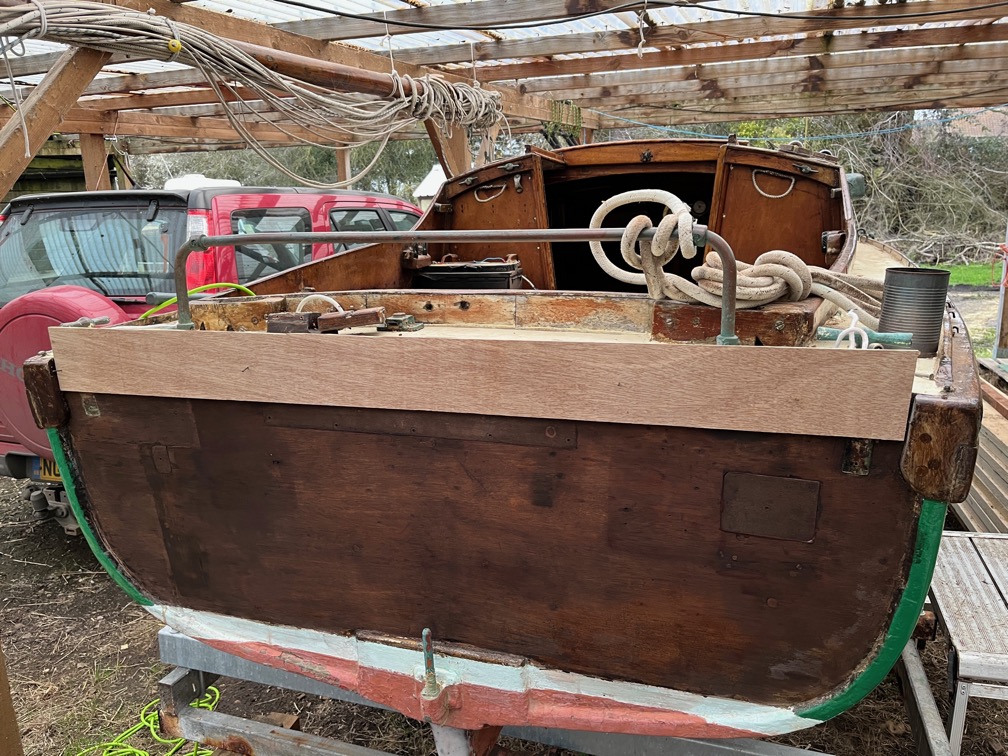
However, when I tied it to the transom I noticed that there is a problem. The starboard end is lined up. with the top of the aft deck.
As is the port end.
But the middle is about 10mm lower than the deck. I screwed up somewhere ! The strake is not curved enough to fit the camber of the deck.
There are two ways to fix this. The first, and easiest, would be to add another laminate or two on top and then shape the top wth a plane to get the curve correct. The downside of this is that the underside of the strake will be a different curvature unless it is also reshaped.
The second method is to shape the top surface until it fits and then the bottom. The downside is that this will reduce the 40mm high batten to 30mm. And that means having to be very careful with the mounting screws.
I’ll sleep on this one but right now, I’m tending towards the just reshape and make it thinner option.
Still, whichever option I choose, I need to make an accurate template.
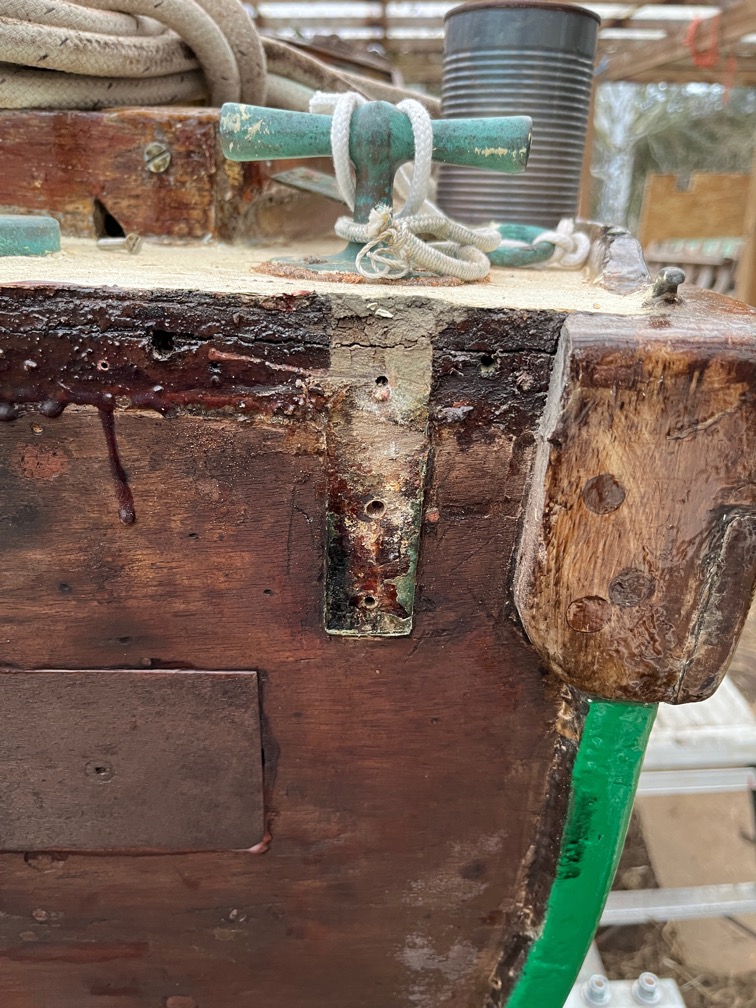
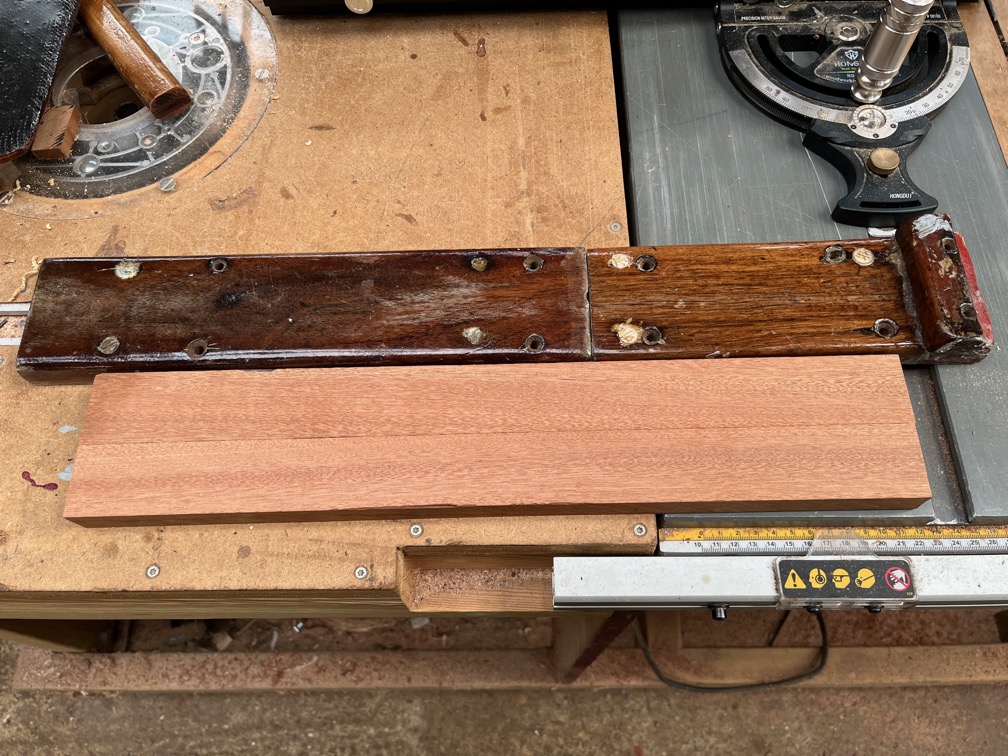
And that means removing the chain plates that are screwed to the transom. I don’t know what these are for, one suggestion is that they were for running back stays. Still, they need to come off.
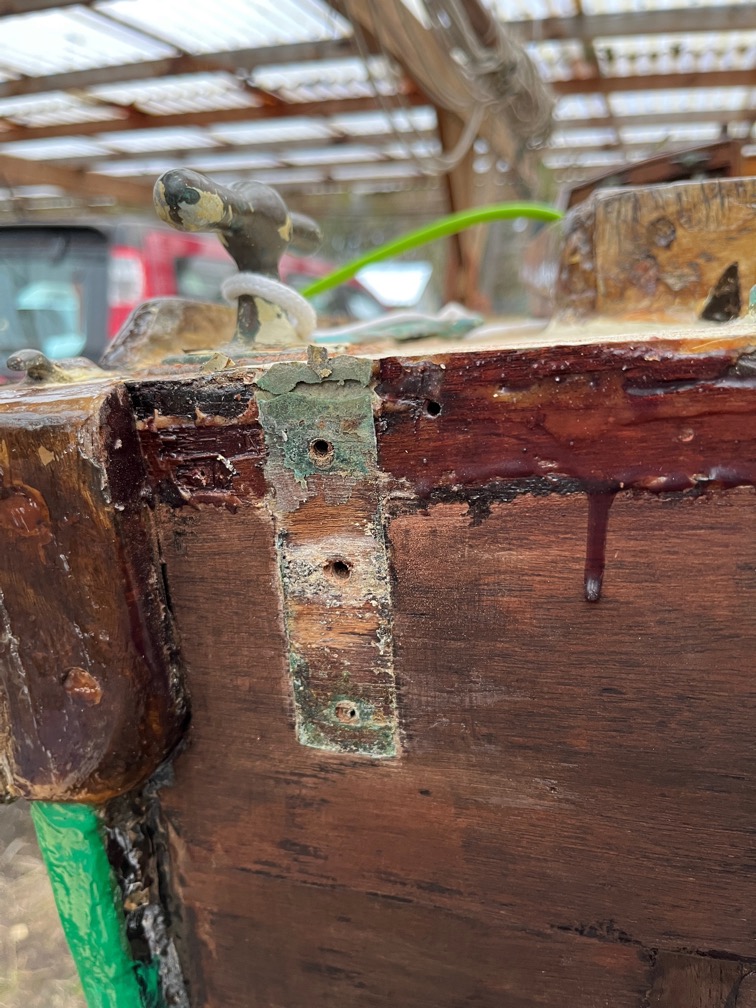
Of the six screws holding these fittings in place, three were stainless and the other three were the remains of old brass screws and had to be drilled out.
With the fittings removed I nailed a piece of plywood to the transom such that it protruded above the deck level at the highest and was about 100mm wide. Then I used a carpenter’s pencil laid flat on the deck and slid along the deck the point touching the plywood. I checked it several times and then took it into the workshop, cut the wood stating clear of the line and then used the belt sander to sand down to the line.
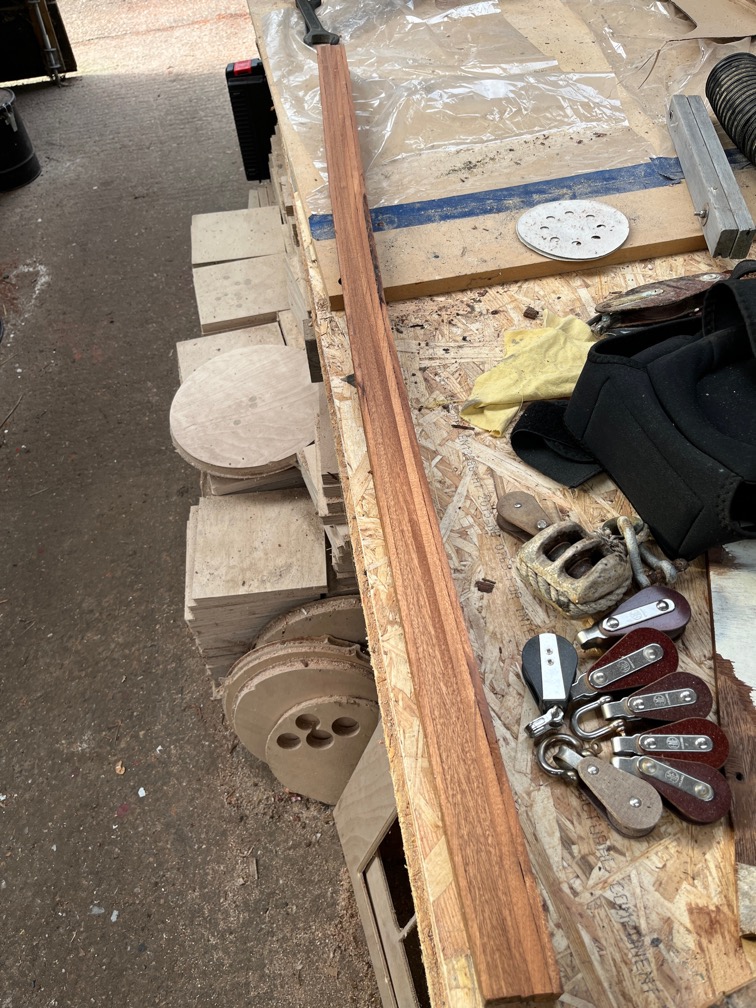
The new template shows just how much error there is in the new strake.
Both ends are way off.
Still, with a fairly accurate template I can hot glue this to the strake and then use a follower bit in the table router to remove the excess. But that’s for another day as I have some non-boat projects that need to be done and I must make a start on those.
Time for a cup of tea.