
Today was going to be a little bitty since the epoxy and glue work that needed doing meant that other tasks had to wait until the epoxy set cured and the glue dried properly. The varnish work was completed before breakfast. Later I made a start on glueing things.
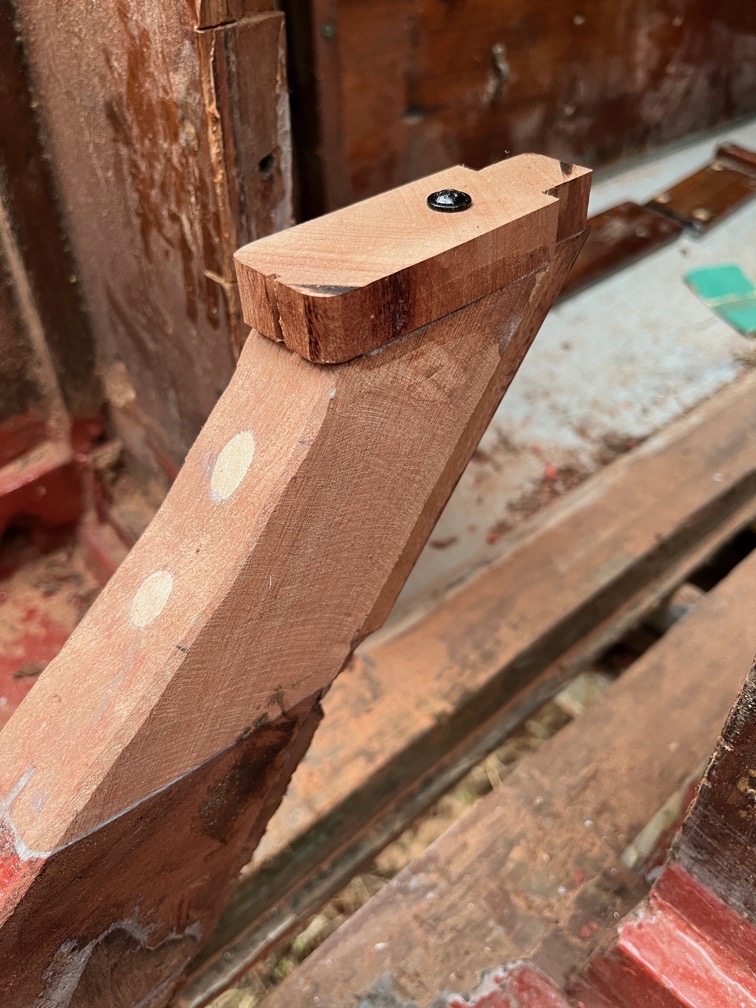
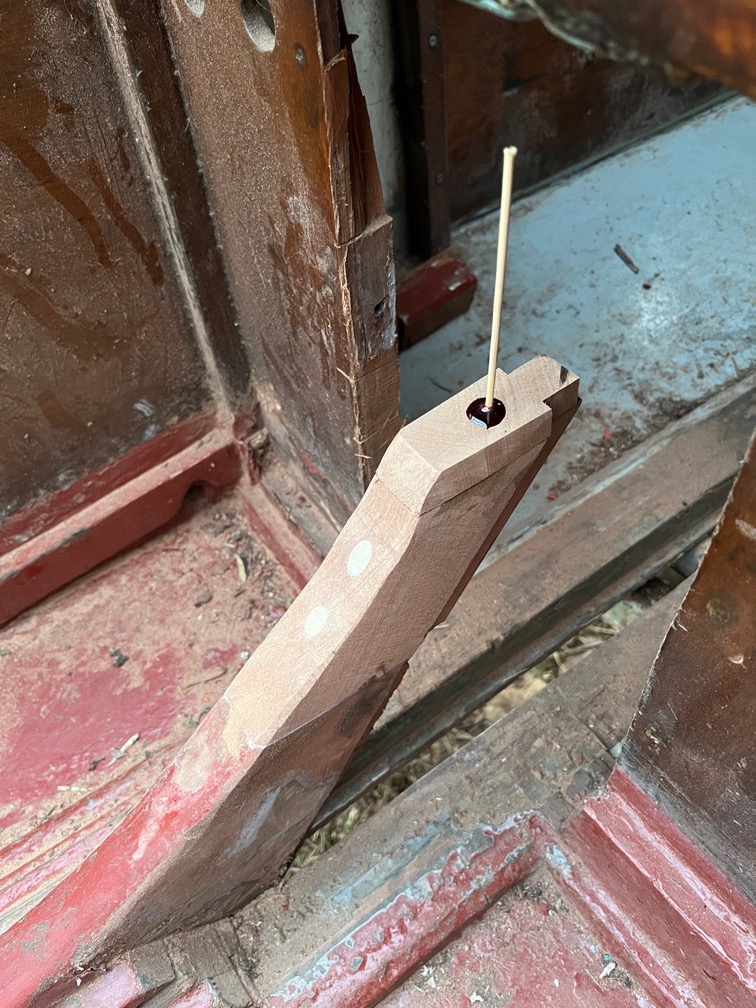
The first item on the list is the block extender. I placed the new piece on top of the block and drew the outline of the block on the underside with a soft pencil, then sanded the sides of the block away until it was down to the pencilled line. This piece was glued on with a temporary screw since clamping is not possible just here. As with all the other temporary screws, the holes will be filled later.
Next up were the case sides. The adjustments that were made during the dry fit meant that unsealed plywood edges were exposed and these all had to be coated with neat epoxy.
This means that not further work on the case can be carried out until the new piece of wood on the aft block is firmly stuck and then shaped and the epoxy on the cases has cured.
The new plywood on the transom needed another coat of stain as they were still obviously lighter that the rest of the transom.
Something I did forget when I had the stain out yesterday was the gudgeon backing pad.
So that was next. This is the second coat and I think that one more will be enough to match the transom.
Time for a cup of tea.
Once the glue had set enough to withstand some strong sanding, I took a sanding disk on an angle grinder and the belt sander to shape the aft block.
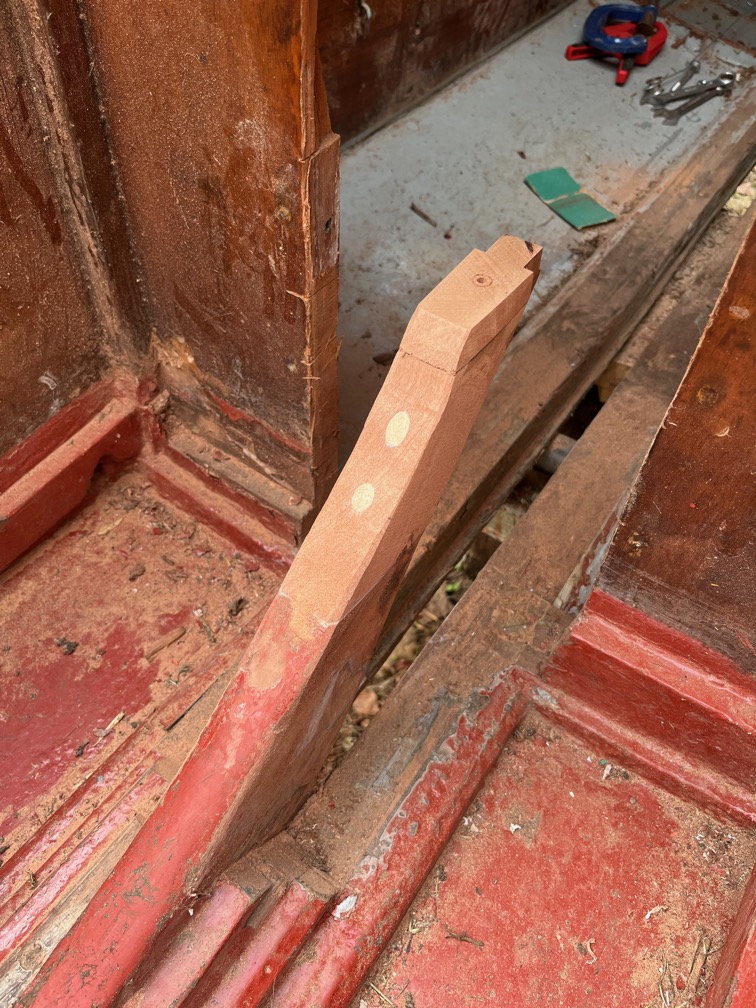
It’ not perfect just yet, for that I need the case sides in place.
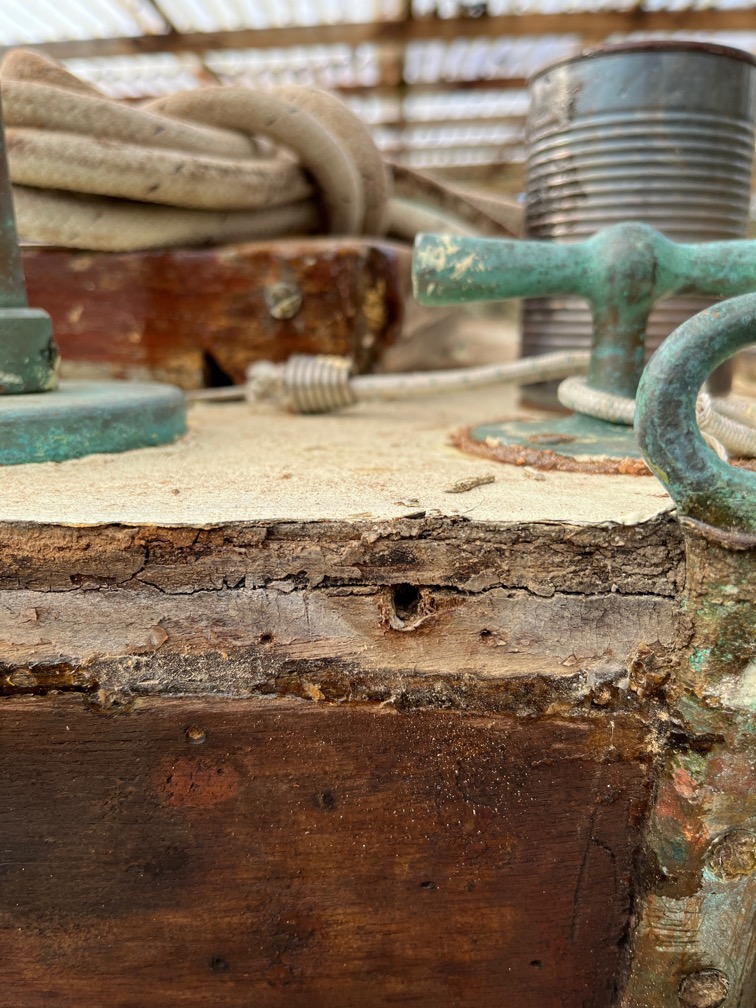
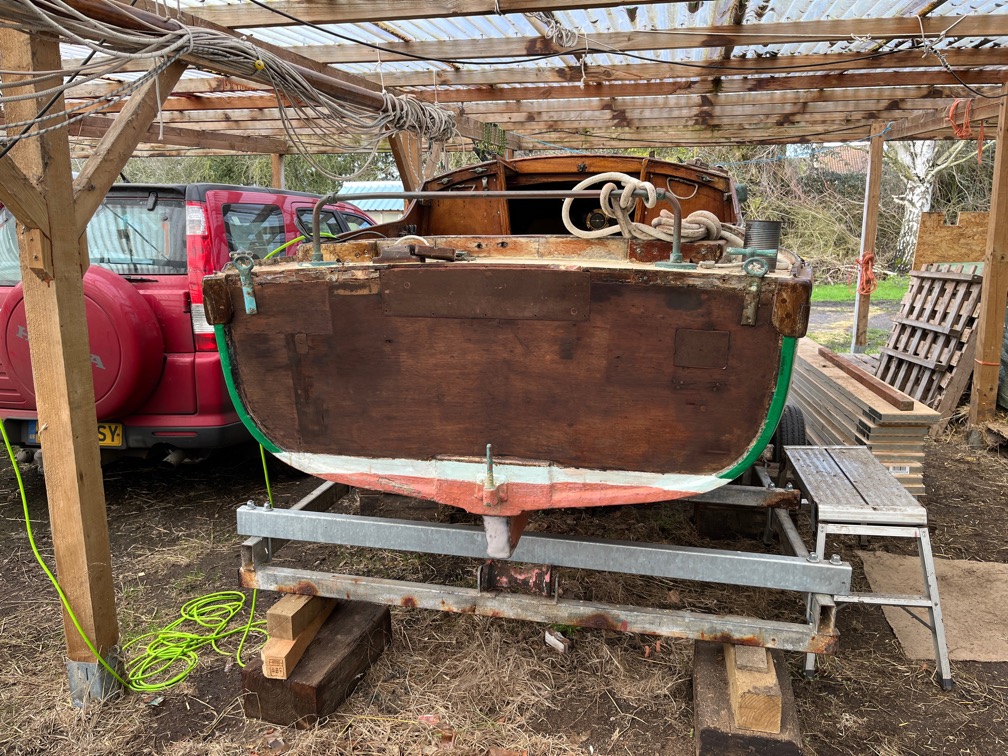
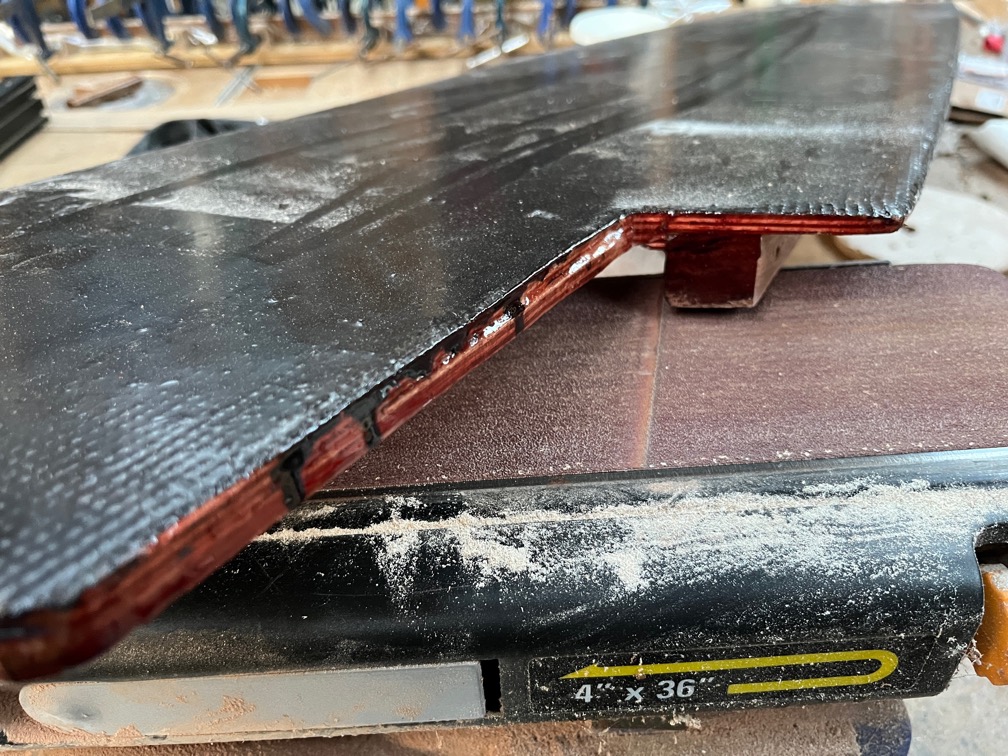
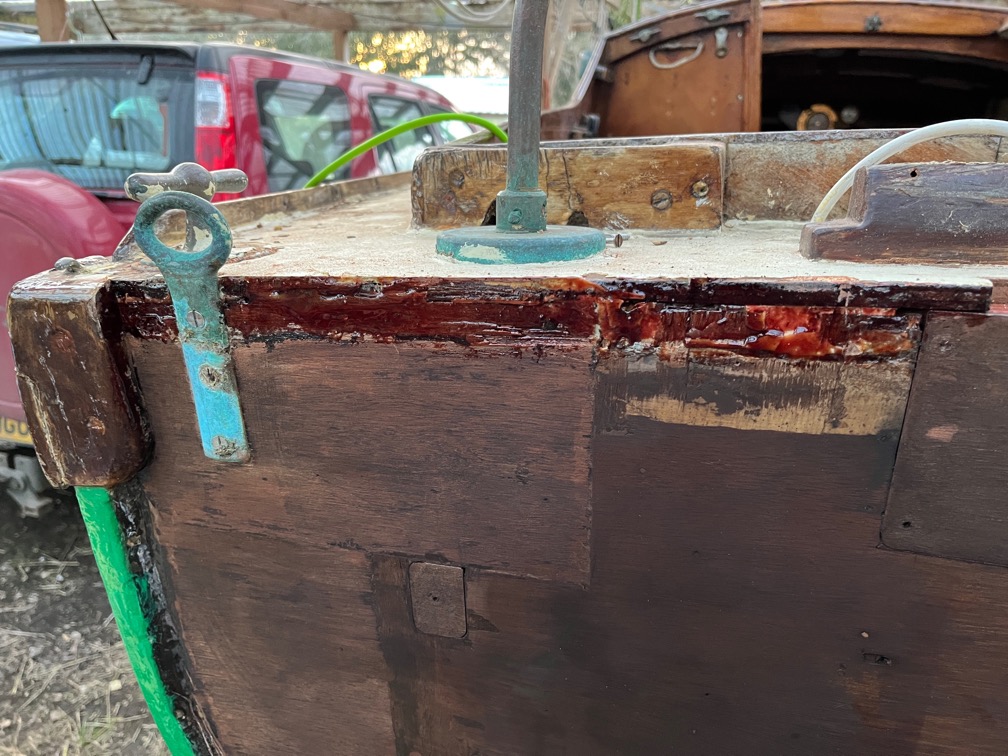
Now comes the task of laminating a new rubbing strake on the transom. The original was 30mm wide and as you can see, the centre line for the screws goes straight through the transom/deck joint. This is not good. You can see in the photo above that the joint has cracked and I’ve no doubt that this was due to the screw acting like a small wedge as it was screwed in. The crack may not have occurred immediately, but the pressure trying to open the joint was there until the point that the glue failed.
So, I cut the laminates such that the strake is 40mm wide and this will move the screw holes down into the top of the transom.
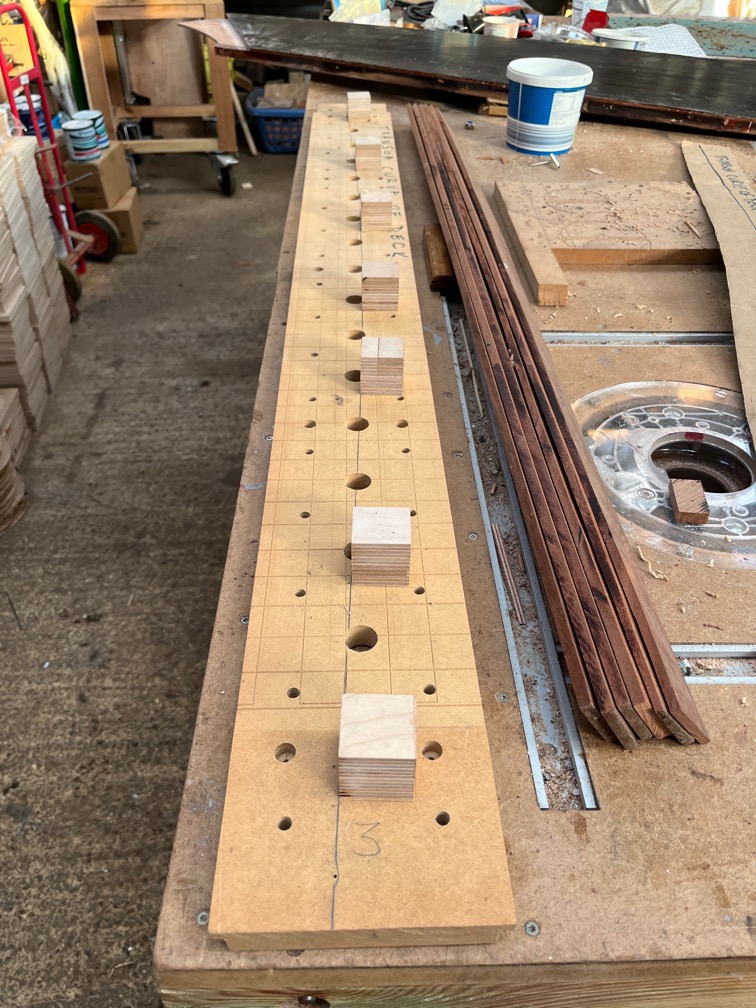
The next task after cutting the laminates was to make the jig. I used the cardboard template that I made previously to draw the curve on a suitable piece of gash wood, in this case MDF, then screwed blocks to the board against which the laminates will be clamped.
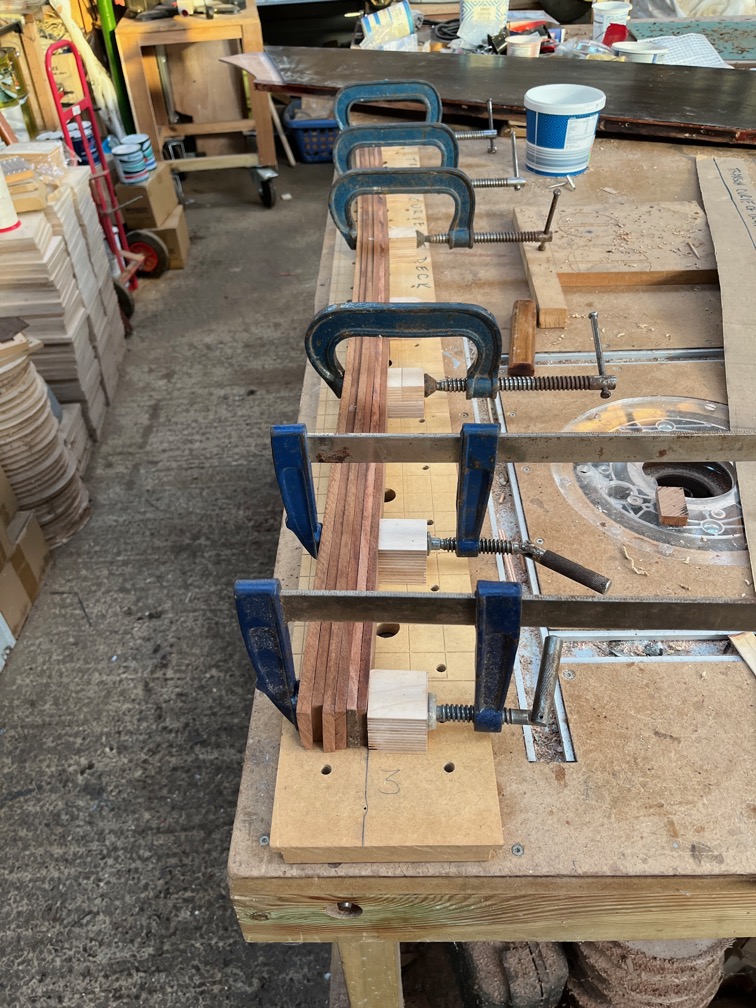
Like this. The jig was covered in film to prevent the laminates from being glued to the jig and the laminates covered in glue on both sides except for the outermost ones which only had glue on one face. These were stacked and put into the jig and clamped in place.

Laminating can take a fair number of cramps.
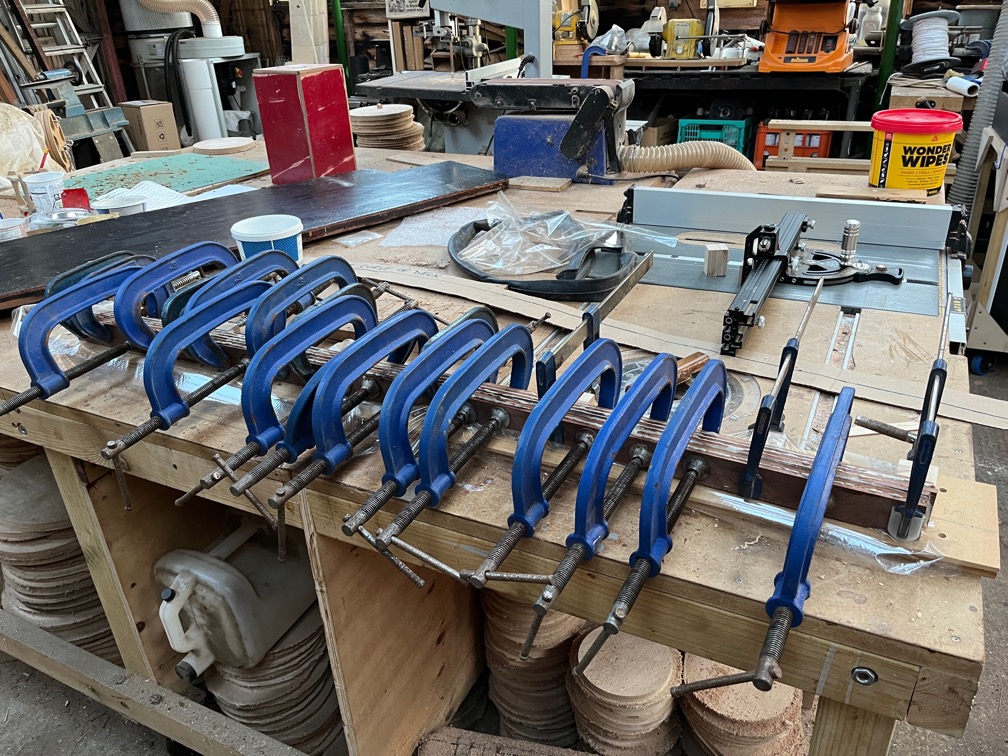
And you can never have too many cramps in the boat building business.
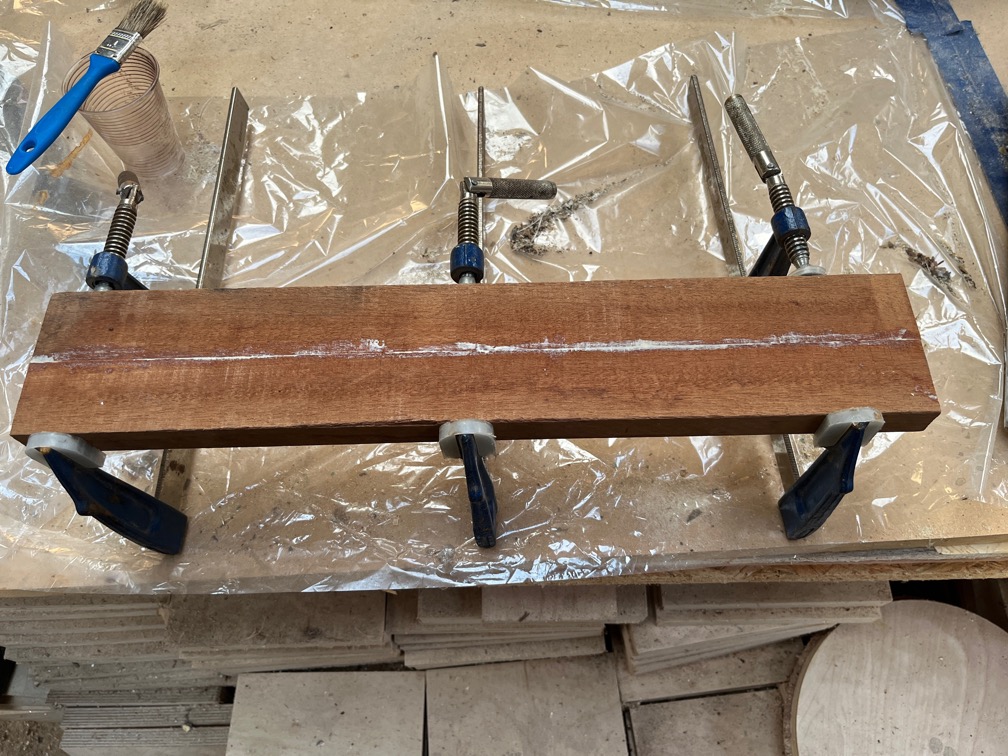
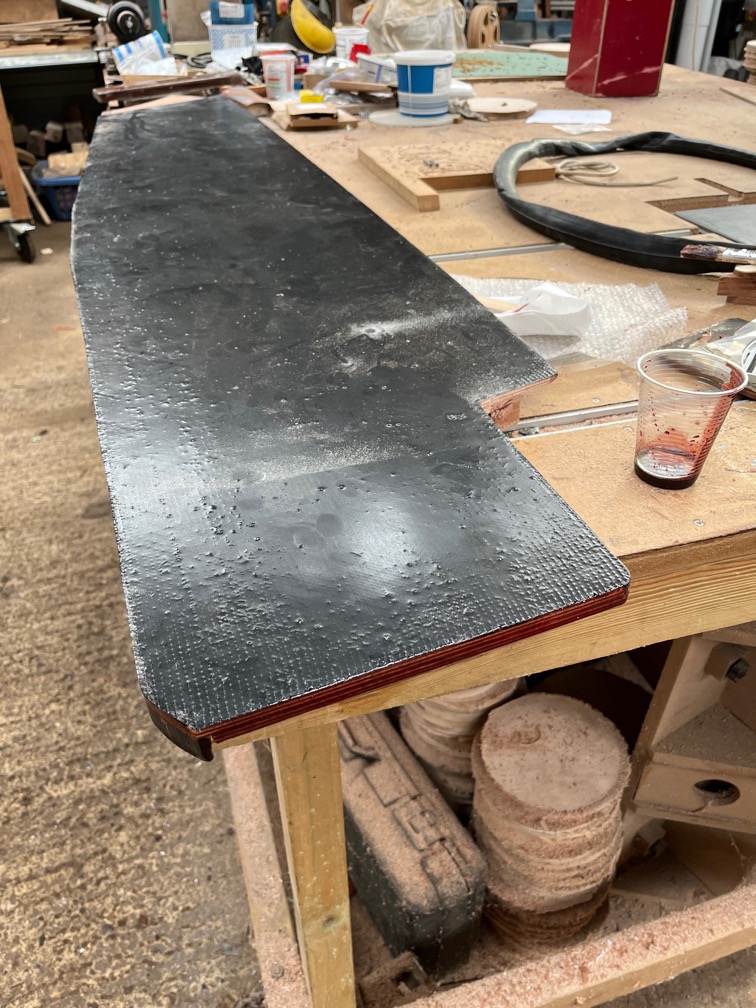
One more glue up was required and that is the above which will form the missing top of the centerplate case as I did not have a single piece the correct size.
So far, a good day.
Time for a cup of tea.
Annoyingly, as I was drinking my tea I realised that I had forgotten to coat one of the centerplate case sides on one end. So I mixed up another shot of epoxy and rectified that omission.
This was the missed section and once I had coated that I still had a lot of epoxy left. I went around trying to find things where I could use up the remainder of the shot rather than waste it. I didn’t have a lot of time for this as I used the fast hardener and I could feel the heat of the reaction as I held the plastic cup in which I mixed the epoxy. I had perhaps five minutes before it became unusable.
Some went in this screw hole.

And I used some more coating the top of the transom where the rubbing strake had been and also the edge of the plywood that makes up the aft deck.
Since I was in a hurry I didn’t clean these areas up first, just slapped on the rapidly curing epoxy. If it subsequently falls off when I’m fitting the new rubbing strake, then I’ll just clean up the area and put more fresh on.
I think that is all the construction, epoxy and glueing work done for today and I think I have covered everything that was on the critical path, so I can get one with other tasks now the were previously blocked.
Back to my cup of tea.
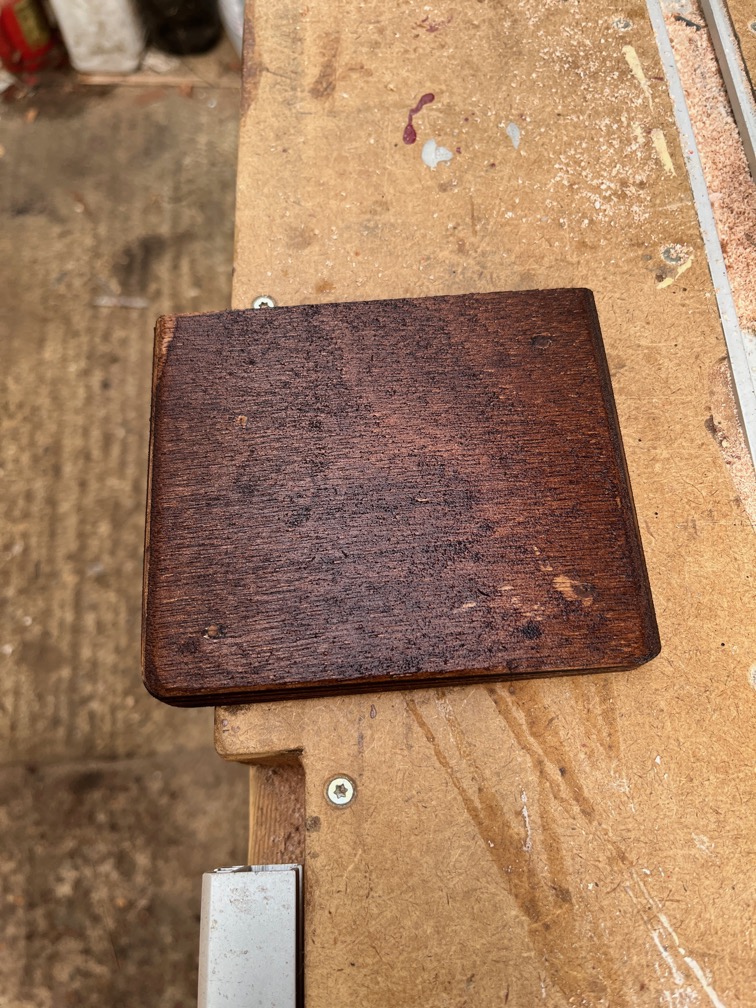
Have had a break I started on the Shoal Waters name plate.
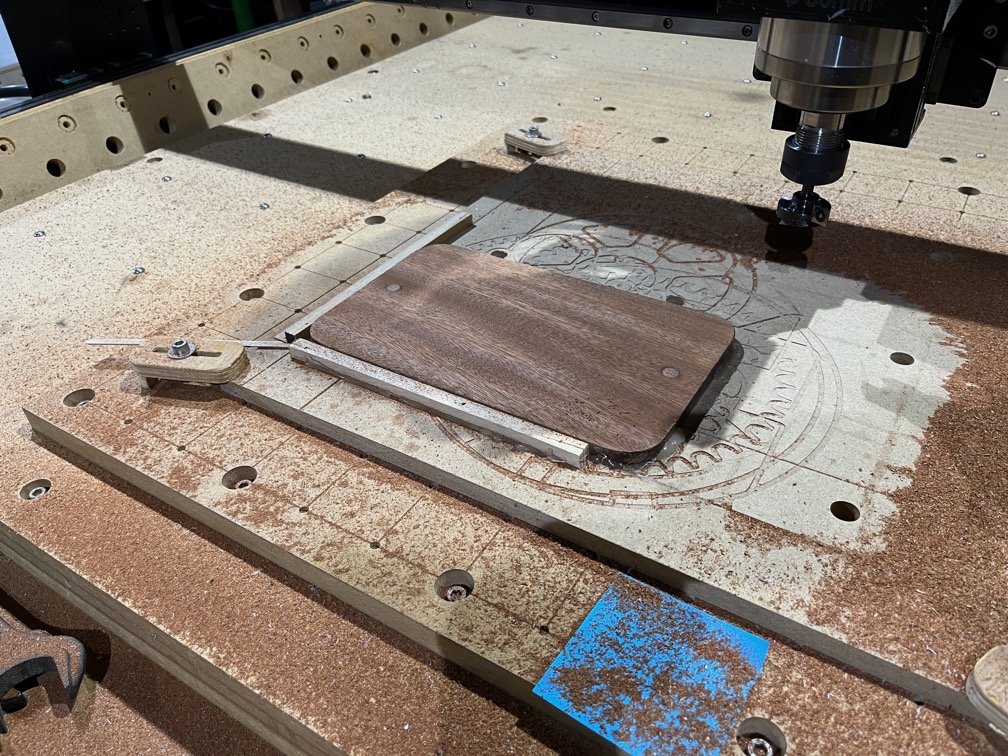
The old fixing holes were plugged and once the glue had dried sufficiently, the plugs were sanded flush. The board was then mounted on the CNC Router table and given a surface cut just deep enough to cover the entire surface.

Then a 6mm bit was used to cut out the larger areas of waste.
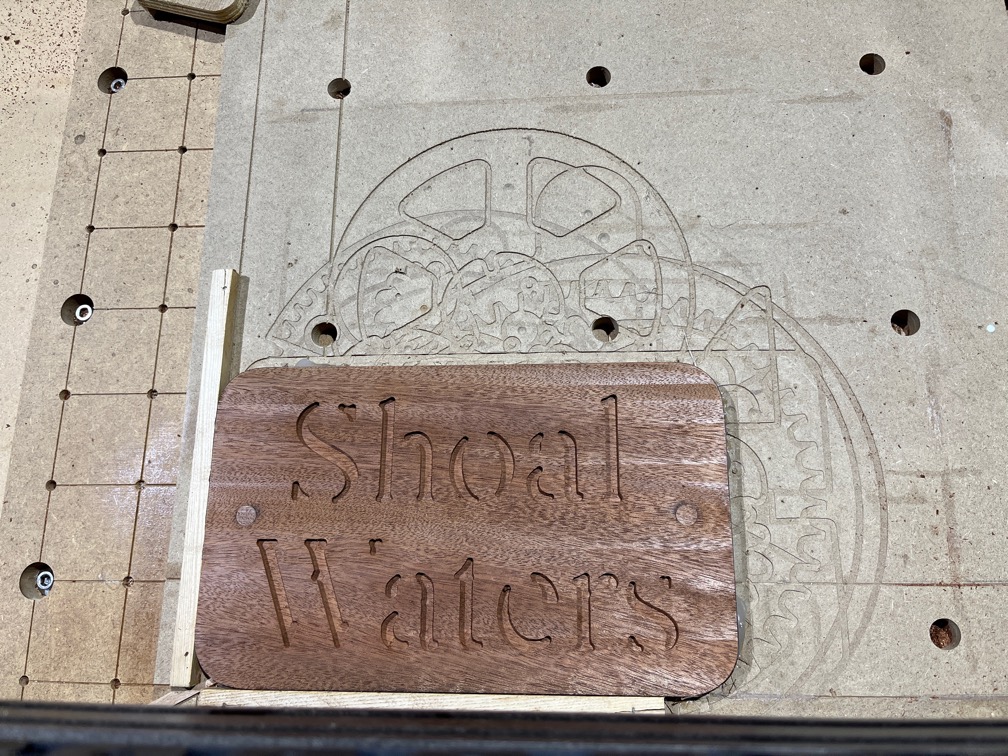
Followed by 1/8″ bit.
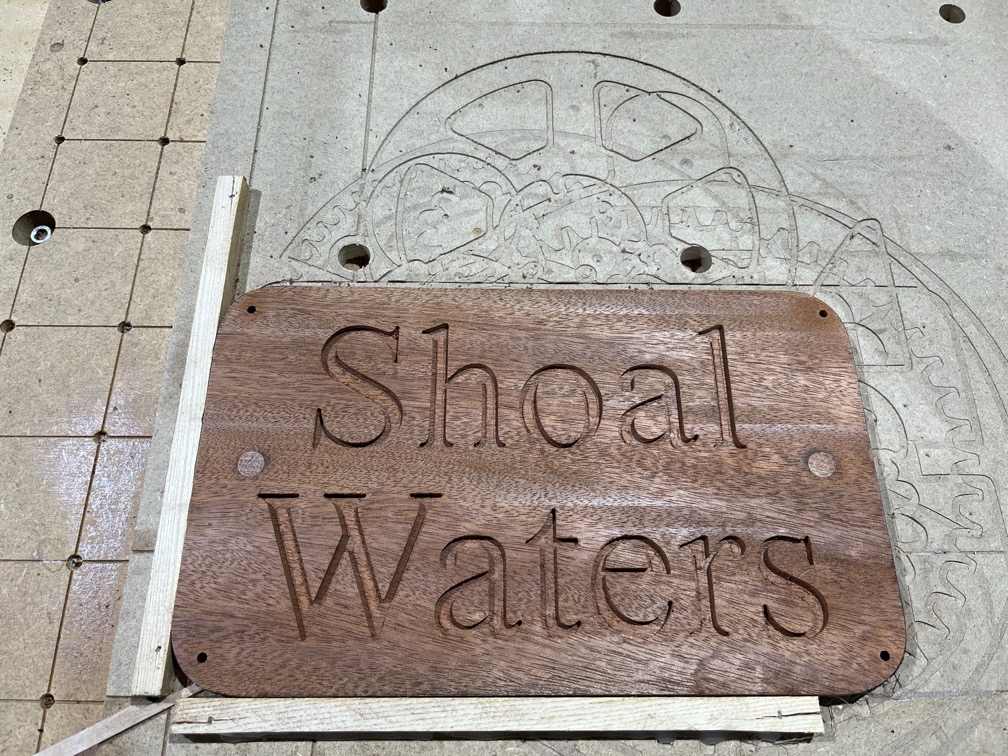
Finally a 1/16″ bit was used to finish the letters. I messed up the positioning of the two right hand side mounting holes, I’ll have to fix that later. The board was given a light sanding to remove any fuzzies and taken inside to warm up.
After about an hour the board was warm so I applied a coat of clear epoxy.
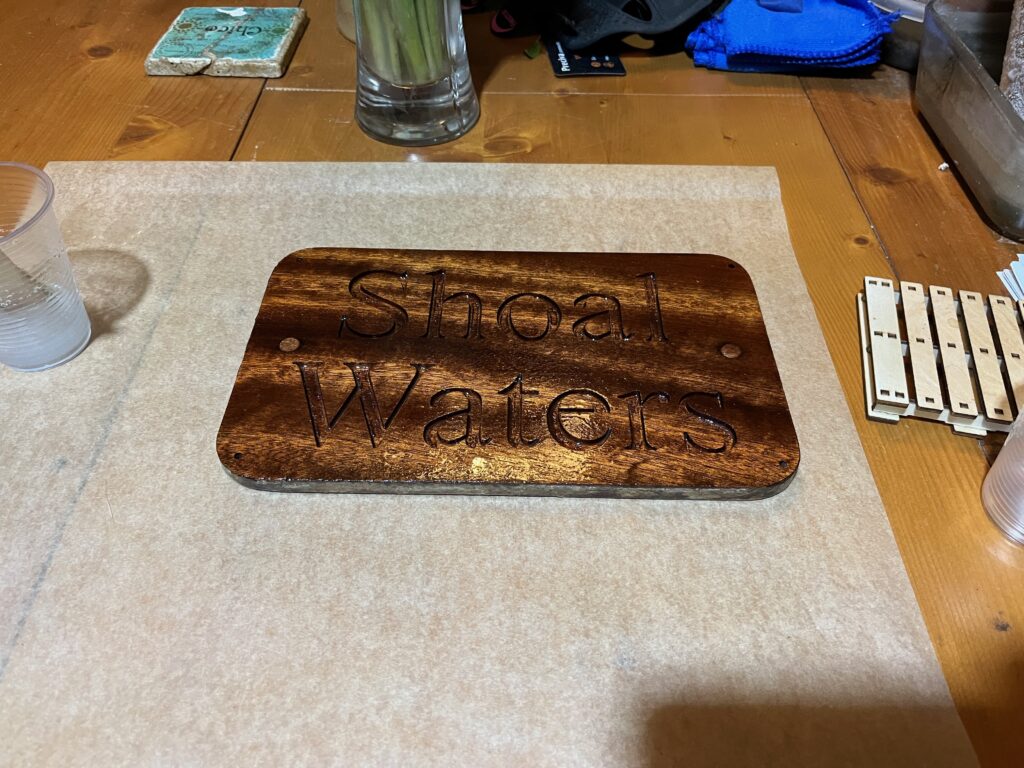
The letters are 3mm deep and will be filled with epoxy coloured with white pigment. However, if you skip this coating stage you run the risk of the coloured epoxy bleeding in to the surrounding wood, especially if it is porous. The clear coating serves as a barrier to prevent the bleeding.
The epoxy used will not be cured for 24 hours, so the next stage of this task will not be carried out until tomorrow evening at the earliest.
Time for a cup of tea.