
Varnishing first thing and I shall be very glad when all this brightwork is done !
The first task of the day, apart from the varnishing, that is, was to check that the epoxied templates, now a solid block, fitted into the transom. I am very pleased to report that it fitted without any modifications. I hadn’t trimmed the top edge as there was no point doing that if modifications were required.
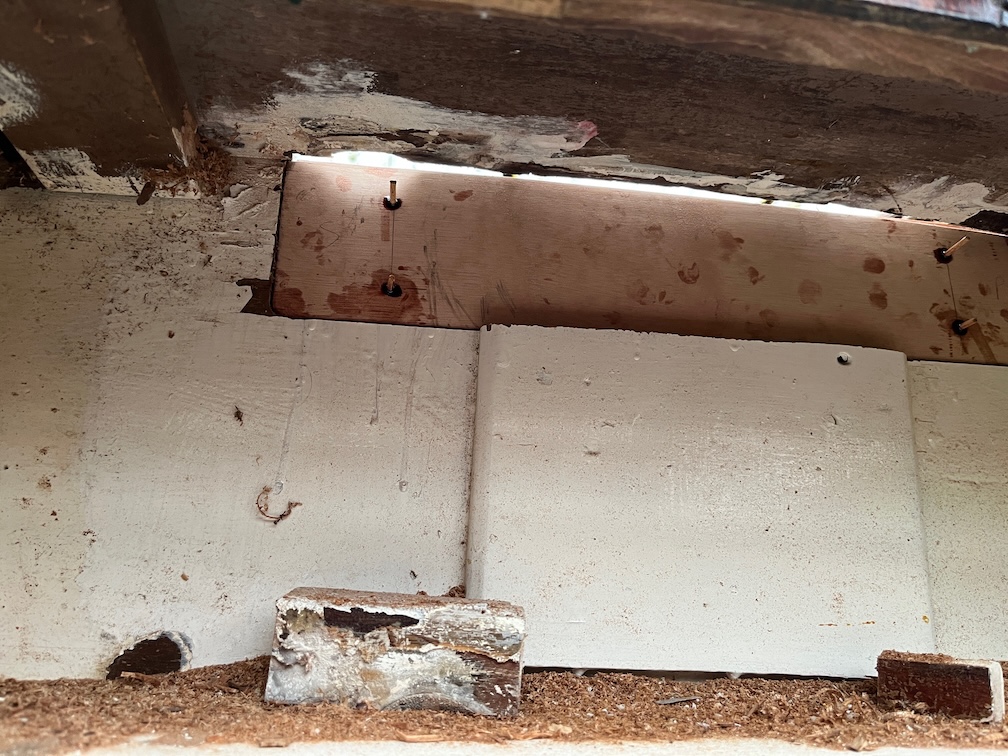
The fit from the inside.

It was a simple job to trim back the tops to match the inner laminate and then give it a quick sand to smooth any rough bits.
With the graving block in place now, you can see that the tops all match the line of the underside of the deck.
This part will be out aside far a few days as the next stop on its journey is to be epoxied into place and for that, the temperature needs to rise a bit.
Next up is the gudgeon backing pad that had to be chiselled off. This is fairly straightforward, two piece of marine plywood the correct size, glued together, shaped and sanded. The only difficulty in this is that the original backing pad is half an inch thick and my two pieces of plywood measure 12 mm, nearly 1 mm thinner. Now that shouldn’t make a huge difference over the distance between the upper and lower fittings, but if it does, then I have some bronze washers that are 1 mm thick which I can put between the bronze gudgeon fitting and the backing pad.
It might be that the layers of varnish on the backing pad and the thin layer of sealant between the pad and the transom will compensate for that 1 mm difference. I shall only find out when it comes time to fit the pad and fitting.
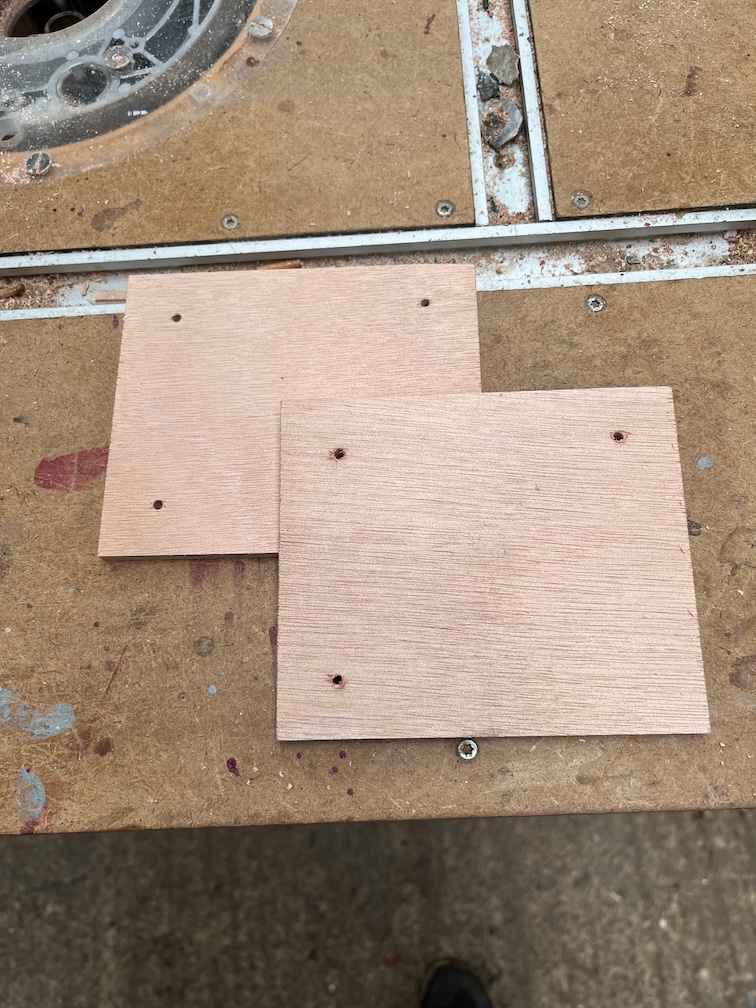
For now, I cut the two pieces of marine plywood from some of the offcuts I have from the centerplate case sides, drilled three locating holes and glued them together. NOt epoxy this time as this pad is not structural. Why three holes and not four? With three you can’t get the pieces the wrong way round.
There are two remaining tasks to complete before the transom repair can be completed. Firstly, glue the large backing pad on the inside of the transom back together. It was cut away to allow the construction of the graving block. Secondly make the other two smaller graving pieces for the minor damage to the transom and route out the transom to accept the graving pieces.
After work I set about making the other graving pieces for the transom .

Firstly the larger of the two damaged area which was a little tricky due to the bronze fitting that impeded the router. I could have taken the fitting off, I suppose, but that was a rabbit hole down which I did not wish to fall.
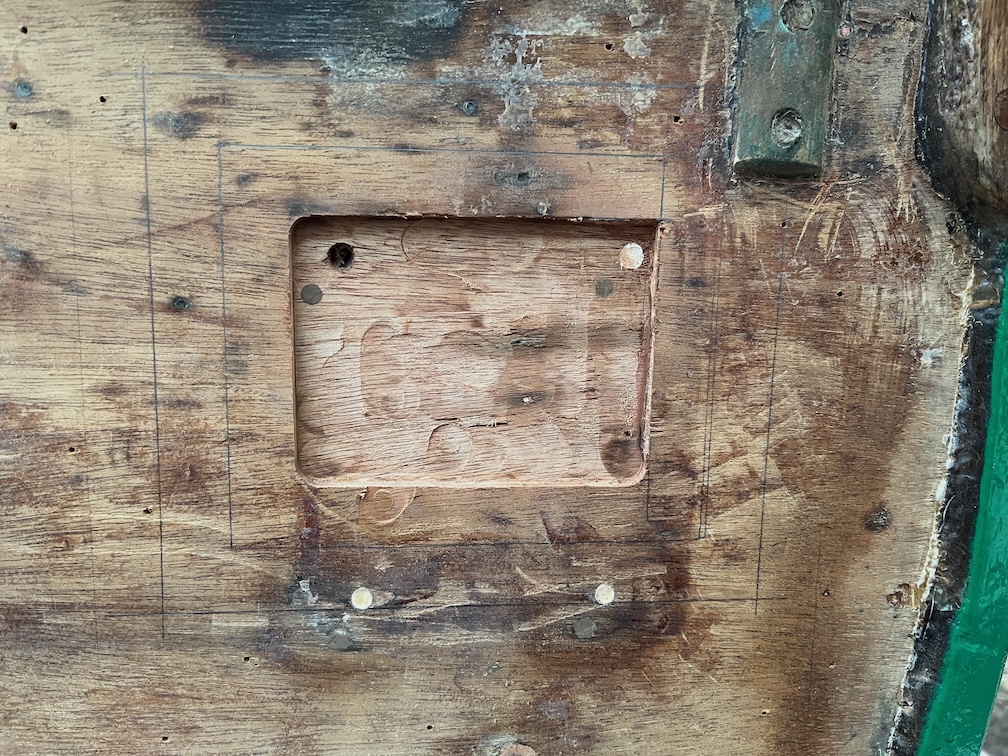
Instead I used a chisel to finish off the recess.
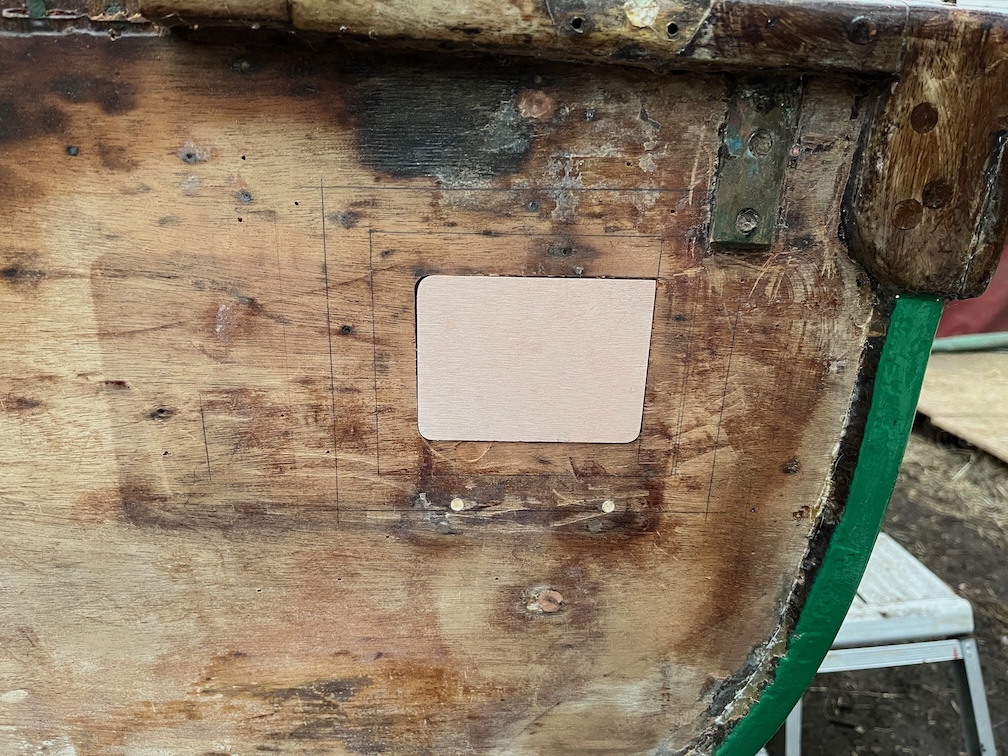
A short while later, the graving pieces was completed and I moved on to the other area.
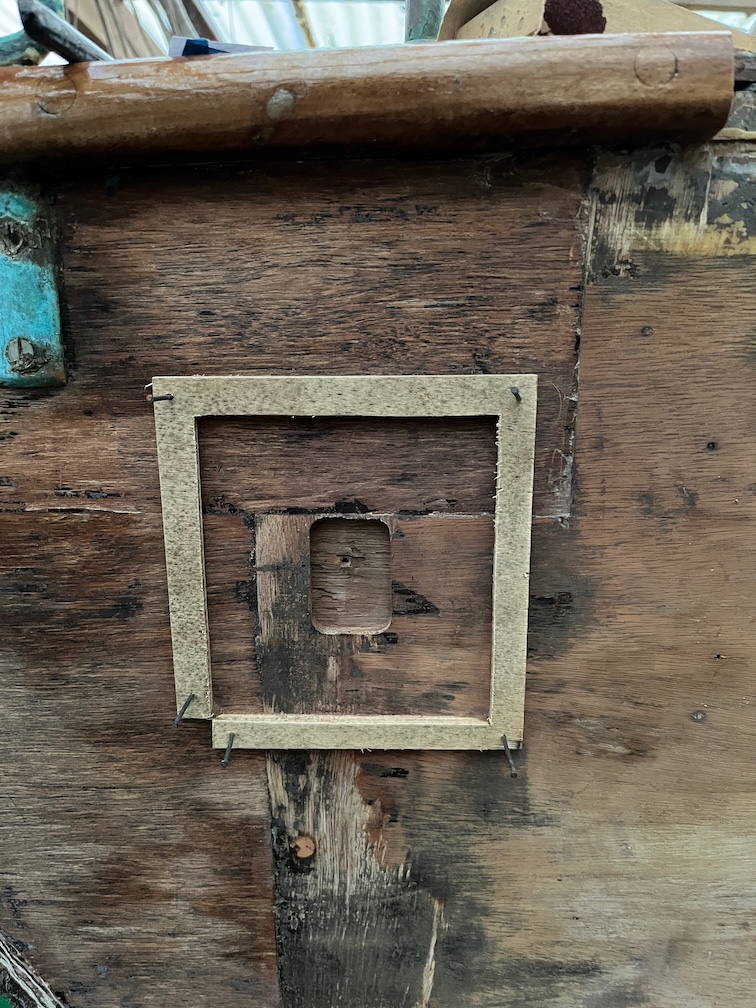
This time the recess was well clear of the bronze fitting, but I still had to modify the upper right corner.
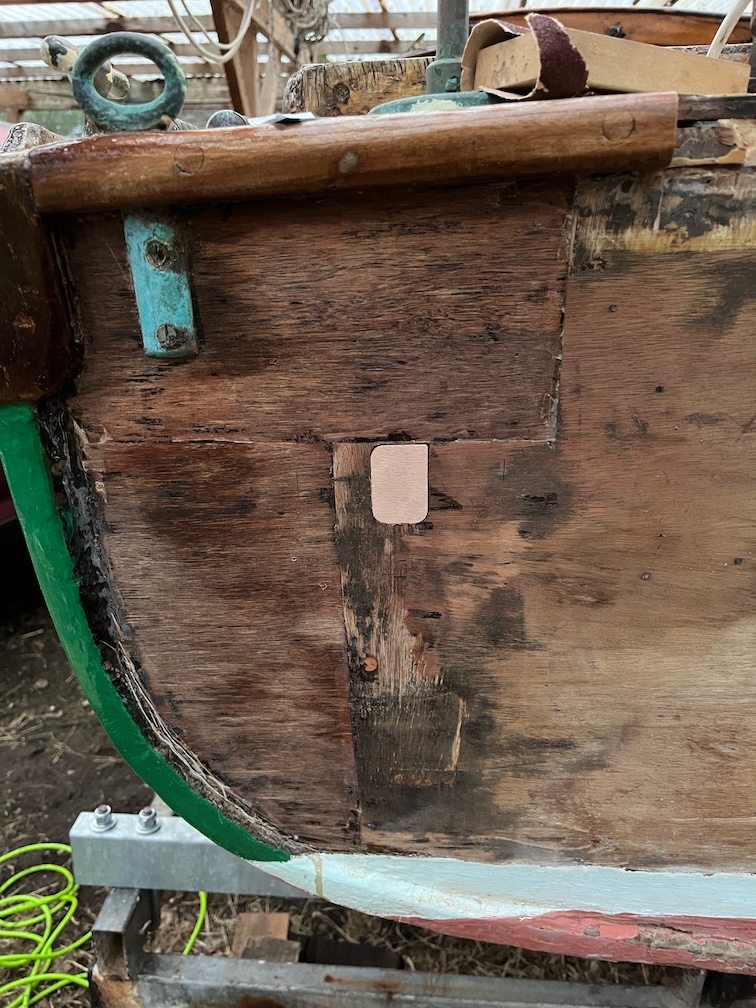
And here is the graving piece for this recess.
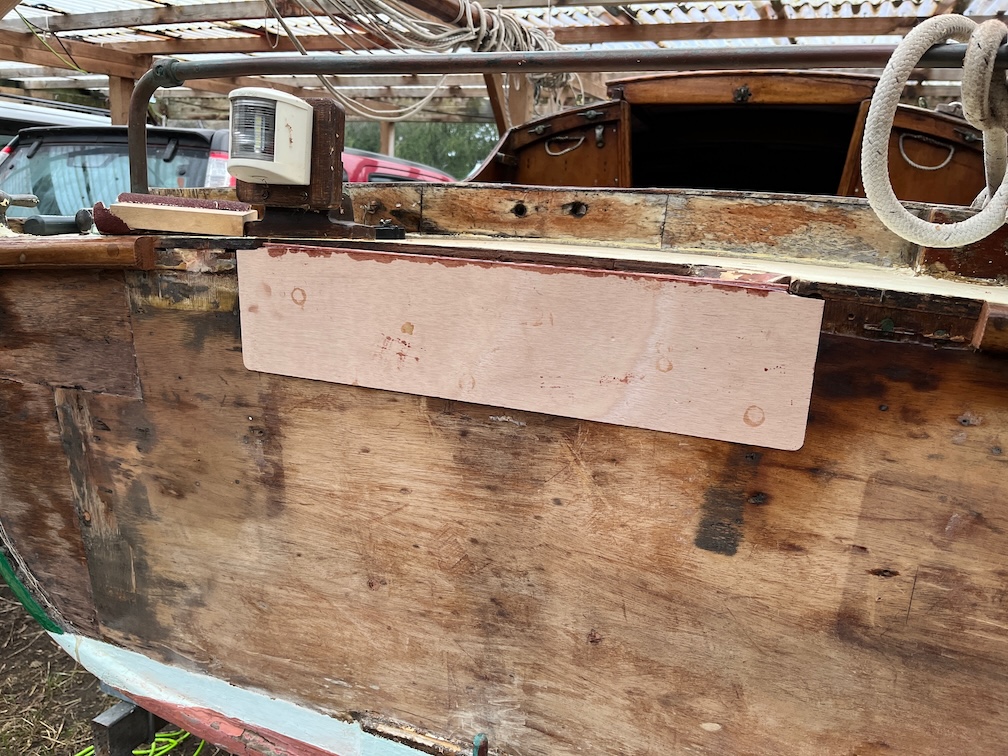
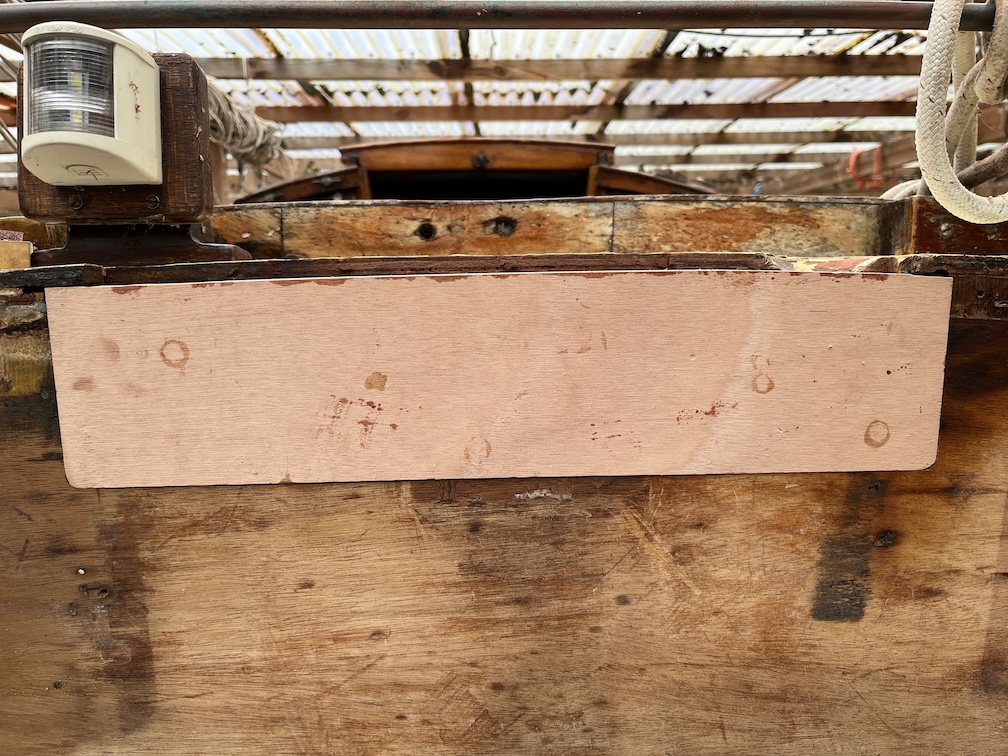
That is all the graving pieces and recesses done for the transom. The next time Shoal Waters is out of the water for the off season, the repair that you can see in the photo will need to be removed and redone as it is virtually all giving soft returns when tapped. I’ll probably start in the middle of the upper piece and cut it away and then explore the damage from there, but I suspect that it all has to be removed.
A job for another Winter season, methinks.
One thing I need to remember to do is to make a template for the rubbing strake at the top of the transom. Or rather the bit that is missing. I can get most of it from the top of the main transom graving block but I need to extend the curve on the template to meet the strake where I’ve had to cut it away. The reason for this is that I want to laminate a new piece to fit in the gap rather than get an oversize piece and curve it top and bottom.
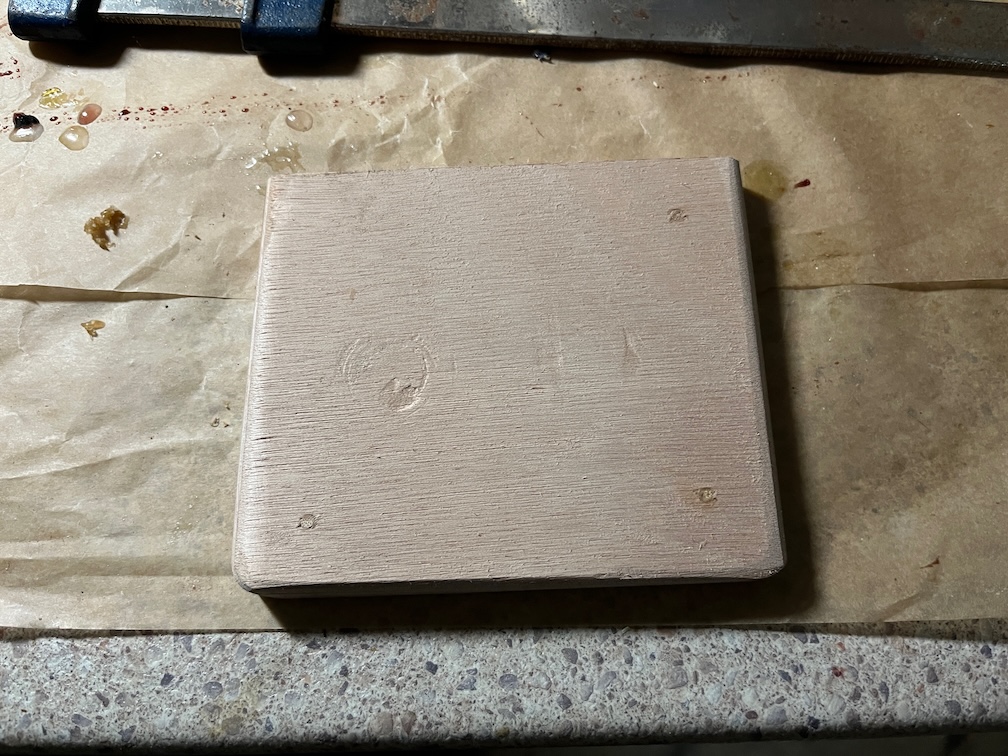
Finally, for today, the shaped gudgeon backing pad.
Time for a cup of tea.