
Just to give myself a change from the normal morning routine, I didn’t varnish the brightwork until this afternoon. Translation, I overslept and didn’t have any time before starting work !
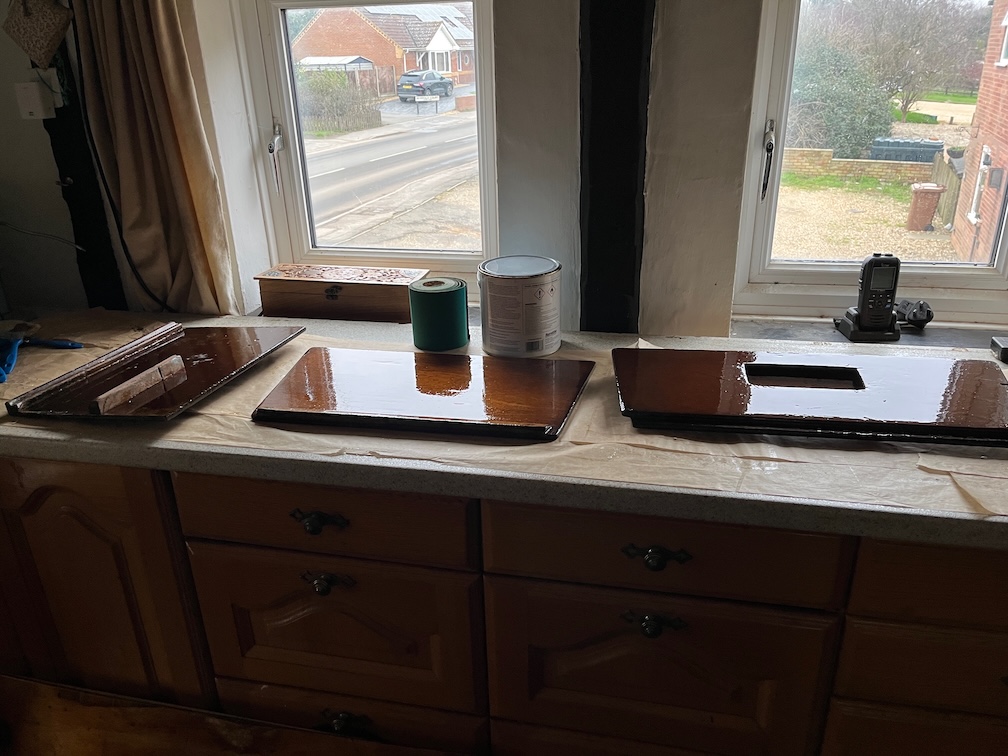
Nevertheless, these items did get a coat of varnish but on the reverse side to the sides coats before. These all have four new coats of varnish on the first side and I’ll do four on this side as well.
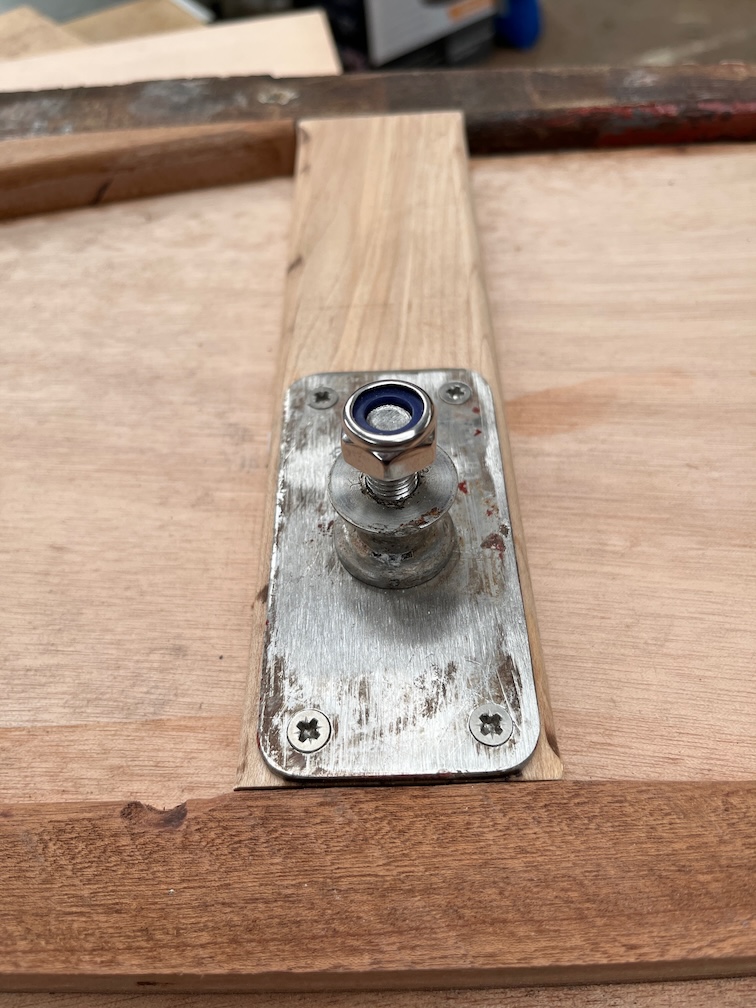
I checked the new bolt length for fit on the centerplate case sides and there is plenty of length now.
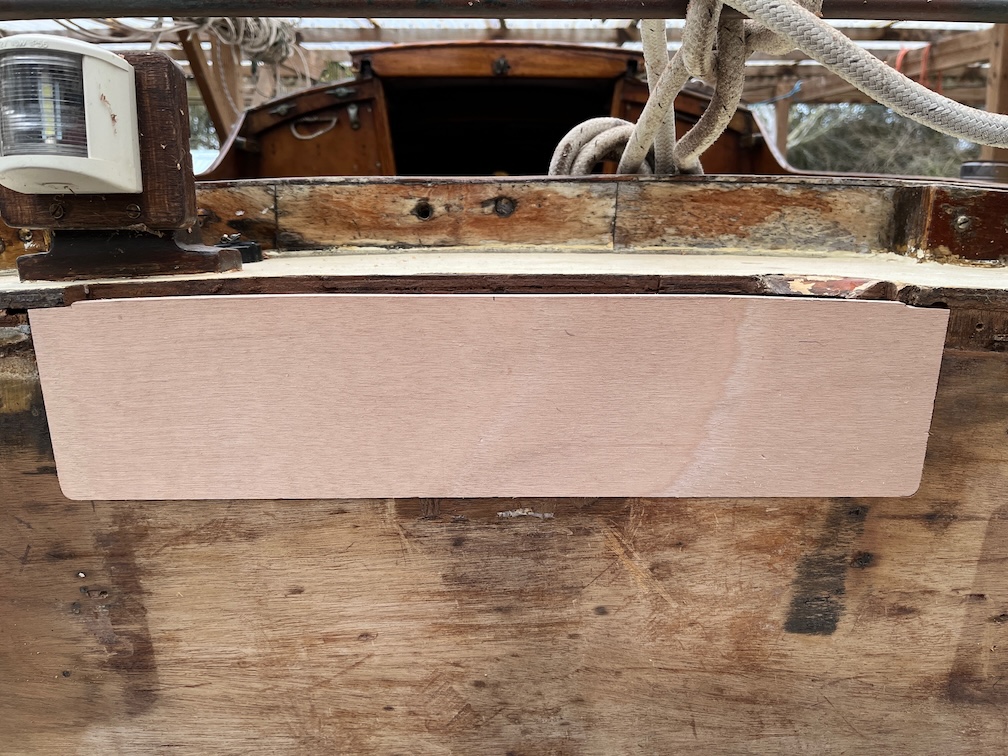
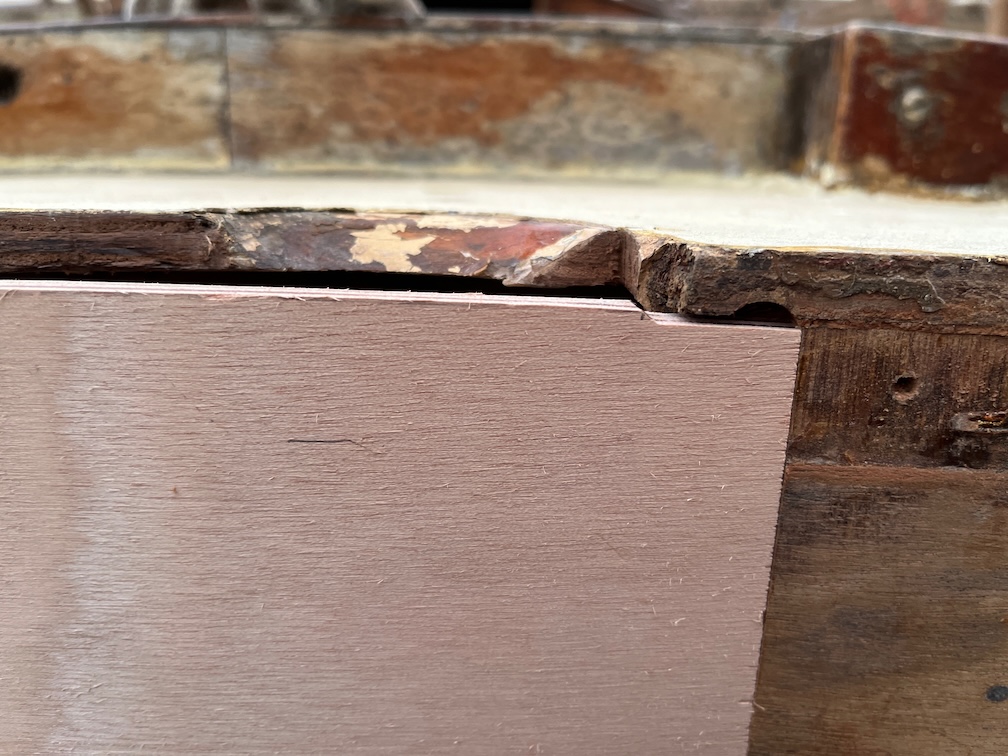
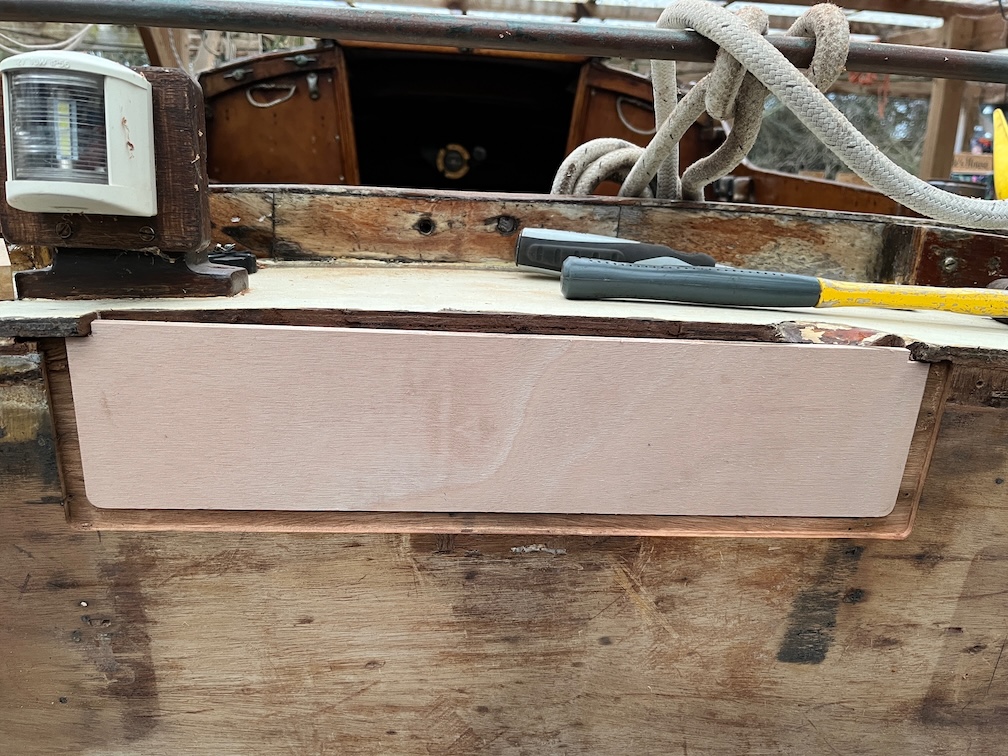
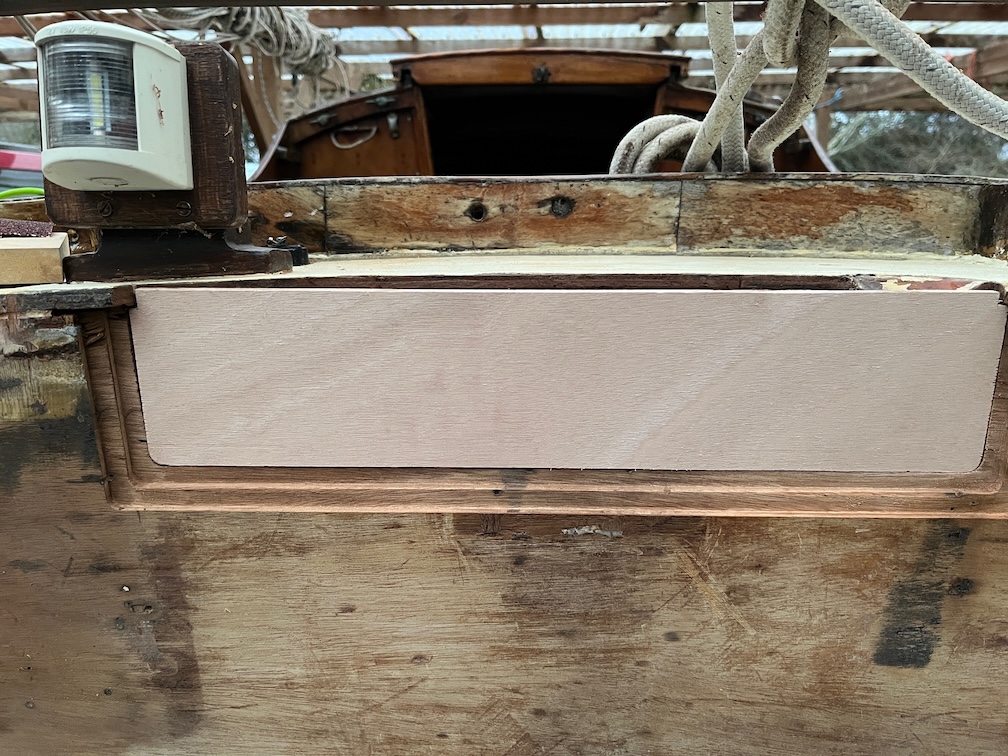
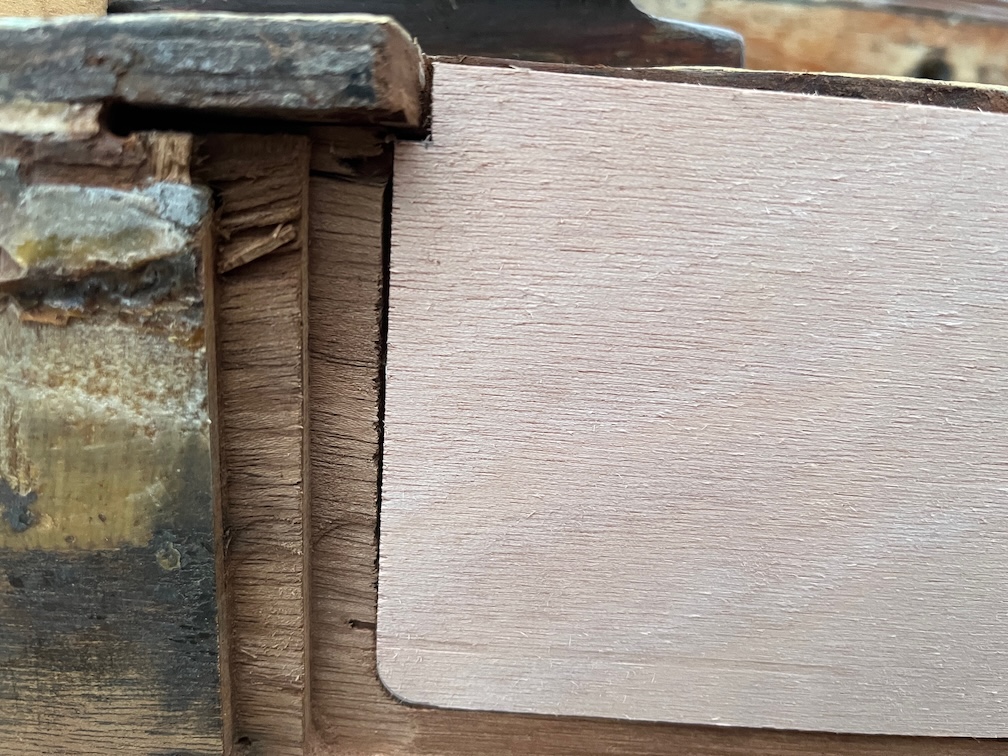
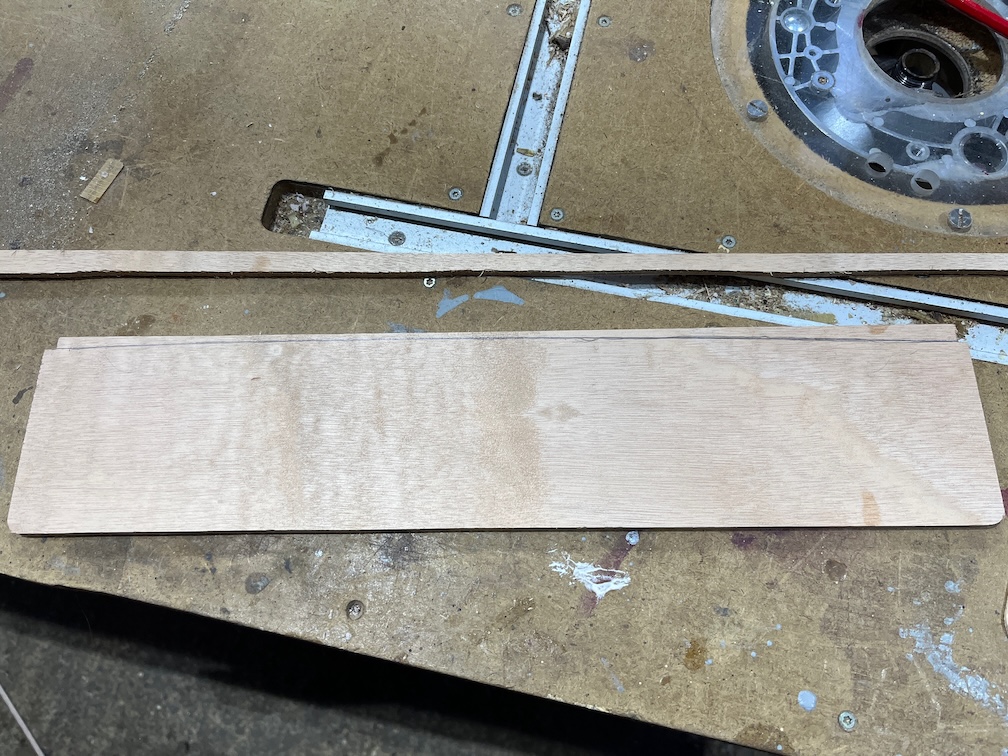
The next task was to get the laminates for the transom repair made, starting with the outermost. As this is the face that will be seen, it needs to be as perfect as possible. Grain going in the same direction as the wood surrounding it and with as few gaps around the edges as possible. This is not difficult, it just requires a bit of to and fro as you dial the size in to fit exactly. I normally cut the piece about 1mm too large, offer it up the the gap and cut off fractions until it fits exactly.
What I did not do was the same thing for the top edge. I made the sides fit, as you can see, but left the rest too large. This will be fitted later when the inner laminate is done and the three pieces glued together.
Time for a cup of tea.
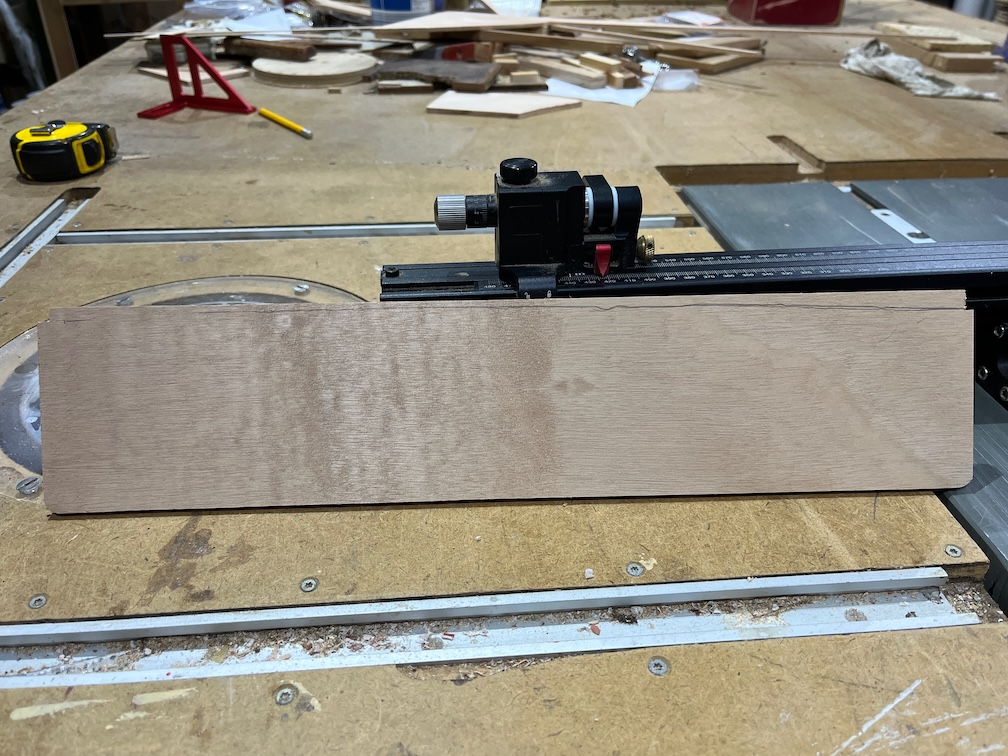
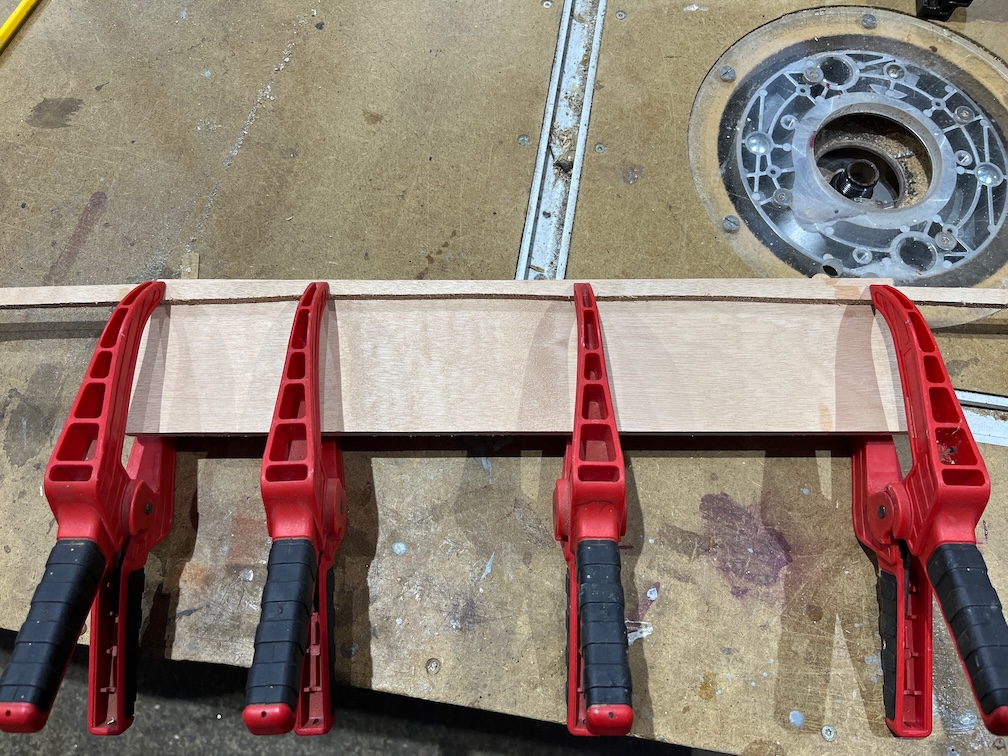
After work I set about making the other two laminates for the transom repair.
This is the inner laminate and like the outer one, the top edge was not finished.
And this is the inner laminate.
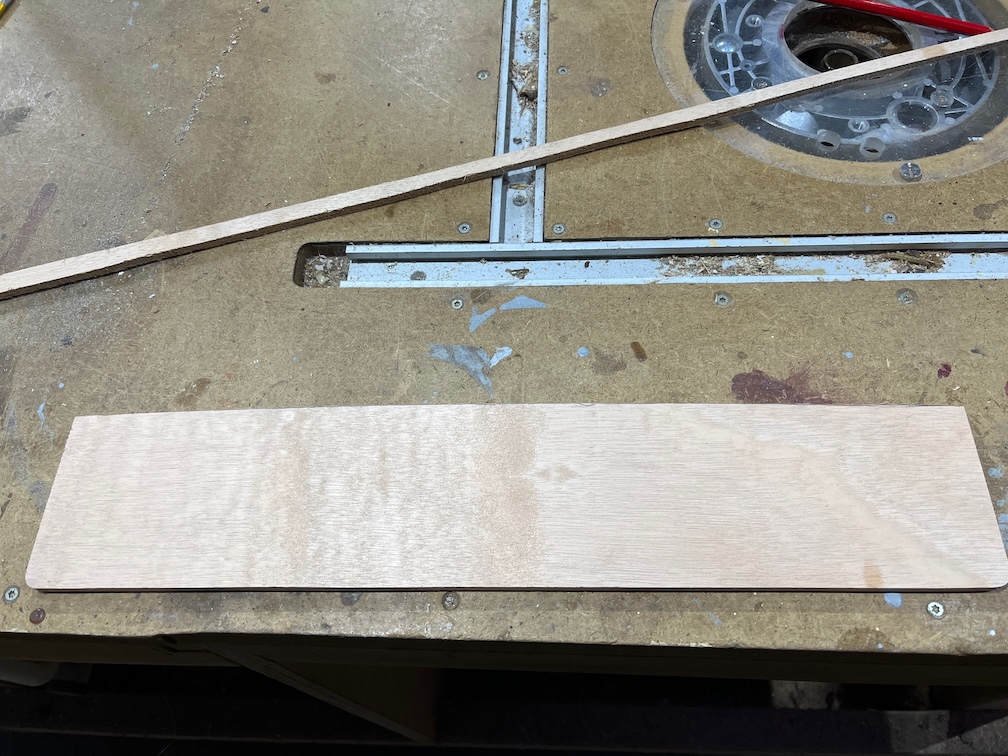
This one wasn’t quite such a good fit, but this will be filled with thickened epoxy when the plug is glued in place.
I traced the curve of the underside of the deck on the inner laminate. It is quite rough so I decided to smooth it out.
I clamped a flexible batten to the wood such that the edge ran along the pencilled line, more or less and then drew a dark pencil line along the batten.
Now the curve is fair and I can cut it out.
The result looks lopsided and that is because it is. The repair is not quite centred on the transom, so the curve is not symmetrical.
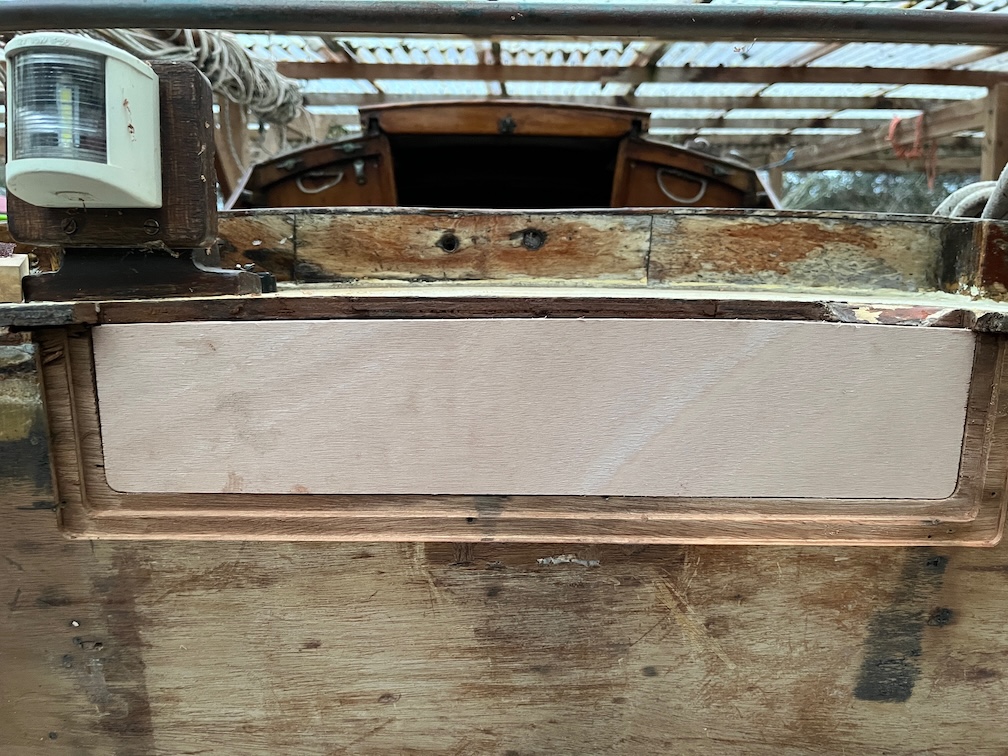
But, as you can see, it is a pretty good fit.
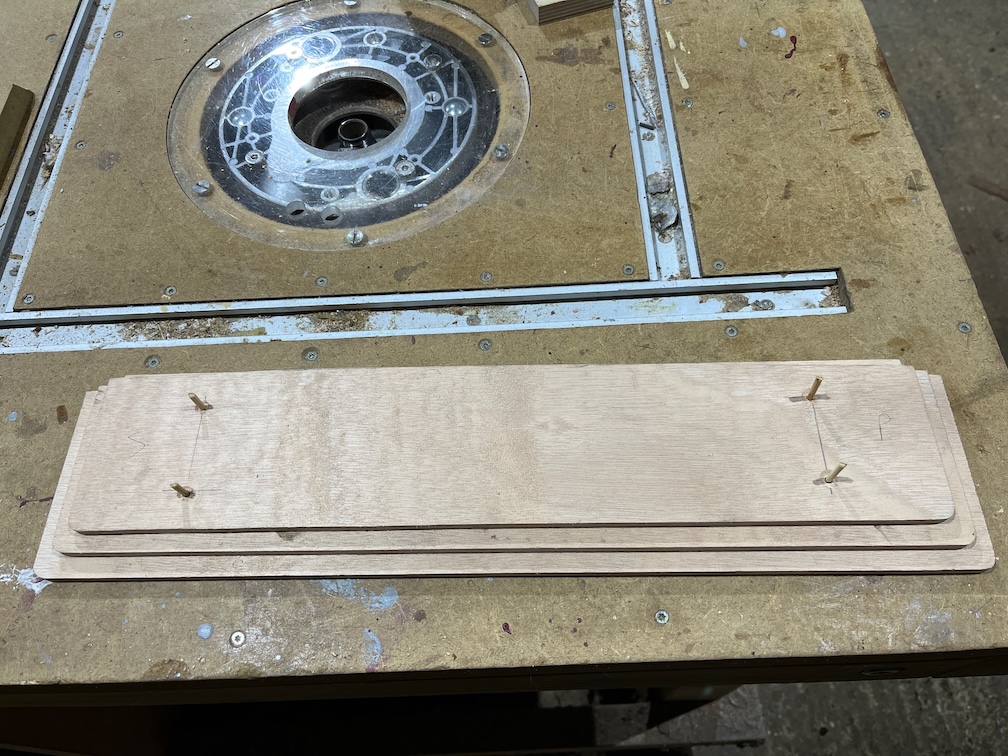
All that remained was to locate the laminates and I did this by drilling four 3.2 mm holes in the inner laminate, putting all the laminates in place and drilling through the holes right through the inner laminate and halfway through the outer such that the holes did not appear on the outside of the outer face.
Short piece of bamboo skewer were inserted into the holes to hold the laminates in position. This was dry fit to check that I hadn’t messed it up and then the laminates were brought inside to warm up.
Once the laminates had warmed up it was time to epoxy them together.
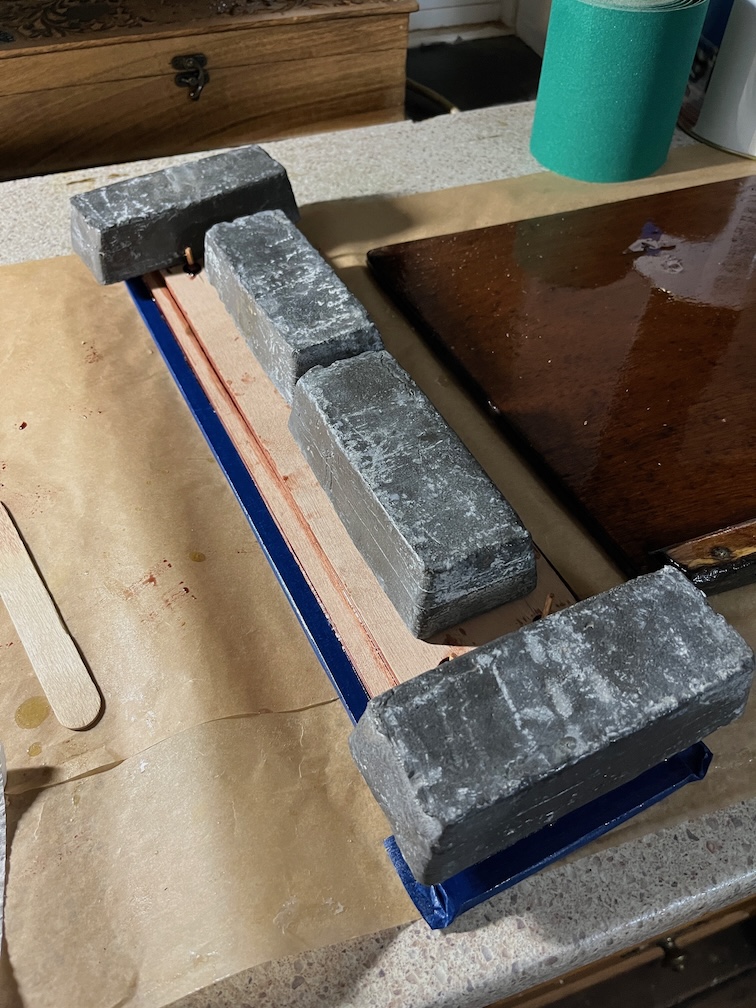
Neat epoxy was spread on all the surfaces to be glued and left for a few minutes to soak in a little before the laminates were assembled, using the bamboo skewer pieces to locate the three in the correct relative positions. Lead weight was used to apply clamping pressure and the excess squeeze out removed every quarter of an hour or so the avoid having to deal with hardened epoxy later on.
With the weather due to warm up into the low teens at the weekend, this plug will be ready to be glued into place when a suitable temperature is reached.
All in all, a satisfactory day’s work.
Time for a cup of tea.