
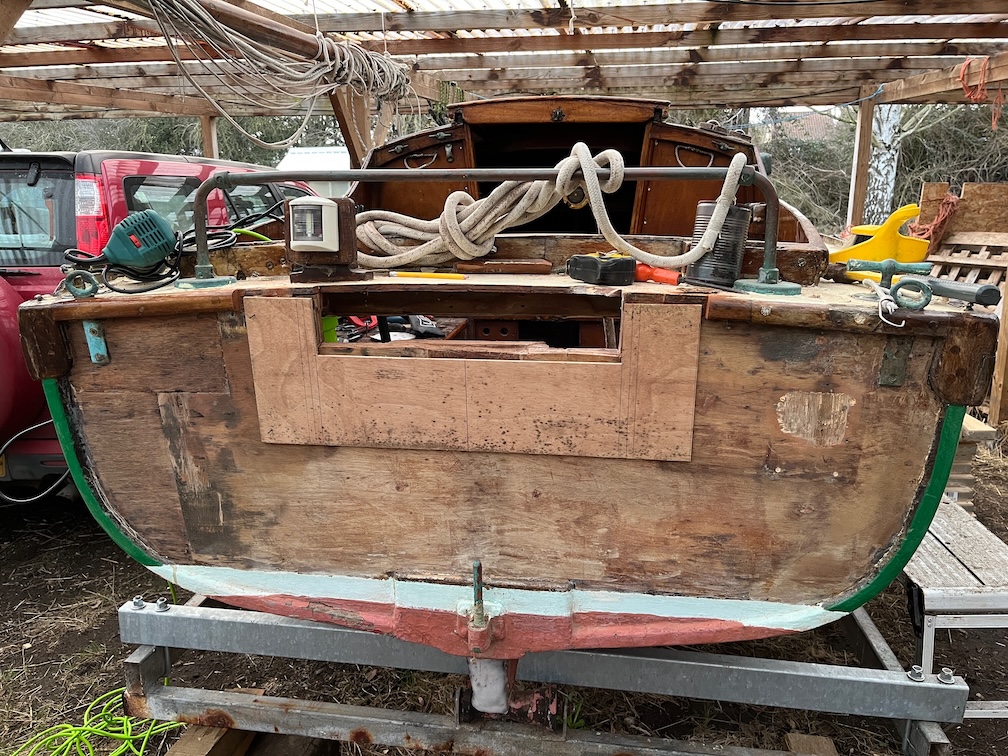
After I had lunch I still had some time left on my lunch break, so I decided to cut out the top section of the transom that was damaged and giving soft returns when tapped.
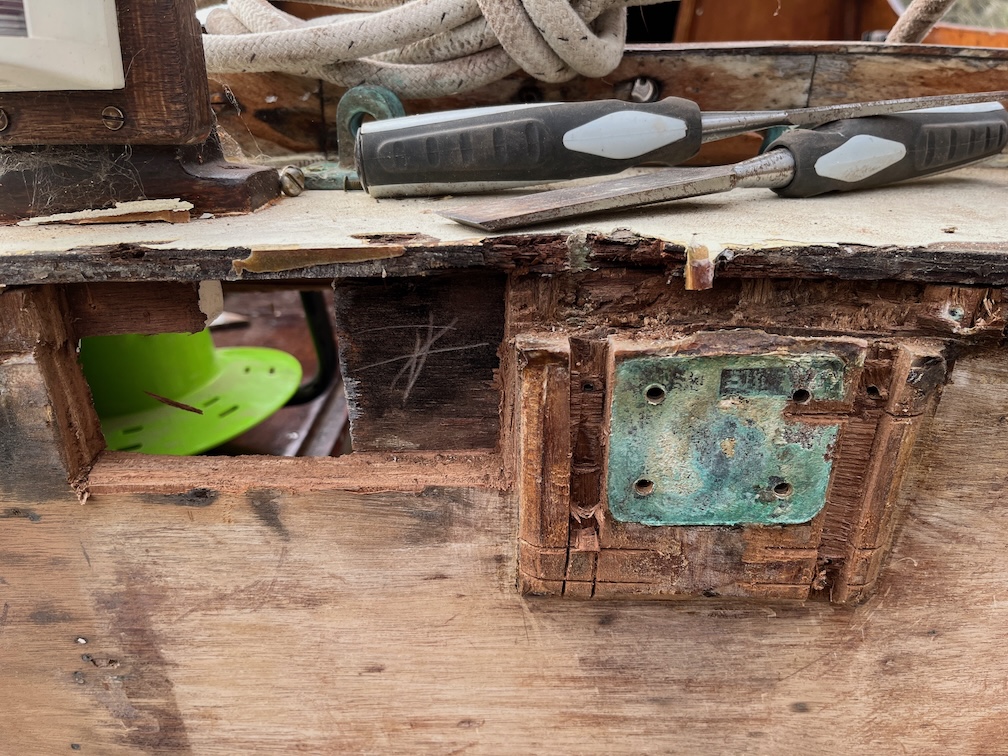
I was surprised to find that the damage was quite extensive.You can see the area that was marked as needing a graving piece, I’ve had to cut entirely through the transom. You can also see that the rotten/damaged wood extends into the aft deck and down behind the backing pad upon which the rudder gudgeon was fixed. That meant that the pad had to come off and in the process of removing the rudder fitting I found that only the lower two screws were holding. The upper two came out without needing to unscrew them.
So, that part of the transom has to be replaced and the reason for that is that if nothing was done and the top part of the rudder broke away from the transom due to the rot behind it, you would be unable to control the boat and that is a safety issue.
I went back to work at this point and continued at my next break.
From this point I have to chase the rot along the deck and the transom to find good wood before I can rebuild the transom.
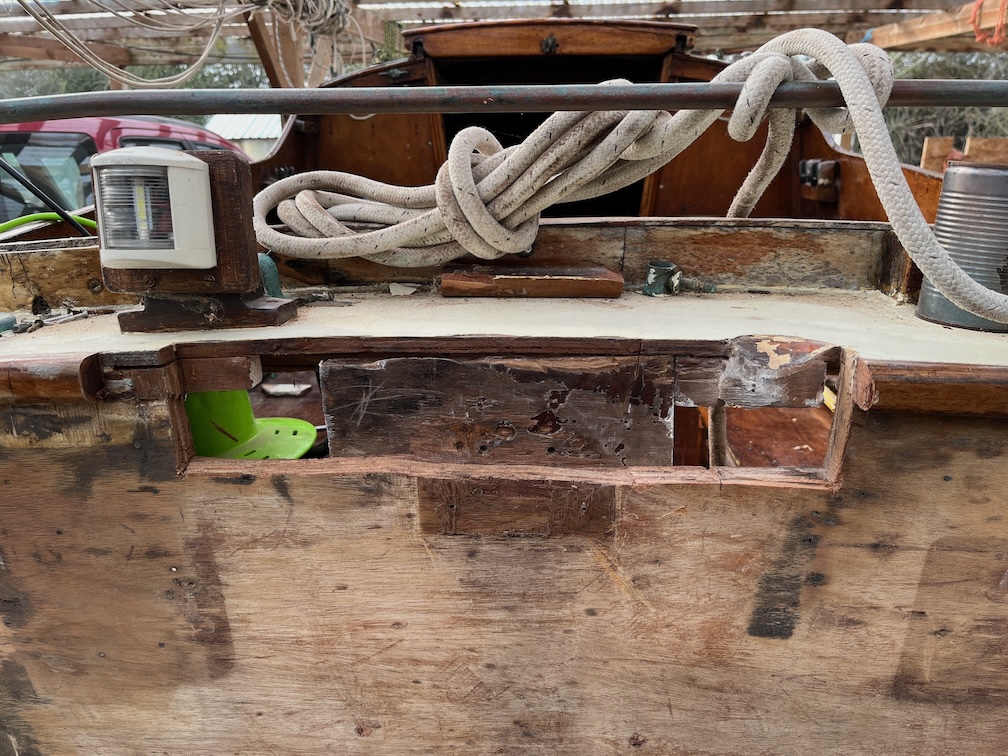
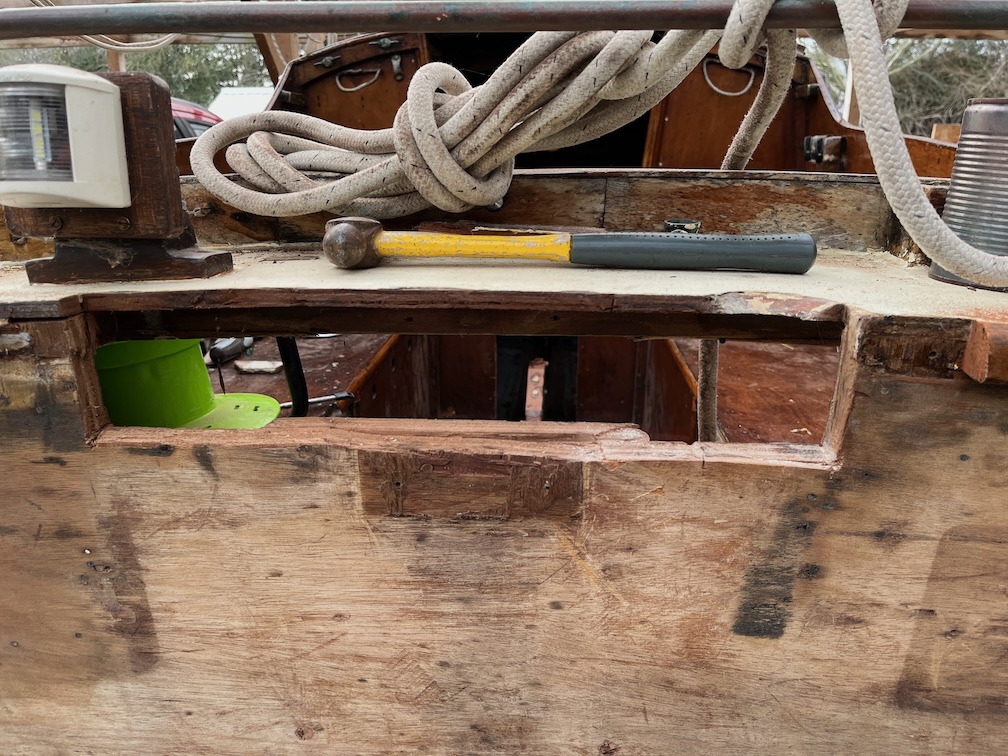
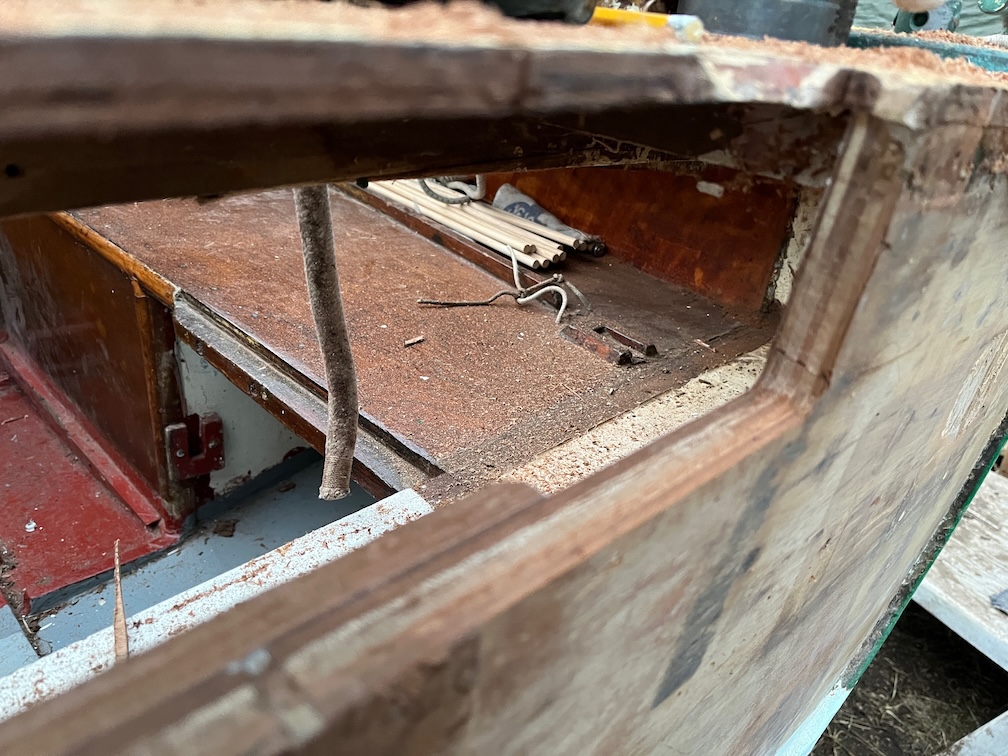
This is how much needed to be removed of the transom before I found good wood. The deck was also cut back a little but not that far. The rot seems to have travelled downwards.
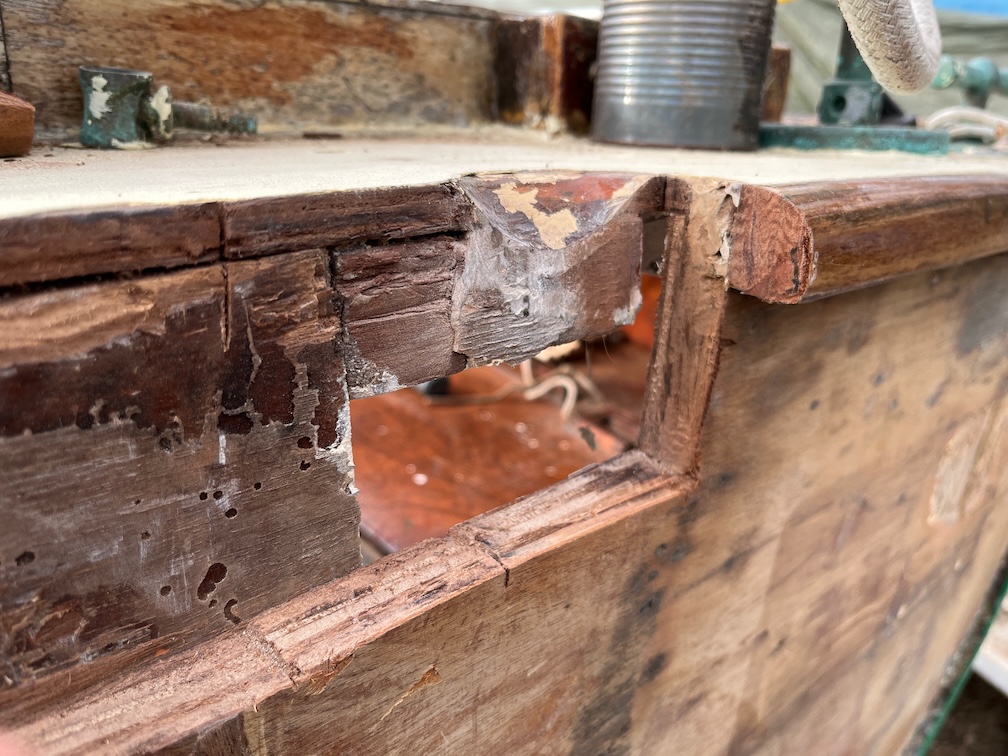
I have no idea what this feature is, it was filled in with epoxy but you can see that it was painted at some point and may have been an old repair made by cutting out the ‘scoop’ of wood and then sealing and painting it.
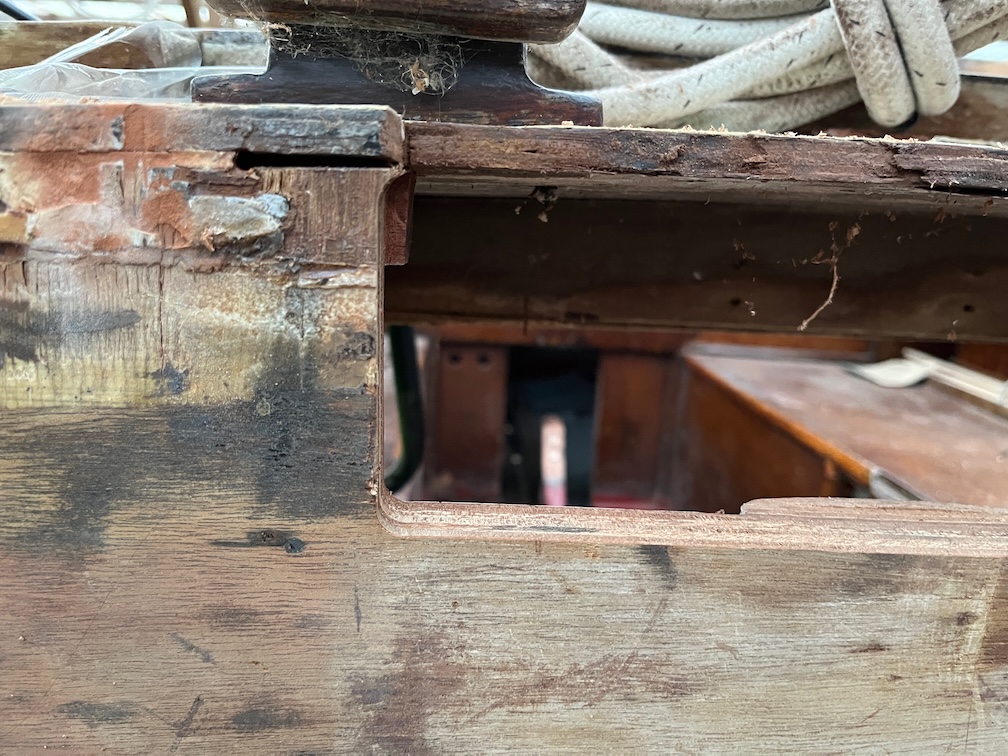
On the other side I had to take the beading at the top of the transom back a little further than the plywood./
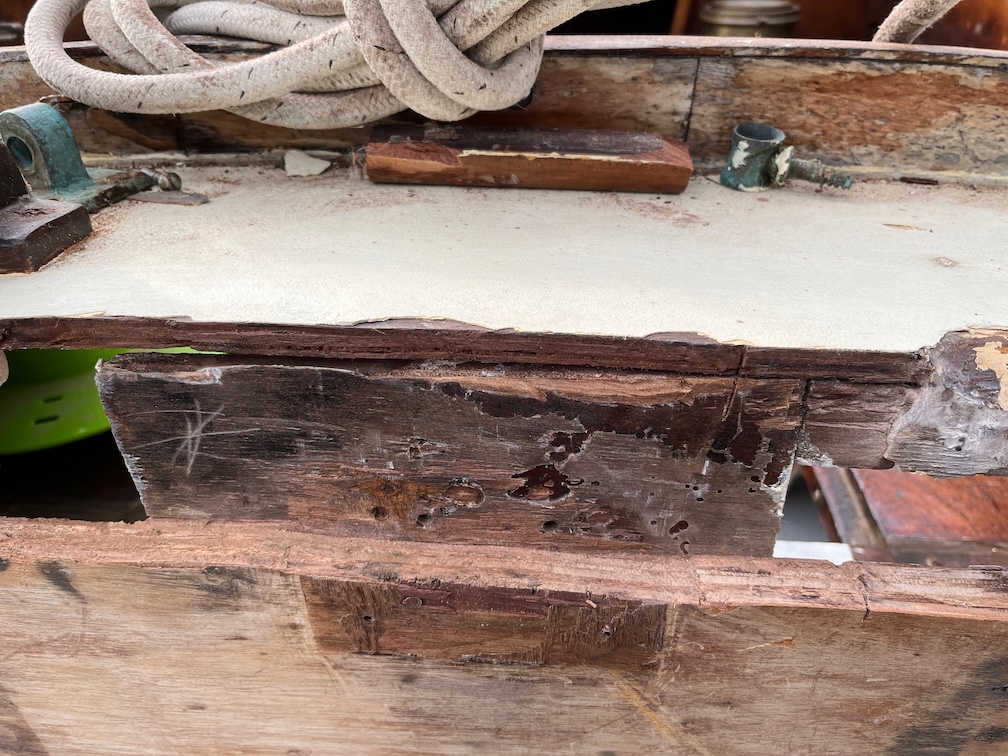
This is the centre section and I think that the pad of wood glued to the transom from the inside is either a backing pad to spread the strain of the rudder or a repair. Possibly even both.
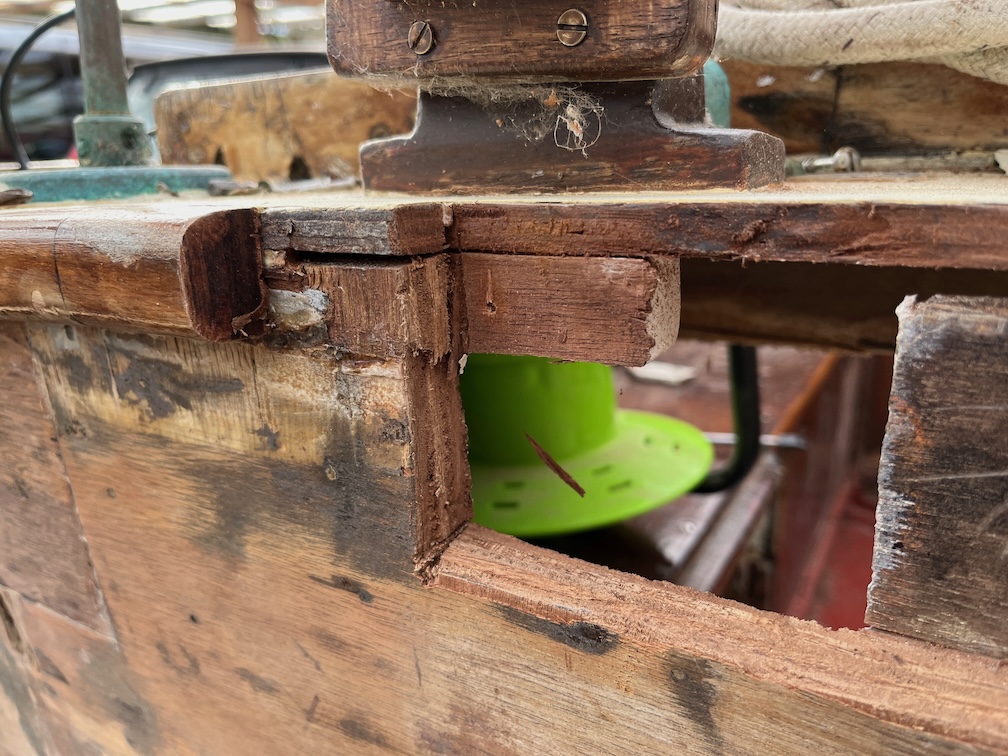
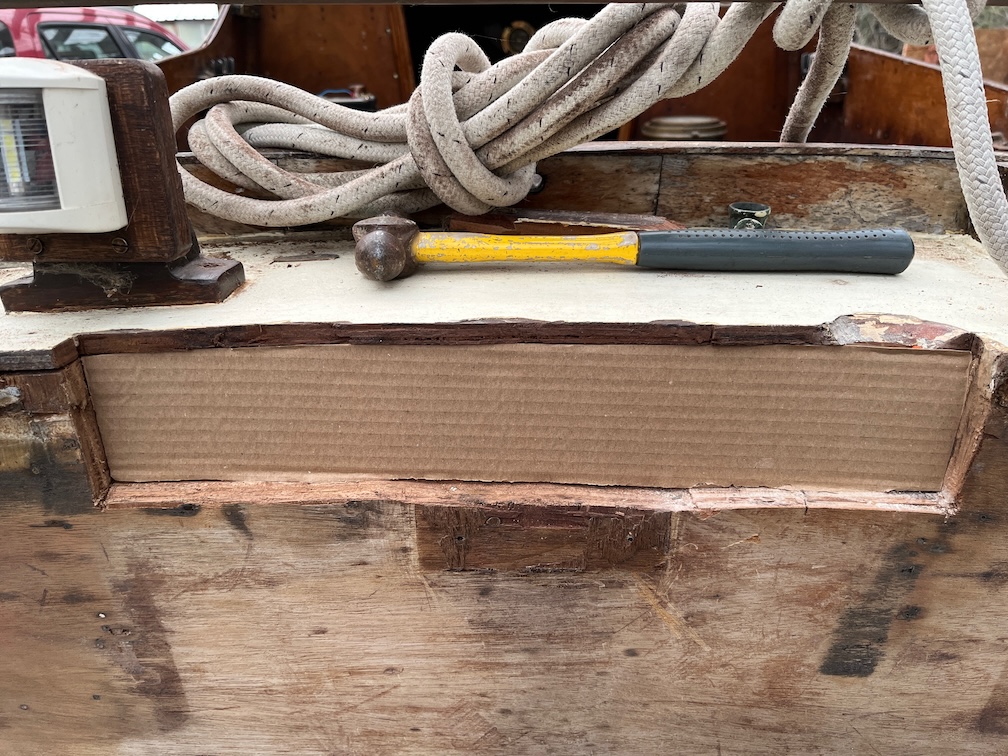
Still, this now needs to be dealt with.
The repair is not difficult despite looking quite extreme. I’ll cut a plywood router guide and nail that to the transom about 5mm out from the hole and then use a router follower bit to make the edges of the hole square to the face of the transom and square to the sides and bottom of the hole. Then I shall make another plywood template that cuts a hole about 10 mm wider and taller than the hole and remove two thirds of the thickness of the edges of the hole. I’ll repeat this once more such that the edges of the hole are stepped instead of straight. The hole will then be filled with three layers of plywood with each piece filling one of the steps.
I’ll need to remove the big pad on the inside and the batten that runs at the top of the transom since the glueing is done from the outside inwards and those will get in the way. A portion of the aft deck will be removed so that I can graft in a new section once the transom is done.
If all goes well, this should only take a few days to repair.
Time for a cup of tea.
The first thing to do is to cut away the sections of the transom that will impede the router. I decided not to remove the centre backing pad as I do not know how it is fastened on at the back and this way is quicker.
The second thing to do is to make a template for the curvature of the top of the transom since all the filler pieces will need to follow this curve or the deck will not sit flush with the top of the transom when it is repaired.
The transom is three quarters of an inch thick or a fraction over 19 mm. The marine plywood I have is 6 mm so three layers of that plus epoxy will be around that thickness. All well and good.
Time for a cup of tea.
After knocking off from work I set about cutting the stepped opening.
Firstly the curved template. This was fairly easy to do, I just pressed a piece of cardboard on the outside and drew under the aft deck on the inside and cut along the line. Easy.
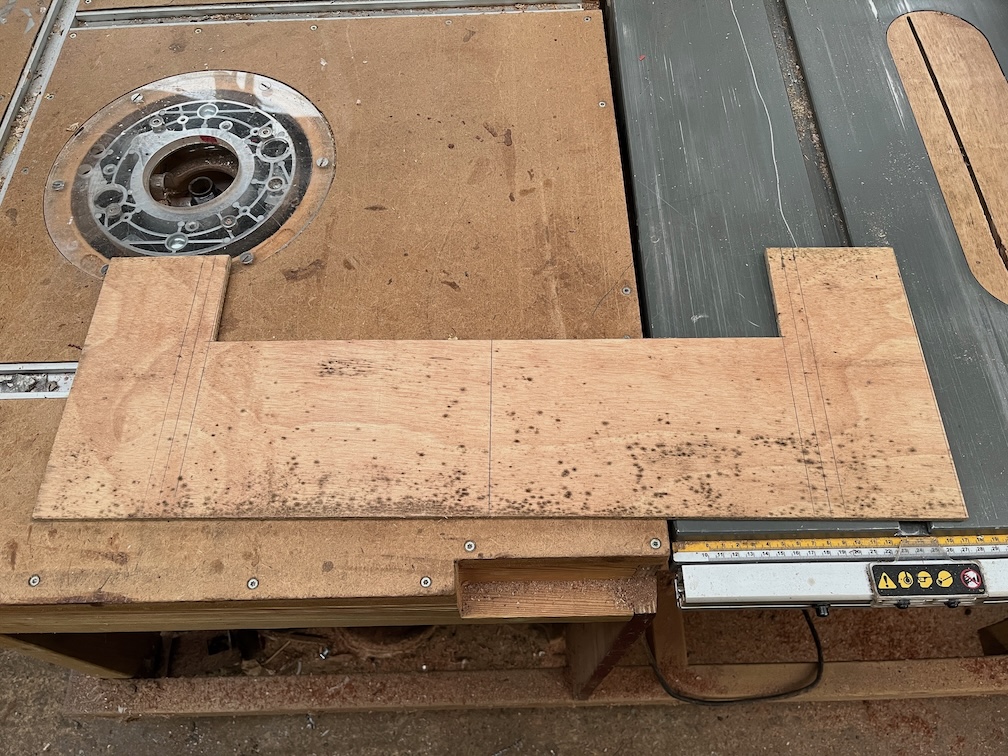
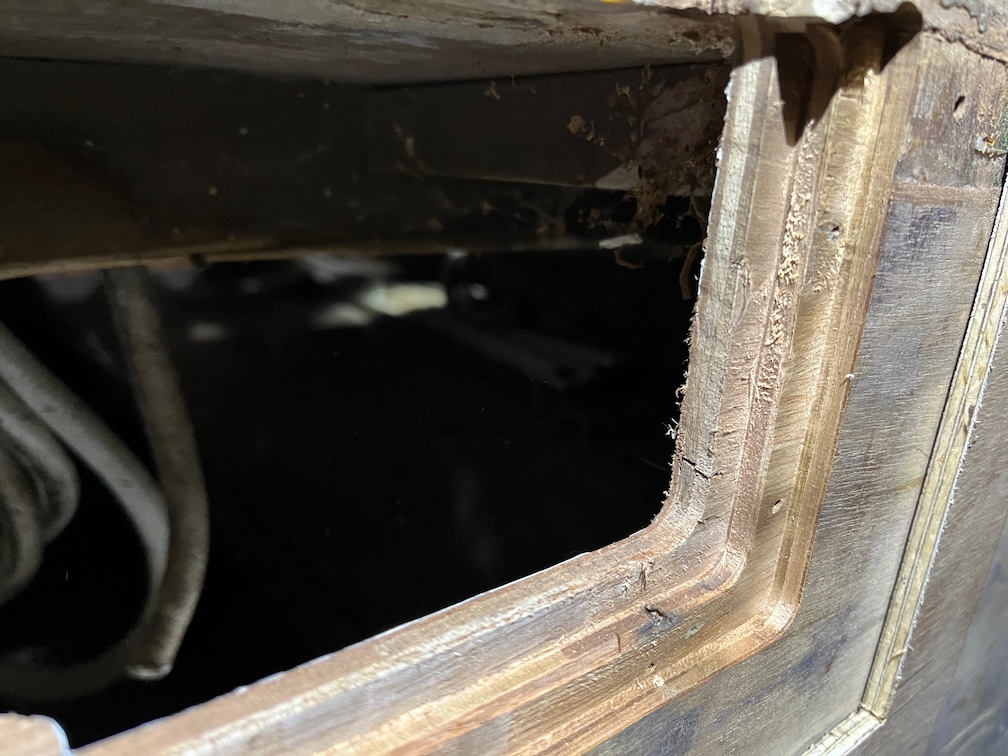
This is the routing template. It is quite large since the cut out gets bigger each time it is used. This will straighten the edge of the current raggedy hole.
And this is how it is used. The template is nailed to the transom with panel pins and a bottom follower bit in a trim router is used to cut away the excess wood all the way through the transom.
Here is the result of the first pass, nice straight edges.
The only drawback of this method is the rounded corners. The top ones can be cut away with a sharp chisel easily enough, but the bottom ones are a sufficient trial that I round the corners of the inserts instead.
This is the result after three passes, each one larger than the last but a shallower cut.
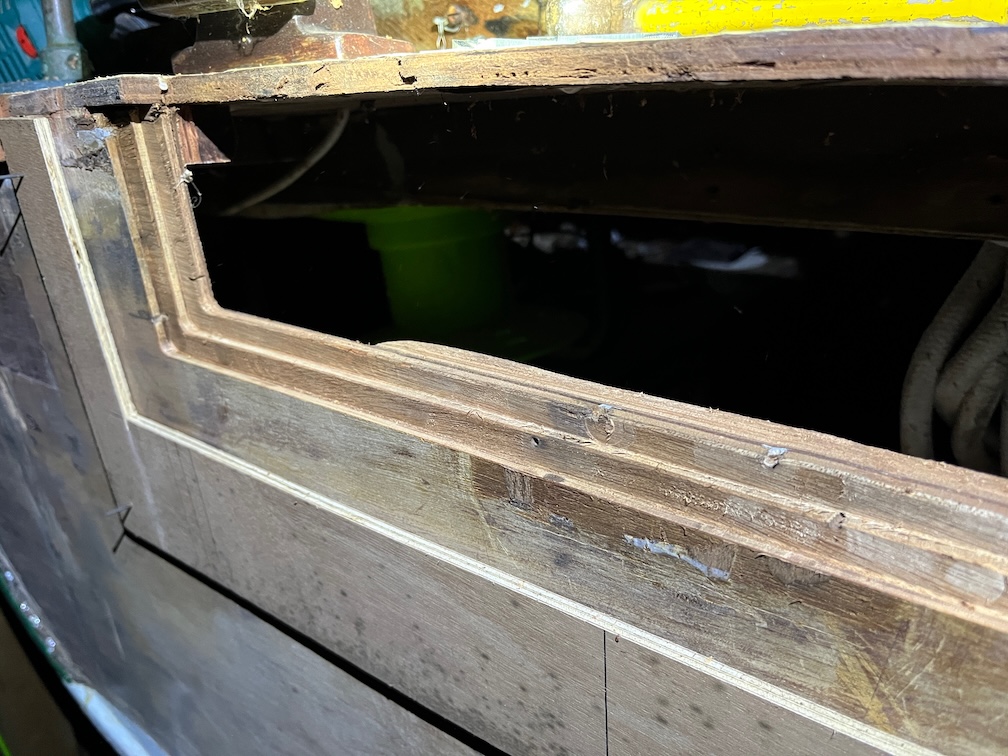
This is a slightly better view. I checked with a piece of plywood and the two outer cuts are about as perfect as I’m going to get. The inner cut is 1mm deeper than the plywood as three layers of 6mm is 18mm and the original transom is 19 mm so there always was going to be a discrepancy, but I can live with that.
That’s it for today, it’s dark and cold.
Time for a cup of tea.