
The weather this morning was a little warmer than yesterday, but even so, the day started in much the same fashion as previous days, varnishing.
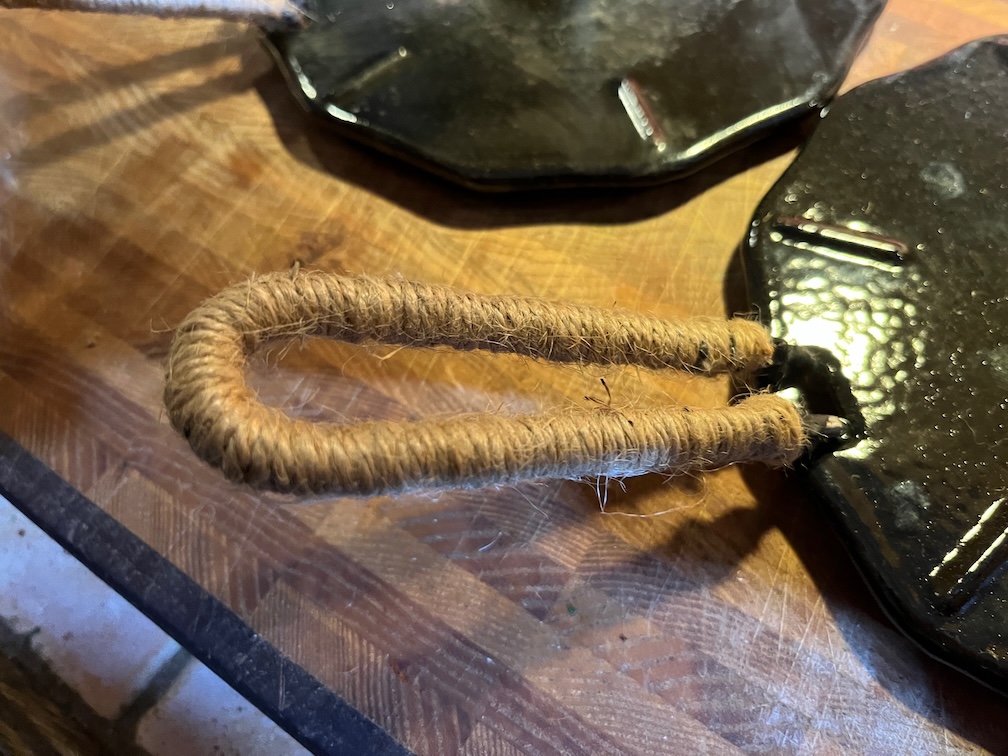
The first small task was to insulate the flame spreader handle. This handle is not left on the spreader when in use but used to remove the spreader when hot. Unfortunately, the bare handle becomes very hot very quickly and without care a burnt hand results. This insulation consists of 6 mm round stove rope threaded onto the handle, glued at the ends with seal adhesive and then, when the adhesive had dried, cotton string was wound over the stove rope creating the handle you see. This resists burning and insulates the handle well enough to be able to use it on a hot spreader without burning skin in the process.
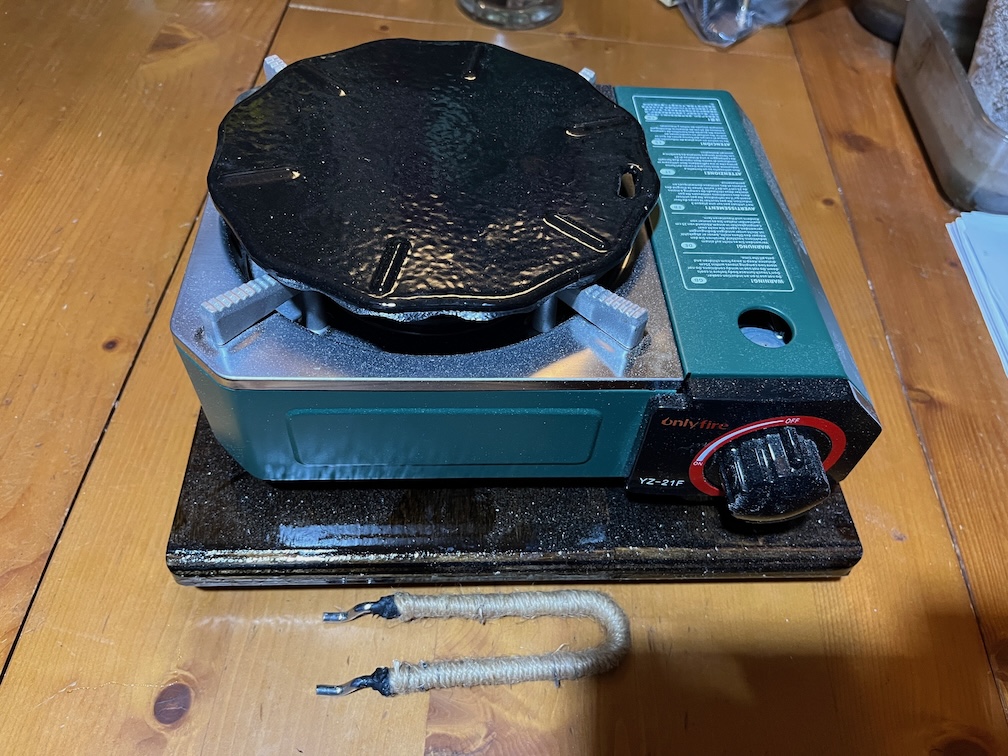
The spreader fits well on the galley stove but I now need to find somewhere to stow the spreader and handle.
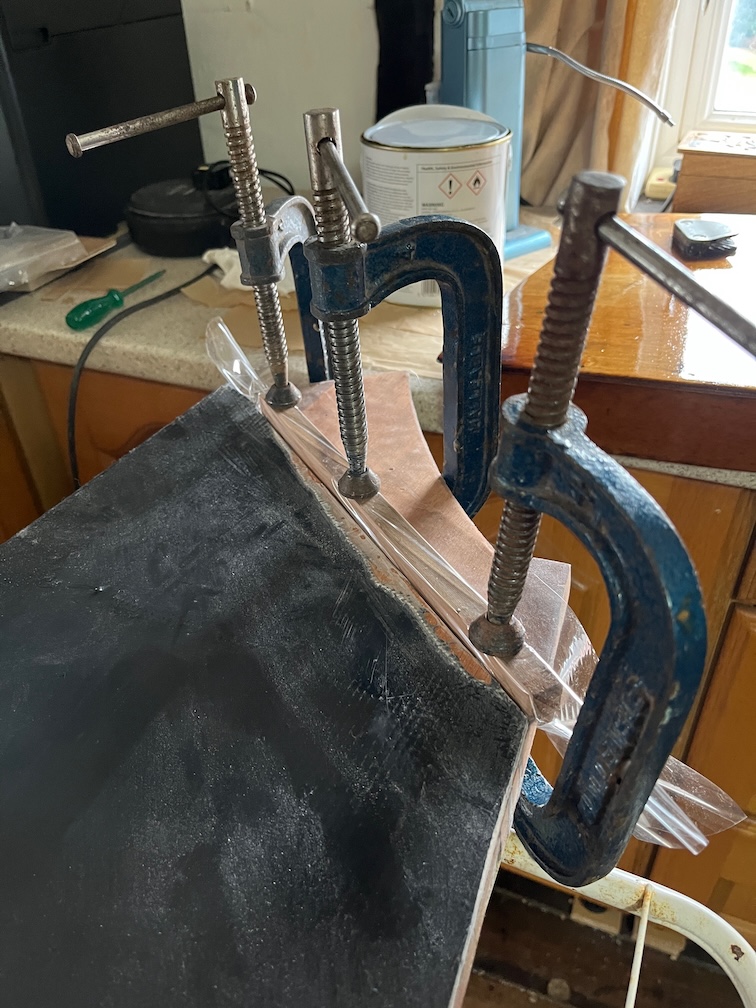
The next task was to repair the port centerplate case side that was damaged yesterday. I have clamped a small batten of wood encased in film up agains the edge where the repair is required.
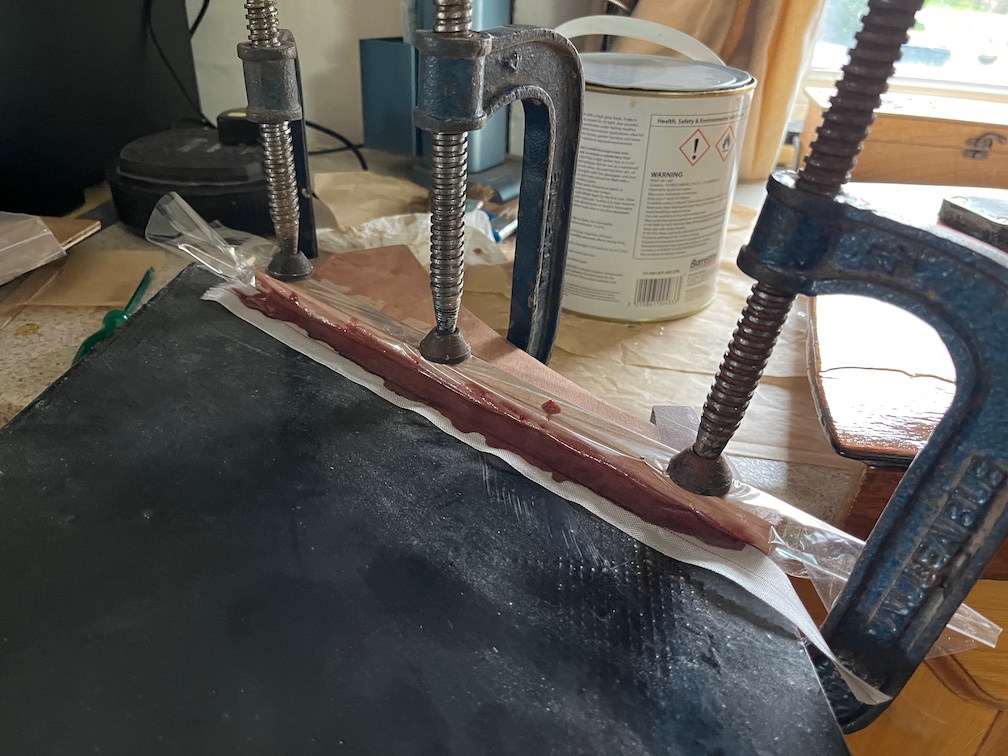
Epoxy lightly thickened with low-density filler was dripped into the damages area and peel ply applied. I used the fast hardener as it was a simple application and I did not need the extended pot life of hte slow hardener.
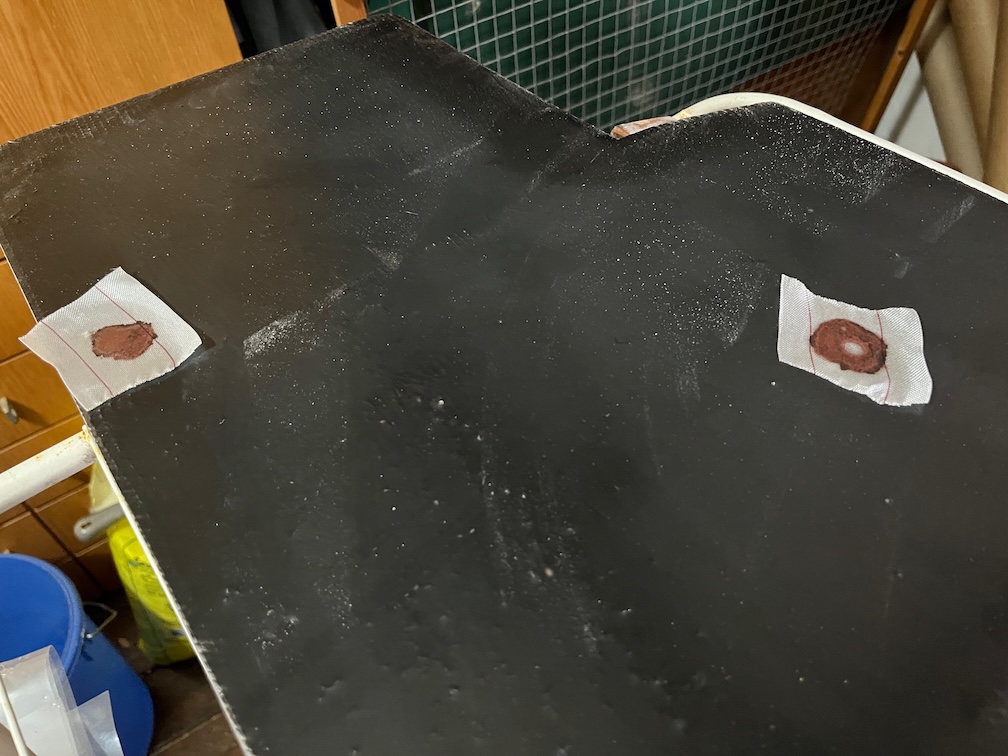
There were also two other spots where the glass mat was slightly exposed and were treated similarly. Once the epoxy has cured all three areas will be lightly sanded to the same level as the surrounding epoxy.
Another small task was to rummage through the various boat bits I have around the places for two cleats to put on the boom for the luff reefing lines. I did have some but they were far too small for the job, so suitable ones are on order.
To complete the galley stove locker I put in place some chafe and clink prevention.
I put a length of sticky-back neoprene tape on the bottom of the locker where the edge of the stove board or the lid will rest. This is the chafe protection.
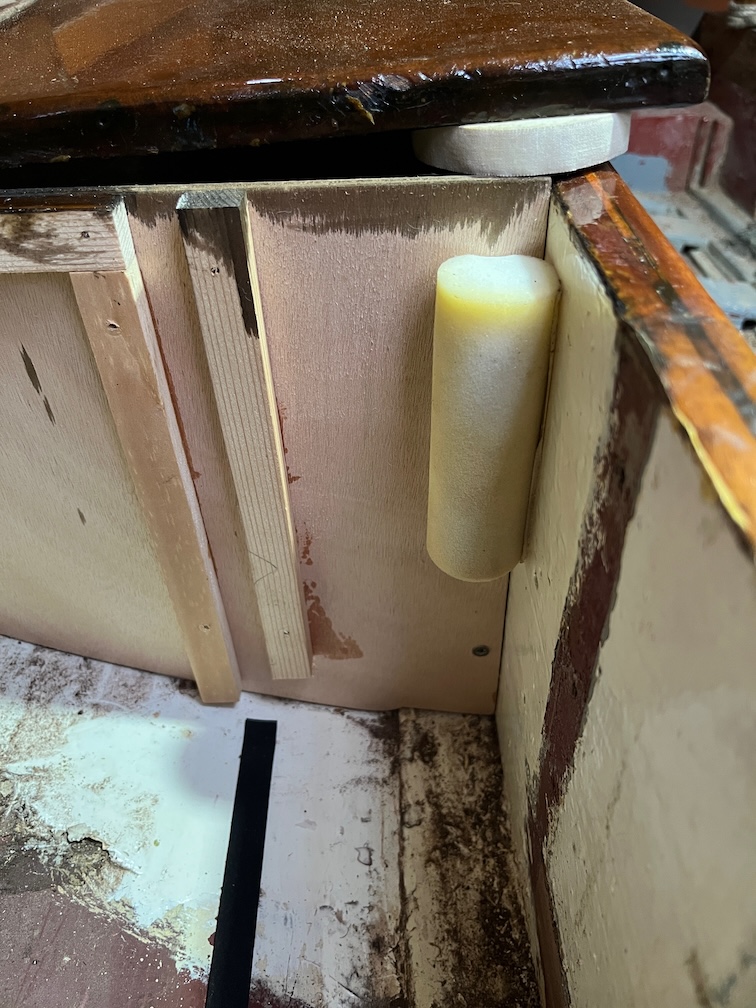
Then I used some very sticky double sided sticking tape to fix a small foam paint roller in the corner of the locker and this is the clink protection.
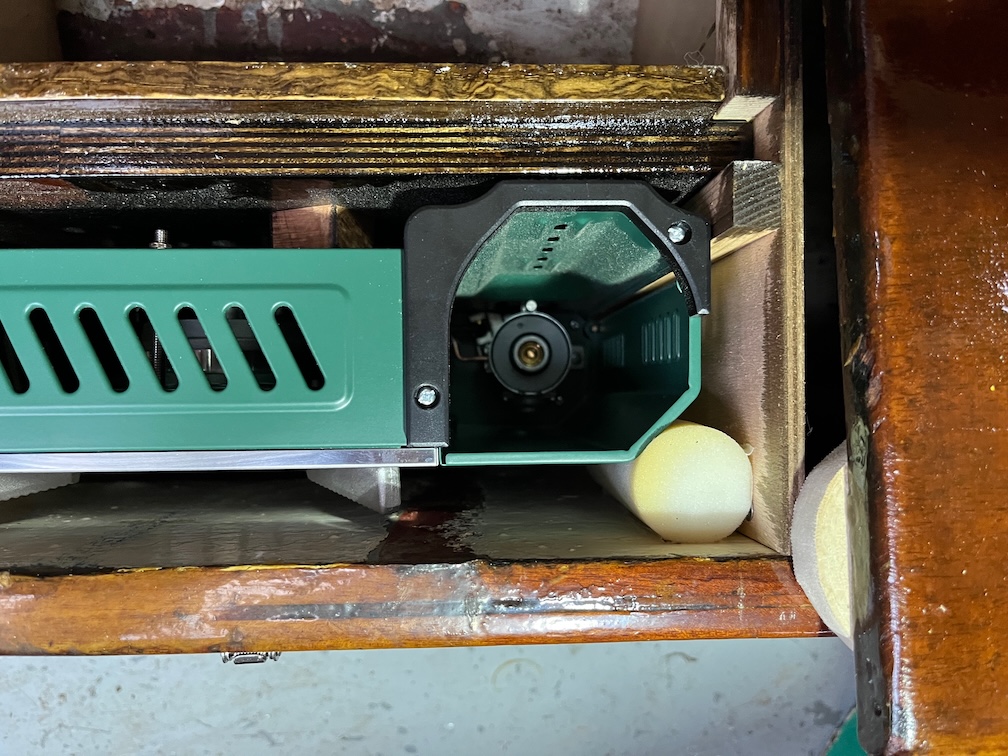
When the stove is stowed the foam roller prevents the lid of the stove opening and closing, going clink against the locker or against the stove itself every time the boat rocks with a wave. I know this from experience of living aboard a sailing boat for ten years. There’s absolutely nothing so annoying as something going clink, clink, clink, clink whilst you are trying to sleep. Whether it be pots, pans, crockery, loose tools, it doesn’t matter, it is infuriating !!!
Anyway, that completes the galley stove and locker task.
The next small task is to remove the Maldon sign on the transom.
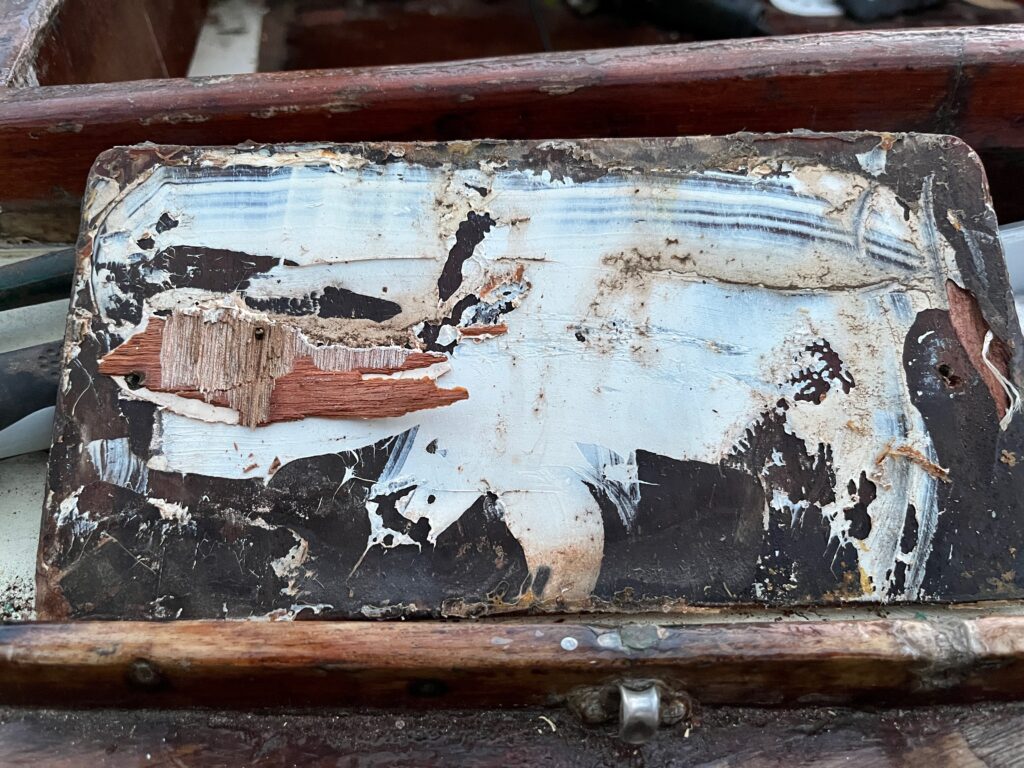
This is the back of the sign and you can see that some of the transom has pulled off with the sign. This sign is marine plywood and was glued in place with a sealer adhesive and a very good one at that.Too good, as it turns out.
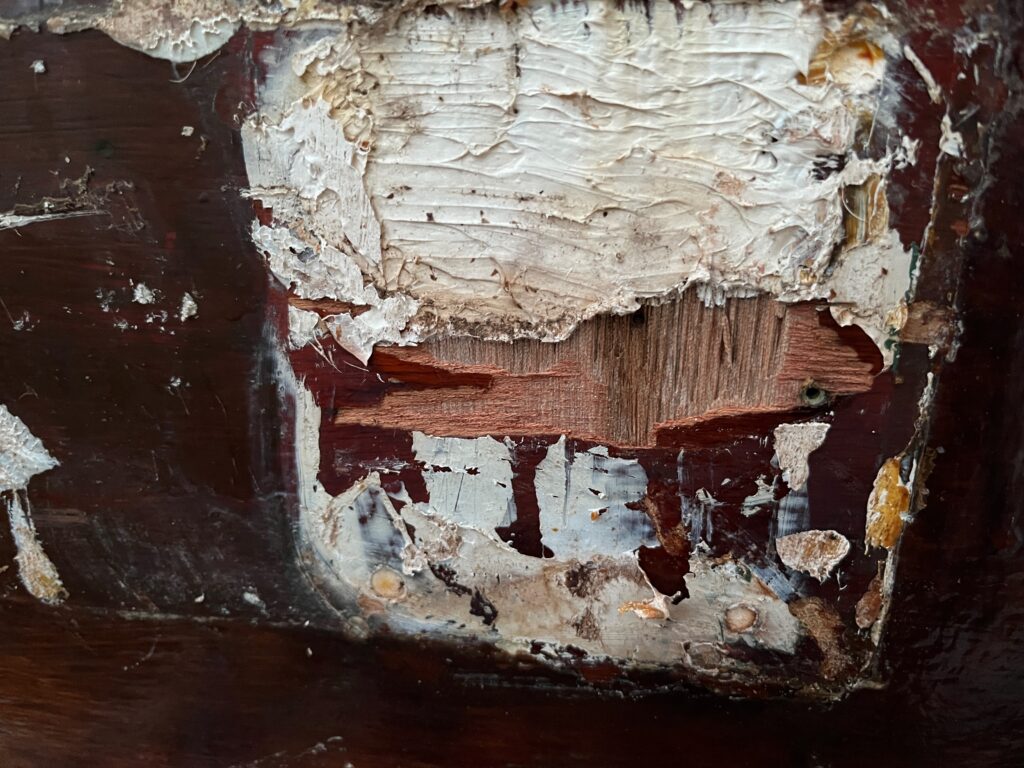
Here you can see the area on the transom that was pulled off. You’ll note that there appears to be three holes in the transom, two at the bottom and one at the top right. I would presume that there is fourth under the white stuff. Armed with a heat gun and scraper I got rid of all the sealant and the brown paint/varnish.
Here is the result. there was indeed a fourth hole but it also looks like that large area of white sealant also filled in an area that was damaged. You can see the vertical grain of the plywood that is under the outer layer, so there seems to have been some older damage to the transom in this area.
I recall that for the first year that Tony Smith owned Shoal Waters, he mounted what looks like a long shaft seagull outboard motor in the stern and I wonder if these holes and damage were something to do with that. Not that it matters, the thing is how far down the rabbit hole do I want to go with the repair? The simplest and easiest way to deal with this is to fill it with sealant again, a non-adhesive type, since it is under the Maldon sign and will not be noticeable. The correct way to fix this is to insert a graving piece by cutting a shallow recess where the damage is now, I’d make this 6 mm deep as that is the thickness of the marine plywood I have, then cut out a piece of plywood that fits into the recess and glue it in.
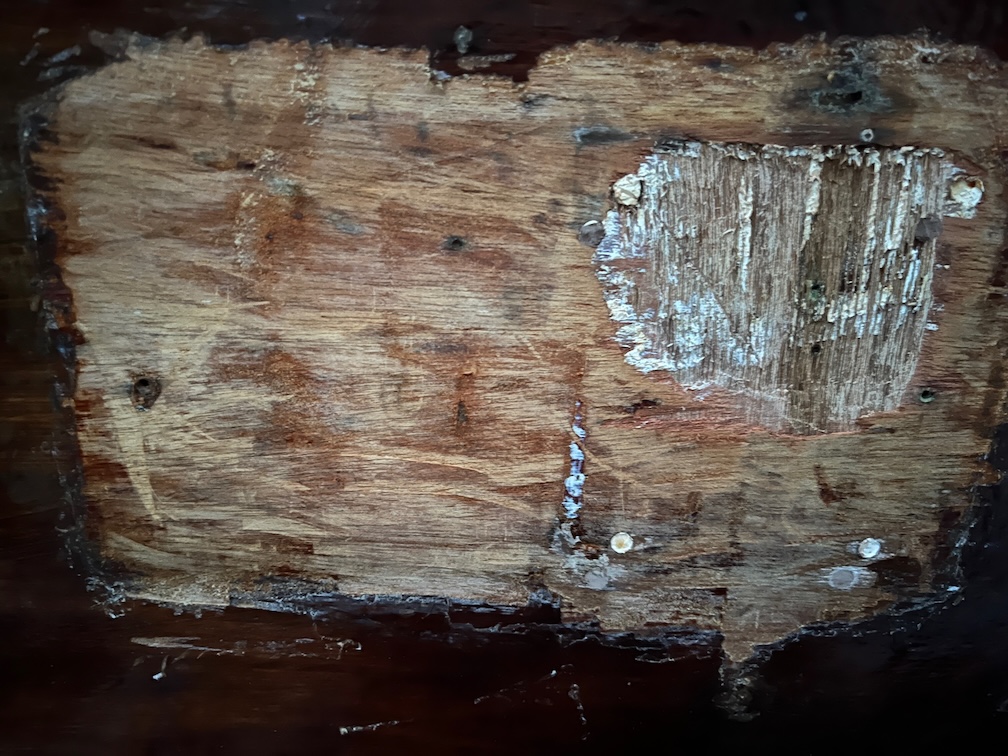
My first inclination is to do it properly, but I recall that there is a soft area on the transom on the port side that needs looking at, so I am really tempted to scrape the layers of paint and varnish off the transom entirely, it comes off really easily, and to see if there are other areas that need to be dealt with and do them all at once.
Something to think about.
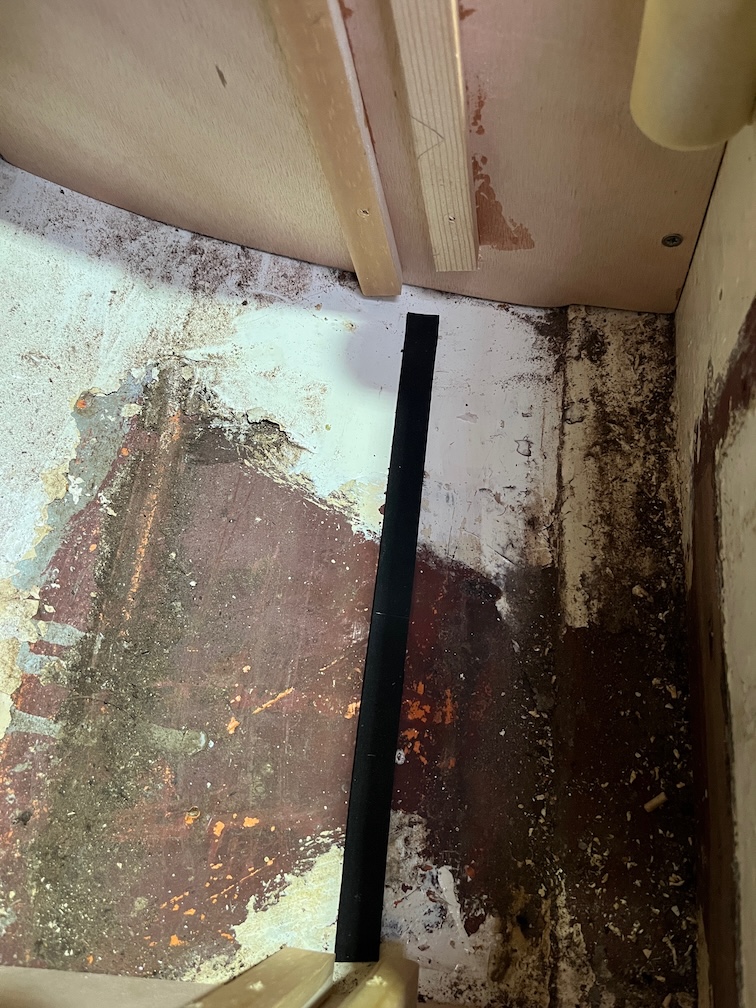
The final task for the day, for which I do not have photos, was to clean up the slot and top of the keel. Mostly this meant removing any loose glue by sanding and then prising it off with a chisel. Quite a lot is on very securely and rather than risk damaging the wood by forcing it off, I’m going to leave it on. The sides of the entire slot was sanded with 120 grit sandpaper as was the top of the slot. I also cleaned up the front face of the aft block and found another soft spot. This was about the size of the thimble and I excavated it with a chisel blade. Before I assemble the case properly this area, as well as the two soft spots on the hull, will be liberally coated with the penetrating epoxy. The thimble sized hole itself will then be filled with thickened epoxy.
Time for a cup of tea.