
A slight change to the procedure today, it was 1º C when I first went down to the boat this morning and there’s no way that it is suitable to apply varnish. So I turned on the heater and took a look at the work I did yesterday.
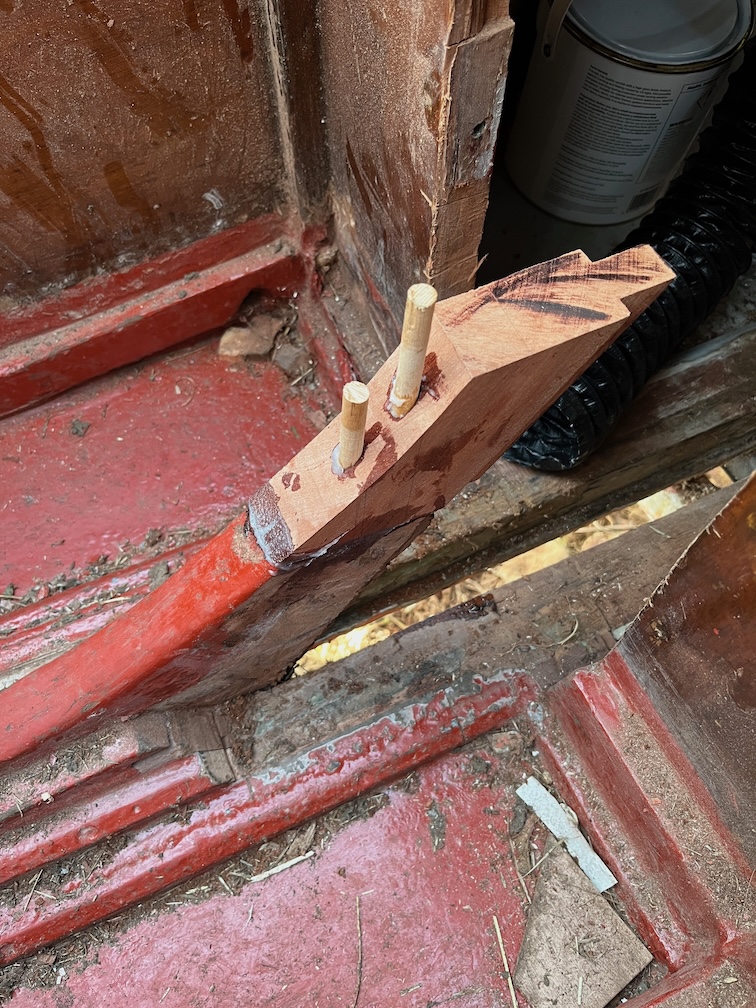
Having removed the cramps and such I tested the epoxy with a fingernail and found that it was quite solid. It seems that the heater arrangement worked well.
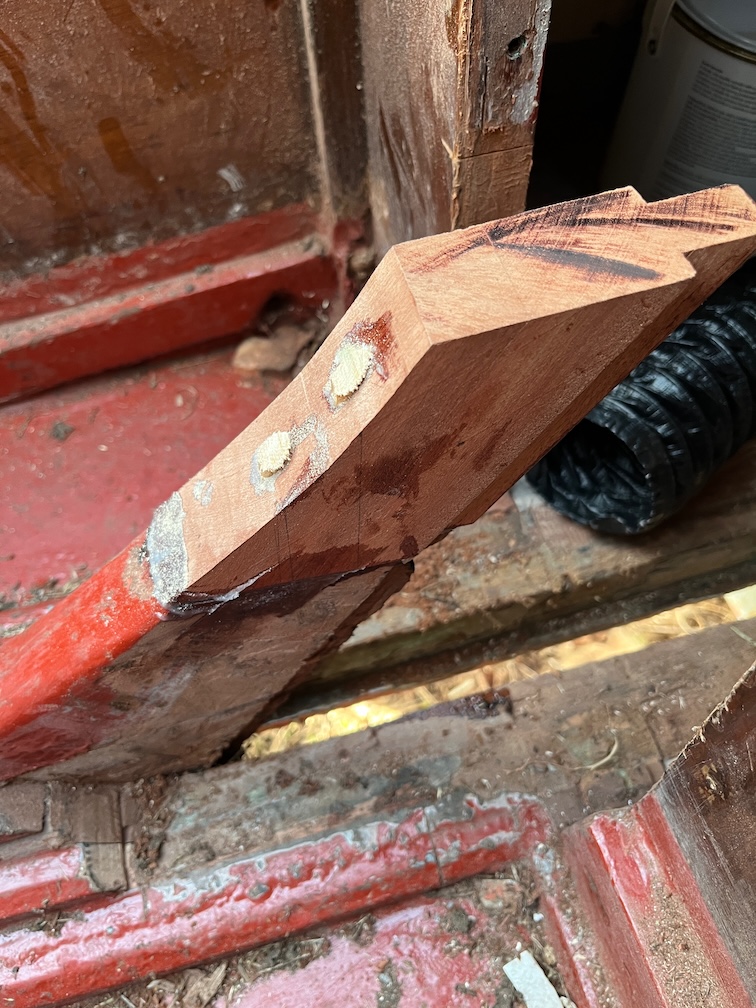
I trimmed off the tops of the pins and the did not break the top off the block, so I will presume for the moment that it is well stuck.
Time to clear the area for the next task.

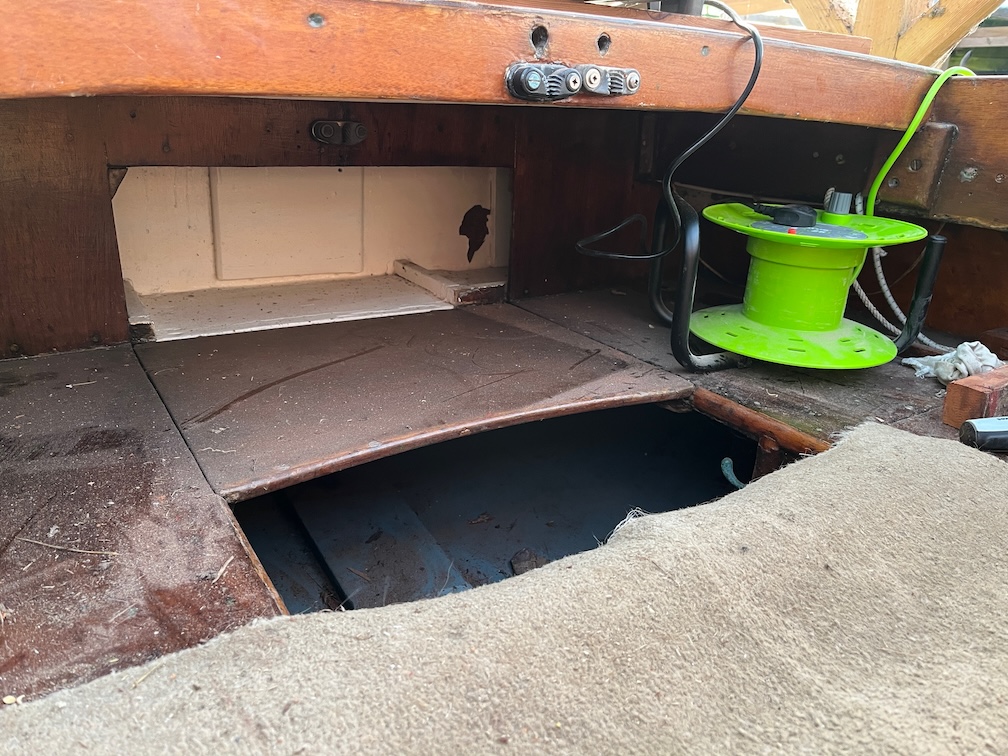
This is the area under the poop deck and you can see the lockers that occupy the space under the aft deck. This is pretty useless as is in order to get at anything in these lockers you need to clear out everything under the poop deck, or remove the poop deck.
I would have left these untouched but the surveyor noted:
…the two bronze cleats aft are only screw fastened to the thin plywood deck; without any wooden blockings below. Recommendations: Ensure the aft bronze mooring cleats are securely mounted.
The access to these cleats is via the locakers and that is not going to be easy. So, I elected to remove these lockers which will not only allow backing pads to be placed under the cleats but easier access to the otherwise awkward space.
The area under the poop and aft decks is quite spacious.
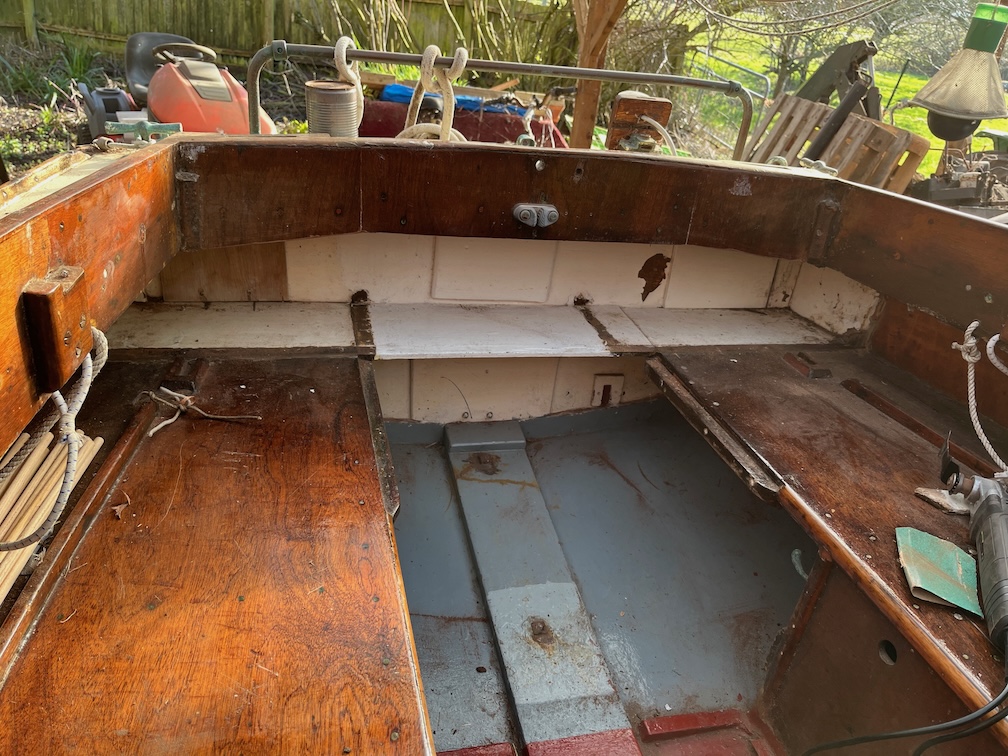
There is even more space once the locker fronts are removed. This space is now usable.
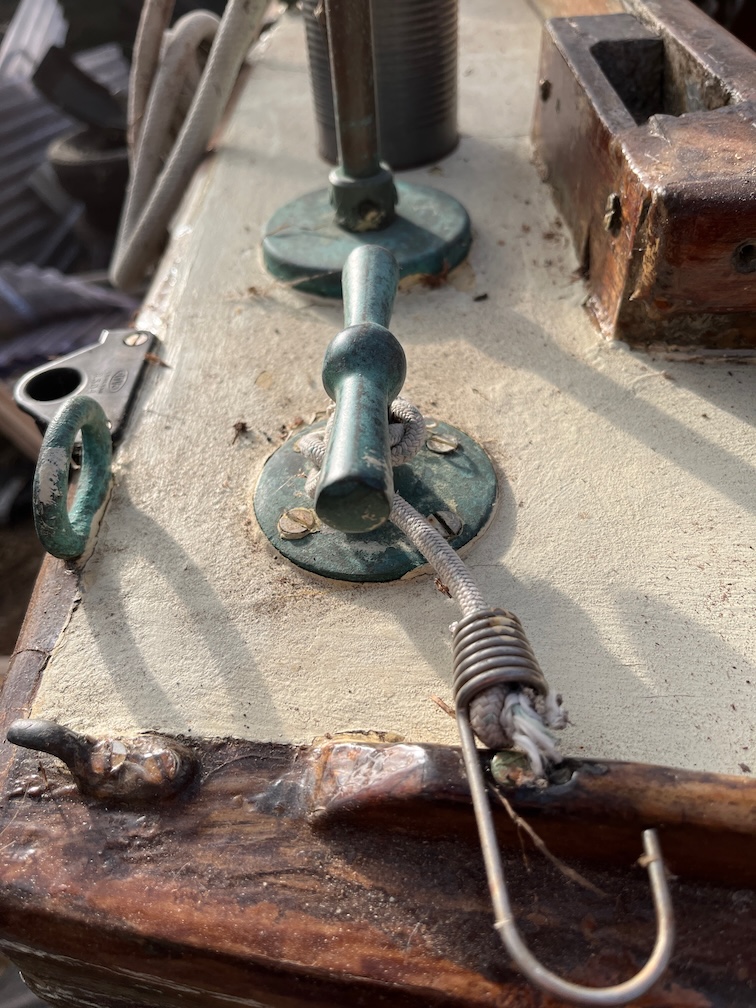
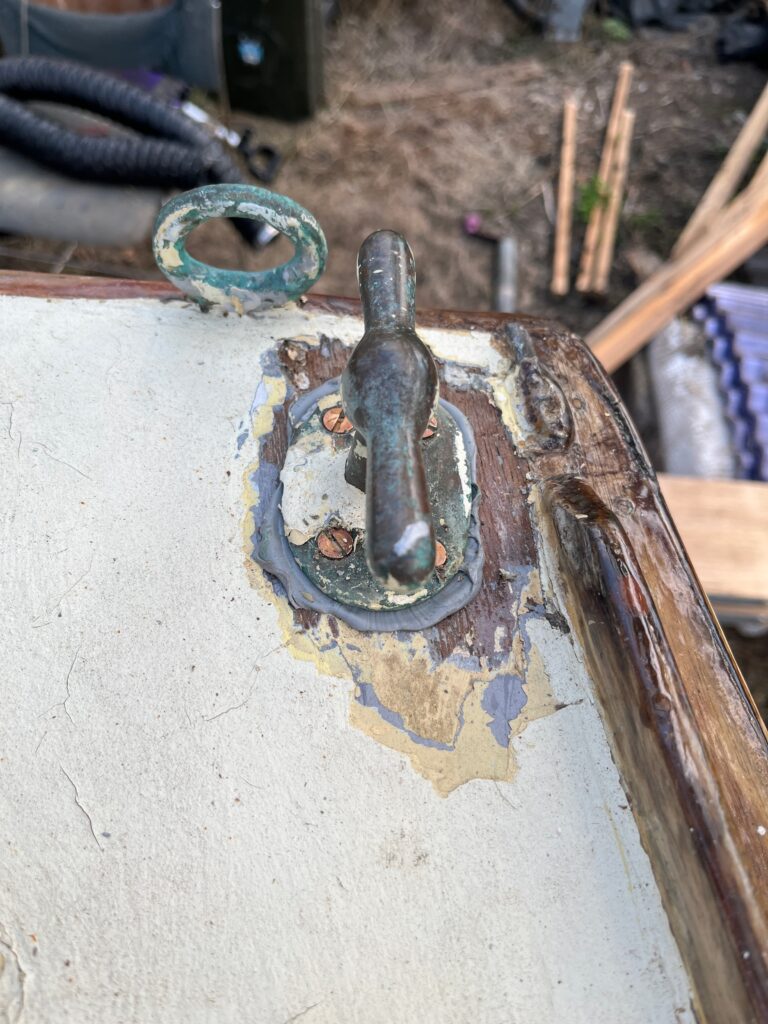
The next part of the task is to remove the cleats. This one has a wellie hook.
Here’s what Charles has to say about wellington boots:
I use traditional knee length wellington boots for mud work. They need to fit well so that they do not stay behind in the mud as you walk forward. One minor irritation, especially for knock-kneed sailors is that mud on the inner side of each boot will transfer from one boot to the other as you walk, rising higher each time and getting onto the inner side of your trouser legs above knee level. This means mud on board and in the cabin. The answer is to walk slightly ‘Frankenstein’ fashion, preventing the boots from touching. Whatever you do when working in mud, some will stick to your clothing. Do not try to rub if off wet for it will only stick harder. Leave it to dry when it will brush off cleanly. Once boots have been in the mud they are not welcome on board until cleaned, but this cannot be done without water. Don’t leave them stuck in the mud alongside the boat for they will float off very quickly as the tide returns. Tie them to a cleat (see fig. 5). I use a piece of shock cord with hooks at each end. Once wellingtons came with holes punched in them at the back just below the lip, presumably to tie them together in pairs. Since the advent of packaging in hygienic boxes such holes are missing but the office punch will suffice.
Sailing Just for Fun pp 57-58
Anyway, the hook is in the way and needs to come off.
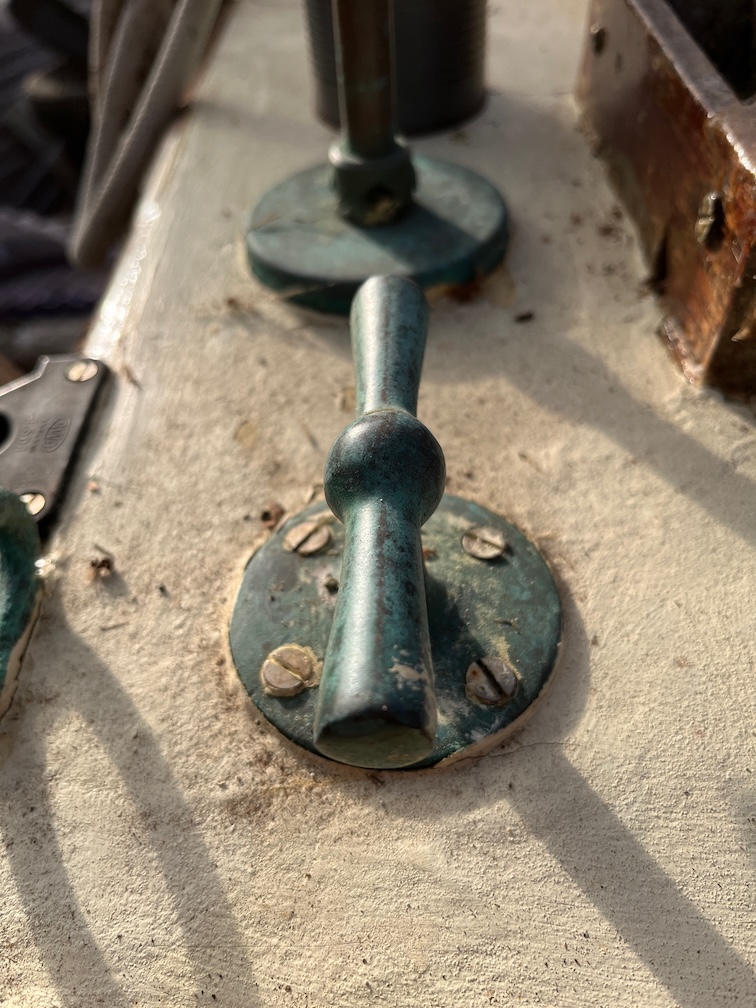
The screws in this cleat have been replaced with stainless steel screws, a sure sign that the originals were brass and dezinced to the point of being useless.
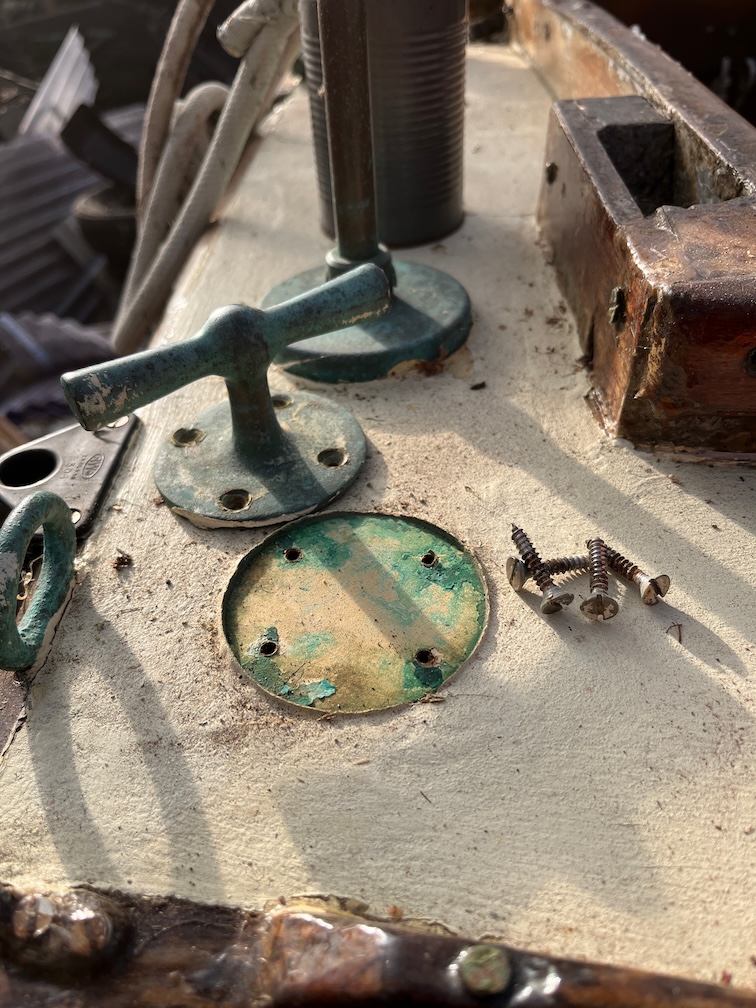
The screws came out easily, thankfully, which is not surprising when you consider that they are just into 3/8″ plywood.
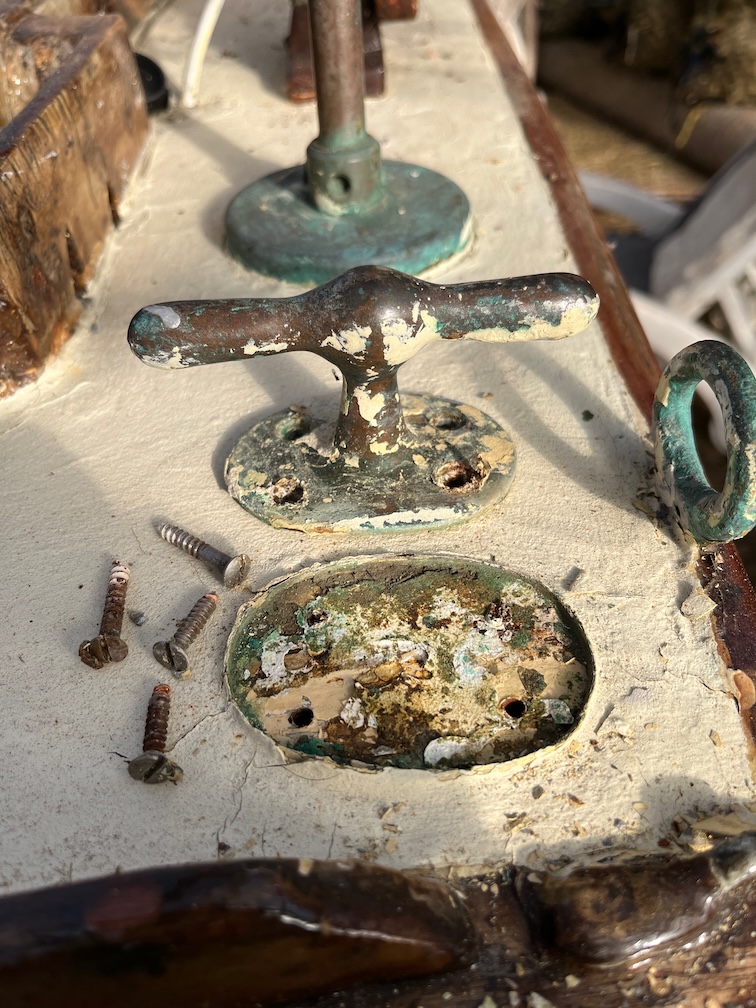
Similarly, the screws came out easily on the port side. Now to make the backing pads.
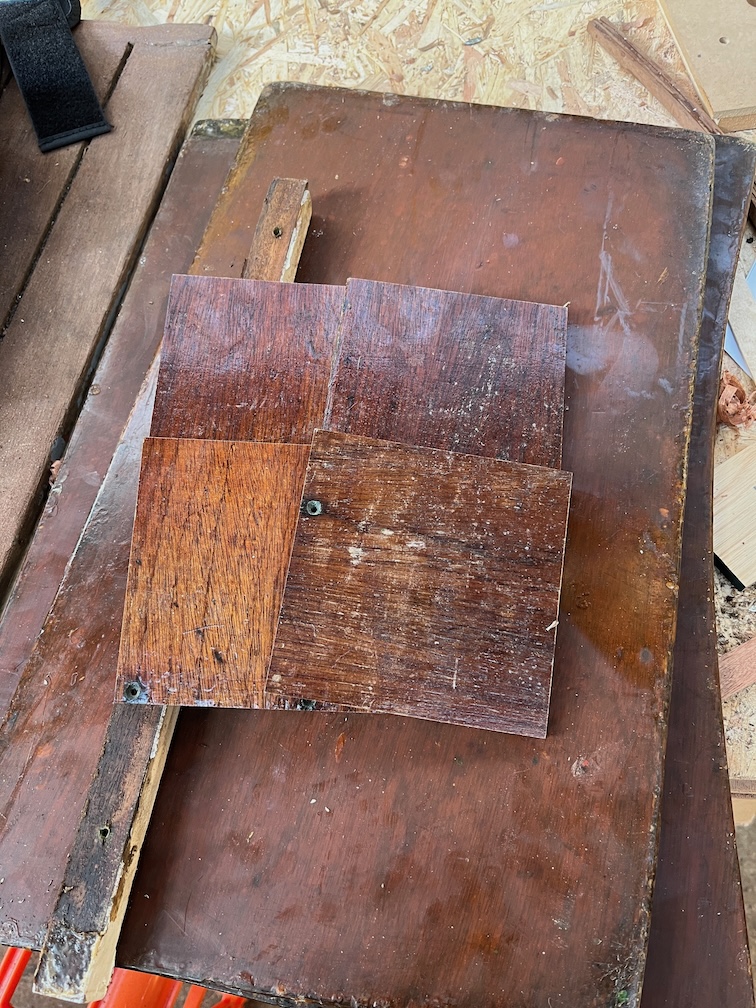
I cut the removed fronts of the aft lockers into four 120mm square pieces…
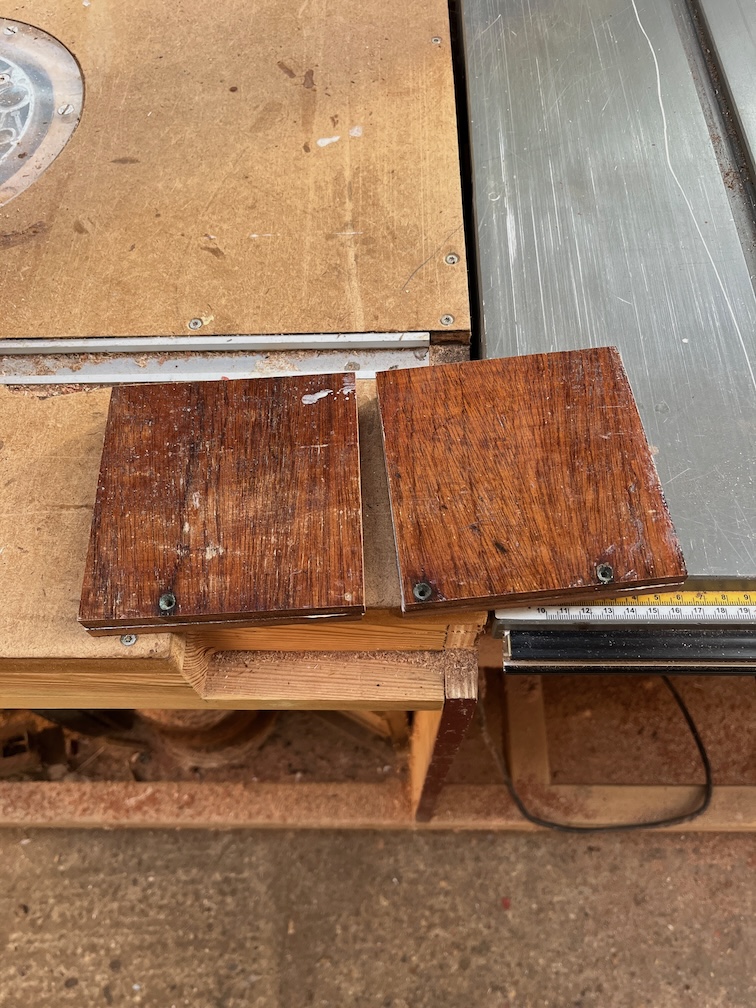
…and glued them together with the varnished side outwards.
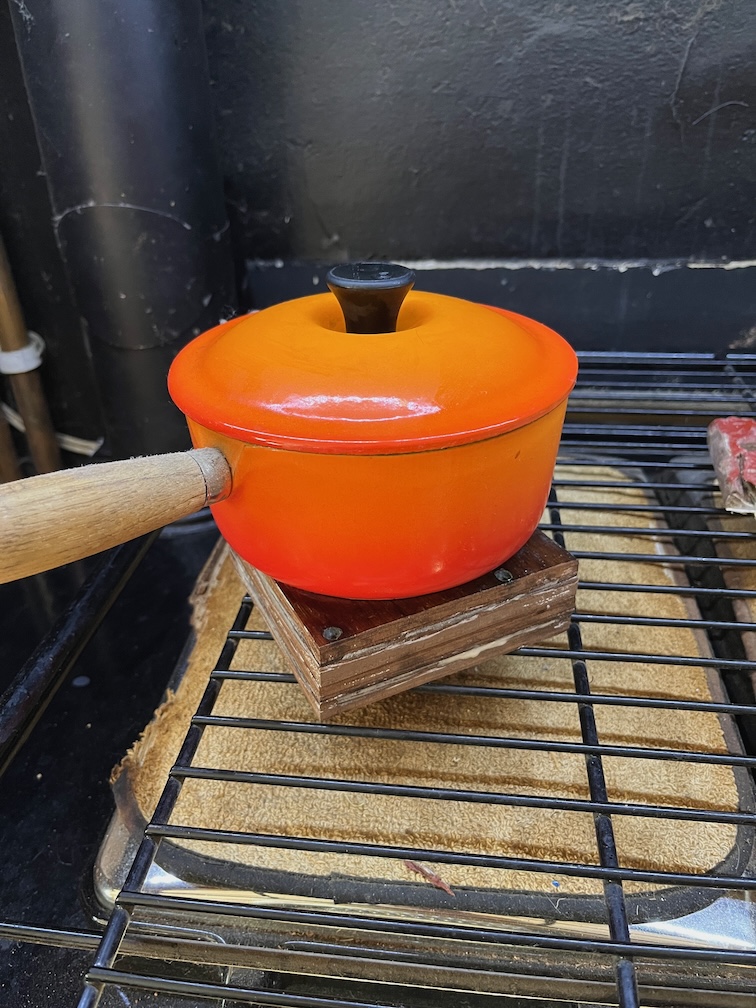
It was still sufficiently cold to make the glue drying time long, so into the house they went to be placed on the Rayburn with a pot on top as a weight.
Since I hd a little bit of time I decided to try and locate the ‘soft return’ that was reported by the surveyor on the port bow.
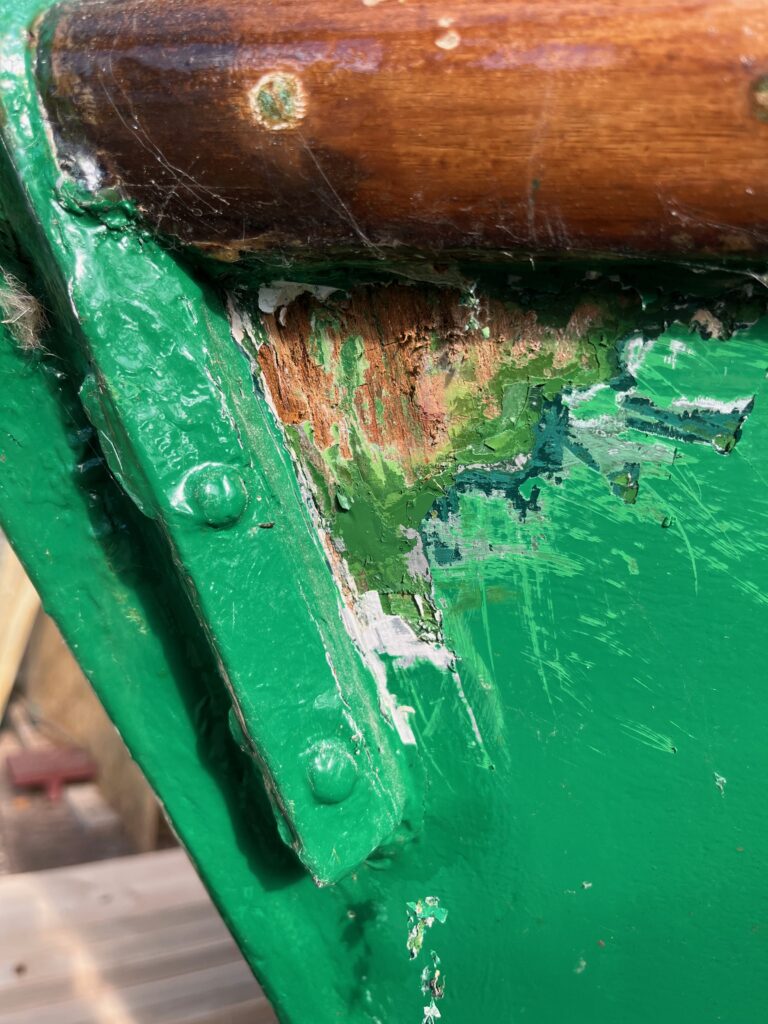
This is it here, I think. Here’s a short video of me tapping.
I think you can hear the difference in the sound return from the good and soft wood.
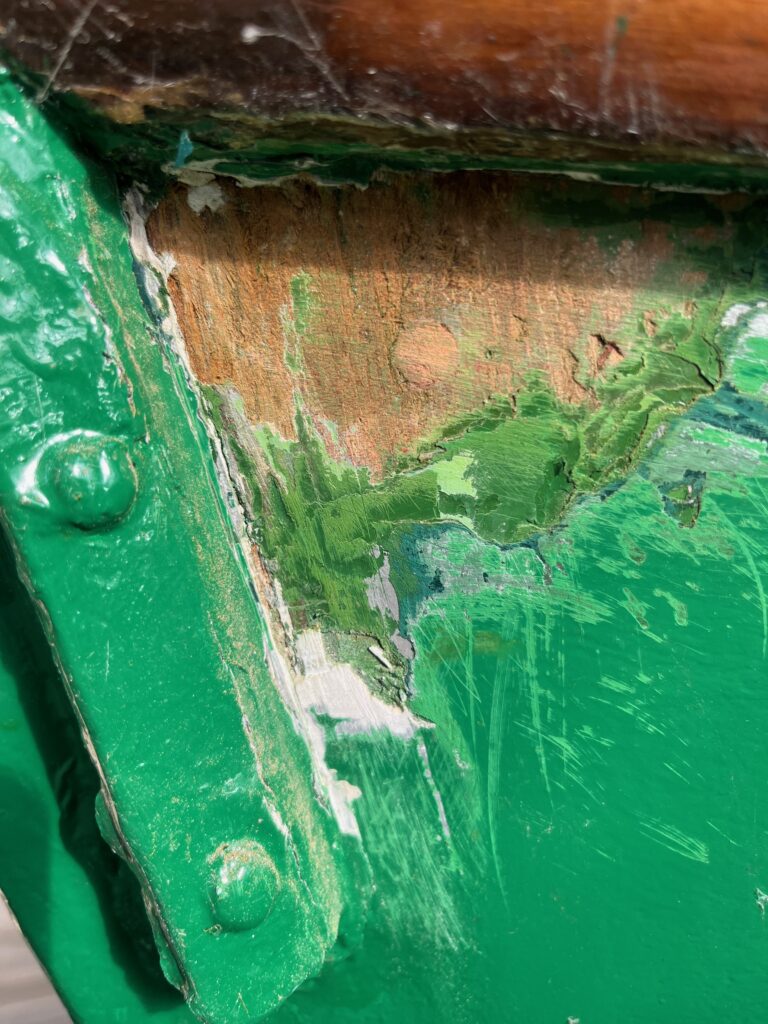
I’ve sanded the paint a bit to tidy up the area and once the wood has dried I’ll apply so of that penetrating epoxy I keep going on about. The same for the transom, if I can find the soft spots.

The name plate on the stern is looking a bit ragged so I took it off and sanded and scraped a bit. The trouble is that the letters are a vinyl transfer, as far as I can see and sanding is going to sand off the vinyl as well.
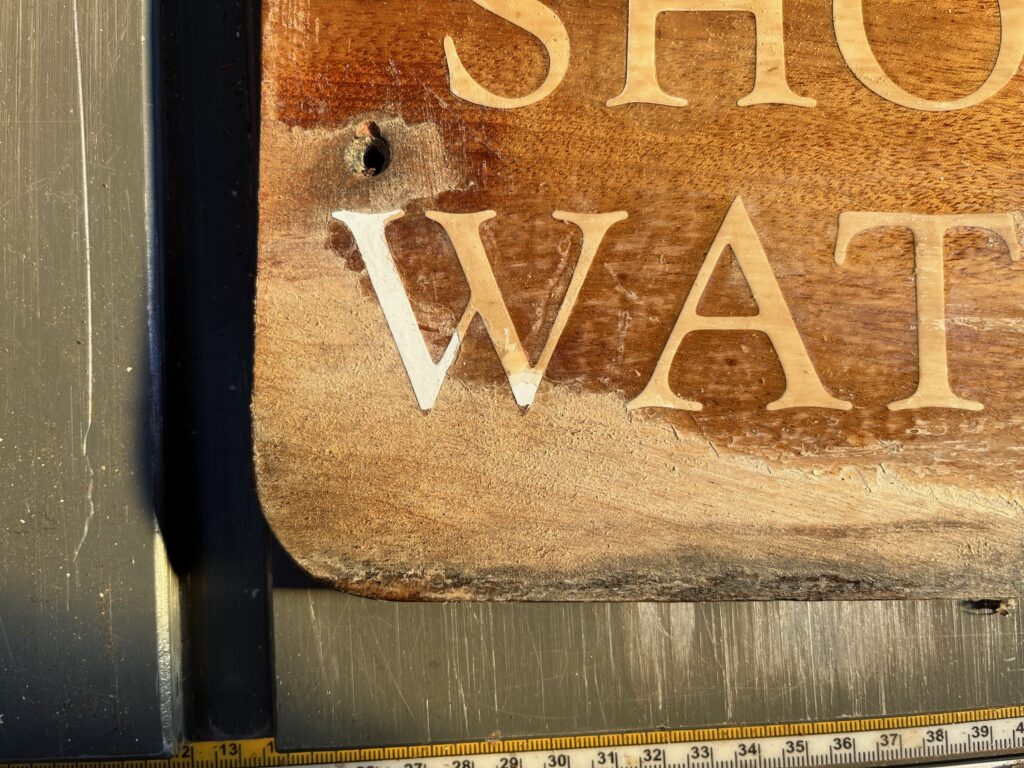
You can see that happening on the bottom of the ‘W’.
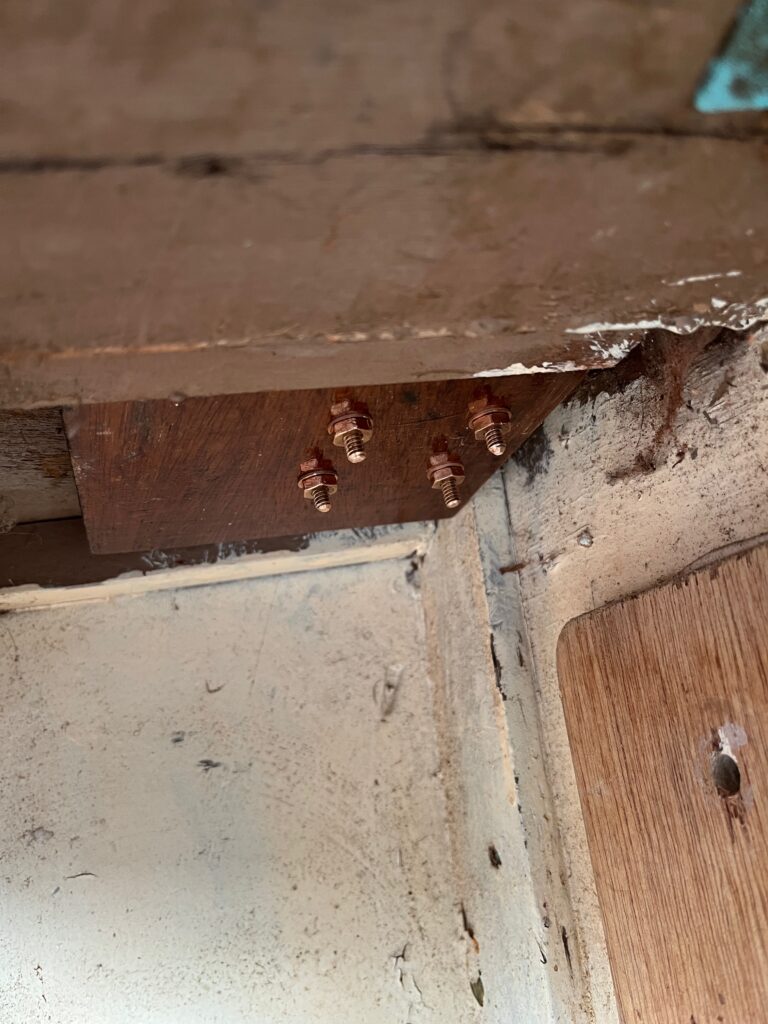
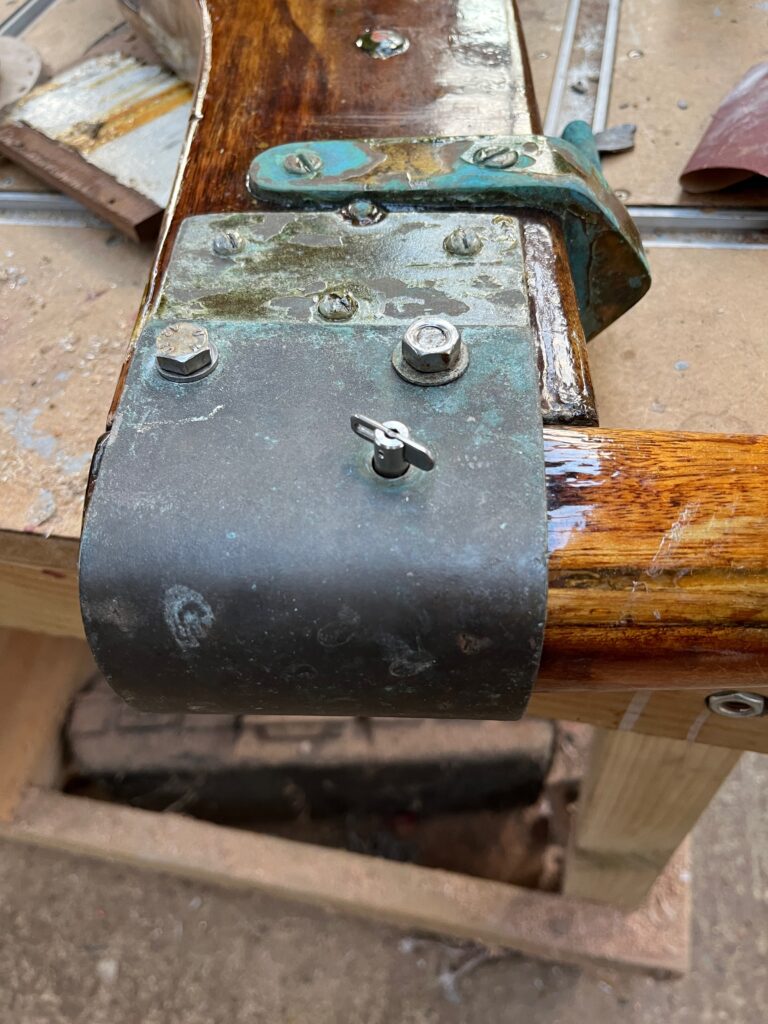
Time to move on with the cleat backing pads. It was a bit tricky but eventually I got the bolts cut to length, the butyl tape applied and the backing pads in place. This is the starboard one…

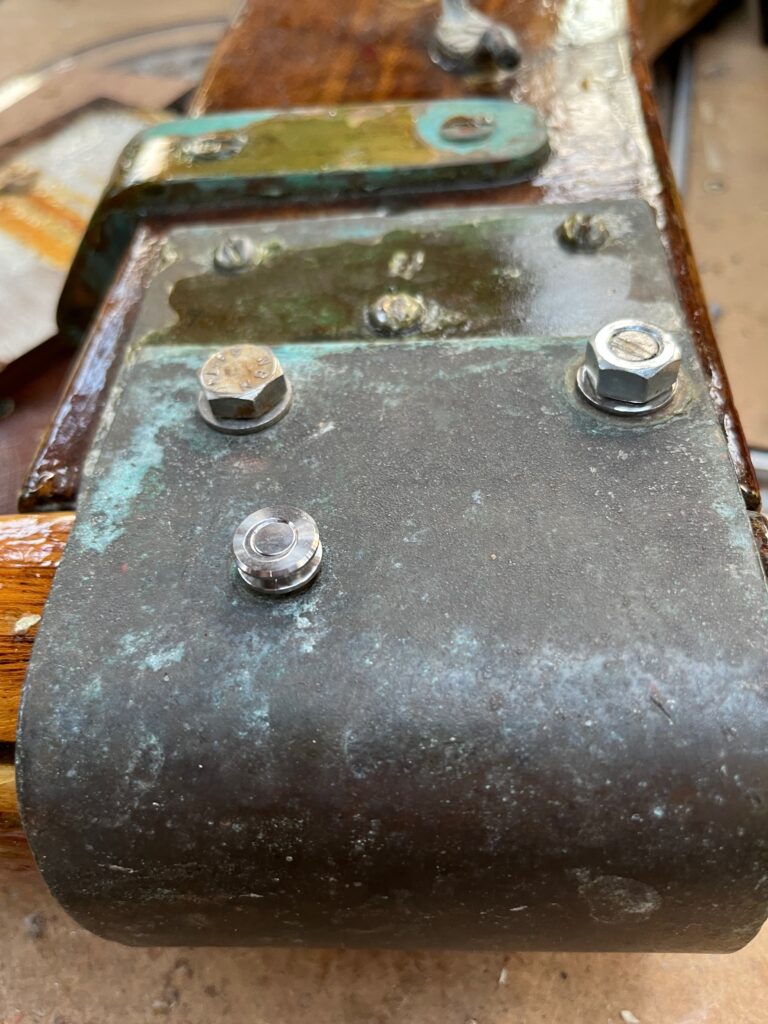
And this is the port side. The bolts came out very close to the edge of the pad, but that is due to the location of the cleat on the deck.
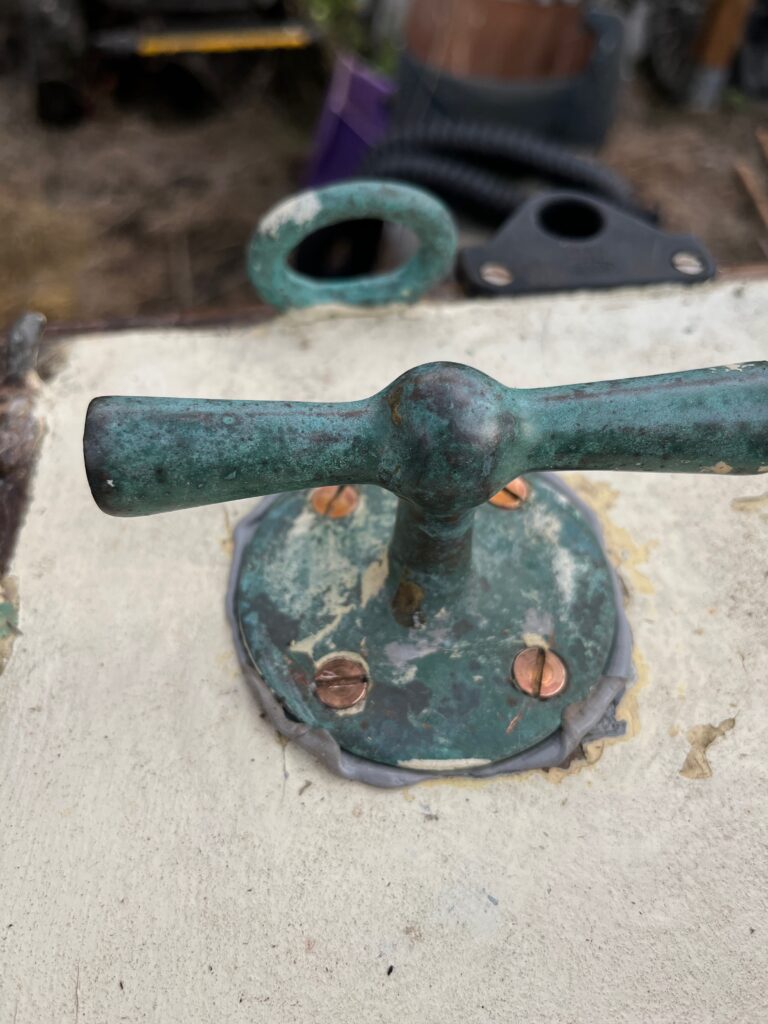
The starboard cleat from the top. The squeezed out butyl will be removed later.
The port side cleat had a bit more butyl tape under the cleat so there is more oozing out.
The drop nose pin arrived in the post this afternoon and I didn’t waste any time trying it out.
The is the other side and the head has a groove running around the circumference for attaching a light line.
The tiller was a tight fit, mostly due to excessive build up of varnish, so I took it over to the belt sander and slimmed it down a little.
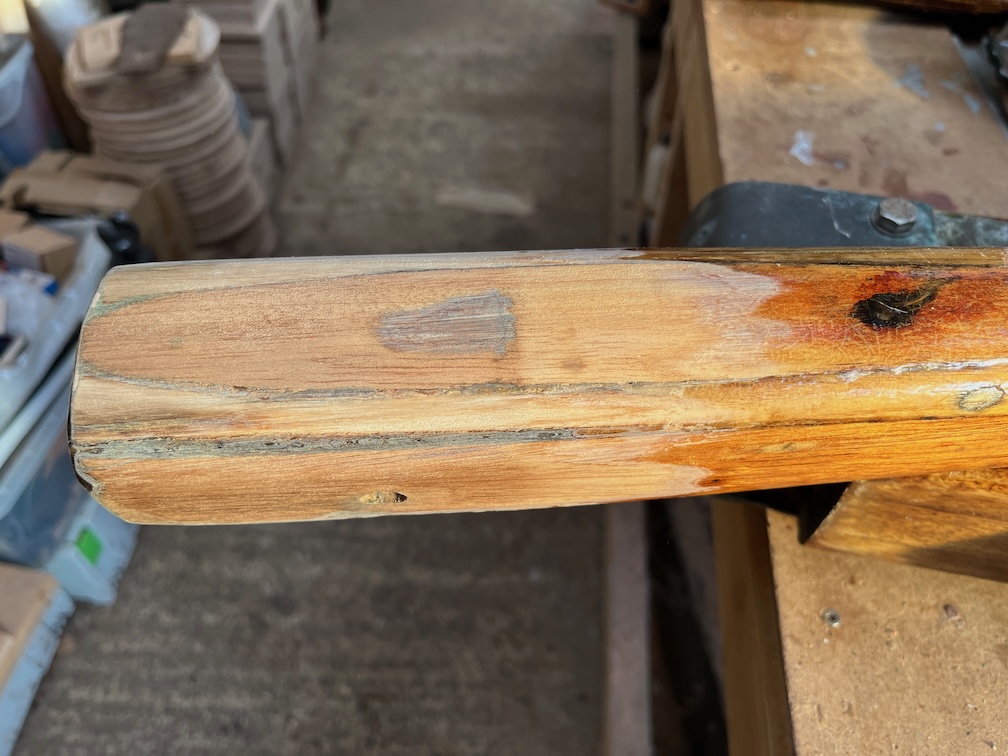
I had to take more off than required as needed to varnish the now bare wood.
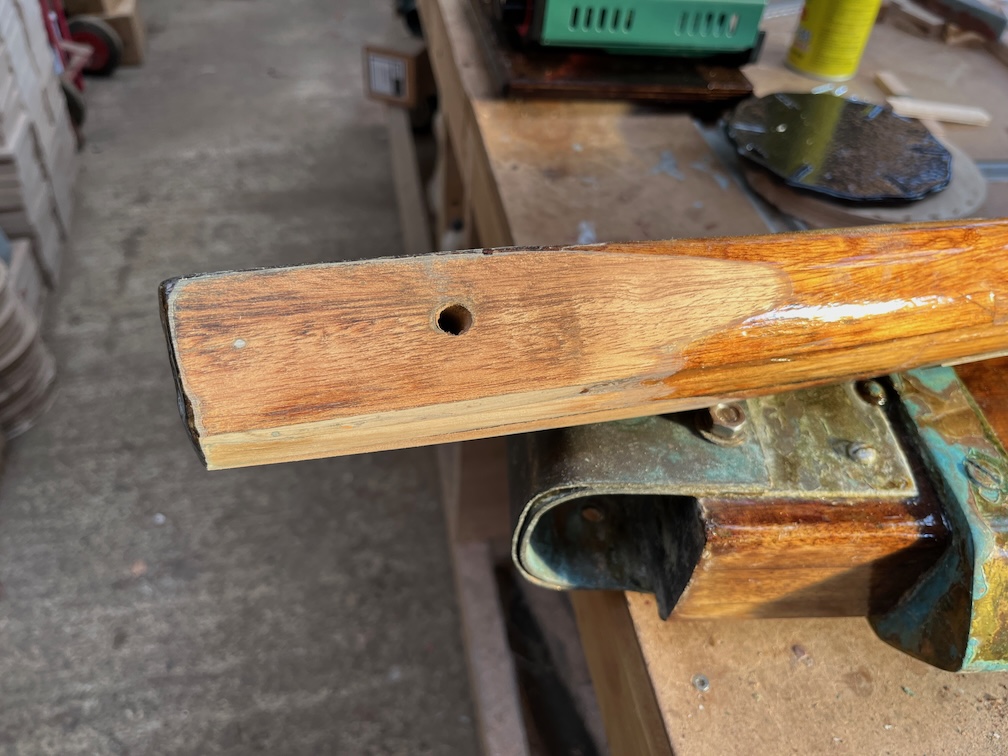
This does seem to be a very nice piece of wood and as far as I can tell, it is the original tiller that Charles put into Shoal Waters back in 1963. Every photo I have of the boat around that time shows this as the tiller. I wonder if this came from Charles’ previous boat the Zephyr? I know he took a lot of the gear out of the Zephyr and used it in Shoal Waters, but whether the tiller was part of that I don’t know.
Still, it is at least 63 years old and in near perfect condition.
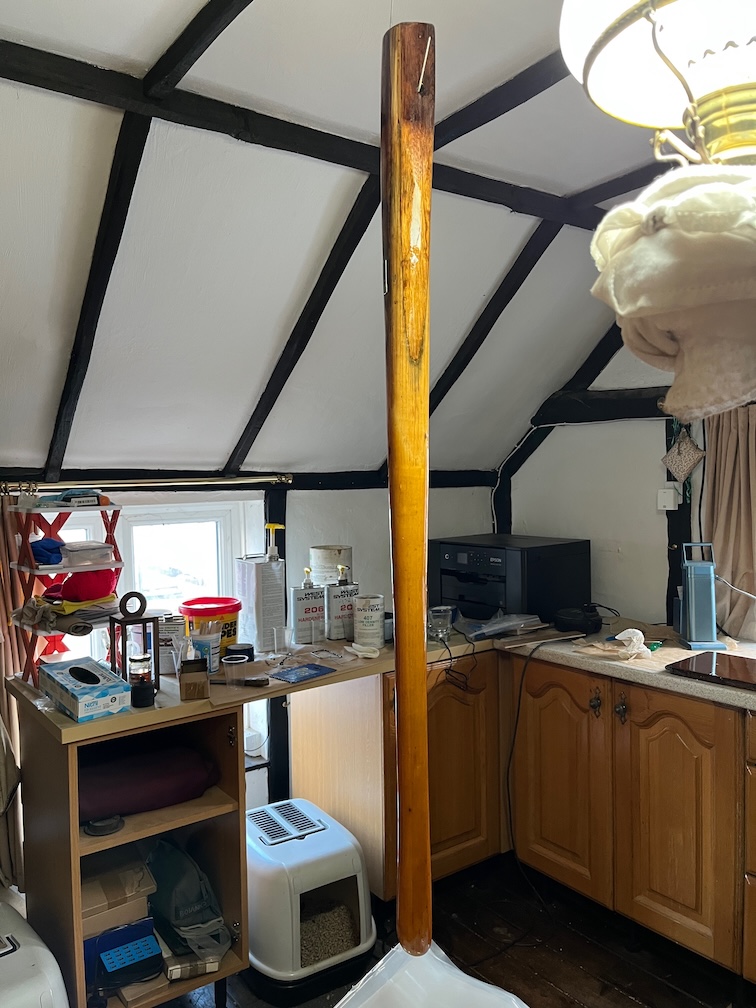
Hanging from the beams in the workroom with a coat of varnish. I lightly sanded the existing varnish prior to applying fresh.
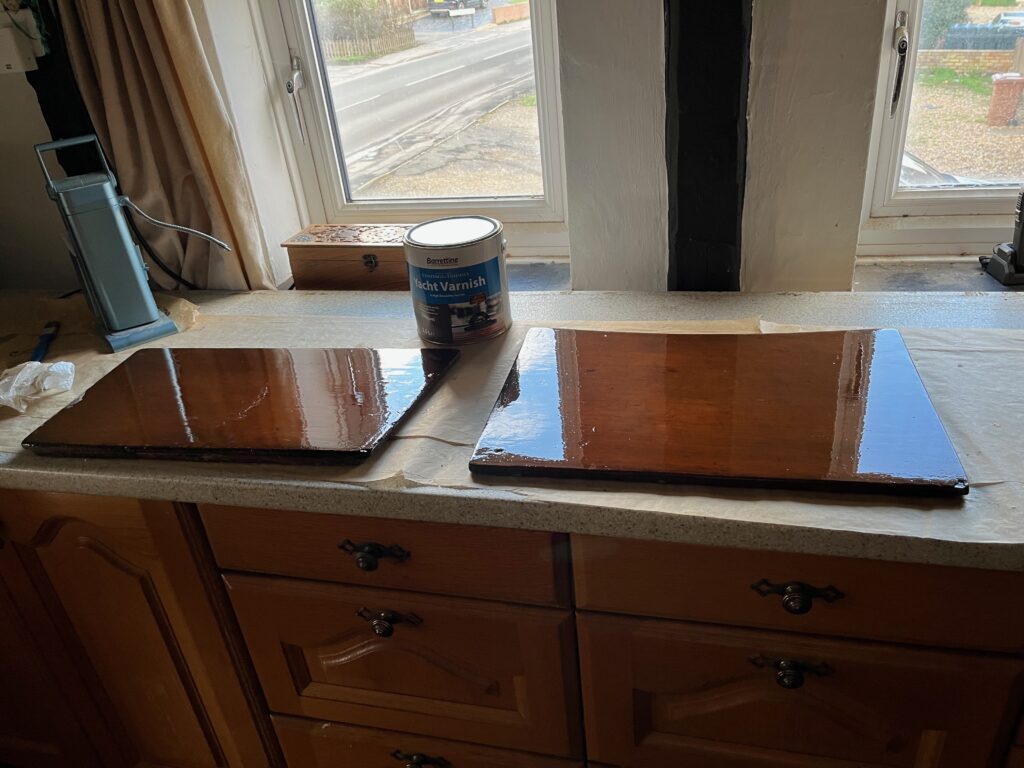
I also washed these two boards with white spirit, lightly sanded and applied varnish. The board on the left is the bottom washboard, and the other is the board that goes between the two thwarts under the poop deck. A second coat of varnish was applied in the cabin, so that is also coming along.
It was a great day. The sun shone and despite a cold start to the day it soon warmed up to a balmy 7º C. There was little or no wind and I managed to get a lot of things done and ticked off the list.
All that remains of the major construction efforts are the fitting of the centerplate case and whilst that is not a simple task, it is not difficult. It is, however, just a tad daunting. Making it completely watertight and strong is critical to not having the boat sink when launched !
Time for a cup of tea.