
It is February already and I need to get a move on. Still lots to do and time is starting to run out. The task for this wet and dreary day is to complete the construction of the port case side.
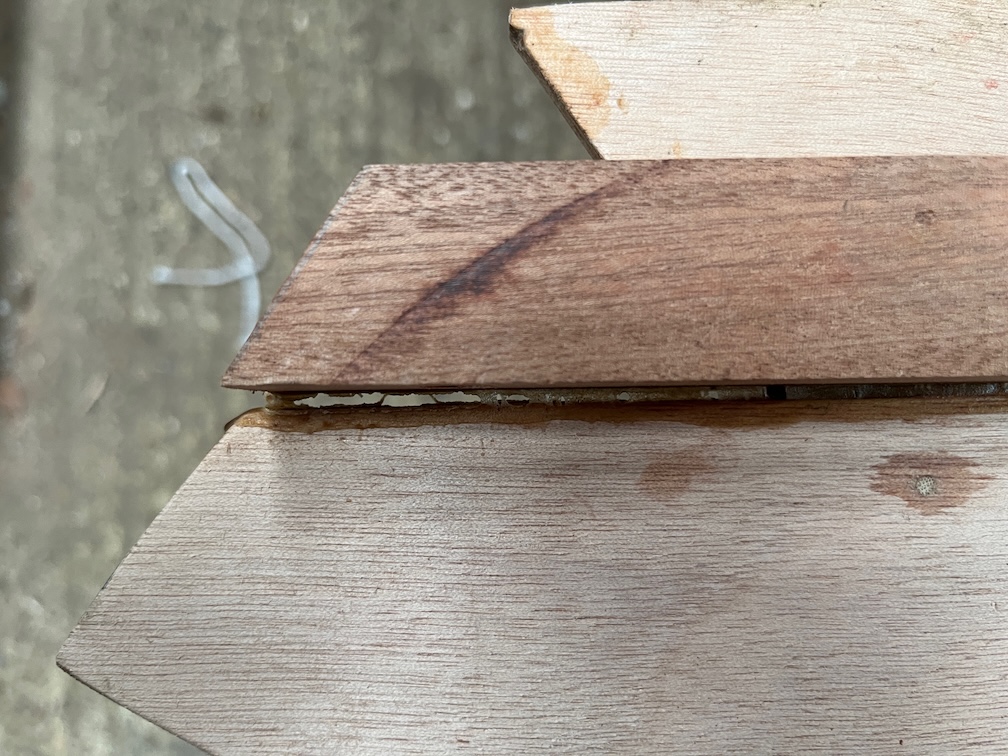
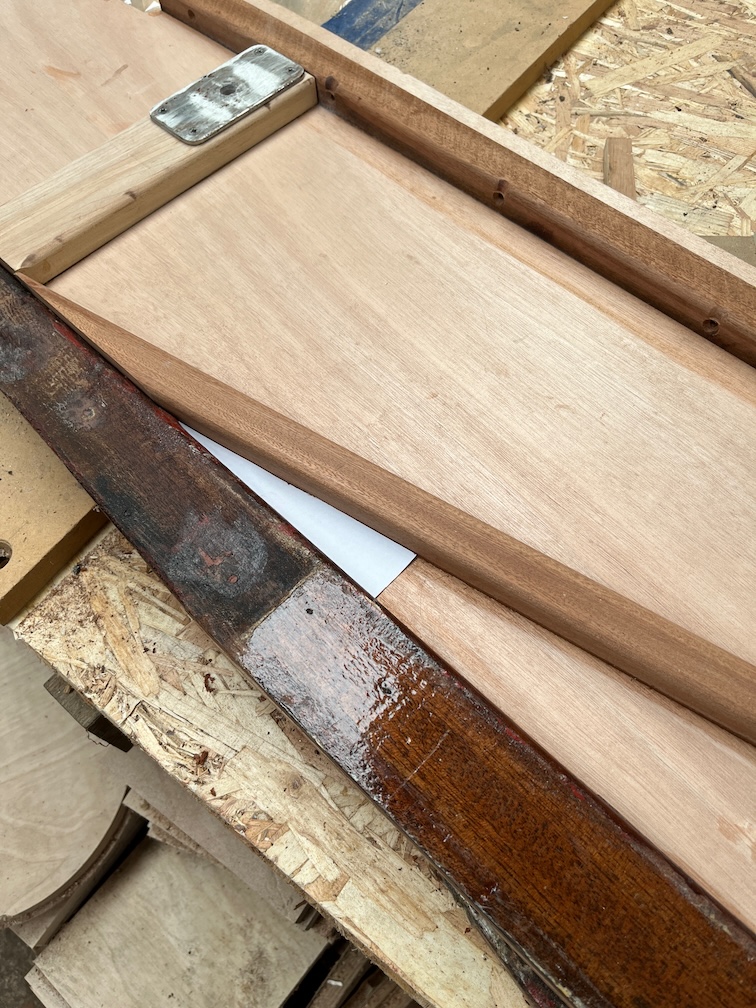
Unfortunately, the runner sprung slightly when I removed the cramps and I’ll have to do two things to rectify this. Firstly this gap needs to be cleaned out and filled and secondly, the runner will need to be trimmed on the bottom to compensate.

The first part is easy, a sharp chisel and some sandpaper and he job is done. The second part can wait until later when the pivot bolt hole is filled with epoxy.
Next task is to drill out the pivot bolt hole and to do this both case sides are clamped together and a 10mm drill drilled down through the completed starboard side drilling out the epoxy filled hole on the port side.
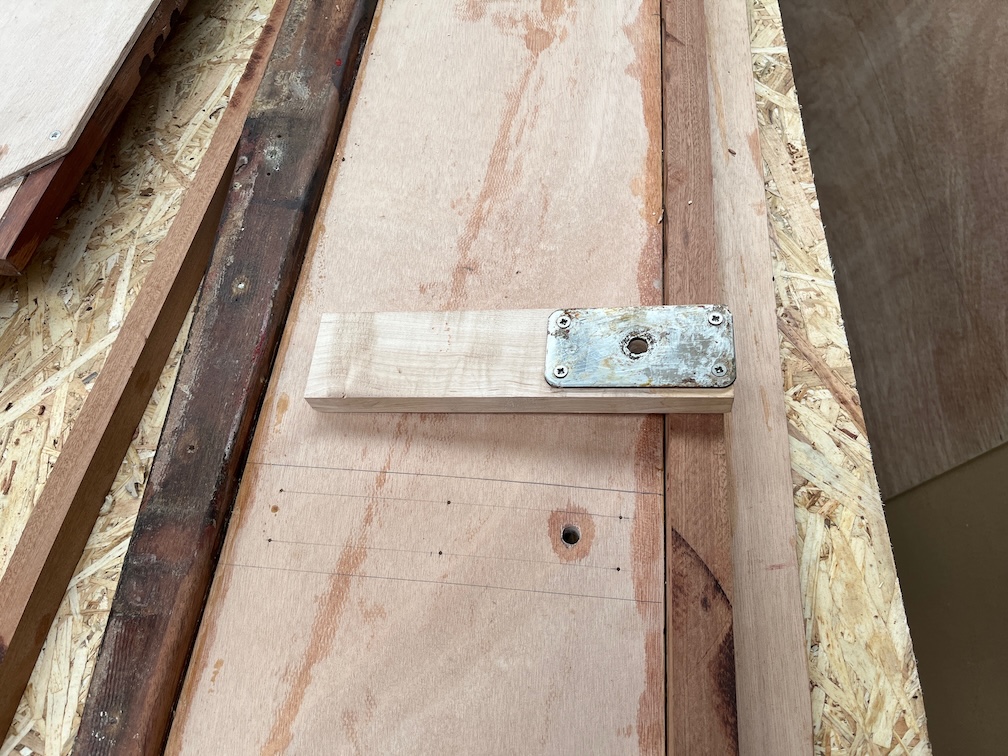
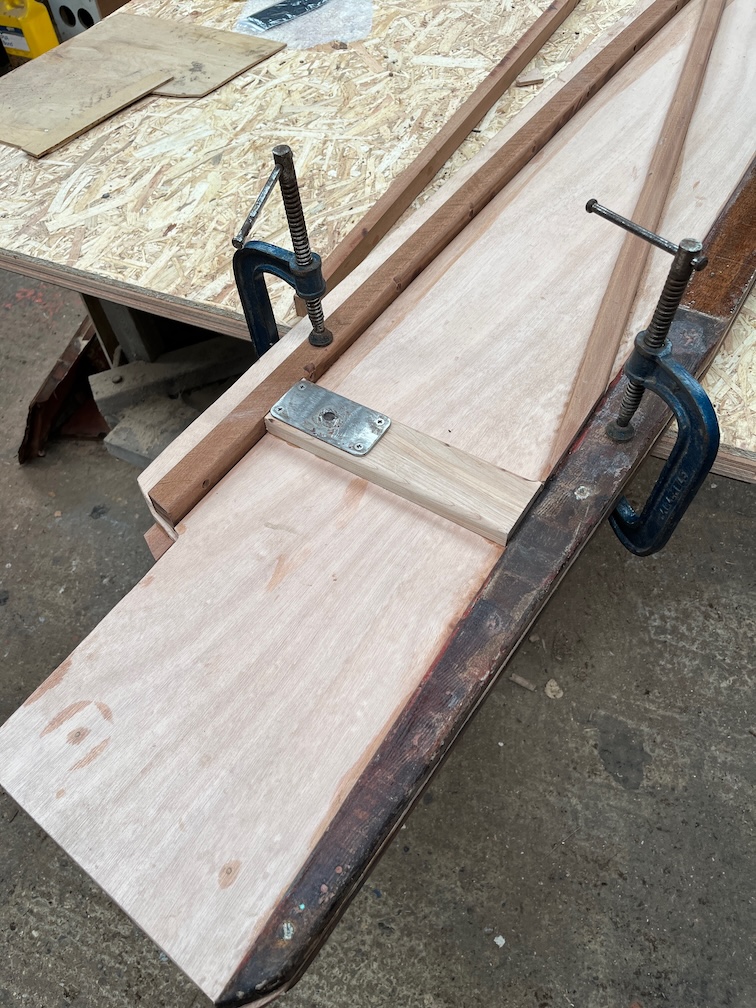
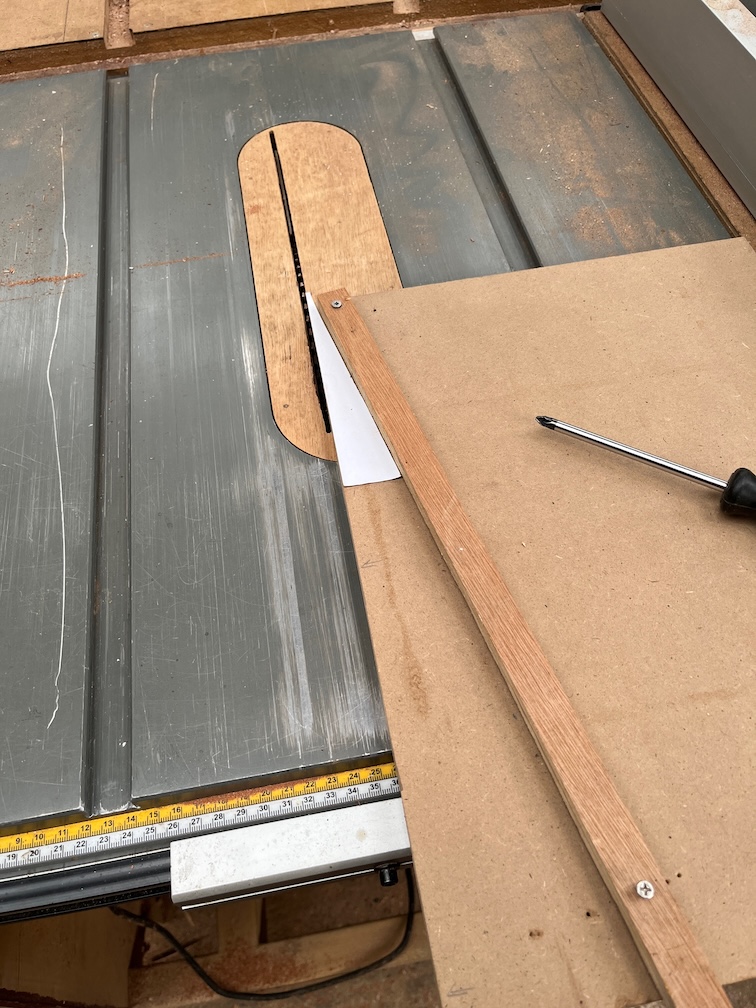
The next task is to make and fit the vertical support. Here I have already fitted the metal plate and marked the places where the screws will be put in from the inside.
The support was located using a 10mm drill bit through the support and the case side and then clamped in position so that the holes could be drilled through from the other side.
This is the inside and you can just see the tip of the 10mm drill bit in the pivot bolt hole.
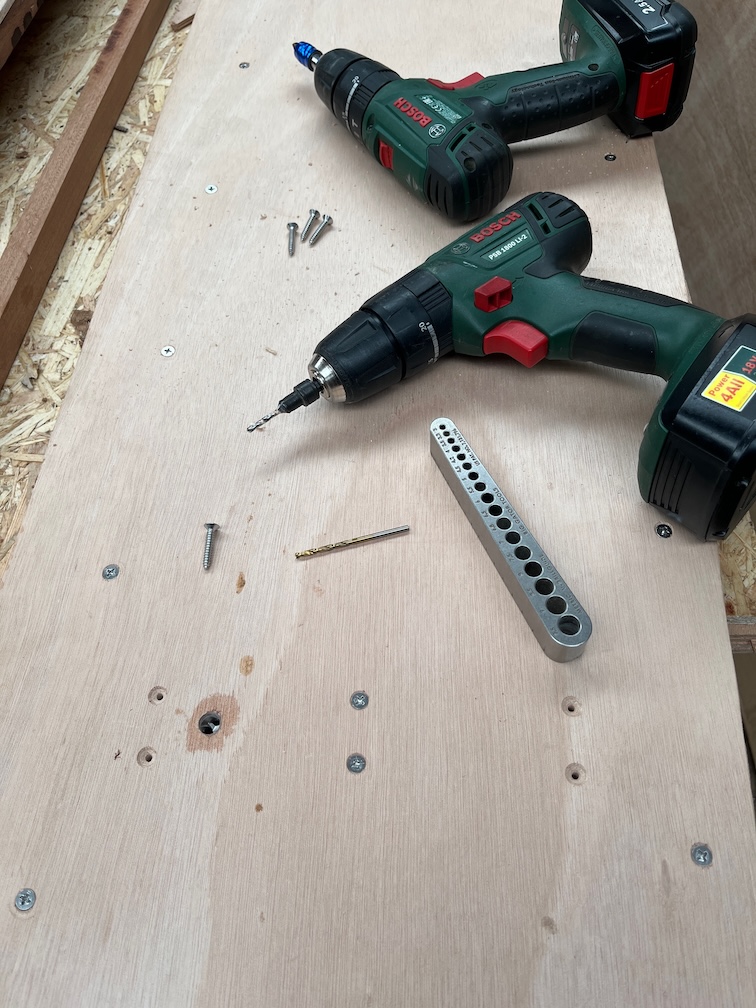
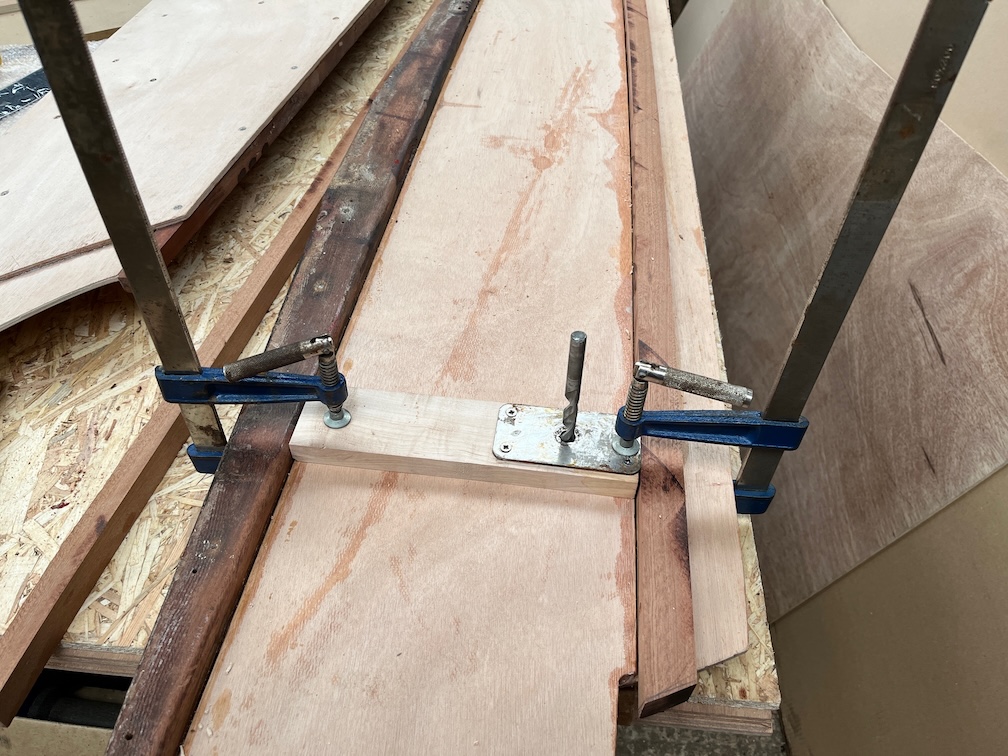
Two of the holes were drilled and countersunk, then screws put in place to hold the support whilst the remaining four holes were drilled, countersunk and screws fitted. I use a vertical drill guide to make sure that the holes are drilled, well, vertically to the workpiece. I also drilled out the bolt hole to 13mm as was done before for the starboard side back on 1st January.
Once this was done, the mating sides of the support and case were lightly sanded, glue applied and the support screwed in place. The glue squeeze out was removed to reduce the work needed to clean up later.
Time for a cup of tea.
Having fixed the support in place it was time to move on to the diagonal brace.
I made a paper template from the first side and used that on the small angle jig.
Like this. This it was just a case of cut the end of the brace, make a template for the other end and then cut that to give me the brace with tapered ends.
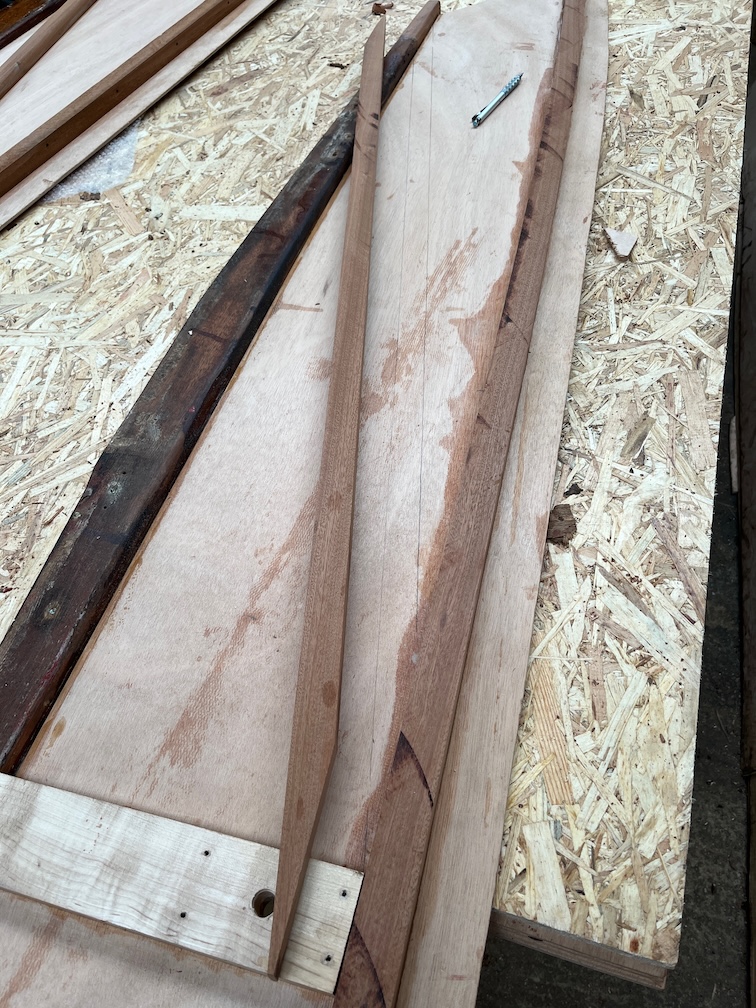
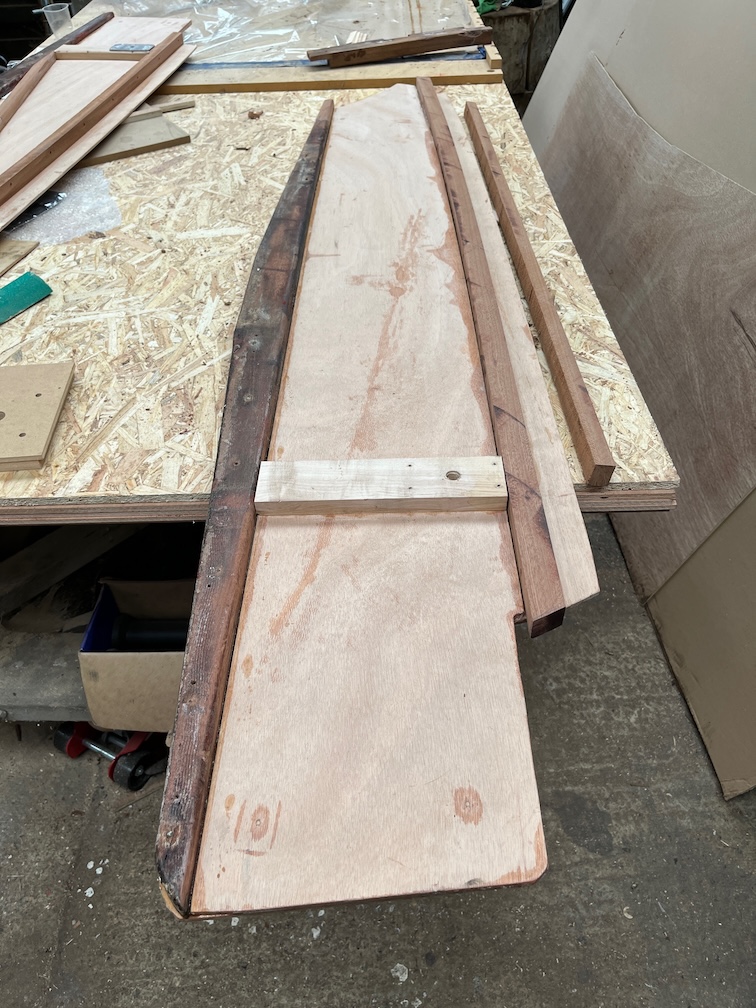
Mark the position of the brace, drill holes through the side, clamp the brace in place and drill into the brace from the other side and chamfer the holes. Then glue it all together. Then I started shaping the ends to meet the runners and realised that I had made a critical error. The brace was the wrong way round !!
Fortunately, the glue had not started to set, so I hastily removed the screws, cleaned the clue (water soluble whilst still liquid) and put it on the other way around.
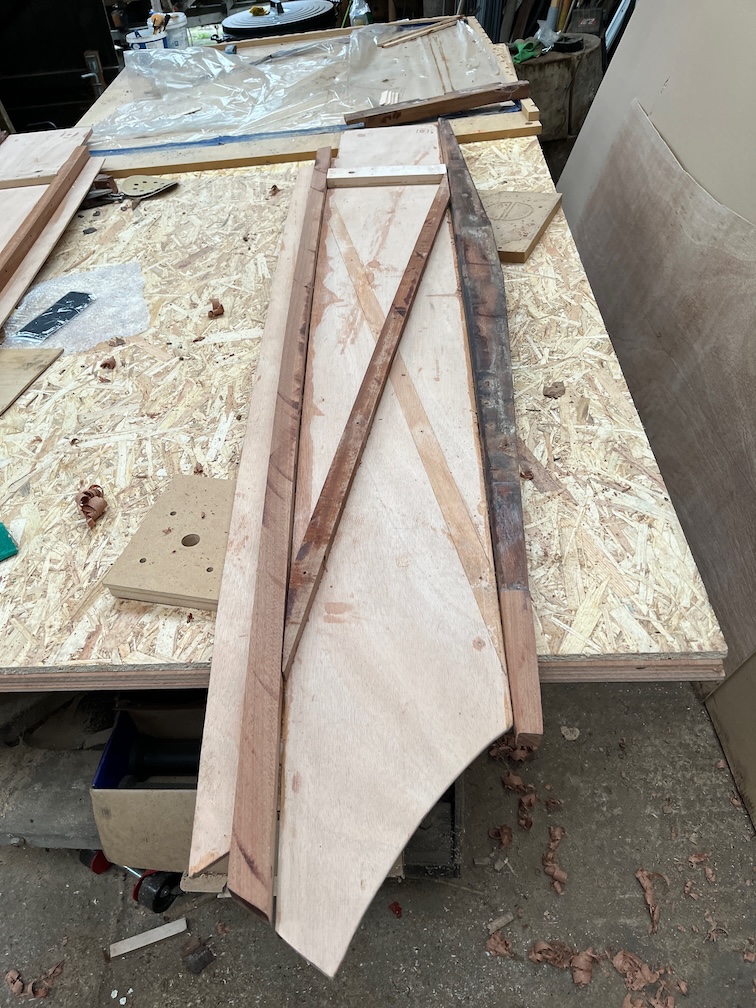
Here is the result and you can see where the brace was before. I’ll have to put epoxy in the screw holes to fill them up but I have to do that for the pivot bolt hole and the sprung section I referred to earlier. Once the side is installed into the boat and painted you probably will not notice the error. At least I hope so.
Now I definitely need a break.
Time for a cup of tea.
Before I took a break I brought both case sides up into the house to be in the warm since the next major task will be the epoxy, glass and graphite layers on the inside faces and the wood should be warm for that. Well, warmer than outside.
Then I took my tea break.
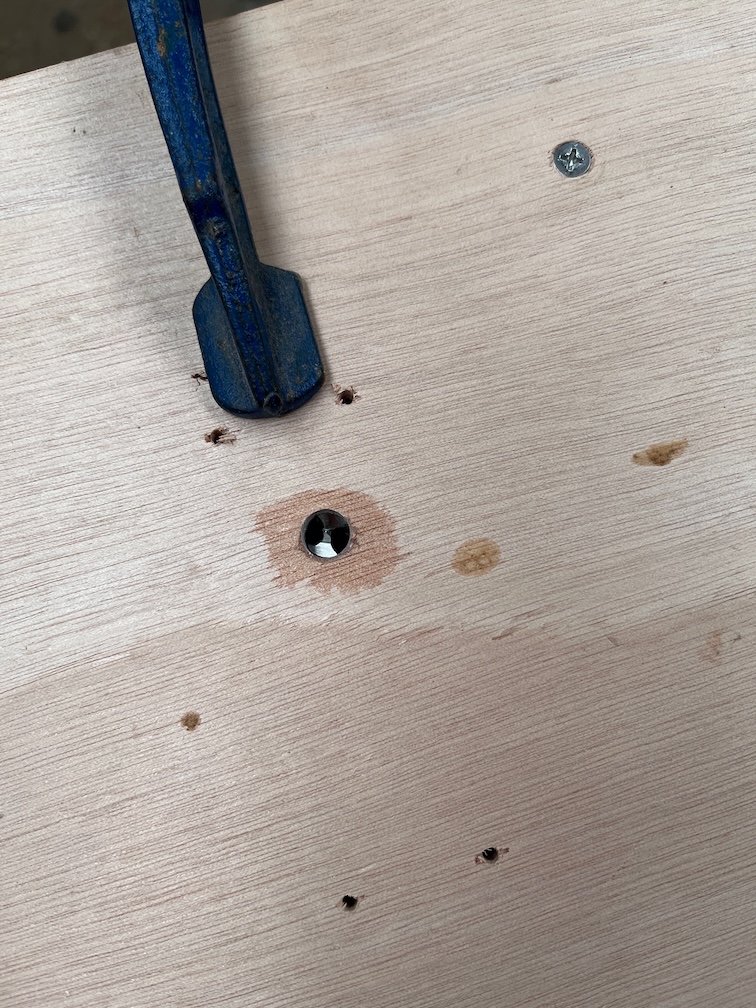
One I had consumed the tea I took the port side into the workroom, drilled out the errant screw holes to 12 mm, put squares of blue painter’s tape on both sides of each hole, making sure that the tape was pressed down firmly, then cut the tape on the top side to reveal the holes. The sprung section had tape put on the underside. Into these holes I put epoxy thickened with low density filler mixed to the consistency of double cream. I want it to flow into all the holes and fill them up without me having to press the epoxy in with a putty knife.
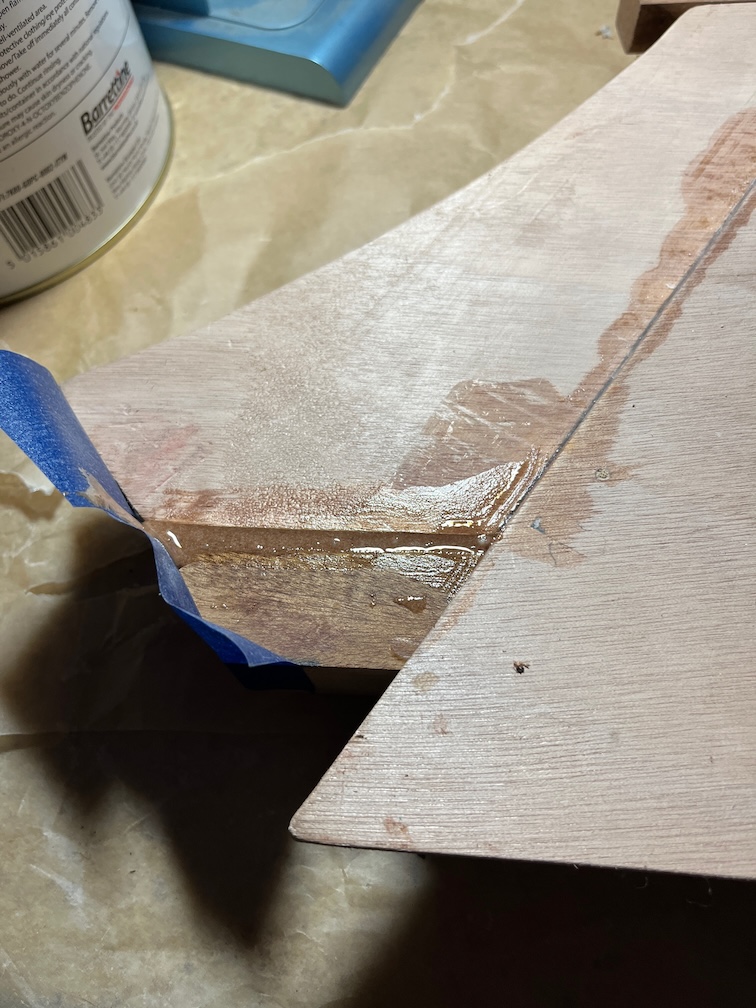
This is the sprung section.
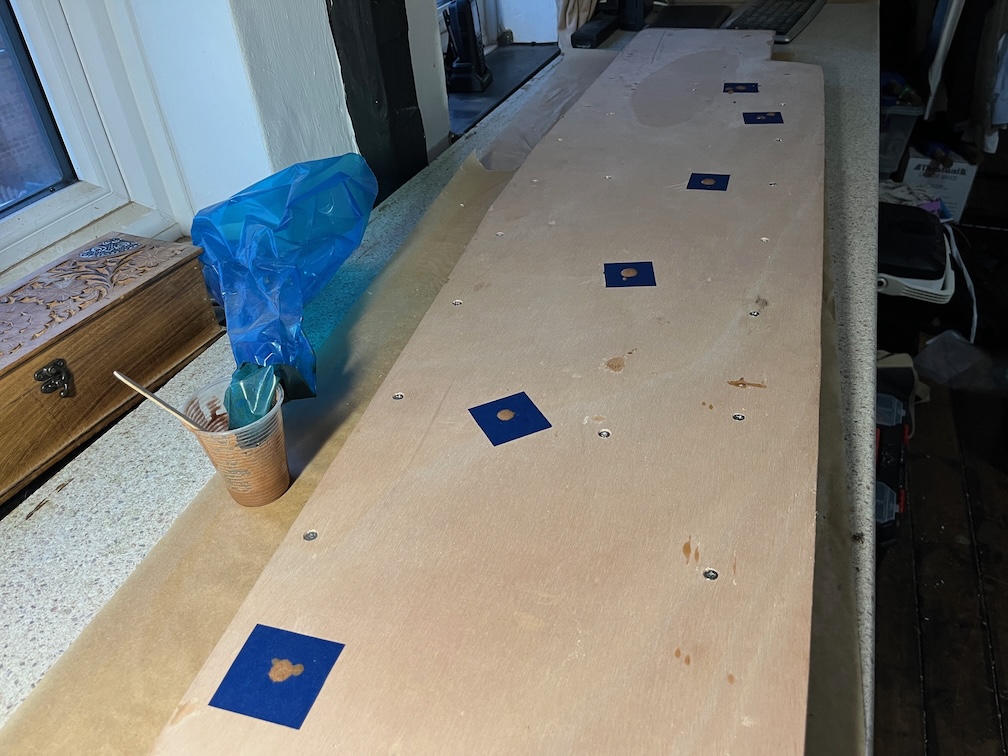
And these are the screw holes. The blue bag you can see in the photo is a piping bag that I bought when I rebuilt Naiad. Well, I bought a roll of 100 catering piping bags and they are great for this sort of work and for putting down epoxy fillets with a stiffer epoxy mix. I used the slow hardener for this job so that the epoxy has time to seep into the wood fibers before curing to make sure that the hole is made completely watertight. A bit of an overkill, really, since this is the side that is going to be glassed but doing this gets to be a bit of a habit once you have done it a dozen times or more. Any hole that I make in a wooden hull, for example, is drilled out over size, filled with thickened epoxy and the correct sized hole drilled into the epoxy.
Before calling it a day I sanded the hatch runners on Shoal Waters and applied a second coat of varnish. It is currently 8º C and is forecast to be 6º to 7º between now and this time tomorrow, so the varnish should dry well in that time. Wednesday and Thursday are forecast to be a similar temperature, so I should be able to get another two coats on to complete that task. Then I’ll have to wait a few days for the varnish to harden completely before putting the hatch on.
The hatch is by the Rayburn until it is needed having had four coats of varnish all round. The day before I put it back on to the boat I need to grease the parts of the hatch that touch the runners so that it slides easily.
As I went out to the boat to apply the varnish, I noticed that I had left the cabin light on from this time last night. That means it has been on for 24 hours. The battery is an old one and doesn’t hold charge well any more, but the light was still on. Mind you, during the day I expect that the majority of the charge to the light came from the solar panels.
That, I think is it for the day.
Time for a cup of tea.