
The weather continues to be reasonable for the time of the year, the temperature is currently 8º C, there is only a little wind and for a change the sun is shining. The main task of the day is to complete the removal of the old centerplate case side, hopefully this will not be an arduous task, but we shall see.
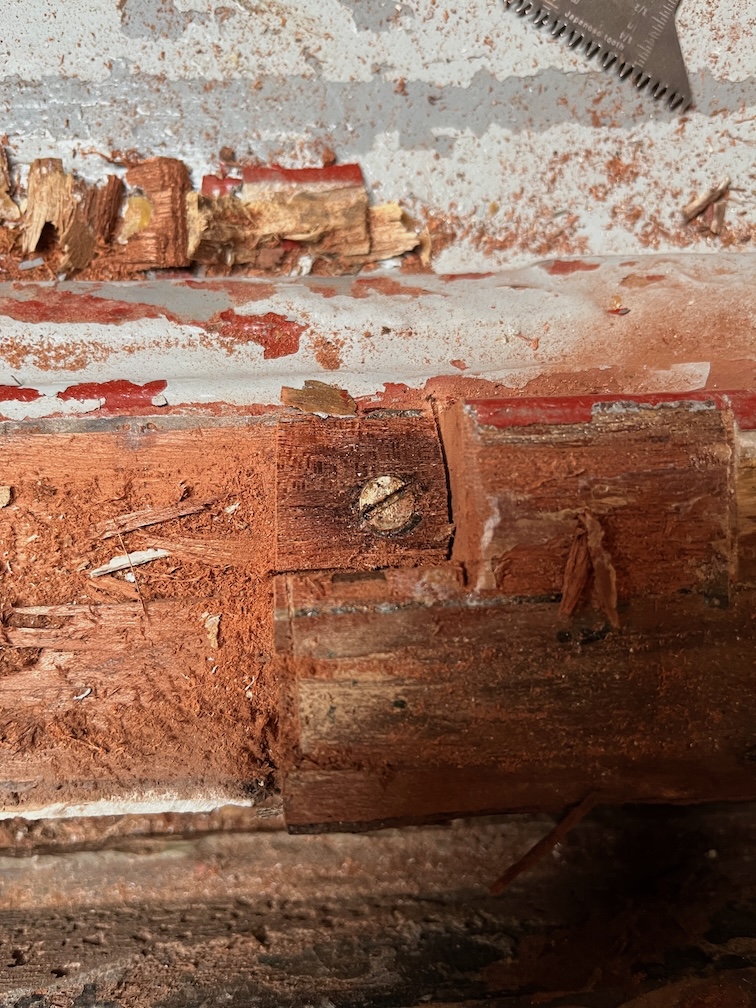
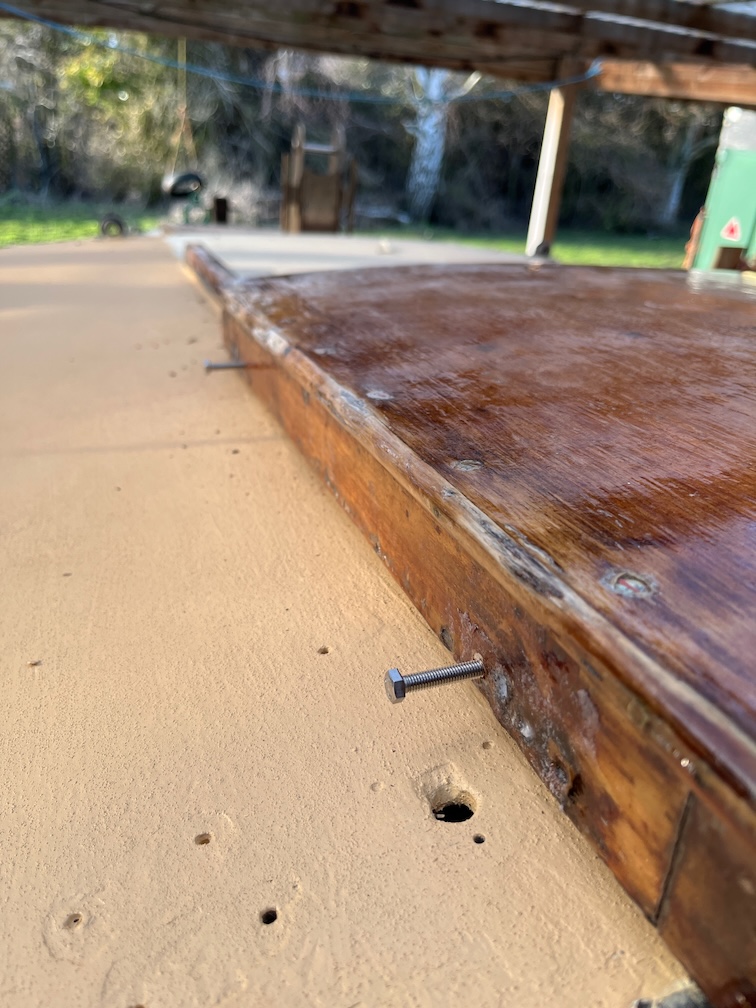
The first part of this task is to remove the screws from the outer runner. These are fairly easily found since they are set quite deep and have some sort of glue plug over the head. The procedure is to locate where the plug is, cut into the wood either side and inboard and then lever out the wood with a screwdriver. Thie wood tends to break at the screw head as shown here and thereafter it is just a case of clean out the slot and unscrew.
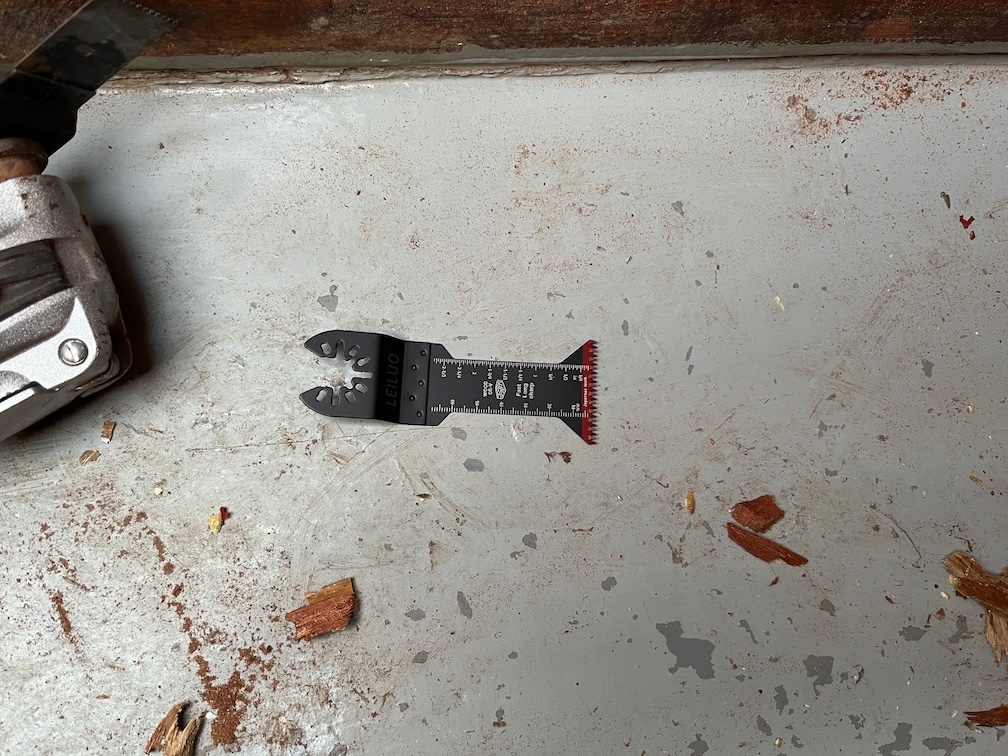
I bought some longer multi-tool blades to try and make the removal quicker and these are around 20 mm longer that the cheap ones I bought, which are perfectly good, just not long enough making the job a three cut process. With these longer blades that should be just a one cut processes.
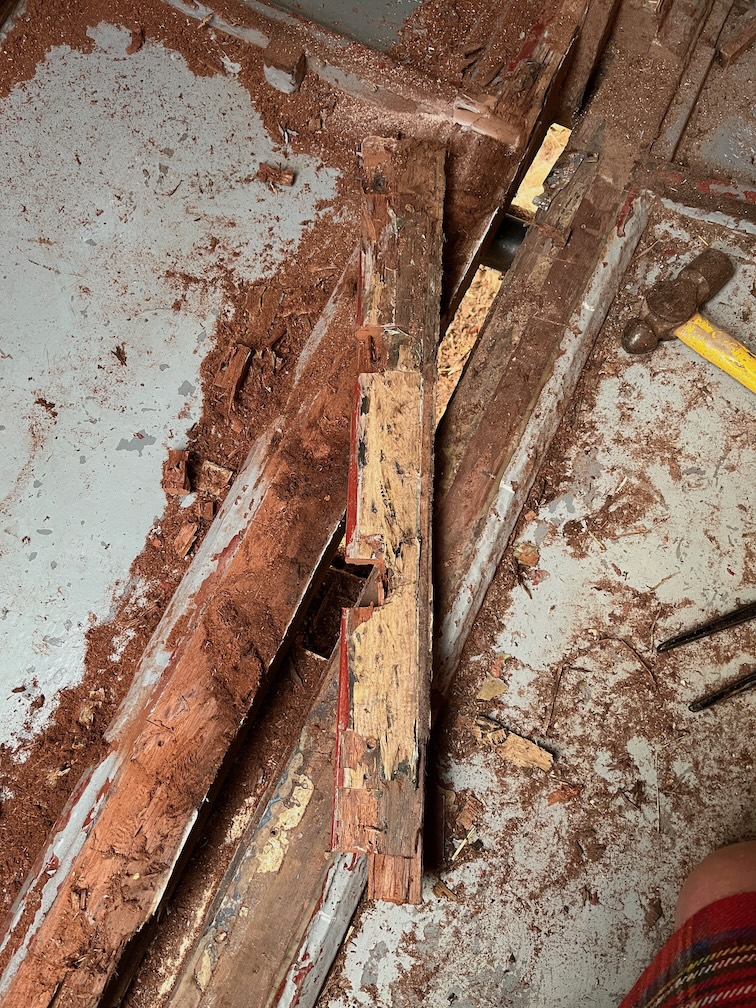
With the stainless steel screws removed and using the longer blades, it did not take all that long to cut under the runners and remove the offcut.
There were some old brass screws holding the runner runner to the keel but these were sufficiently soft that the blade cut through them.
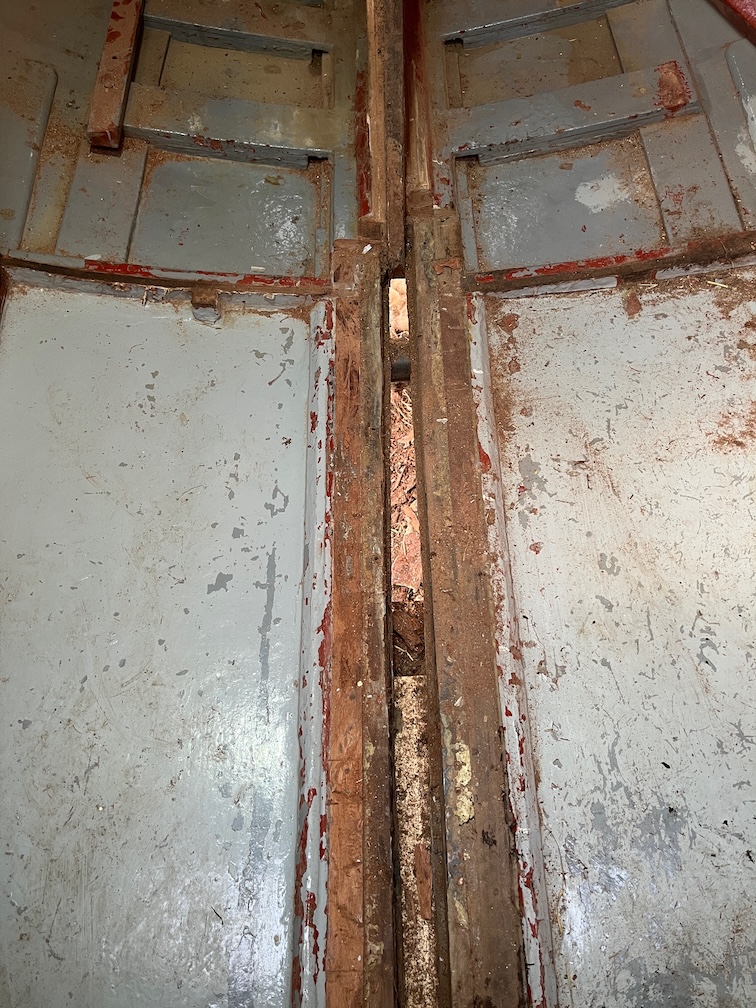
This is the result after cleaning up the mess. I still have the section around the forward case block to work on, and to remove the parts of the runner still glued to the keel as these were cut just above the glue line in order to avoid cutting into the keel at any point.
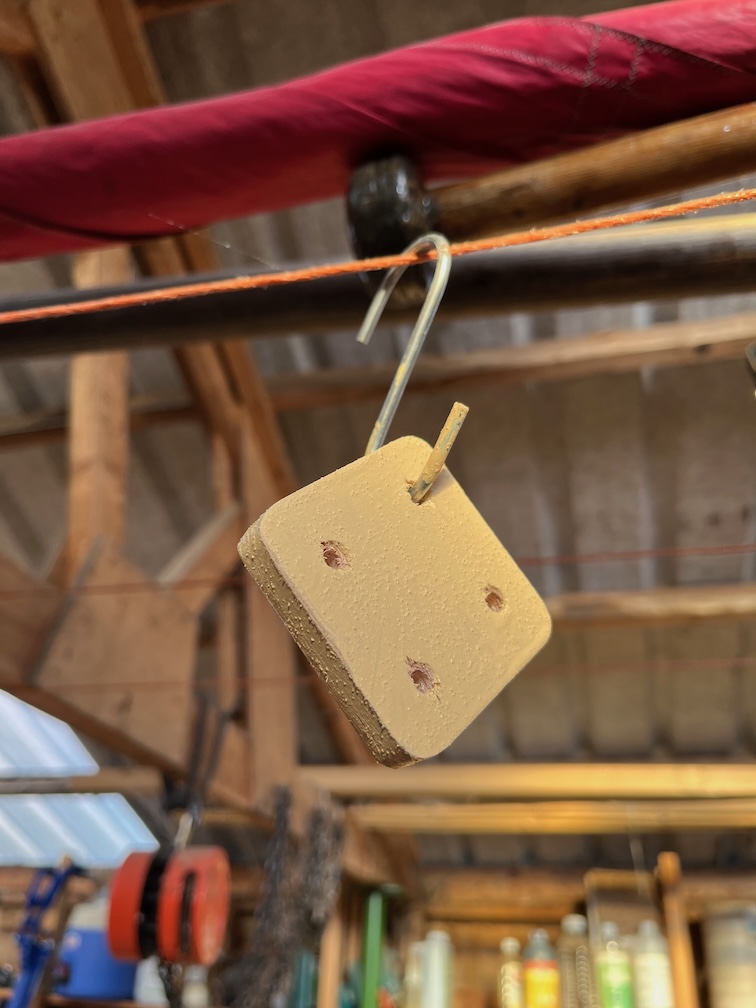
I decided to take a break at this point and checked out the wooden pad I made last night and painted first thing this morning. It should be good for a second coat later on today.
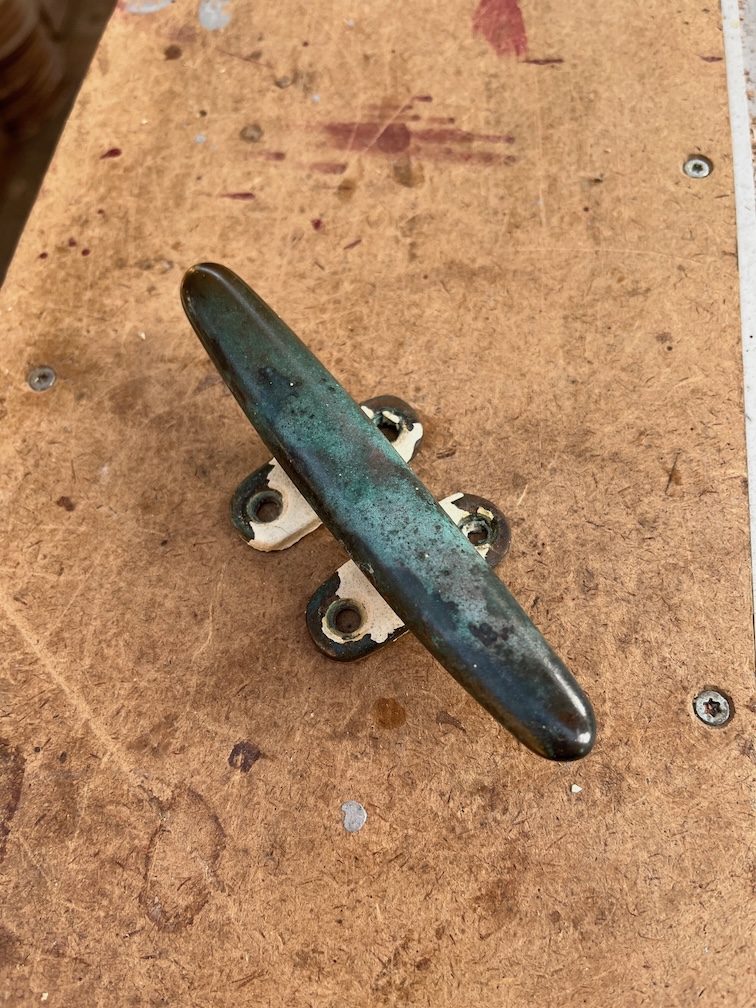
This pad will sit under the bronze cleat on the port side of the coachroof as the solar panel now sits quite close and this cleat needs to be a little higher than before.
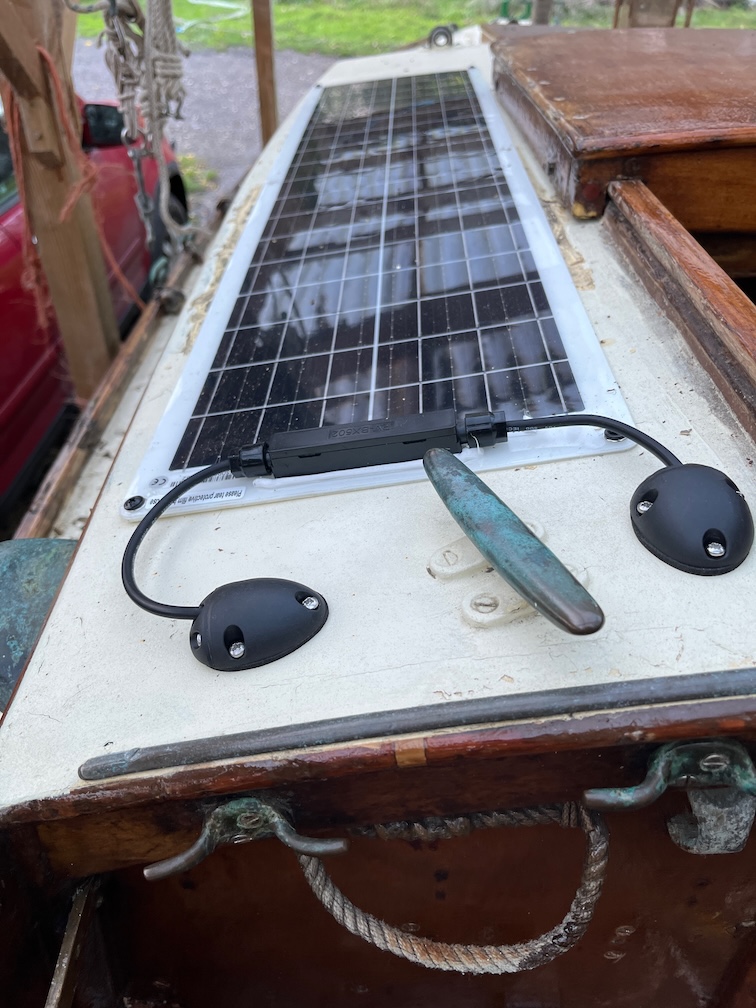
It isn’t the solar panel, per se, but the plastic block that houses the connections. I will also need to make three risers just aft of the two through deck fittings and also in front of the cleat so that the furling lines do not chafe the fittings when in use. If I have enough copper plate then I shall cover the top of these risers so that they are also protected from chafe.
Time for a cup of tea.
I have to say that I gave up on the case side removal for the moment as my knees are complaining. I should have bought a pair of knee pads years ago but never did and now my knees are suggesting that now would be a good time.
So, instead I worked on the main hatch which just needs to be fitted before it is ready for sanding and varnishing, which can be done in the workshop and will not get in the way of work in the boat.
This task involved drilling four holes in the sides of the hatch, threading them, inserting the machine screws that will retain the hatch and testing for the fit. Sounds easy but the process took over two hours to complete.
The machine screws that were in the hatch before are Imperial, not metric and I do not have a tap of the correct size. Nor do I have the metric equivalent tap of M6, so I opted for M5 screws for which I do have the tap. Unfortunately, I do not have the correctly. sized machine screws. So I used M5 x 50mm to get the fit correct which will then tell me the correct length of screw to buy.
I put the hatch in place and marked the top and bottom of the slot in the runners at each of the four corners of the hatch. I used a thin line around the side of the hatch to transfer the centre of the marks from the inside to the outside, one side of the hatch at a time. The first hole I drilled I did from the outside and it was far too high. After this I drilled the hole again but this time from the inside and the screw came out in exactly the correct position. Having drilled the hole I tapped it and put in the over-long bolt. The hatch was put in place and the bolt carefully screwed in whilst I squinted down the slot.
This was repeated for the other three holes and each one, drilled from the outside, came out correctly. I put the hatch in place and carefully screwed in all the bolts until I found the place where the first one started to bind in the slot. I measured the length of the bolt sticking out of the hatch and set the other three to the same length and checked that the hatch not only slid freely but did not come off.
Having measured the length of the bolt and done some simple maths I need to buy M5 x 27.5mm machine screws….which do not exist.. That means I’ll buy 30mm instead and grind them down to the correct length.
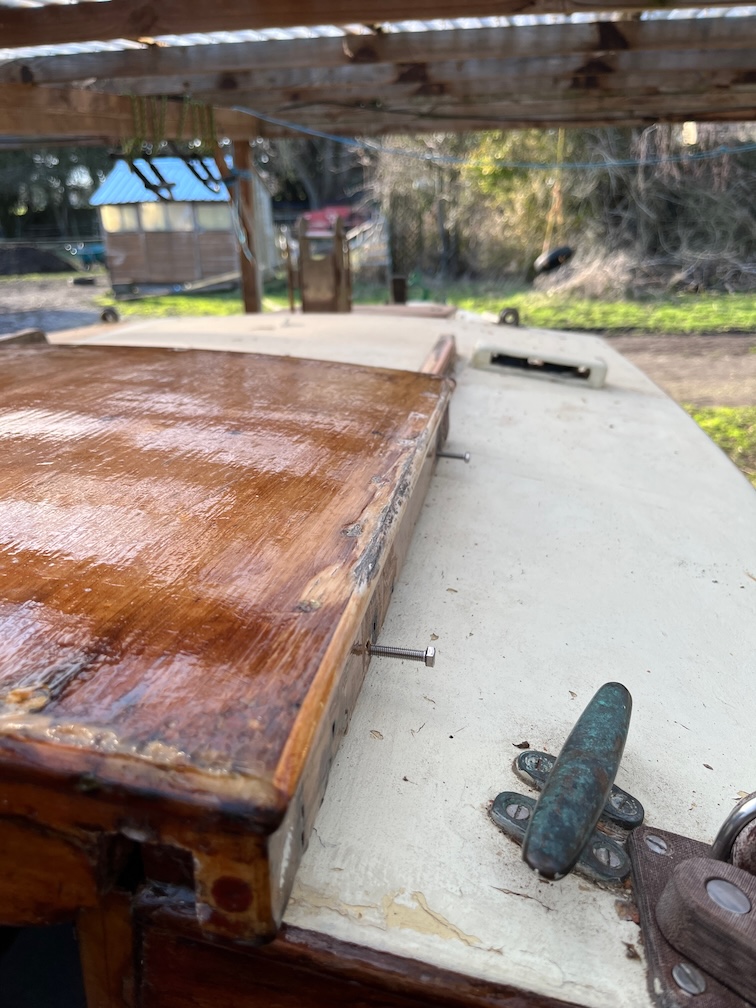
Bolts protruding one side…
And the other side.
Time for a cup of tea.
Since there was still some useable light, even though the sun was low in the sky, I decided to get another task off the list, if possible.
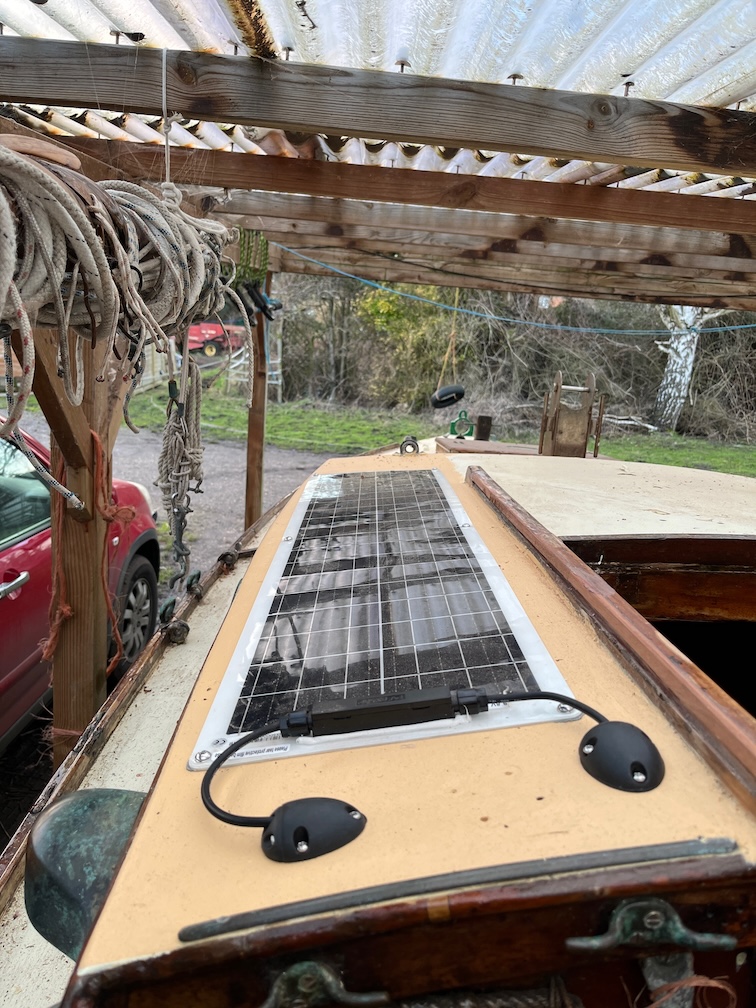
The solar panel is now properly fixed and the deck glands are also done. Not only is this another task off the list but I don’t need to charge the battery with the battery charger any more. Even though the solar panel is under the perspex roof, it generates enough power to charge the battery even in the Winter light levels. Mind you, this is an old battery and well past its useful life, so it will be replaced with a new one once we get closer to the launch date.
Time for a cup of tea.