
The forecast for next Monday is 11º C which means that it will be a good day to get some of the exterior glue and epoxy work done. In order to do that I have to prepare the work such that what remains on Monday is just the glue and epoxy work, no preparation.

This is the port companionway hatch runner and the grove is not in good shape, having been worn down over the years.

The part that needs to be fixed it the top part of the runner as it is this that prevents the hatch itself from coming off.

The runner needs attention along its entire length and the same is the case for the other side. To fix this the top “overhang” needs to be cut away, the wood and groove cleaned up and a new piece glued in place.
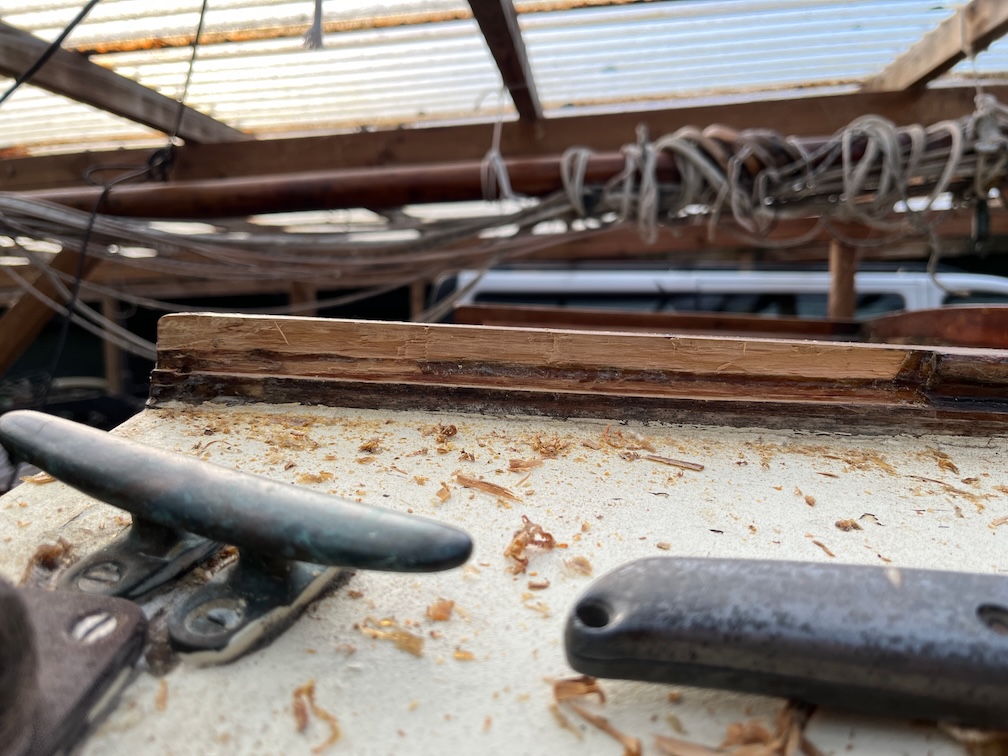
I started on the starboard side, just because, and just worked on a short section to prove the method. I tried using a plane to start with, but this was going to take too long. In the end I clamped a straight edge along the top of the runner where the cut needed to be made and scored the wood deeply with a utility knife. Then I used the multi-tool to cut down from the top following the scored line.

This proved to be quite successful, as you can see, and it did not take long to get the top “overhang” removed.

The groove itself was, in parts, completely blocked with multiple layers of varnish and I had to resort to using a chisel to remove them.
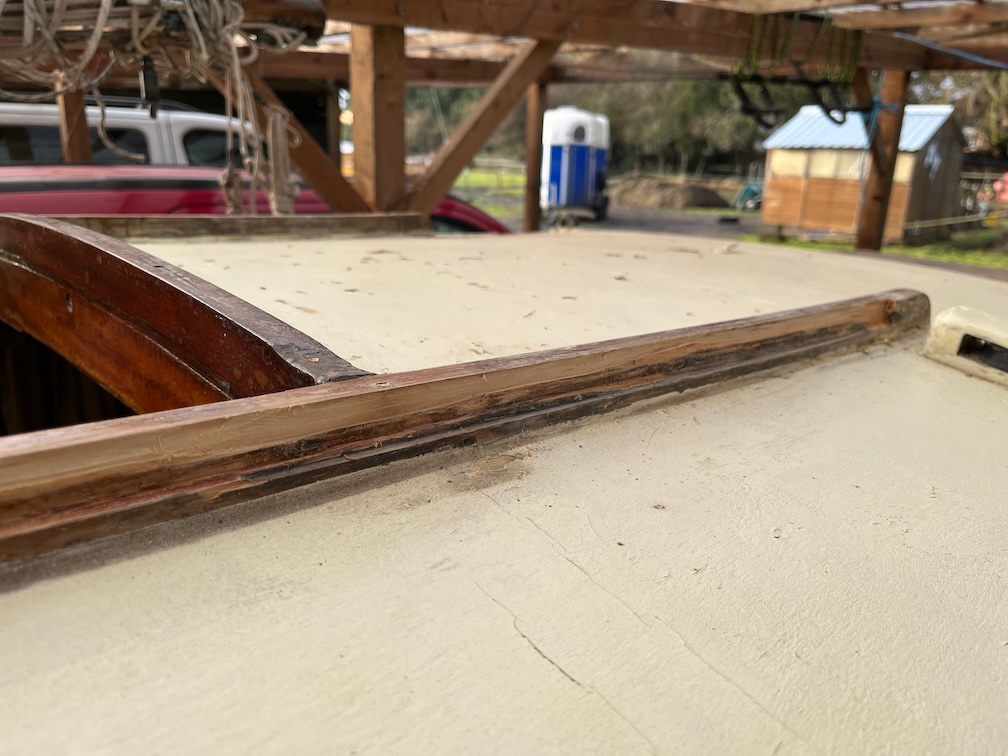
The result is fairly good and I cleaned up the rest using the block plane being careful not to remove any of the bottom of the groove.
The next task is to do the same thing to the port side.
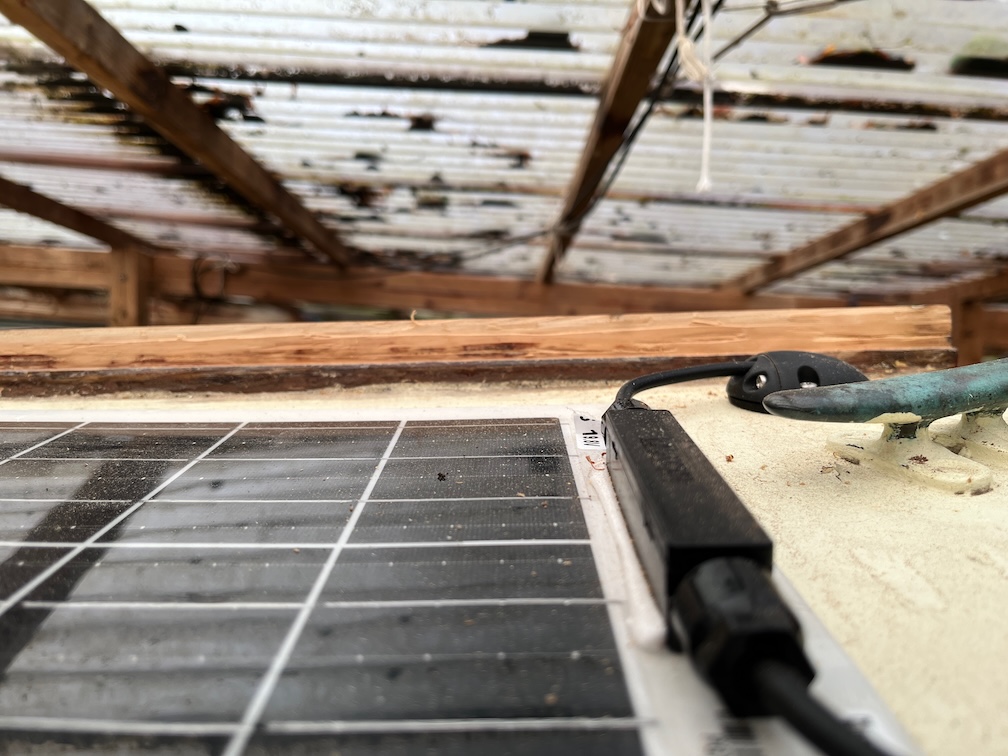
This doesn’t take that long since I have already done the other side and know what to do this time.

I could have spent a lot of time getting both sides really smooth and vertical, but the replacement parts will be fixed using thickened epoxy so there is little point is spending too much time that will end up being wasted effort.
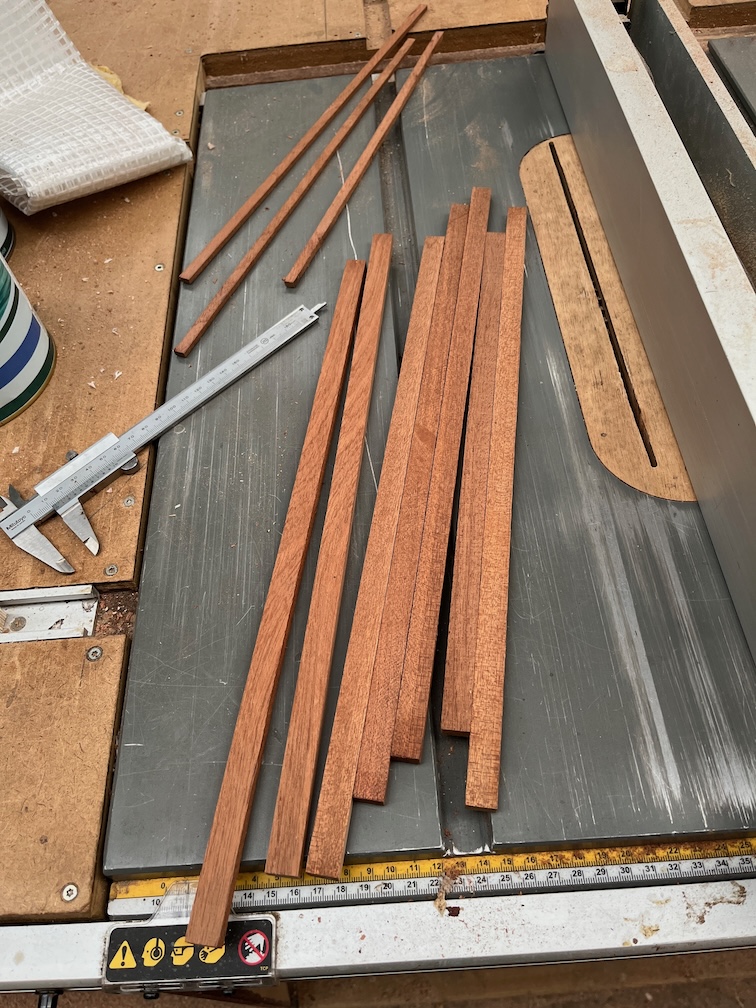
Next the replacements needs to be made and for this I used some left over Sapele from the Naiad rebuild that just happens to be the correct width. The pieces are too short and will need to be glued into longer pieces.
I cut them all to the correct height and took them into the workroom where it is warmer. Useful since my hands were cold again so I could warm them up as well as glueing the new pieces together.
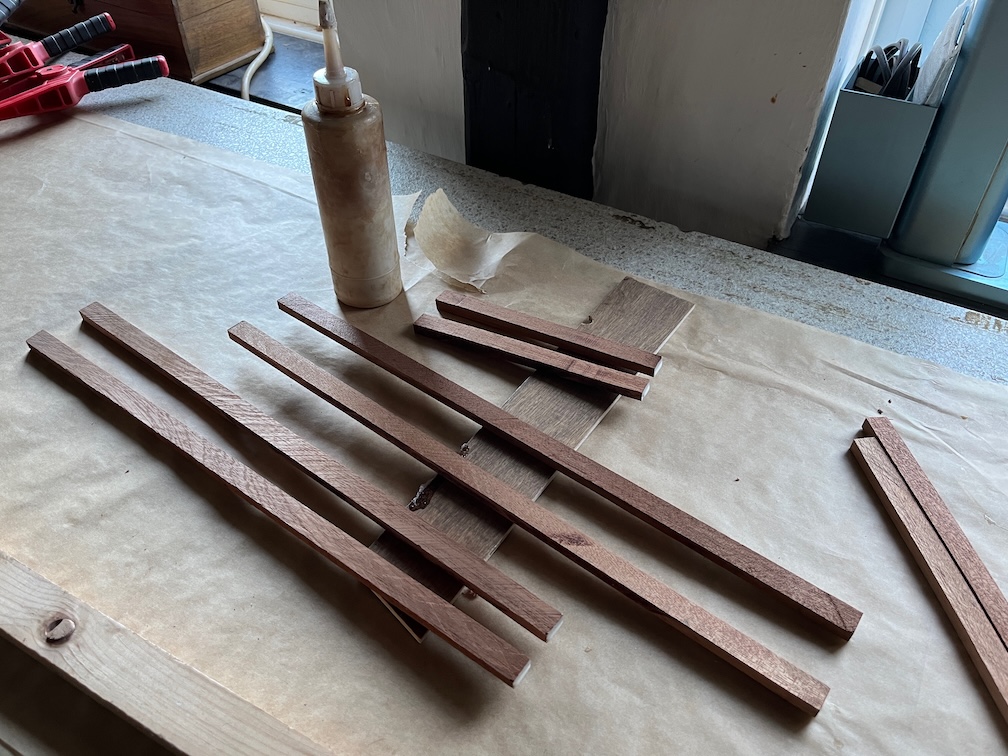
As always with end grain glue ups, I coated the grain with an initial coat of glue and set the pieces aside for 15-20 minutes to let the glue seep into the grain.
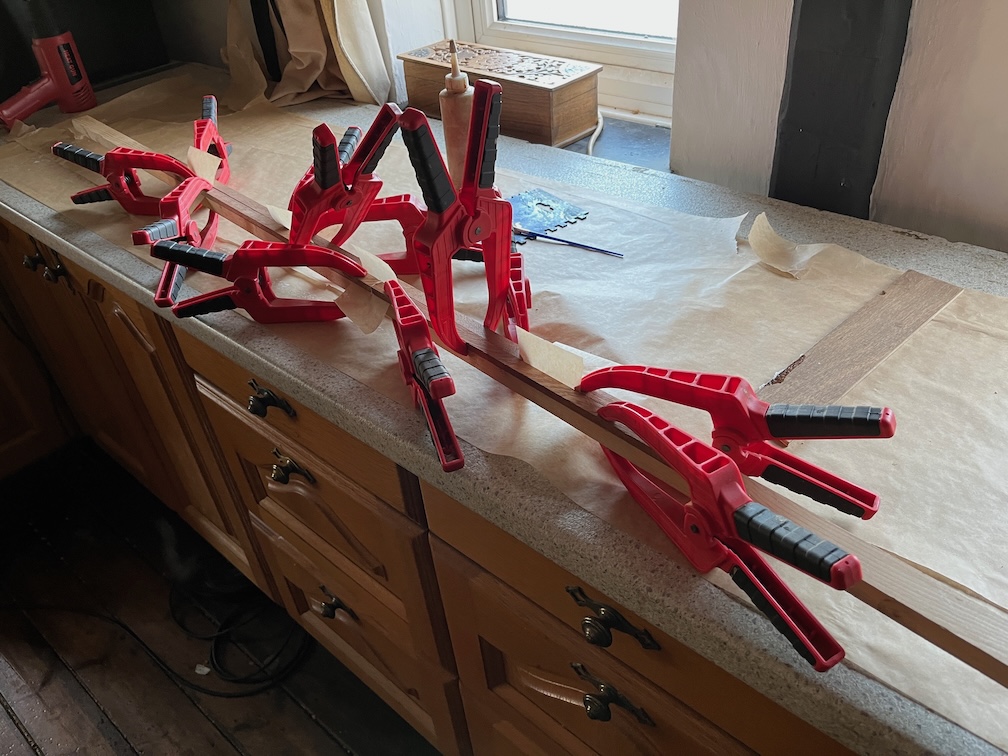
After this time, more glue was applied to the pieces and glued together on a former, to keep them straight,
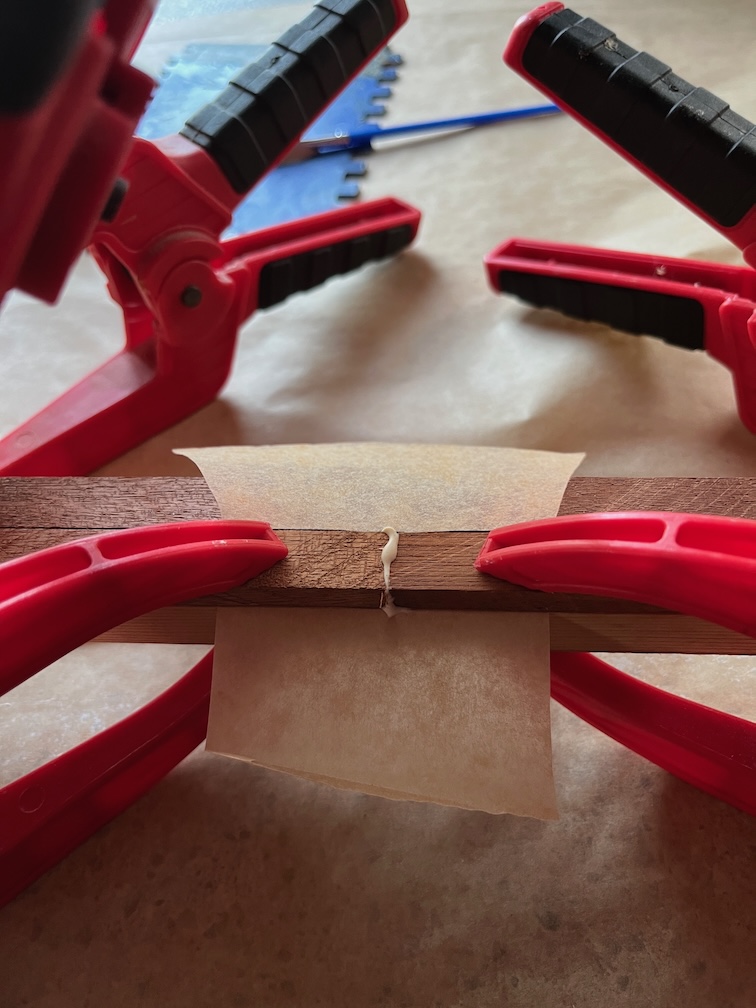
Each joint has a piece of baking paper put between the parts that must not be glued, then the whole thing is put over the Rayburn where it is hot and left for the glue to harden.
I had some time left over before it got too dark to work, so I attacked the port bulkhead that reinforces the canterplate case.
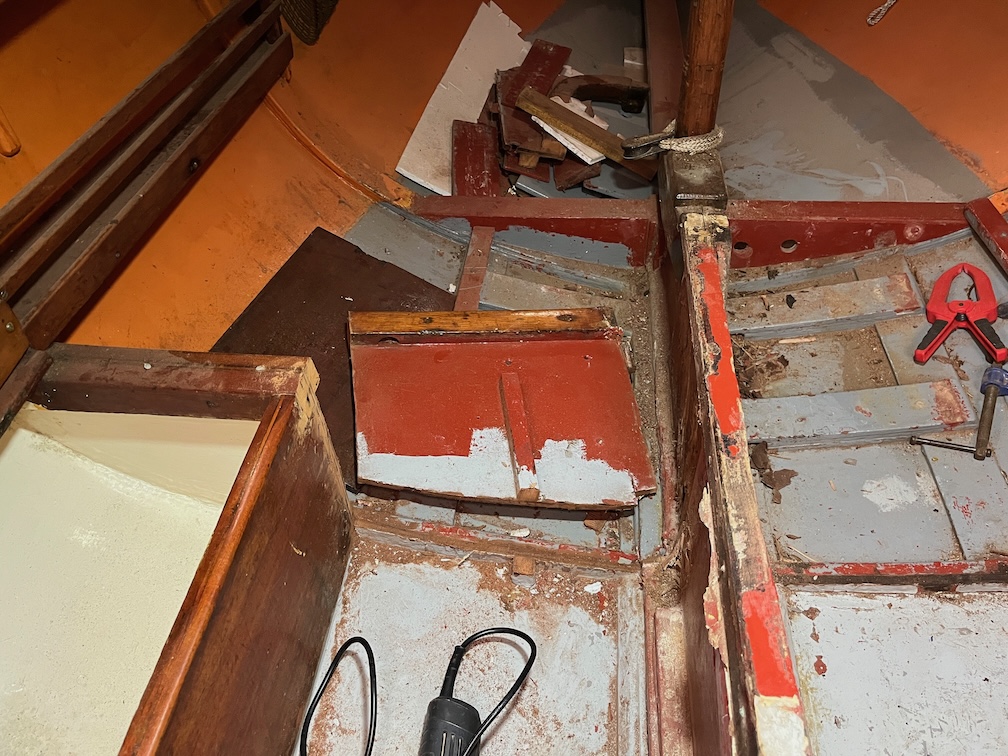
The work of about ten minutes with the multitool and the bulkhead is cut away. If I am very careful, this piece will be epoxied back into position once the centerplate case has been rebuilt. The starboard side will be rebuilt to match the port side as it was originally, rather than the cut down version.
Just before the light faded I put a second coat of varnish on the clock & barometer board and called it a day.
Time for a cup of tea.