
The first task of the day is to prepare the work area in the workroom for the epoxy work and, like yesterday, the means clearing things up.
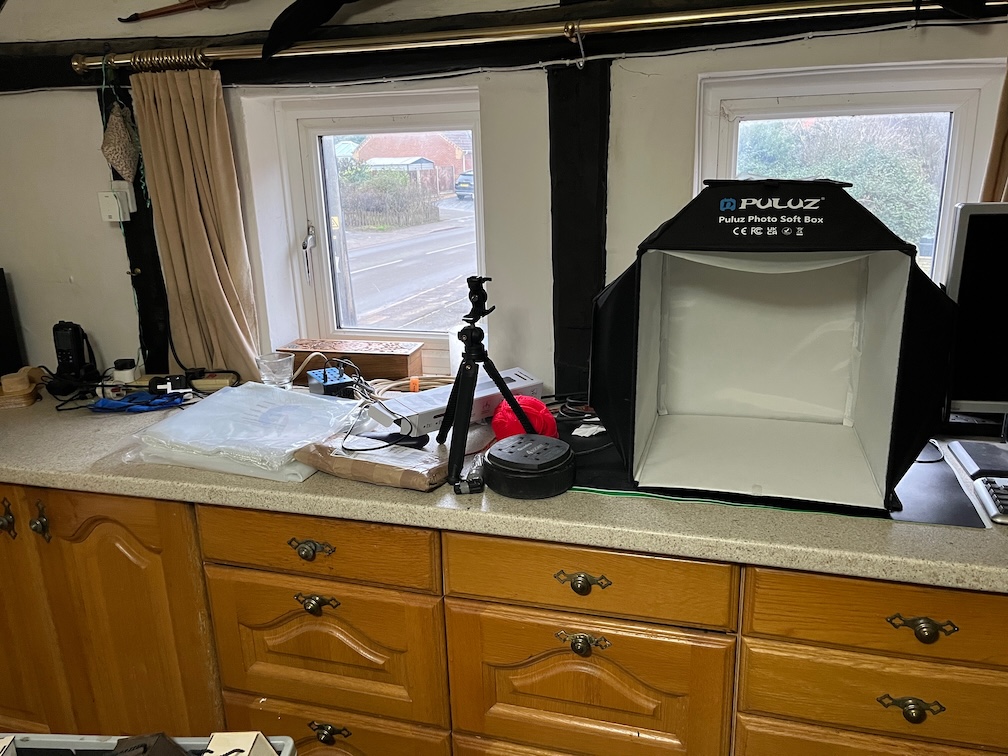
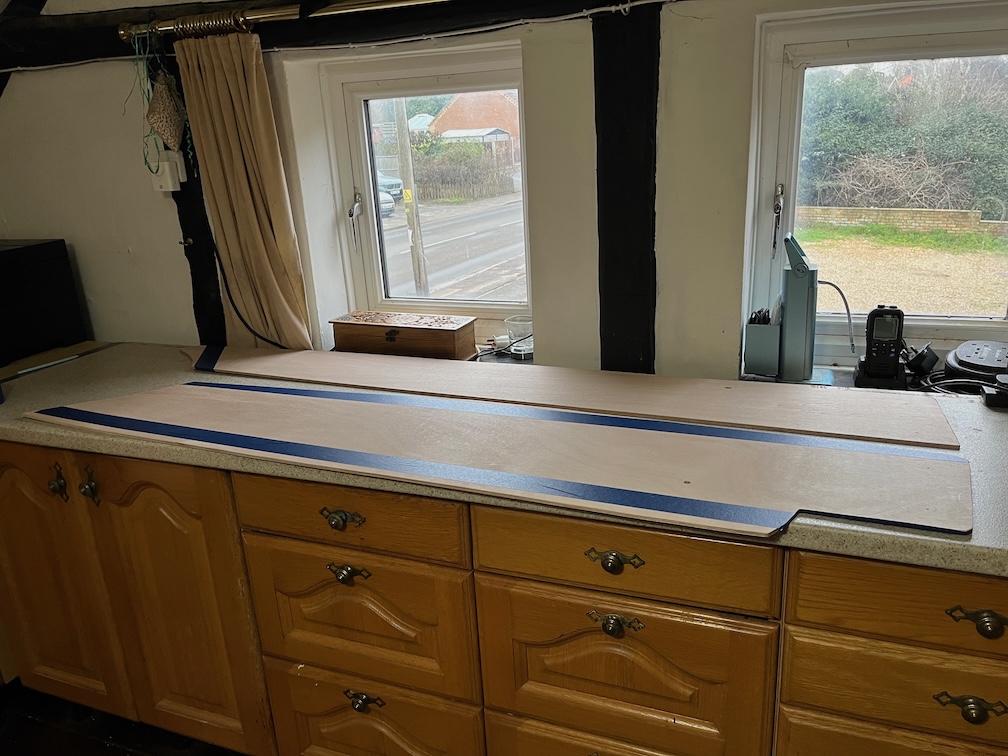
This is the surface I’ll be using for the epoxy work over the next few days and I’ve chosen it for a number of reasons. Firstly, it’s indoors and the temperature is above the minimum of 16 Celsius quoted by the manufacturer. Secondly, it is pretty flat. Not completely. but good enough for this purpose. Thirdly, being a kitchen work surface it is not porous. The only other large, flat surfaces I have are MDF and plywood, neither of which is suitable for vacuum bag clamping unless the entire thing is encased in the plastic sheet.. Fourthly, it is in the work room which, as the name suggests, is set aside for working.
Now, to be on the safe side, I did clear a small area on the worksurface, you can just see it on the left of the photo, and used it to test the vacuum bagging. A piece of the plastic sheet was fixed to the surface using butyl tape, a vacuum gauge and the pump connection added and the pump turned on. This pump is rated to draw down to -0.9 bar and the gauge read -0.85 bar which is more than good enough. I will have to find a way to cut down the noise the pump makes as putting it on the workbench or the floor directly rattles the whole house. I’ll try a folded towel and see if that makes a difference. The pump will be on continuously for about 8 hours, so it needs to be as unobtrusive as possibly.
So, clearing up time it is.
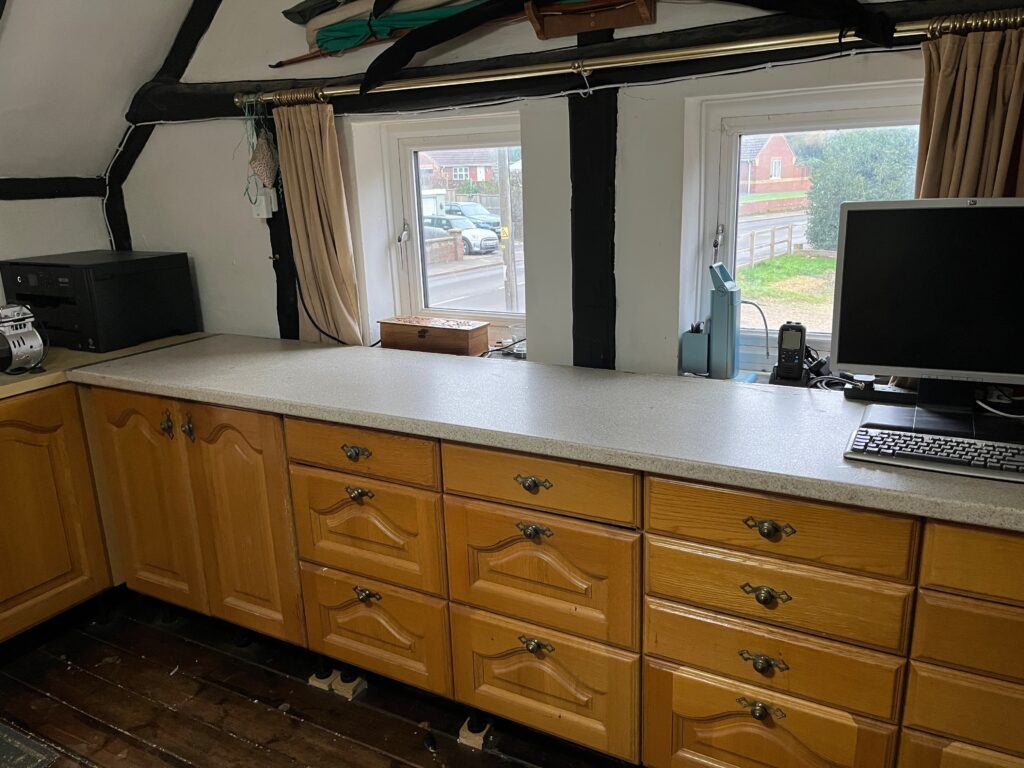
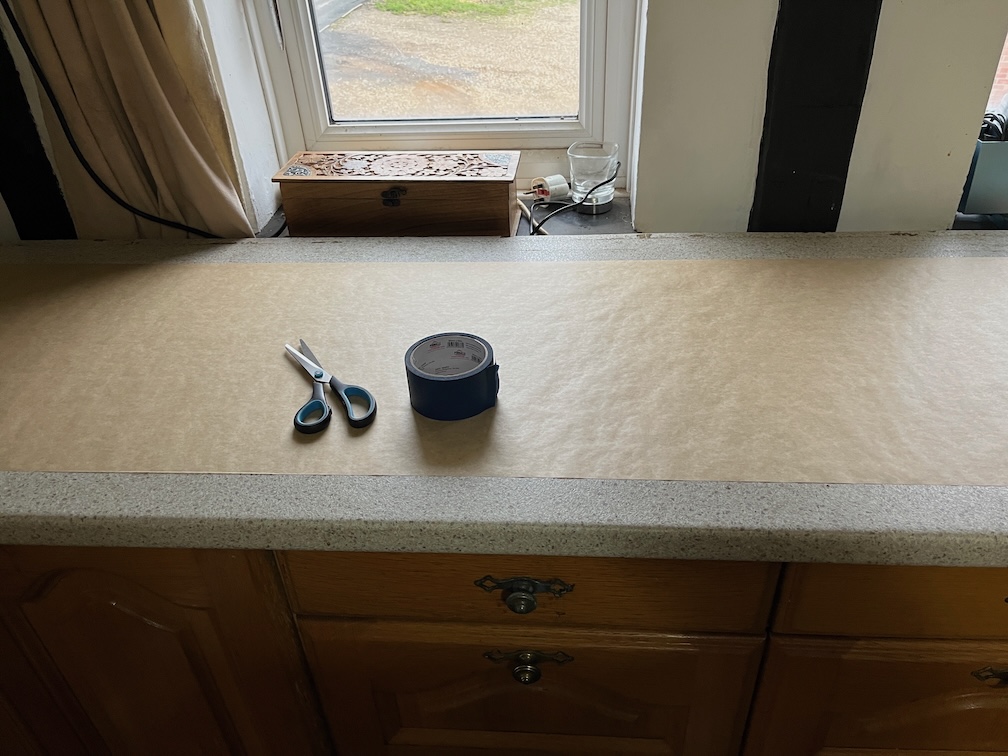
The result is very good. I really ought to keep it in this condition all the time but you know how it is. Any spare space is used for something.
Having thrown away or found a home for just about everything, I washed the surface thoroughly using hot water and washing up liquid, being careful to rinse the surface very well before drying it. I probably used about eight rinsing sessions with clean water each time to make sure that all the detergent was removed.
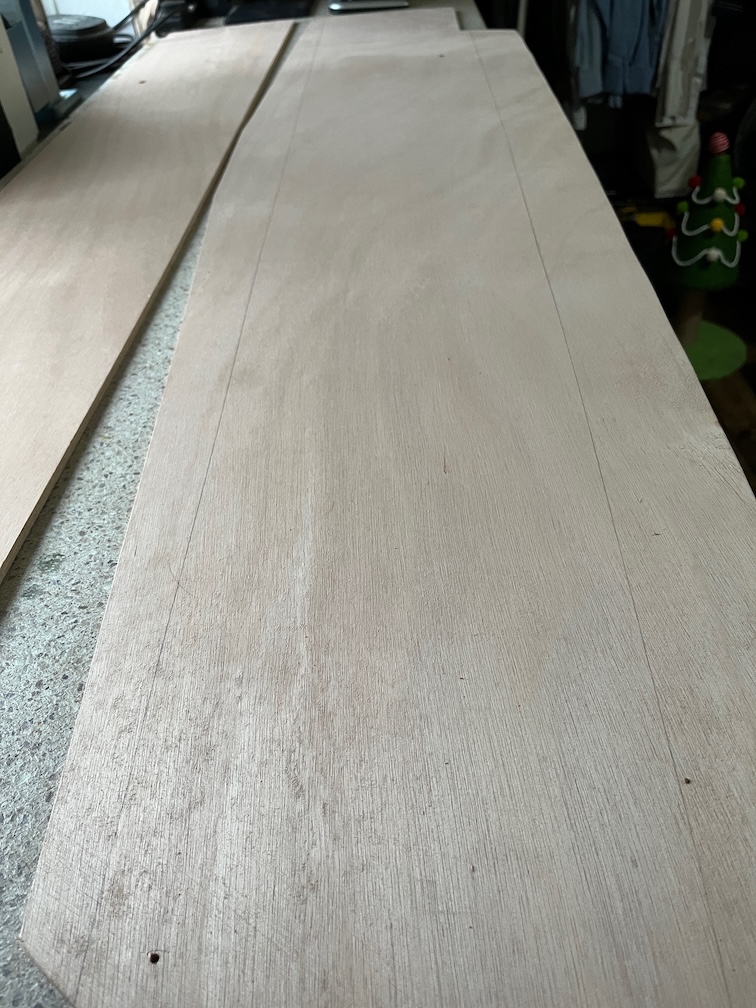
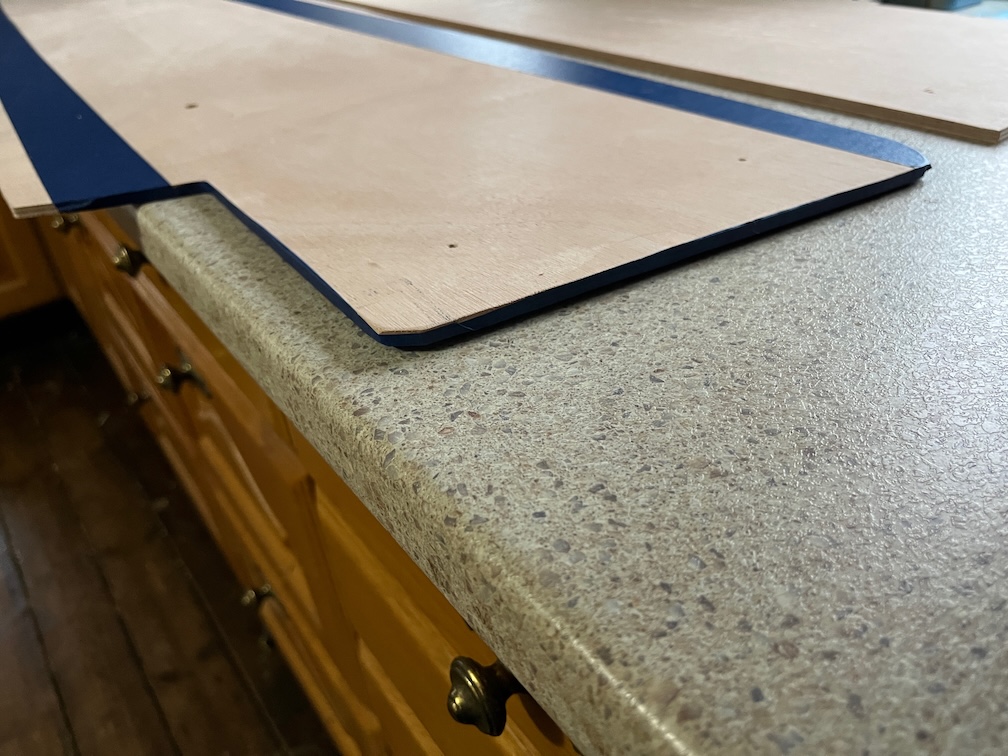
I brought up the plywood that has spent the last 27 hours leaning against the Rayburn and are now dry and laid them out on the surface and pegged them together.
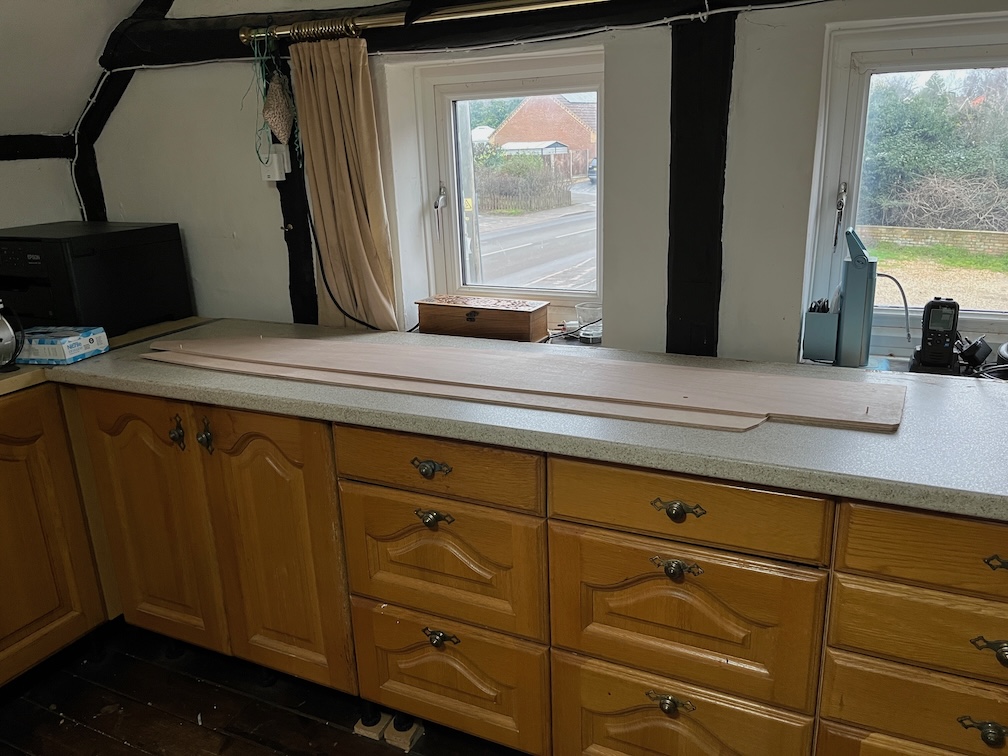
The first epoxy work will be to laminate these two pieces together and that requires two epoxy coats. The first, a coating layer of neat epoxy applied to both mating faces and the second, a coat thickened with a small amount of microfibers, applied to one surface when the coating layer has become tacky. At that point the vacuum bag will be used to clamp the two layers together until the epoxy has cured sufficiently to allow the clamping to be removed.
So, first order of business is to mark the limits of the epoxy.
Nice and easy.
Next blue painter’s tape was put on the plywood on the outside of the lines to stop any excess from coating the plywood where not needed.
I also taped up the edges where I am likely to get epoxy on the edge.
Why do this? Why not just let it coat the edges? After all, all the edges will be epoxy coated eventually.
The answer to this is amine blush, a waxy by product of the curing process that coats the surface of the epoxy and needs ro be removed before painting or varnishing. The normal way to avoid this is to use peel ply, and I will be using this when working on the inner side of the case, but for the edges at this time it is difficult and very messy to use. Leaving this to the end makes it much easier to do.
Speaking of mess, I put down some baking paper for the first part of the epoxy work…
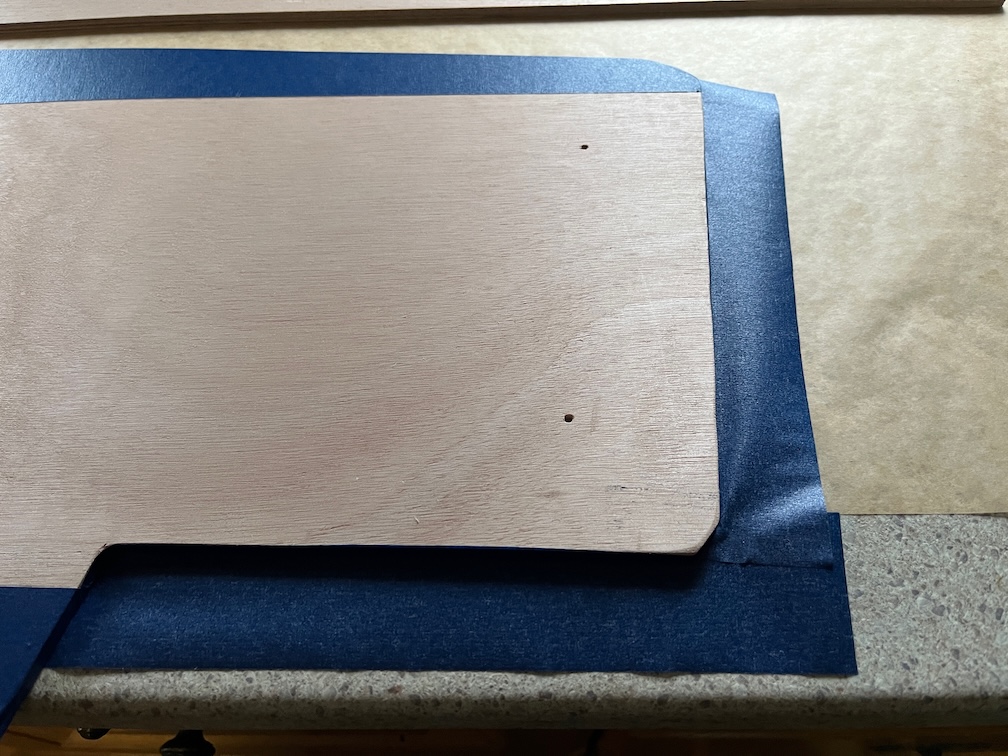
…and added some more painter’s tape as a catch tray on the larger of the two pieces.
According to several other makers, one pump each of resin and hardener will cover one square foot of area. Now the area to be covered is 7,425 square cm which is just under 8 square feet, so I’ll need 8 pumps for the coating layers and 4 pumps for the laminating layer.
So far so good.
At this point I’ll have to stop on the epoxy work due to timing issues. The coating will take around thirty minutes, possibly less, but the time to go tacky will be around three hours. Say thirty minutes to set up the vacuum bag and another thirty minutes to mix up and apply the laminating layer. Finally, it will take around eight hours with the pump going before being able to turn it off. In total twelve and a half hours. Now I don’t want the pump to be going after about 6pm, it’s noisy, so I need to start the process at around 05:30.
Guess who’s going to be up very early tomorrow morning !
Time for a cup of tea.
Having had a bit of a break it was time to continue on although, I have to say that it was quite cold outside so I didn’t do much !
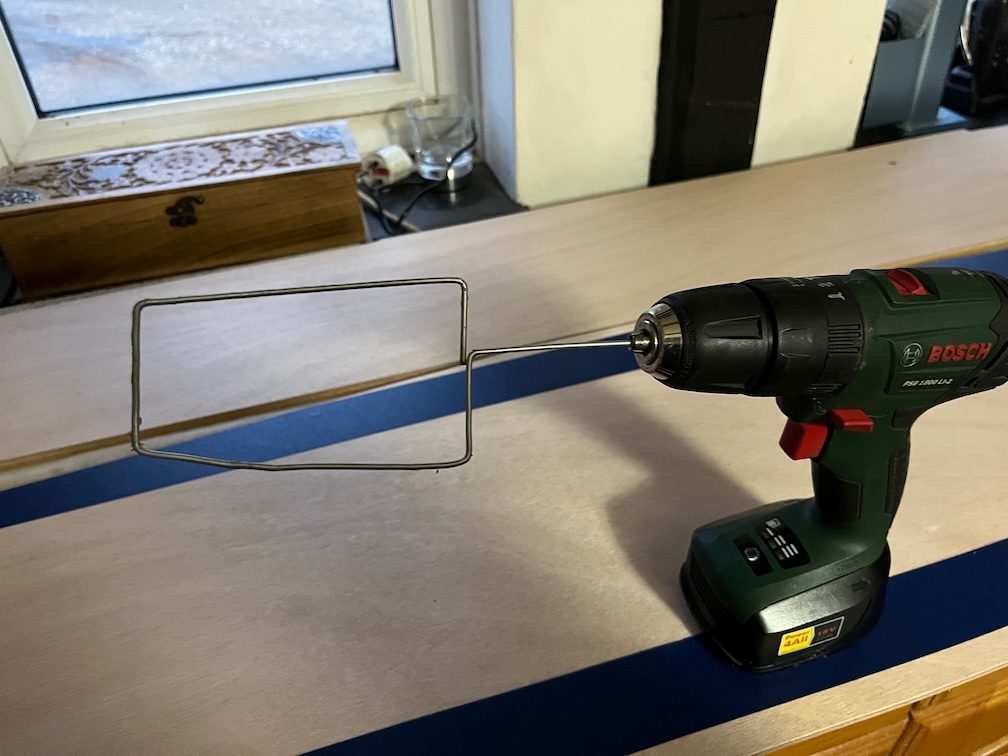
I saw this on https://www.youtube.com/@Nomadboatbuilding, a boat builder on YouTube, which he uses for stirring epoxy. This is usually a tedious process as you have to stir the mixture for around 2 minutes. This allows you to just hold the thing in place for the required time and it does all the work for you. Nomad Boat Builder also uses this in a drill press where he sets it going and goes and does something else for the two minutes and doesn’t even have to hold it.
I have a collection of wire coat hangers in the workshop just for things like this and after a few minutes I had an epoxy stirring thing. You just have to remember to use the slow setting on the drill !!
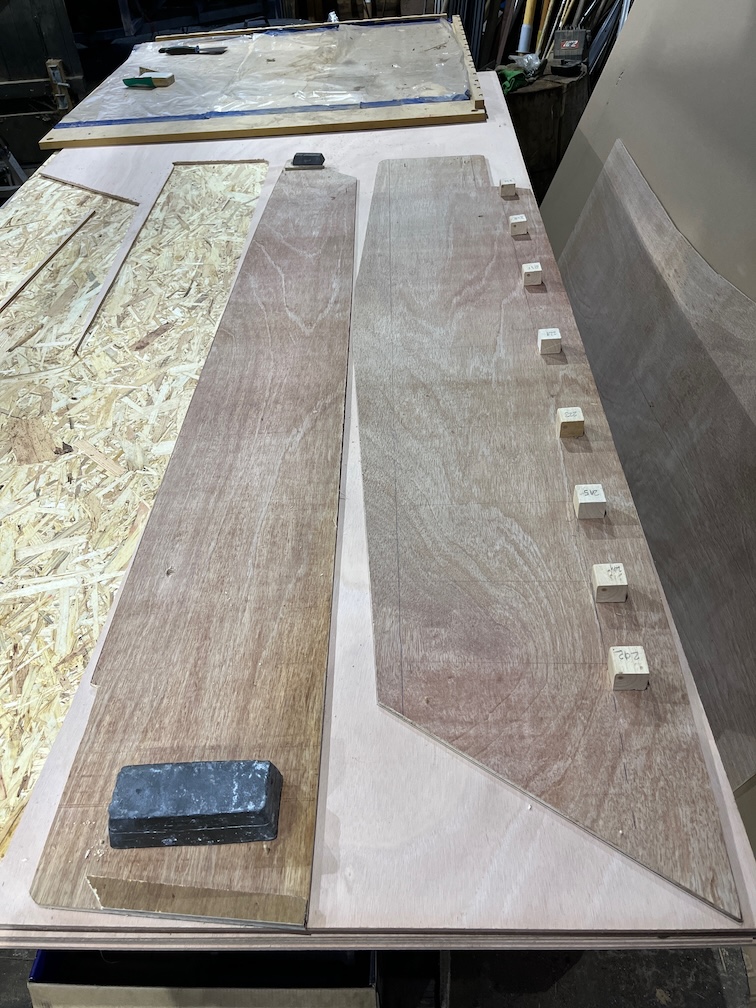
I also marked and drilled the locating holes for the other side pieces and I’ll cut those out once the epoxy work has been done indoors.
Time for a cup of tea.