
Today is the day I start to cut out and construct the starboard side of the centerplate case. So, bright and early I hied me down to the workshop to make a start, only to realise that before I can cut a single piece of marine plywood, I have to clear up.
A lot !
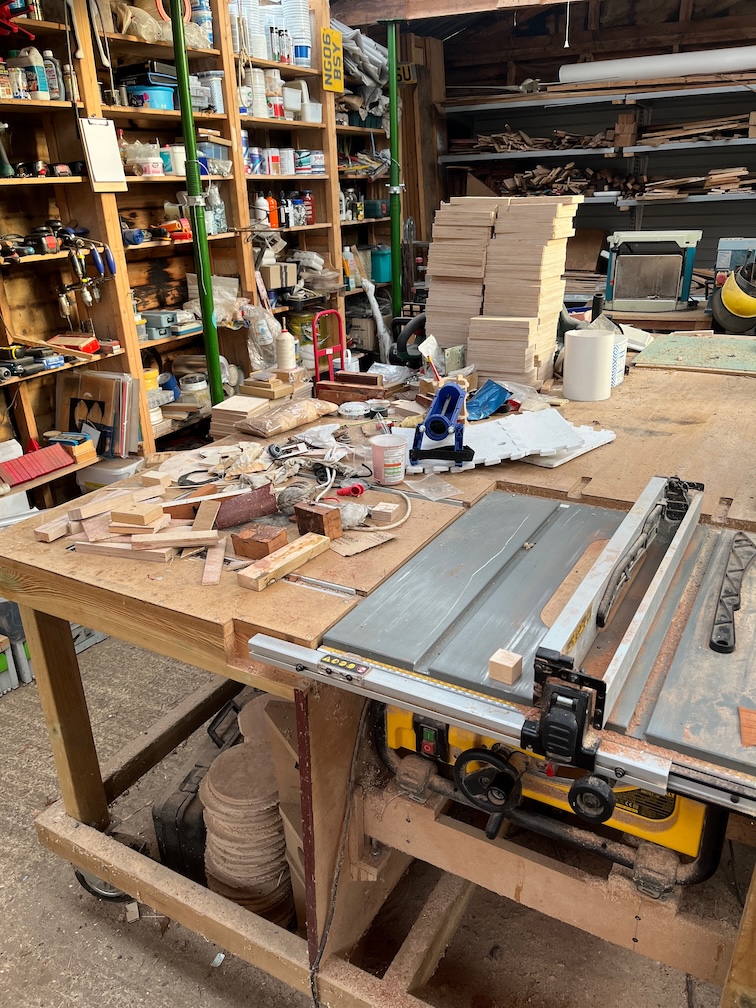
This is the state of the work table and what you can’t see under that lot is the router and I’ll need that soon. That looks like chaos but it isn’t as random as it may seem.
This is the plywood cutting table and you can see the mess that has on it at the top of the photo. Again, if looks chaotic but there is some organisation in the mess. Still, it all has to be removed from the table for two reasons. Firstly, the marine plywood is under the shuttering ply that you can see on the top and secondly, I need at least 6′ of cleared space to cut the pieces and the entire table is just 8′ long.
So I spent the rest of the morning doing a massive cleanup of those two tables. The junk, rubbish and such like got binned, some wooden scraps were put on the fire. That was a mistake since they were damp and the workshop filled with smoke. I had to open all three doors to allow the very light breeze to blow that away.
Then the remainder was sorted into boat bits, non-boat bit and tools. Then, starting with the tools, a home as found for all of them except the thirty or so T-bar hex keys I have. those were put out of the way for now, I’ll have to make some sort of rack for those. Mind you, I’ve been saying that for the last two years.
The non-boat bits were found a home and the boat bits were divided into Shoal Waters’ bits, Naiad’s bits and other and then sorted out. I also went through the pile of wood removed from Shoal Waters and put the usable chunks somewhere as I will be wanting to use those for making other parts for the boat later on.
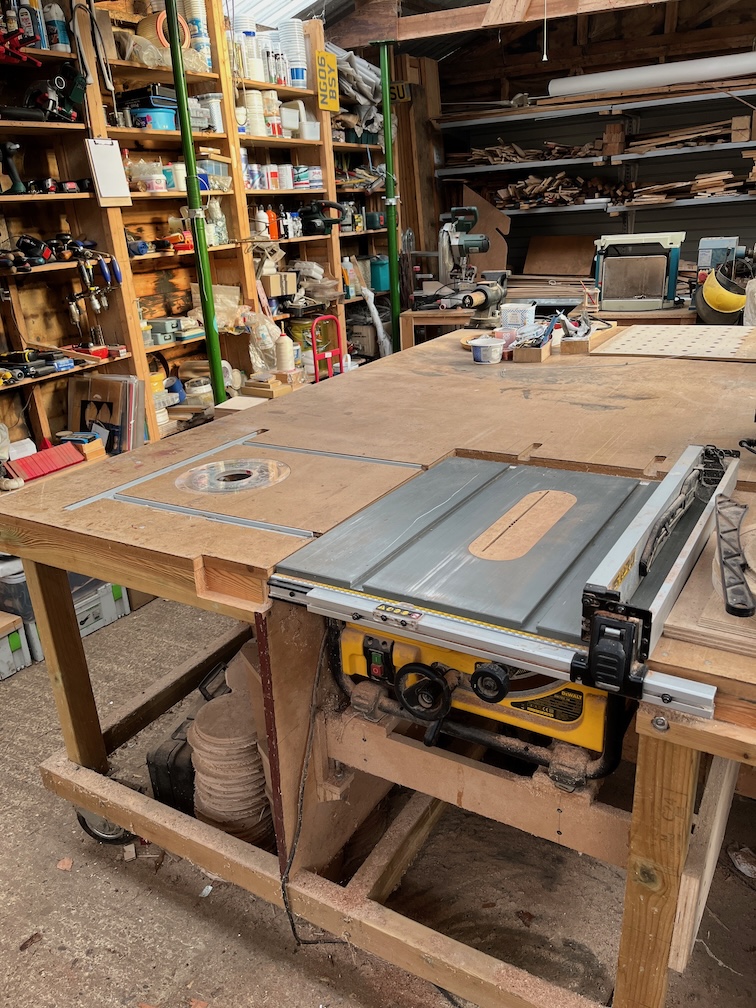
And here is the result. A fairly clean and uncluttered table, you can even see the router.
And the plywood cutting table, also clean and uncluttered with a piece of 6 mm marine plywood on top, ready to go.
However, by this point my throat was dry and dusty from sweeping up the dust and sawdust, so…
Time for a cup of tea.
Some time later…
Having taken a break and had some lunch, it was time to start cutting the inner and outer sides for the centerplate case.

I arranged the two templates on the marine ply making sure that they didn’t take up more than half the width of the sheet. I drilled the locating holes in the marine ply so that I can locate the two pieces later on. Then I drew around each template.
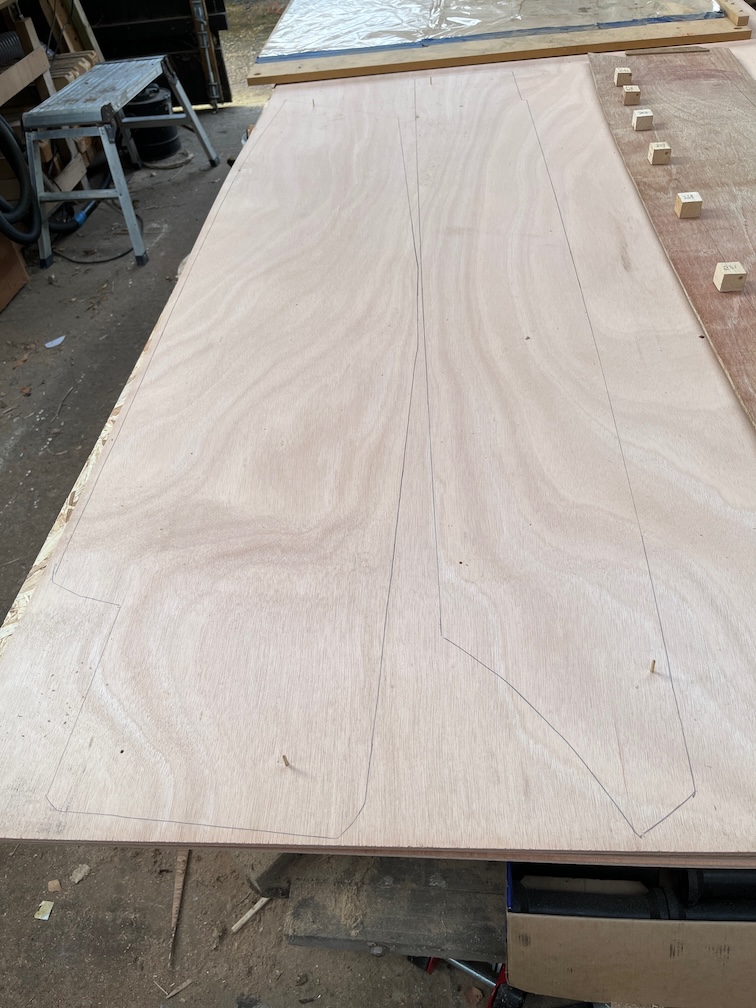
This is the result. I used a utility knife to score along the pencil lines where the lines cross the grain to prevent tear out.
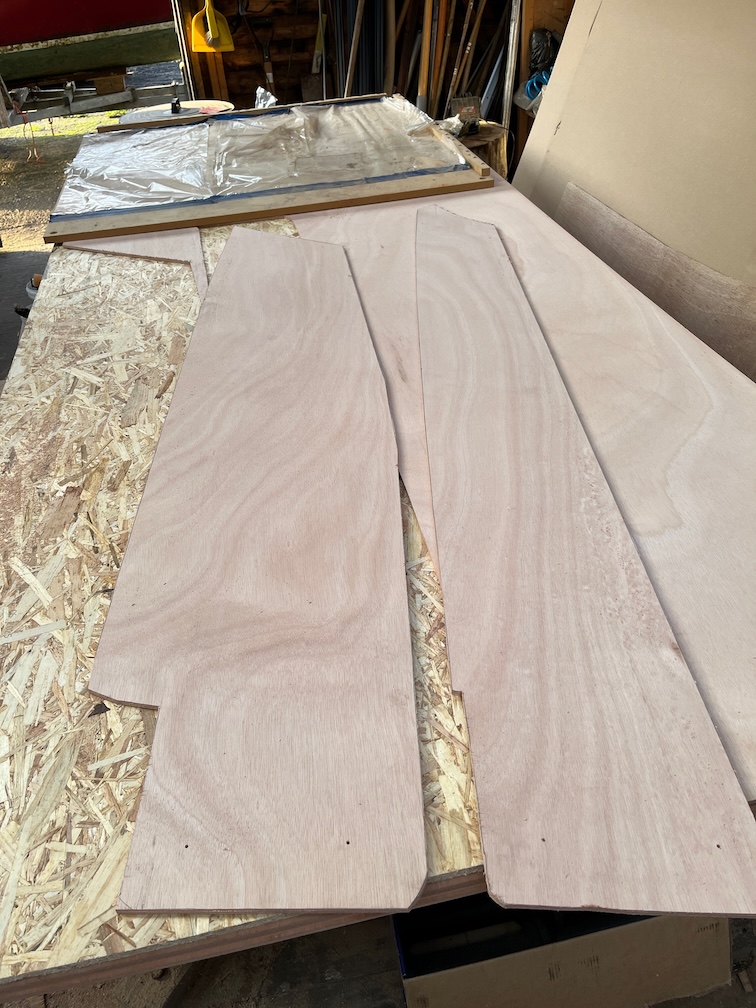
The pieces were cut out using a jigsaw and I tried to keep just on the outside of the pencil lines. The two pieces came out quite well. I used 120 grit sandpaper to tidy up the edges.
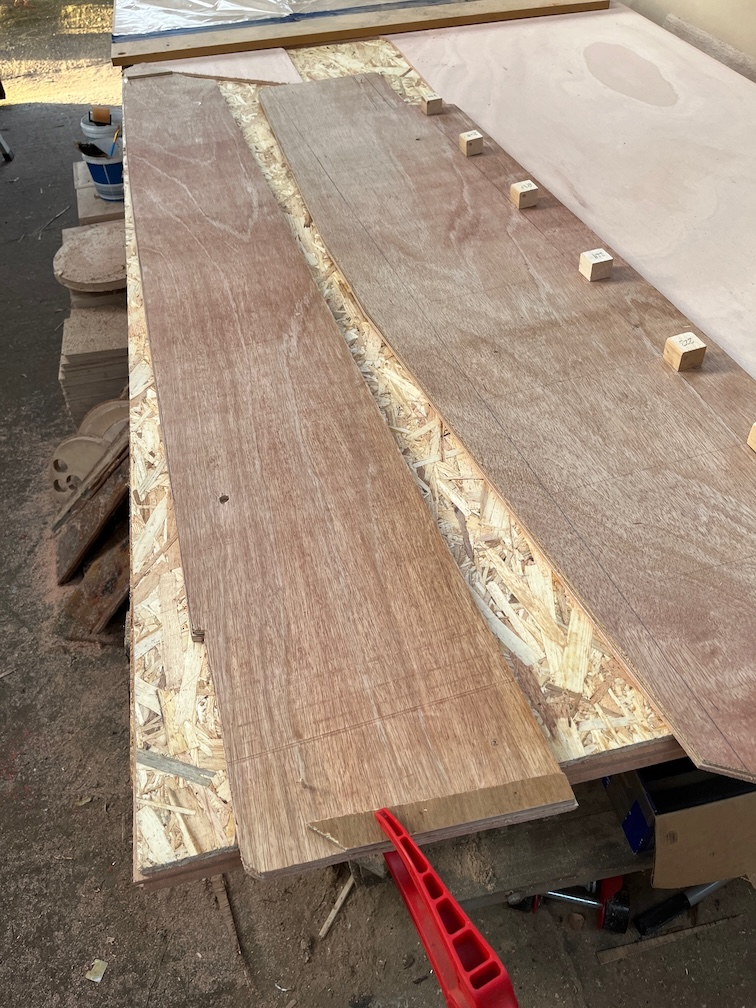
Once that was done I put the templates onto the marine ply using the locating holes to get them in the correct position.
You can see the the marine plywood protrudes a little past the template. I used a splodge of hot glue at either end to ensure that the pieces stayed together and then it was over to the router.
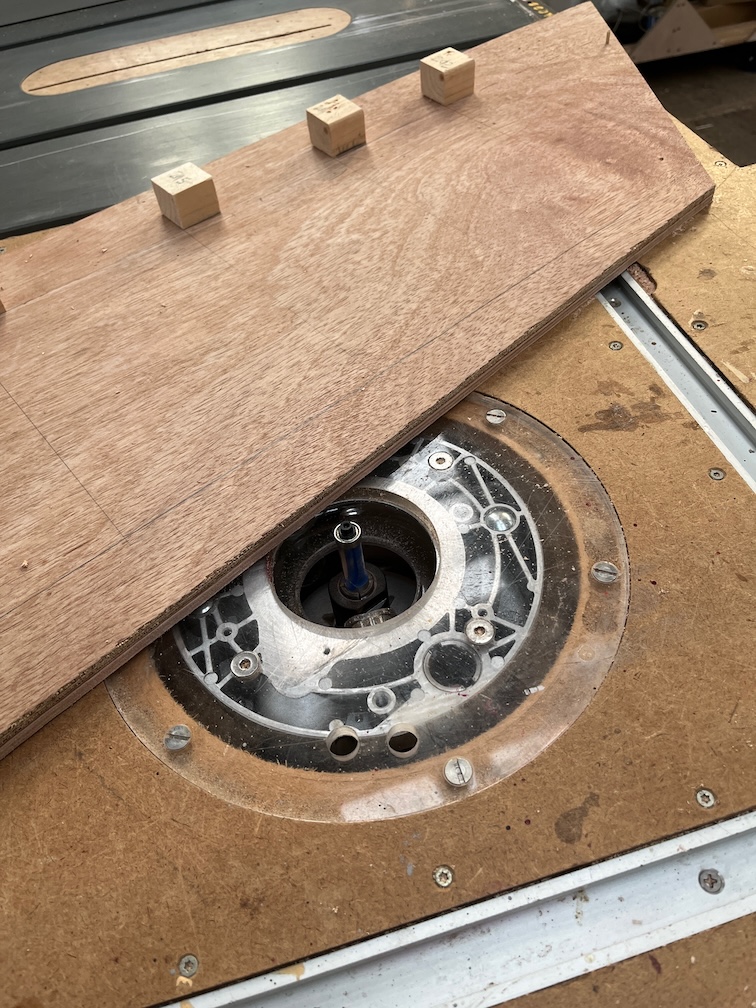
I used a top following trim router bit to cut the marine ply to the exact size of the templates. An easy job now that the work table is cleared.
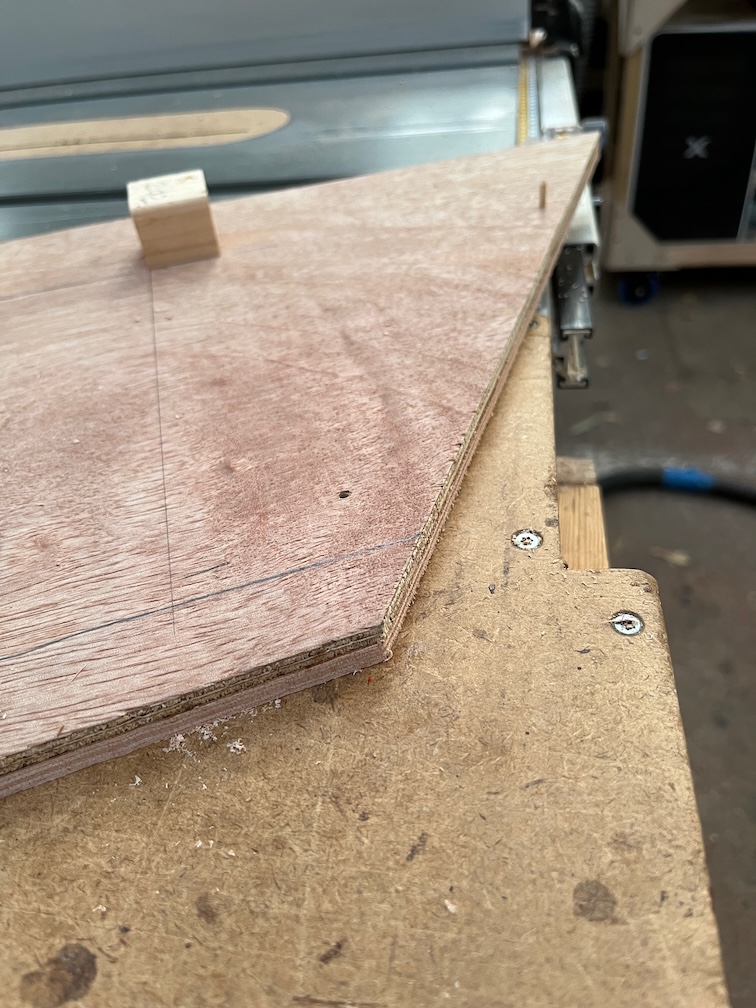
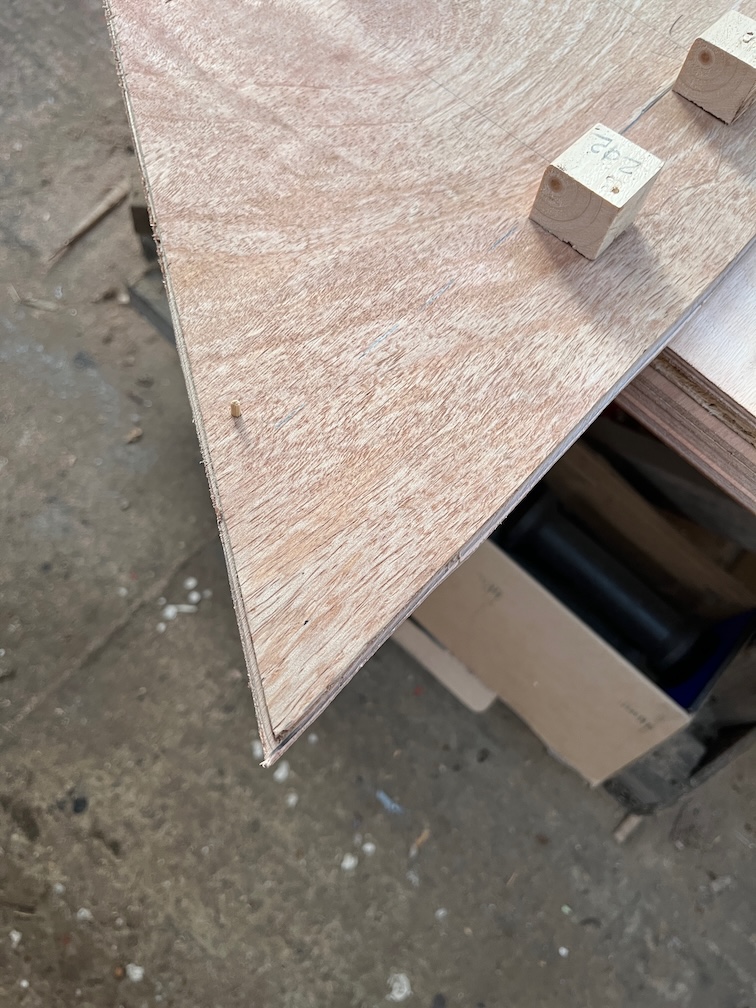
Another view of the template on top of the marine ply after being trimmed.
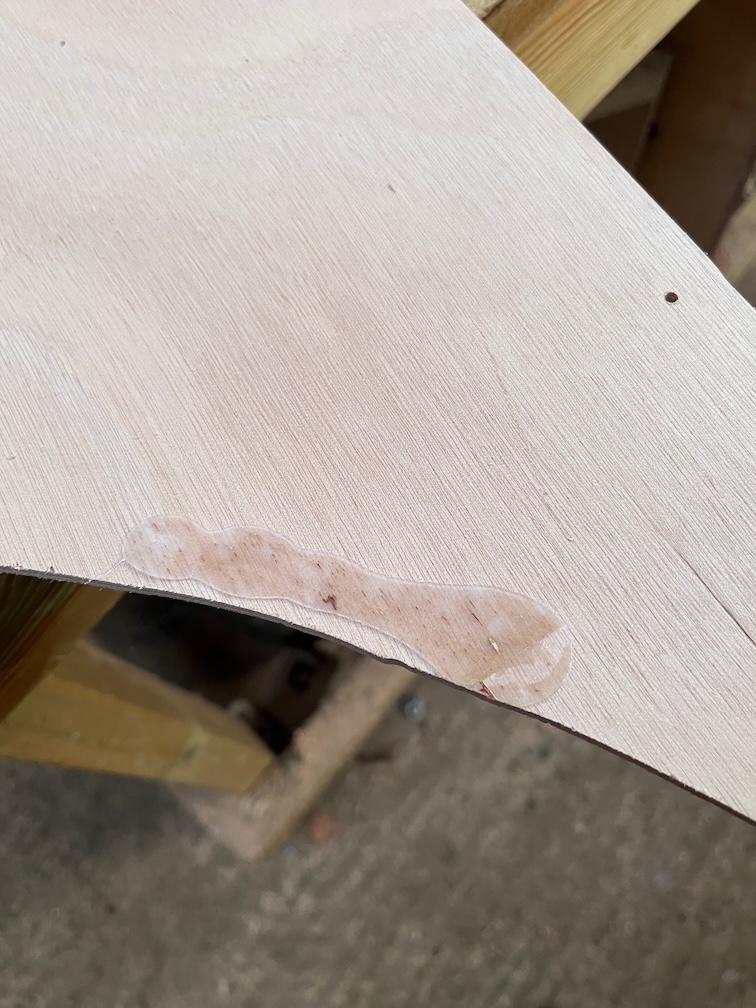
I didn’t use much hot glue deliberately so the pieces came apart easily without destroying the expensive marine ply nor the cheap template.
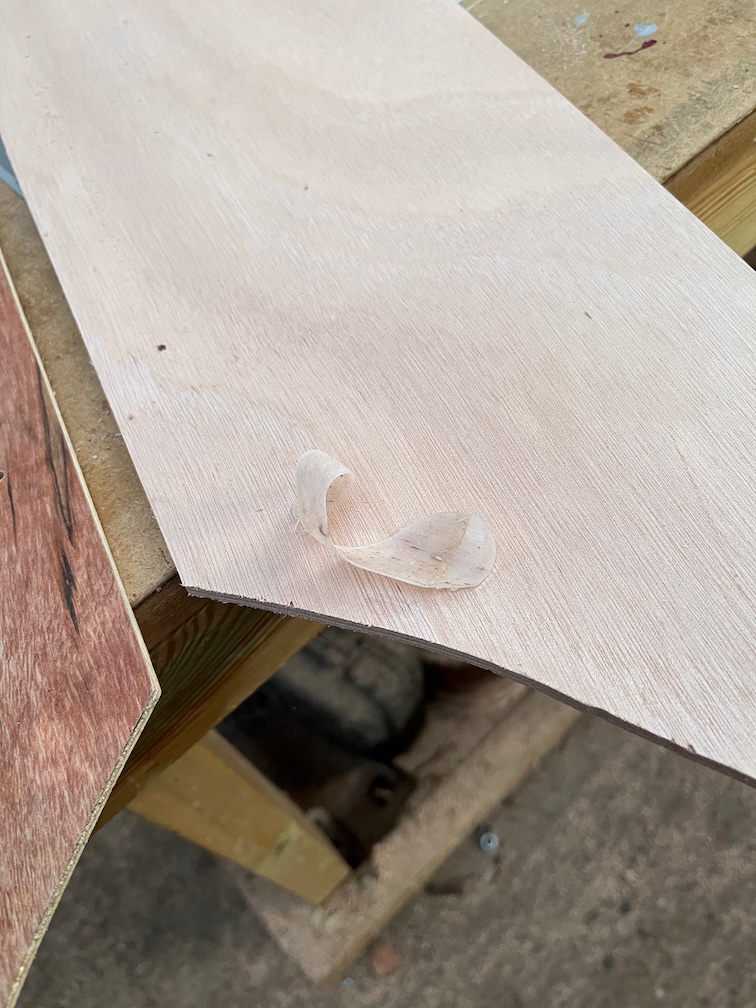
It Is quite satisfying to peel the hot glue off the wood in one piece.
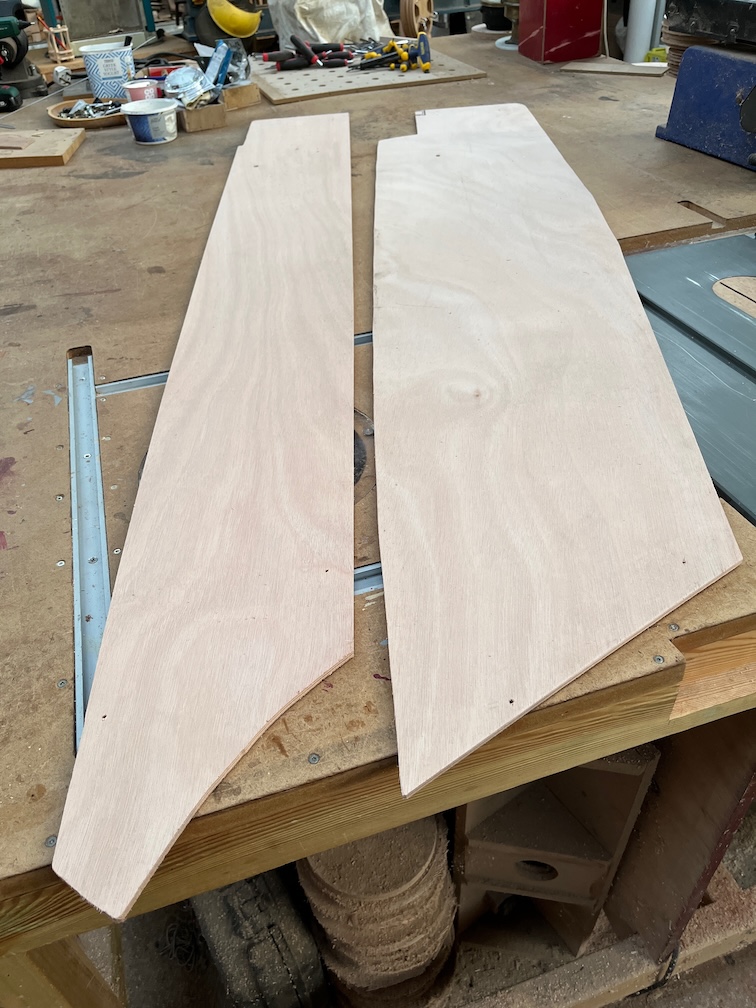
So, there we are. The inner and outer case laminates for the starboard side of the centerplate case ready to be epoxied together.
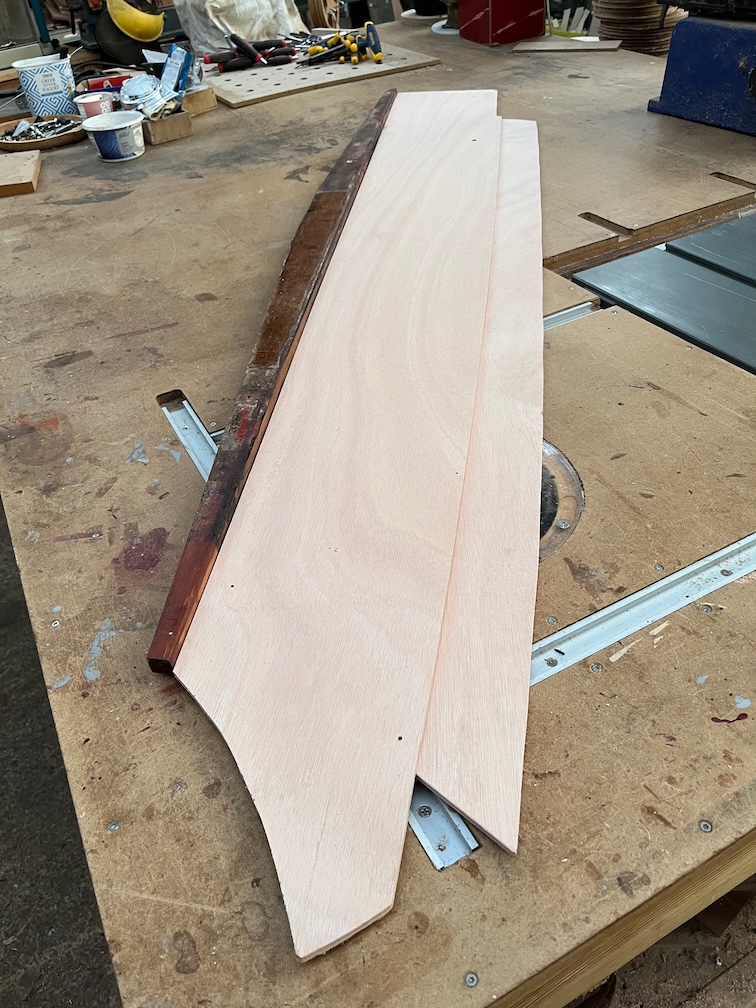
I put the two pieces together using the locating holes to get them in the correct position and put the top runner in place, just to see what it looked like.
What is quite amazing is that the time from laying the templates on the marine plywood to taking this photo of the two completed laminates is just one hour, and the result is pretty much perfect. I don’t need to offer these up to the boat to know that they will fit. I will, but I don’t need to. The templates fitted and so will these.
The other nice thing about making templates is that you know that the templates are temporary and made of cheap plywood, so if you make a mistake, no big deal. You patch it and carry on. And when it comes time to make the other side, well the templates are ready to be used for that as well.
The next step in the process is to epoxy these two pieces together and for that I’ll be working in the house where the temperature is more suited to epoxy work.
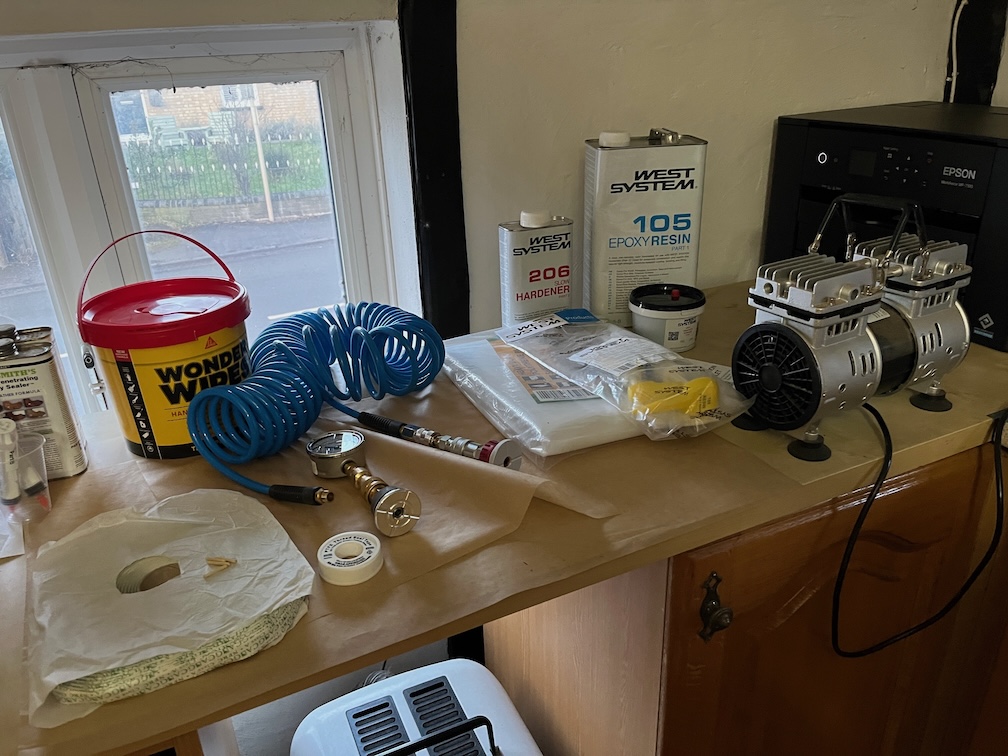
Here are most of the pieces for the vacuum bagging. Vacuum pump, epoxy and pumps, hose and fittings, vacuum gauge, butyl tape, teflon tape, heavy duty plastic sheet and Wonder Wipes. I still have to find suitable netting for the breather layer and a sturdy flat piece of wood that is flat, long enough and wide enough on which to place the laminates, but for today, I’m done.
Time for a cup of tea.