
The aim of the work on Shoal Waters today is to get as much of the plywood template for the centerplate case side finished. It was a cold morning today, so I delayed getting started until about 09:30, not because it warmed up any but rather because I hate working in the cold!

First on the list was the shaping of the top runner extension and as you can see from the above photo, it came out quite well. I could have used a small hand plane for this, but I’m not that good with a plane so I used the belt sander to do the work. Much less chance of me messing it up that way.
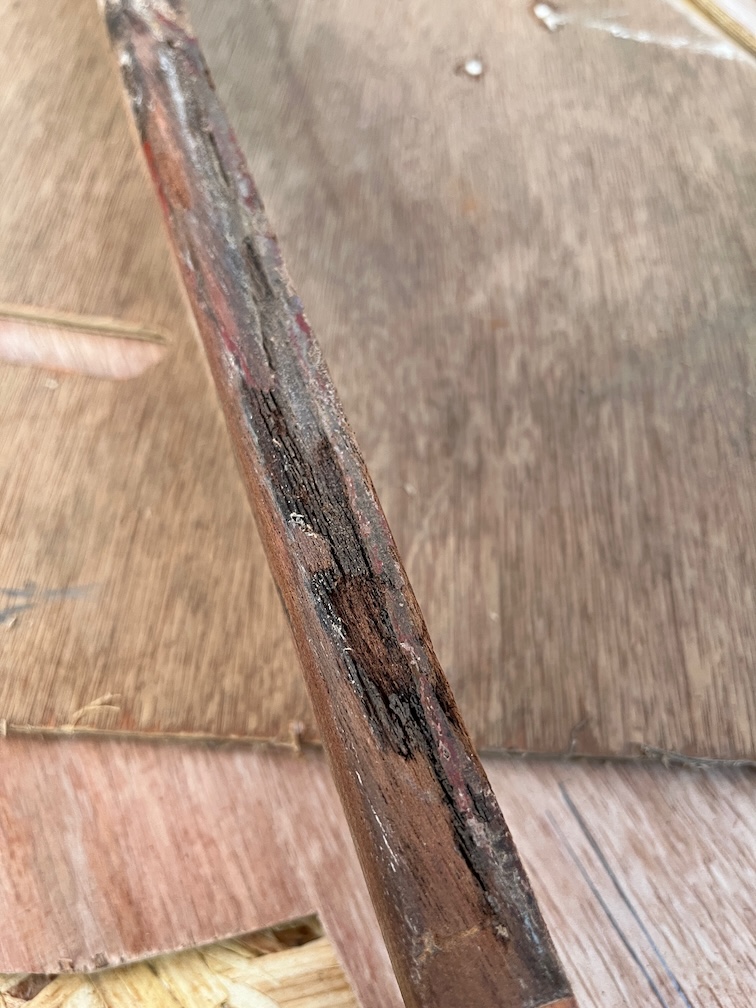
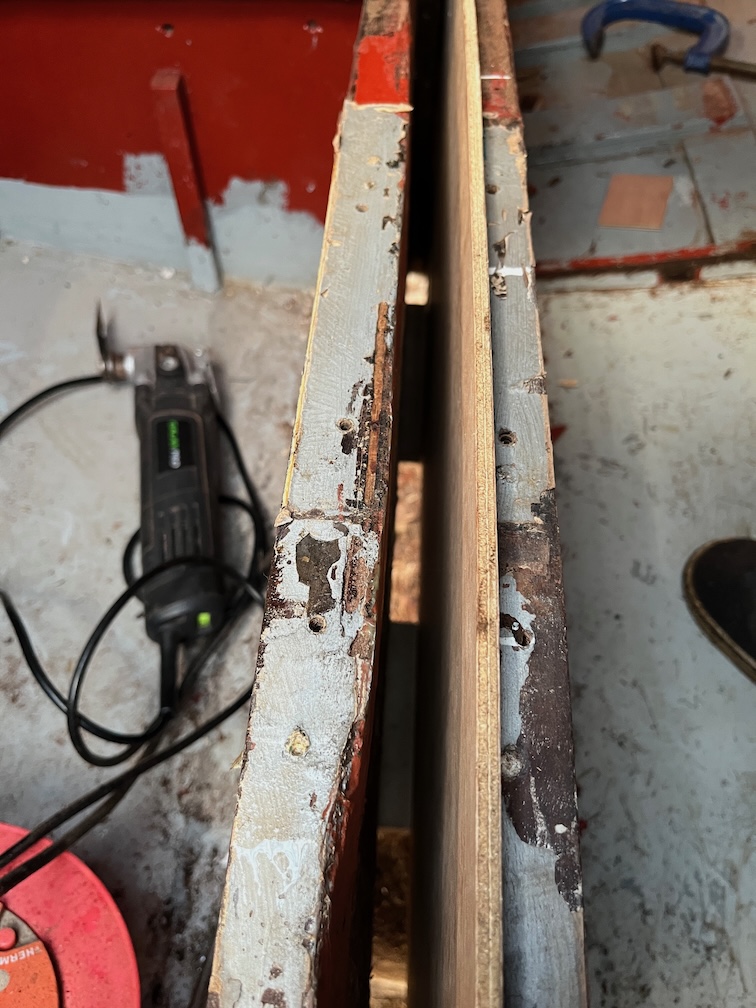
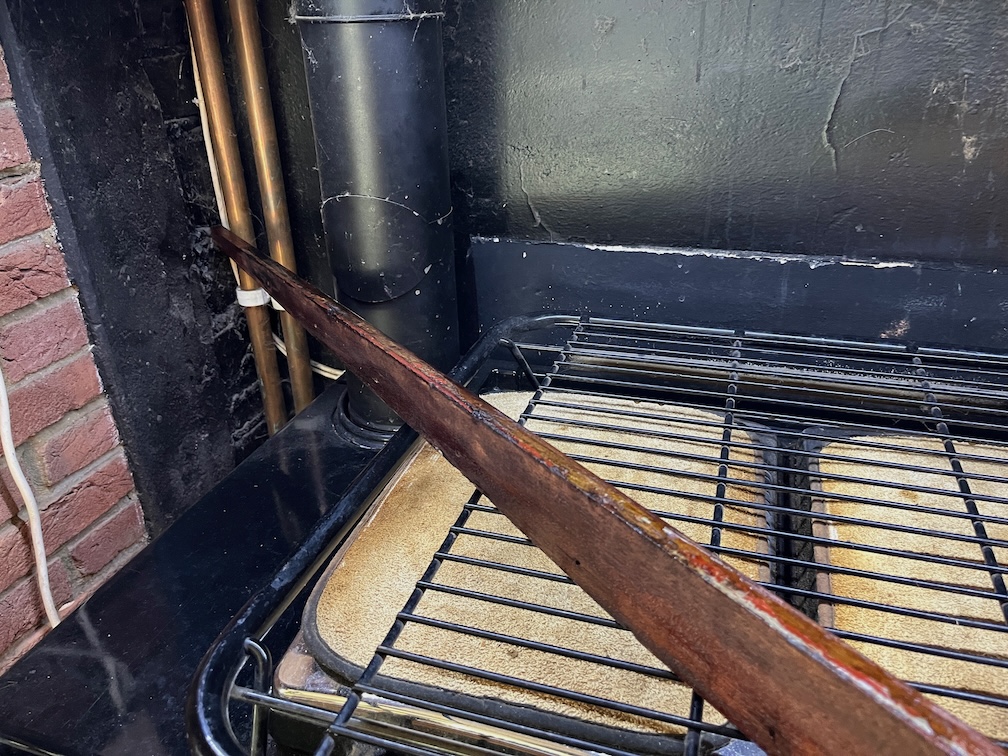
However, as I was sanding the new piece I noticed that the old piece had some rot. You can see it here. It’s not that deep and seems to be where the wood has not been painted or varnished so the water has been allowed to penetrate and stay. This is the bottom of the runner.
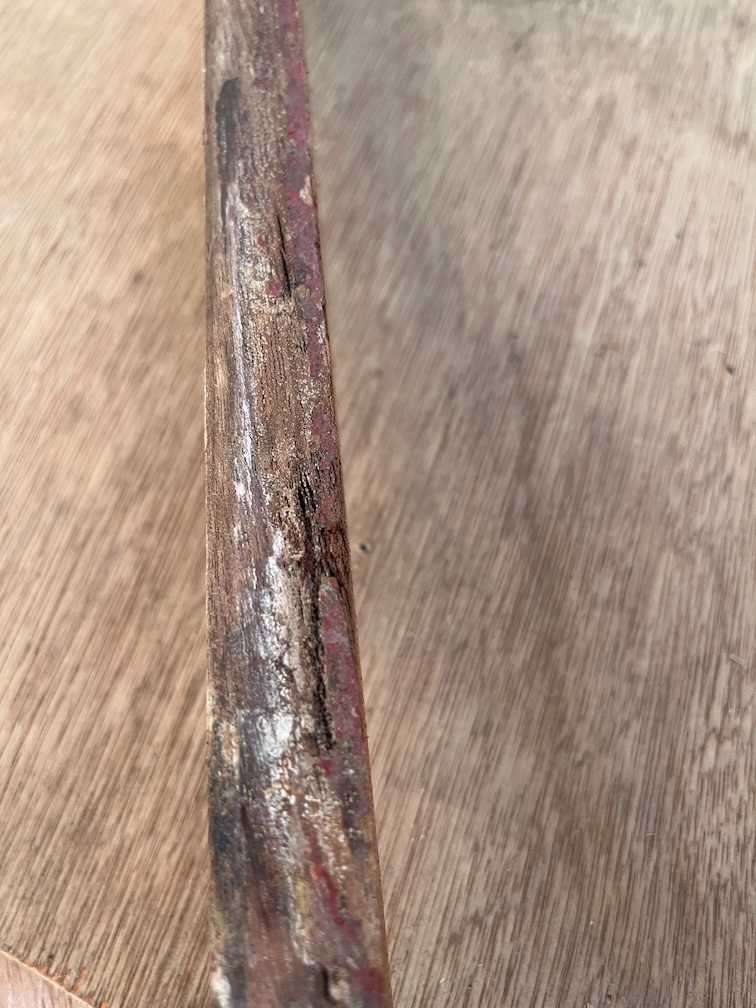
There are several other spots along the underside of the runner showing signs of rot so once I have completed the tasks that require the runner I’ll take in indoors and soak the rotten parts with the Clear Penetrating Epoxy Sealer, or CPES, that was formulated specifically for this kind of situation. I took the tins of the epoxy inside straight away as the temperature need to be higher than 10 Celsius, even for the cold weather formula, and it’s a lot lower than that outside today.
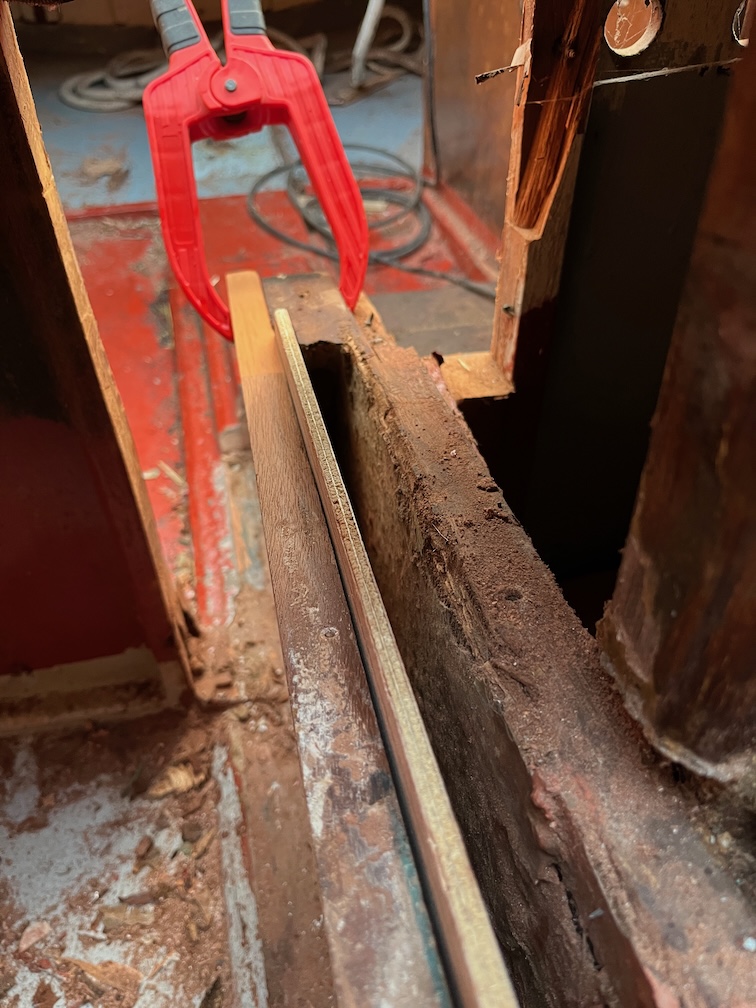
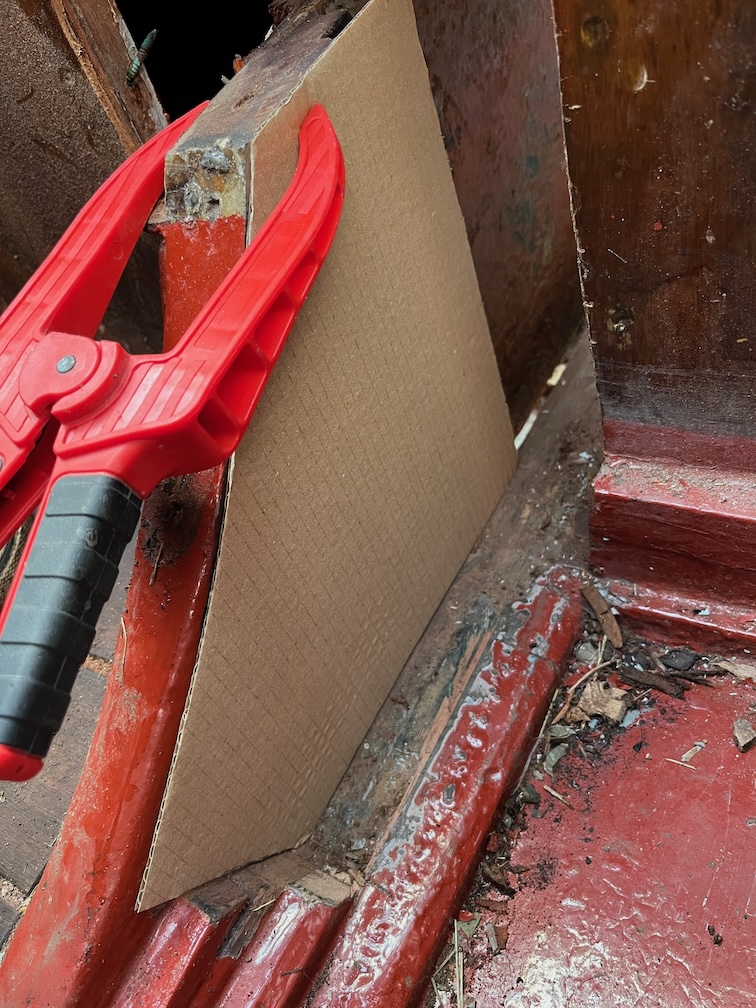
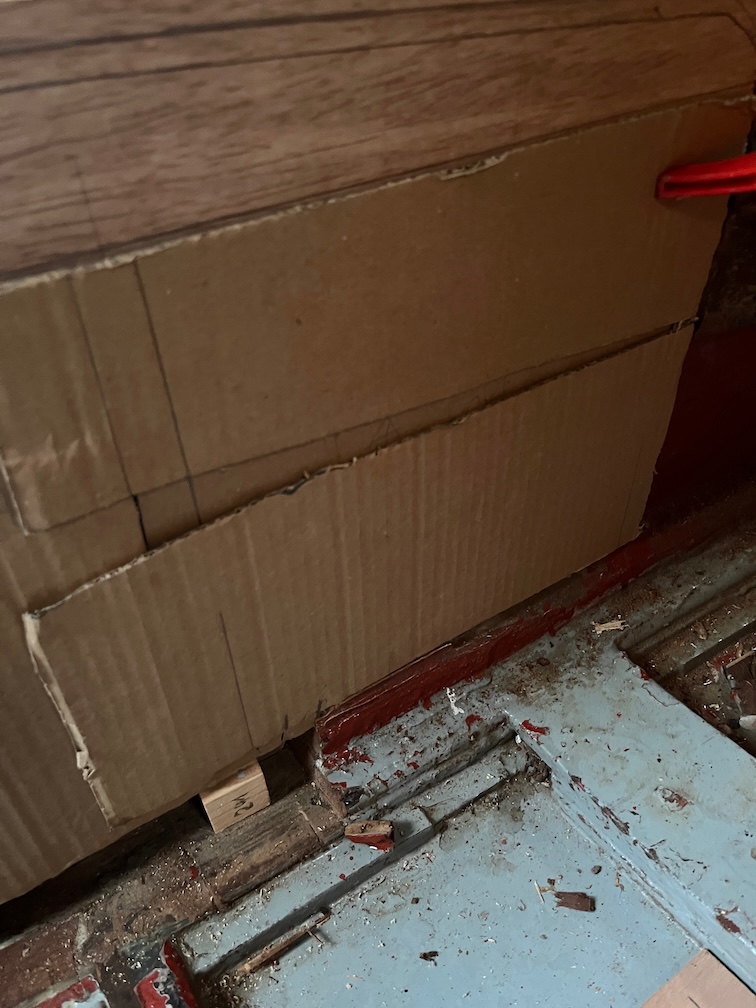
The template was put into position with some block on the inside of the slot to stop the template from falling down and the top runner clamped into position. You can see the extension looking out from the inside.
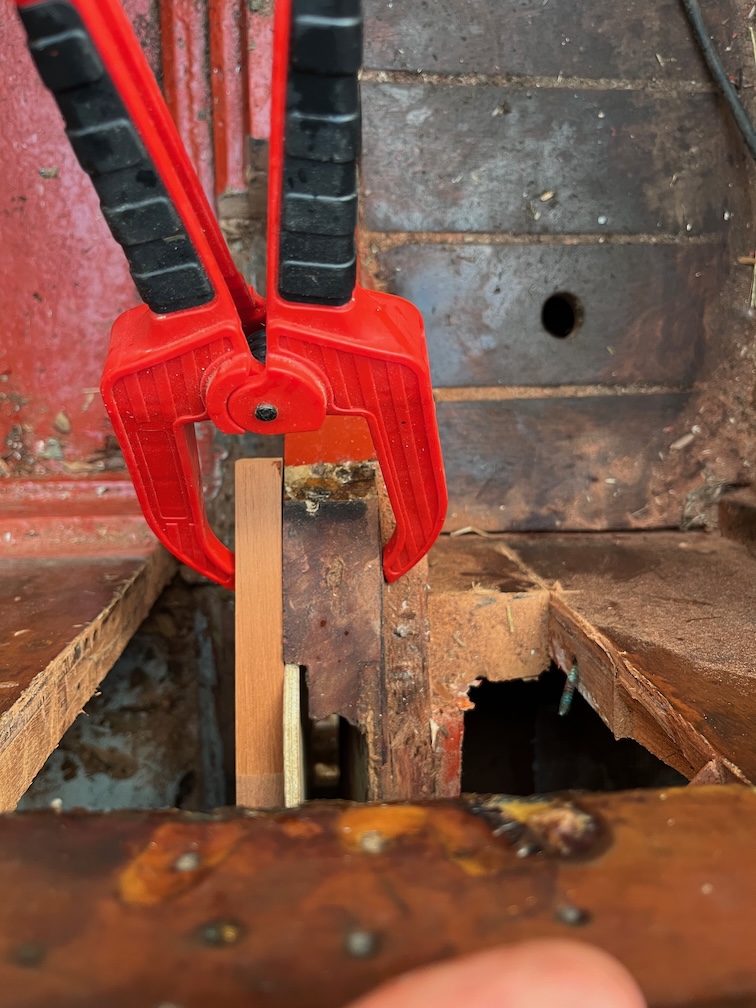
From the outside and above you can see that it extends just a little past the end of the aft block giving me a little wiggle room. This will be shaped to the original form once the case is ready to be installed.
Notice that there is a gap between the template and the block of about 2mm. The original plywood seems to have been 8mm thick and although I could have bought that for the replacement, the inside of the case will be coated with neat epoxy, then a layer of 300g glass mat, then another layer of epoxy and finally a layer of epoxy containing graphite powder. All this is likely to be around 2mm thick so that gap should disappear with the finished case side.
The inside blocks served their purpose well but I did find that the sides of the slot are not parallel and it is wider at the center than at the ends. Not a problem, just that when I cut the blocks to wedge the case side in place after gluing, I need to remember that the slot width varies and cut the blocks accordingly.
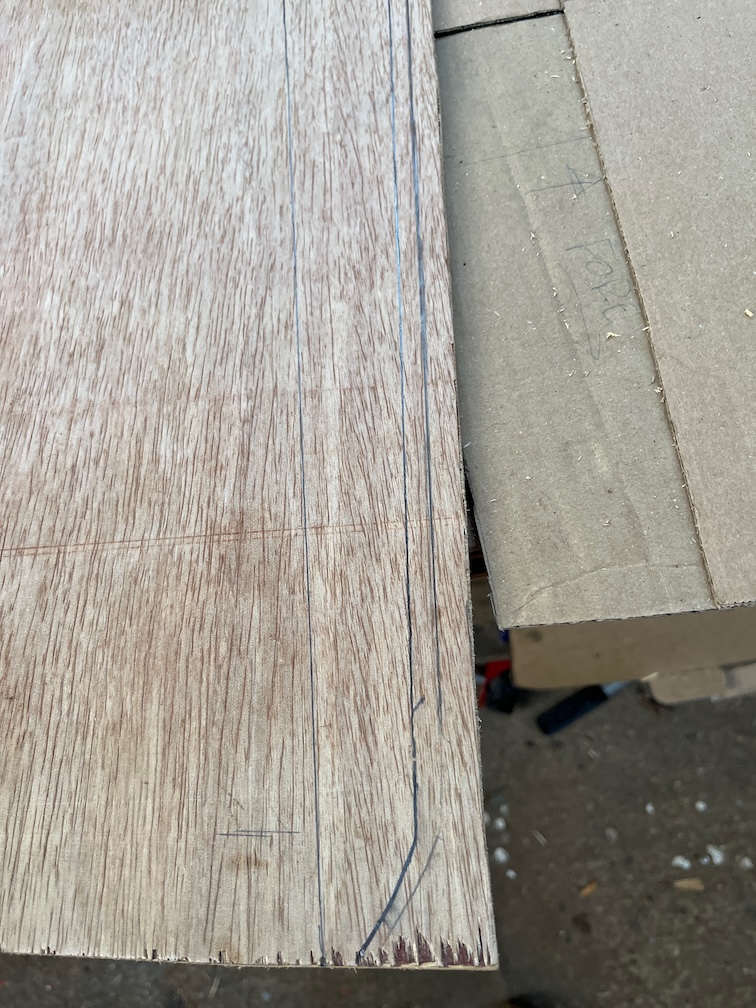
With the top runner now clamped in the correct position I was able to mark the top and bottom of the runner into the template. The template will be cut back to the top line and the bottom line will be used for making the outer template.
The two lines can be seen here with the “real” top line being the left line close to the top, not the right hand one.
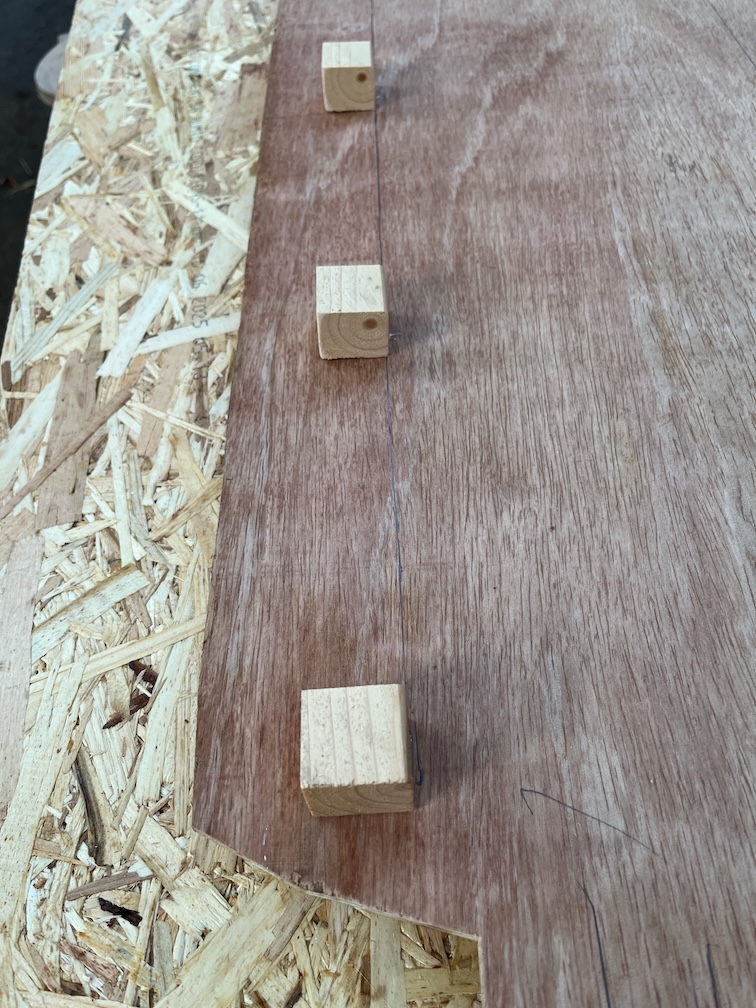
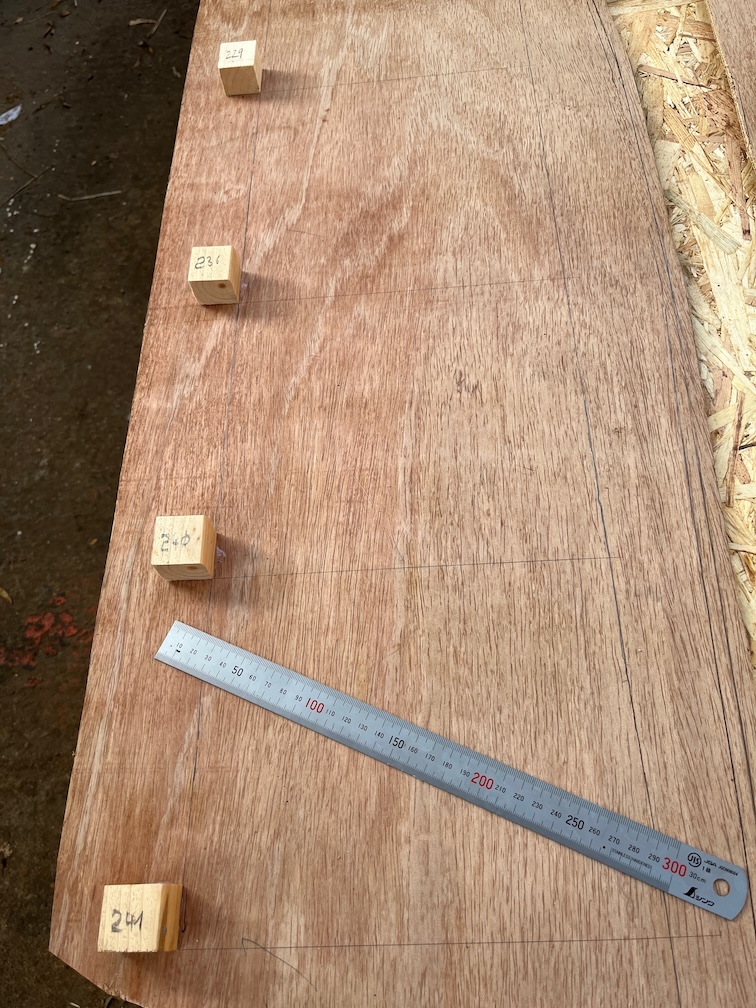
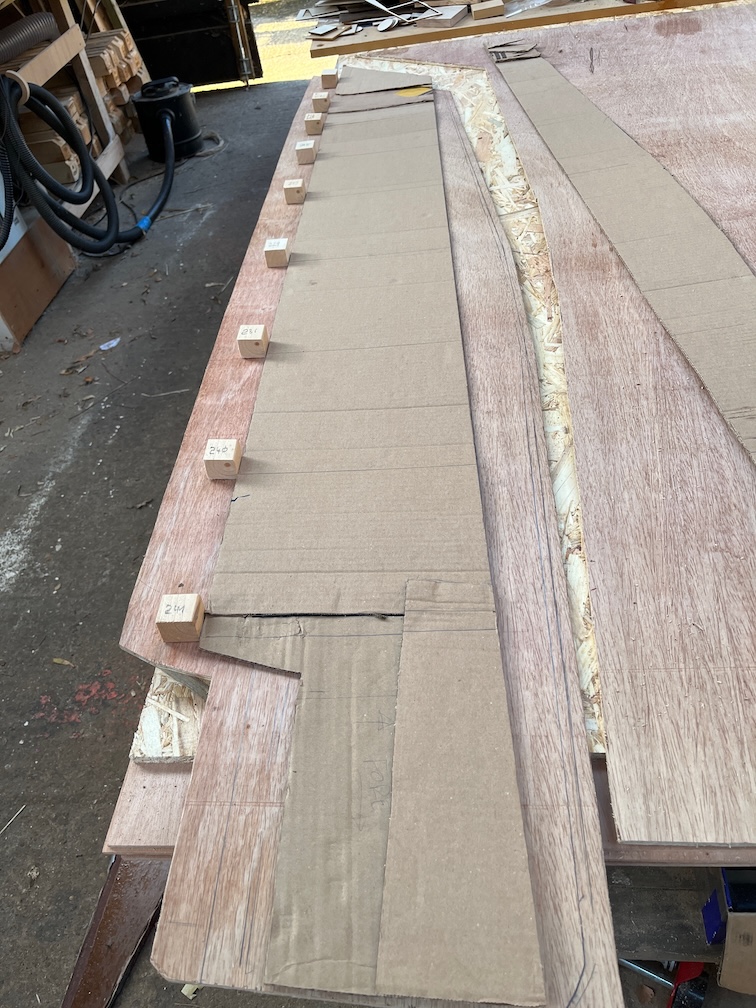
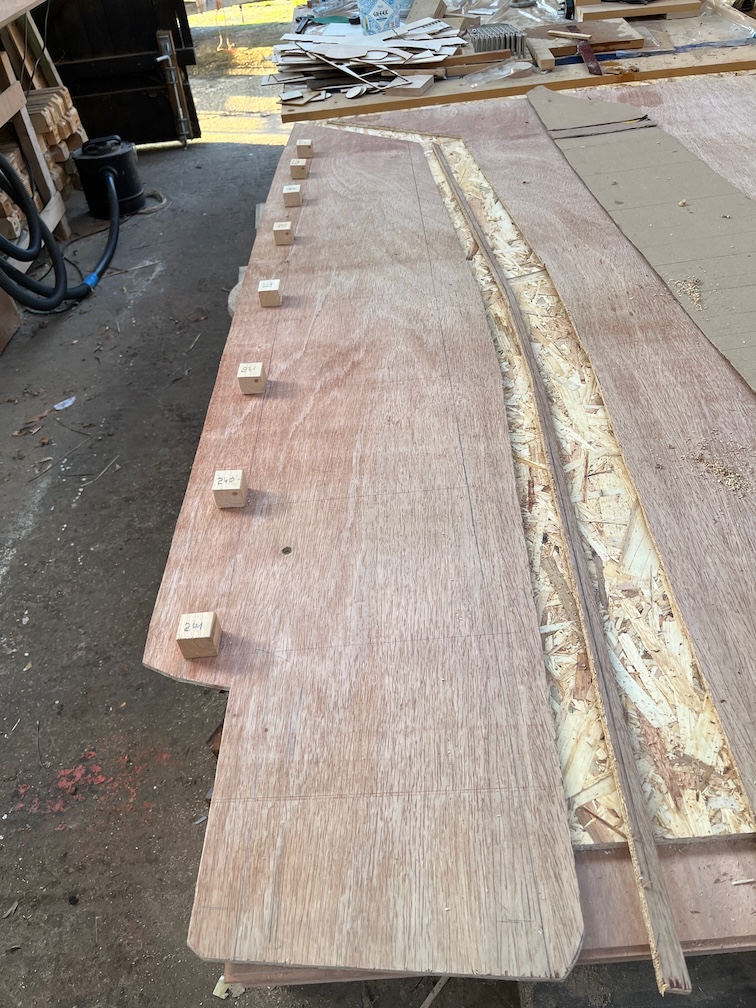
Several small blocks were cut to match the width and height of the bottom runner, the dimensions of which I took from the runner in Naiad. One block was used to pencil in the line that will be the bottom of the outer template by putting the pencil on the top of the block, both against the plywood and running the block along the keel timber.
The blocks were subsequently fixed to the template with hot glue. Glue was applied to the correct face of the block, the block was placed on the keel and the glued face pressed against the template.
No errors so far and a good place to stop for lunch.
After lunch and a cup of tea, and since I was inside in the warm, I decided that they next task would be the rot in the top runner.
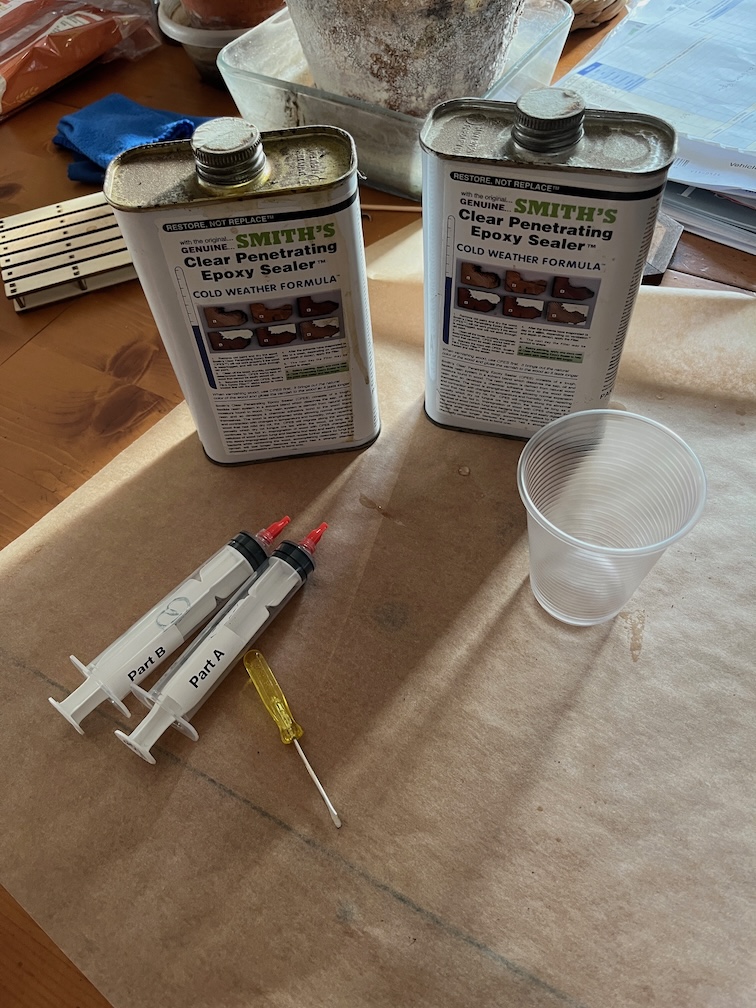
I use two syringes to measure small quantities of the epoxy components and you can see that I’ve labelled them to avoid having the syringes epoxied shut by getting them the wrong way around.
I mixed up 20 ml of CPES, more than enough for this job, but better too much than too little, and flooded the rotted wood with the mixture. Once the rotten areas stopped absorbing the epoxy I applied the remainder to any bare wood so as not to waste the epoxy. this stuff isn’t cheap. The runner was carefully placed on the Rayburn. At this temperature the epoxy should be tacky in an hour and cured in 24.
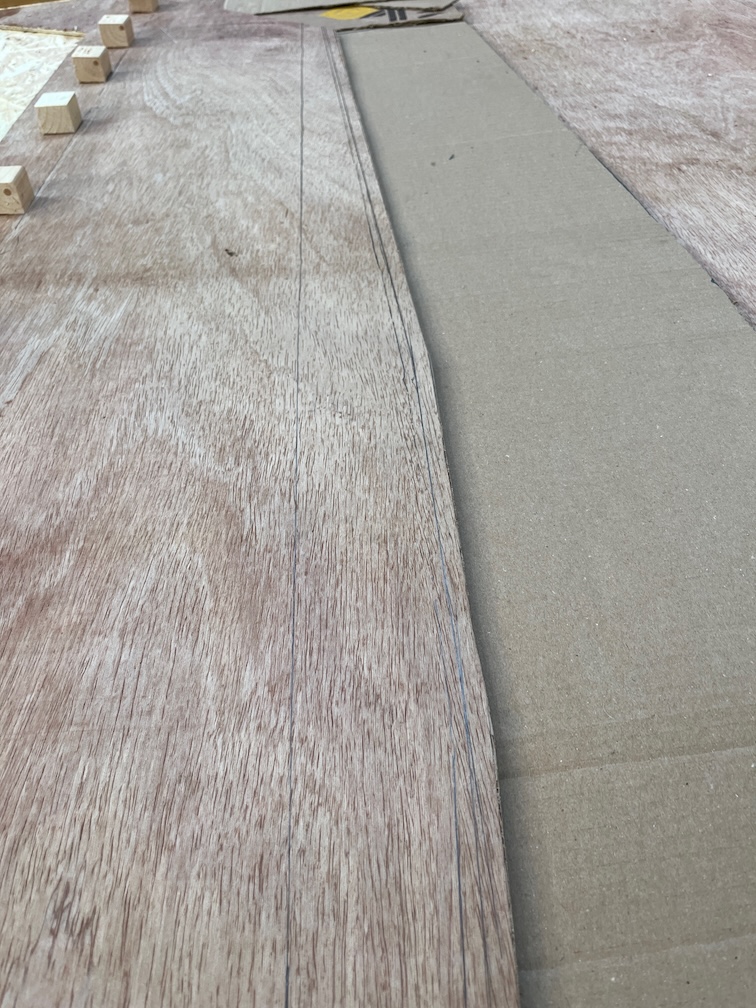
Now for the cardboard template for the outer layer of the centerplate side. That’s a mouthful !
I drew straight lines on the plywood template at each block up to the line that marked the bottom of the top runner, measured the distance from the block to that line and write the value on the block.
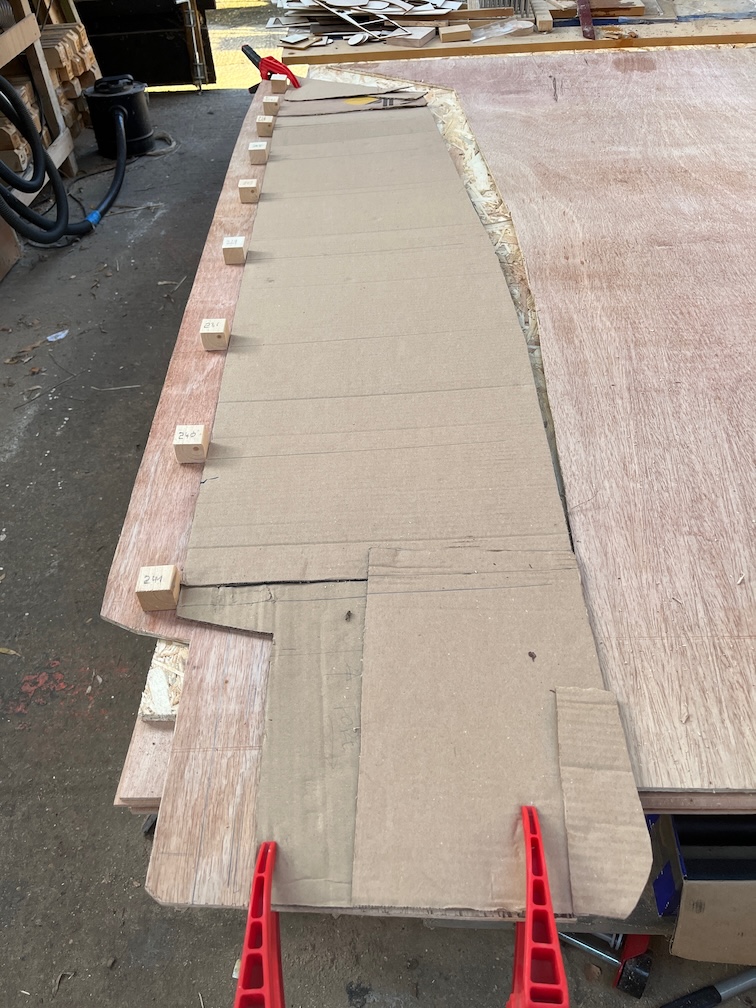
I reused the cardboard inner template since it already has the bottom curve and I’m not going to need it for anything else. Having clamped this into position I drew straight lines from the blocks, measured up the values marked on the block and made a mark on the cardboard. Repeat for all the blocks.
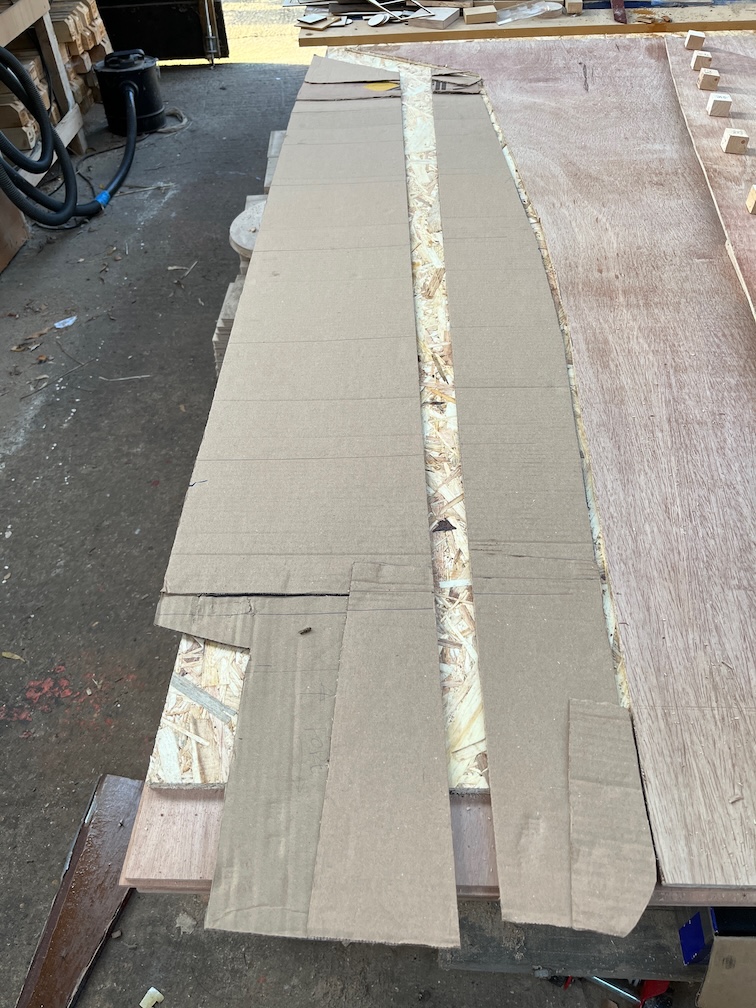
Join up the marks and cut along the line.
So far so good. No mistakes yet.
Now offer it up to the plywood template and check that the top edge matches the line drawn on the plywood. It did, so press on.
Now I need an extension cardboard piece to match the aft block. First cut this to the line of the keel.
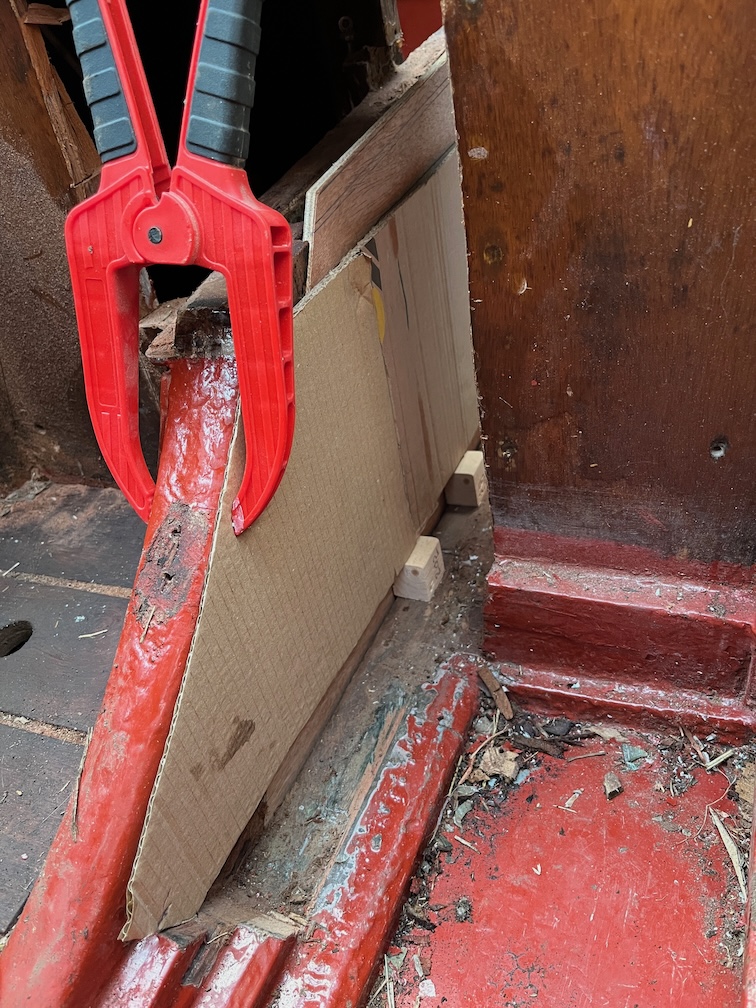
Then use the bottom runner blocks to mark where the bottom should be and cut away the excess and glue it to the rest of the outer template.
Still no mistakes.
Now for the other end.This just needed a piece to fill in as shown above, nothing difficult about this part.
Still no mistakes. I’m beginning to get that “waiting for the other shoe to drop” feeling.
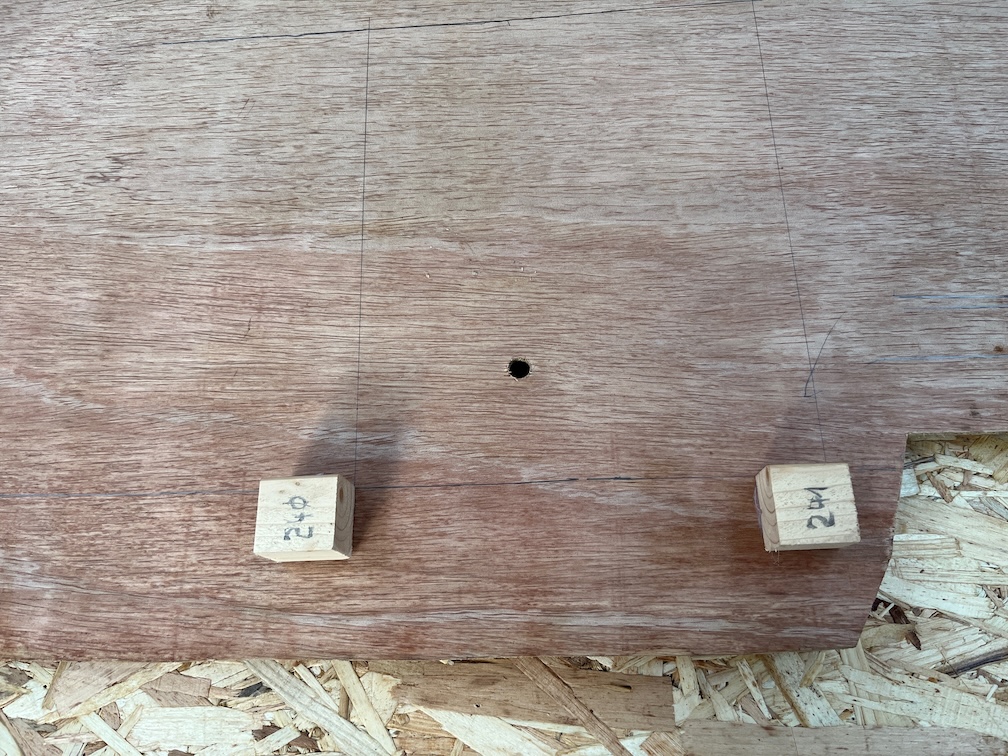
While the plywood template is clamped in position I pushed a pencil through the pivot bolt hole in the other case side to mark the correct position on the starboard side and drilled a 10 mm hole in the template. Having done this there is no reason to leave the port side of the case in place and I can remove it in due course.
Not really looking forward to it, well not the tricky end bits, but there’s nothing to stop me from doing this task now.
Finally, for this sprint, I cut the top of the plywood template off to the marked line.
Still no errors but I cannot do any more on this as the next bit needs the top runner and the epoxy on that isn’t cured yet.
so…
Time for a cup of tea.