
One of the good points about the way in which Charles Stock build the interior of Shoal Waters is that he slapped Mendix (or Mendex) over just about everything. That would be the equivalent of using thickened epoxy today with the exception that the stuff he used doesn’t appear to be susceptible to heat, unlike epoxy. So, unlike epoxy, you can’t make this stuff soft with a heat gun and scrape it off.
One of the bad things about the way in which Charles Stock build the interior of Shoal Waters is that he slapped Mendix (or Mendex) over just about everything. The only way to dismantle things done this way is to cut them out.
So far, the removal of starboard side of the centreplate case has removed parts that needed to be removed anyway, but has meant cutting through something that I would have preferred to not cut.
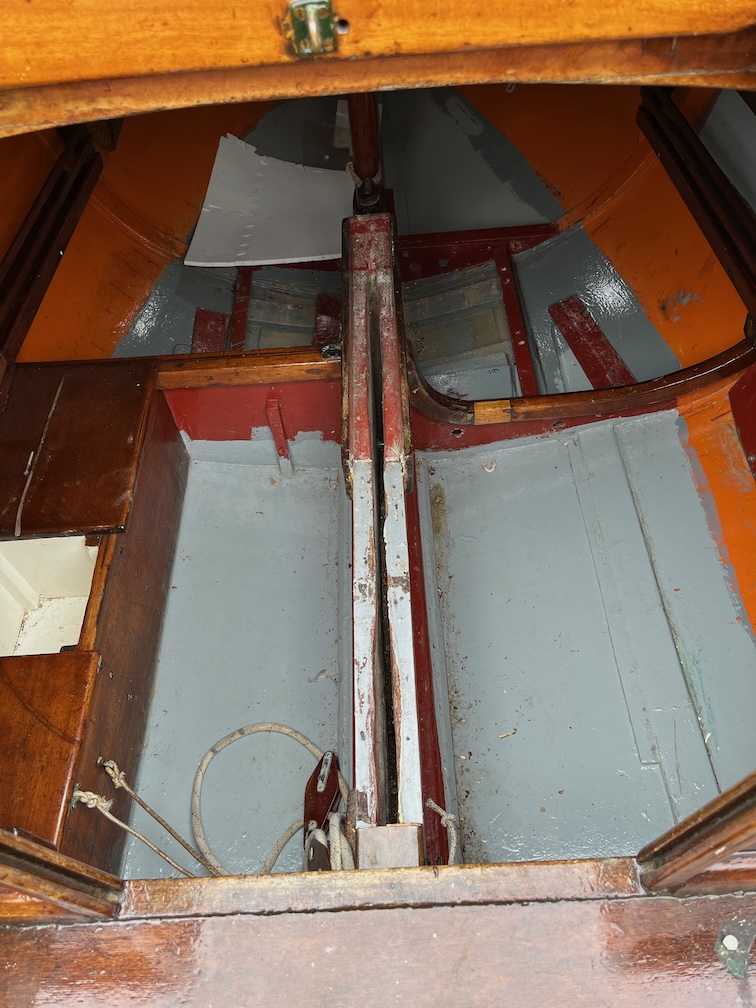
That’s the bulkhead that is shown here in the righthand side of the case.
This is what it looks like now. I’ve kept the piece that has been removed and I’ll epoxy it back in place when the new case has been installed. Although I may put in a new one that is the same as the height of the one on the port side. This bulkhead it supposed to stop the case from moving under the stress of the plate when sailing. The plate is 1.2m long outside the hull when lowered and that produces a lot of sideways force on the case due to leverage and I’m not sure that the small bulkhead Charles used is really enough.
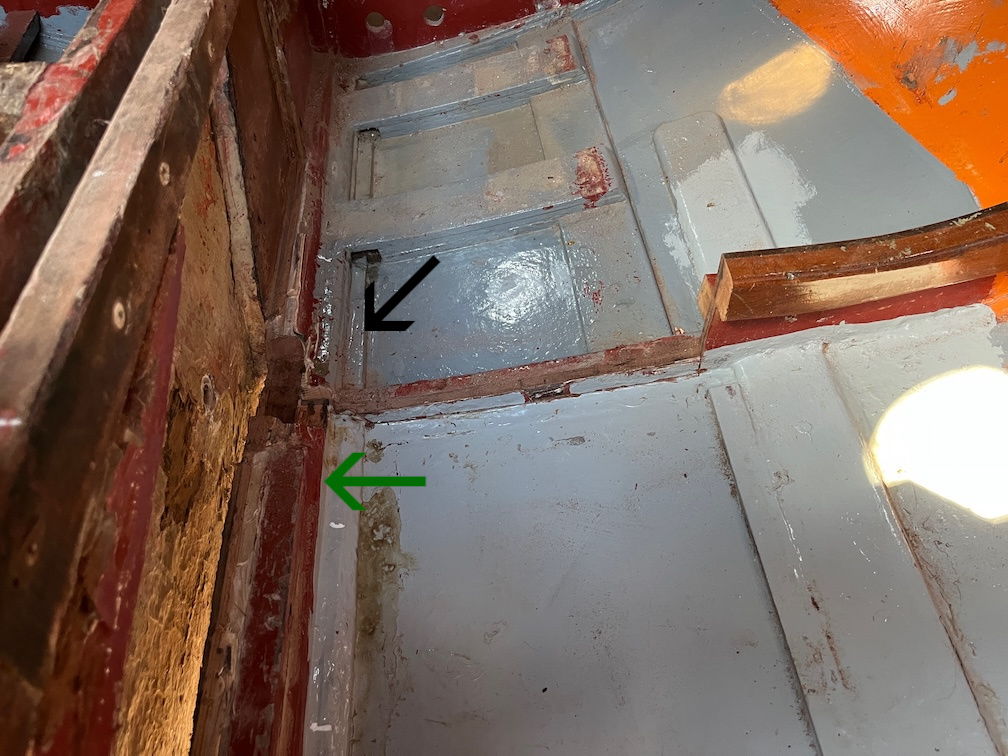
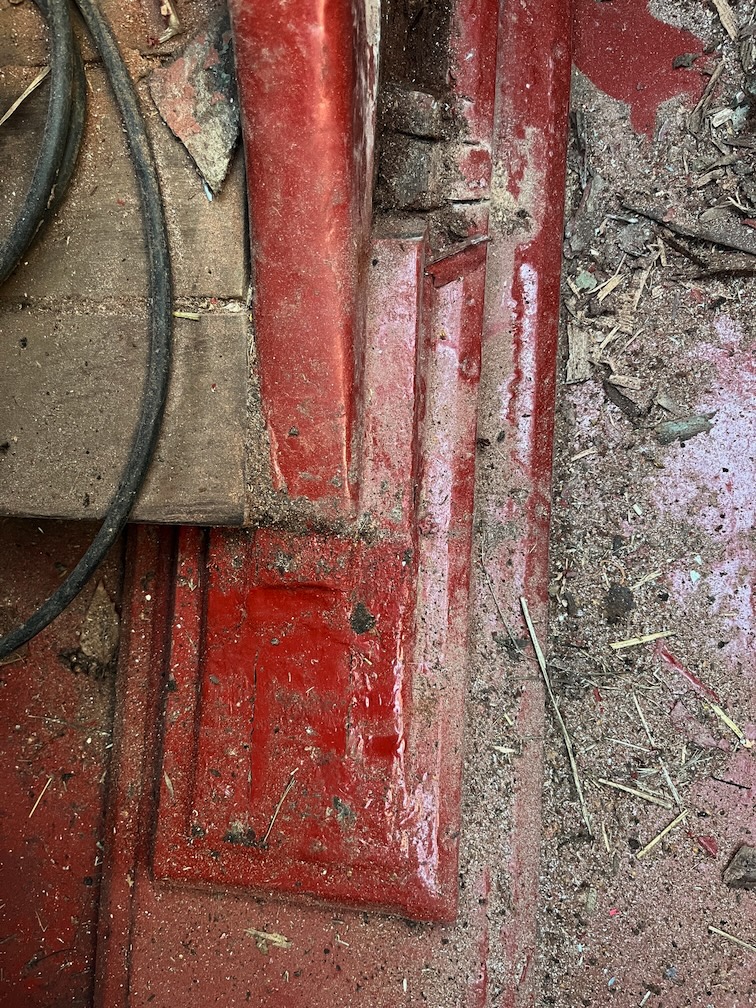
The fairly careful removal is about to end. The aft end of the centreplate case protrudes into the cockpit and the woodwork around the case has to be cut out and removed. I have already made a start with a single “incision” to show the limit of the cut but now it is time to finish the job.
No finesse in this part of the removal, there are too many hidden screws to make this an easy job, so I just went at it regardless. Mind you, I didn’t cut of huge pieces at once, preferring to cut things away small chunks at a time.
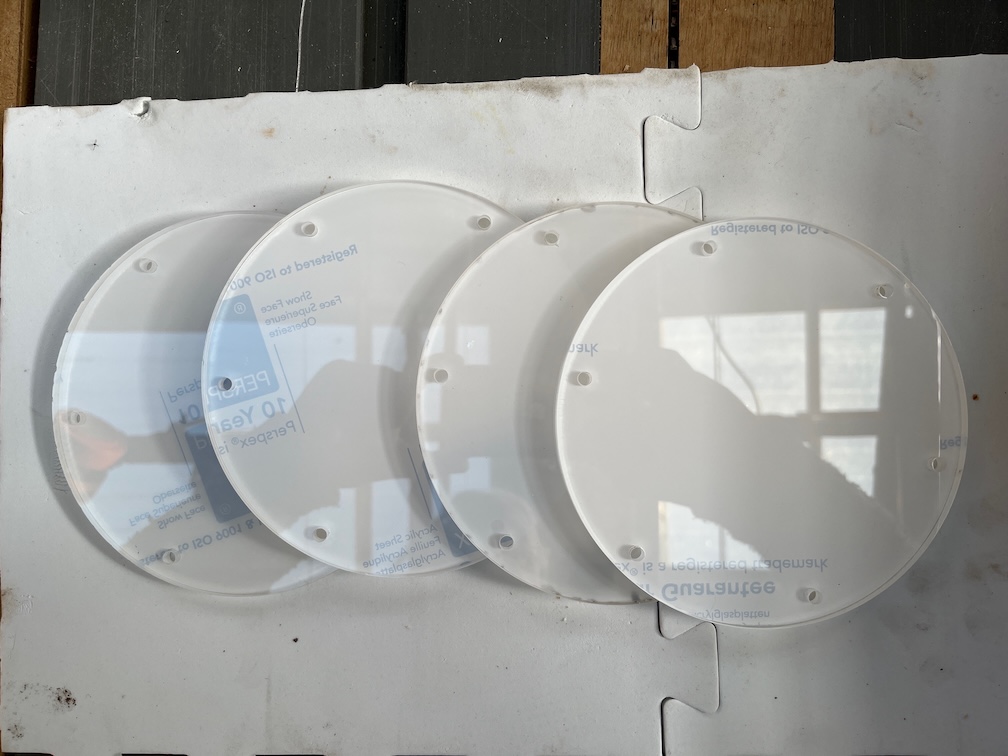
First break, make the replacement portlights.
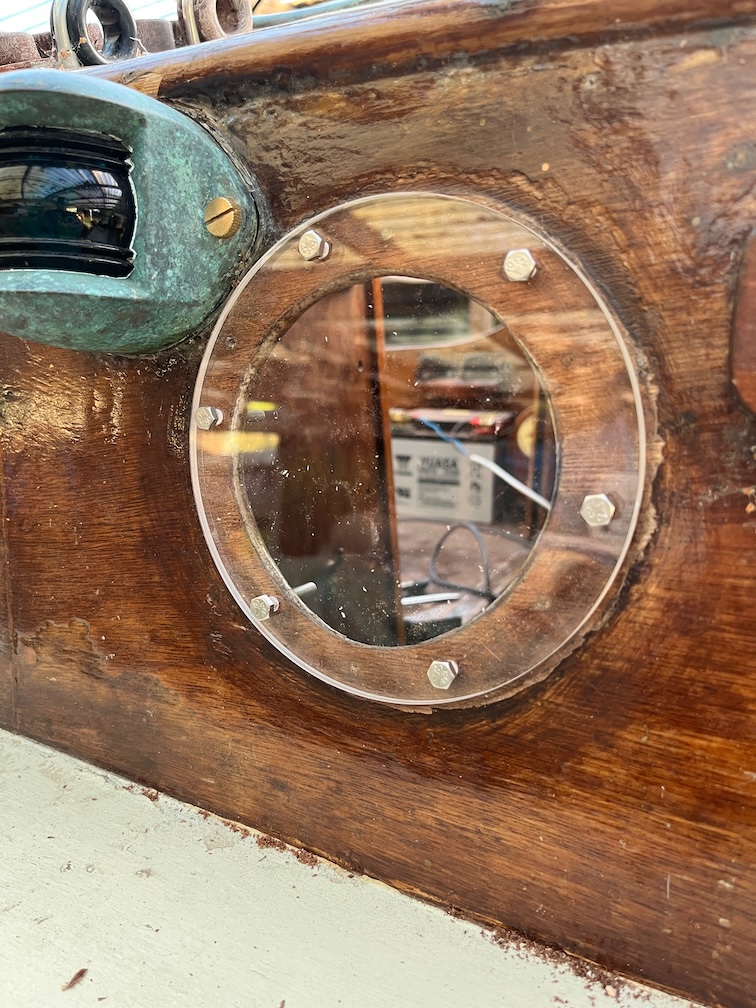
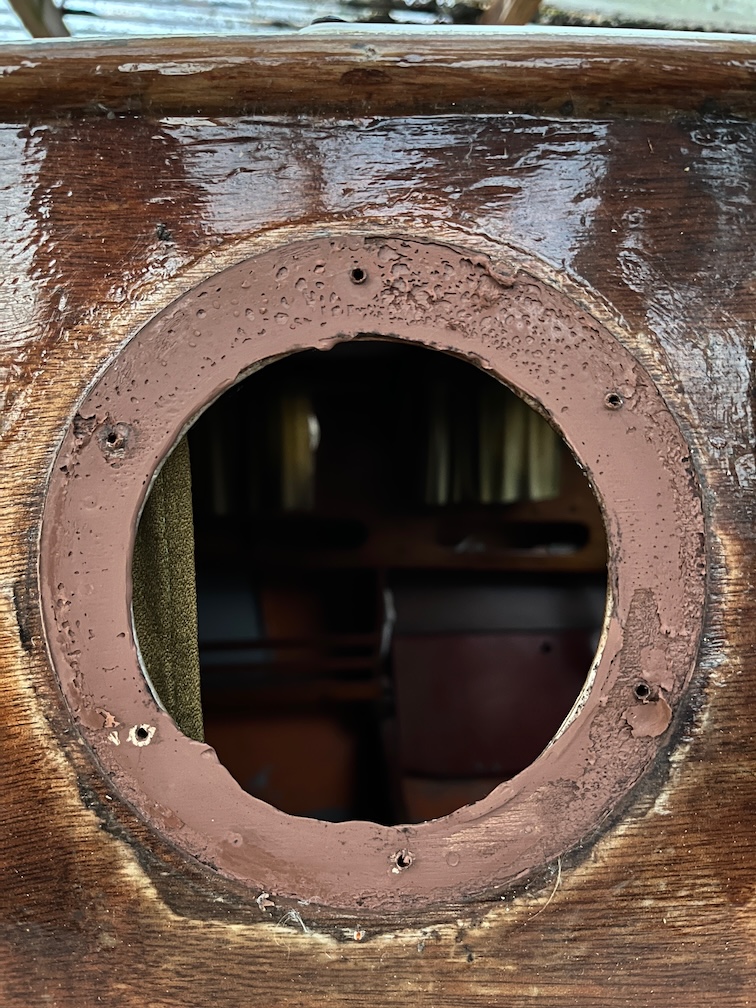
I remove one of the old lights, scraped away the old sealant, drilled bolts holes through the old screw holes and put one of the replacement lights in place. I don’t have the correct bolts for this job, they are on order, so I just used some bolts that are too long to check how it looks.

The USB charging ports of the charge controller only supply 500mA total and if you try to take more than that, it takes away power from the controller itself and that stops working. So I bought some blanking plugs.

I’ll probably fix these in using some hot glue the they don’t fall out. There’s no reason to use these sockets as I’ve wired in eight others that will supply s good amount of power.
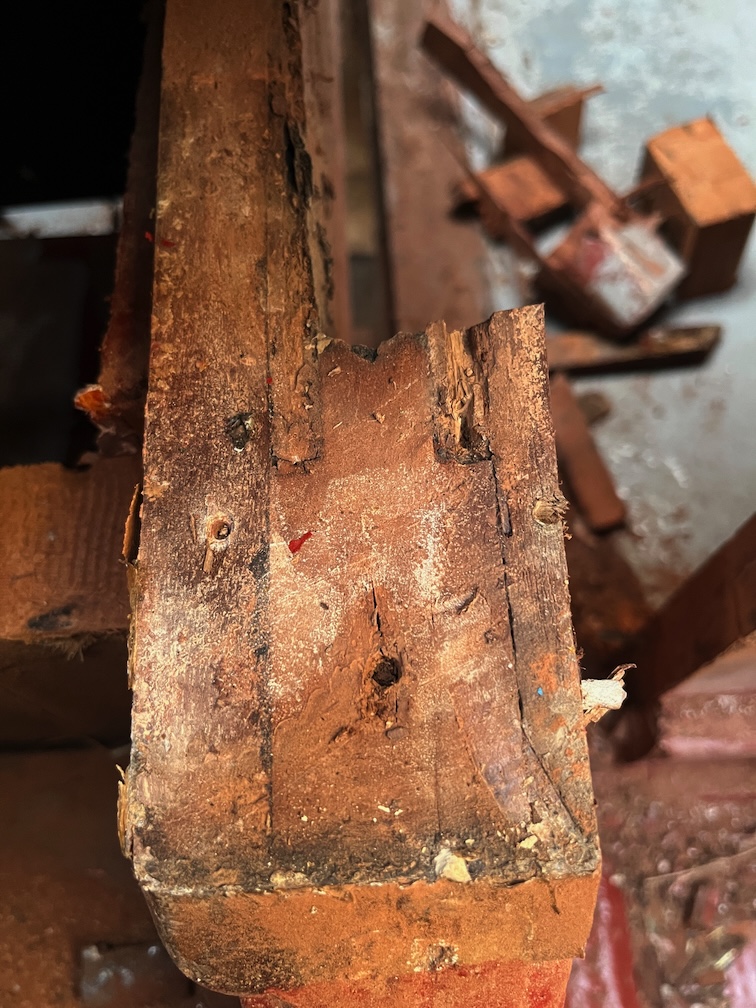
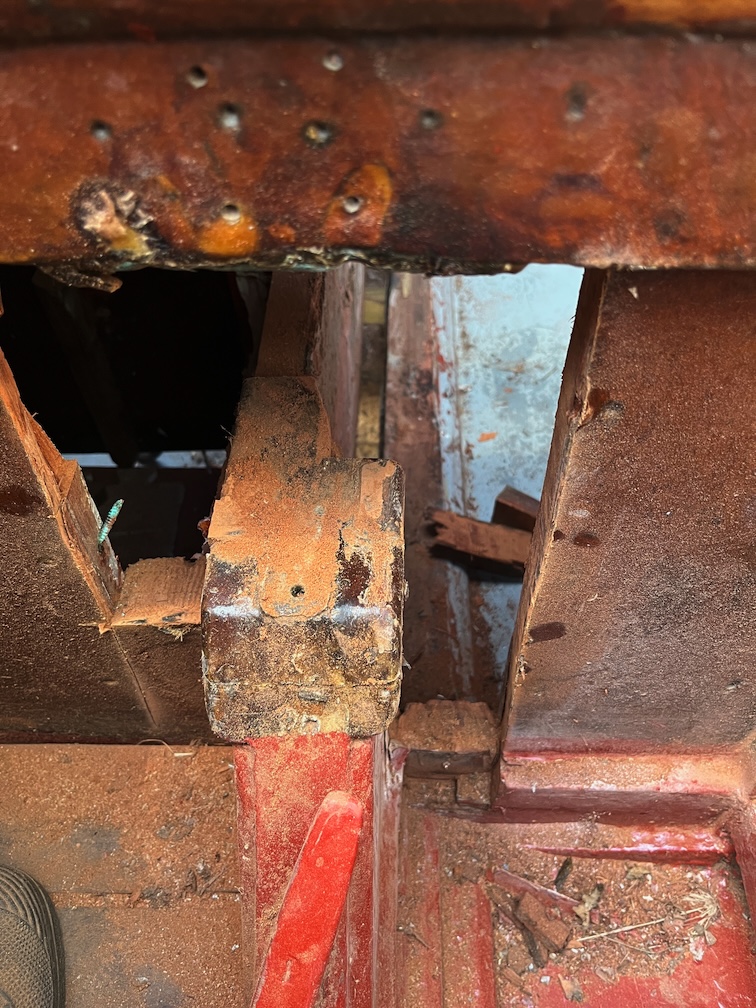
Back to the cantreplate case. I cut away the top cover to reveal the top of the aft end of the case. It came away quite cleanly and you can see the soft plywood of the case where it is inset into the aft block.
Then it was more work on the sides. This lump is the plywood added by Charles and has to come off.

A while later and that was removed and I could see the glue line where the plywood of the side is glued to the aft block. I’ll need to tidy this up and there’s still a lot of the plywood left and my chisel work is not that good, so I’ll resort to using a sander for that bit. But this does show clearly where the plywood ends.
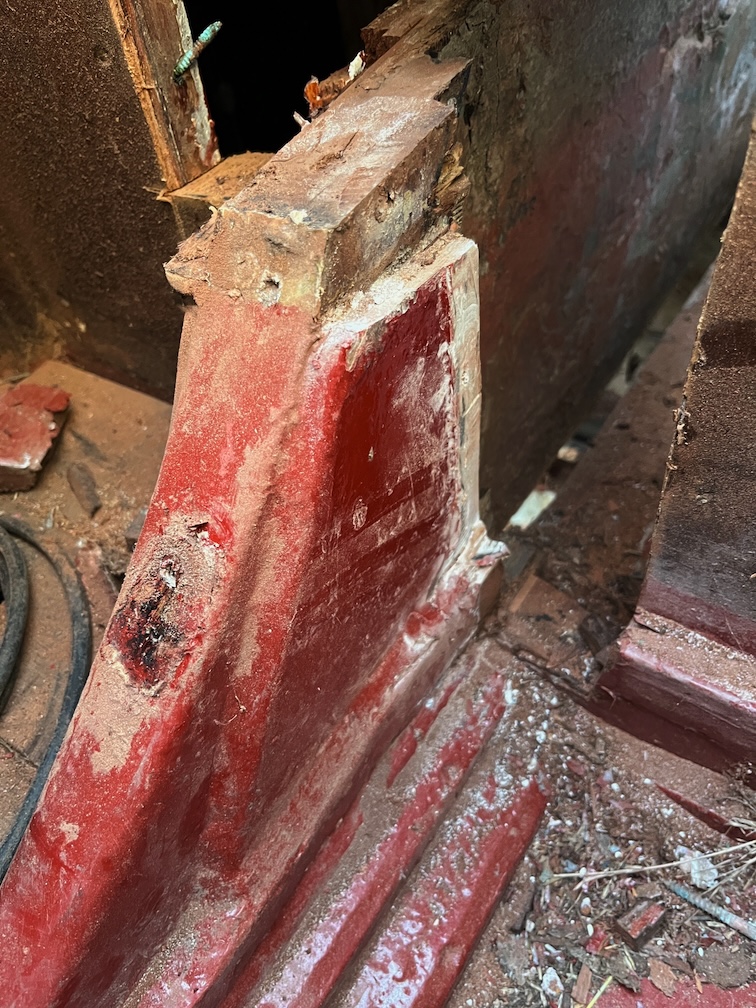
Finally, for today, I remove the supporting battens back to the keel. Well, almost. The one added by Charles is okay, but the original one is very wet. Not rotten, just soaked up a lot of water. I’ll let that dry for a bit and then sand the rest of this and the paint back to the top of the keel. I’ll probably need to take this away completely as I don’t know how far the wet wood goes.
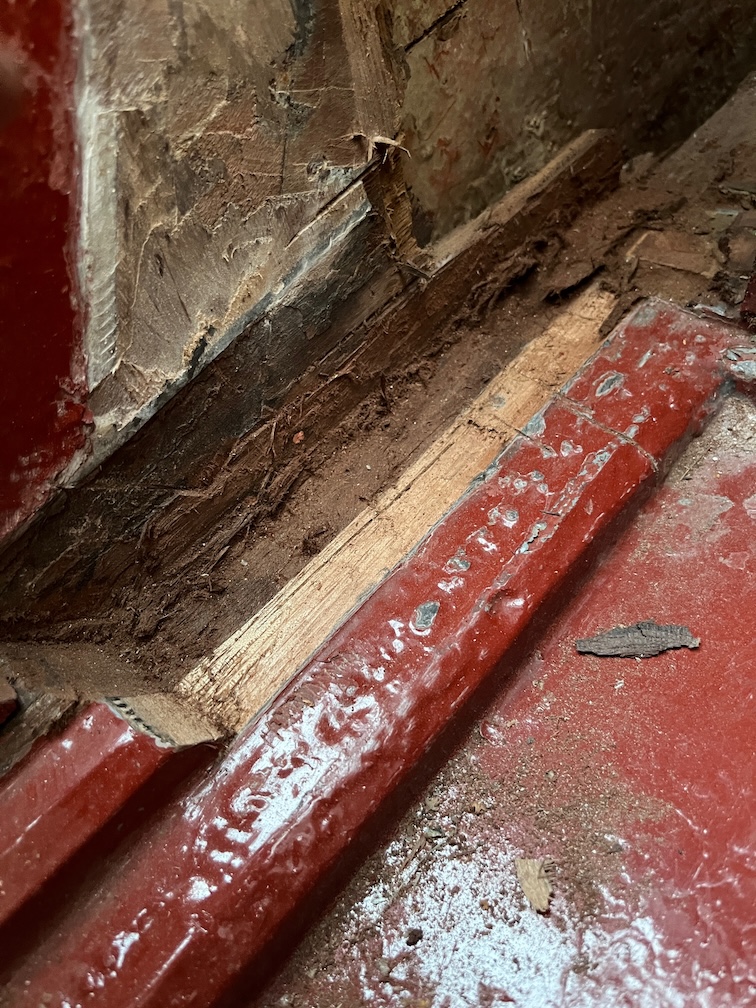
This is the other end of the battens, so not a lot to remove and since the wood is very wet, it is probably a good idea to remove it and replace it with new wood. It will be interesting to see how the keel is under the batten. It has been glued in place so the water that was soaked up by the batten probably hasn’t affected the keel…I hope!
That’s the end of the centreplate case work for today, although not the end of the tasks for the day. There’s not going to be enough light to continue the case removal after I finish work but enough to do a few more port lights.

So, here’s the process. Select the light to be replaced.

Remove the screws. Notice that the old light doesn’t fall down as there is some sealant between the perspex and the cabin side.
Pretty good stuff, but it has to be scraped off.

Interestingly, once the sealant has been removed you can see that this light has already been replaced three times before. There are the screw holes for the light just removed, two sets of screw holes that have been filled in and the remains of some screws that have been sanded down flush with the wood. So that means that this new light is the fifth one !

Then it’s drill the holes and put the light in with temporary bolts.
I managed to get two more done but the light was fading fast and so was the temperature. Clear sky, Winter and once the sun sets the temperature plummets.
Still, a fair bit done during coffee and lunch breaks.
Time for a cup of tea.