
Today, being a work day, means that I carried out small tasks that could be done during a teak break or before breakfast. First up was the galley stove locker lid which is basically a copy of the board upon which that stove is mounted but without the stove.
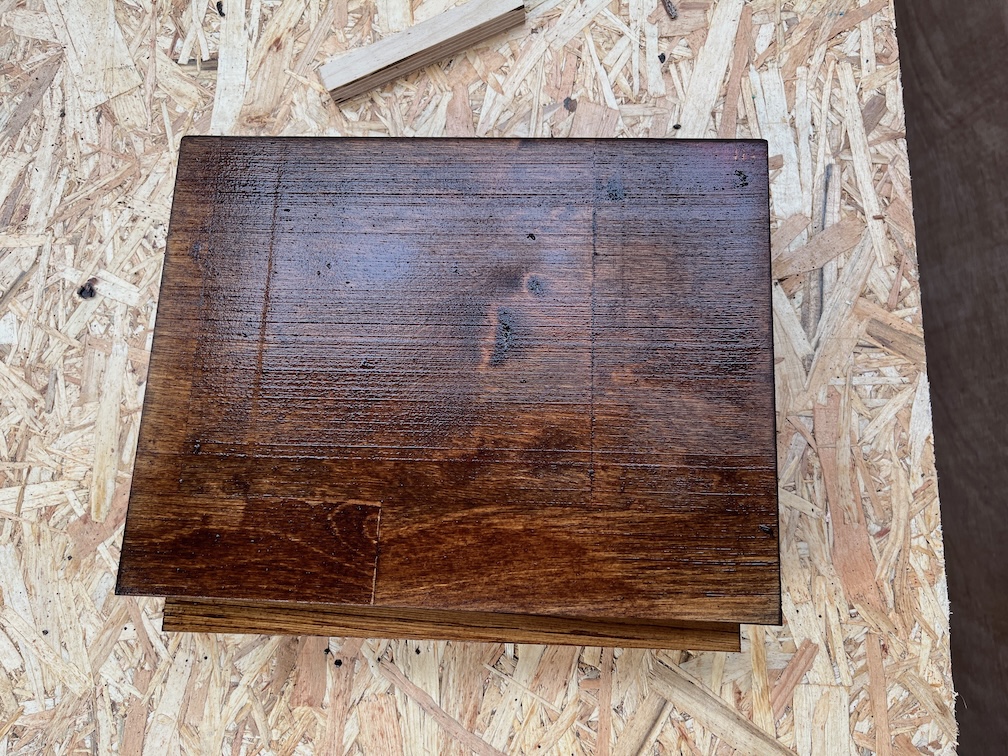
Very easy to make there’s no glueing or awkward bits and the result here has a coat of stain on both sides. I’m using some trapezoidal standoffs to keep of off the work surface.
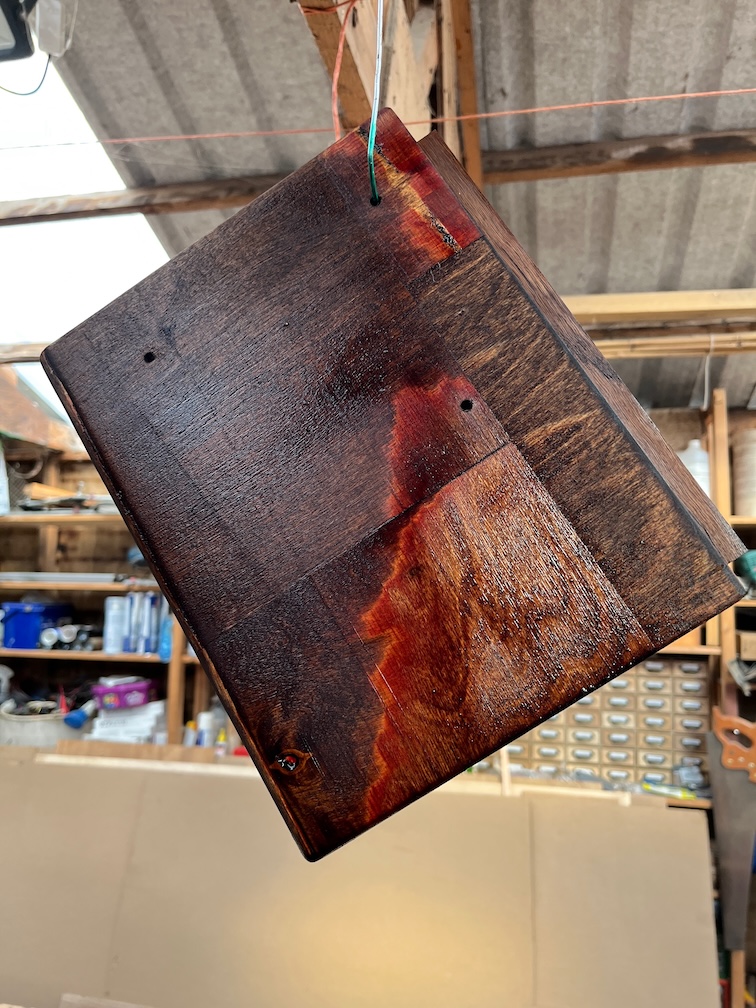
Whereas the stove base board, which has holes, is hanging from a string in the rafters and now has two coats of stain. Once both have two coats of stain and are dry they will be varnished with a few coats before being ticked off the to do list.
Time for a cup of tea.
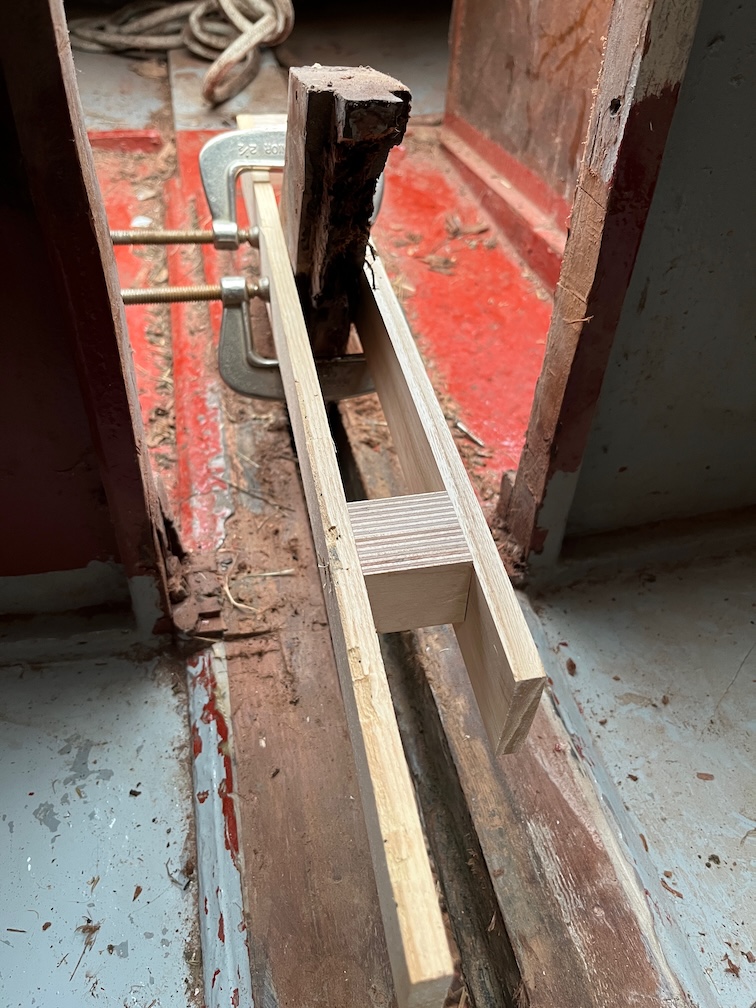
The next task on the list was to make a saw jig for the aft case bock so that the rotten/soft section could be sawn off by hand with as smooth and flat a cut as possible. The problem is that the space was sufficiently restricted so as to prevent the use of either a circular saw or a jigsaw, or at least the ones I own, and also all my hand saws with the exception of the pull saw. This blade is very flexible and to get an accurate, flat cut in such a tight space required a jig.
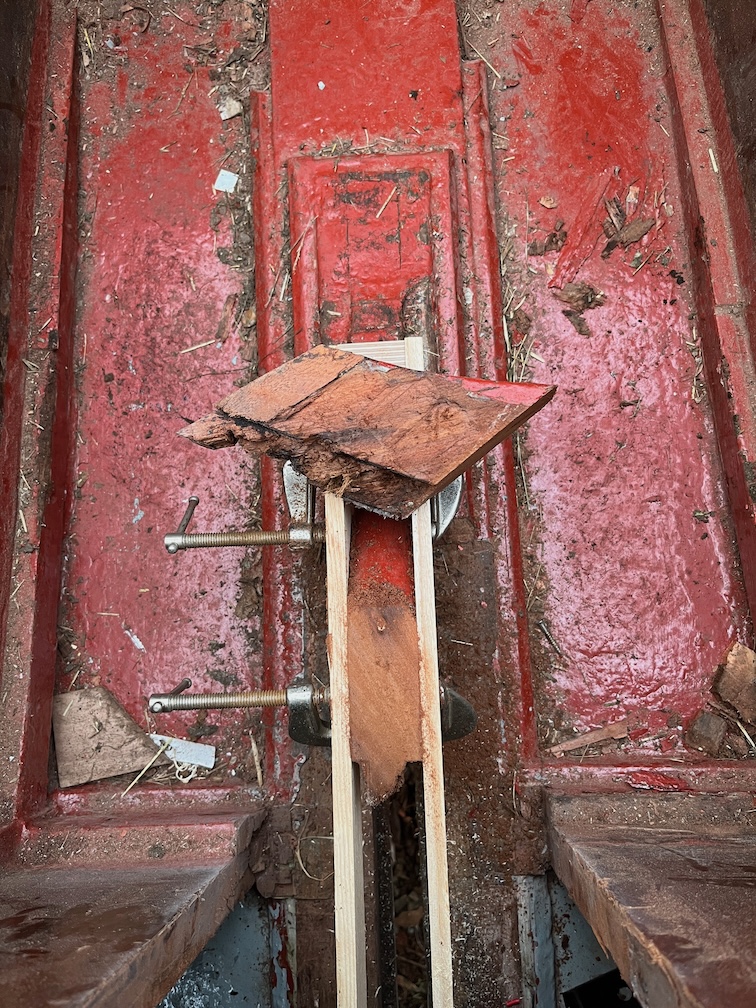
Essentially, I clamped two identical battens either side of the block and fitted two spacer blocks at either end. These held the two battens apart the same width as the width of the block. I made sure that the battens were parallel, straight and screwed them to the blocks such that they formed a rigid structure. This jig was placed over the block such that the upper edges of the battens was at the correct place for the cut and the jig clamped securely in place.

Now the pull saw had two guides, one on either side of the block and I could carefully cut off the top.
I had to use the saw from the inside as the cockpit was too narrow for the saw.
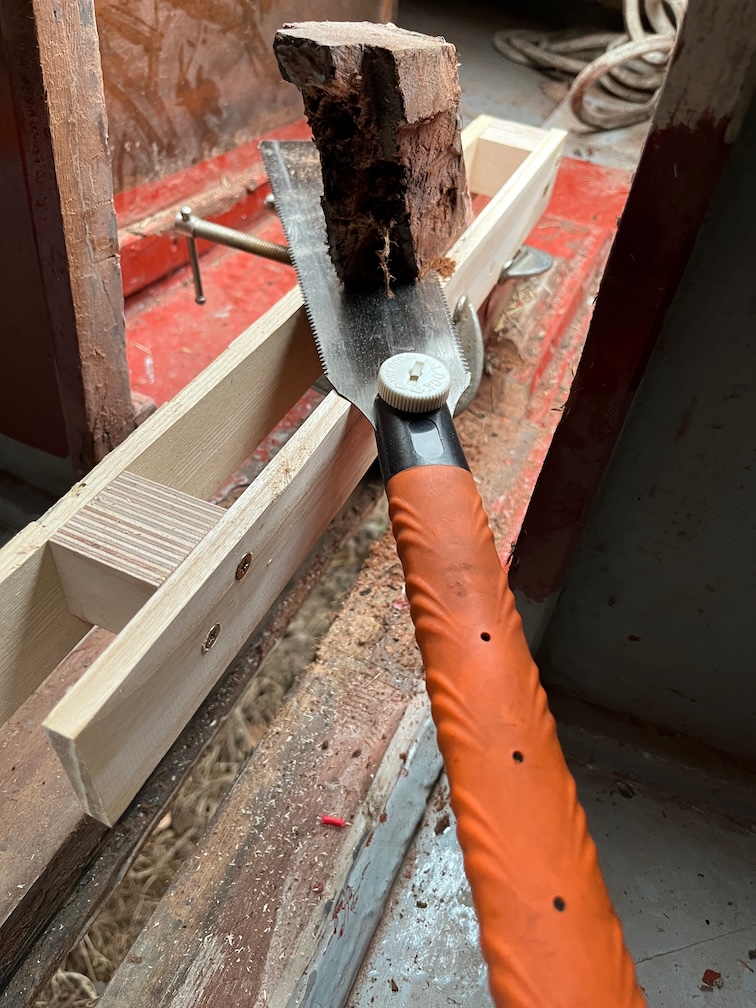
But here you can see the saw in action and also the function of the saw jig which, I have to say, worked better than I expected.

A slightly different angle on the cut.
This shows just how well the jig worked, the cut is clean and flat.
Of course, it took longer to carry out than it did to describe it !
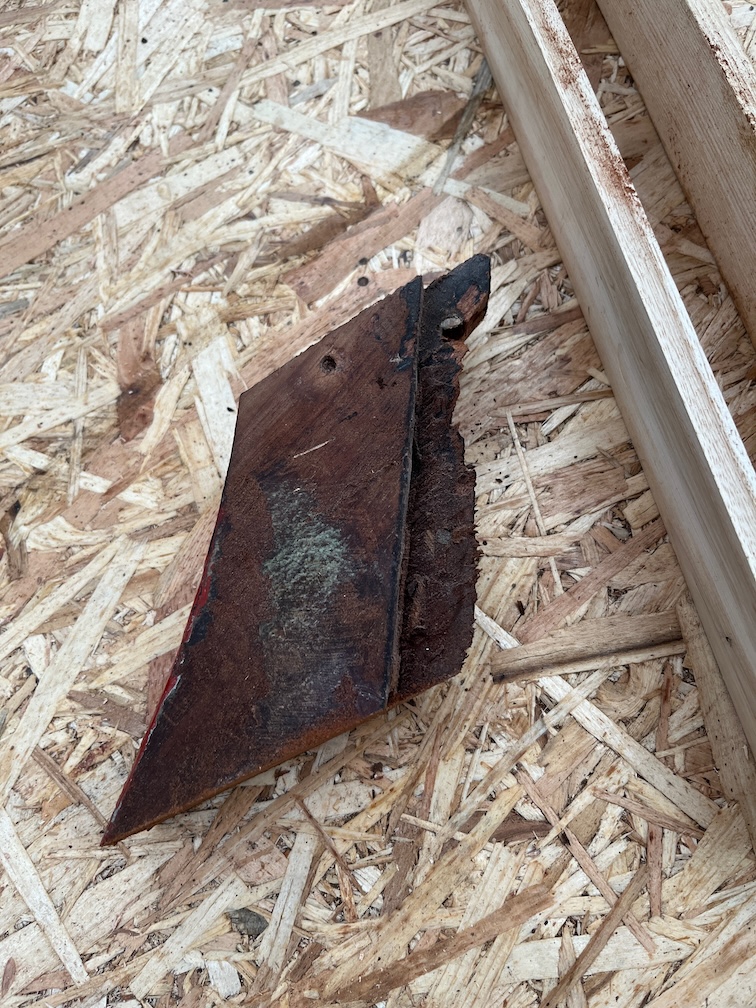
Back in the workshop I could take a look at the offcut. Like this it is not that informative.
This shows more clearly the problem.
I had to cut the piece in half lengthways because I need the shape to make a new piece and with rounded edges on the outside, this would have been difficult. However, cutting it in half did give me some more insight into the issue.
The soft, and possibly rotten, part doesn’t really extend into the body of the offcut except in one place. There are two holes that have been filled with some kind of filler, one a screw hole and the other a larger void for something.
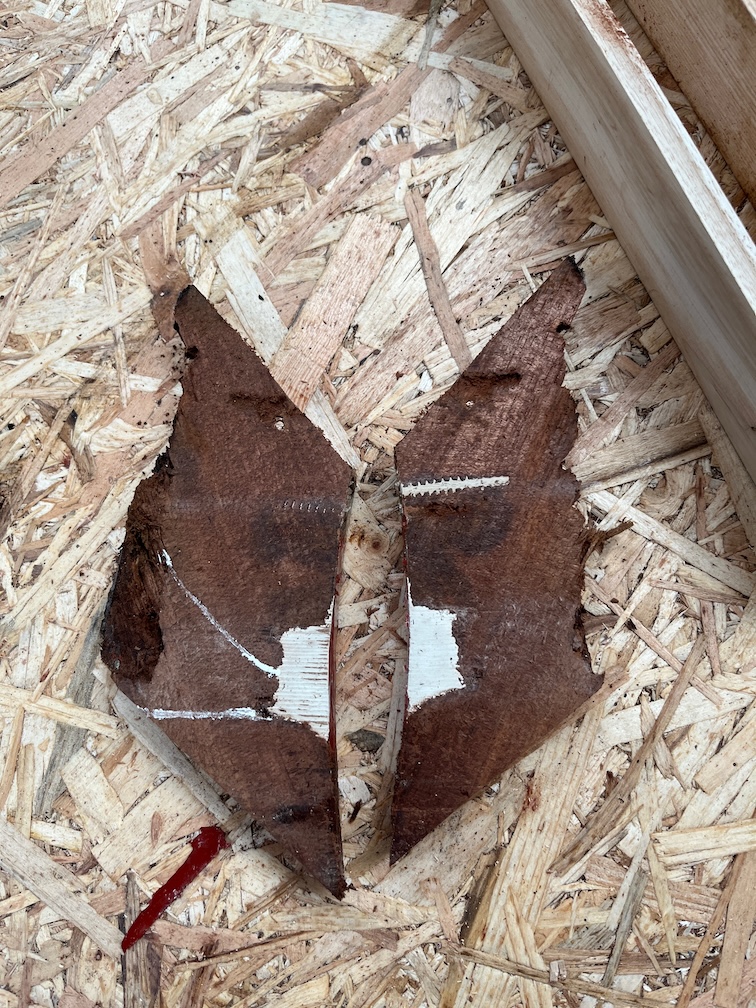
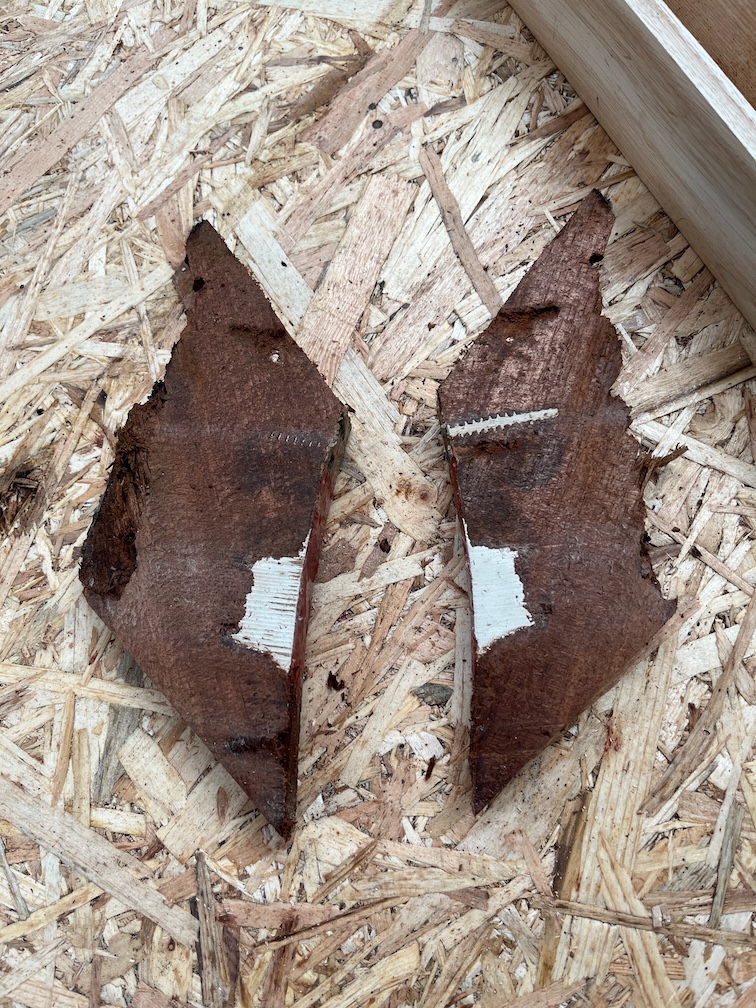
Here’s the interesting thing. Poking around the soft area I found that the really obvious soft wood was joined to the larger of the filled in sections. I’ve marked that soft section in white. The inner surfaces of the centerplate case were coated with a waterproof glue, including the fore and aft blocks, so unless the glue layer was damaged then the softness was unlikely to start from the inside, especially since that part of the block is above the waterline most of the time.
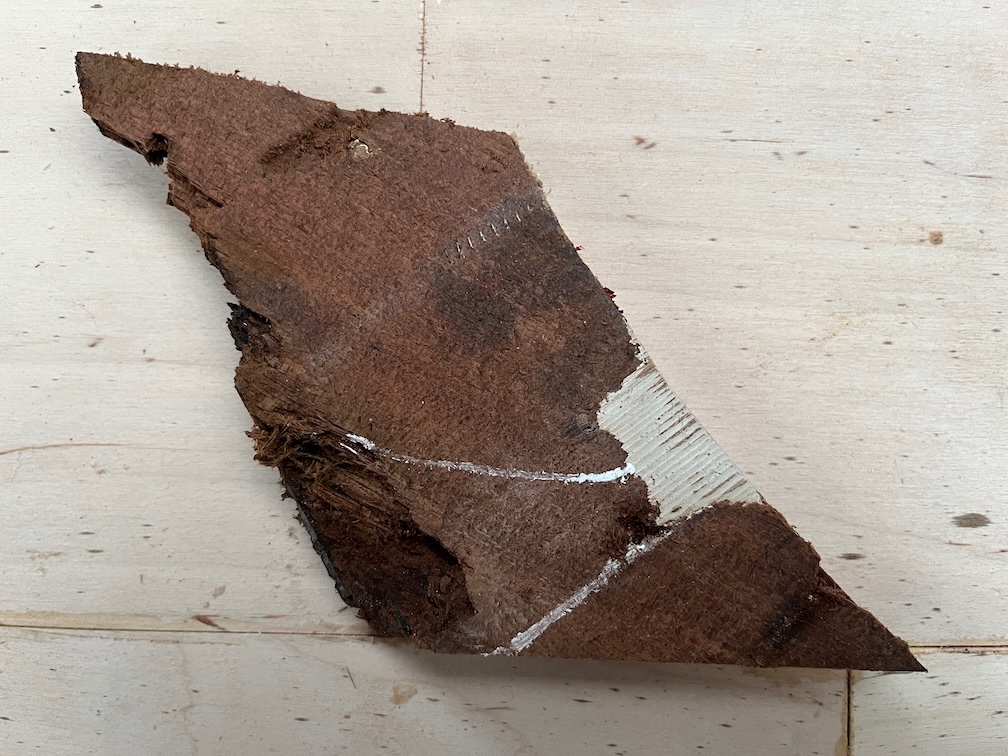
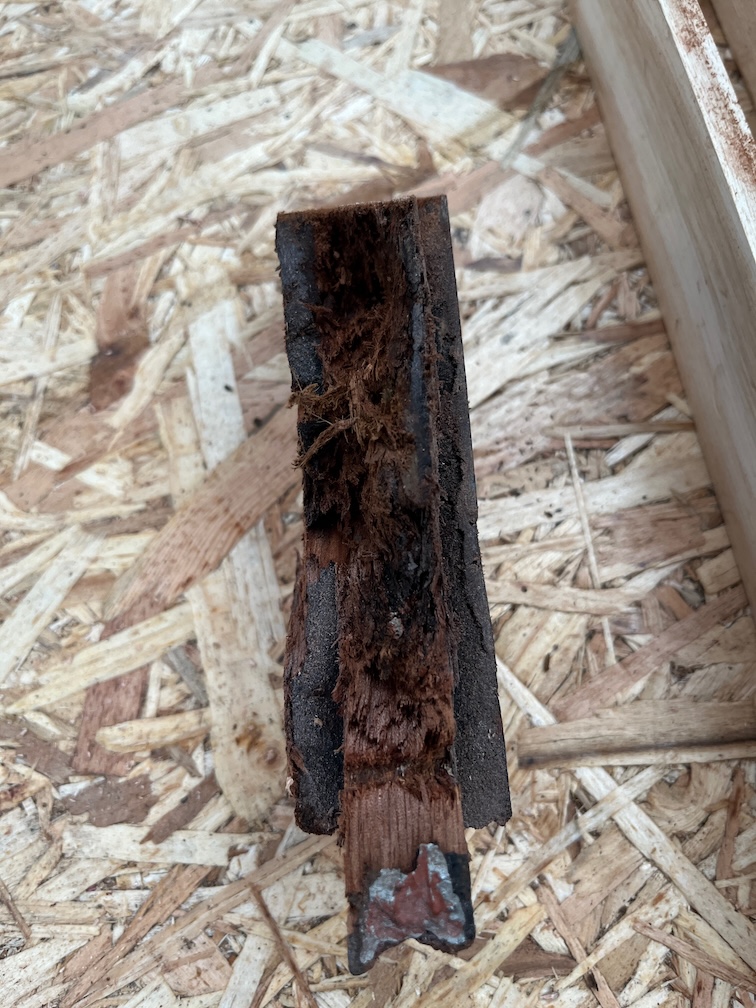
If I rotate the piece so that it is shown as it would be in the boat, you can see that the large filled void slopes downwards and the soft wood goes to the bottom part. You can see where I picked out some of the soft wood with my fingernails. So, one possibility is that this void was left open for some time and both fresh and salt water was allowed to pool in the bottom eventually causing the wood to become soft.
In the above photo you can also see a lighter area from the pointy end of the screw hole diagonally down to the edge of the block. This is also a bit soft and the same thing may have happened here.

I have highlighted the bit I’m referring to in green.
Nevertheless, my cut was nearly perfect, just below the extent of the soft wood. Making a new piece to replace this should be fairly easy and the next tasks in the never ending saga of the centerplate repair !
Well, it seems like it.
Time for a cup of tea.
The next task is to make the new aft block section and for this I’ll need a template.
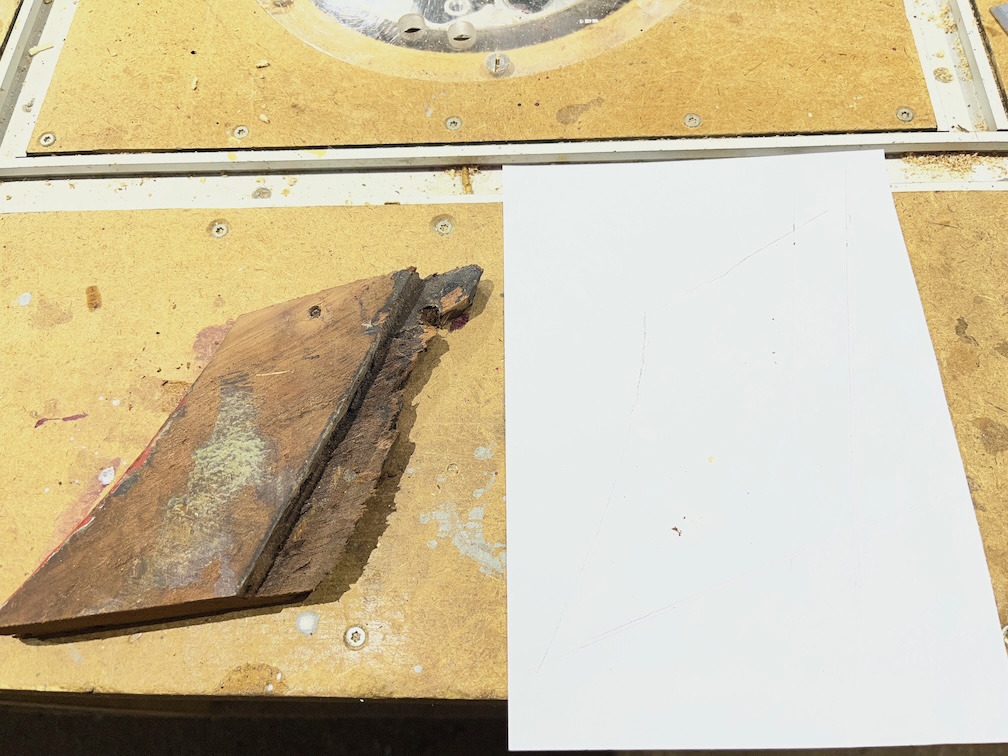
Firstly, I drew the outline on a piece of paper. Not easy to see the faint pencil lines, but they are there. The template is about 1 mm taller than the cut piece to allow for the saw cut.
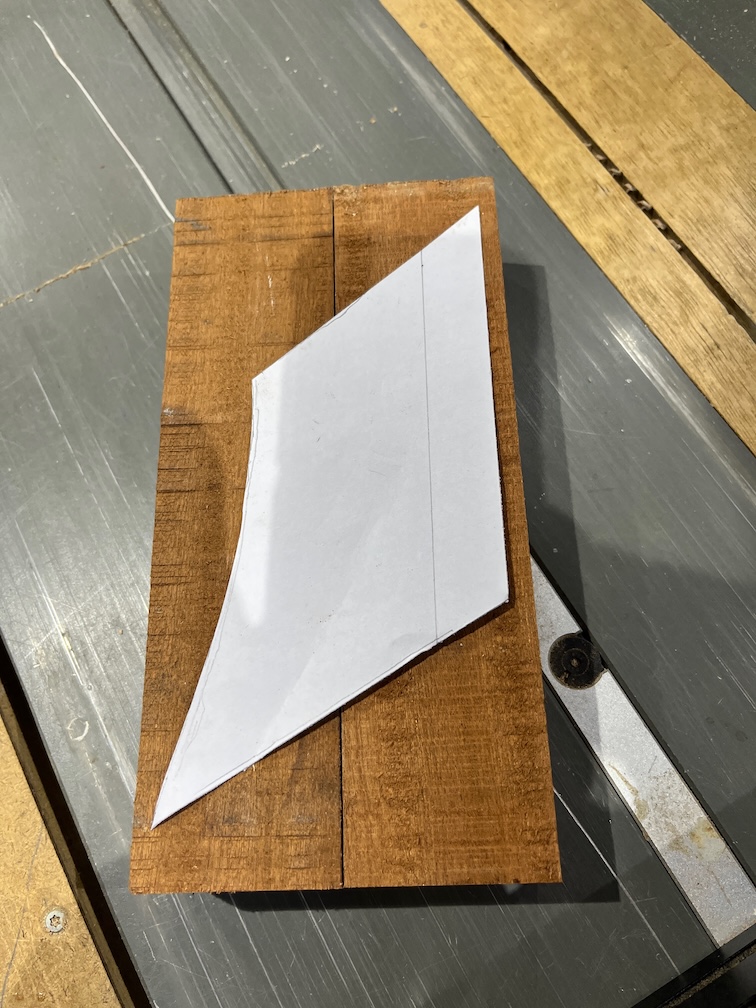
The paper template was cut out and I used it to see if I had any pieces of Sapele that would be big enough. Sadly not and two pieces were cut out and glued together.
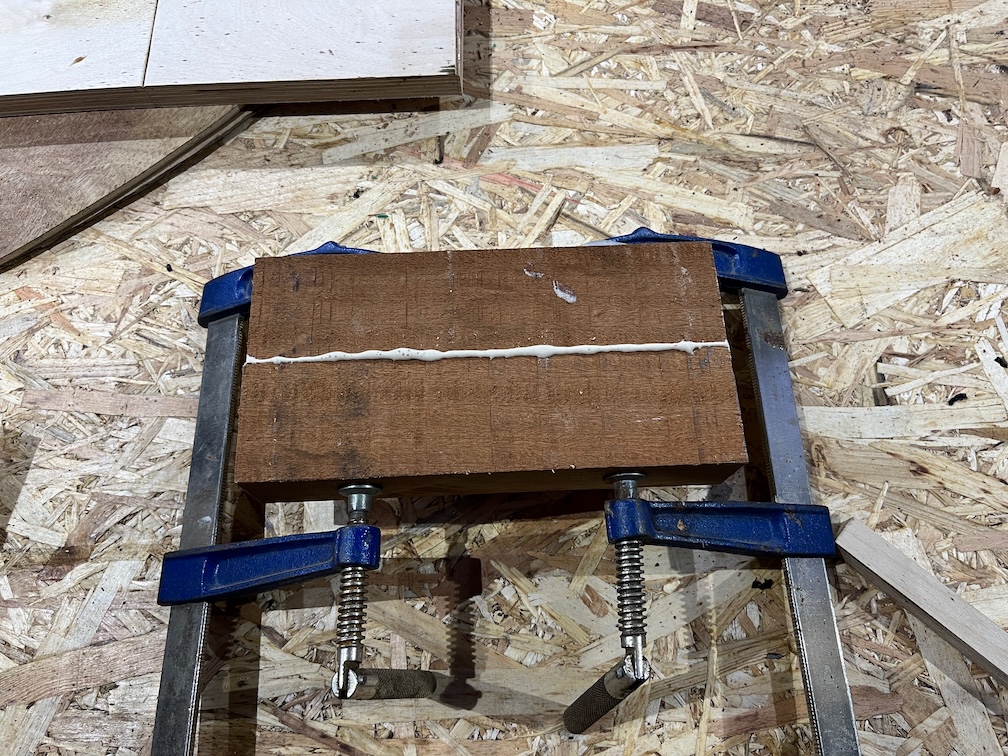
The thickness of the Sapele is 44 mm (ish) and the aft block is 37.7 mm, probably 1 1/2″ that has been sanded down. I will run this block through the planer once the glue has dried to get it to 38 mm and smooth on both sides instead of the rough sawn finish that you can see here.
It is quite useful to note that three of the sides of the offcut are straight lines and only the aft edge is curved. This is going to make cutting the new piece out fairly straightforward, at least I hope it will.
But that’s a task for tomorrow.
Time for a cup of tea.
Finally for today, the two galley stove boards received their first coat of varnish.

The tops of the boards will receive four coat with the undersides getting two, possibly only one.
That’s the lot for the day.
Time for a cup of tea.