
I put the diesel heater on when I went out to feed the outdoor cat this morning, meaning to give it half an hour and then to turn it off. Well, I forgot and it was nearly two hours. Still the inside of the cabin was very warm and toasty.
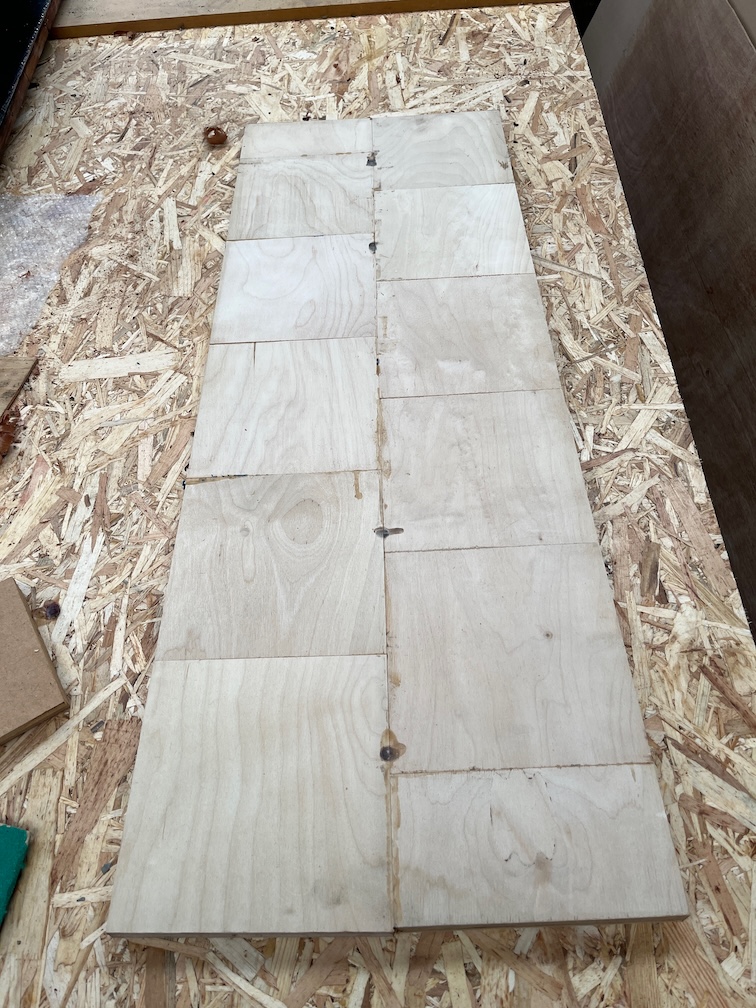
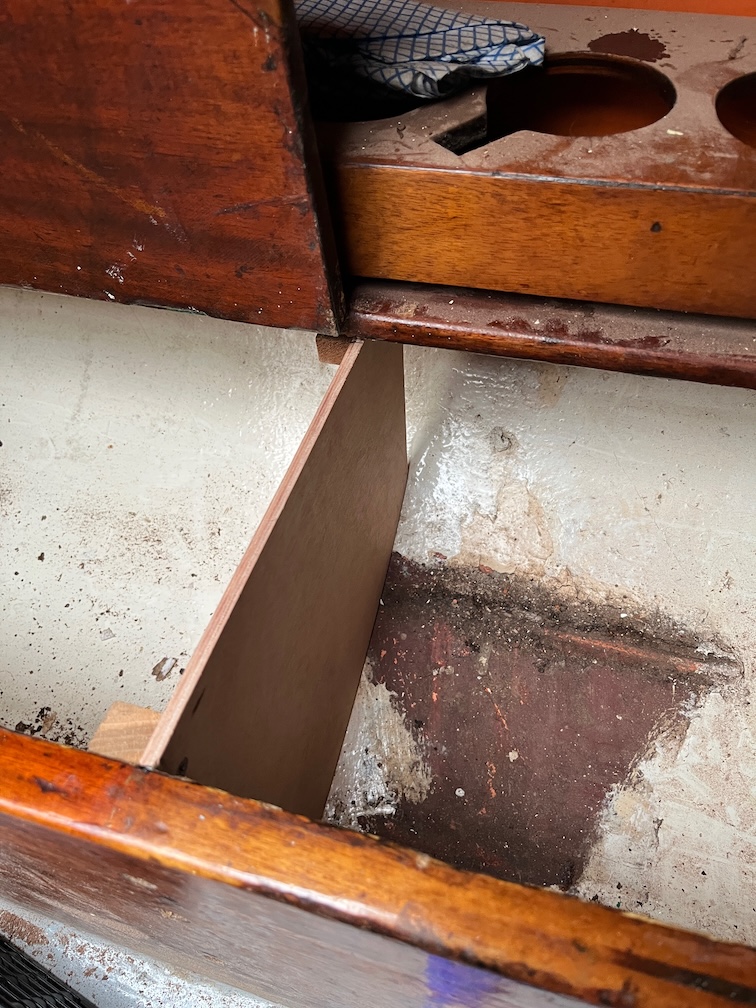
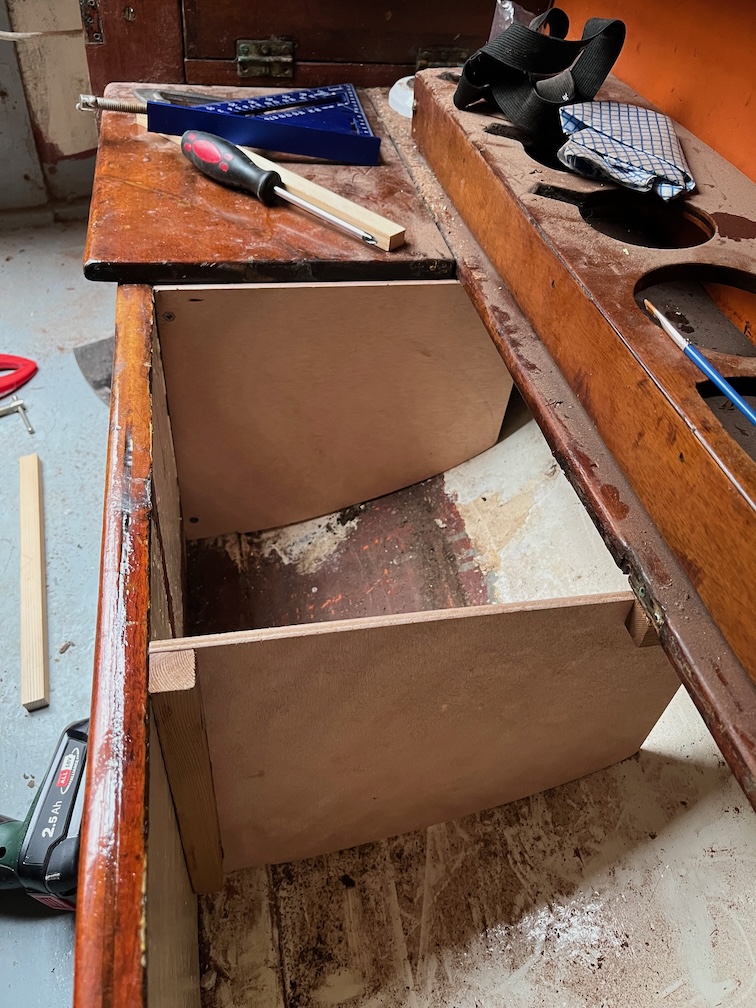
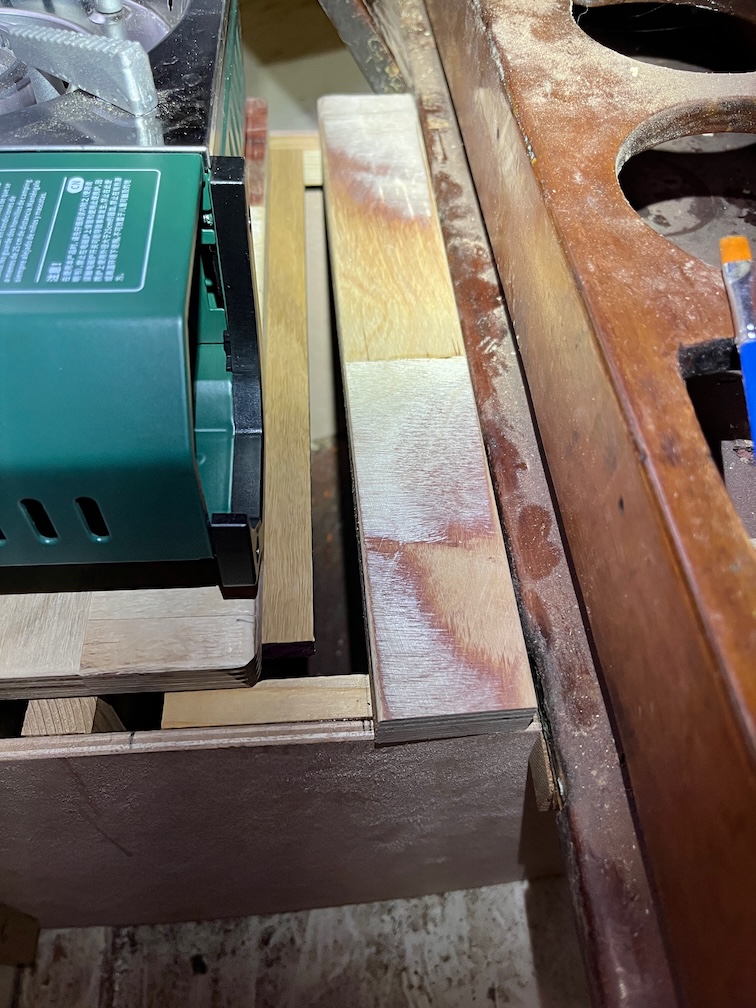
The next part of the galley stove task is to see if the laminates worked and then to make a cardboard template followed by a gash plywood template followed by the real thing.
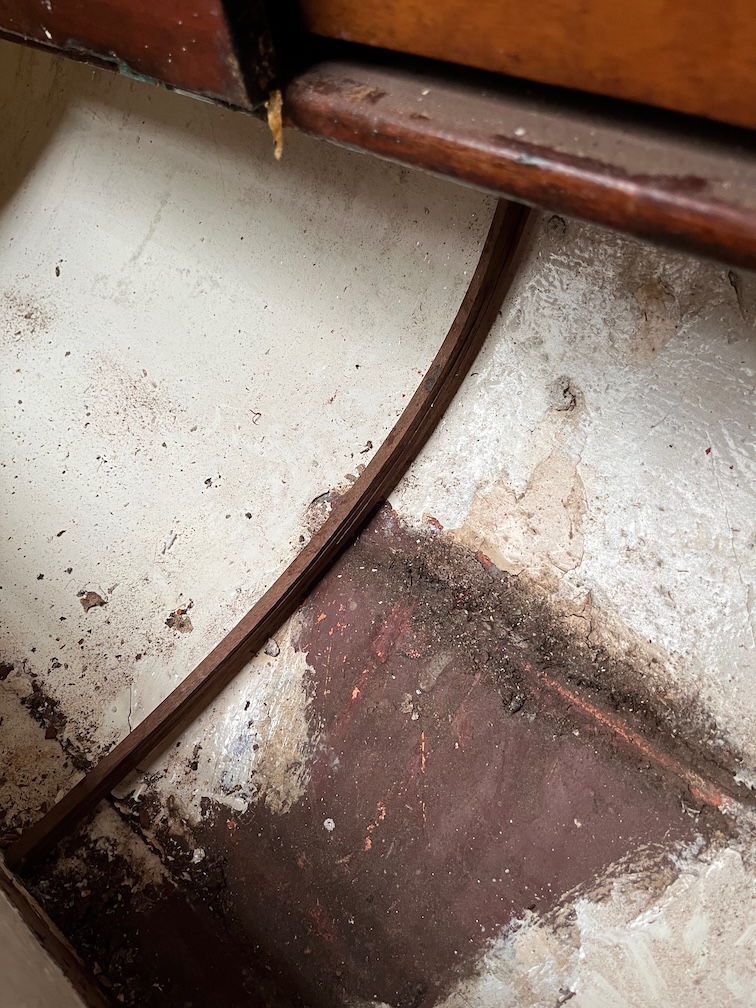
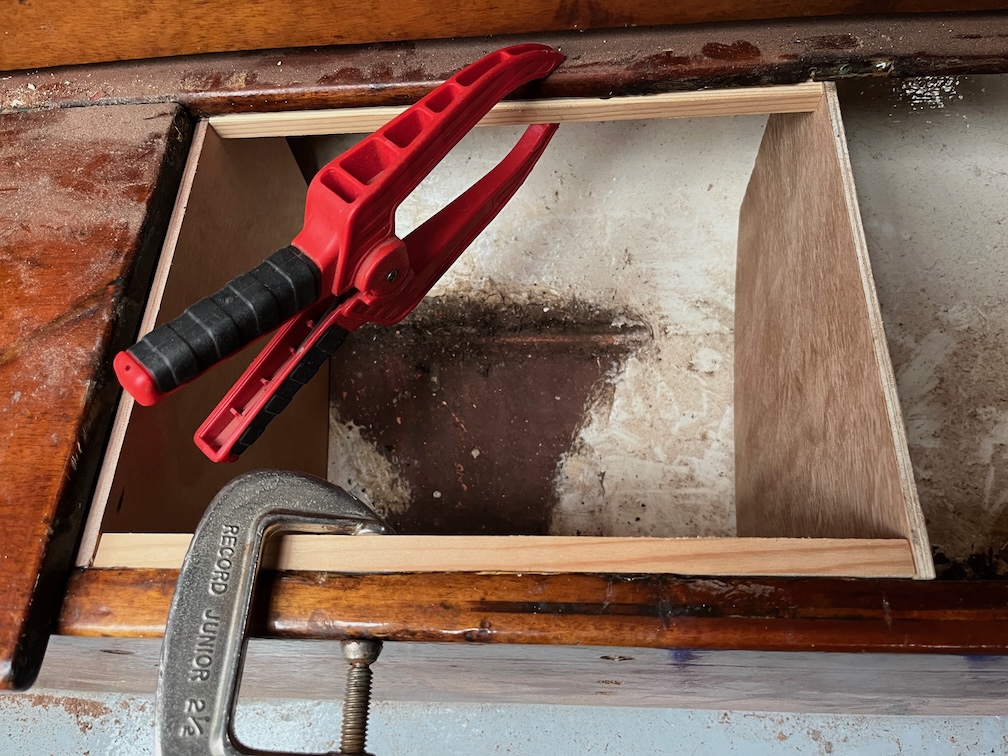
All the cramps were loose, one had even fallen off, I presume due to them expanding in the warmth. Still, the laminates were still in position.
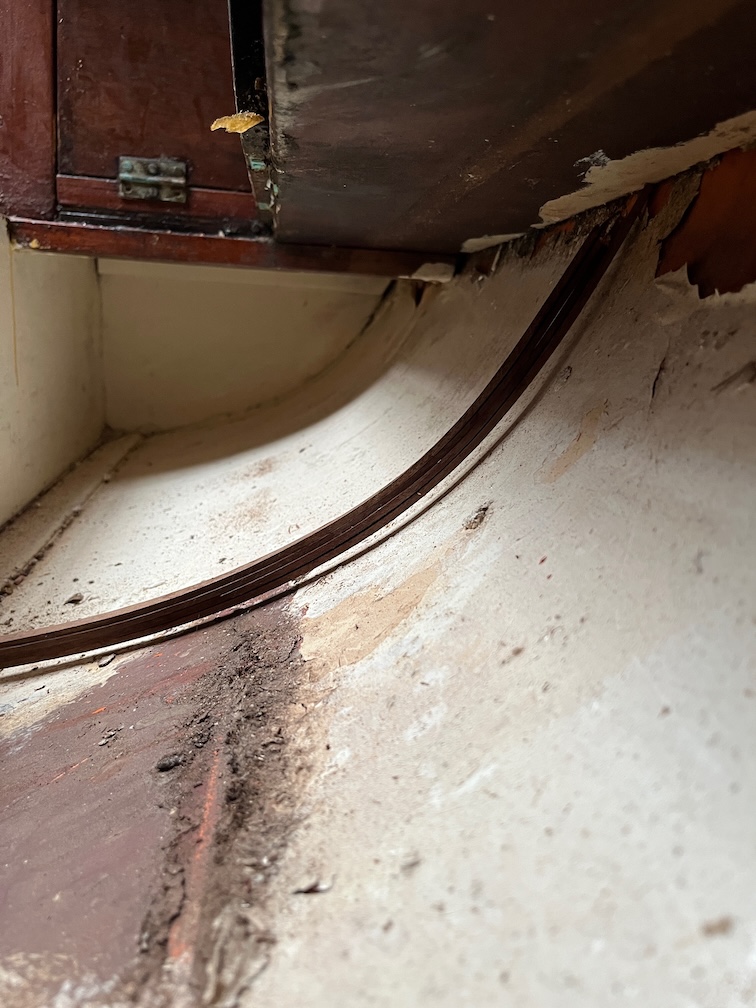
There is a pretty even gap under the curve but that is acceptable since there is a step at the inboard end that you can see in the top left of the above photo. It seems that the curve worked.
The glue up for the board and lid also worked, or so it seems.
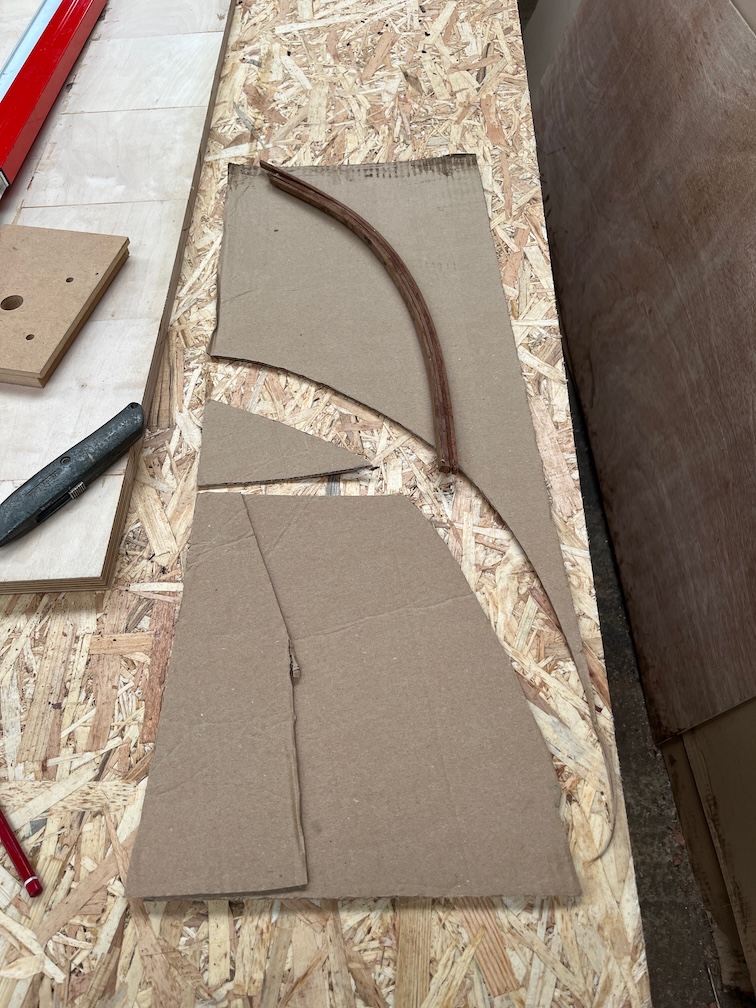
Firstly the cardboard template. The procedure is cut to the curve then cut the inboard upright to fit and then hot glue pieces to the template to make it fit elsewhere.
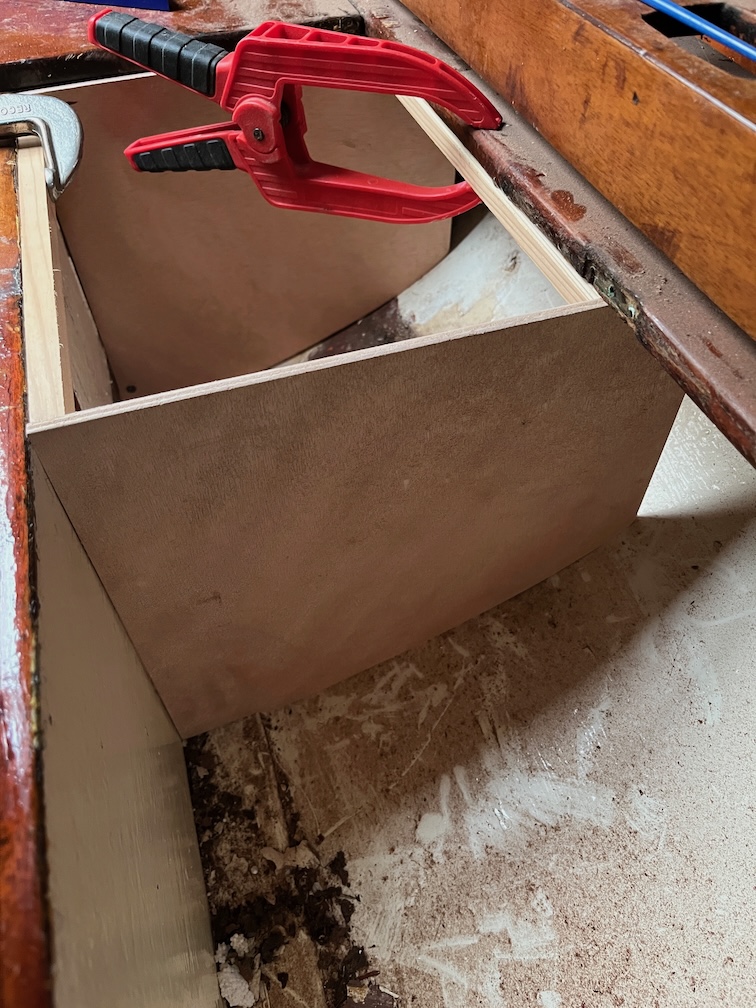
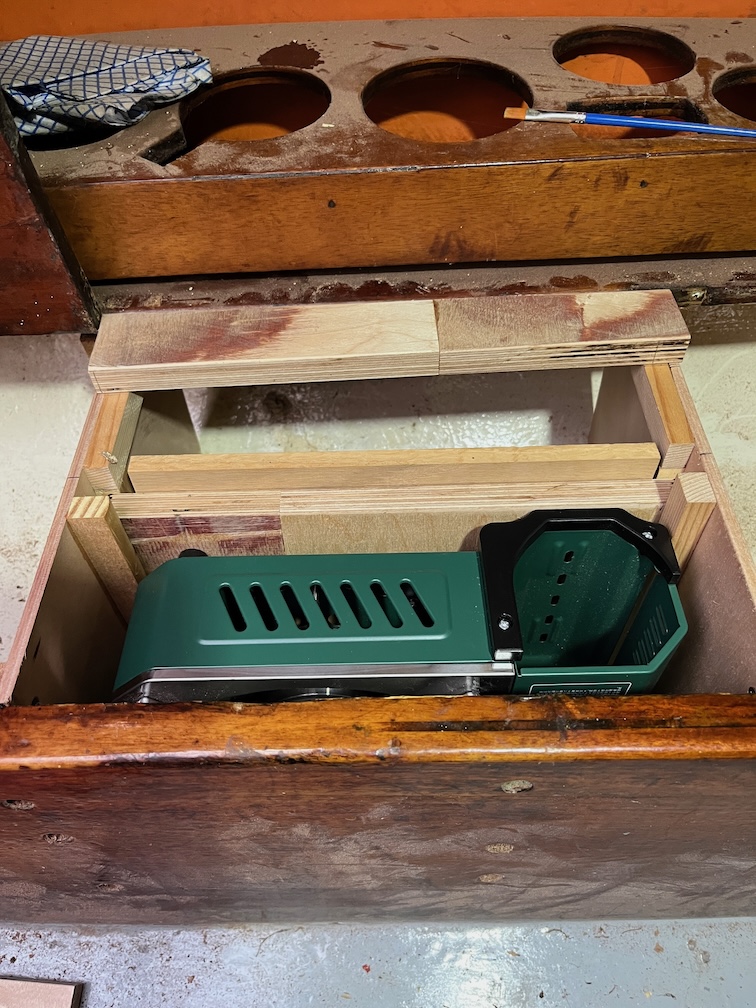
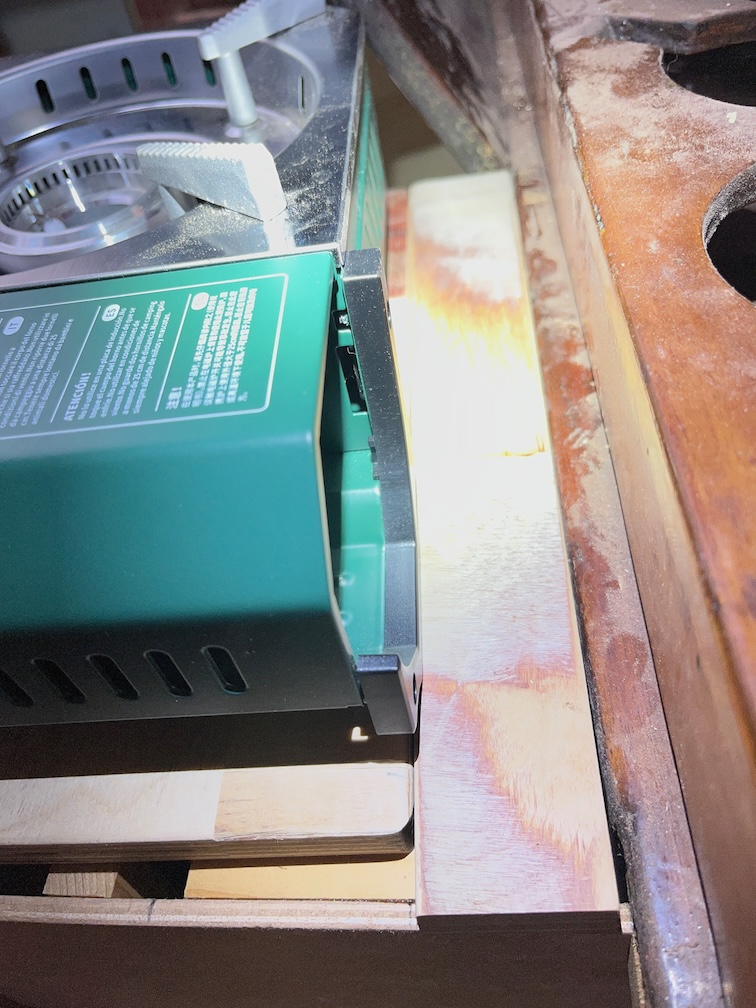
This is the real thing. I’ve not extended it all the way up to the outboard edge of the cup shelf, that is unnecessary.
I used cedar battens to hold the piece in place screwed but not glued so that I can remove it if required in the future.
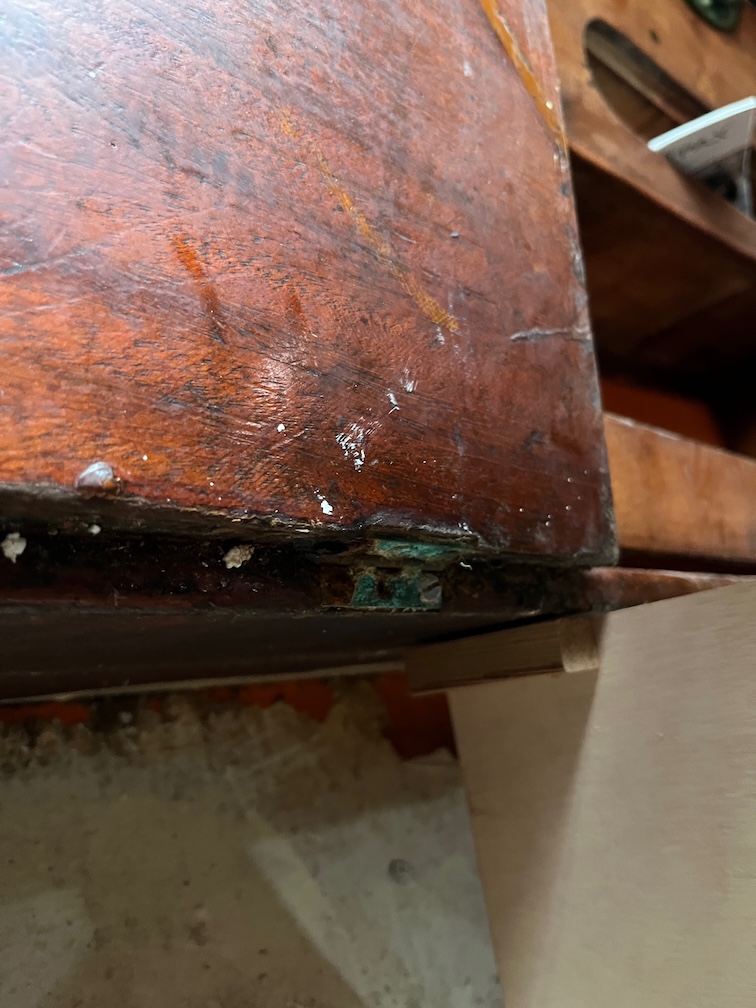
A short length of cedar was used to secure the piece to the underside of the cup shelf. Screwed into the shelf and glued and screwed on to the work piece.
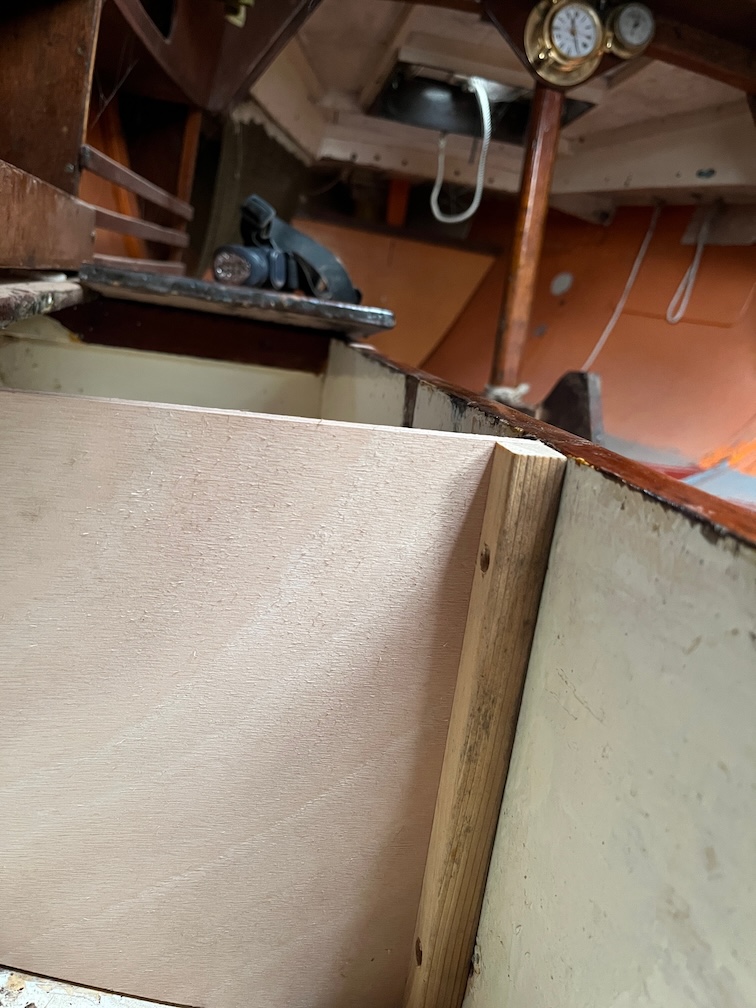
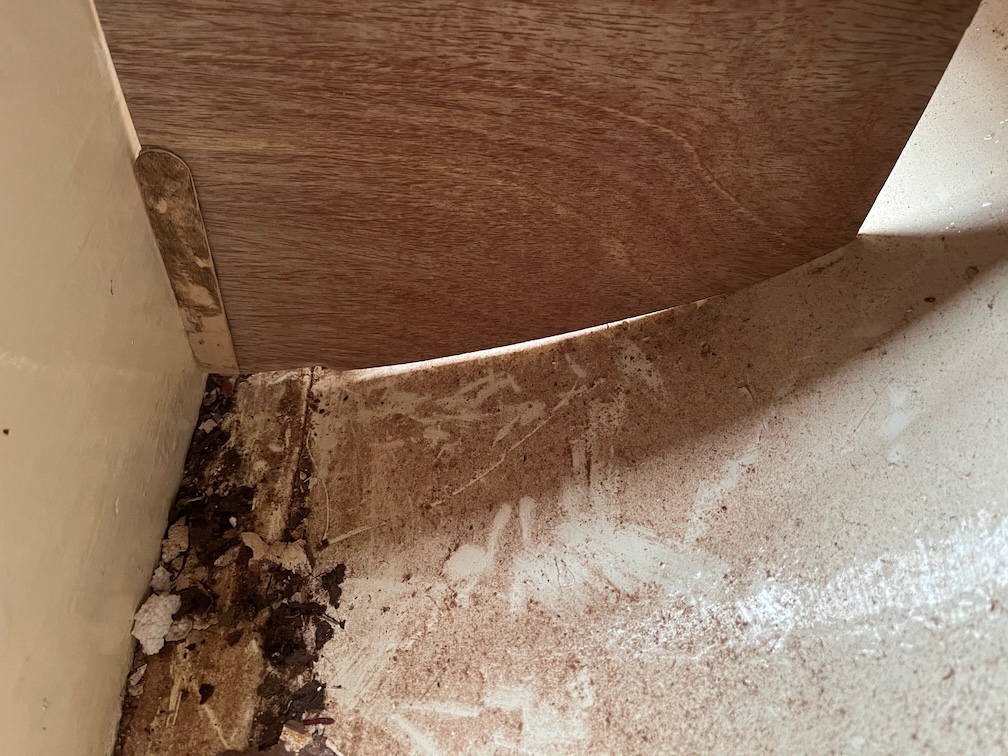
This is the “inside” face of the workpiece. Not a perfect fit, but it does not need to be. Where there is a gap under the side will be the part where the stove is stowed. Outboard of this, where there will be a small storage area, there the side is a tight fit. So, good enough.
Time for a cup of tea (and lunch).
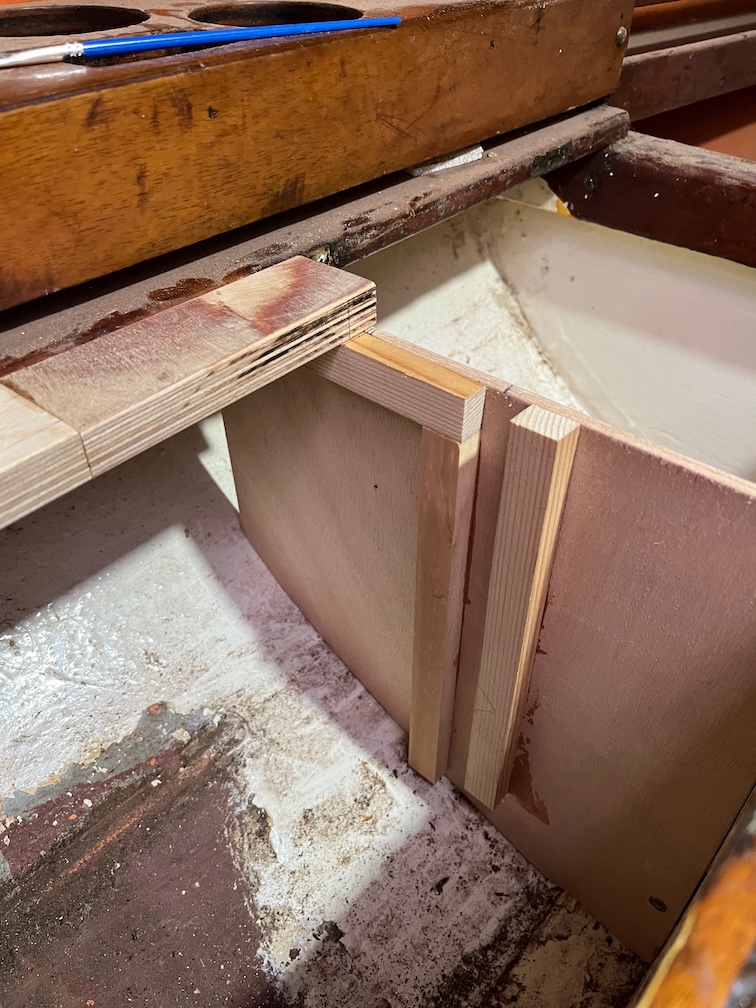
Having done one side it is time to do the other.
I clamped two battens to the front and back of the locker so that the new side is exactly parallel to the first.
I used the gash plywood template to see how different it is going to be and as you can see, that’s not a lot of difference between the two.
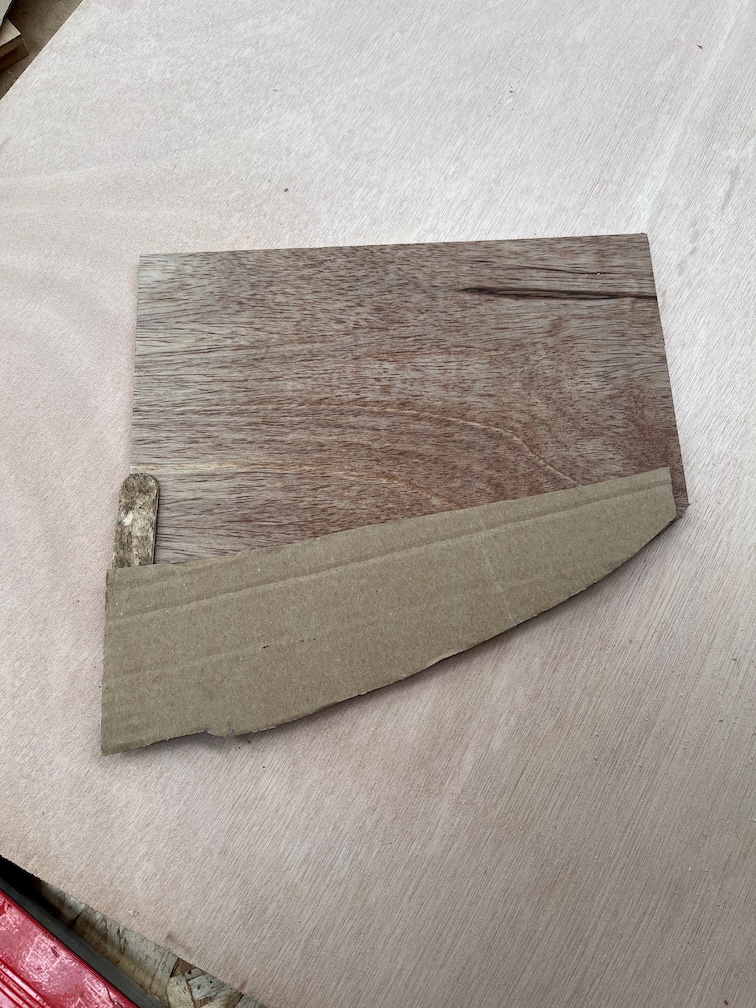
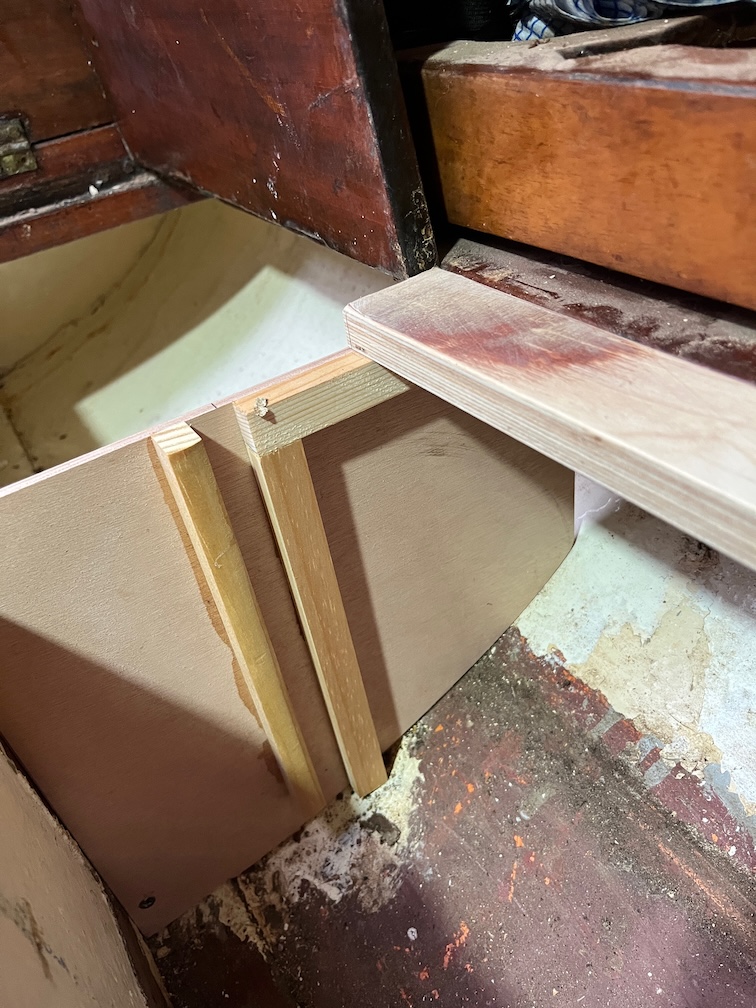
I cut the bottom of the cardboard template off and hot glued that to the plywood template in the correct place.
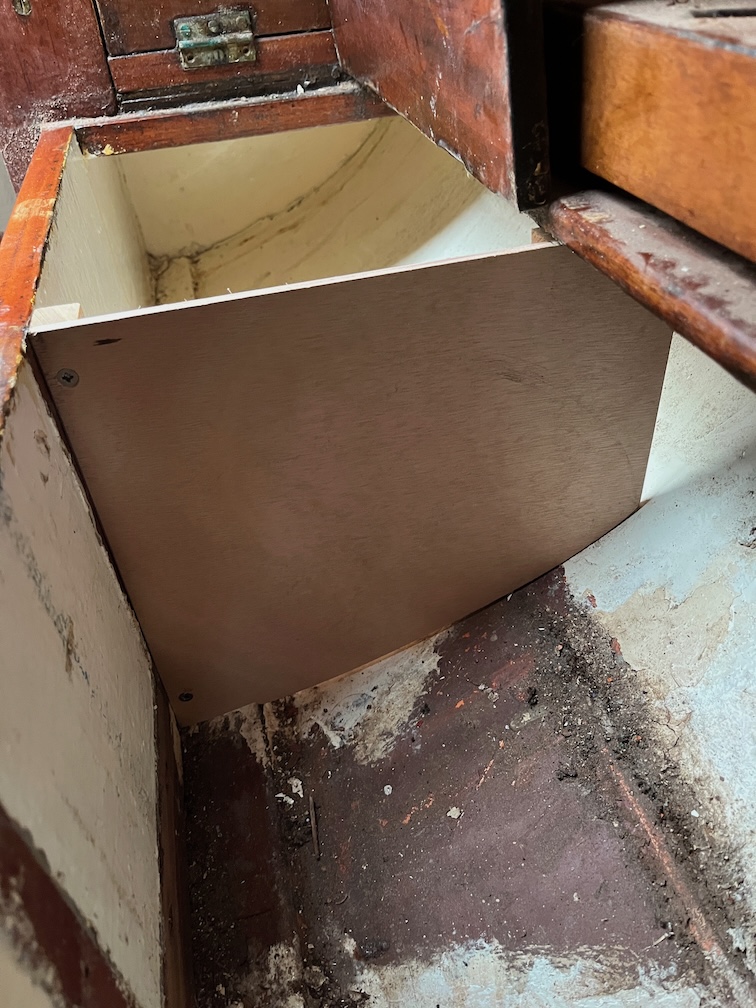
A near perfect fit and this is the real side.
As with the first side, cedar battens were used to fix the side to the inside of the locker.
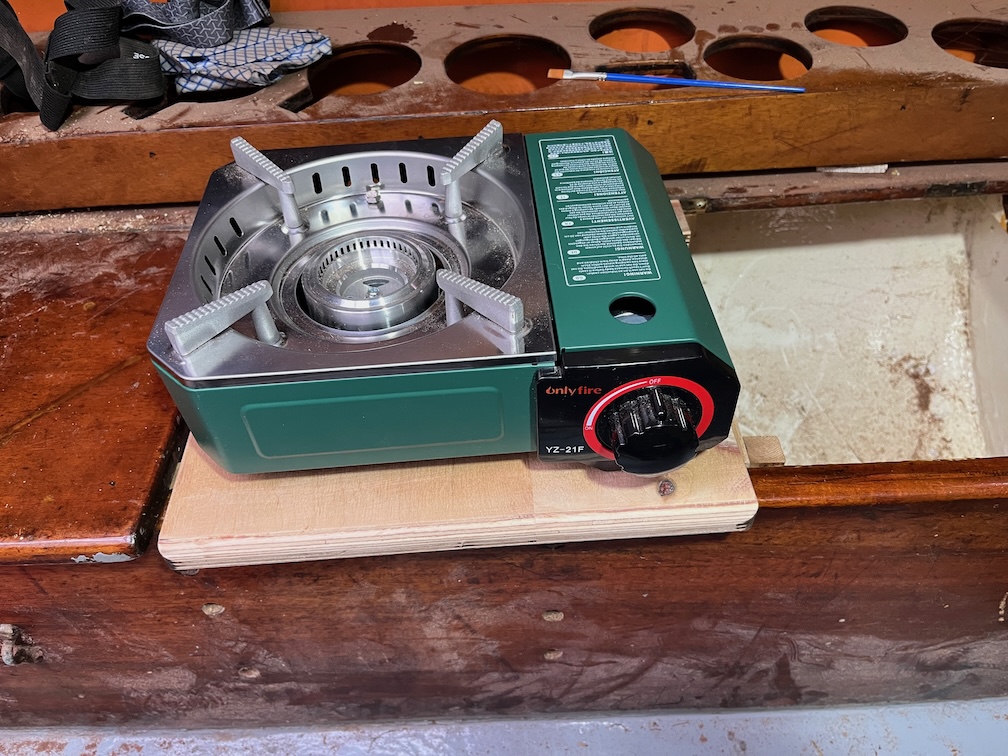
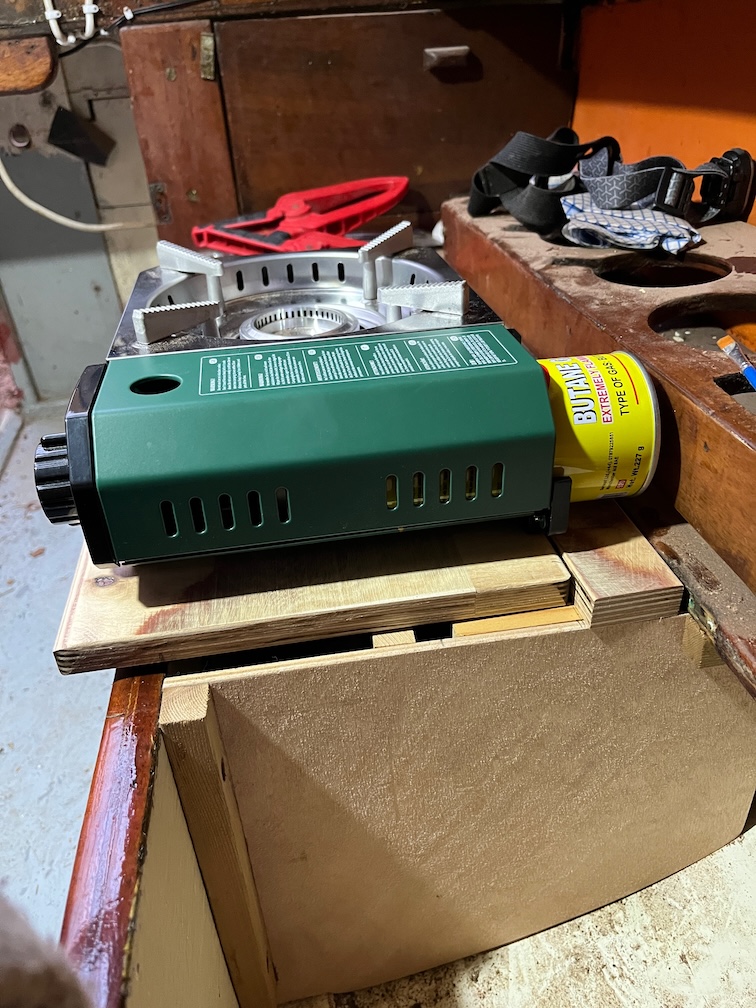
After much measuring, cutting toing and froing the galley stove has somewhere to be stowed.
There are two vertical channels currently super-glued to the sides.
I’ll screw these in as well now that the fit has been sorted out.
At the back a lip under the galley stove goes under that back piece.
Like so and this prevents the back of the stove from lifting up should there be a sudden jerk from outside such as a passing fishing vessel.
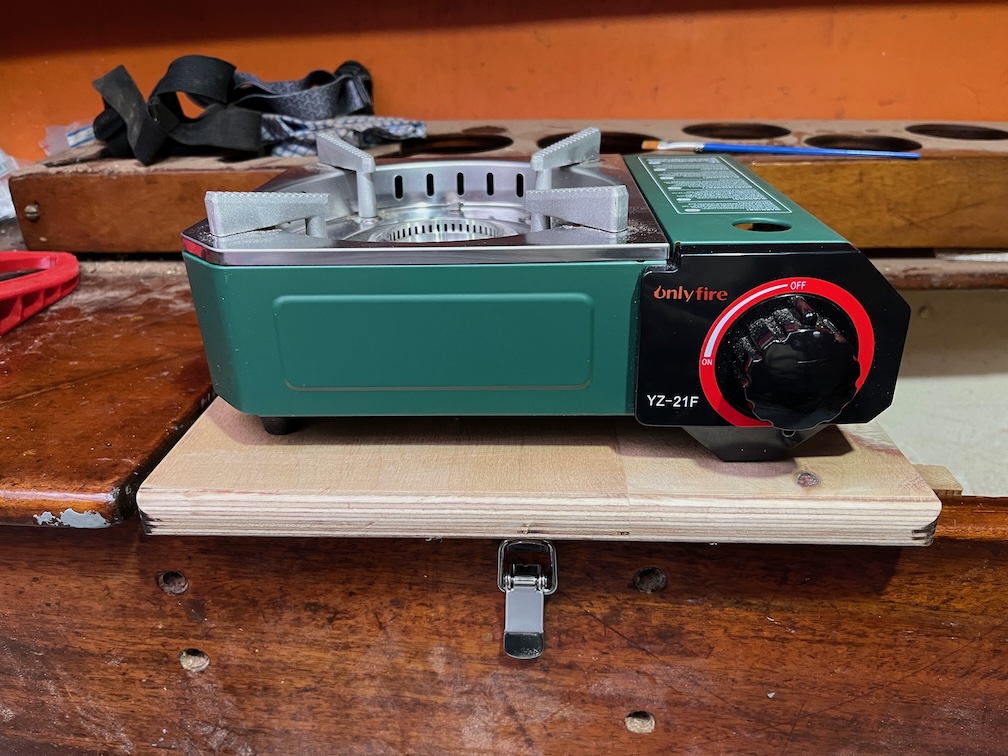
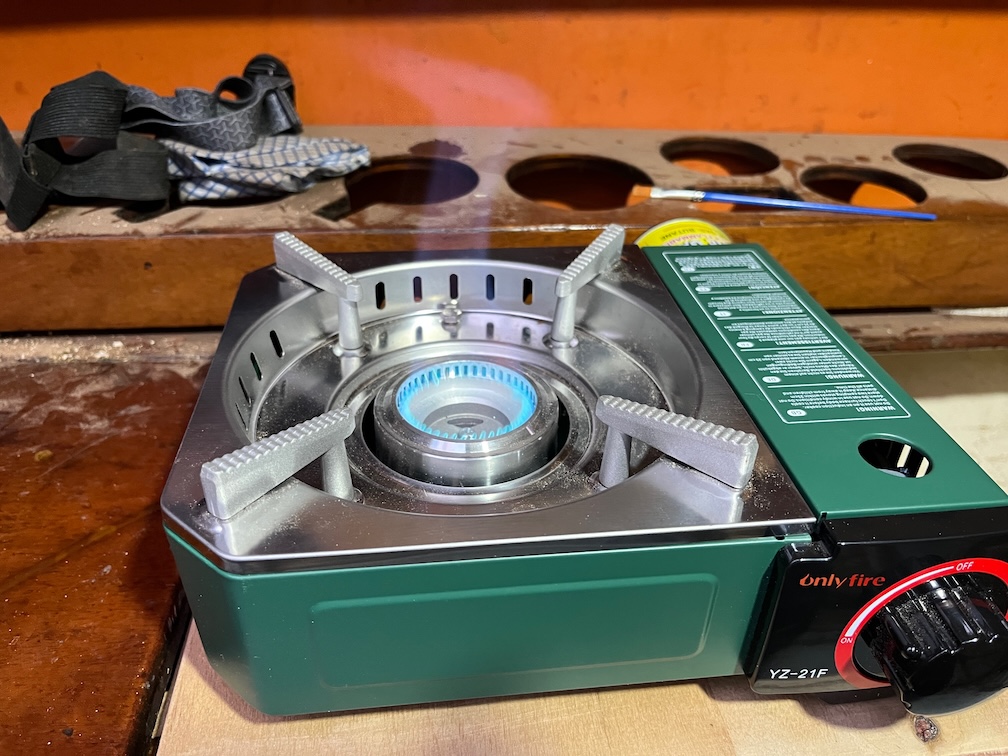
The front of the stove is far enough out such that the heat from the flame will not be near anything it shouldn’t be !
And under the front I have put in a spring latch which prevents the front from lifting up accidentally.
With the gas cylinder installed and the stove in place you can see that there is a small amount of space outboard of the cylinder. If there is ever a problem with the cylinder working loose under way that I’ll put some foam on the cup holder that will press against the cylinder, hopefully preventing it from working loose again. Not needed now and hopefully never.
So, everything works and all that is left to do for this task from a construction perspective is to make a lid to cover the stowed stove.
But not today, that’s enough.
Time for a cup of tea.