
The next part of the repairs requires me to construct a template for the sides of the centreplate case case, which sounds easy enough but is a little more complex that you would think.
There are two templates to be made, one for the inner layer and another for the outer. Because the keel timber is curved, the templates must first be made from cardboard and checked before being used to create plywood templates from cheap 6mm plywood. These are then used to check the fit and to make any adjustment required. Once those are correct they may be used to cut out the marine plywood sides.
So, to start with, the template for the inner layer as the one for the outer layer cannot be done until the cheap plywood template is completed for the inner. Now, there are two tricky bits for the inner template, the ends since they recess into the fore and aft blocks.
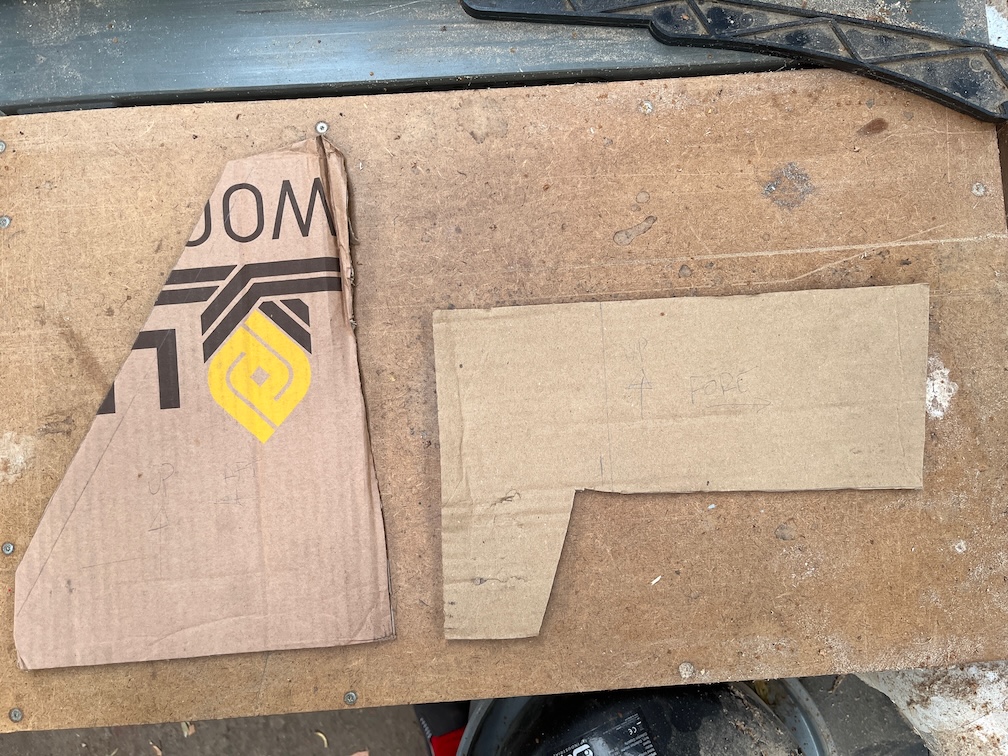
I won’t bore you with the details for making these, suffice it to say that since it was nearly impossible to measure the required shape, I have to use trial and error until I had two pieces that gave me the correct shape for the ends. Lots of trial and error, I suppose it took around eight attempts to get a good fit.
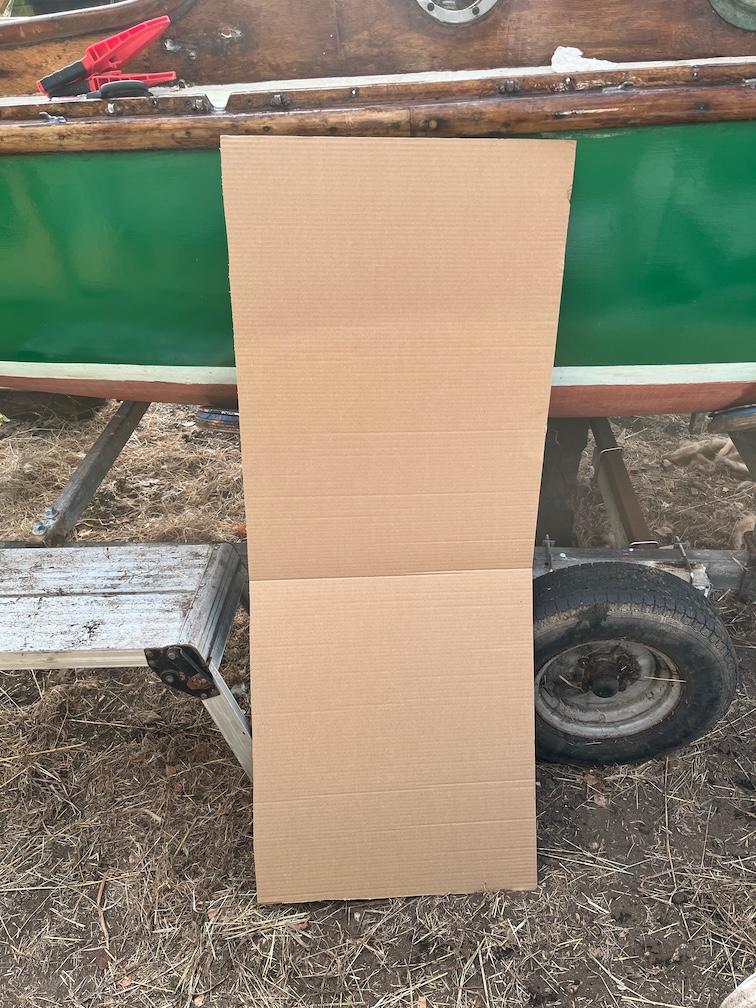
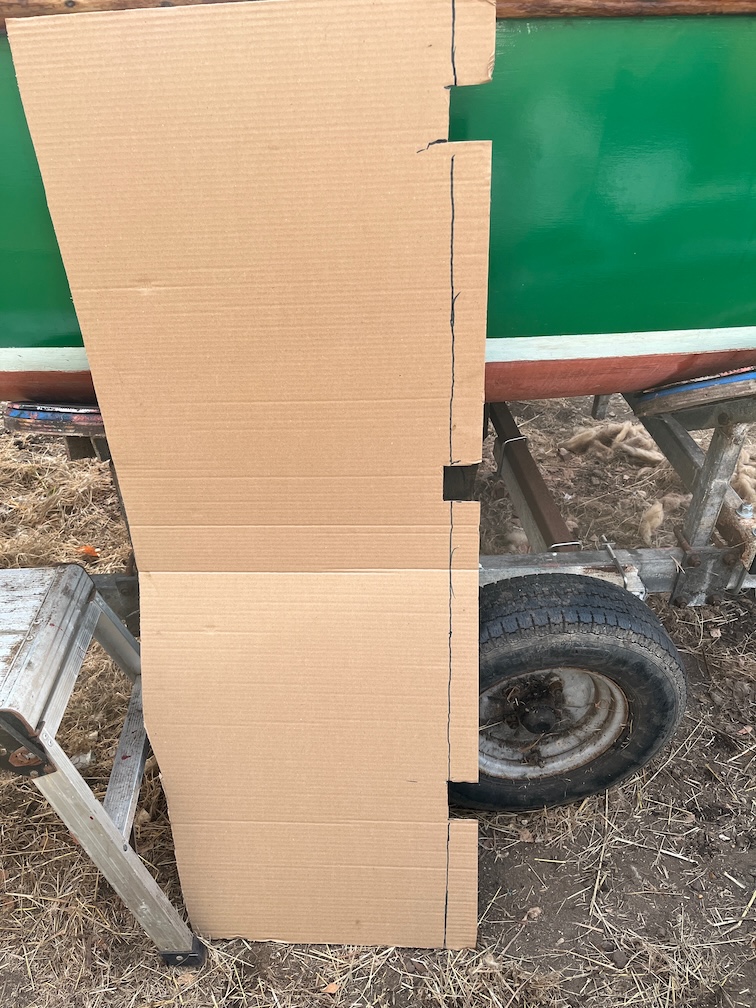
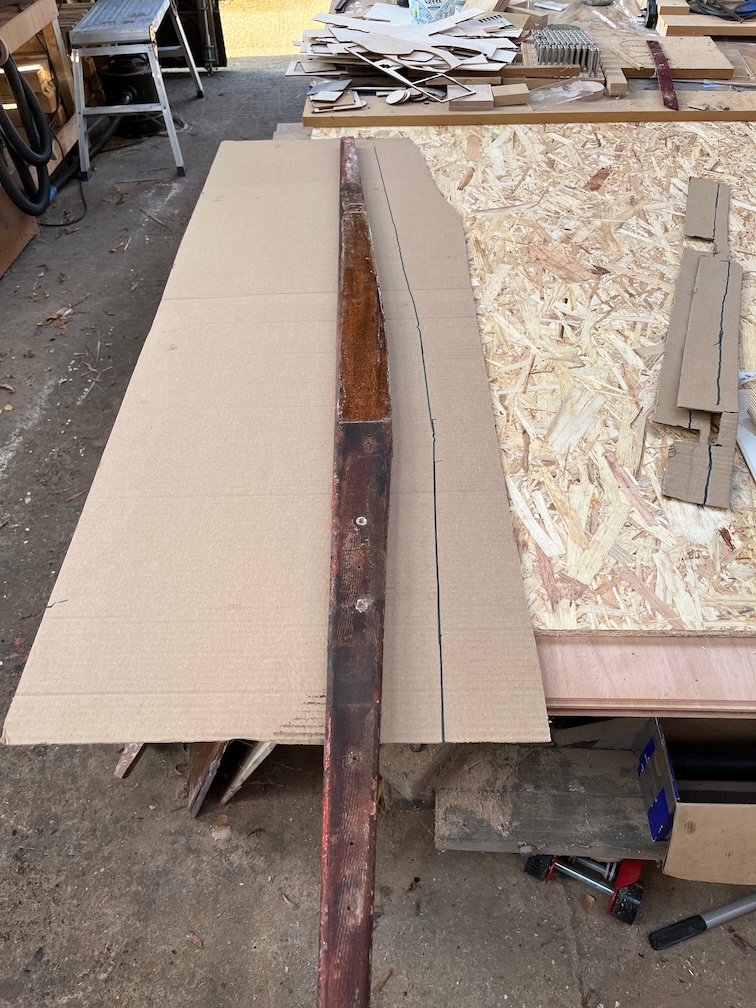
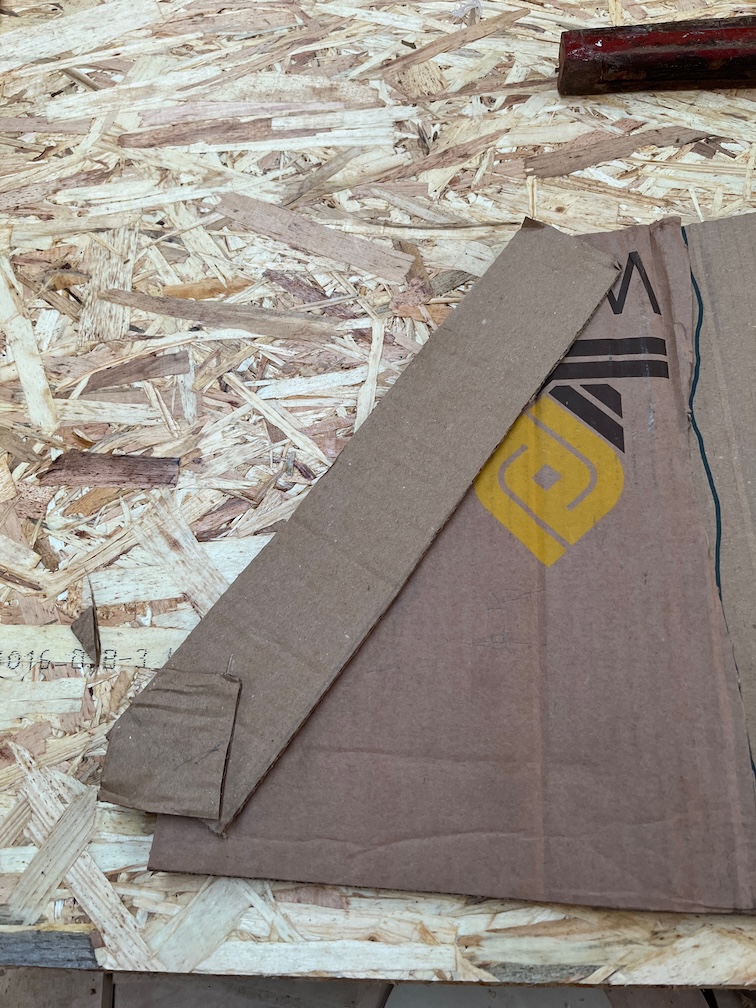
When the marine plywood arrived from Robbins Timber, it was covered with two pieces of cardboard, each the size of a full sheet of ply. I kept these for making templates. A piece that was too large was cut out, seen above.
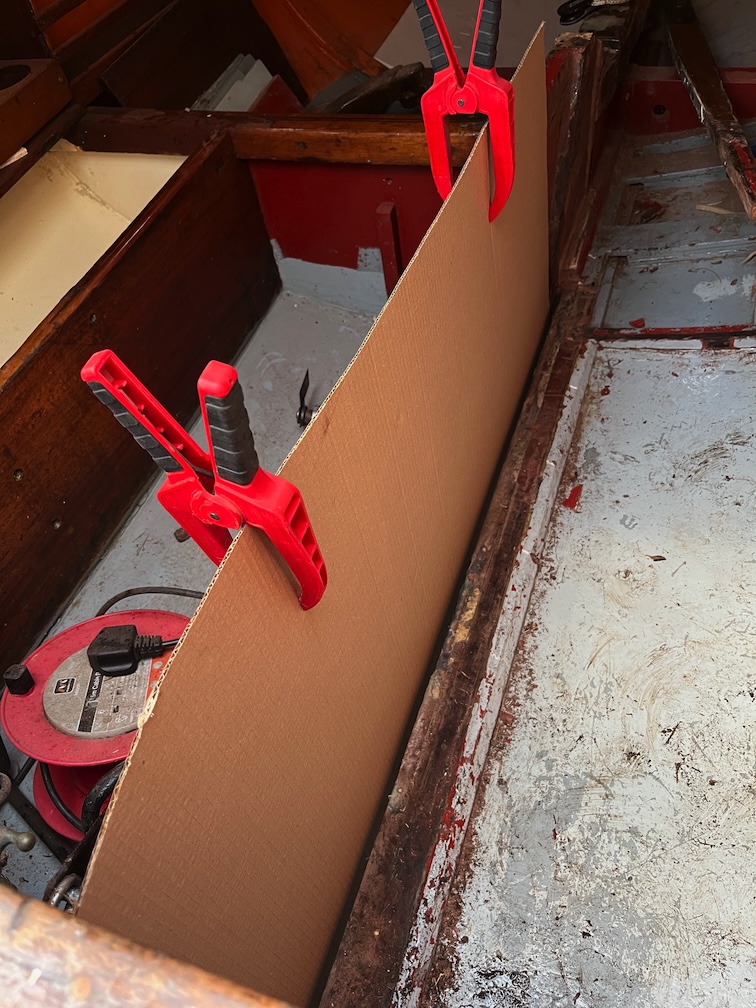
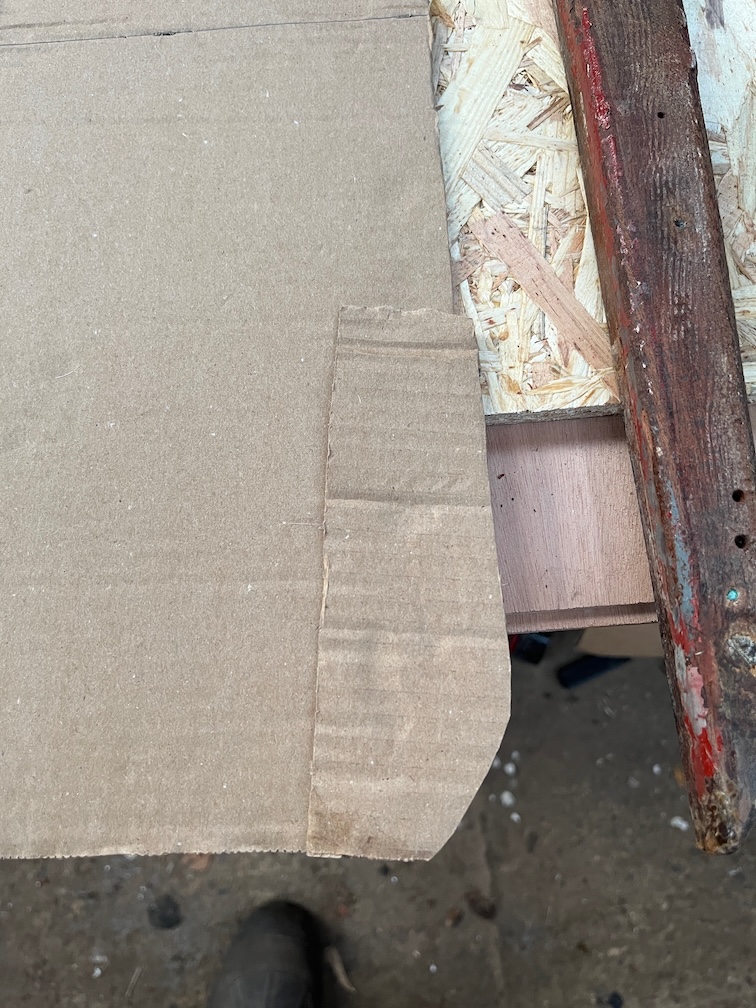
This had recesses cut out to fit over the supports on the outside of the keel and then clamped into place.
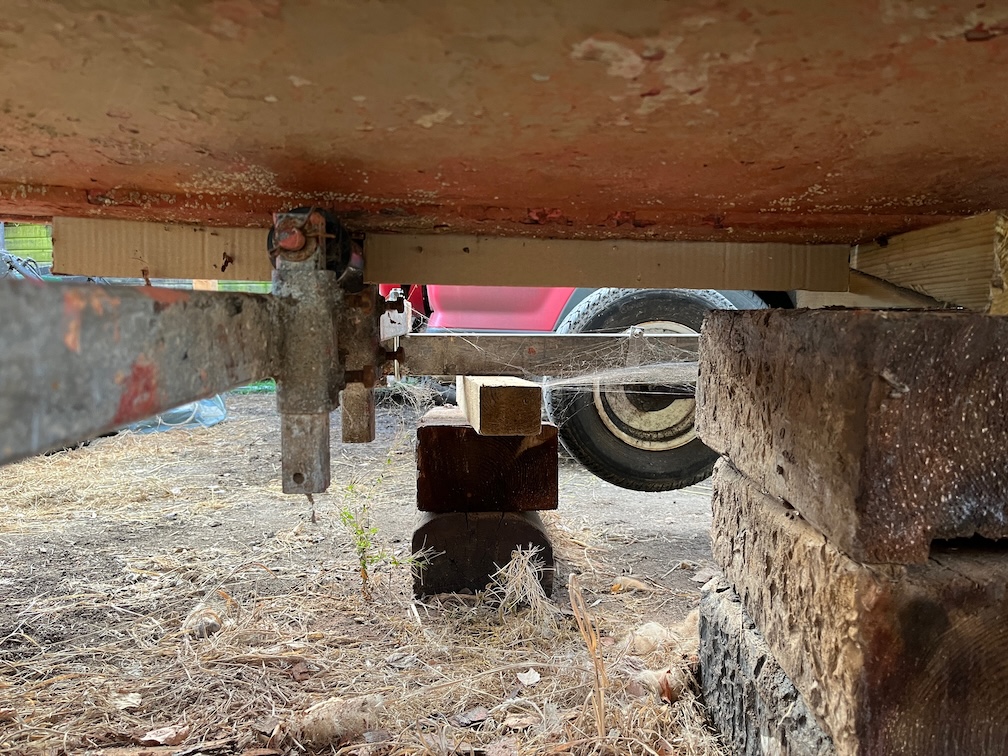
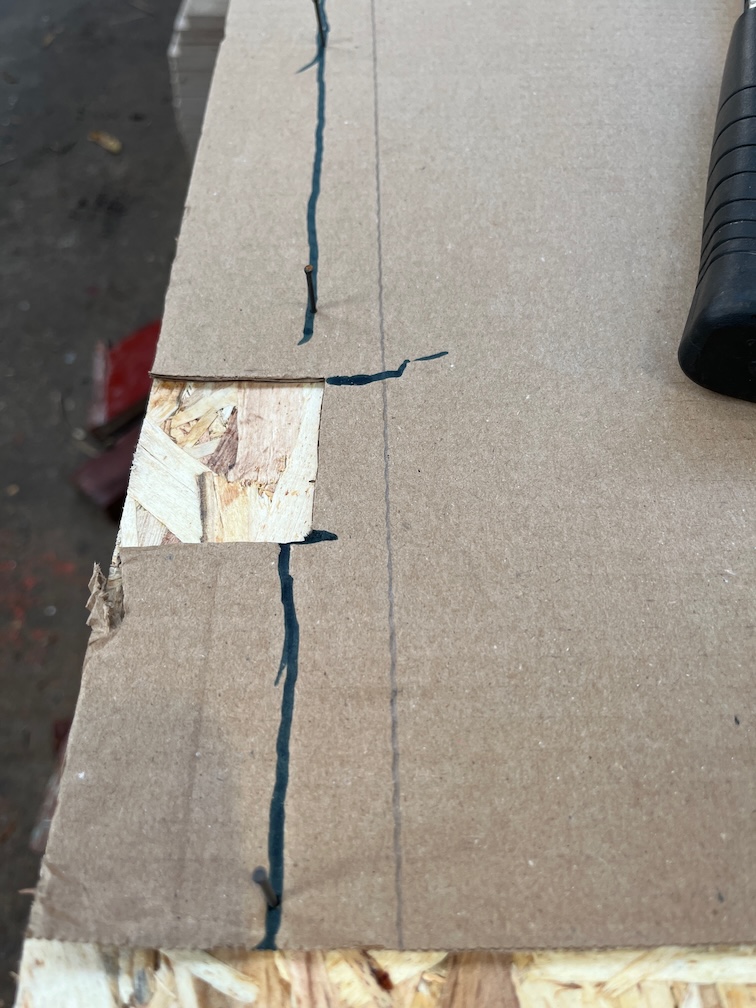
The recesses were cut so that a significant portion of the cardboard protruded through the hull as you can see above. I drew a line with a black marker pen against the bottom of the keel.
And removed the cardboard from the boat. Not very elegant but good enough.
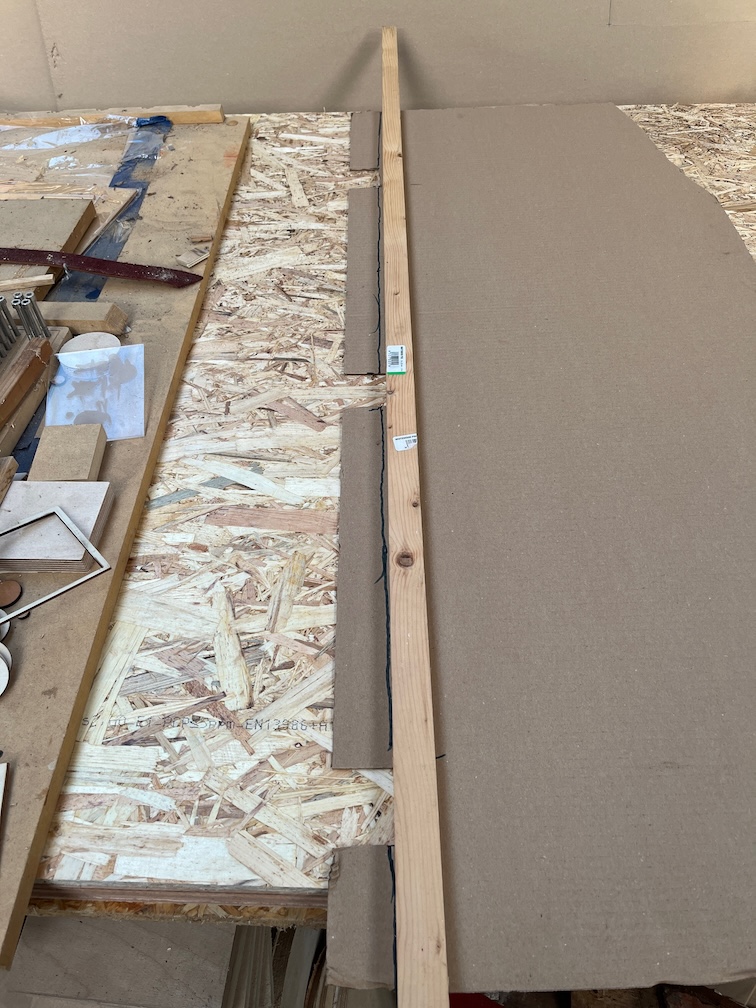
I used some panel pins and a batten to give me a fair curve and drew that.
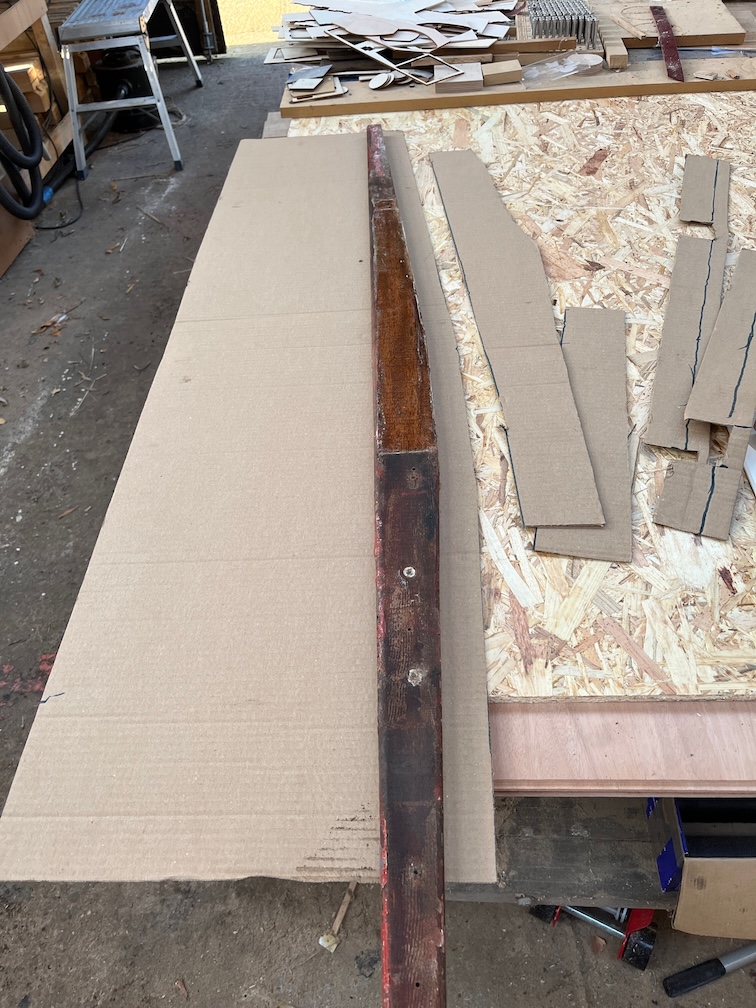
Like this. All I had to do now was to cut along this line which I did using a good pair of scissors.
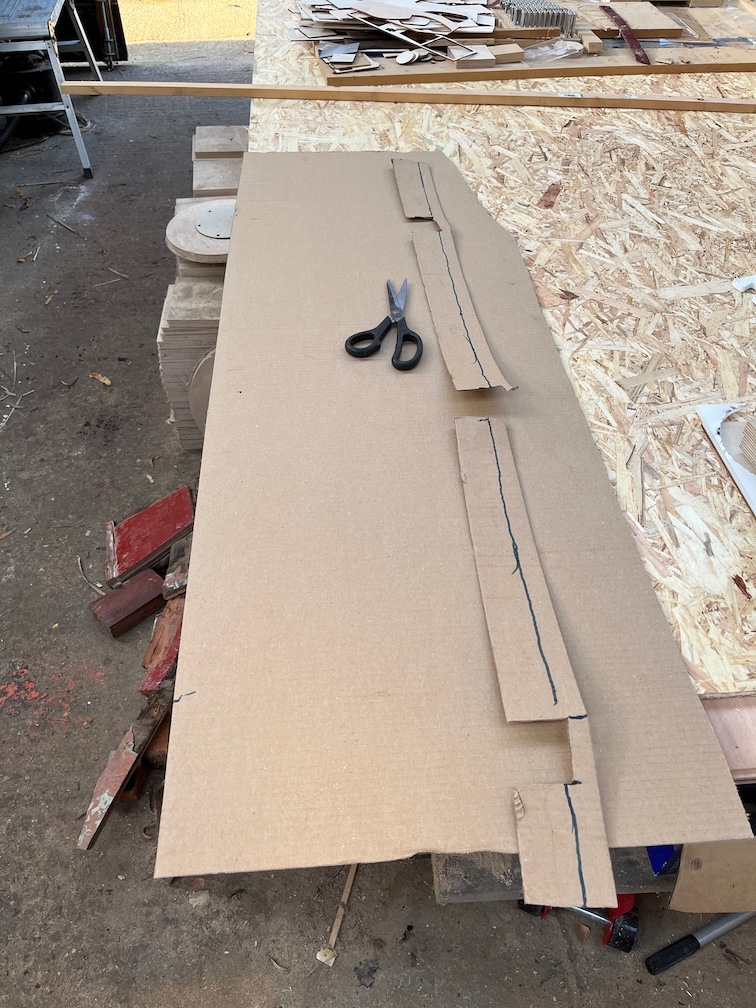
That’s the bottom of the template done. Now for the top. The cardboard was clamped back in the slot but with the bottom curve resting on the lip of the keel slot. The top edge was then drawn with the marker and the whole thing returned to the workshop for cutting out.
The top batten is quite beaten up in places, so the line is a bit wonky, but it is supposed to be three straight lines and that was easy to cut, this time using a suitable straight edge and a utility knife.
Looks good. So far nothing has gone wrong, so I decided it was time to take a break before getting the ends fixed to the centre part.
All this climbing in and out of the boat gets tiring.
Time for a cup of tea.
Some time later…
Having had a break, I found that I was beginning to lose the light, so I decided that once I had the ends fitted to the template, I’d call it a day for this part of the template task.
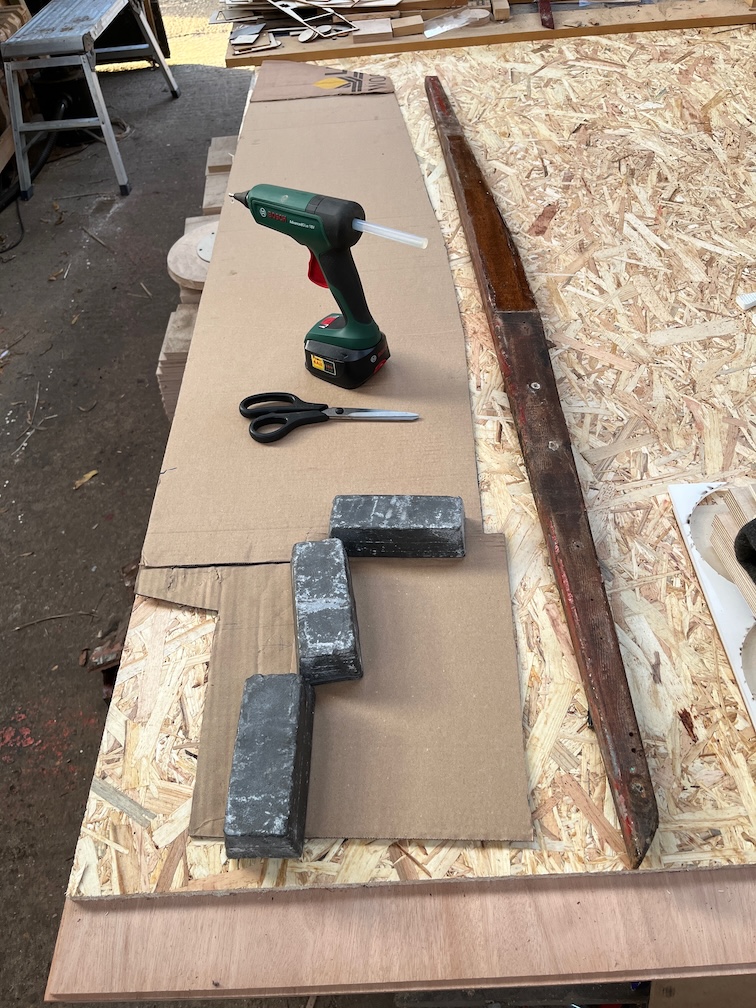
This is the first attempt. I’d put all three parts into position and c;amped them where I could, then marked where each one fitted. Then it was out with the hot glue gun and fix them all together.
What would be do without Hot Glue?
Once the glue had set I took the template back into the boat and dry fitted it.
It didn’t quite fit, but here I had the first mistake of the day and cut the wrong bits off!
The fix for the front end.
And the fix for the aft end.
At this point the template fitted, or as well as a floppy piece of cardboard can but I was starting to make mistakes. So, despite being still light enough to do more, I called it a day.
The cutting and fitting of the plywood template can wait.
Time for a cup of tea.