
Have you ever had one of those light-bulb moments? You know, where something suddenly dawns on you seeming without any lead up or introduction. I had one this afternoon whilst I was continuing the work on removing the centreplate case on Shoal Waters and doing very well.
This is a bit of a long post as I took a shed load of photos, but I’m not sorry about that. What do the youngsters says these days? Oh yes…
Sorry, not sorry.
I’d spent a few moments making a portlight template on the laser cutter and checking the fit.
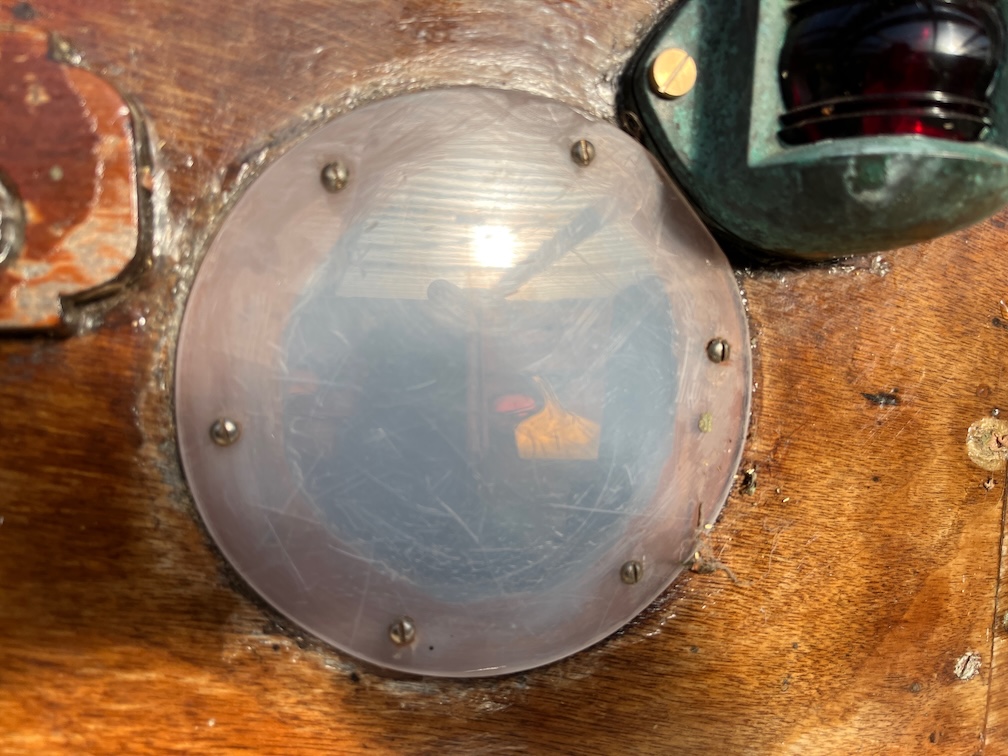
This was the light I used as a test since it is not quite round as you can see from the top right. The perspex has been cut away slightly so that the light fits by the navigation light. I’ve just noticed that you can see the cabin light on side. I’d been using that to sweep up some rubbish and forgot to turn it off.
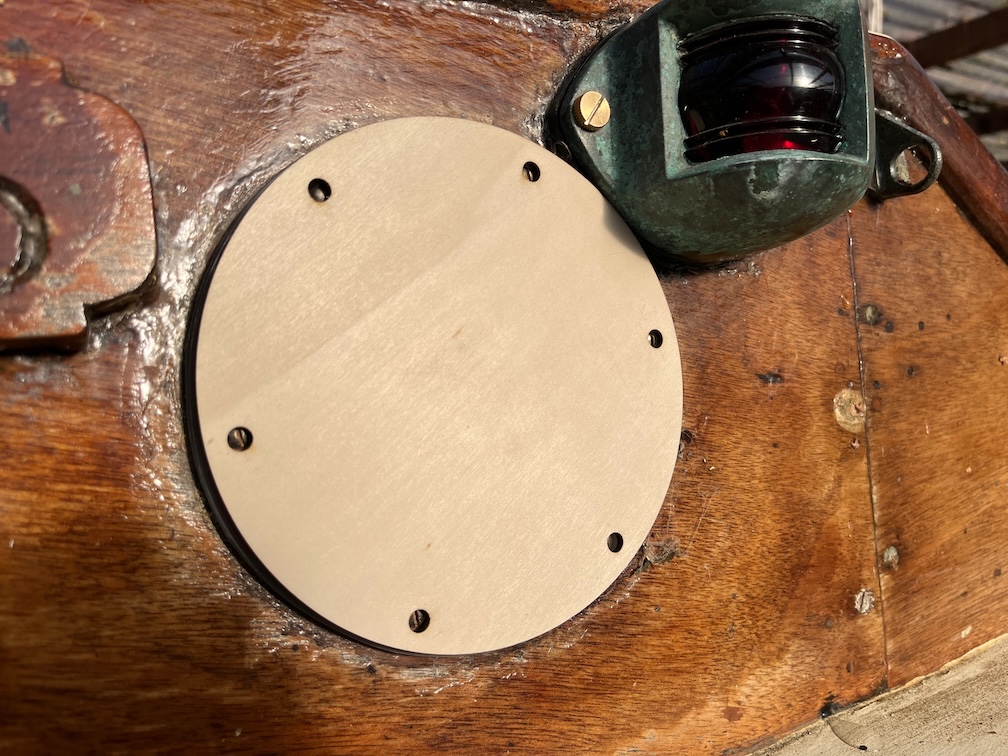
I made the template a fraction smaller so that the cutaway was not required and tested the fit. Good enough and so I moved on to the centreplate case.

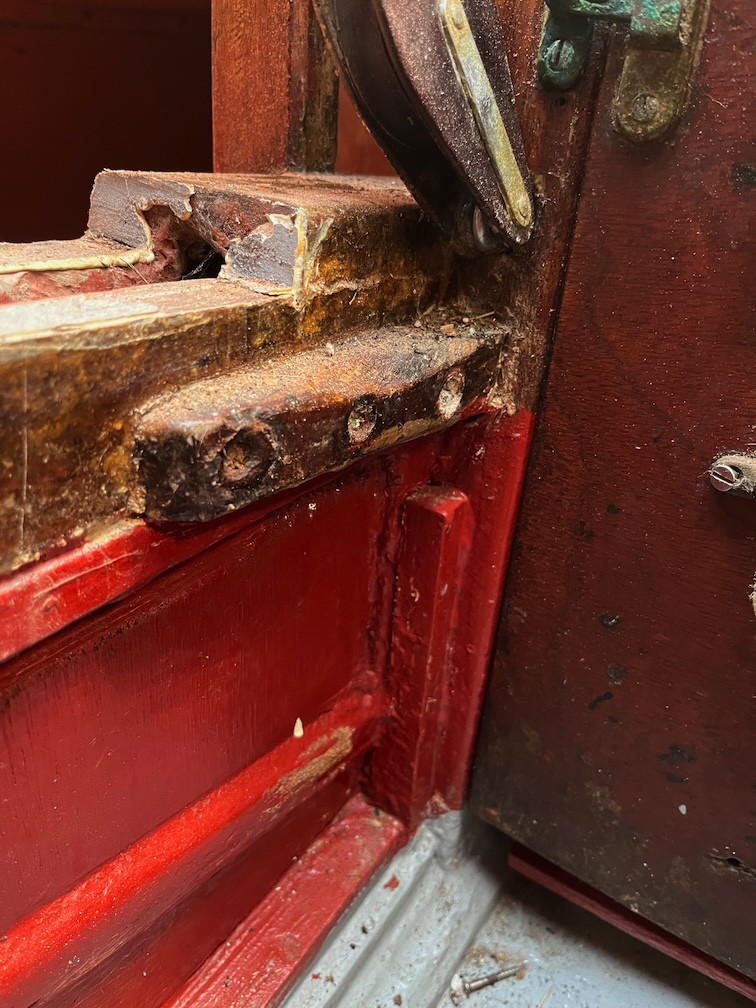
All was going very well and I found that there is one place that brass screws were not used in Shoal Waters as you can see from the photo. Annoying to find and excavate but the screws all came out easily once the surrounding wood was removed.

All was still going very well and I decided to take a photo of the support under the bridge deck so that I know how to put it back again once the rebuild is under way.
Likewise the port side as this has a stop screwed into the top of the case to prevent the block and tackle used to raise and lower the centreplate from pulling the upright out.
Then I remove the starboard upright and that is when the light bulb went on.
Up to this point I had decided that the original case was two layers of plywood laminated together but this showed me that I was wrong about that. You see, the upright was set into the case through the outer layer of plywood.
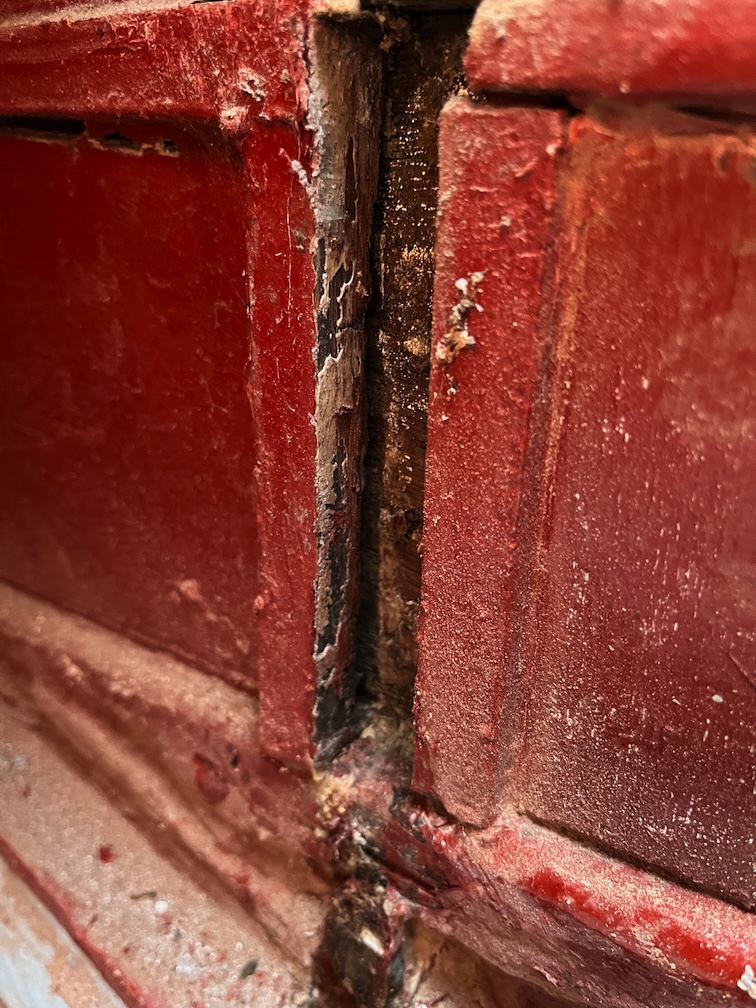
This is a closer look. And the light-bulb moment was that Charles would not have cut away one layer of plywood on the case to inset this upright, he would have just put it out the outside. That in turn meant that the entire outer layer of plywood was not original but put there by Charles when he first constructed Shoal Waters back in 1963. Looking at the construction of the cabin shows quite clearly that this outer layer of plywood was put on first, apart from where the bridgedeck support uprights were placed. All the other parts of the cabin that are fixed to the centreplate case attach to the outer layer of plywood and are not inset.
So why is this shocking? Quite simply:
If Charles had not constructed Shoal Waters in this way sometime in the last 20 years she would have sunk and quite possibly whilst under sail.
A bold claim, I hear you say but isn’t that just supposition? Let me show you what I mean.

It didn’t take long to clear away all the beading and other centreplate supports from the top of the case and to then cut the side of the case away.
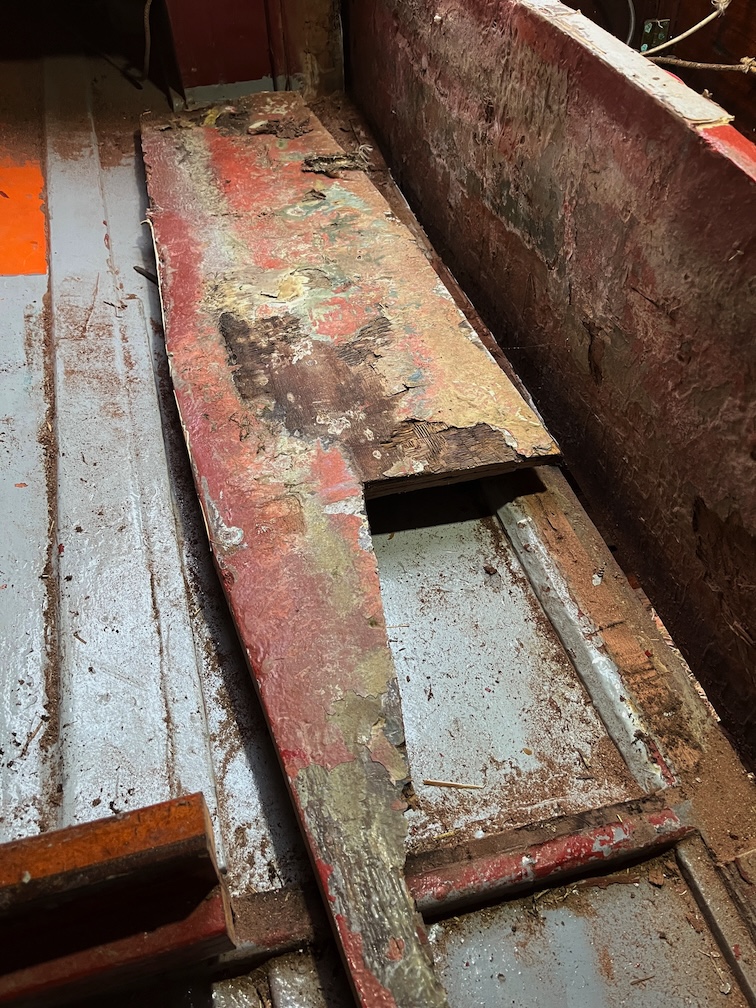
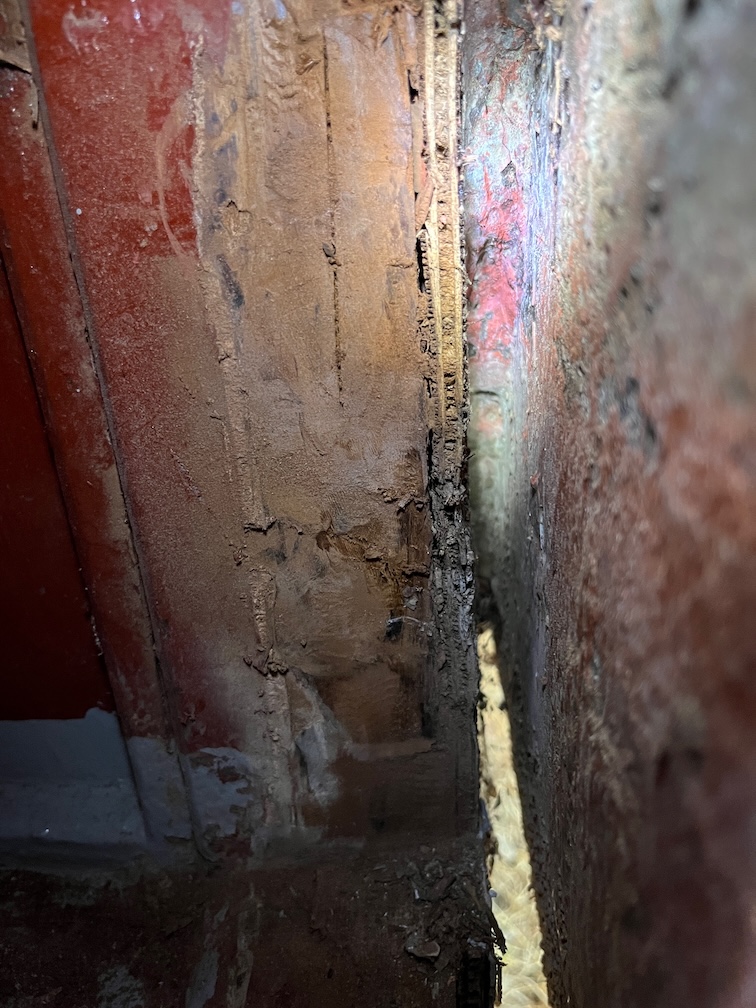
Like this. A very satisfying moment but I need to show you a closer look at one part of the side removed.
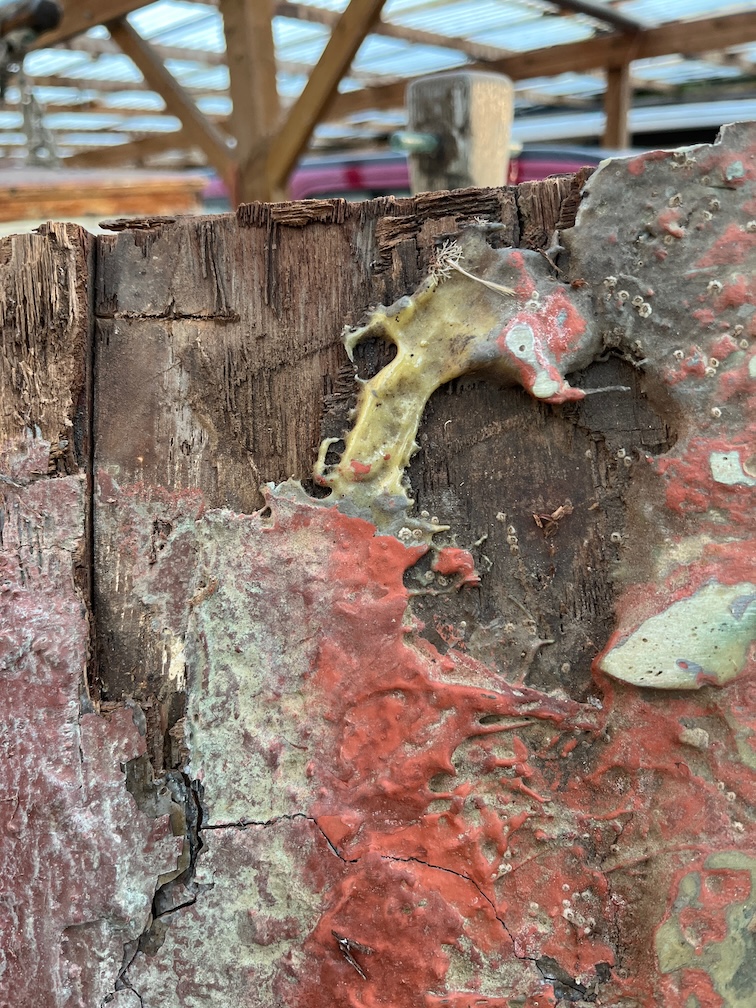
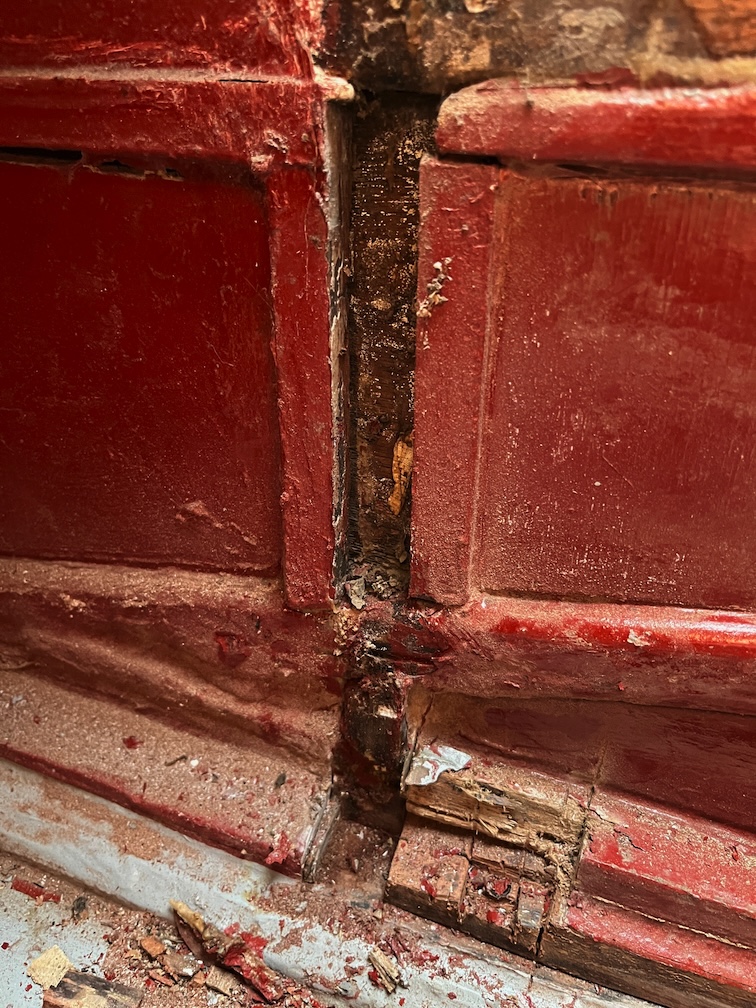
This is the inside face of the aft part of the case side with the top to the left. As you can see, someone has tried a repair job at sometime during Shoal Waters’ life, that yellow gunk looks like epoxy. Still, the part of interest is the smooth area at the top left.

This bit here. That smooth bit is the inside face of the outer layer of plywood.
That is to say that the entire inner layer of plywood, the one originally build by Fairy, in this area has gone.
The rest is in pretty poor shape as well and there may be other areas of the case where the inner layer has completely disintegrated. If this is the only part then when the boat is upright, this is out of the water. but would have been under water when heeled over, that is when sailing.
If the original layer is missing in other places that are underwater all the time, then it is likely that Shoal Waters would have sunk on her mooring.
But, I hear you say, that’s all well and good but how can you tell that the outer layer is not original. Just finding one part where a support has been inset doesn’t mean that the outer layer wasn’t original.
Well, I can’t say 100% that it is not original, but I can say to 99.999% and that is because I own Naiad, a Shoal Waters look-alike built from a Fairey Falcon by yours truly. The hull dates from the same year as Shoal Waters.
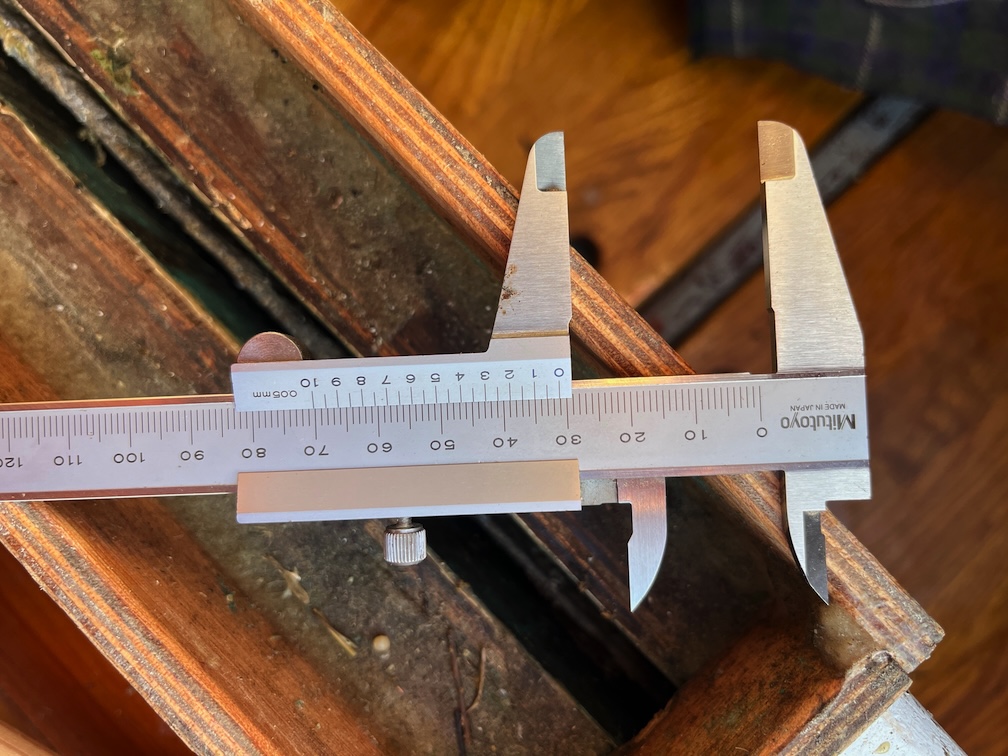
So I hopped into Naiad’s cabin armed with vernier calipers.

Here is the width of the top of the centreplate case in Naiad to the outside of the plywood from the top. Just over 31mm
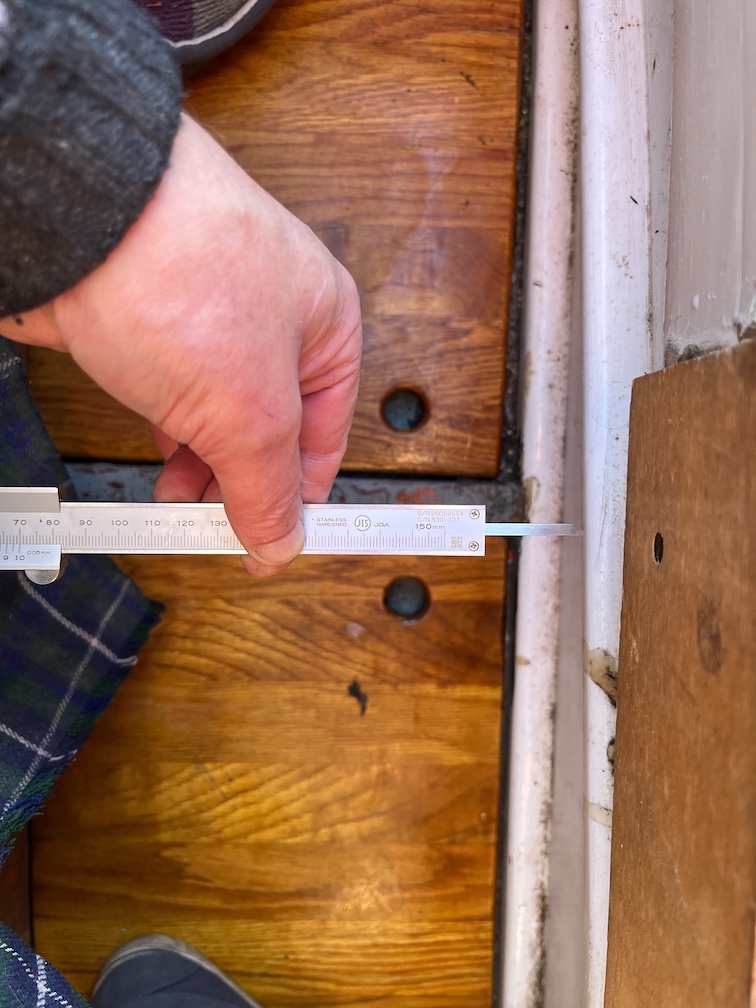
Now, using the proddy end of the calipers I’ll measure the width of the top to the outside of the case.
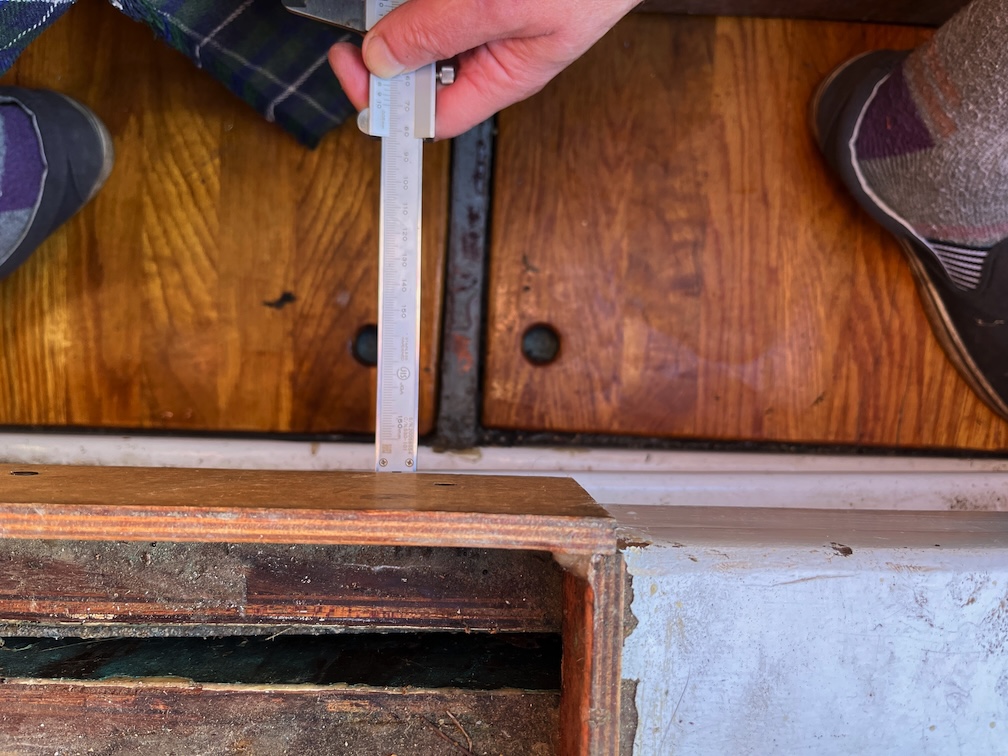
Like this.
The result is just over 31mm.
So, Naiad, a Fairey Falcon hull built in the same year as Shoal Waters has a single layer of plywood for the centreplate case sides.
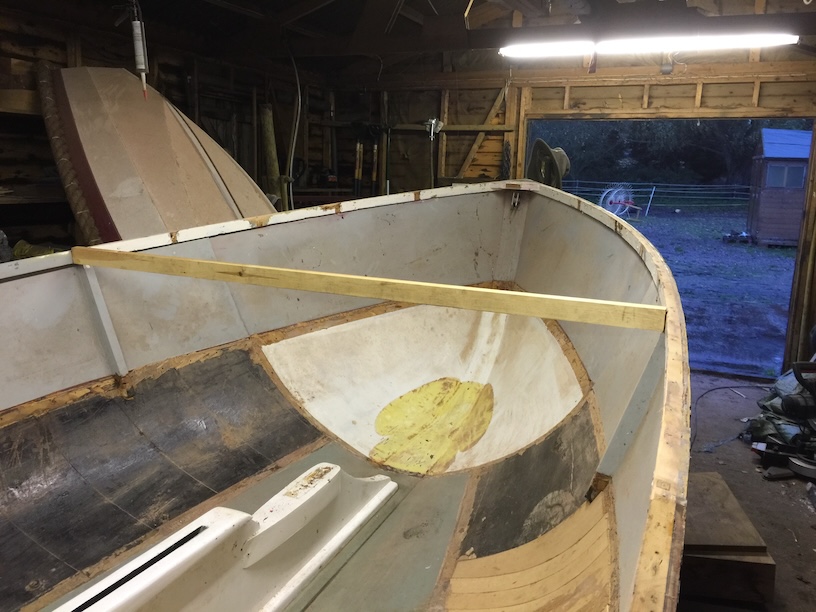
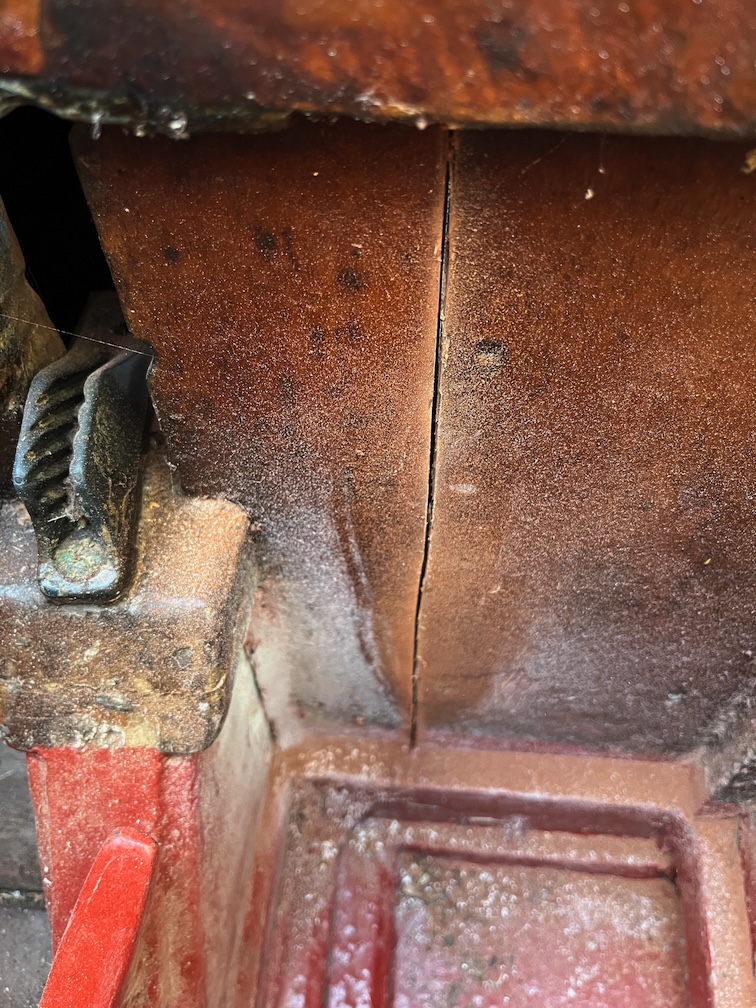
Now look at a photo of Naiad’s centreplate case before the cabin was built. The side of the case is unbroken from the tip of the case back to the aft of the case, although you can only see the front part in this photo.
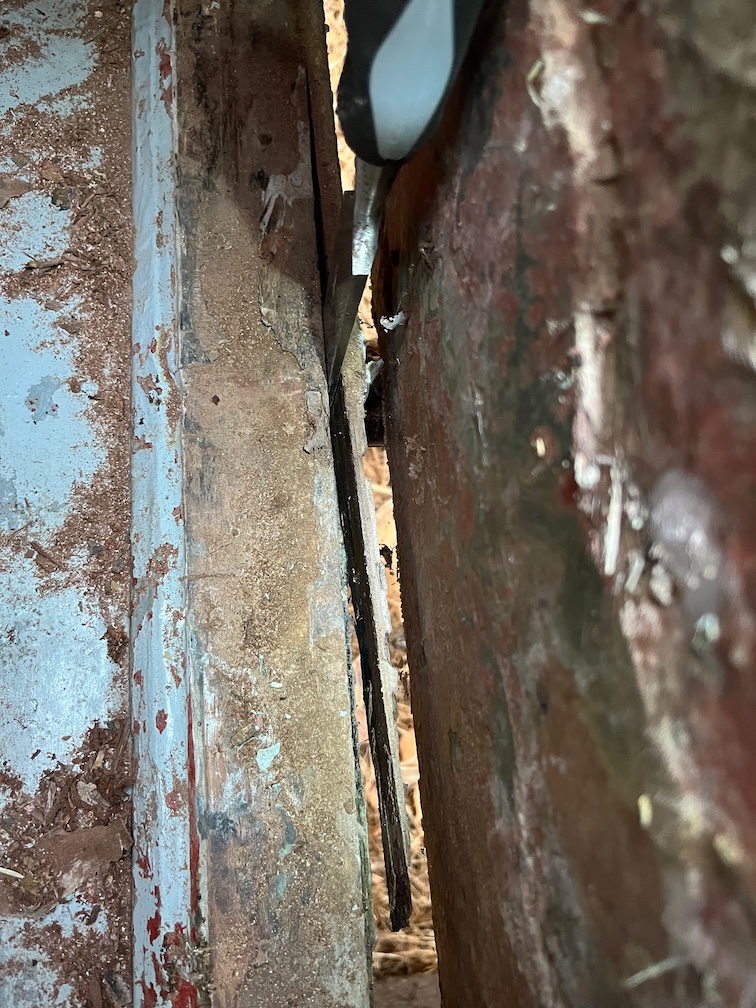
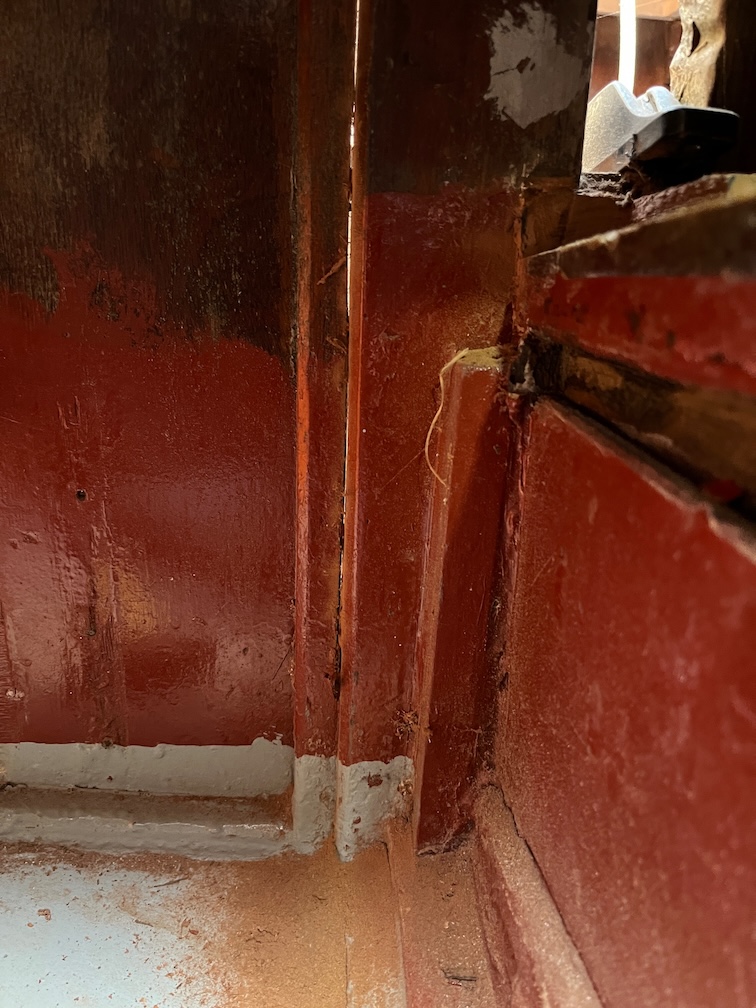
Now look at that part close up in Shoal Waters on the port side where I’ve not removed anything yet.

That is the front edge of the second layer or plywood which stops just behind the shaped part where the mast step goes. It’s not easy to see in this photo due to the lighting, but it is there. All this is pretty conclusive to me.
So, having convinced myself that Charles’ original construction choices prevented a disaster, I carried on.
I removed the layer of plywood that was inset into the hull using a sharp chisel. This after part of the plywood came away but not as easily as first part had. The first part practically fell off and made me wonder if it has ever been glued to the hull or whether the prolonged water saturation had dissolved the glue. This part of the plywood was quite clearly glued in place but even so, the glue line broke very easily without damaging the keel timber.
Looking aft in the slot I can see the back of the case but this slopes away aft and is outside the cabin so I’ll need to partially dismantle the cockpit to get the last part out.
I started by making an incision on the outside where two pieces of wood had been joined.
Then looking out from the inside I could see the daylight through the cut, so I know where I’ll be to be cutting.
I did this bit before taking the side of the case off as I thought I might be able to get it all in one go, that isn’t going to be easy so I just took the side off and I’ll work on the remaining piece of the case another day.
So, a very satisfying day but one that is a little bit shocking at the same time.
Time for a cup of tea.