
The day started overcast with little wind but chilly, so I decided to do a small task, just to get things moving, so to speak.
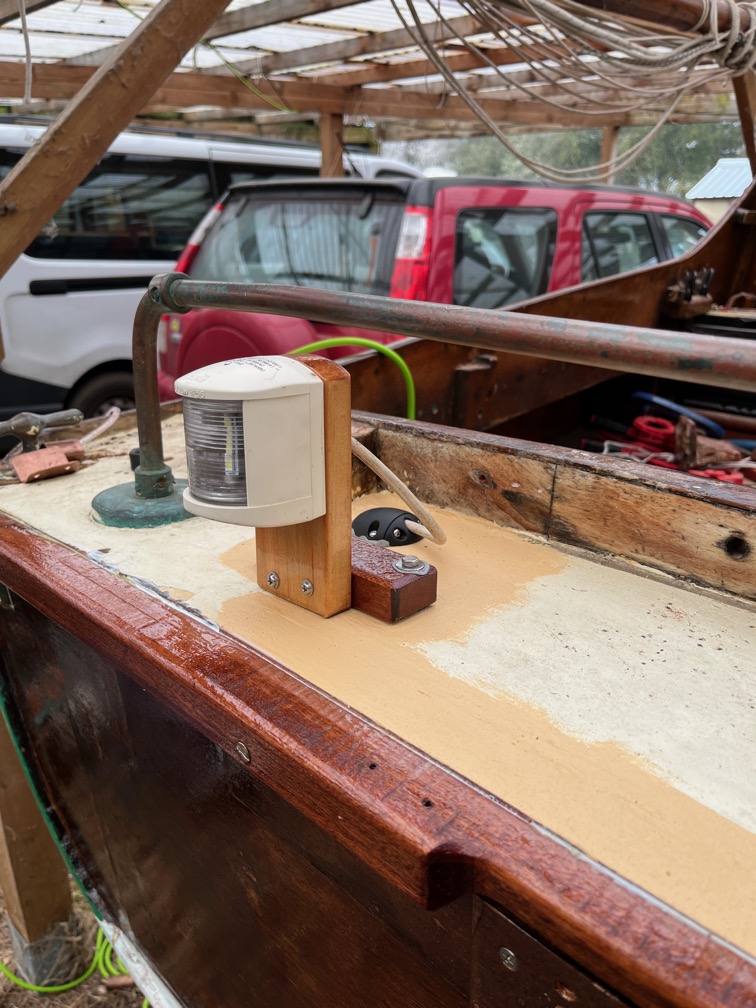
A nice, simple job, installing the aft navigation light. The various bolts and screws had butyl tape wrapped around the shank as was the underside of the deck gland. The fixings were all tightened up, but not overly tight, to allow the tape to spread into the gaps.
During the next break I took, I lightly sanded the transom and applied a third coat of varnish.
The next part of the necessary preparations for the leak test was to put the half-bulkhead back on the port side of the case.
Putting it back in place is easy, just apply some epoxy and stick it in. The problem is that if there are leaks, then I may need to take it out, so for now, it needs to be temporarily fixed in place.
I also need to put in the second and third bottom runners on each side of the case, you can see the gap in the bulkhead where one of those is meant to go.
The top need to be adjusted slightly as the case side reinforcement is slightly wider than the original. The bulkhead also need to be well cleaned as it is covered in sawdust.
I stepped back and restated the problem. It is not how to fix the bulkhead in temporarily, it is instead how to brace the centerplate case for the journey on the trailer to Ely and back again and for the launch and recovery.
Stating it this way made the solution very simple. All that is required is a stout piece of timber the width of the cabin at the pivot bolt position, some scraps of wood and some cramps.
Sort of.
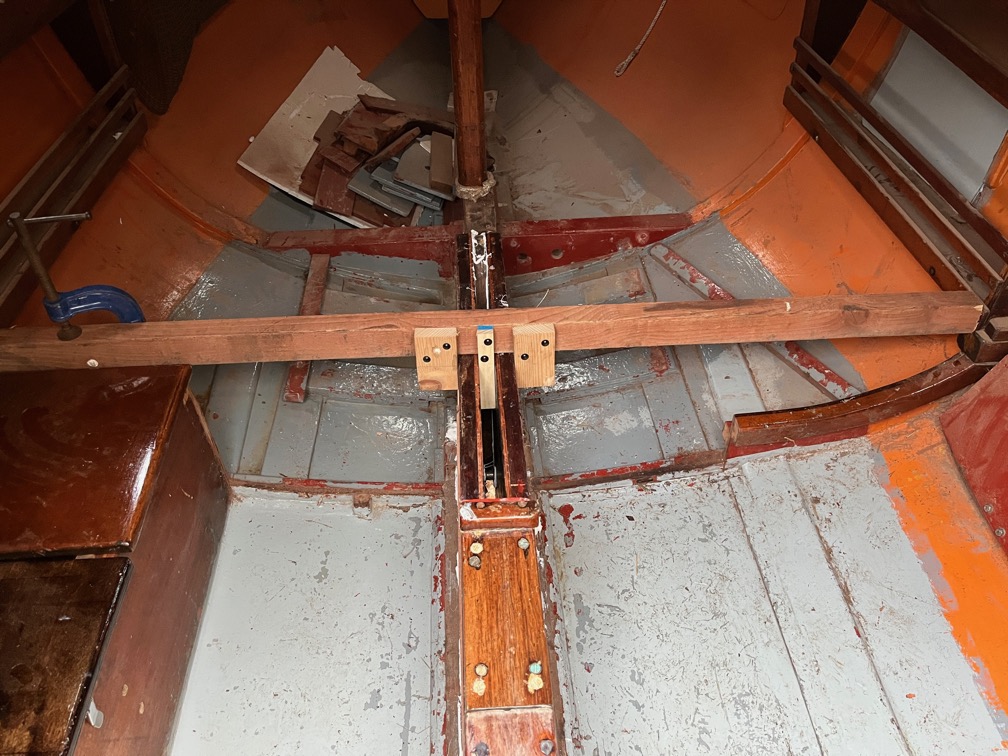
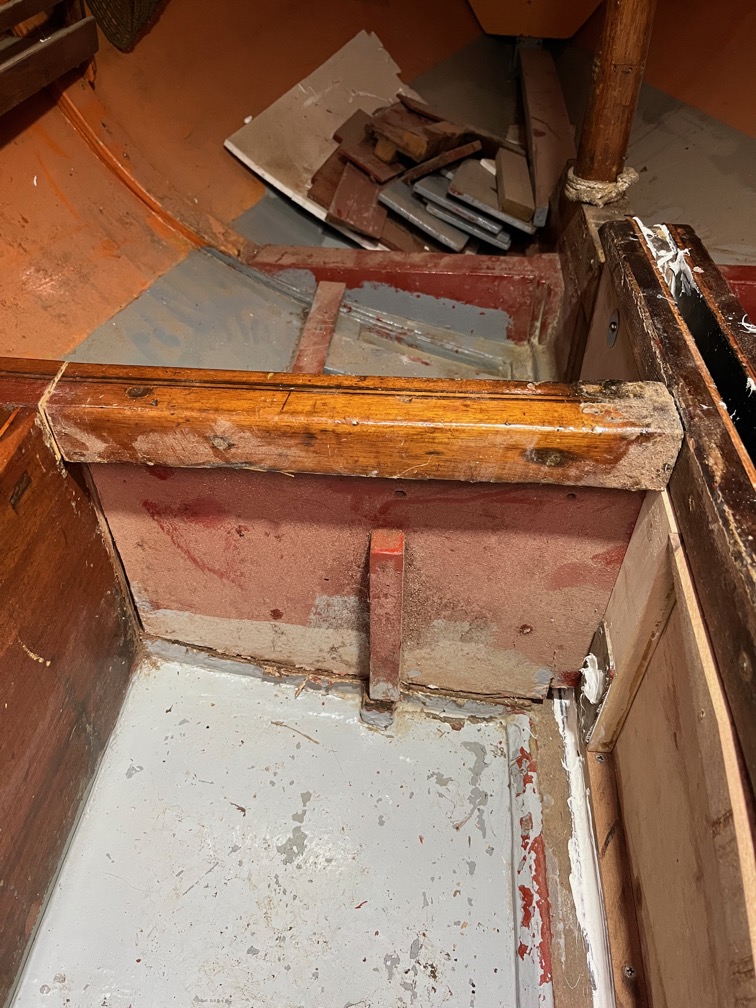
Like this. The starboard side is braced against the woodwork on the starboard side of the cabin and the port side is clamped to the remaining section of the half bulkhead. That should be enough bracing for the leak testing procedure.
I took the cut out section of the half bulkhead into the workshop to give it a clean and a sand and it looks as though the last coat of varnish was applied without cleaning or sanding the workpiece first. The top layer of varnish just flaked off. I’ll have to go over it properly and make sure that all that top layer is removed. The forward part of the bulkhead is half painted and half varnished. Since this part is rarely if ever seen, I’ll paint it and just varnish the top part. The aft side of the wood is painted.
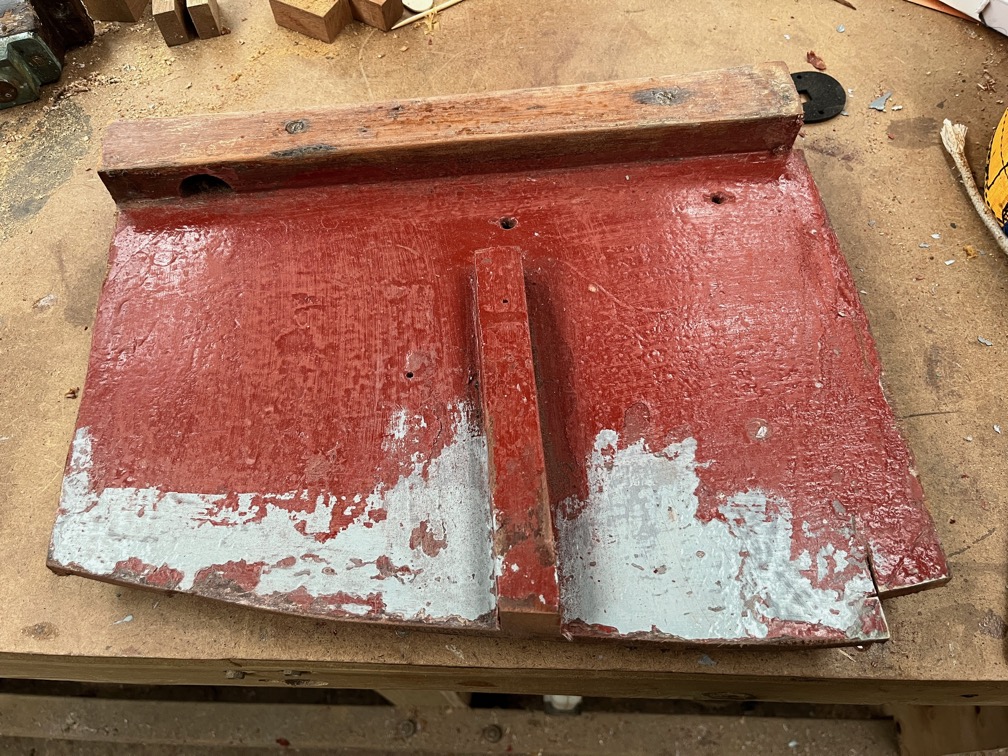
I took the time to sand the cut section of the half bulkhead during a tea break. This is the aft side.

And this is the forward side, the side which was varnished and I have scraped off. This entire piece was not sanded before the last coat of paint and varnish was applied, it was all flaky. I expect that piece of the bulkhead remaining in the boat is the same. I probably will leave the rest of the interior “redecoration” for another season.
The next task lined up for the day was to restrict the lateral movement of the bridge deck supports such that they are effective.
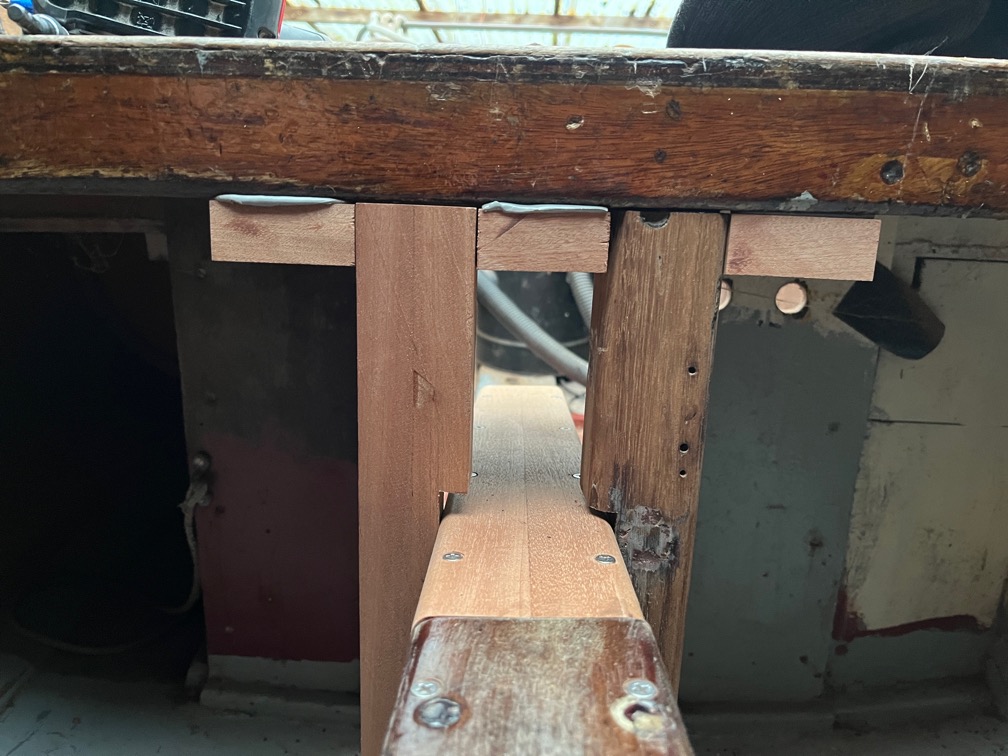
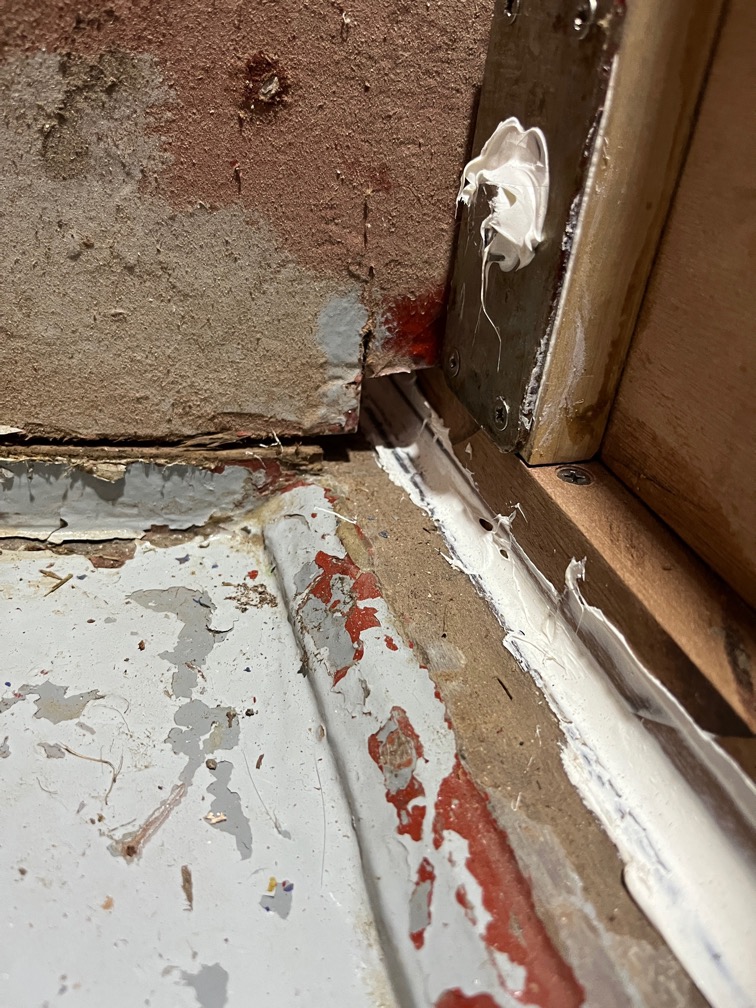
Like this. These three blocks are screwed into the underside of the bridge deck with butyl tape in the joint and they are tight up against the two supports. They will be sanded and varnished when the supports are varnished. However, the port side block now prevents the door to the battery compartment from closing, so the next task is to deal with that.

The first attempt was close but not quite good enough so I took little pieces of the door away until it fit.
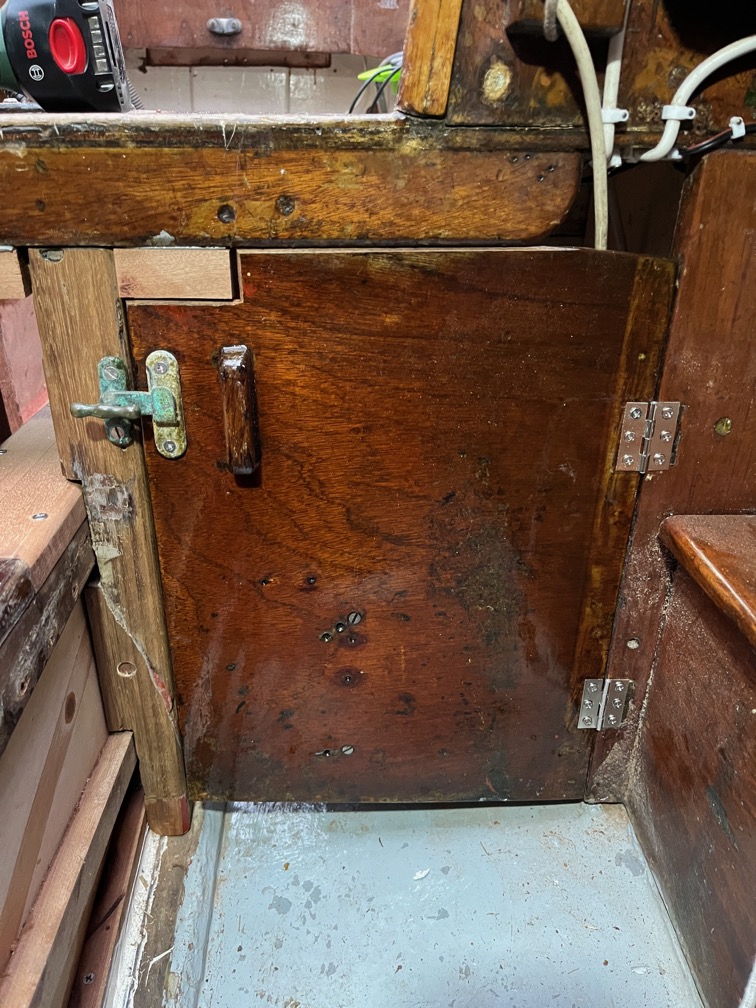
This is the adjusted door with the catch fitted. The plywood at the top of the door and where the cut out has been made needs to be varnished, so it was taken off and returned to the workshop to do that very thing. It will only need a couple of coats and will be finished tomorrow.
For now…
Time for a cup of tea.
The first task tomorrow will be marking out and cutting the scaffold planks to length and then to width. To make the cutting to length easier I make a circular saw jig.
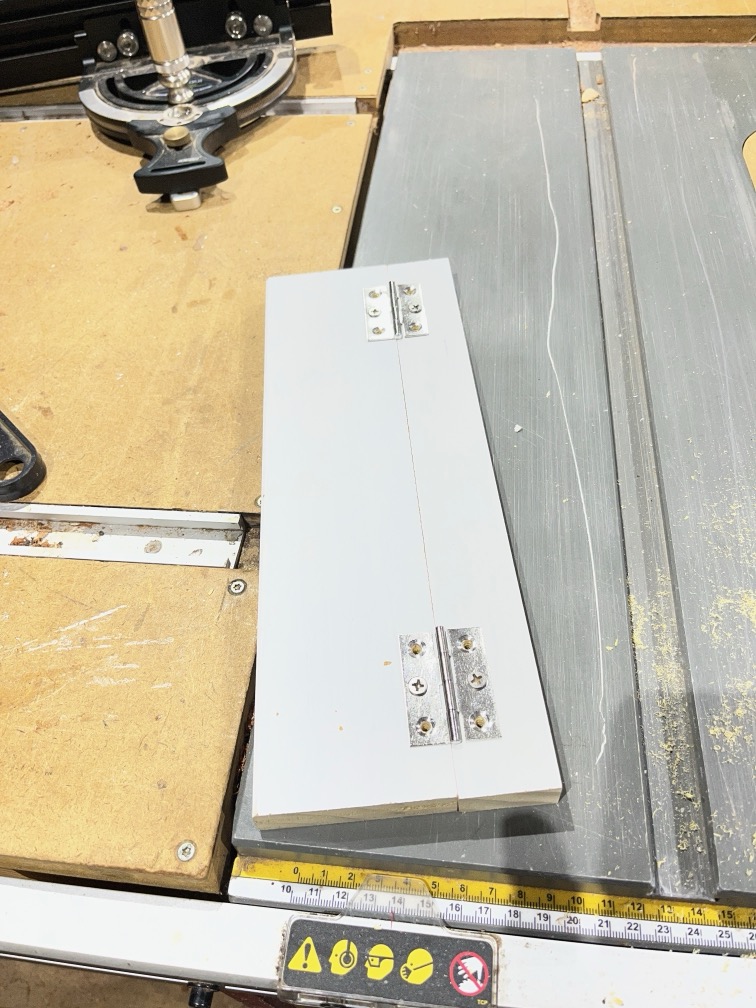
It is simply two piece of wood hinged together with the narrower piece being exactly the distance from the edge of the case to the cut made by the blade.
You open the jig out, put the right hand edge on the line you want to cut, clamp the jig in place…
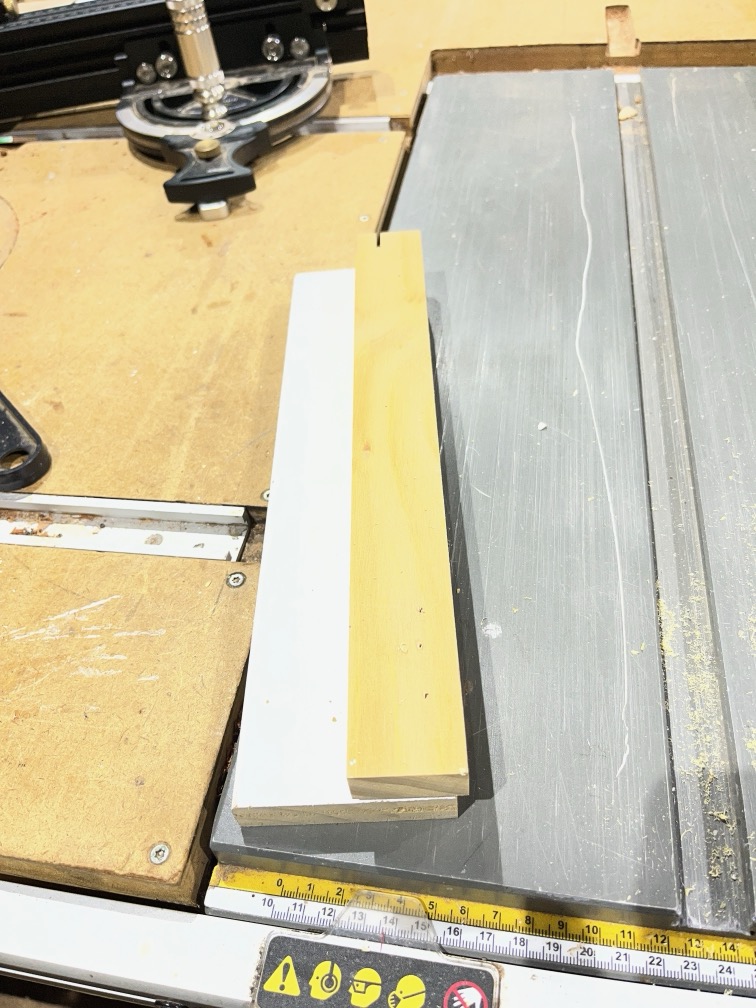
…fold back the narrow piece and then use the edge of the wider piece to guide the saw. Simple and easy. Since I have twenty-four cuts to make, this is going to make it a lot easier to carry out.
That’s it for today.
Time for a cup of tea.