
The morning started the same way that it has done for the past fews days with varnish work. This time the bottom of the two boards and judging by the coverage, one is all they are going to get this time around.
I also put the heater on in Shoal Waters and put some stain on part of the new galley locker, the part at the back that will be visible.
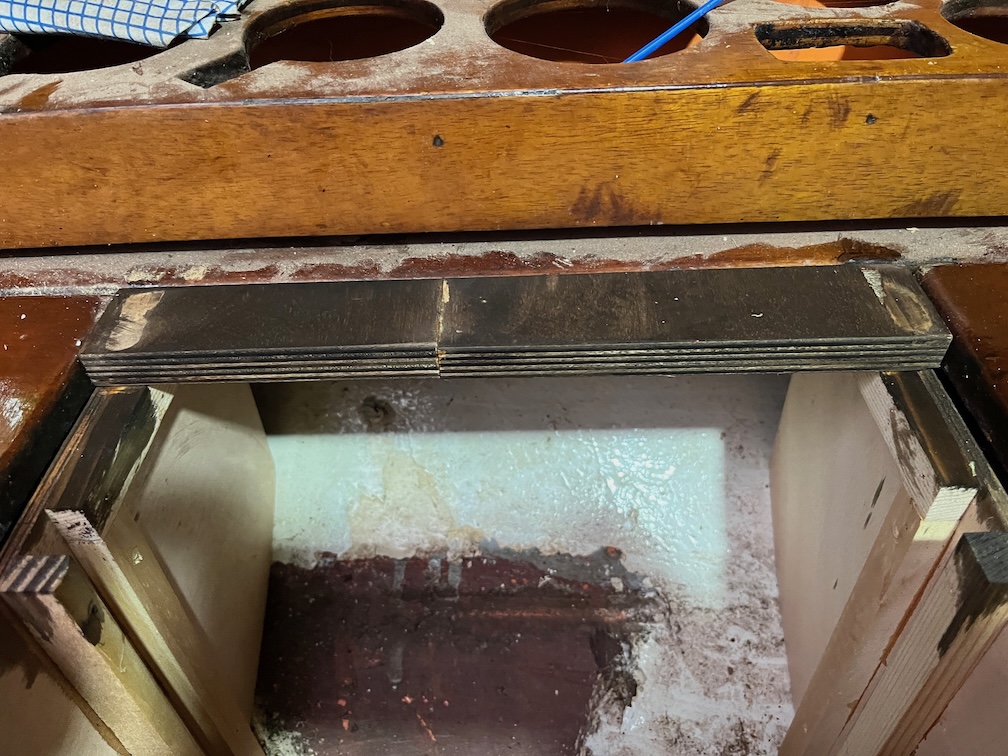
This is the section of wood I mean. The white areas are where there has been glue on the wood and it doesn’t take the stain. Nevertheless, I shall bash on regardless and if it annoys anyone too much I’ll paint or replace it.

The resized locker lid has come out quite well. I washed the surface with White Spirit, dried it and gave it a coat of varnish. The far edge, which you can’t see, was bare wood and now has a coat of varnish. I’ll be putting varnish on that and the just stained wood in the coming days. It will not be as quick to do as the temperature is quite a lot colder out in the boat than inside the house. Maybe I’ll be able to get a single coat per day instead of two. The other locker lid was similarly washed and varnished but I’ll not do any more to that, one coat was sufficient.
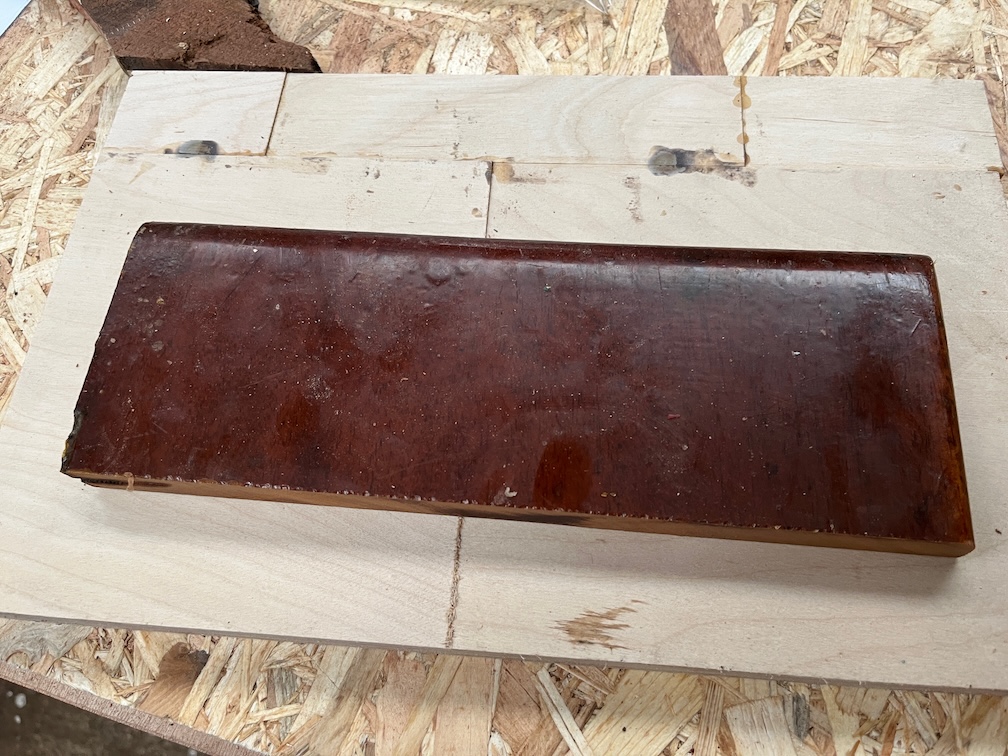
The section of the locker lid that I cut off is really nice wood. I wonder where it came from. Charles was able to get wood from various places such as Mahogany from a man chopping up a billiard table (Sailing Just for Fun p25). Wood came from other places as well, a bank and the farm he managed before becoming a Civil Servant. These days this sort of thing is impossible, with the advent of eBay everything that looks even remotely useful is sold.
I need to see if I have any white paint so that I can paint the inside of the locker. The rest of the locker is very off-white paint due to age and I’d like to put the same type of paint on if possible, but if I do not have white then I do have some grey bilge and locker paint and I’ll just use that on the untreated wood. After all, it’s not going to be seen very often. After a quick trip down to the workshop I found that I did not have any white paint, so grey it is.
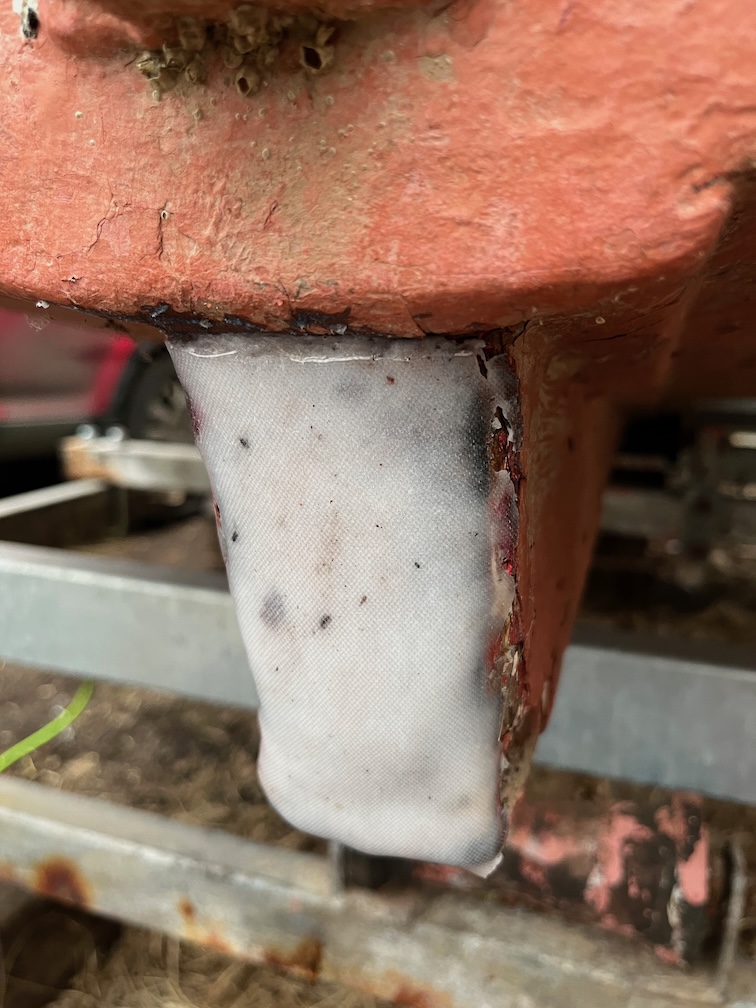
The peel ply was removed from the aft end of the skeg as the epoxy was sufficiently cured. The epoxy stayed in places despite the force trying to putt it off when removing the peel ply, a good indicator that it is well attached to the wood beneath. Another task crossed off the list.

The epoxy on the underside of the new aft bock top piece was carefully sanded back to the wood.
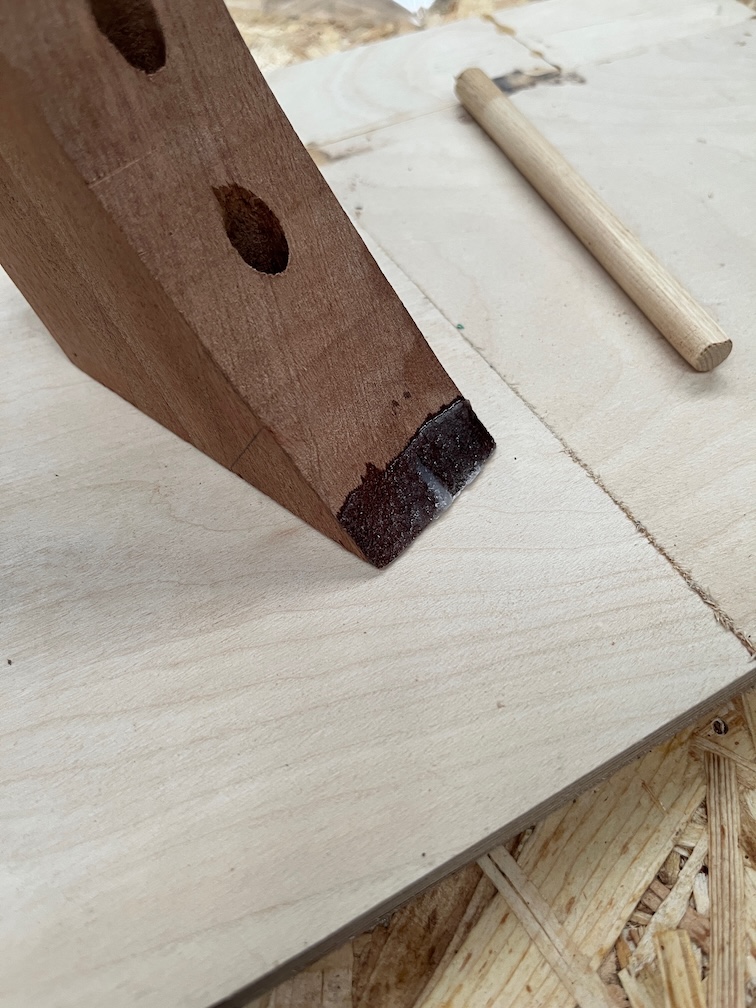
But the epoxy on the top surface was left as is since once the top piece has been glued in place it will be sanded to blend into the old block.
Time for a cup of tea.
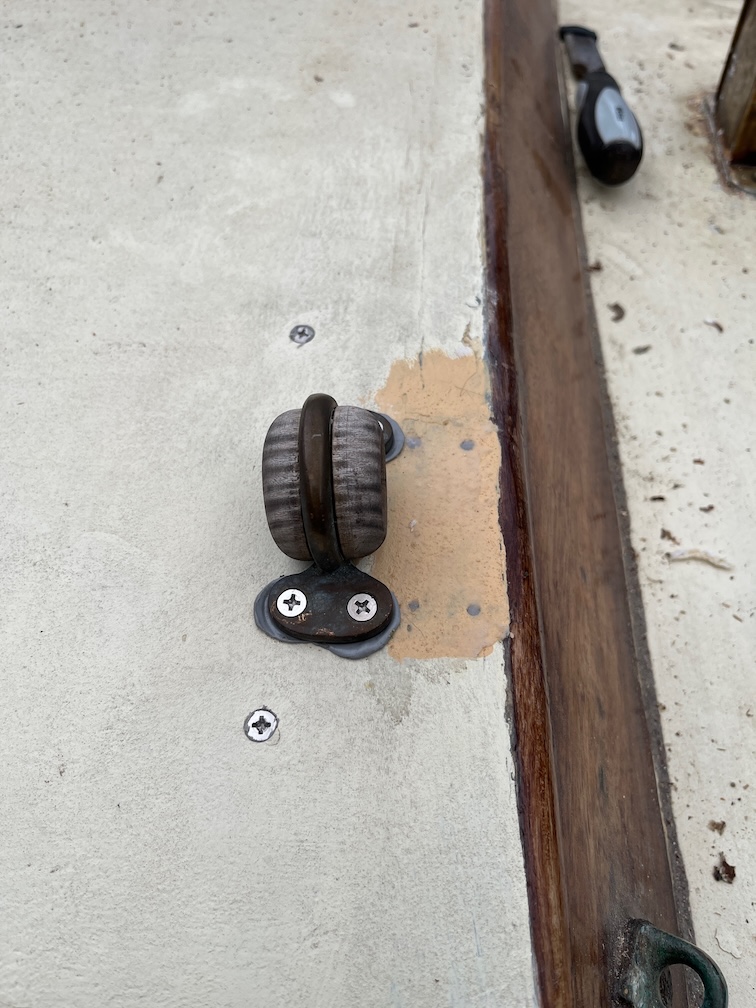
The next task is to get the bullseyes done. Nothing difficult about this, just potentially messy.

The backing pads were put into the correct place and wedged there using two battens clamped together as shown. Not elegant, but it works. You do really need three hands to do it, one to hold the pad in place, one to hold the battens and a third to fit the clamp and tighten it up. You can get a single-handed version of this, I’ve watched other boatbuilders use them.
Anyway, the top and front surface is covered with sealant and the pad is screwed in place from the outside. Once that is done the bullseye can be fitted.
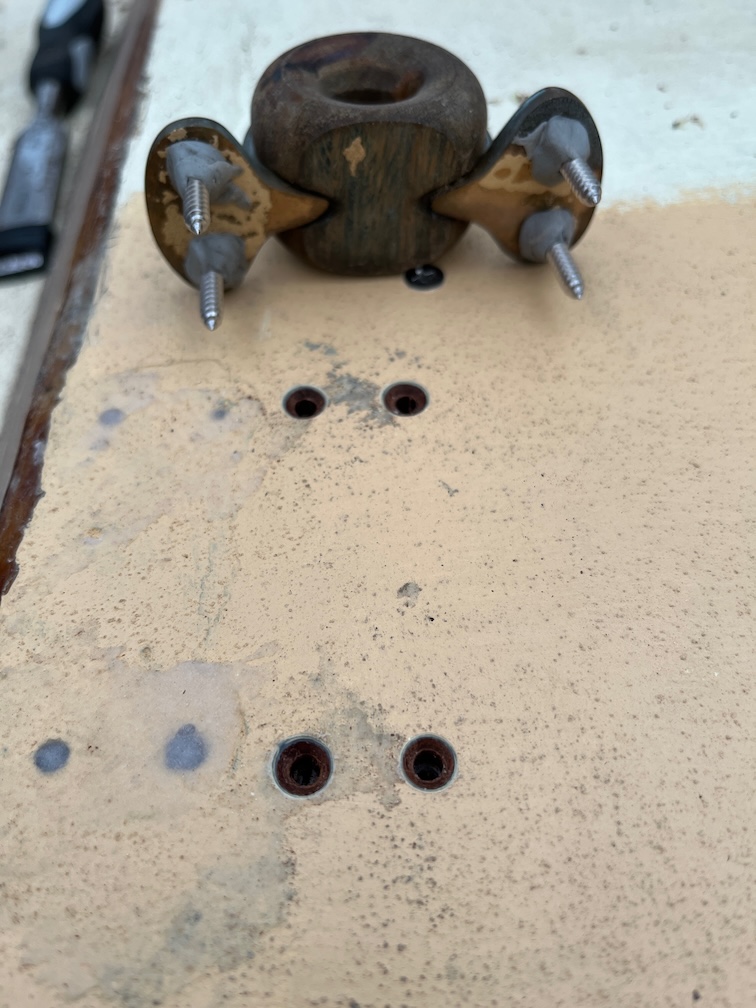
The four screw holes through the coachroof are clearance holes and chamfered so that the butyl tape has somewhere to go. You can see the tape on the screws in the bullseye.
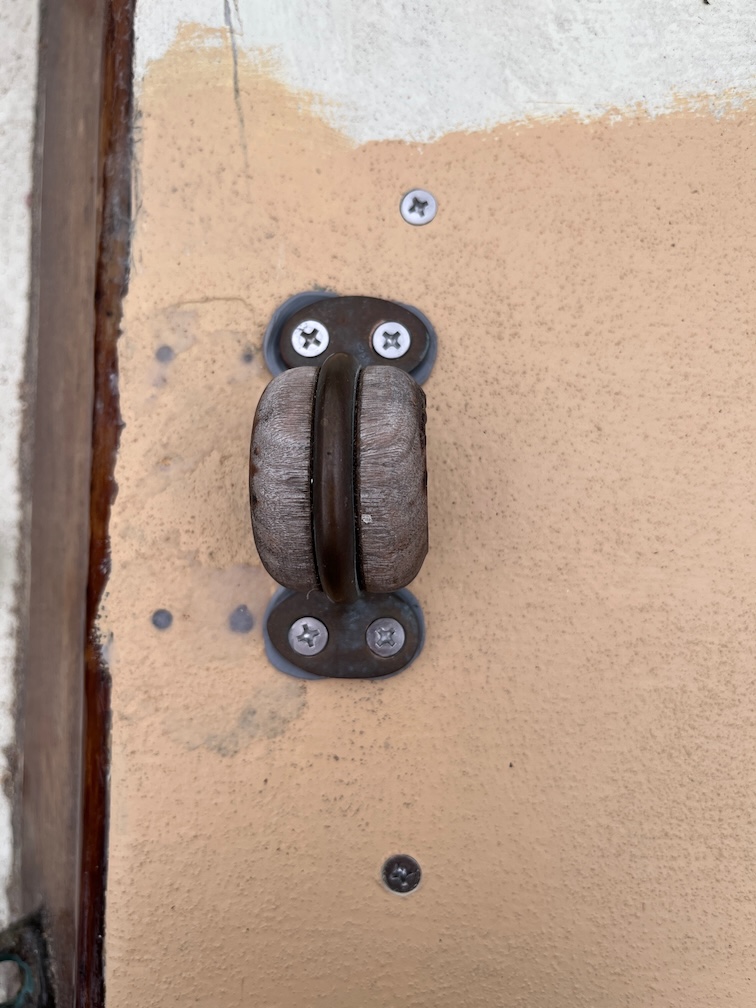
The screws are tightened up a litte at a time until they are tight and you can see the tape squeezing out. I’ll run a sharp knife round the fitting later and remove the excess.
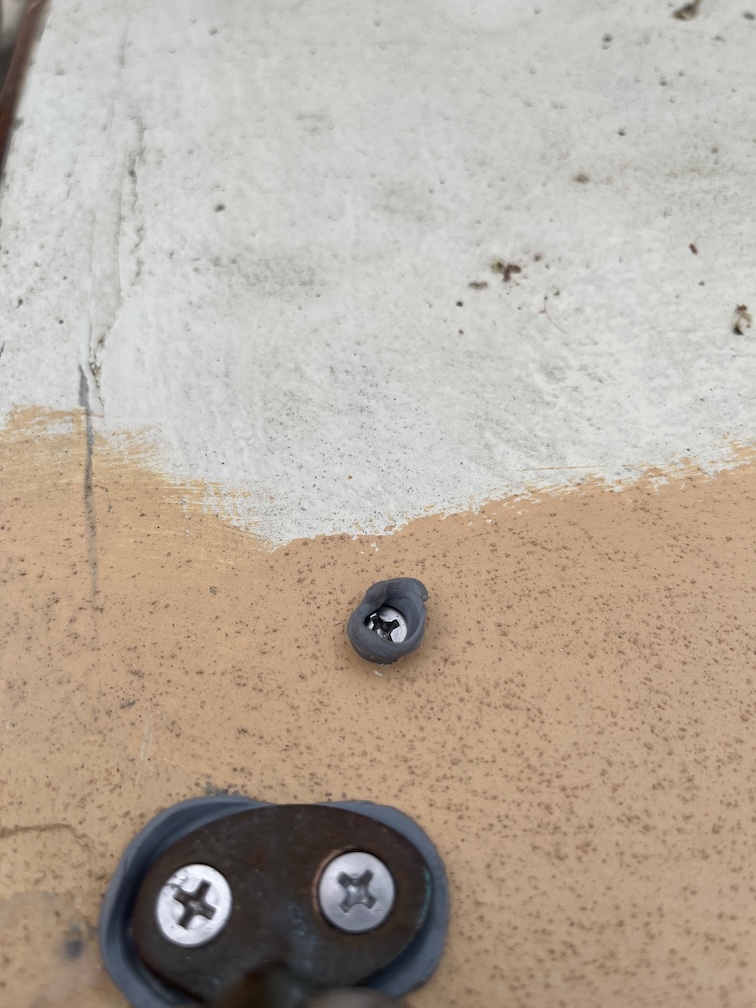
The screws holding the pad initially were backed off a little, butyl tape wrapped around the thread and then screwed back in again. Here the squeeze out is obvious.
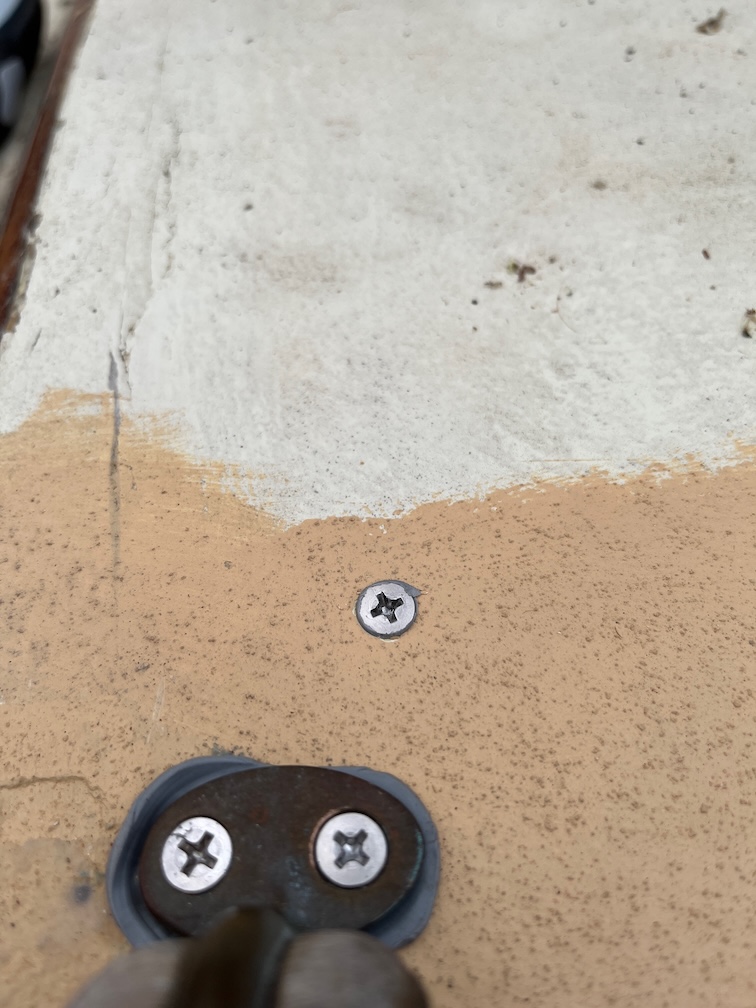
The excess is easily remove just by pulling it off.
The other bullseye was similarly treated and yet another task can be ticked off the list.
I have a shed load of 6mm silicone rubber tubing in the workshop left over from when I added a water-cooled spindle to the CNC Router and I found a use for some of it.
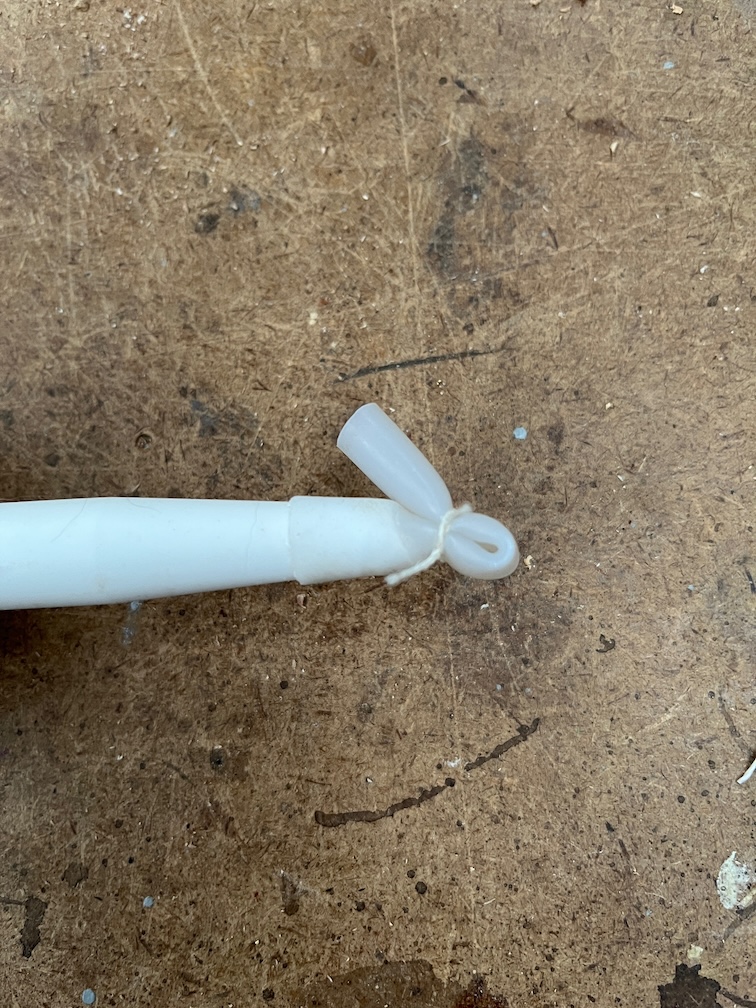
I cut off a short length, slipped it over the end of the sealant nozzle, bent the tube over and tied it tight. Useful that.
Time for a cup of tea.
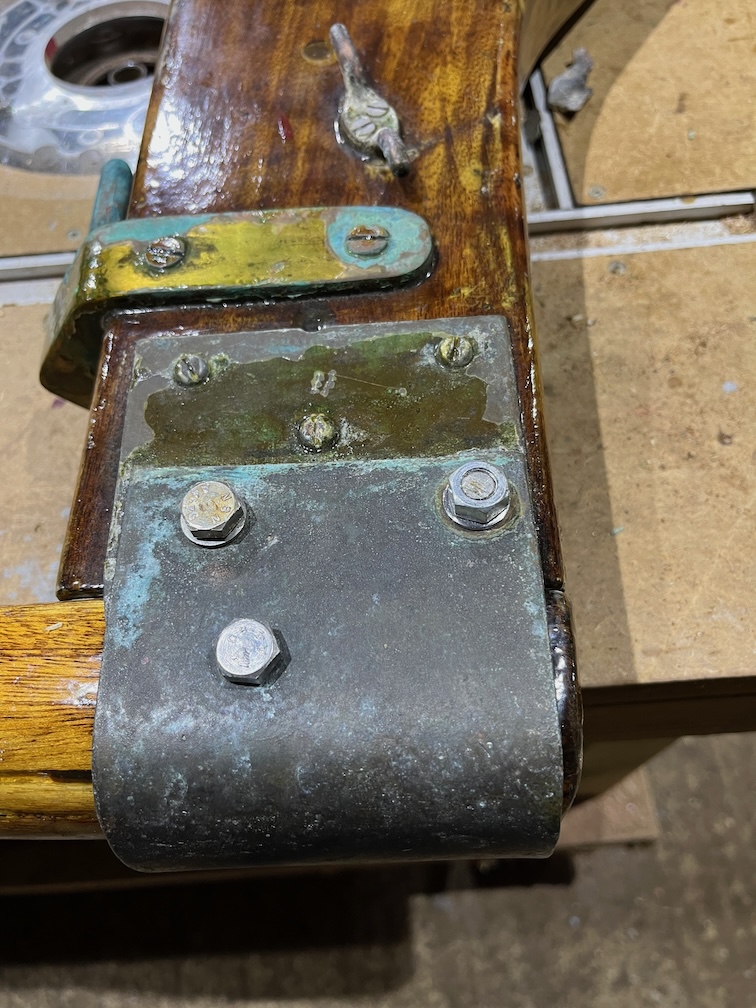
The next task is the tiller and rudder. When we collected Shoal Waters from the Goldhanger Sailing Club, the tiller took some persuading to come off. There was a brass bolt through the top of the rudder stock and through the tiller and it came out easily. The bolt was 1/4″ and the hole a bit bigger than that but I had to resort to hammering the tiller out with a mallet. Well, a hammer onto a piece of wood that was on the back of the tiller, but it is easier to say mallet.
I decided at that point that one of the tasks would be to fix this such that removing the bolt would allow the tiller to count out freely. Now is that time to make that happen.

This is the slightly modified rudder stock in that the two holes holding the bolts you can see and the hole through the tiller were drilled out to 8.5 mm. This allowed the two bolts holding the brass (bronze?) tiller holder to the top of the rudder stock to fit properly and also allows the use of an M8 and 80mm long drop nose pin. Or will when it arrives.
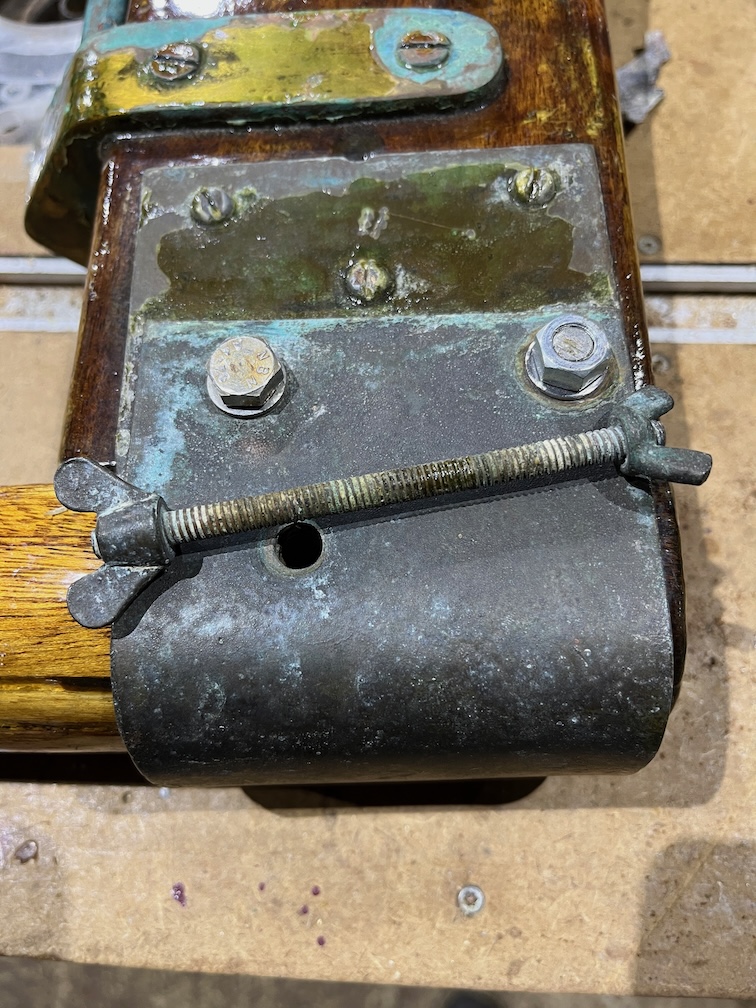
This is the original through bolt that prevents the tiller from slipping out. There’s nothing wrong with it except that getting it out in a hurry isn’t really possibly whereas using a drop nose pin is quick and easy to remove.
I put an M8 long bolt through the hole to check the clearance.
So, another task done. When the pin arrives I shall tie it to one of the bolts so that it can’t get dropped overboard by accident.
Time for a cup of tea.