
First task was to apply yet another coat of varnish to the top surfaces of the galley stove boards, this is the fourth and last coat for the tops. Once this has dried a little I’ll put them on the Rayburn to warm up and harden the varnish.
I decided yesterday evening that I really needed to do something about the bottom half of the aft block.

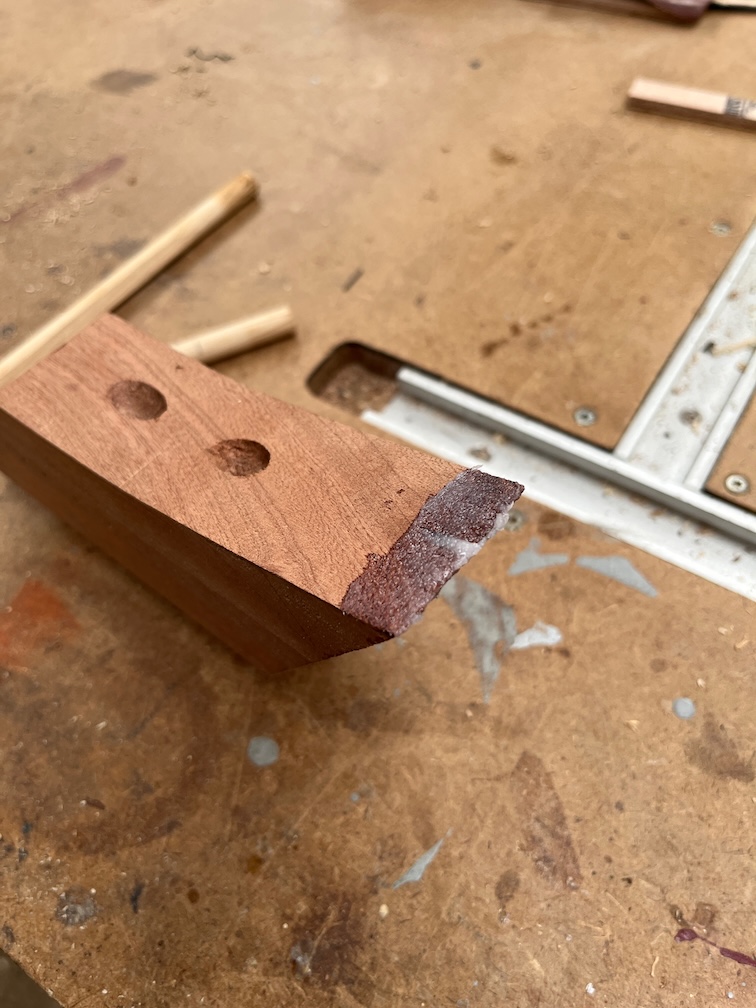
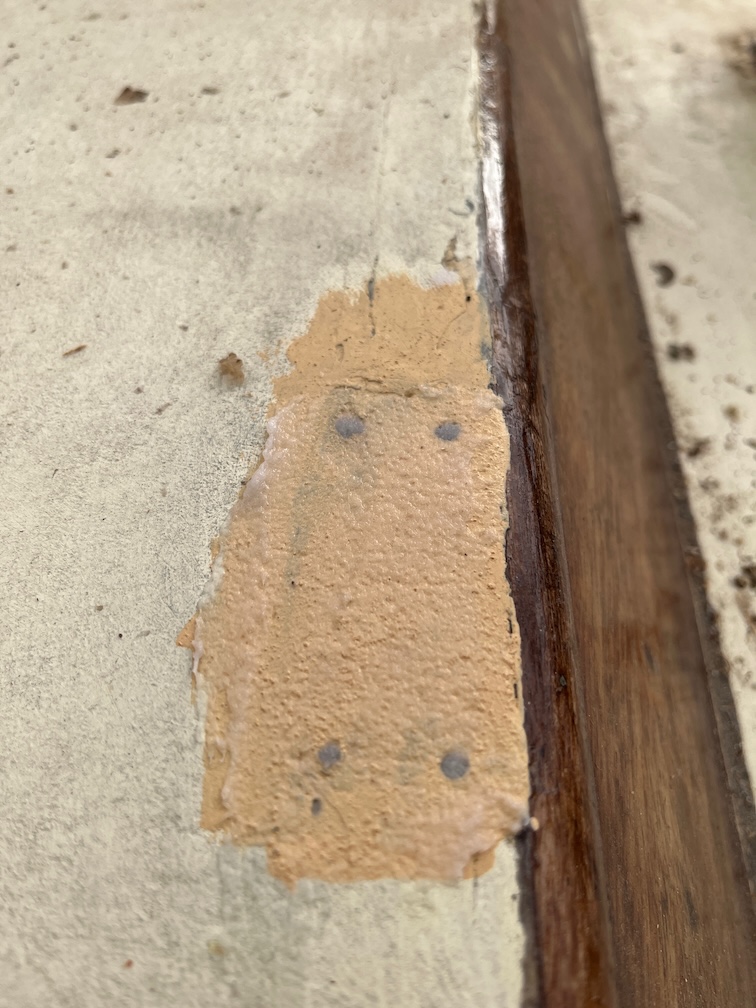
As you can see from the photo, parts of the front are damaged due, I have to say, to my slightly too aggressive work with a chisel when trying to get the old case sides out. There were, I decided, two practical ways to go about this. Firstly was to just cut the entire front off and replace it and the second was to fill in the damaged sections with thickened epoxy.
I decided to go with the second option as I have to make up some epoxy to fill in the accidental saw cut in the back of the new piece.
First thing, the heater was turned on and the warm air direct on to the aft block from inside the cabin. However, later on I took a look at the damaged section and it is a lot less severe than it looks in the photo, so I decided to leave it. The front part will be coated in neat epoxy before the sides are fitted and I’ll just make sure that plenty of epoxy is brushed into the damaged area.
The next task while I waited for the CPES applied yesterday to cure was to finish the bullseye backing pads. This could have been a bit messy since the procedure was to mix up a fair bit of thickened epoxy, spread it on to the top and front edge of each pad, cover the epoxy with clingfilm and then each pad was pressed against the coachroof where they will be installed.
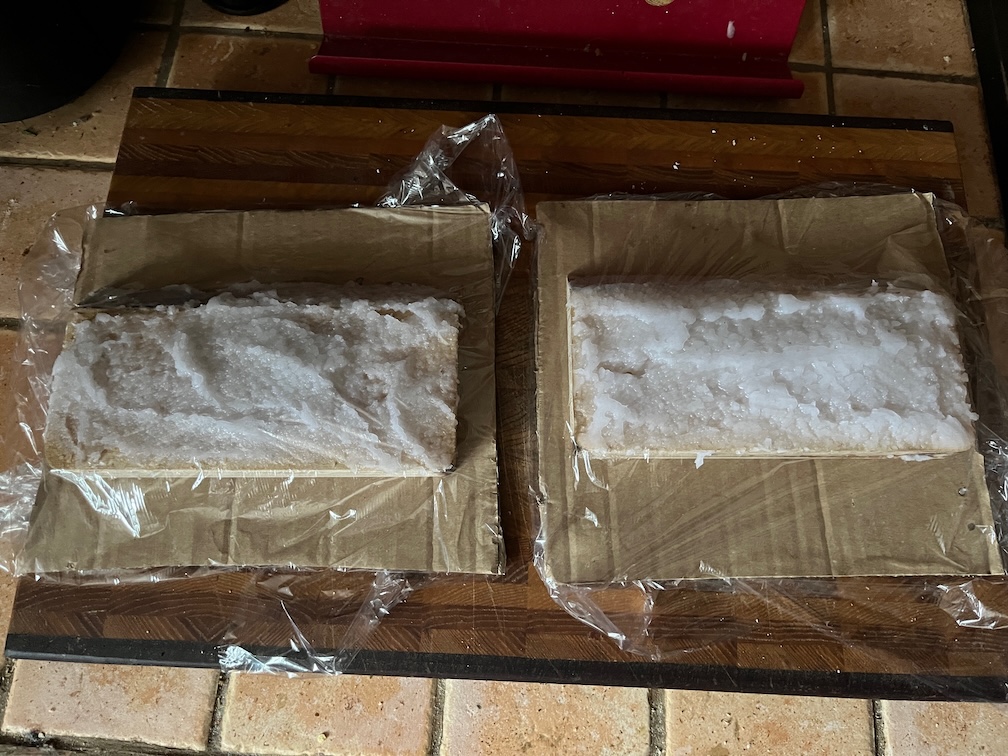
Here we go, lots of thickened epoxy on the backing pads, resting on cardboard (to catch any drops) and covered with clingfilm.
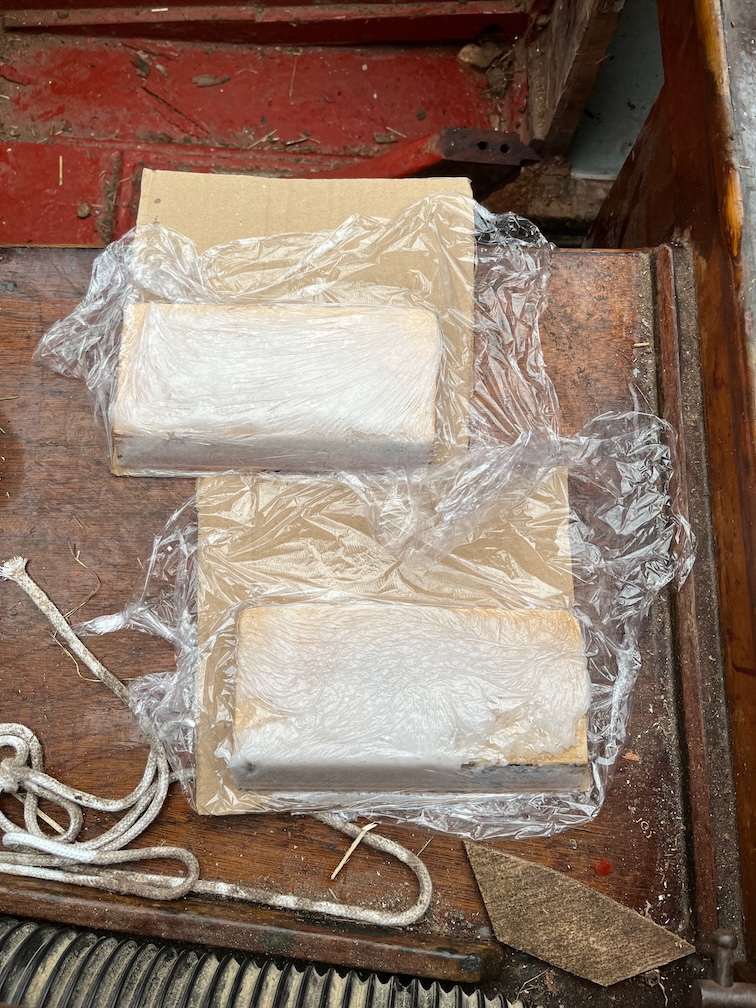
And here, a short time later, the same backing pads having been pressed against the coachroof. There are still gaps in the epoxy, but it is close enough and I can put more in these gaps and smooth it over.
I made a lot of epoxy, this is one of the reasons for that…
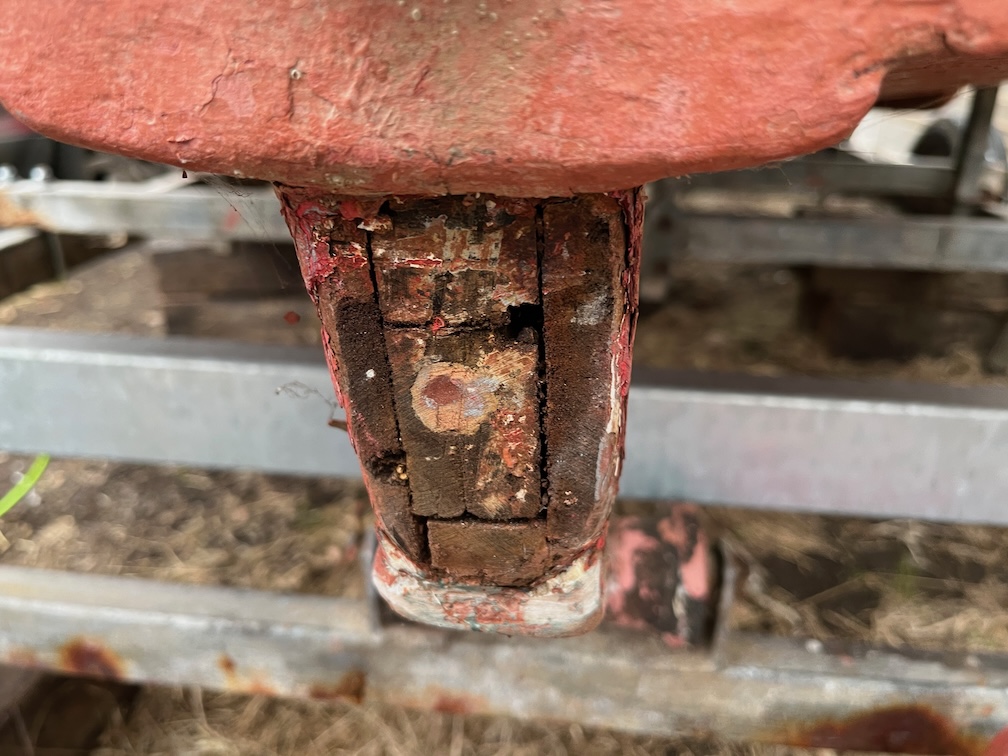
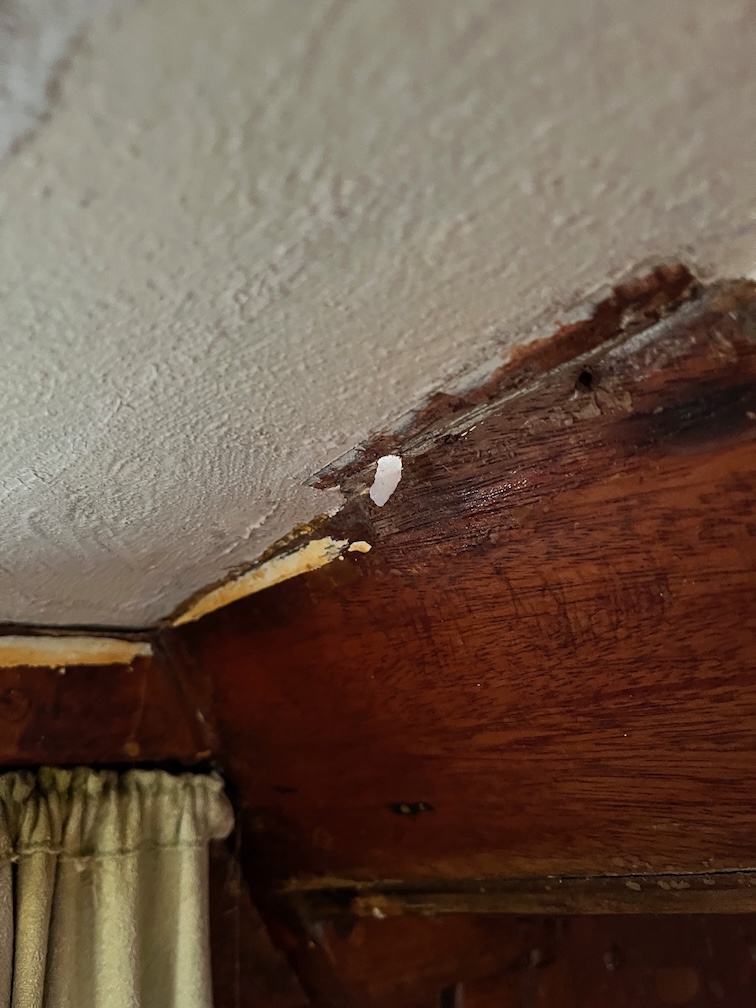
…and this is the other. The aft end of the skeg needs some repair. I think that the original is three long pieces of wood stacked on on top of the other, with two side pieces to hold it all together.
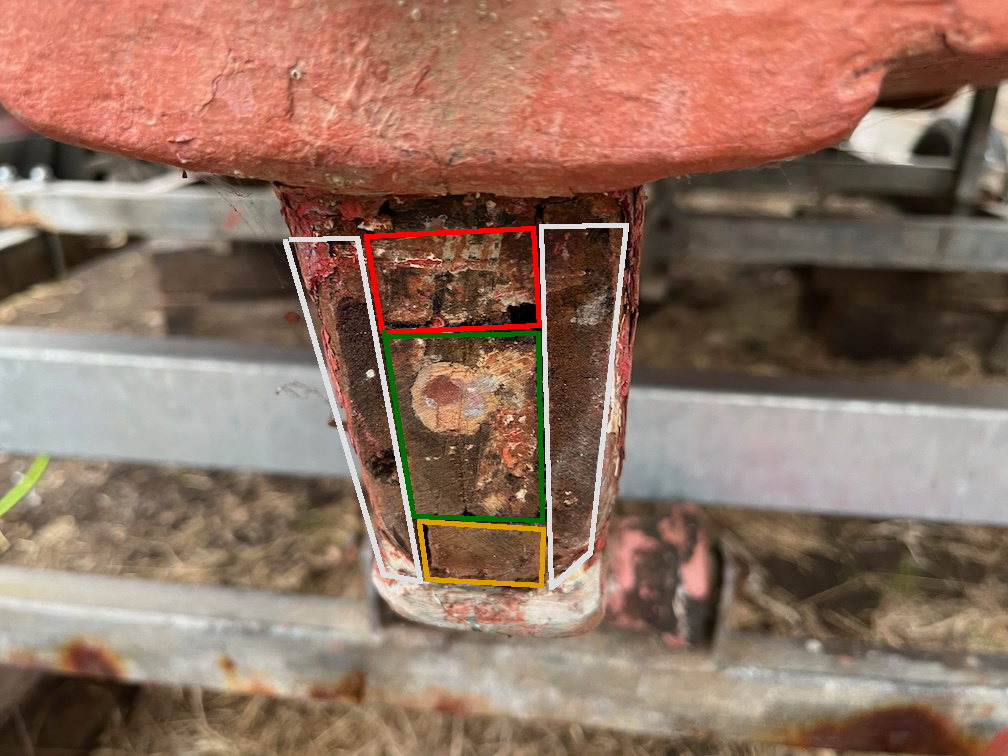
Like this. The red green and yellow pieces are the ones stacked on top of each other. The white pieces are the two side pieces holding everything together. That is the original skeg. at least I think so.
At a later time another piece has been added to the bottom of the skeg and various dings and scratches filled with epoxy. The back part of this has been partially knocked off so I took a chisel to the whole thing and removed as much of the loose parts as possible, then sanded it with 80 grit sandpapar.
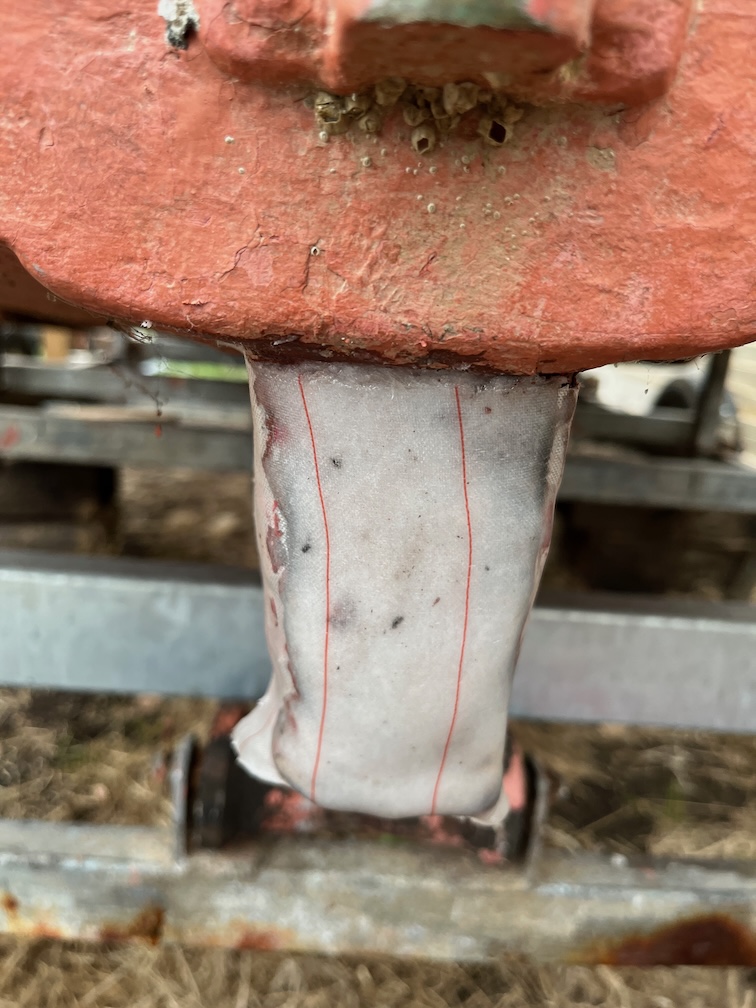
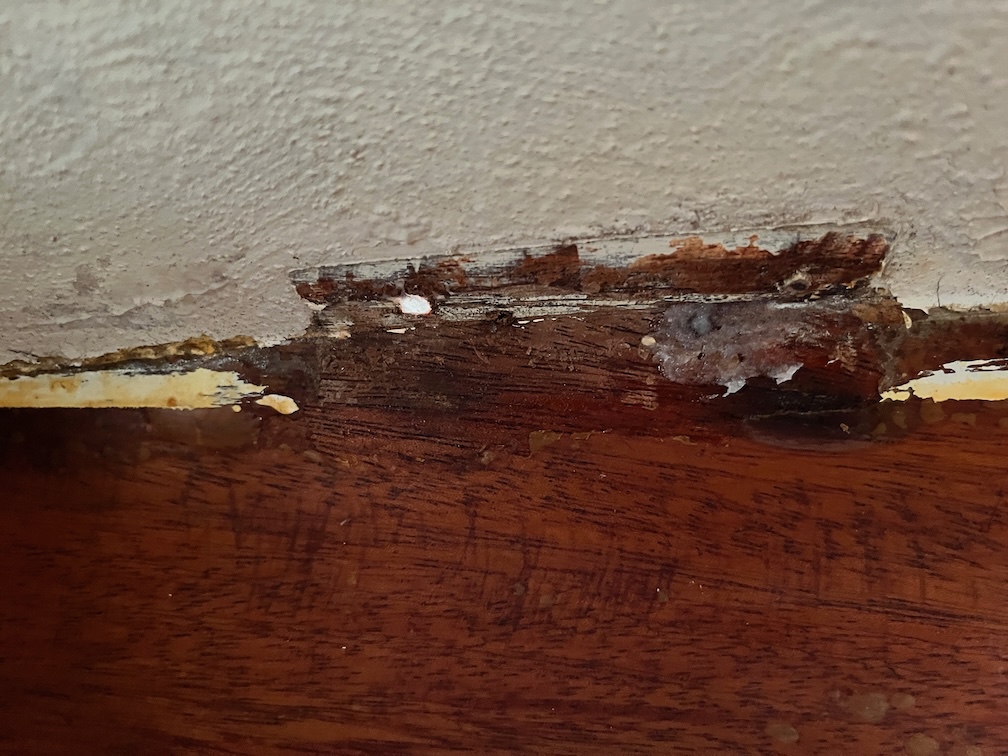
This was slathered with the thickened epoxy and a layer of peel ply put over the top. This will be covered in antifoul paint before being launched and if I leave the amine blush on the epoxy, the paint will come off. Besides which, the peel ply allows me to smooth the epoxy down with my hand (wearing nitrile gloves) and that all by itself is worth doing.
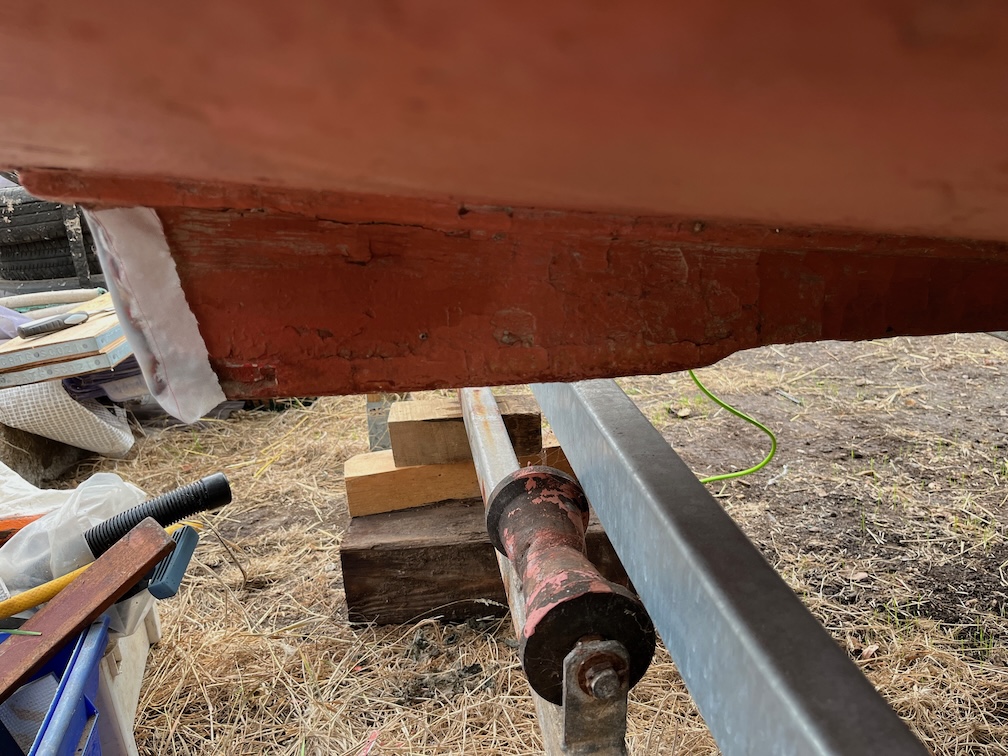
You can see the addition to the bottom of the skeg more clearly from the side.
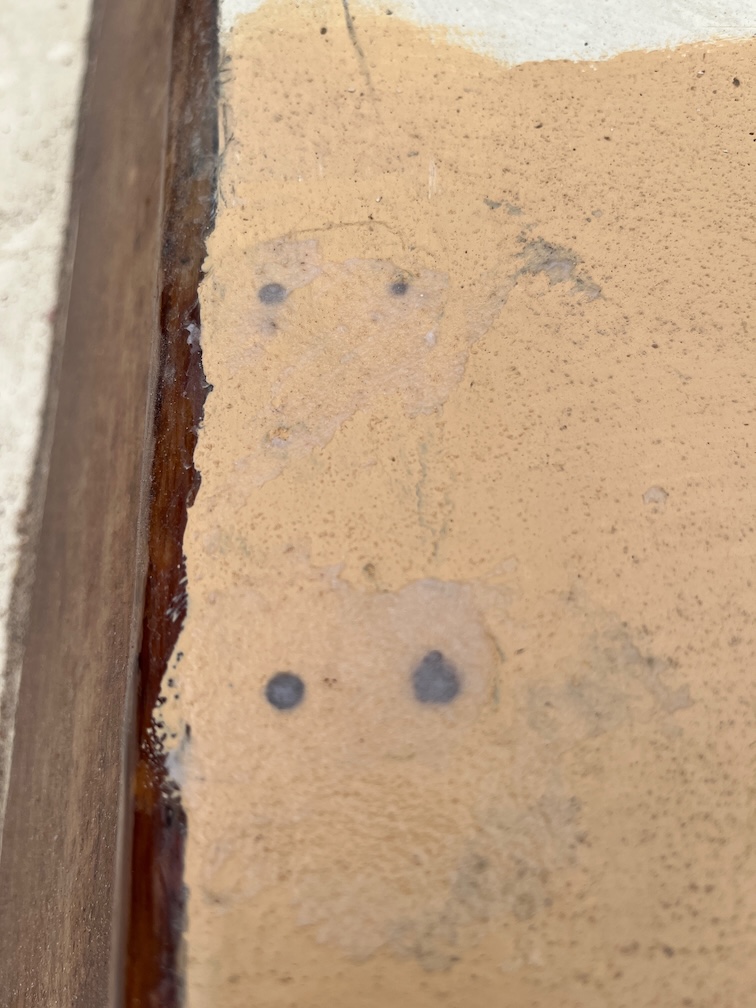
I also filled in the old screw holes where the bullseyes were.
I will need to go over both these areas with a sander to remove the excess epoxy, but I will have to do that in order to apply the new paint.
One of the holes did develop a short tail as I pressed too much epoxy into the holes from the outside.
But that was easily removed and I used the tail to fill in a nearby hole in the upstand.
With the temperature forecast for the weekend getting down to near zero and possibly with snow, I want to get any outside epoxy work done today so that it stands a good chance of curing before the temperature drops.
Time for a cup of tea.
The next task was to resize the locker lid so that is fits since about a third of the original length has now been allocated to the galley stove.
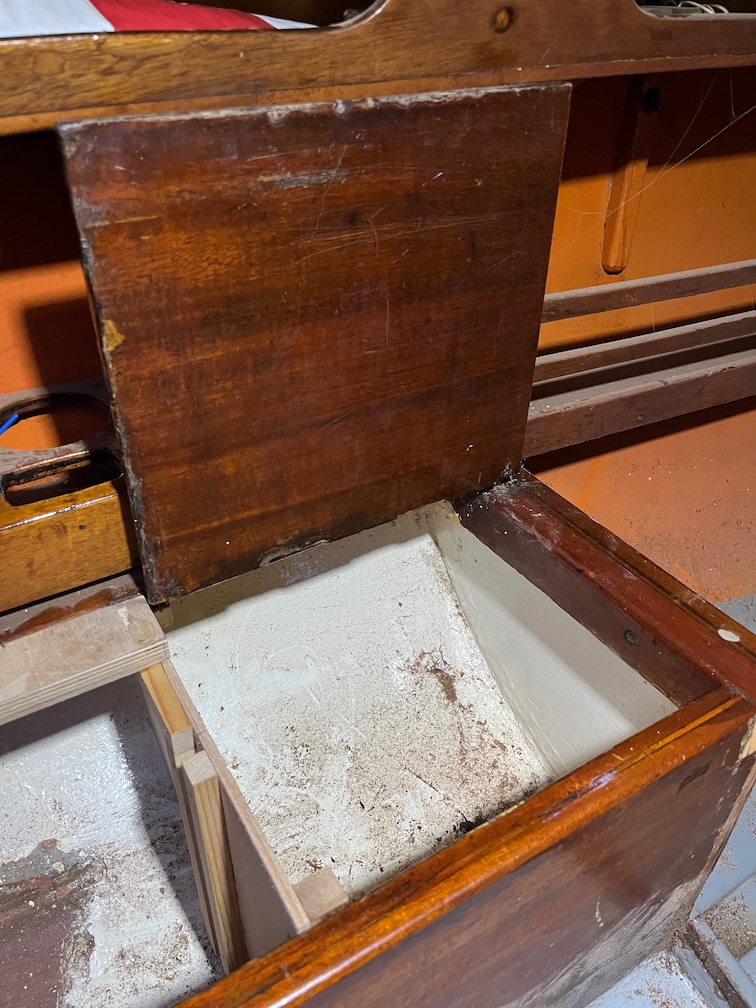
This was a pain to do as I had to reuse the brass hinges but with stainless screws and getting them screwed in was awkward. Still, it is done now.
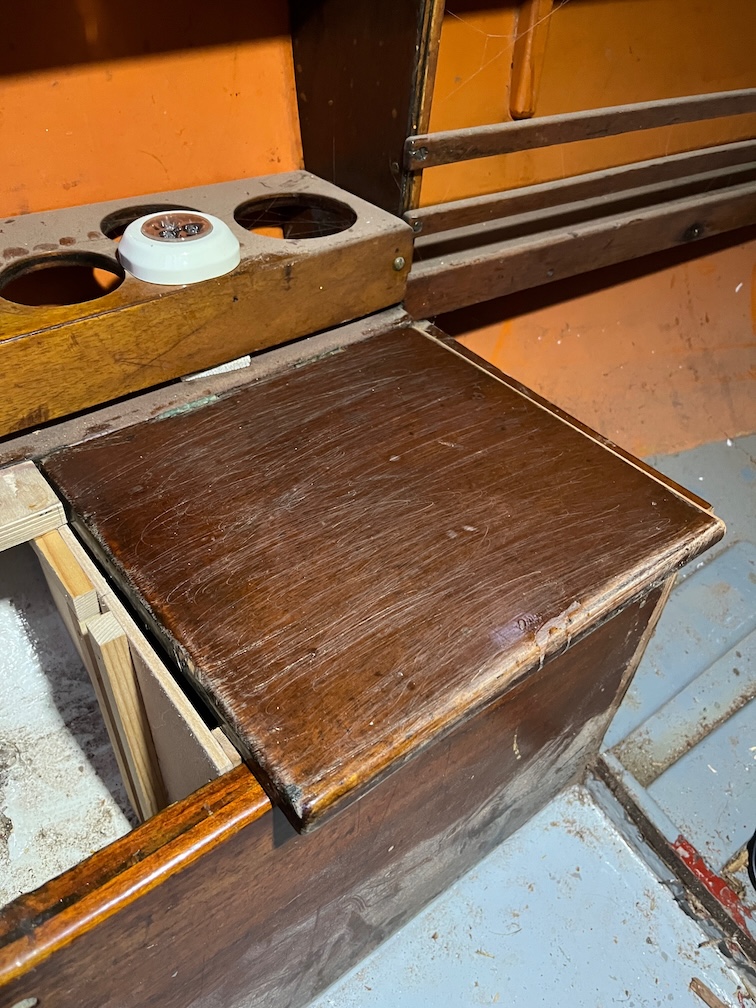
The result isn’t too bad. I gave the lid a light sanding and will add some coats of varnish in situ. I don’t want to remove and replace it again. The cut edge need to be varnished from scratch but the rest of the top can just have a coat or two.
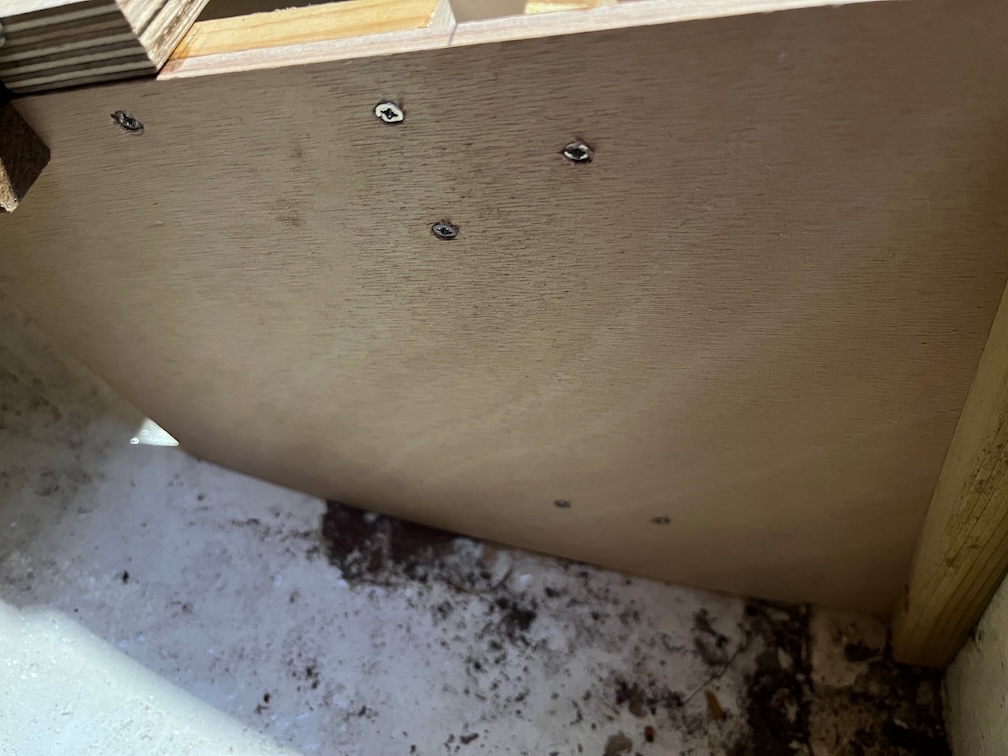
I also took the time to add screws to the various battens in the galley locaker. These have been glued using cyanoacrylate glue which is very good but it is brittle, so I added the screws, just in case.
That’s the lot of today.
Time for a cup of tea.