
Despite the air temperature being 9º C this morning, when I went out to the workshop my fingers were too cold to work within 15 minutes. The wind is bitter, it is raining and it is pretty miserable.
So I went back inside and had a cup of tea whilst I decided what I could do today that did not require the accurate use of sharp tools and which would allow blood to stay on the inside and not leak out.
Having warmed up I went out again and put the hatch on and screwed in the retaining screws. Task No.1 completed.
The work on the compass cable went so well yesterday with the centerplate case out of the way that I looked around for anything else that would benefit from being done before the case is reassembled. There is only one thing on my list and that it the galley stove. While this might not be considered by some to be essential sailing equipment, I’m a mug of tea sailor in that it my mug of tea gets spilt, I have too much sail up or it is too windy. Can’t do that without tea and can’t do tea without a stove.
Ergo, essential sailing equipment !
Besides, it has to be done at some point.
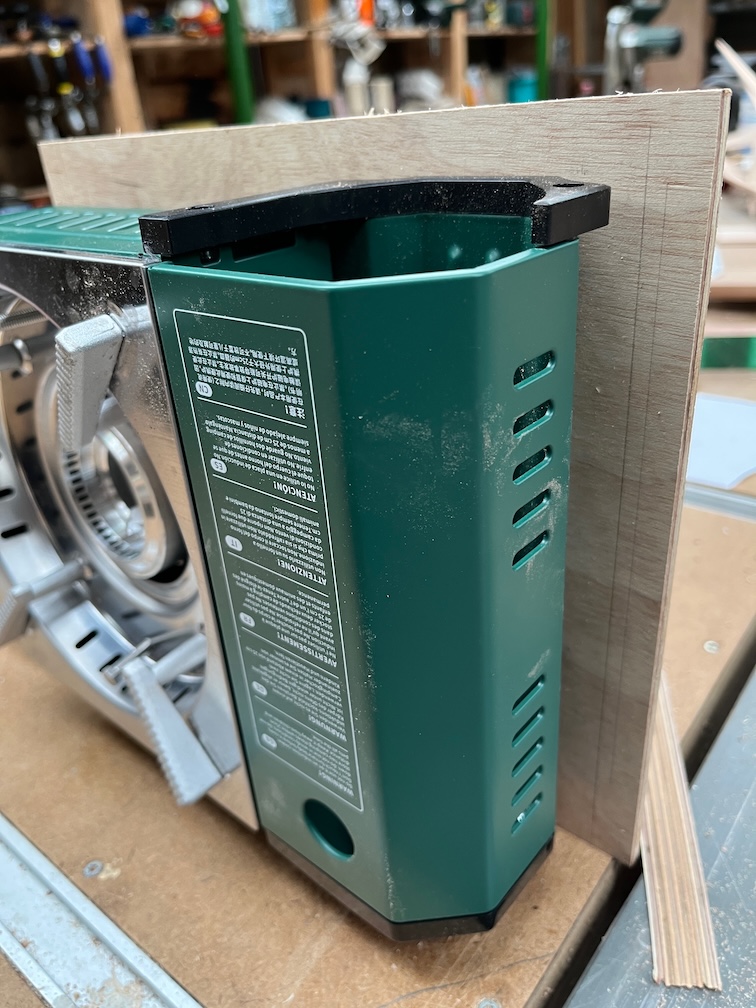
In the stowed position the stove will be like the above in the locker where the old stove used to be.
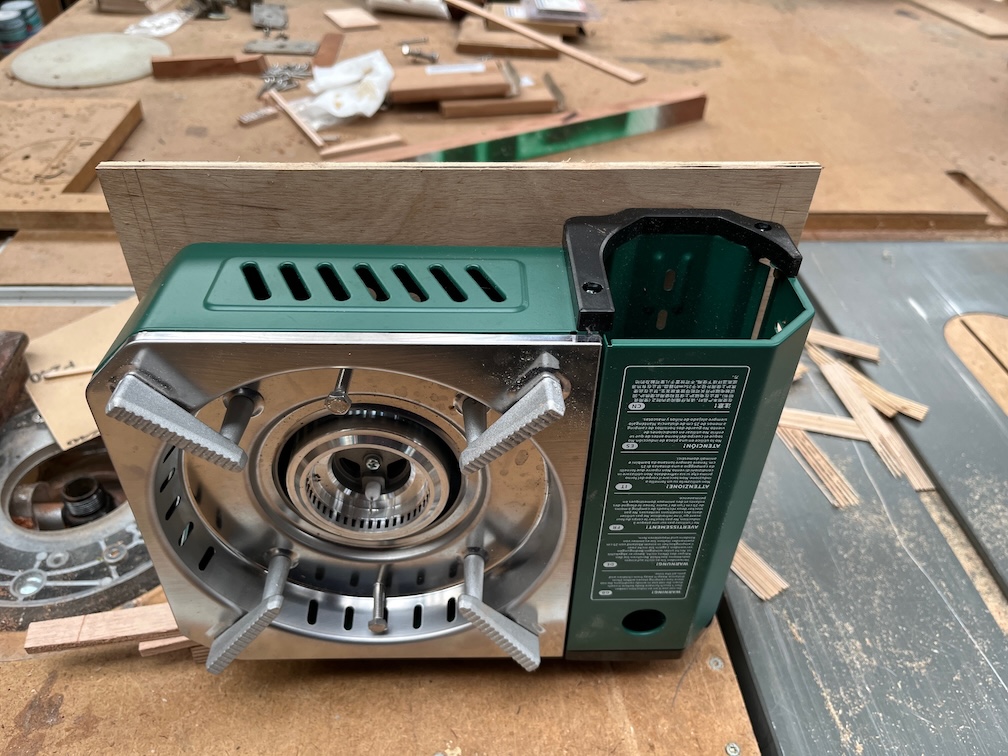
The board upon which it rests will slide into channels in the locker and for this reason the board is wider than the stove by about 15 mm either side. This board is gash plywood and I’m using it to get the sizes and holes positioned correctly.
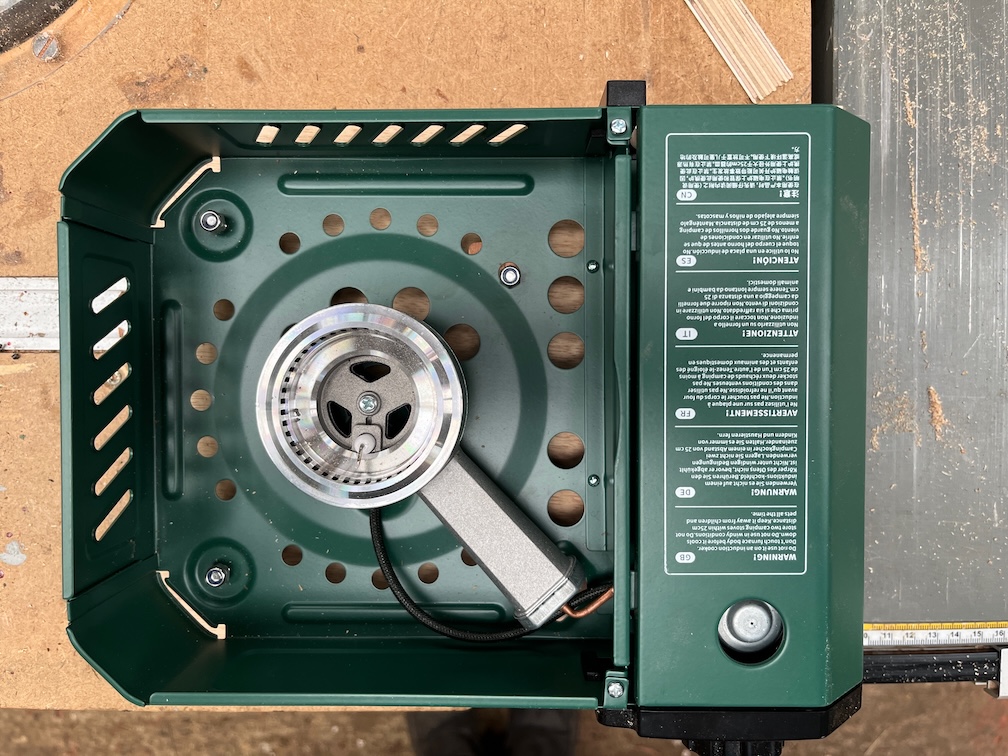
The stove is bolted to the board with three bolts. Two through the existing feet and one extra to hold it steady.
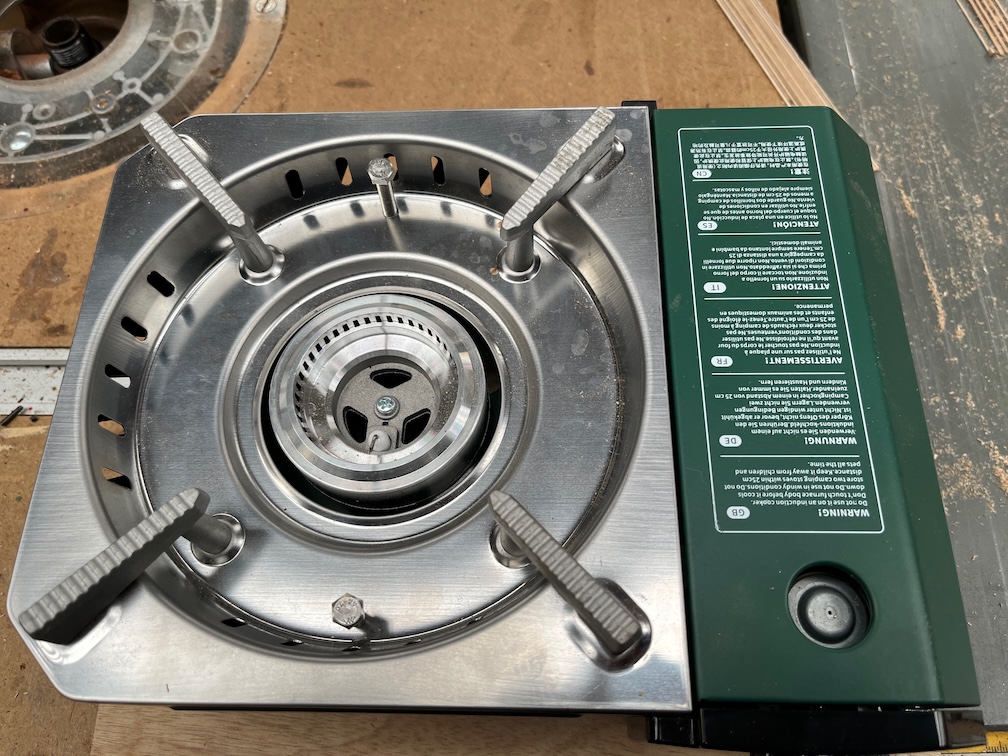
The normally removable pot stand is also bolted down but this time just to the stove.
The long bolts will hold it in position so that it doesn’t fall out when the stove is in the stowed position and will not be very tight.
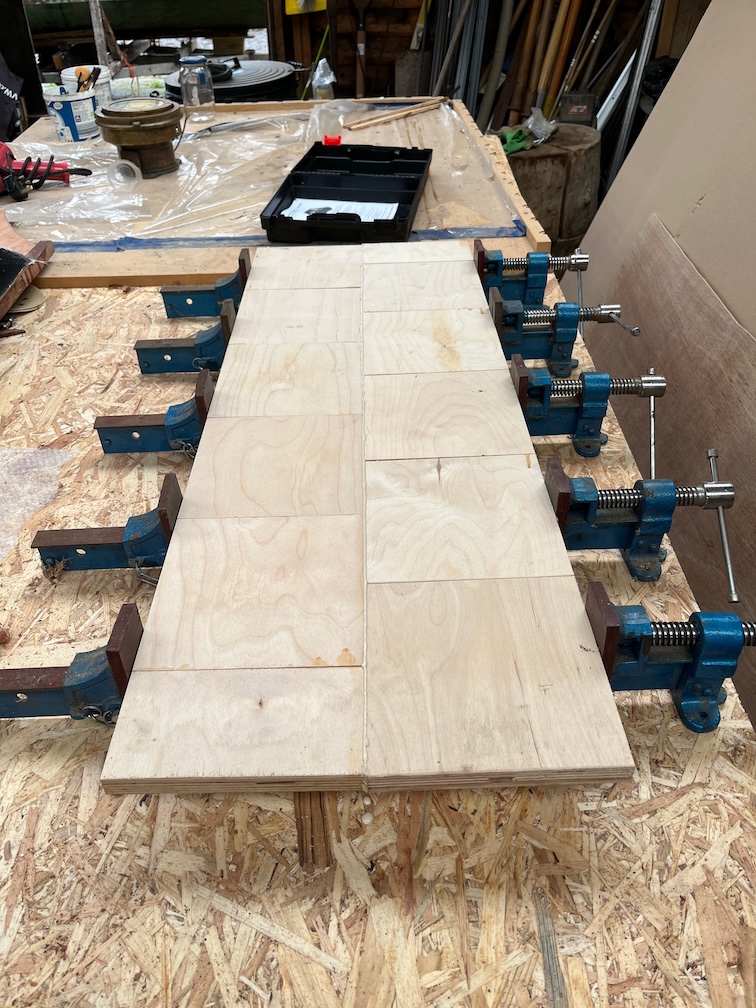
I had to stop at this point as I don’t have plywood that is thick enough and good enough quality of the right size to make the real board and the locker lid, so I glued some smaller pieces together and I’ll cut the board and lid from the resulting single piece. This plywood is Baltic Birch and too thick, so I’ll plane it down and varnish the lid once it is all done.
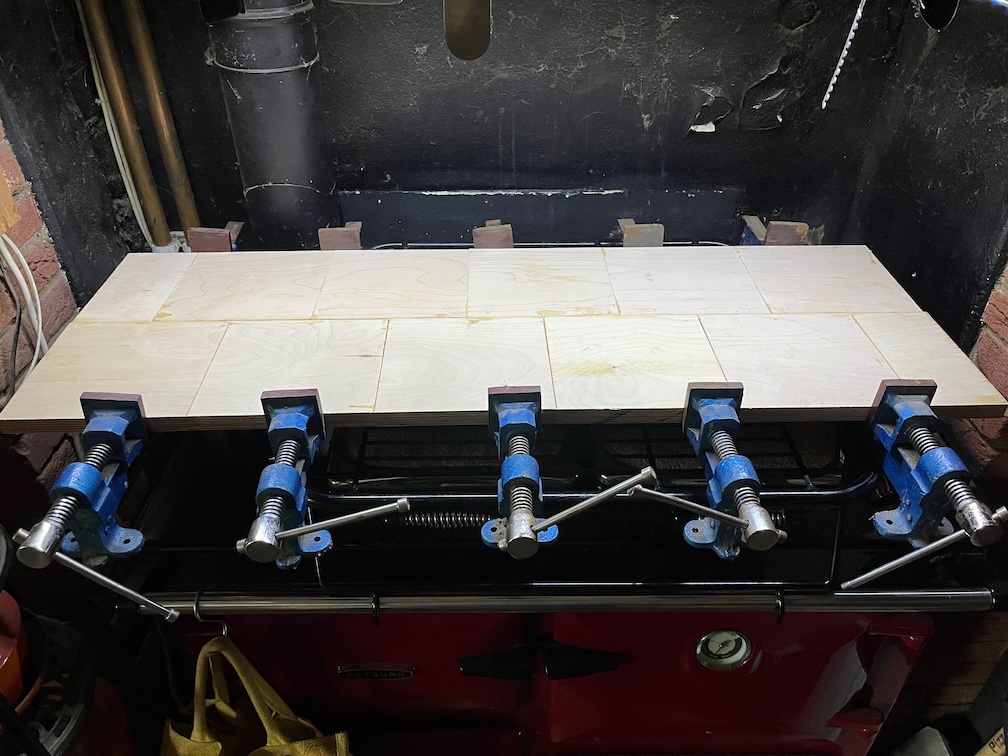
I didn’t think about the size of the glue up before clamping it, but it just fits over the Rayburn.
I’m a little doubtful about this glue up. The squares were glued and clamped in a length of five and a half squares using domino tenons to locate and strengthen the joints a bit. This glue up is two of those short boards joined length ways but I forgot that I had a domino jointer (it is a recent acquisition) and just glued them together, so this might fail. We shall see. If the joint does not hold then I’ll just cut off the glued edges by about 2 mm and then glue it back together again but this time using the tenons.
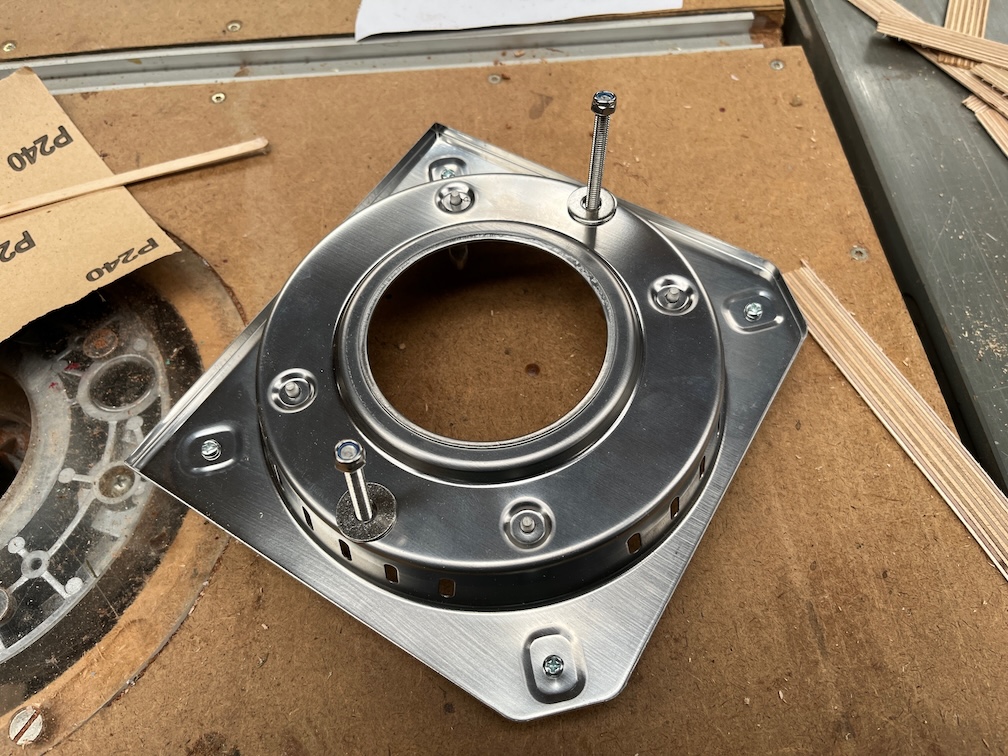
I decided that I would also check that the compass wiring works and put the compass into position in the cockpit.
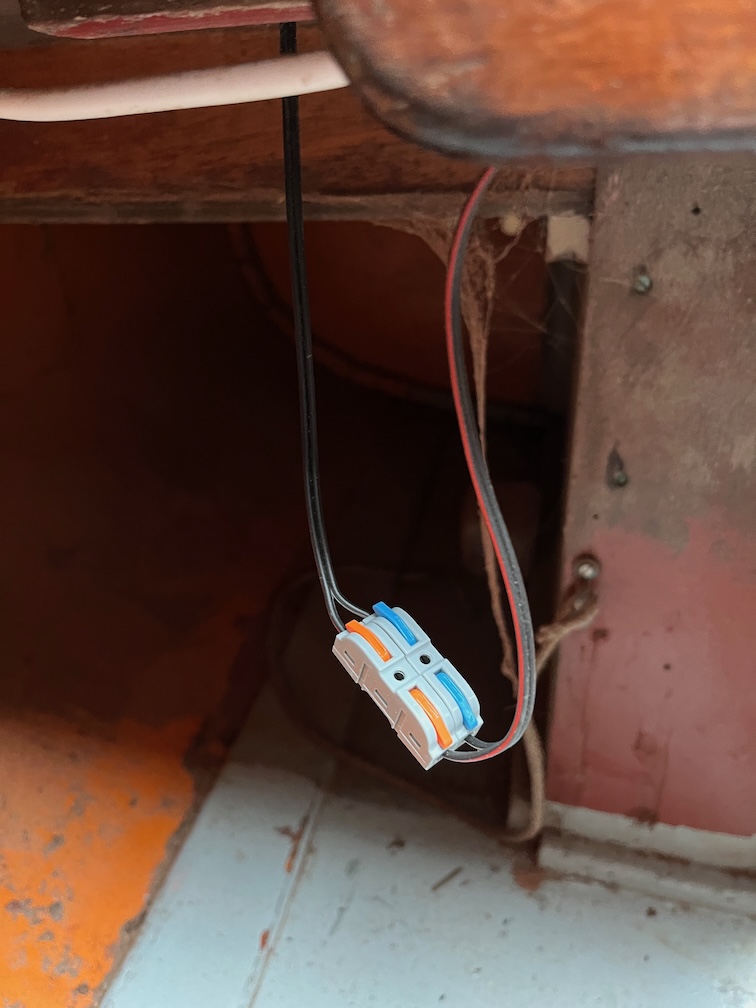
The lighting wires were connected to the power cable and for now, that is it since it is quite light and I’ll need to try this out when dusk falls. You can also see the problem with the connector. If I leave it like this it is going to get hooked on something and ripped out. Once the compass is bolted in place, I’ll try sticking it to the underside of the bridge deck with some butyl tape. That stuff is very sticky and might to the job,
Time for a cup of tea.
Even with the centerplate case removed, making a template for the curve of the hull inside the lockers would be a trial, so I decided to try an alternative method. I took one of the thin strips of wood that I’ve had in the workshop rafters for the last seven years or so, left over from the Naiad rebuild and too good to throw away but never needed before, and cut it into lengths that will fit around the curve.
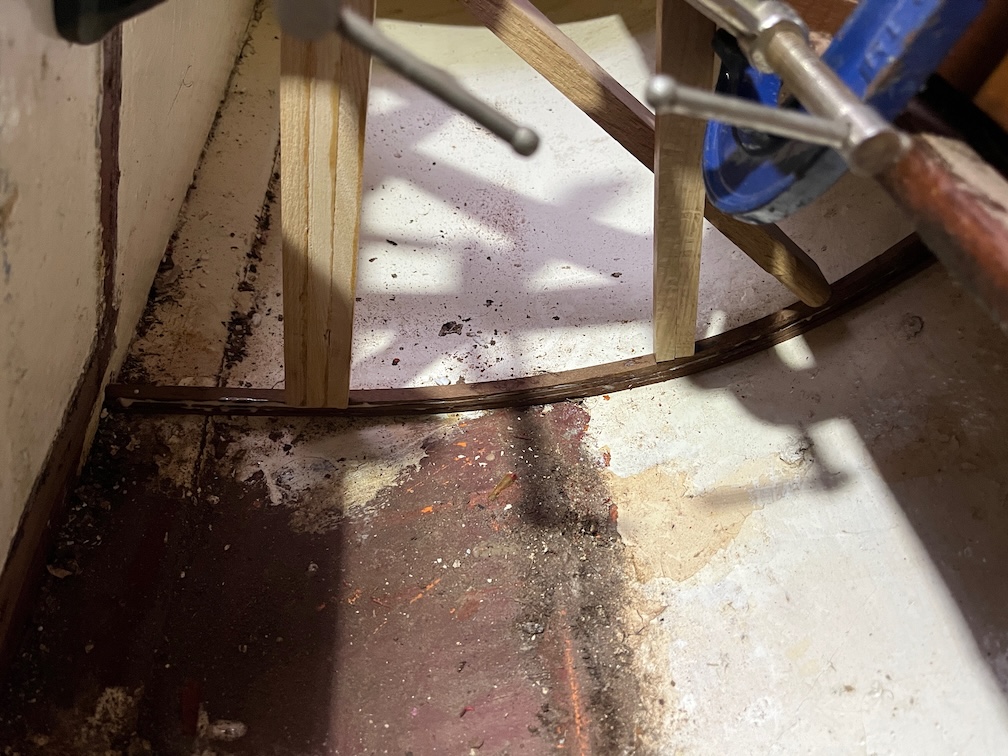
I applied glue to one side of the strips and put them into place, pressing them down with battens. The idea is that once the glue is dry I will have a short laminated piece of wood that has the same shape as the inside of the hull. We will see, because there may be some spring-back. Even so, it should be close enough to get the first template cut and I can use the belt sander to whittle away any sections that need adjustment.
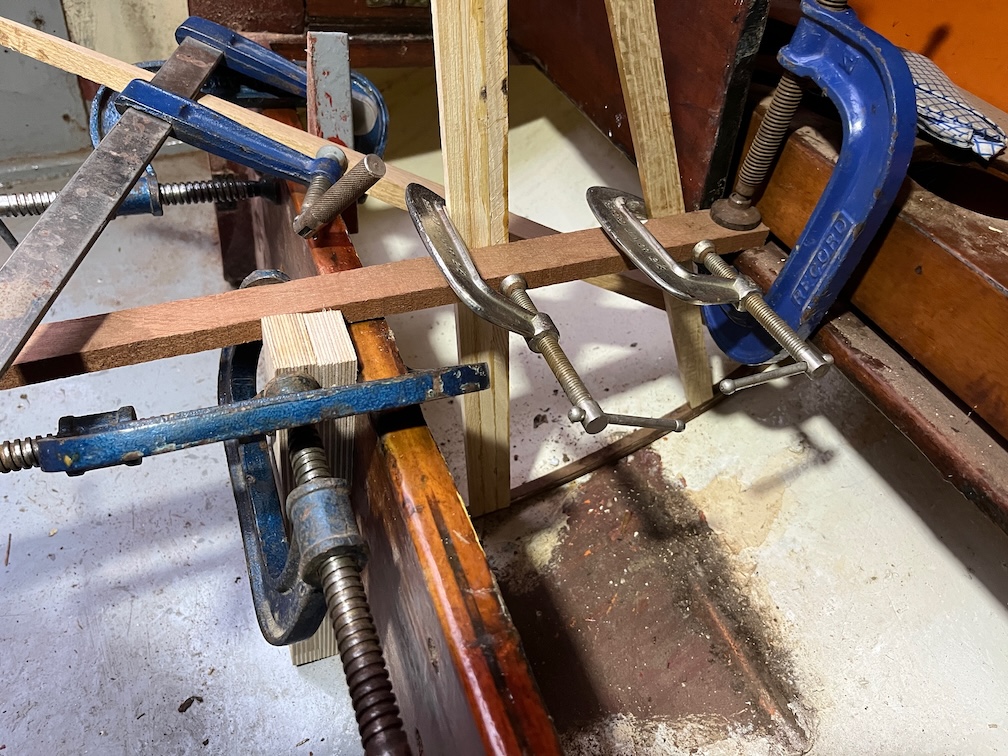
The batten arrangement is a bit haphazard, but it works. To improve the glue setting time I put the diesel heater warm air hose into the cabin and into the locker and turned it on at its lowest setting. An hour or two should have warmed the locker space and the laminates up somewhat.
Again, we shall see.
Time for a cup of coffee (fooled you!).
I let the heater run for thirty minutes and then checked it.
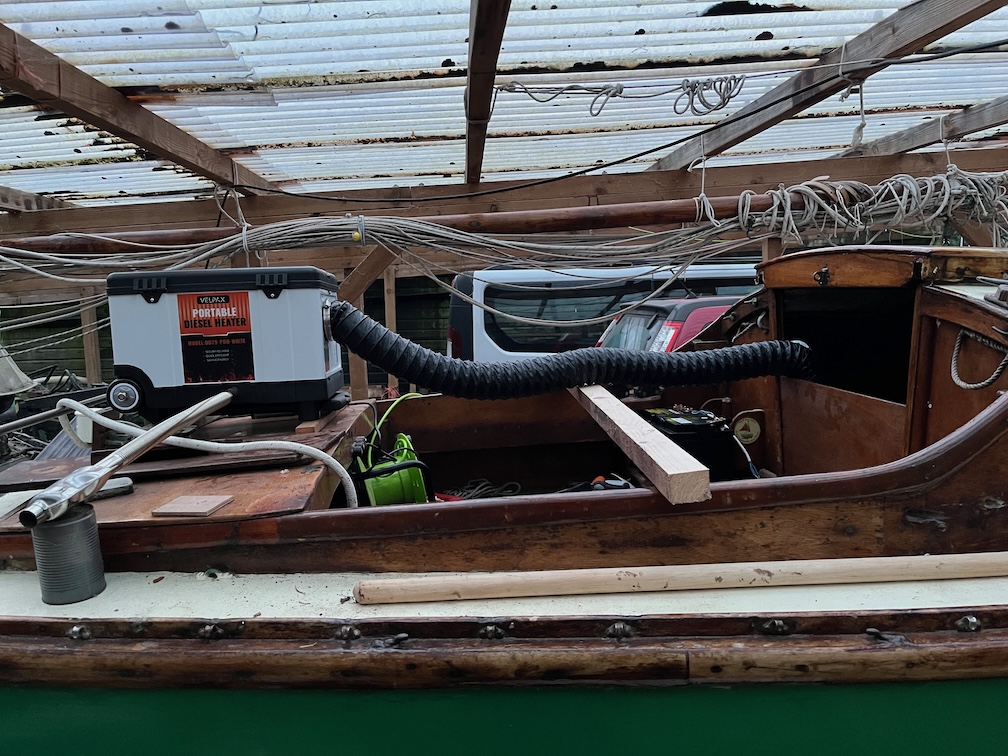
It seemed to be working well, so I left it running.
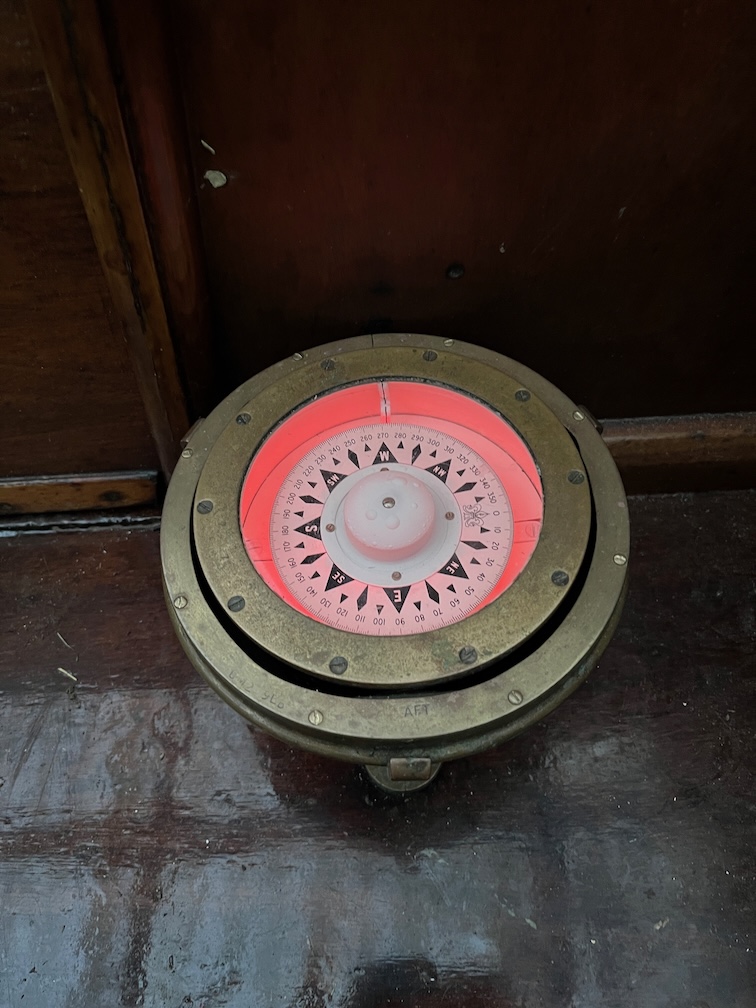
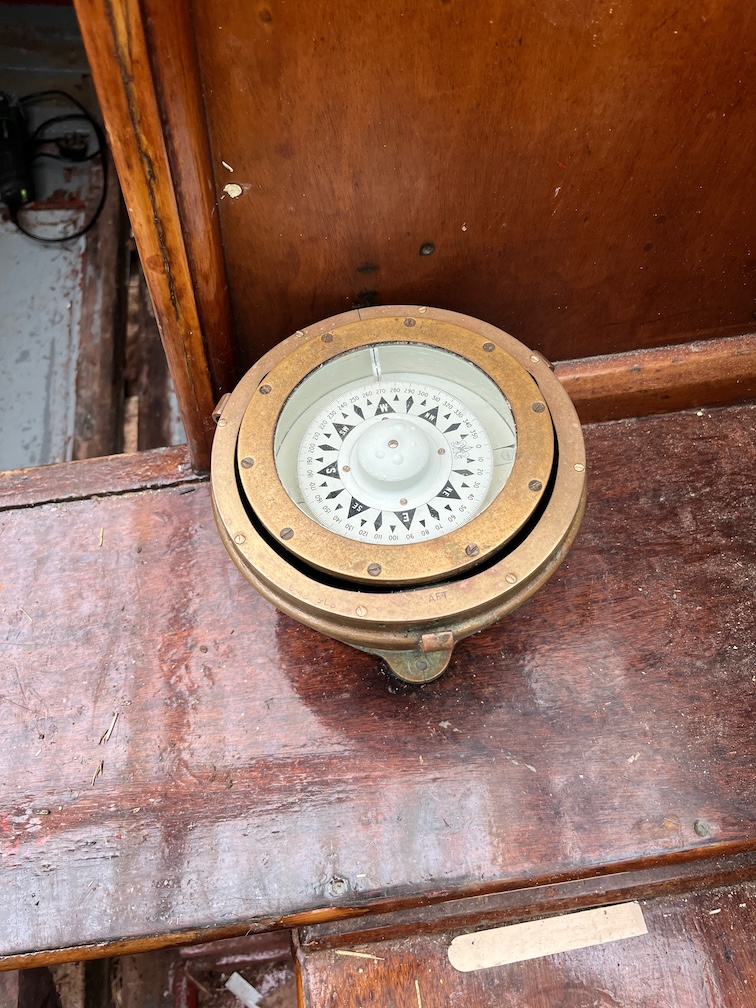
I also checked the compass light which,as you can see, is also working.
It’s been a good day, despite the initial cold, but I think it is time to call an end to the Shoal Waters tasks until tomorrow.
Time for a cup of tea.